How to Replace a Bathroom Sink Cartridge
Is your bathroom sink faucet leaking or not functioning properly? It may be time to replace the cartridge. The cartridge is the main component of a sink faucet and is responsible for controlling the flow of water. Over time, it can wear out or become clogged with mineral deposits, causing issues with water flow and temperature control. In this step-by-step guide, we will show you how to easily replace a bathroom sink cartridge and restore your faucet to full functionality.
Replacing a Bathroom Sink Cartridge: Step-by-Step Guide
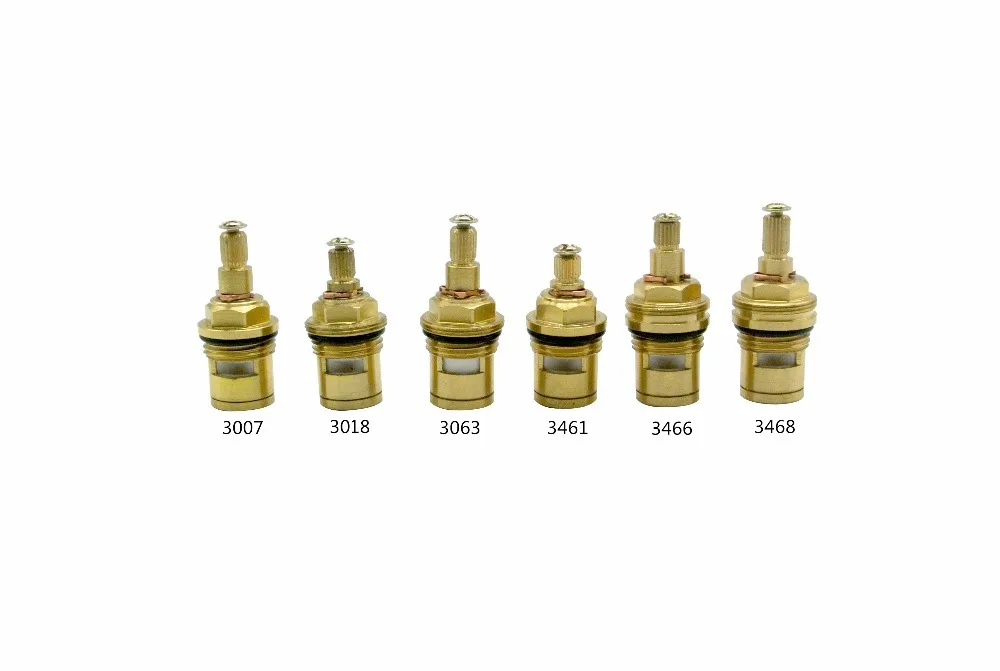
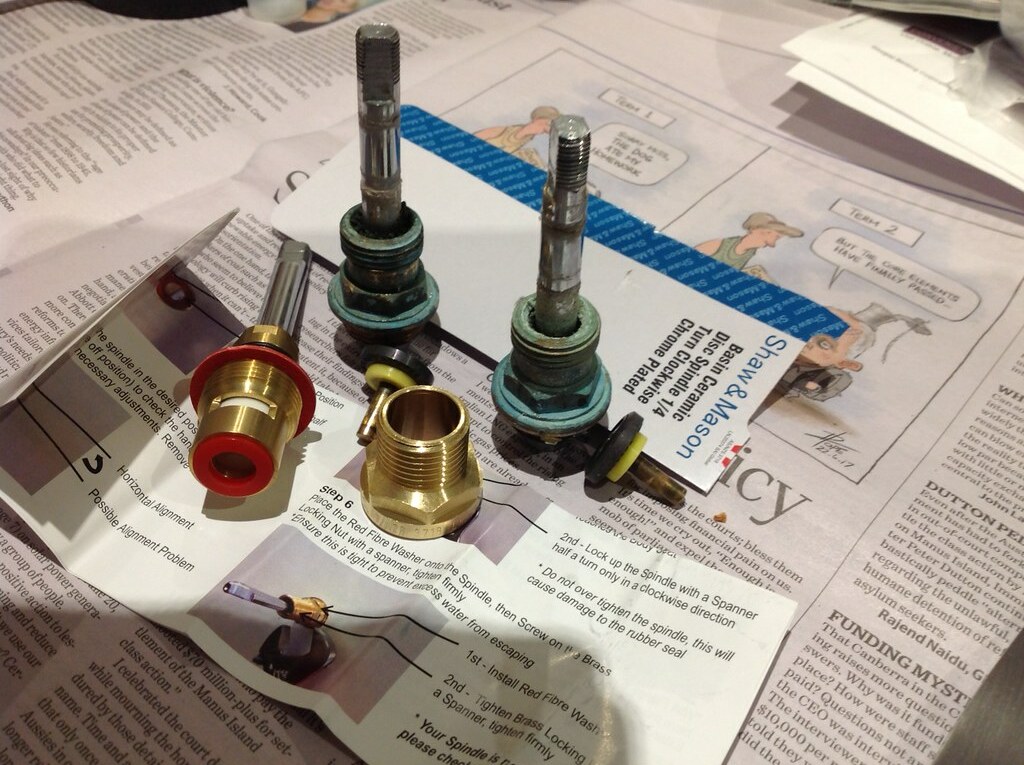
The first step in replacing a bathroom sink cartridge is to identify the type of faucet you have. There are various types of cartridges, including ball, disc, and cartridge. You can consult your faucet's manual or do some research online to determine the type of cartridge you need.
Once you have the new cartridge, turn off the water supply to your sink. This is typically done by shutting off the valves under the sink or turning off the main water supply to your home.
Next, remove the handle of your faucet. This can usually be done by unscrewing a small screw with a screwdriver or by popping off a decorative cap and unscrewing a larger screw. Once the handle is removed, you will have access to the cartridge.
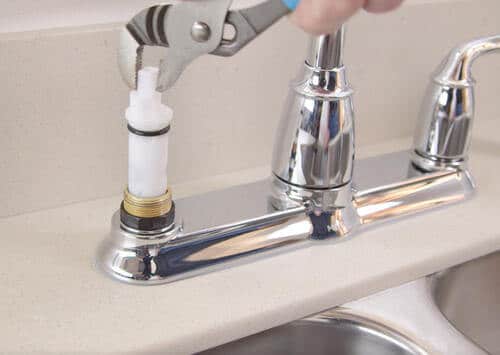
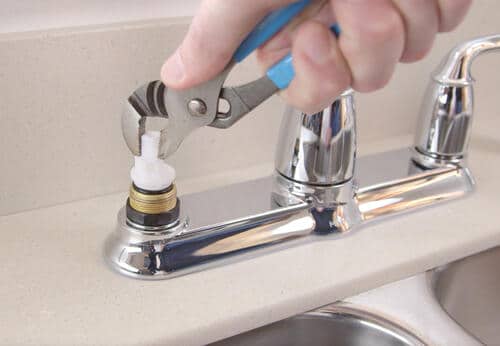
Use pliers or a cartridge removal tool to carefully remove the old cartridge. Be sure to keep all the parts intact, as you will need them for the replacement.
Insert the new cartridge in the same position as the old one and secure it with the necessary components. Make sure it is properly aligned and tightly secured.
Reassemble the faucet handle and turn the water supply back on. Test the faucet to ensure that the water flow and temperature are working correctly. If there are any issues, make sure the cartridge is properly installed and try again.
DIY: Replacing a Bathroom Sink Cartridge
Replacing a bathroom sink cartridge is a relatively simple and straightforward process that can be done as a DIY project. With the right tools and some basic knowledge, you can save money by doing it yourself instead of hiring a professional.
Before you start, make sure you have all the necessary tools and materials, including a new cartridge, pliers or a cartridge removal tool, and a screwdriver. It's also a good idea to have some towels on hand to catch any excess water that may come out during the process.
If you run into any issues or have questions, there are plenty of online resources and tutorials available to guide you through the process. With a little patience and attention to detail, you can have your bathroom sink cartridge replaced in no time.
Quick and Easy Bathroom Sink Cartridge Replacement
If you're looking for a quick and easy way to replace your bathroom sink cartridge, you're in luck. With the right tools and a bit of know-how, you can have your faucet working like new in just a few simple steps.
Start by turning off the water supply to your sink. Then, remove the handle of your faucet and the old cartridge, following the steps mentioned above. Once the new cartridge is installed, reassemble the handle and turn the water back on. It's that simple!
By taking the time to replace your bathroom sink cartridge, you can avoid costly repairs and ensure that your faucet is functioning properly. Plus, with the quick and easy process, you'll have your sink back up and running in no time.
Replacing a Bathroom Sink Cartridge: Common Mistakes to Avoid
While replacing a bathroom sink cartridge may seem like a simple task, there are a few common mistakes that people make that can cause issues with their faucet. One of the most common mistakes is not properly aligning the new cartridge, which can lead to leaks or water flow problems.
Another mistake is not properly securing the cartridge, which can also cause leaks and other issues. It's essential to follow the instructions carefully and make sure all the components are tightly secured.
Lastly, not turning off the water supply before starting the replacement process can lead to a messy and frustrating experience. Always remember to turn off the water supply before attempting to replace a bathroom sink cartridge.
The Importance of Replacing Your Bathroom Sink Cartridge
The cartridge is the heart of your bathroom sink faucet, and it's essential to keep it in good working condition. Over time, cartridges can become clogged with mineral deposits or wear out, leading to issues with water flow and temperature control.
By regularly replacing your bathroom sink cartridge, you can avoid costly repairs and ensure that your faucet is functioning correctly. It's recommended to replace the cartridge every 1-2 years, depending on usage and water quality.
Proper maintenance of your bathroom sink cartridge can also help extend the life of your faucet, saving you money in the long run. So don't neglect this crucial component and make sure to replace it when needed.
Step-by-Step Guide to Replacing a Bathroom Sink Cartridge
Replacing a bathroom sink cartridge may seem daunting, but with a step-by-step guide, it's a straightforward process. Follow these simple steps to replace your cartridge and restore your faucet's functionality:
1. Identify the type of cartridge you need.
2. Turn off the water supply to your sink.
3. Remove the faucet handle.
4. Use pliers or a cartridge removal tool to remove the old cartridge.
5. Insert the new cartridge and secure it in place.
6. Reassemble the handle and turn the water supply back on.
7. Test the faucet to ensure proper water flow and temperature control.
Replacing a Bathroom Sink Cartridge: Tools and Materials You'll Need
To replace a bathroom sink cartridge, you'll need a few essential tools and materials, including:
- A new cartridge (make sure it's the correct type for your faucet)
- Pliers or a cartridge removal tool
- A screwdriver
- Towels (to catch any excess water)
- Optional: plumber's grease or silicone lubricant (to help with installation)
Having these tools and materials on hand will make the replacement process much more manageable and efficient.
How Often Should You Replace Your Bathroom Sink Cartridge?
The frequency of replacing your bathroom sink cartridge will depend on several factors, including usage and water quality. It's generally recommended to replace the cartridge every 1-2 years, but if you notice issues with water flow or temperature control, it may need to be replaced sooner.
If you live in an area with hard water, you may need to replace the cartridge more frequently as mineral deposits can build up and cause issues. Regularly maintaining and replacing your cartridge can help prolong the life of your faucet and prevent costly repairs.
Troubleshooting Common Issues with Replacing a Bathroom Sink Cartridge
Even with the best intentions and careful installation, issues can still arise when replacing a bathroom sink cartridge. Some common issues include leaks, difficulty turning the faucet handle, or improper water flow or temperature control.
If you experience any of these issues, double-check that the cartridge is properly aligned and secured. If the problem persists, consult the manufacturer's manual or seek help from a professional plumber.
In conclusion, replacing a bathroom sink cartridge is an essential maintenance task that can help keep your faucet functioning correctly and avoid costly repairs. With the right tools and knowledge, it's a relatively simple and quick process that you can do yourself. So don't put it off any longer and follow our step-by-step guide to replace your bathroom sink cartridge today!
Replacing Your Bathroom Sink Cartridge: A Simple Solution for a Common Problem
The Importance of Maintaining Your Bathroom Fixtures
 When it comes to house design, the bathroom is often an overlooked area. However, it is a space that is used daily and requires regular maintenance to keep it functioning properly. One common issue that homeowners face is a faulty
bathroom sink cartridge
. This small but essential component controls the flow of water in your sink and can become worn out or clogged over time. If left unchecked, it can lead to leaks, low water pressure, and even mold growth. That's why it is crucial to know how to replace your bathroom sink cartridge and keep your bathroom in top shape.
Step-by-Step Guide to Replacing Your Bathroom Sink Cartridge
 The first step is to identify the type of
cartridge
in your bathroom sink. There are two main types: compression and ceramic disc cartridges. Compression cartridges are the traditional type and have two handles, one for hot water and one for cold. Ceramic disc cartridges are more modern and have a single lever for both hot and cold water. Once you have identified the type of cartridge, you can follow these steps to replace it:
Step 1: Gather Your Tools
 Before you begin, make sure you have all the necessary tools on hand. This includes an adjustable wrench, pliers, and a
new cartridge
that matches your existing one.
Step 2: Turn Off the Water Supply
 To avoid any water damage, it is crucial to turn off the water supply to your sink. You can usually find the shut-off valve under the sink or near the main water supply for your house.
Step 3: Remove the Old Cartridge
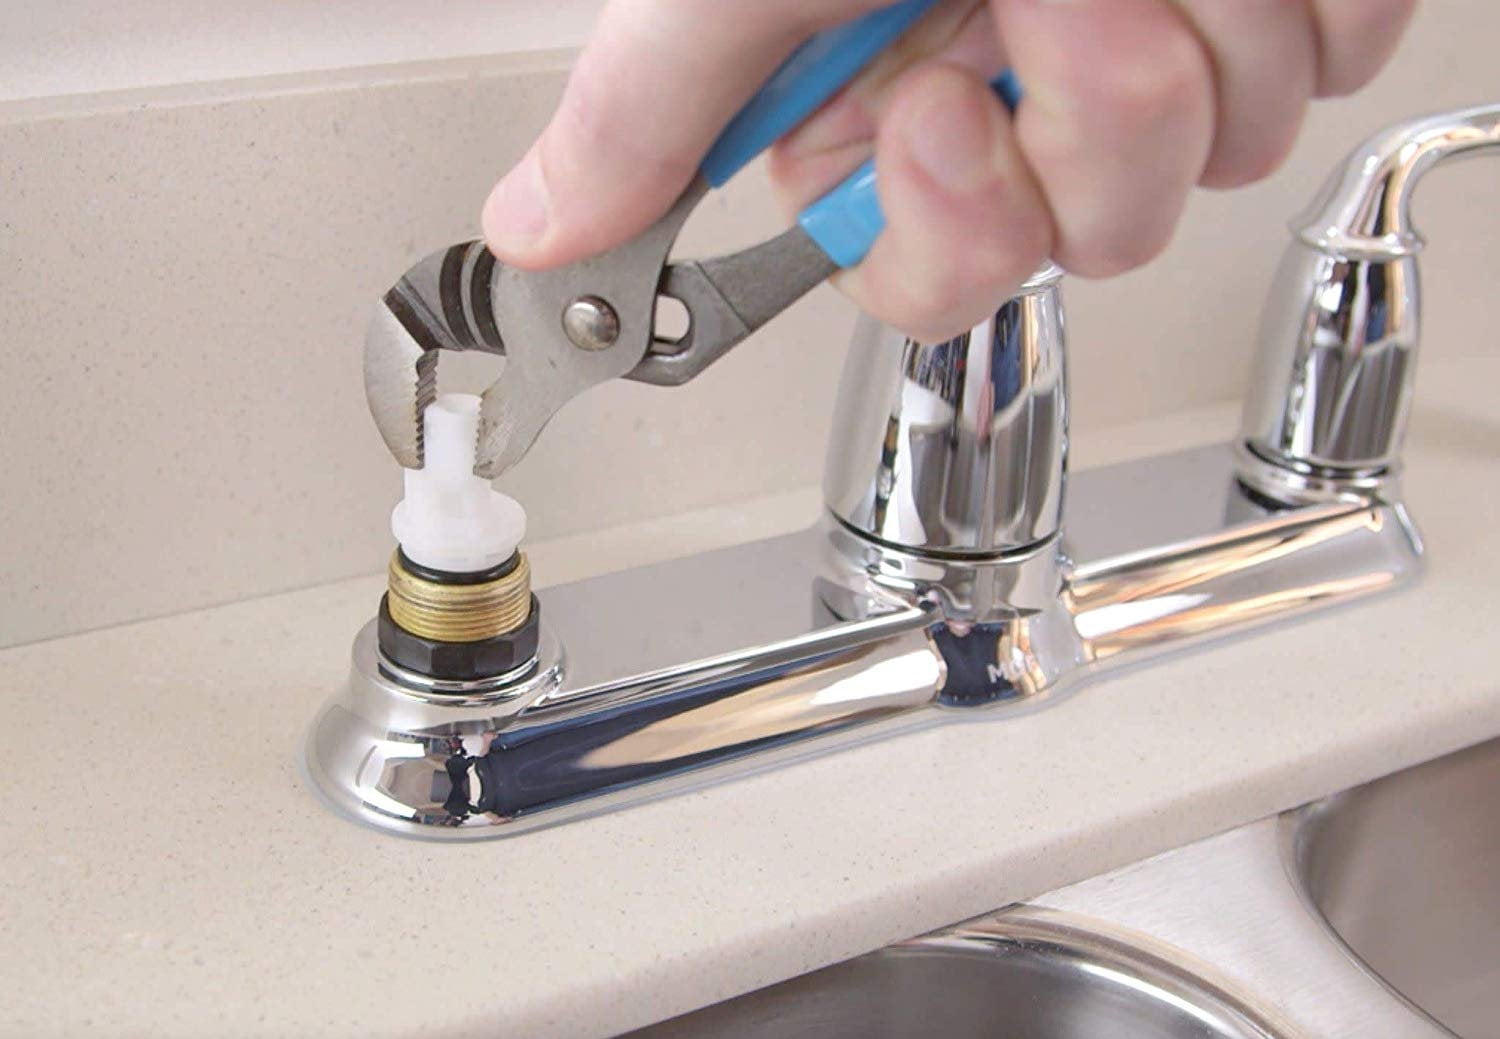
 Using your wrench and pliers, carefully loosen and remove the
old cartridge
from the sink. Be sure to keep track of any small parts that may come loose during this process.
Step 4: Clean the Sink Surface
 Once the old cartridge is removed, clean the sink surface thoroughly. This will ensure a secure fit for the new cartridge.
Step 5: Install the New Cartridge
 Carefully insert the new cartridge into the sink and secure it in place with your wrench and pliers. Make sure it is tightly sealed to prevent any leaks.
Step 6: Turn the Water Supply Back On
 Once the new cartridge is installed, turn the water supply back on and test your sink to ensure it is functioning correctly.
Step 7: Regular Maintenance
 To prevent any future issues, it is essential to perform regular maintenance on your bathroom sink. This includes cleaning the cartridge and checking for any signs of wear and tear.
Take Care of Your Bathroom, Take Care of Your Home
 By following these simple steps, you can easily replace your bathroom sink cartridge and keep your bathroom in top condition. Regular maintenance and timely replacements will not only save you from costly repairs but also help maintain the overall design and functionality of your house. So don't neglect your bathroom, take care of it, and in turn, take care of your home.


