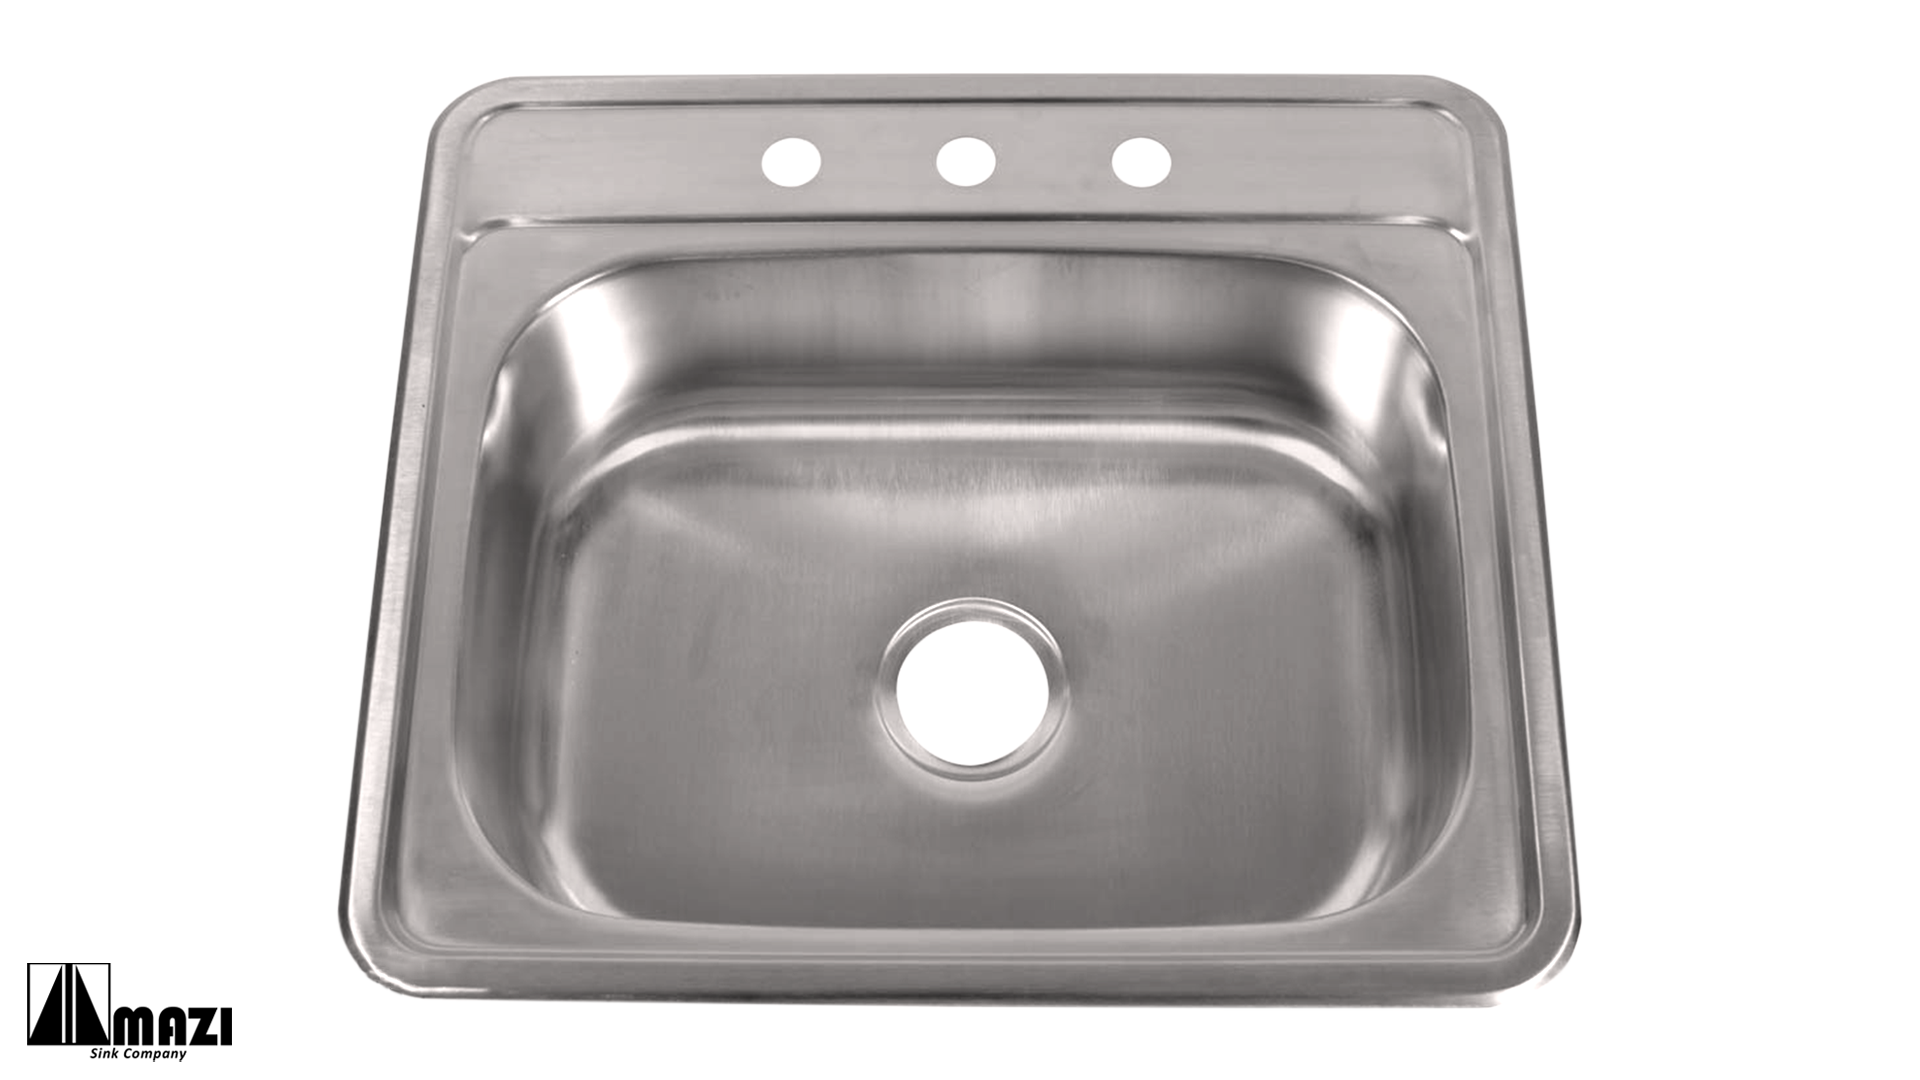
Replacing a stainless steel kitchen sink may seem like a daunting task, but with the right tools and a little bit of know-how, it can be a DIY project that can save you time and money. Whether you're looking to upgrade your kitchen or your current sink is damaged, replacing a stainless steel kitchen sink is a relatively simple process that can make a big difference in the overall look and functionality of your kitchen.How to Replace a Stainless Steel Kitchen Sink
If you're ready to tackle the task of replacing your stainless steel kitchen sink, here's a step-by-step guide to help you along the way: Step 1: Gather Your Tools and Materials Before you begin, make sure you have all the necessary tools and materials. This includes a new sink, plumber's putty, silicone caulk, a putty knife, a screwdriver, a wrench, and a bucket or towel to catch any water that may leak during the process. Step 2: Turn off the Water Supply Before you start working on your sink, make sure to turn off the water supply to avoid any leaks or accidents. You can usually find the shut-off valves under the sink or near the main water supply for your home. Step 3: Disconnect the Plumbing Using a wrench, loosen the nuts that connect the water supply lines to the faucet and the drain pipe to the bottom of the sink. Once they are loosened, you should be able to disconnect them easily. Step 4: Remove the Old Sink With the plumbing disconnected, use a putty knife to loosen the seal around the edges of the sink. Once the seal is broken, you can gently lift the old sink out of its place and set it aside. Step 5: Prepare the New Sink Before installing the new sink, make sure to clean the area where the old sink was. This will ensure a secure and clean fit for the new sink. You can also add a layer of plumber's putty around the edges of the sink to create a tight seal. Step 6: Install the New Sink Place the new sink into the opening and press down firmly to create a seal. Make sure the sink is level and secure before moving on to the next step. Step 7: Reconnect the Plumbing Using your wrench, connect the water supply lines to the faucet and the drain pipe to the bottom of the sink. Make sure the connections are tight to avoid any leaks. Step 8: Apply Caulk Using silicone caulk, run a bead around the edges of the sink where it meets the countertop. This will create a watertight seal and prevent any water from leaking into the cabinets. Step 9: Reconnect the Water Supply Once the caulk is dry, you can turn the water supply back on and test your new sink for any leaks. If everything looks good, you're all finished!Replacing a Stainless Steel Kitchen Sink: A Step-by-Step Guide
Replacing a stainless steel kitchen sink can be a DIY project that can save you time and money. With the right tools and a little bit of know-how, you can upgrade your kitchen without having to hire a professional.DIY: Replacing a Stainless Steel Kitchen Sink
There are many ways to replace a stainless steel kitchen sink, but the best way is to follow a step-by-step guide and make sure you have all the necessary tools and materials. This will ensure a smooth and successful installation.The Best Way to Replace a Stainless Steel Kitchen Sink
Here are a few tips and tricks to keep in mind when replacing a stainless steel kitchen sink:Replacing a Stainless Steel Kitchen Sink: Tips and Tricks
Following a step-by-step guide is the best way to ensure a successful and stress-free sink replacement. Make sure to gather all the necessary tools and take your time to avoid any mistakes.Step-by-Step Guide for Replacing a Stainless Steel Kitchen Sink
Before attempting to replace your stainless steel kitchen sink, it's important to know what you're getting into. Make sure to research the process and have a good understanding of the tools and materials needed.Replacing a Stainless Steel Kitchen Sink: What You Need to Know
Removing and replacing a stainless steel kitchen sink may seem like a daunting task, but with the right tools and a little bit of know-how, it can be a DIY project that can save you time and money.How to Remove and Replace a Stainless Steel Kitchen Sink
Here are some common mistakes to avoid when replacing a stainless steel kitchen sink:Replacing a Stainless Steel Kitchen Sink: Common Mistakes to Avoid
Replacing a stainless steel kitchen sink can bring many benefits to your kitchen, including:The Benefits of Replacing a Stainless Steel Kitchen Sink
Why Stainless Steel Kitchen Sinks Are a Popular Choice for Homeowners
The Benefits of Stainless Steel Sinks
 When it comes to kitchen design, one of the most important elements is the sink. Not only is it a functional component where we wash dishes and prepare food, but it also adds to the overall aesthetic of the space. That's why choosing the right kitchen sink is crucial. While there are many different materials to choose from, stainless steel has become a popular choice among homeowners, and for good reason.
Stainless steel
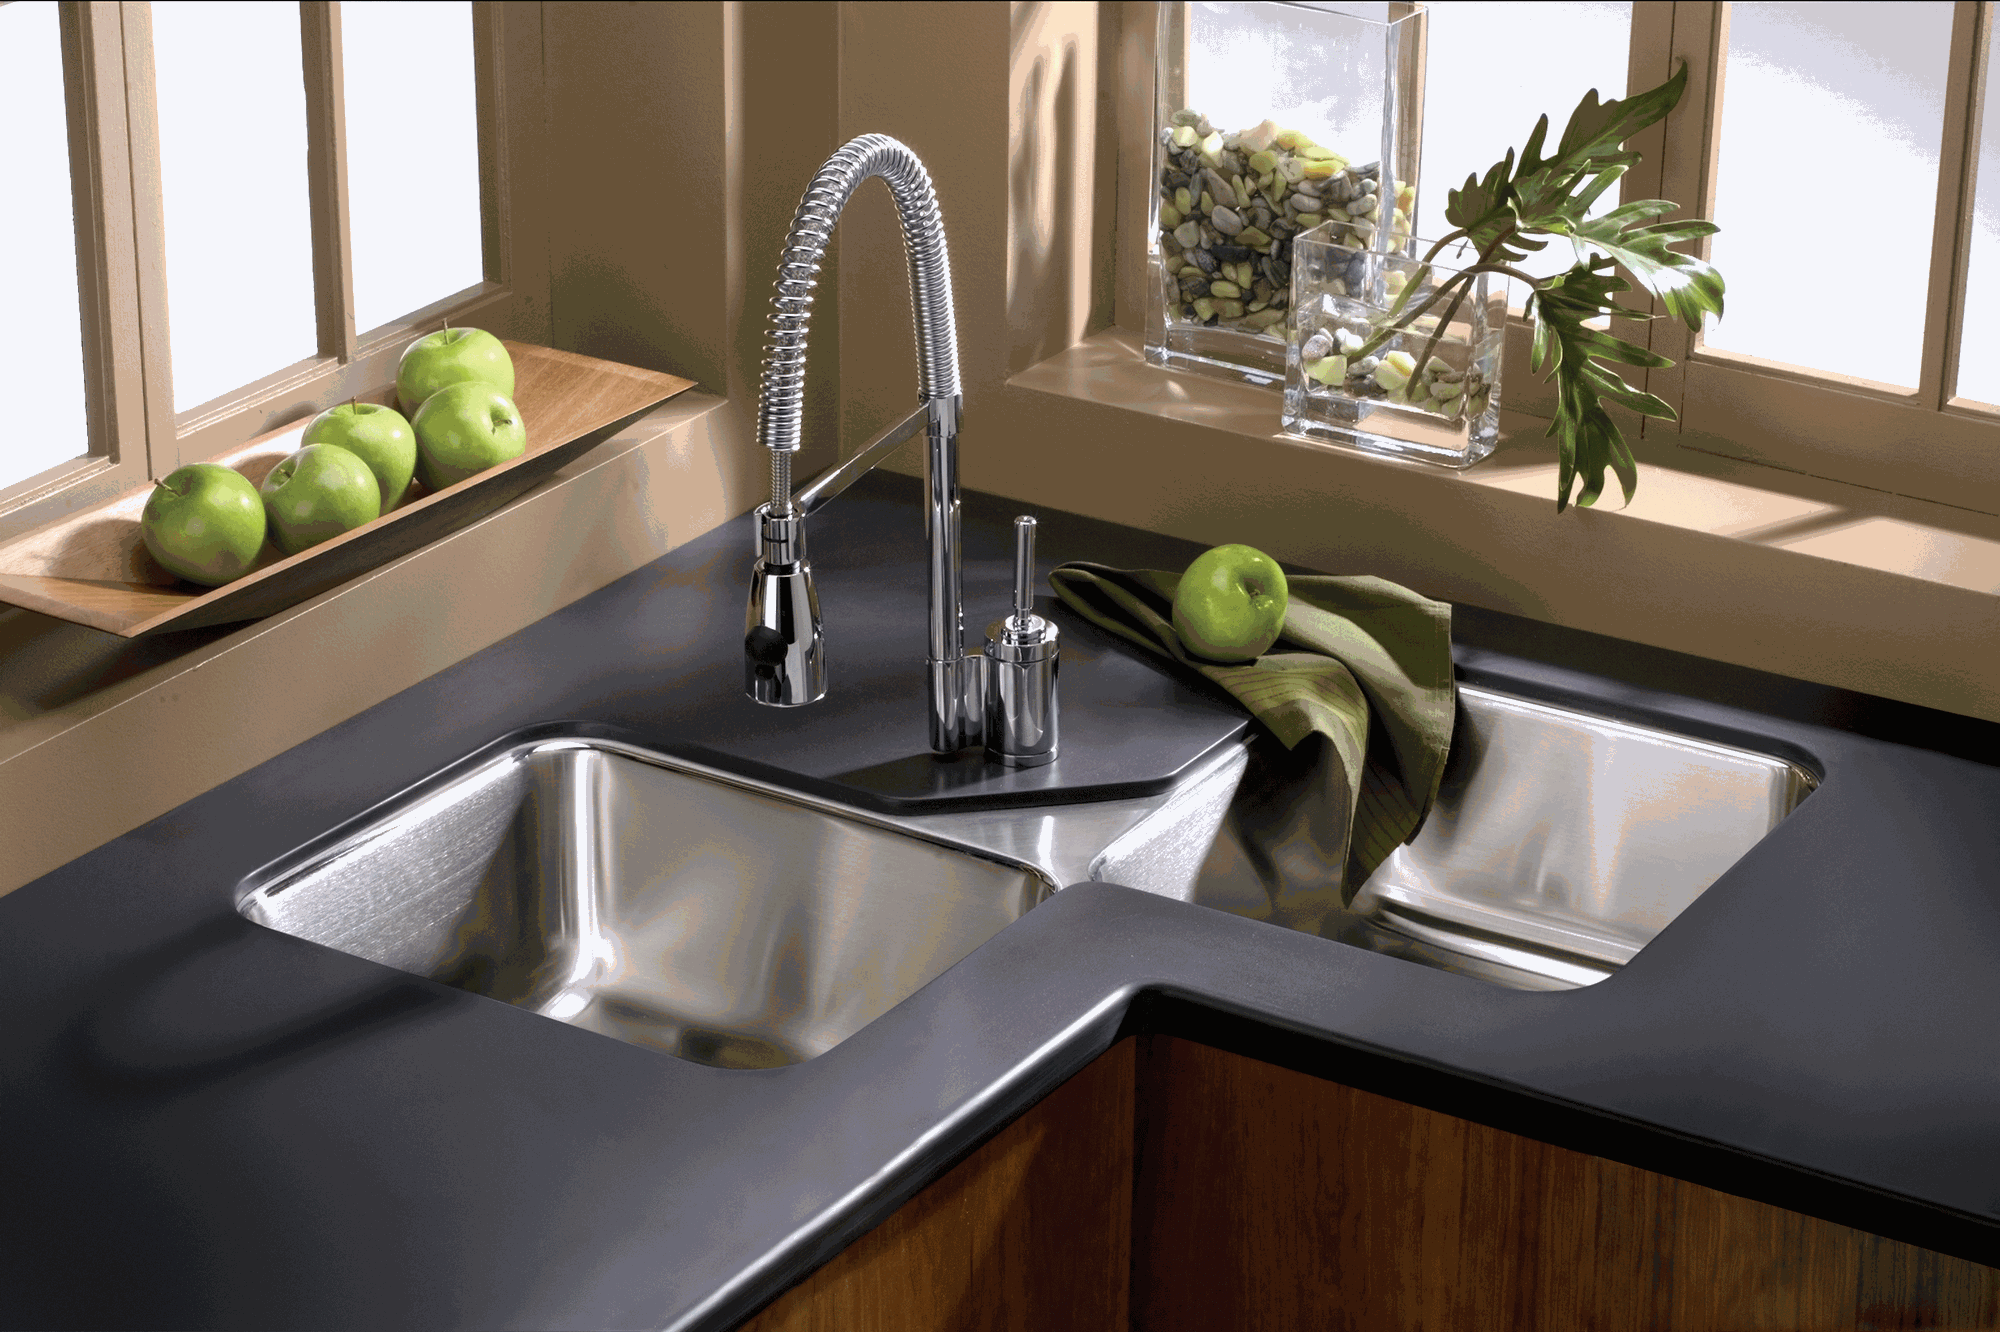
sinks offer a sleek and modern look that fits in seamlessly with any kitchen design. Its smooth and shiny surface adds a touch of elegance and sophistication to the space.
But aesthetics aren't the only reason why stainless steel sinks are a popular choice.
They also offer numerous practical benefits that make them a top choice for homeowners.
Durability and Longevity
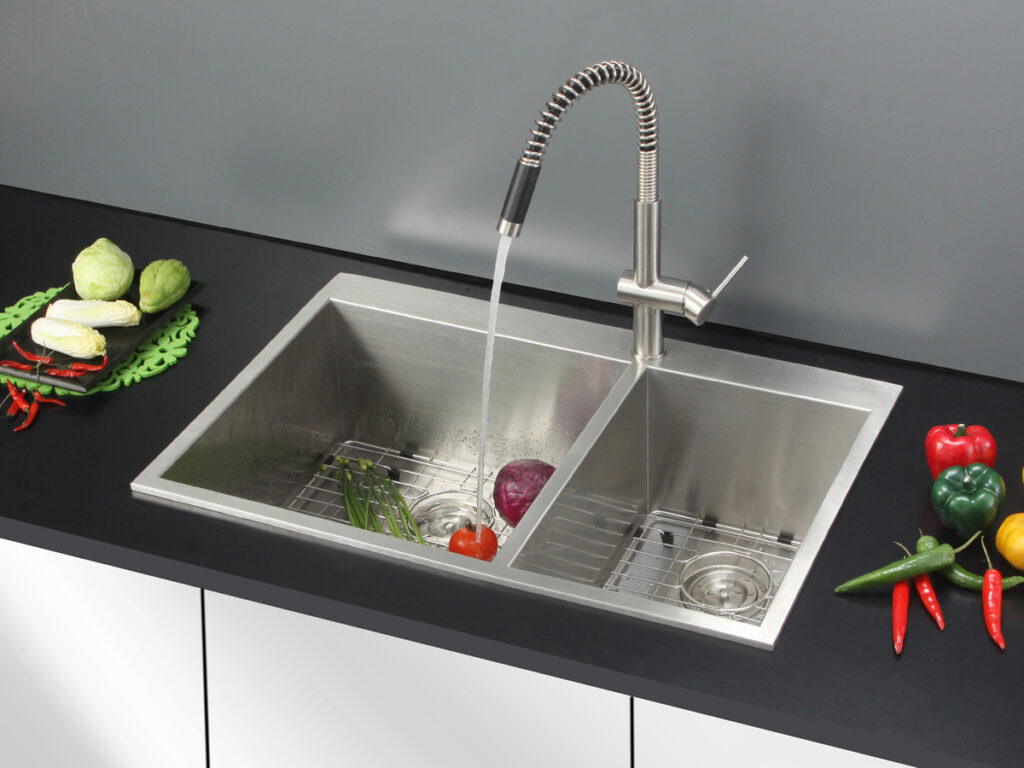 One of the main reasons why stainless steel sinks are preferred by many is because of their durability and longevity. Made from
high-quality steel
, these sinks are resistant to scratches, stains, and corrosion. This makes them perfect for a busy kitchen where they are subjected to constant use and exposure to different elements.
They can withstand high temperatures and are less likely to dent or chip compared to other materials.
This means you can enjoy your stainless steel sink for many years without having to worry about replacing it.
Ease of Maintenance
 Another advantage of stainless steel sinks is that they are easy to maintain. With its
smooth surface and non-porous material
, these sinks are easy to clean and maintain. A simple wipe with a mild soap and water is all it takes to keep your sink looking shiny and new.
They are also resistant to stains and do not harbor bacteria, making them a hygienic choice for your kitchen.
Affordability
 Stainless steel sinks are also a budget-friendly option for homeowners. They are
less expensive
compared to other materials such as granite or quartz. This makes them a great choice for those who want a high-quality sink without breaking the bank.
And with their durability and longevity, you won't have to worry about replacing them anytime soon, making them a cost-effective investment for your home.
In conclusion,
stainless steel kitchen sinks
are a popular choice among homeowners due to their
aesthetic appeal, durability, ease of maintenance, and affordability.
Its sleek and modern look adds a touch of elegance to any kitchen design, while its practical benefits make it a functional and long-lasting choice. If you're considering replacing your kitchen sink,
stainless steel
should definitely be at the top of your list.






:no_upscale()/cdn.vox-cdn.com/uploads/chorus_asset/file/19495086/drain_0.jpg)
