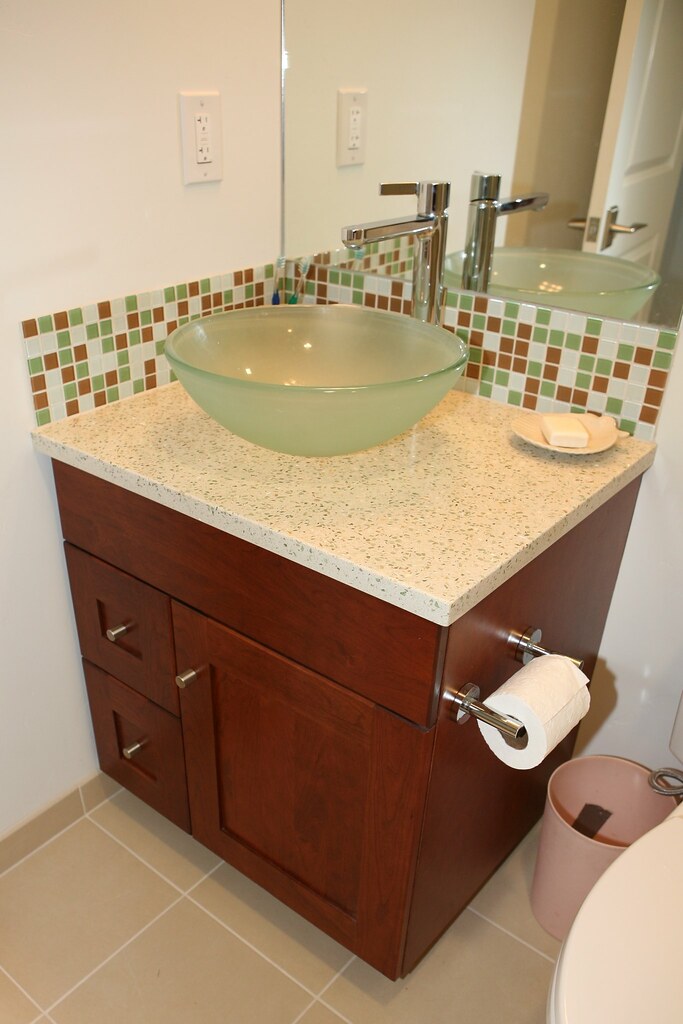
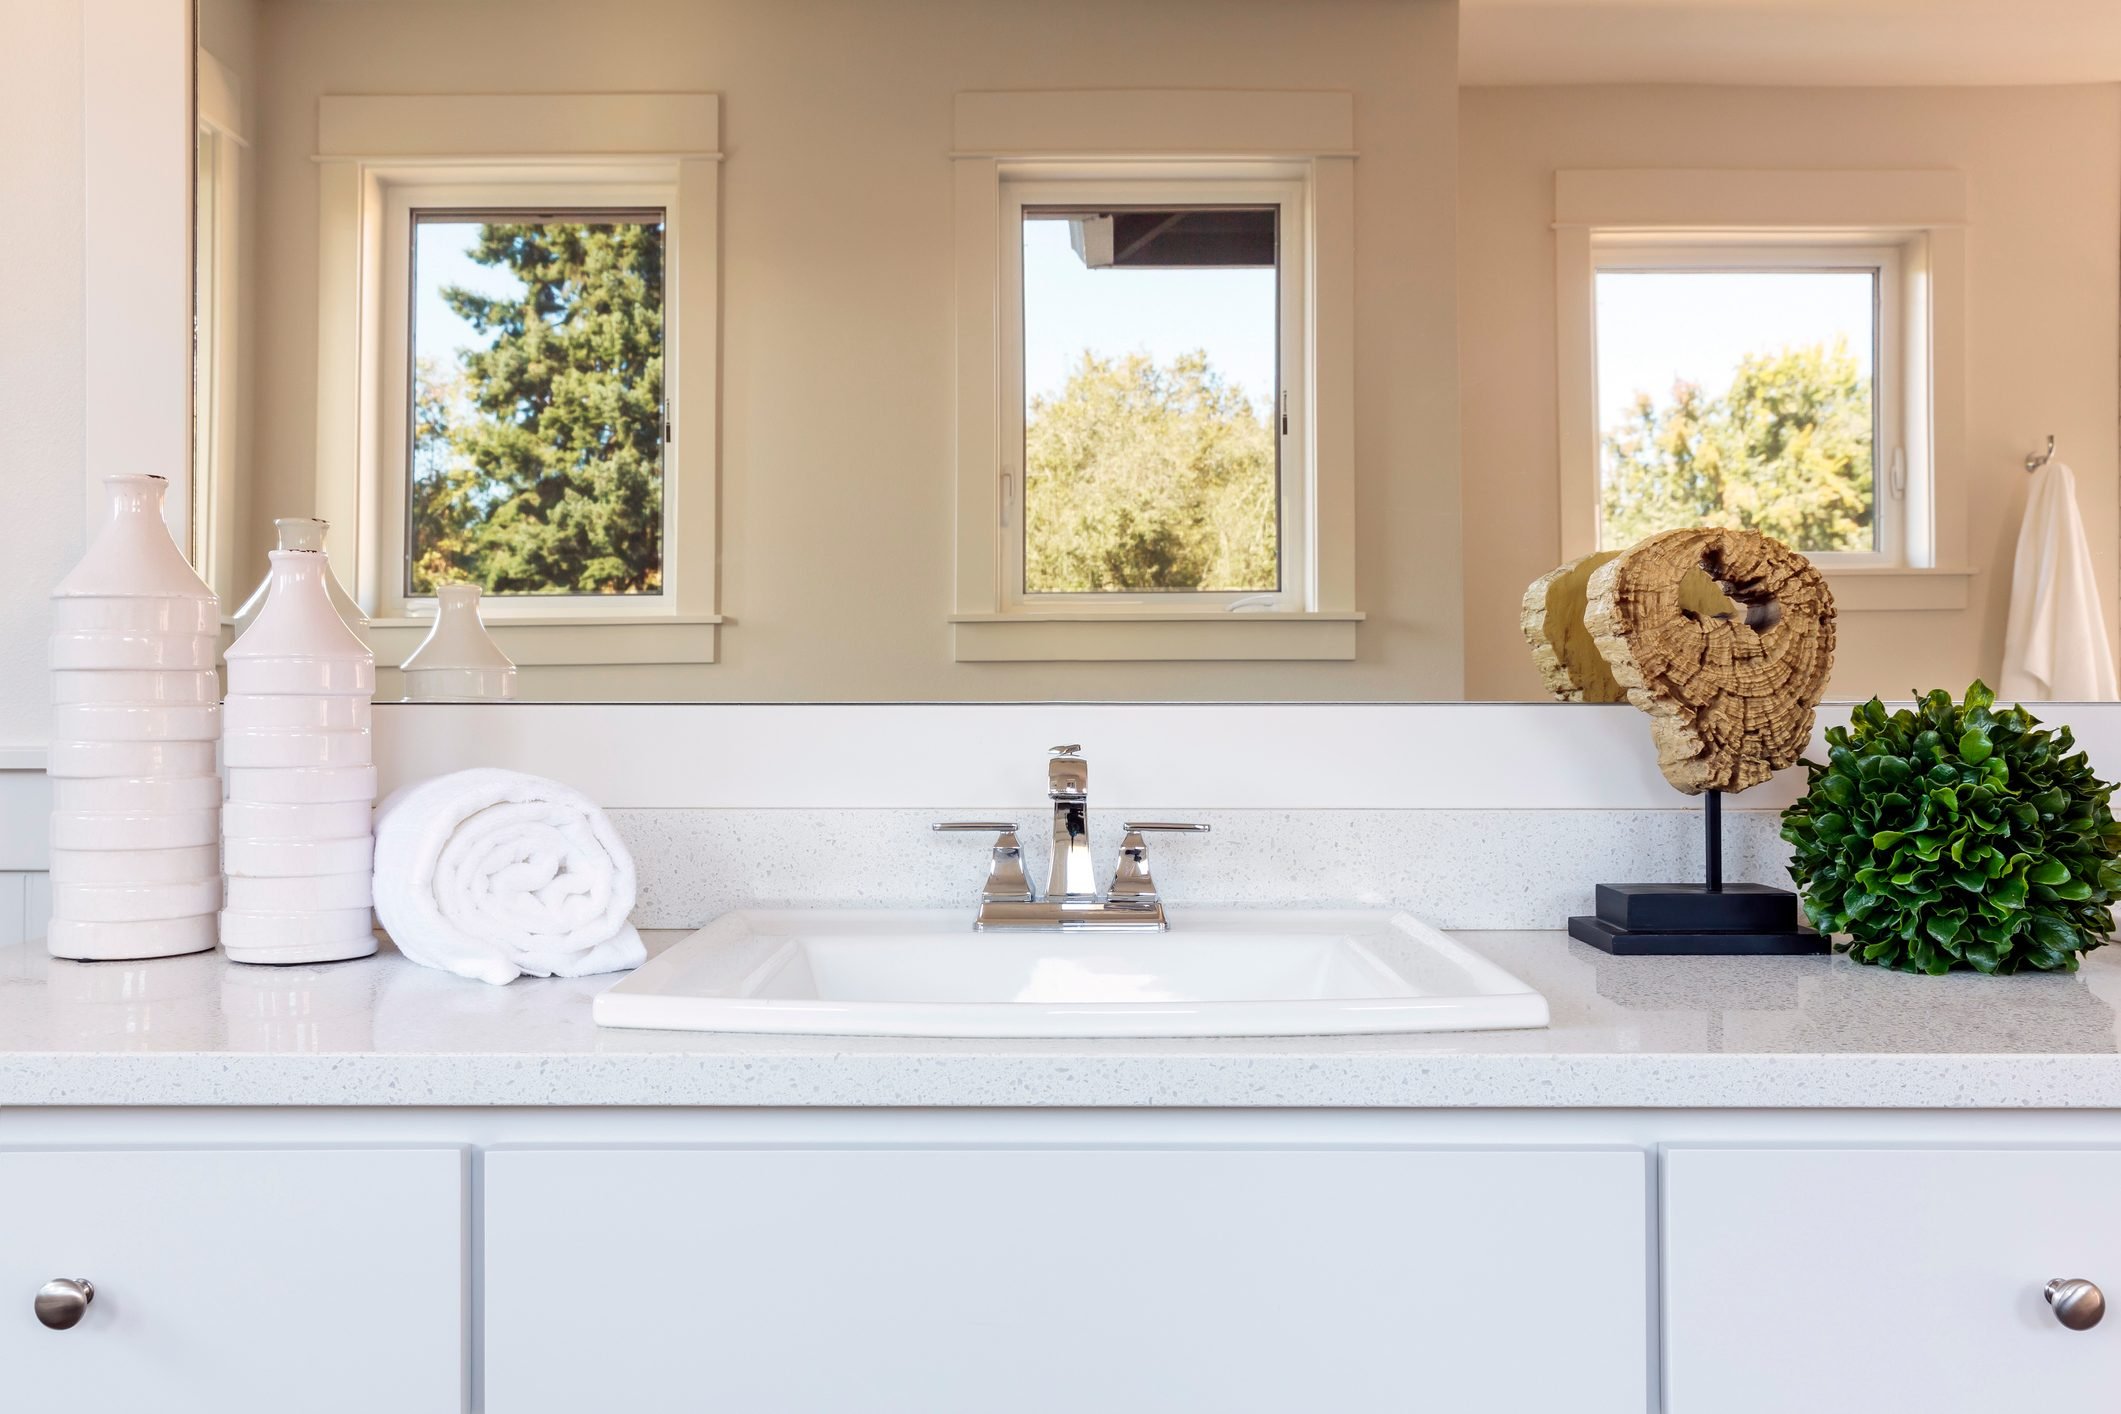
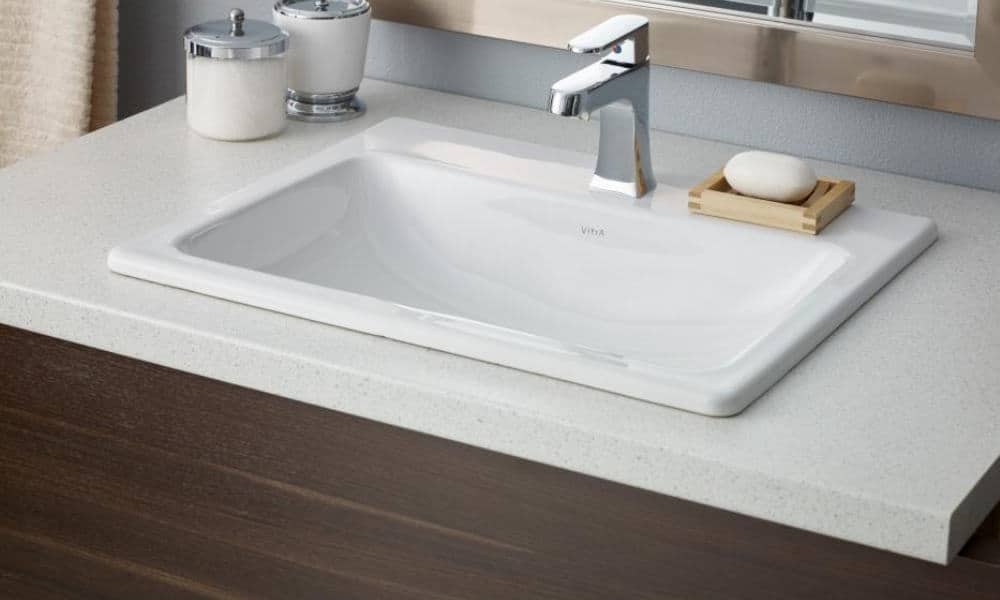
If you're tired of looking at the same old drop-in bathroom sink and want to give your bathroom a fresh new look, then replacing it is the way to go. It may seem like a daunting task, but with the right tools and a step-by-step guide, you can easily replace your old sink with a new one. Here's how:How to Replace a Drop-In Bathroom Sink
Step 1: Gather all the necessary tools and materials. This includes a new drop-in bathroom sink, a wrench, plumber's putty, silicone caulk, a putty knife, and a screwdriver. Step 2: Turn off the water supply to your sink. This can usually be done by turning off the valves under the sink or by turning off the main water supply to your house. Step 3: Disconnect the plumbing connections to your old sink. This includes the water supply lines, the drain pipe, and the P-trap. Use a wrench to loosen the connections and gently remove them. Step 4: Remove the old sink by unscrewing the mounting clips that hold it in place. Once the sink is free, carefully lift it out and set it aside.Replacing a Drop-In Bathroom Sink: A Step-by-Step Guide
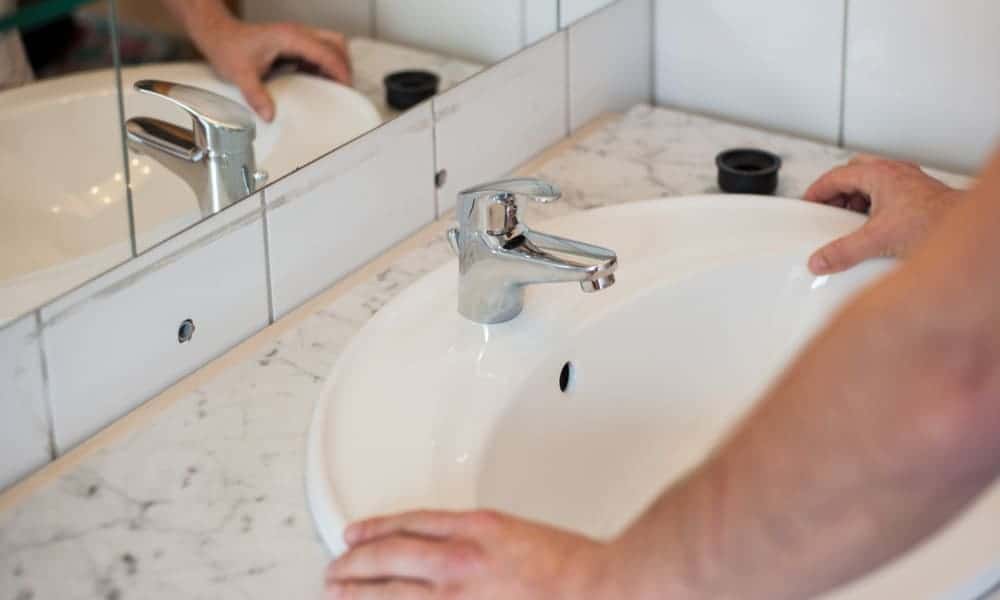
Step 5: Clean the area where the old sink was installed. Use a putty knife to remove any old caulk or plumber's putty. Make sure the area is clean and dry before proceeding. Step 6: Apply a thin layer of plumber's putty to the underside of the new sink's rim. This will help create a watertight seal when the sink is installed. Step 7: Carefully place the new sink into the opening in the countertop. Make sure it is level and centered before moving on. Step 8: Secure the sink in place by tightening the mounting clips. Use a screwdriver to tighten the clips evenly, making sure the sink is firmly in place.DIY: Replacing a Drop-In Bathroom Sink
Tip 1: Before installing the new sink, measure and mark the placement of the faucet and drain holes to ensure they line up with the existing plumbing. Tip 2: If your new sink comes with a template, use it to trace the exact shape and size of the opening onto the countertop. Tip 3: If the sink is not level, use shims to adjust it before tightening the mounting clips.Replacing a Drop-In Bathroom Sink: Tips and Tricks
Step 9: Reconnect the plumbing connections to the new sink. This includes the water supply lines, the drain pipe, and the P-trap. Make sure all connections are tight and secure. Step 10: Apply a bead of silicone caulk around the edge of the sink where it meets the countertop. This will help create a watertight seal and prevent any water from leaking underneath the sink. Step 11: Turn the water supply back on and check for any leaks. If everything looks good, you're all done!Step-by-Step Guide for Replacing a Drop-In Bathroom Sink
When choosing a new drop-in bathroom sink, make sure to consider the size and shape of your existing countertop opening. You want to make sure the new sink will fit properly without any major modifications. Also, pay attention to the style and finish of the sink to ensure it complements the overall design of your bathroom.Replacing a Drop-In Bathroom Sink: What You Need to Know
One common mistake when replacing a drop-in bathroom sink is not properly securing it in place. This can lead to leaks and an unstable sink. Make sure to evenly tighten the mounting clips to ensure a secure and level installation. Another mistake is forgetting to turn off the water supply before starting the project. This can lead to a big mess and potential damage to your plumbing.Replacing a Drop-In Bathroom Sink: Common Mistakes to Avoid
When choosing a new sink, consider the size, style, and finish that will work best for your bathroom. You also want to make sure the sink is durable and made of high-quality materials to ensure it will last for years to come.How to Choose the Right Drop-In Bathroom Sink for Replacement
-New drop-in bathroom sinkReplacing a Drop-In Bathroom Sink: Tools and Materials You'll Need
-Wrench
-Plumber's putty
-Silicone caulk
-Putty knife
-Screwdriver
Tip 1: If you're unsure about any step of the process, consult a professional plumber for assistance. Tip 2: Take your time and work carefully to avoid damaging your new sink or countertop. Tip 3: Don't forget to turn off the water supply before starting and to check for any leaks after installation. With this step-by-step guide and some helpful tips, replacing a drop-in bathroom sink can be a DIY project that will give your bathroom a fresh new look. So go ahead and take the plunge, your new sink is just a few simple steps away!Expert Tips for Replacing a Drop-In Bathroom Sink
Why Replacing a Drop-In Bathroom Sink is a Great Idea for Your House Design
The Importance of a Bathroom Sink
 Bathroom sinks are an essential element in any house design. They not only serve a functional purpose but also contribute to the overall aesthetics of the bathroom. A sink that is old, outdated, or damaged can greatly affect the appearance and functionality of your bathroom. That's why replacing a drop-in bathroom sink is a great idea to enhance your house design.
Benefits of Replacing a Drop-In Bathroom Sink
 1. Updated Look:
One of the main reasons to replace a drop-in bathroom sink is to update the look of your bathroom. With time, sinks can become outdated and make your bathroom look dull. By choosing a new sink, you can instantly give your bathroom a fresh and modern look.
2. More Space:
Drop-in bathroom sinks are designed to sit on top of the counter, taking up valuable countertop space. By replacing it with an undermount sink, you can free up more space on your counter for other bathroom essentials. This can greatly improve the functionality of your bathroom.
3. Easy Maintenance:
Old sinks can be difficult to clean and maintain, with rust and other damage making them prone to leaks and stains. By replacing your sink, you can choose a more durable and easy-to-clean option, making your bathroom maintenance much simpler.
4. Personalization:
By replacing your drop-in bathroom sink, you have the opportunity to choose a sink that reflects your personal style and complements the overall design of your bathroom. This can add a unique touch to your house design and make your bathroom stand out.
Considerations for Replacing a Drop-In Bathroom Sink
 1. Size and Shape:
When replacing a drop-in bathroom sink, it's important to consider the size and shape of the new sink. Make sure it fits perfectly on your countertop and doesn't disrupt the flow of your bathroom design.
2. Material:
There are various materials to choose from when it comes to bathroom sinks, such as porcelain, ceramic, and marble. Consider the durability, maintenance, and aesthetic appeal of each material before making your decision.
3. Professional Installation:
While replacing a drop-in bathroom sink may seem like a simple task, it's best to leave it to the professionals. They have the necessary skills and tools to ensure a proper and secure installation, avoiding any potential damage to your countertop or plumbing.
In Conclusion
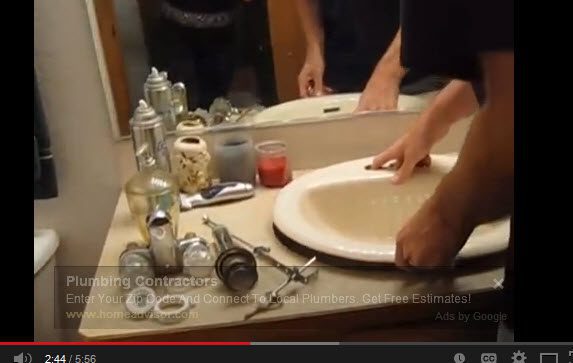 In conclusion, replacing a drop-in bathroom sink is a great idea for your house design. Not only does it improve the overall look of your bathroom, but it also offers practical benefits such as more space, easy maintenance, and personalization. Just make sure to carefully consider the size, shape, and material of your new sink, and leave the installation to the professionals for a hassle-free experience.


