Bathroom sink drain flanges may seem like a small and insignificant part of your plumbing system, but they play a crucial role in keeping your sink functioning properly. Over time, these flanges can become worn out or damaged, leading to leaks and other issues. If you're experiencing problems with your sink, it may be time to replace the drain flange. Here's a step-by-step guide on how to do it yourself.How to Replace a Bathroom Sink Drain Flange


How to Replace a Bathroom Sink Drain Flange


The first step in replacing a bathroom sink drain flange is to turn off the water supply to your sink. This can usually be done by turning the shut-off valves under the sink clockwise. Next, you'll need to remove the sink stopper and any other pieces of the drain assembly that may be in the way.Replacing a Bathroom Sink Drain Flange: A Step-by-Step Guide


Replacing a Bathroom Sink Drain Flange: A Step-by-Step Guide

With the drain assembly out of the way, you can now access the drain flange. Using a pair of pliers, unscrew the locknut holding the flange in place. This can sometimes be tricky, so be patient and use a bit of force if needed. Once the locknut is removed, you can pull out the old flange along with the rubber gasket and plumber's putty.DIY Bathroom Sink Drain Flange Replacement
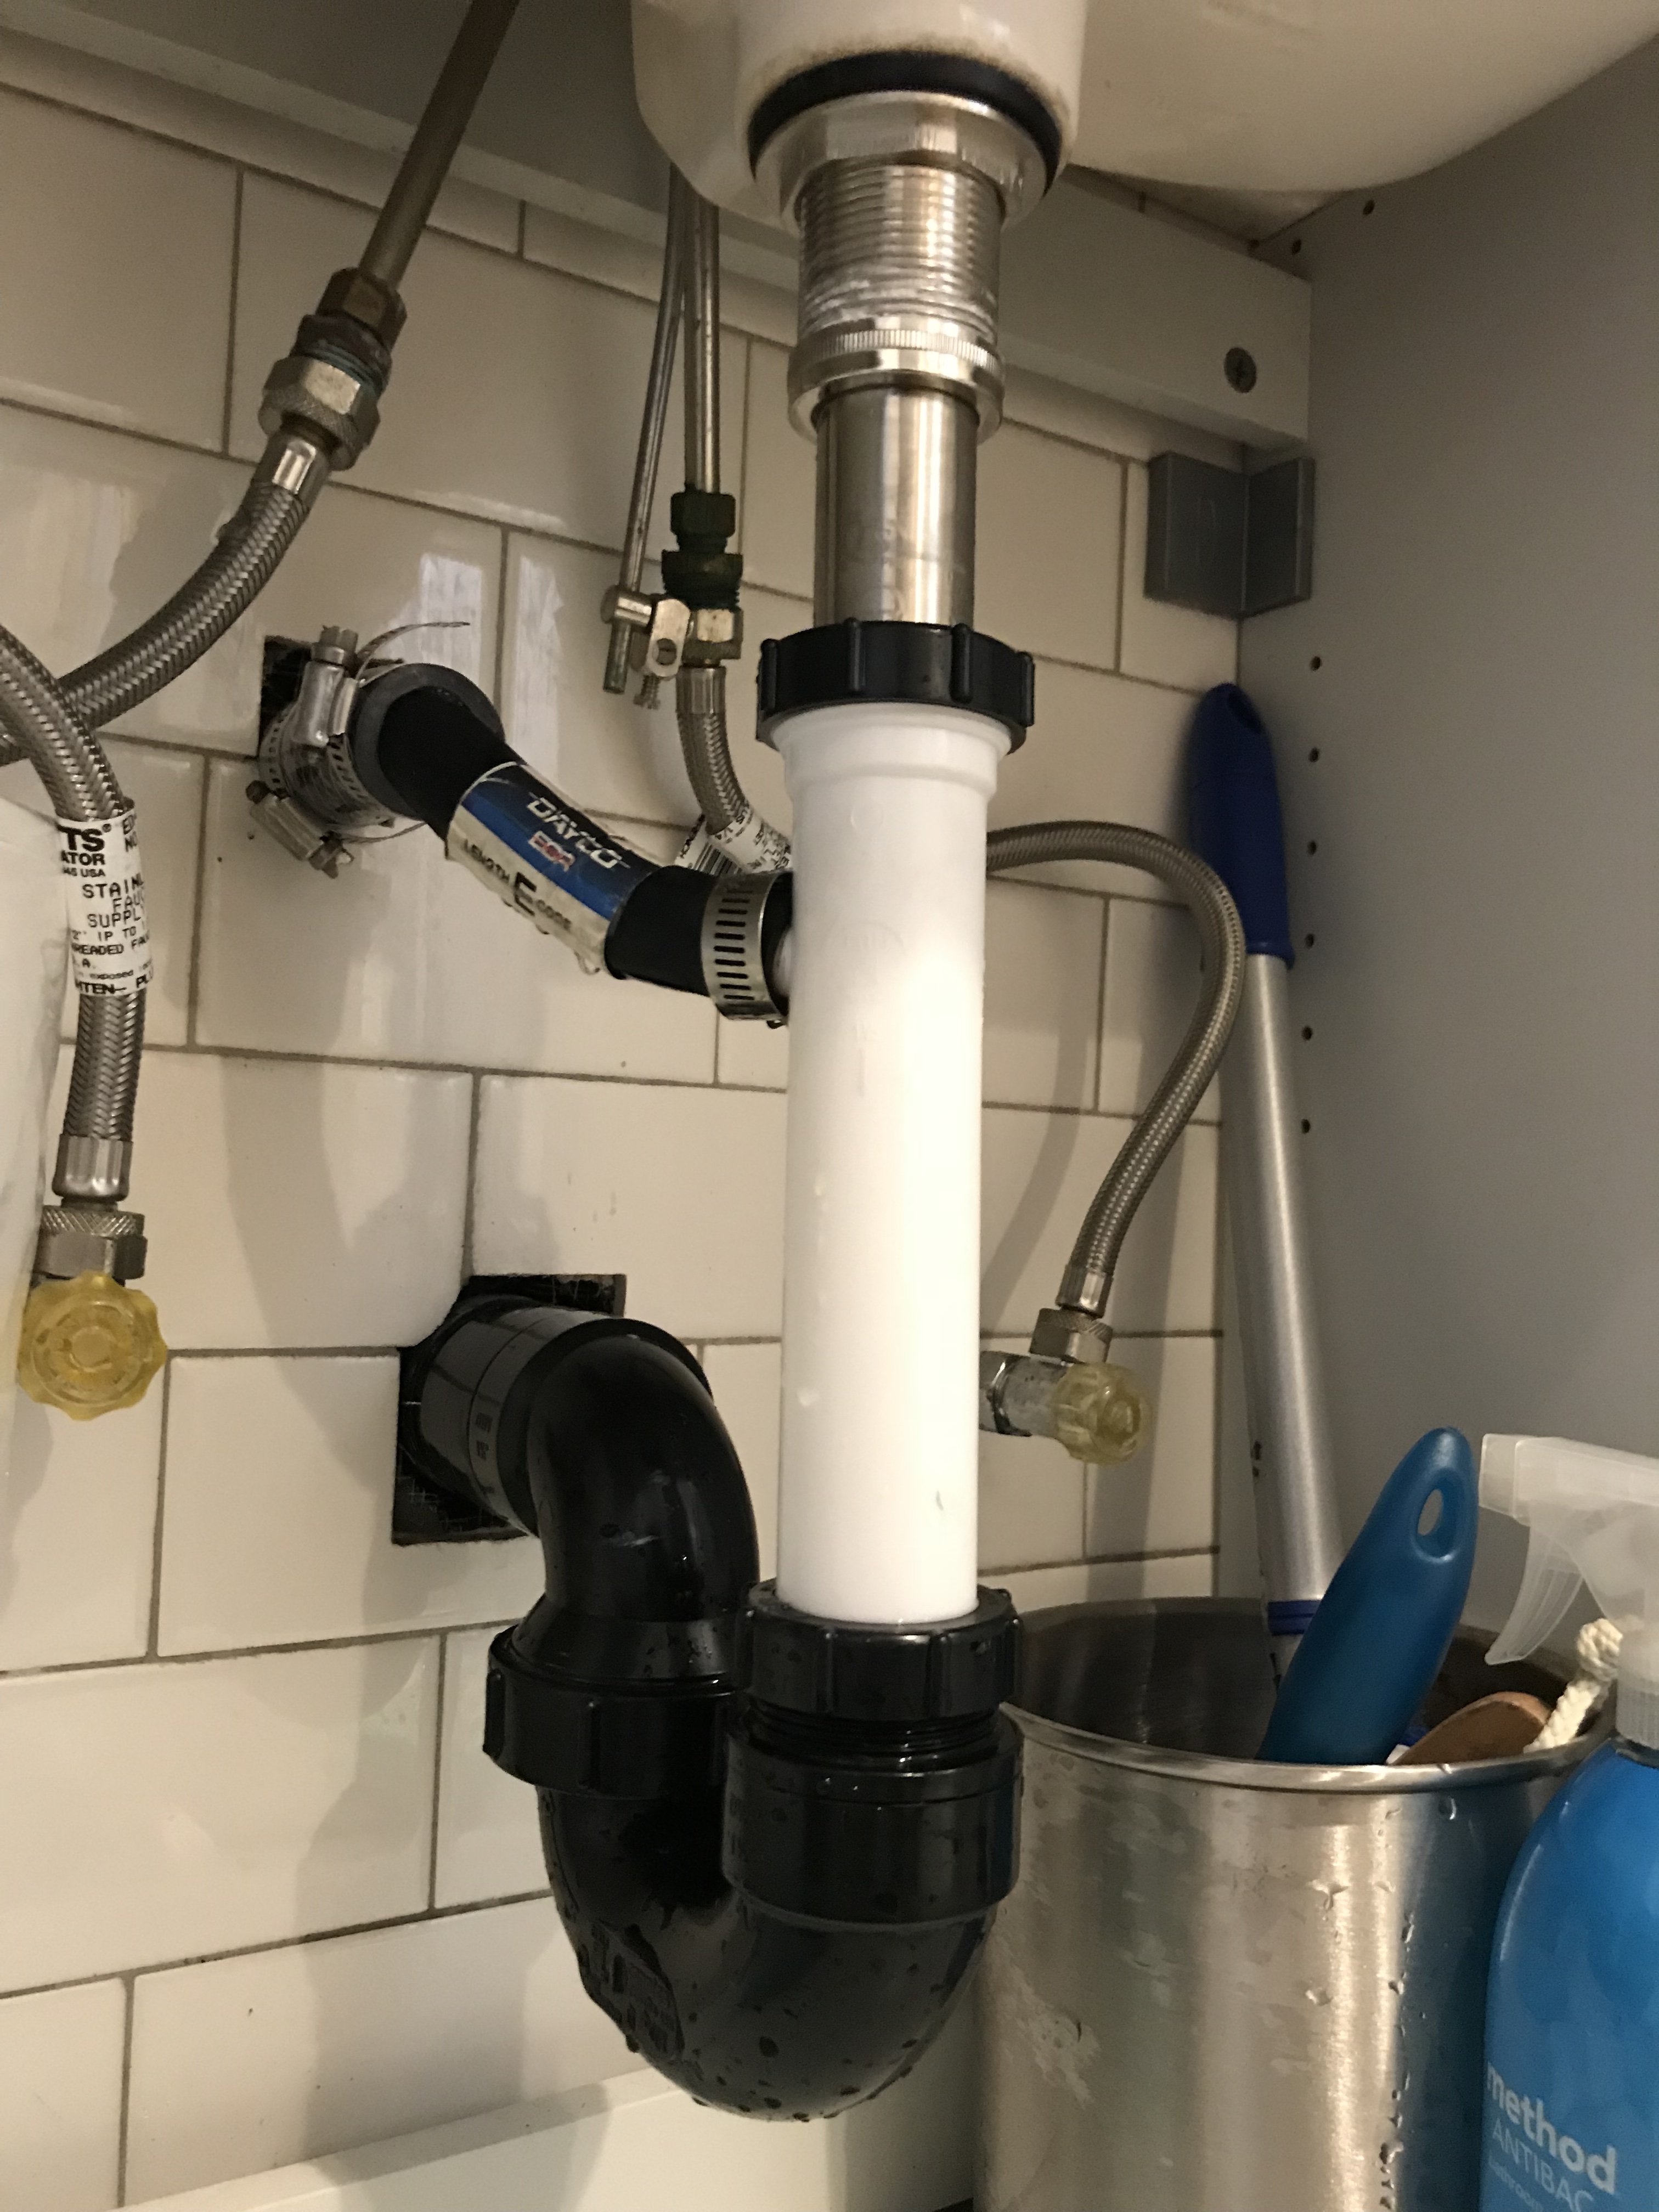


DIY Bathroom Sink Drain Flange Replacement


Before installing the new flange, it's important to clean the area thoroughly. Use a rag and some mild soap to remove any residue or buildup. You can also use a scraper to gently scrape away any old plumber's putty that may still be stuck to the sink.Replacing a Bathroom Sink Drain Flange: Tips and Tricks


Replacing a Bathroom Sink Drain Flange: Tips and Tricks

Replacing a worn out or damaged drain flange is crucial for maintaining the functionality of your bathroom sink. If left unchecked, a faulty flange can lead to leaks and other issues that can cause damage to your sink and surrounding areas.The Importance of Replacing a Bathroom Sink Drain Flange


The Importance of Replacing a Bathroom Sink Drain Flange

One common mistake when replacing a drain flange is using too much plumber's putty. This can cause excess putty to squeeze out and create a messy and ineffective seal. Another mistake is not tightening the locknut enough, which can result in leaks and a loose flange.Common Mistakes to Avoid When Replacing a Bathroom Sink Drain Flange


Common Mistakes to Avoid When Replacing a Bathroom Sink Drain Flange


:max_bytes(150000):strip_icc()/bathroom-sink-drain-installation-2718843-02-61e5ecbee1e949be8d8f45ac4f5a6797.jpg)
To replace a bathroom sink drain flange, you'll need a pair of pliers, a putty knife, a scraper, mild soap, and plumber's putty. You may also need a drain flange kit, which can be purchased at most hardware stores.Tools and Materials Needed for Replacing a Bathroom Sink Drain Flange

Tools and Materials Needed for Replacing a Bathroom Sink Drain Flange
If your drain flange is stuck and won't budge, you can try using a heat gun to loosen it. Apply heat to the locknut for a few minutes, and then try unscrewing it again using pliers. You can also try using a penetrating oil to help loosen the locknut.How to Remove a Stuck Bathroom Sink Drain Flange


How to Remove a Stuck Bathroom Sink Drain Flange
While replacing a bathroom sink drain flange can be done by a homeowner, it may be a better idea to hire a professional plumber. They have the experience and tools necessary to ensure the job is done correctly and without any complications.Replacing a Bathroom Sink Drain Flange: Professional vs. DIY


Replacing a Bathroom Sink Drain Flange: Professional vs. DIY
If you encounter any issues when replacing your drain flange, such as leaks or a loose flange, it's important to troubleshoot the problem. Make sure the locknut is tightened properly and that there is not too much or too little plumber's putty. If the issue persists, it may be best to consult a professional plumber.Troubleshooting Common Issues When Replacing a Bathroom Sink Drain Flange


Troubleshooting Common Issues When Replacing a Bathroom Sink Drain Flange
Replacing a Bathroom Sink Drain Flange: A Step-by-Step Guide

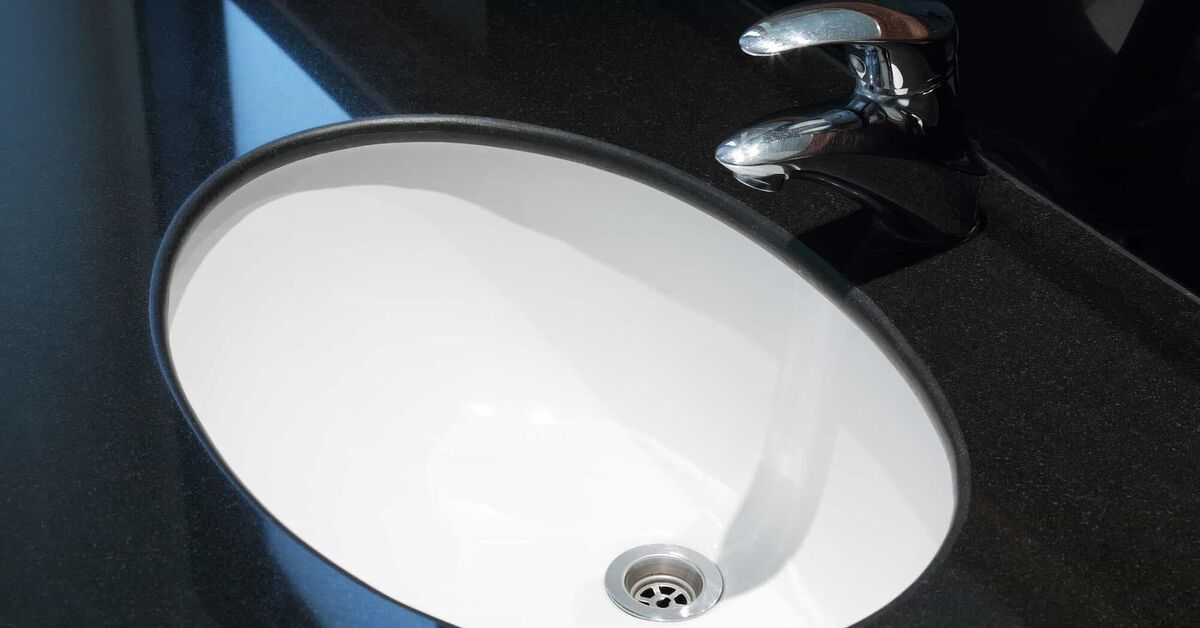
Why Replace Your Bathroom Sink Drain Flange?
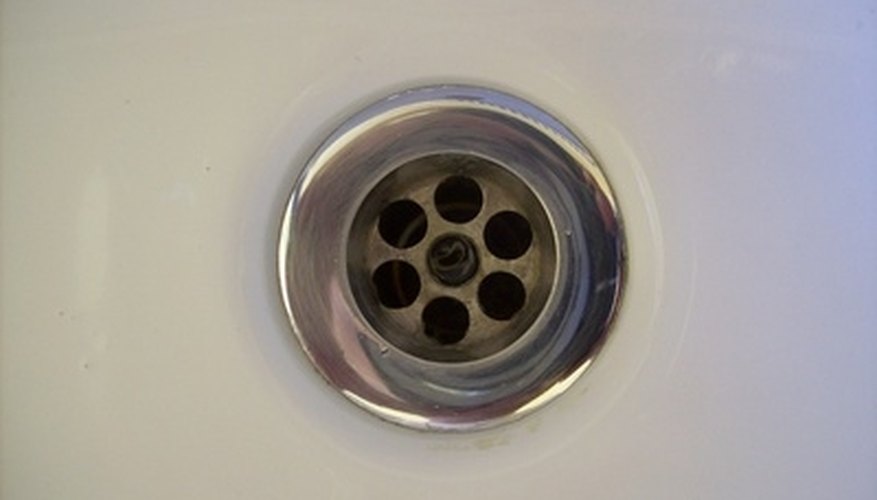
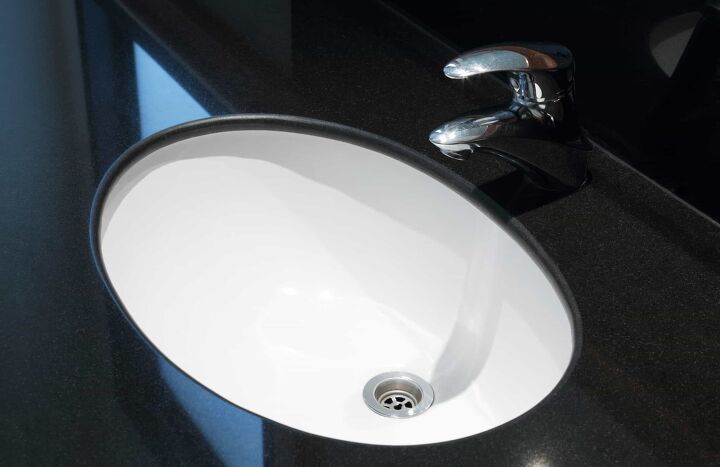
 The bathroom sink drain flange is an essential component of the sink that connects the drain to the rest of the plumbing system. Over time, it can become damaged or worn out, causing leaks and unpleasant odors. In some cases, the flange may also be outdated and not compatible with modern sink designs. Whatever the reason may be, replacing your bathroom sink drain flange is a simple and cost-effective solution that can improve the functionality and aesthetic of your bathroom.
Tools and Materials Needed
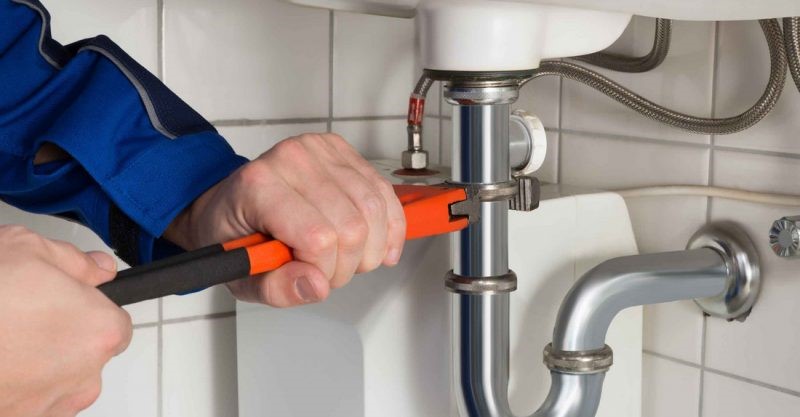
 Before beginning the replacement process, make sure you have the necessary tools and materials on hand. These include a wrench, pliers, plumber's putty, a new drain flange, and a drain assembly kit. It's also a good idea to have some rags or towels nearby to clean up any water spills during the process.
Step 1: Prepare the Sink Area
 Start by clearing out the area under the sink and removing any items that may be in the way. This will give you better access to the drain and make the replacement process easier. Next, turn off the water supply to the sink by shutting off the valves located under the sink. This will prevent any water from flowing out while you're working.
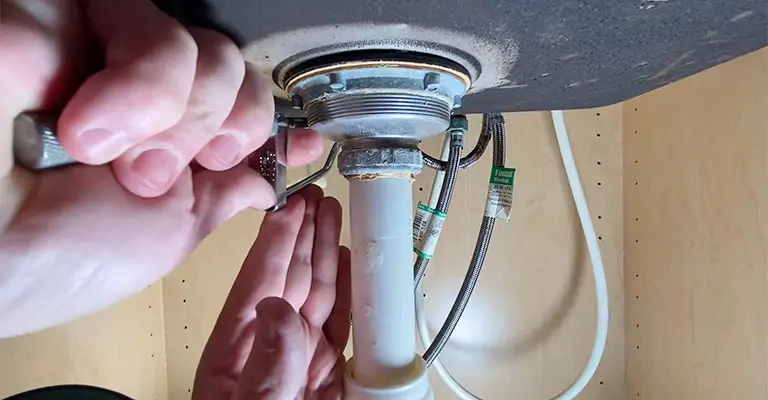
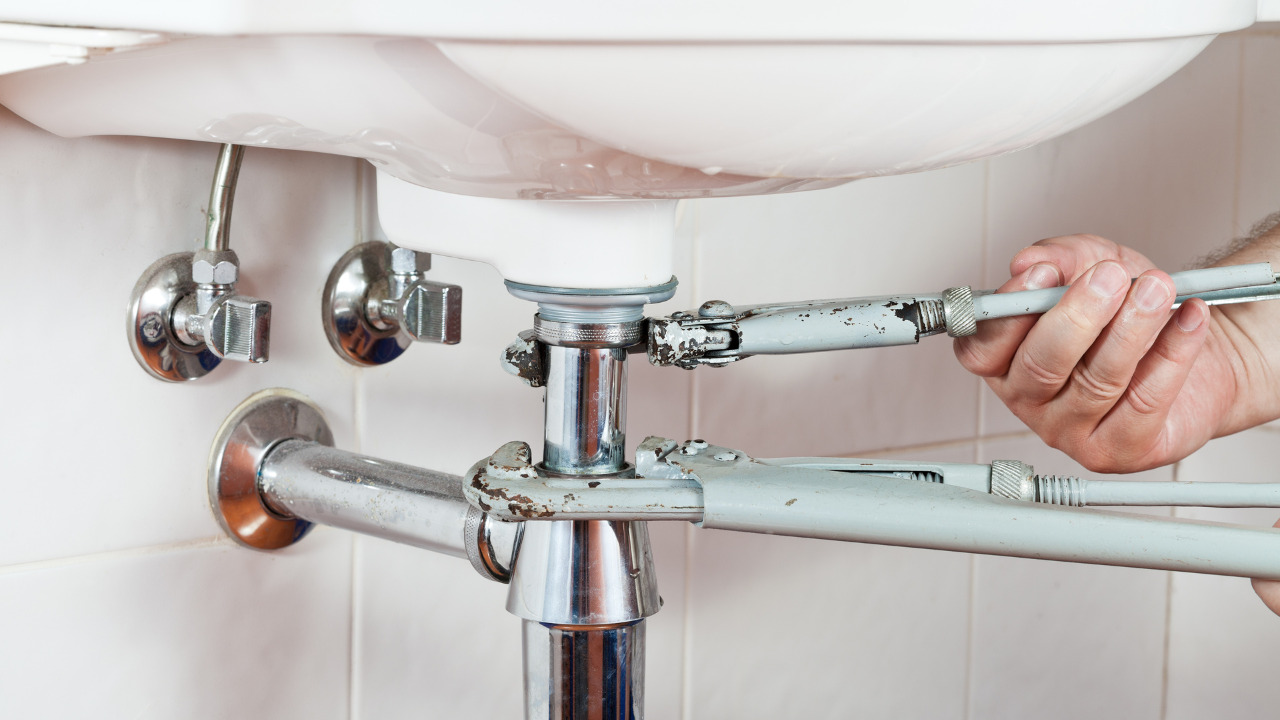
Step 2: Remove the Old Flange
 Using a wrench, loosen and remove the lock nut that secures the drain assembly in place. Once the nut is removed, you should be able to pull out the drain flange from the top of the sink. If it's stuck, you may need to use pliers to twist and loosen it. Once the old flange is removed, clean the area thoroughly to remove any residue or old putty.
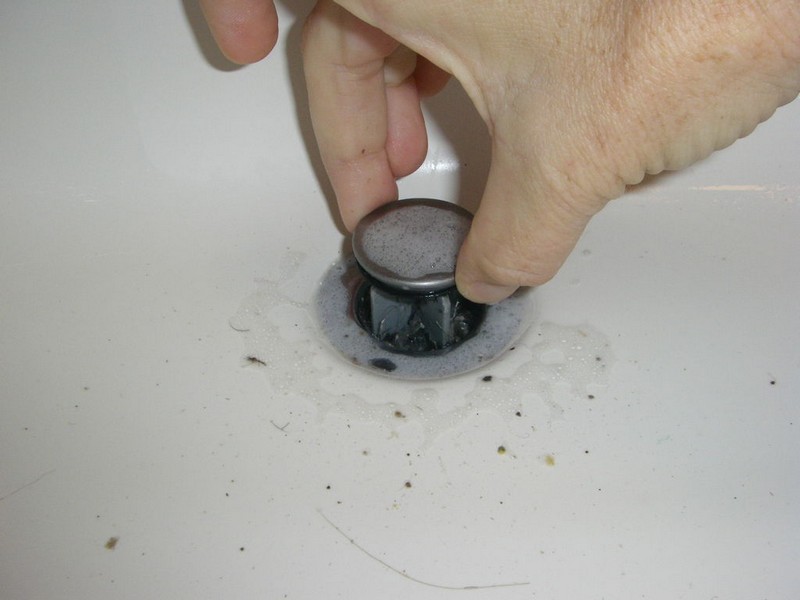
Step 3: Install the New Flange
 Take your new drain flange and apply a thin layer of plumber's putty around the underside of the flange. Then, insert the flange into the drain hole and press down firmly to create a tight seal. From underneath the sink, screw the lock nut back onto the flange to secure it in place.
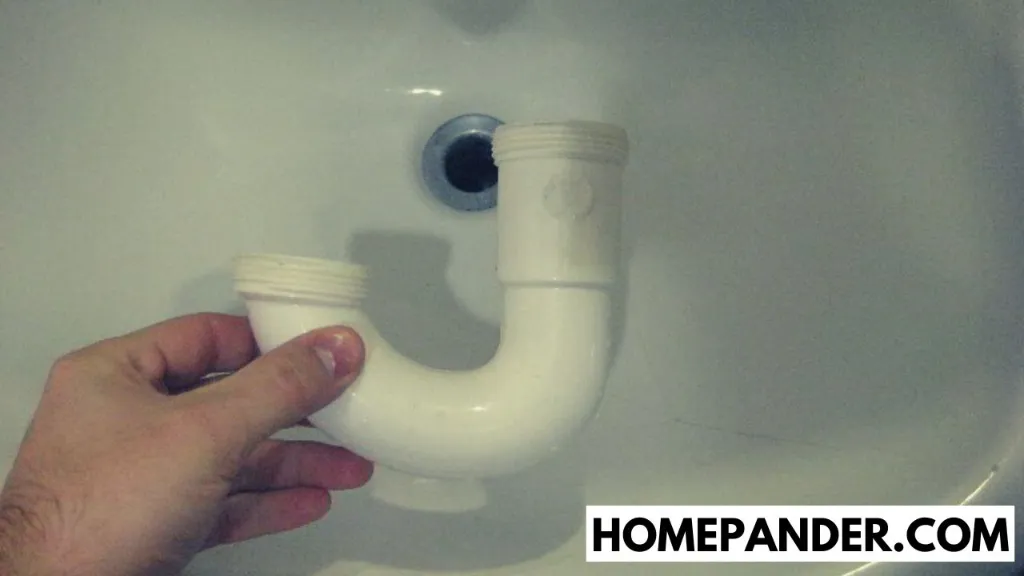
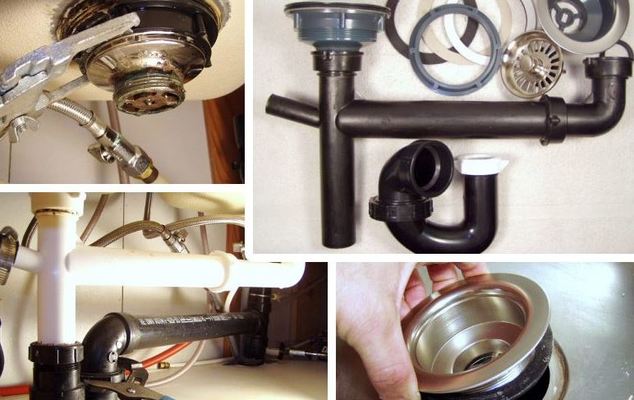
Step 4: Install the Drain Assembly
 Now it's time to install the drain assembly kit. This will include a new drain pipe, gaskets, and any necessary fittings. Follow the manufacturer's instructions to properly install the new assembly. Once it's in place, turn on the water supply to test for any leaks. If everything looks good, you're all set!
By following these simple steps, you can easily replace a worn out or outdated bathroom sink drain flange and improve the overall function and appearance of your bathroom sink.
Don't let a faulty flange cause you headaches and unnecessary expenses. With just a few tools and a little bit of time, you can have a brand new, leak-free drain in no time. So go ahead and take on this DIY project and give your bathroom sink the upgrade it deserves.
Now it's time to install the drain assembly kit. This will include a new drain pipe, gaskets, and any necessary fittings. Follow the manufacturer's instructions to properly install the new assembly. Once it's in place, turn on the water supply to test for any leaks. If everything looks good, you're all set!
By following these simple steps, you can easily replace a worn out or outdated bathroom sink drain flange and improve the overall function and appearance of your bathroom sink.
Don't let a faulty flange cause you headaches and unnecessary expenses. With just a few tools and a little bit of time, you can have a brand new, leak-free drain in no time. So go ahead and take on this DIY project and give your bathroom sink the upgrade it deserves.