How to Replace Silicone Around a Kitchen Sink
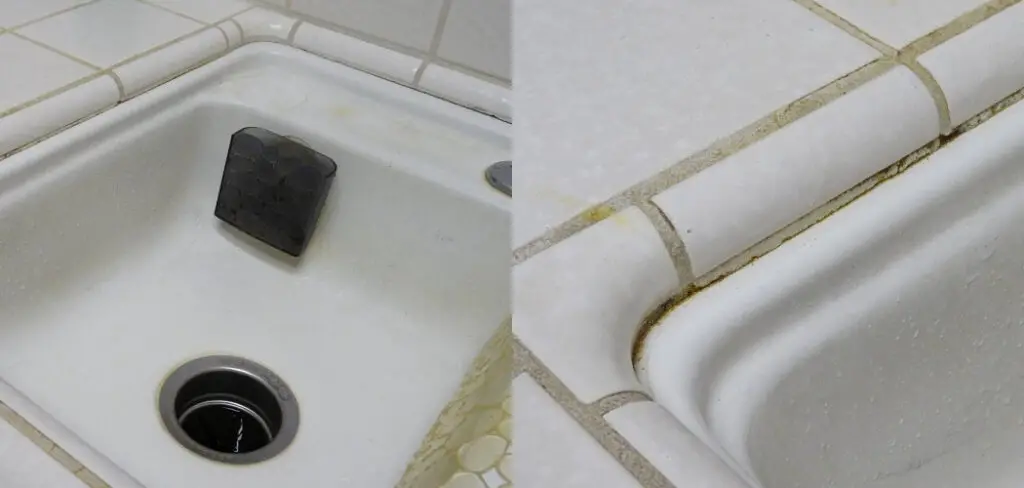
If you've noticed that the silicone around your kitchen sink is starting to crack or become discolored, it's time to replace it. Silicone is a type of sealant that helps to keep water from leaking around your sink, and over time, it can wear out and need to be replaced. Luckily, replacing silicone around a kitchen sink is a relatively simple DIY task that can be completed in just a few easy steps. In this guide, we'll walk you through the process of replacing silicone around a kitchen sink so you can have a leak-free and clean-looking sink in no time.
How to Remove and Replace Old Silicone Around a Kitchen Sink
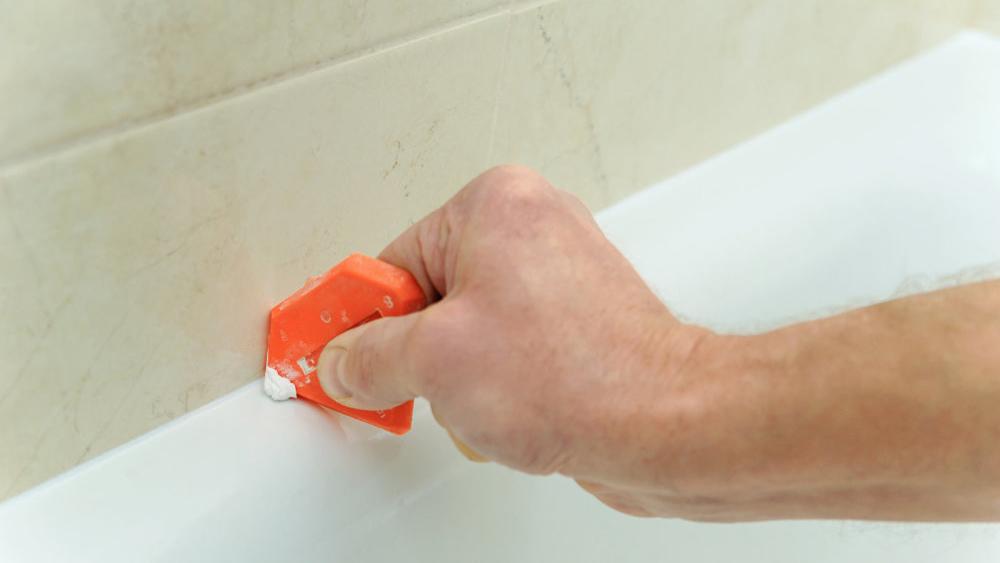
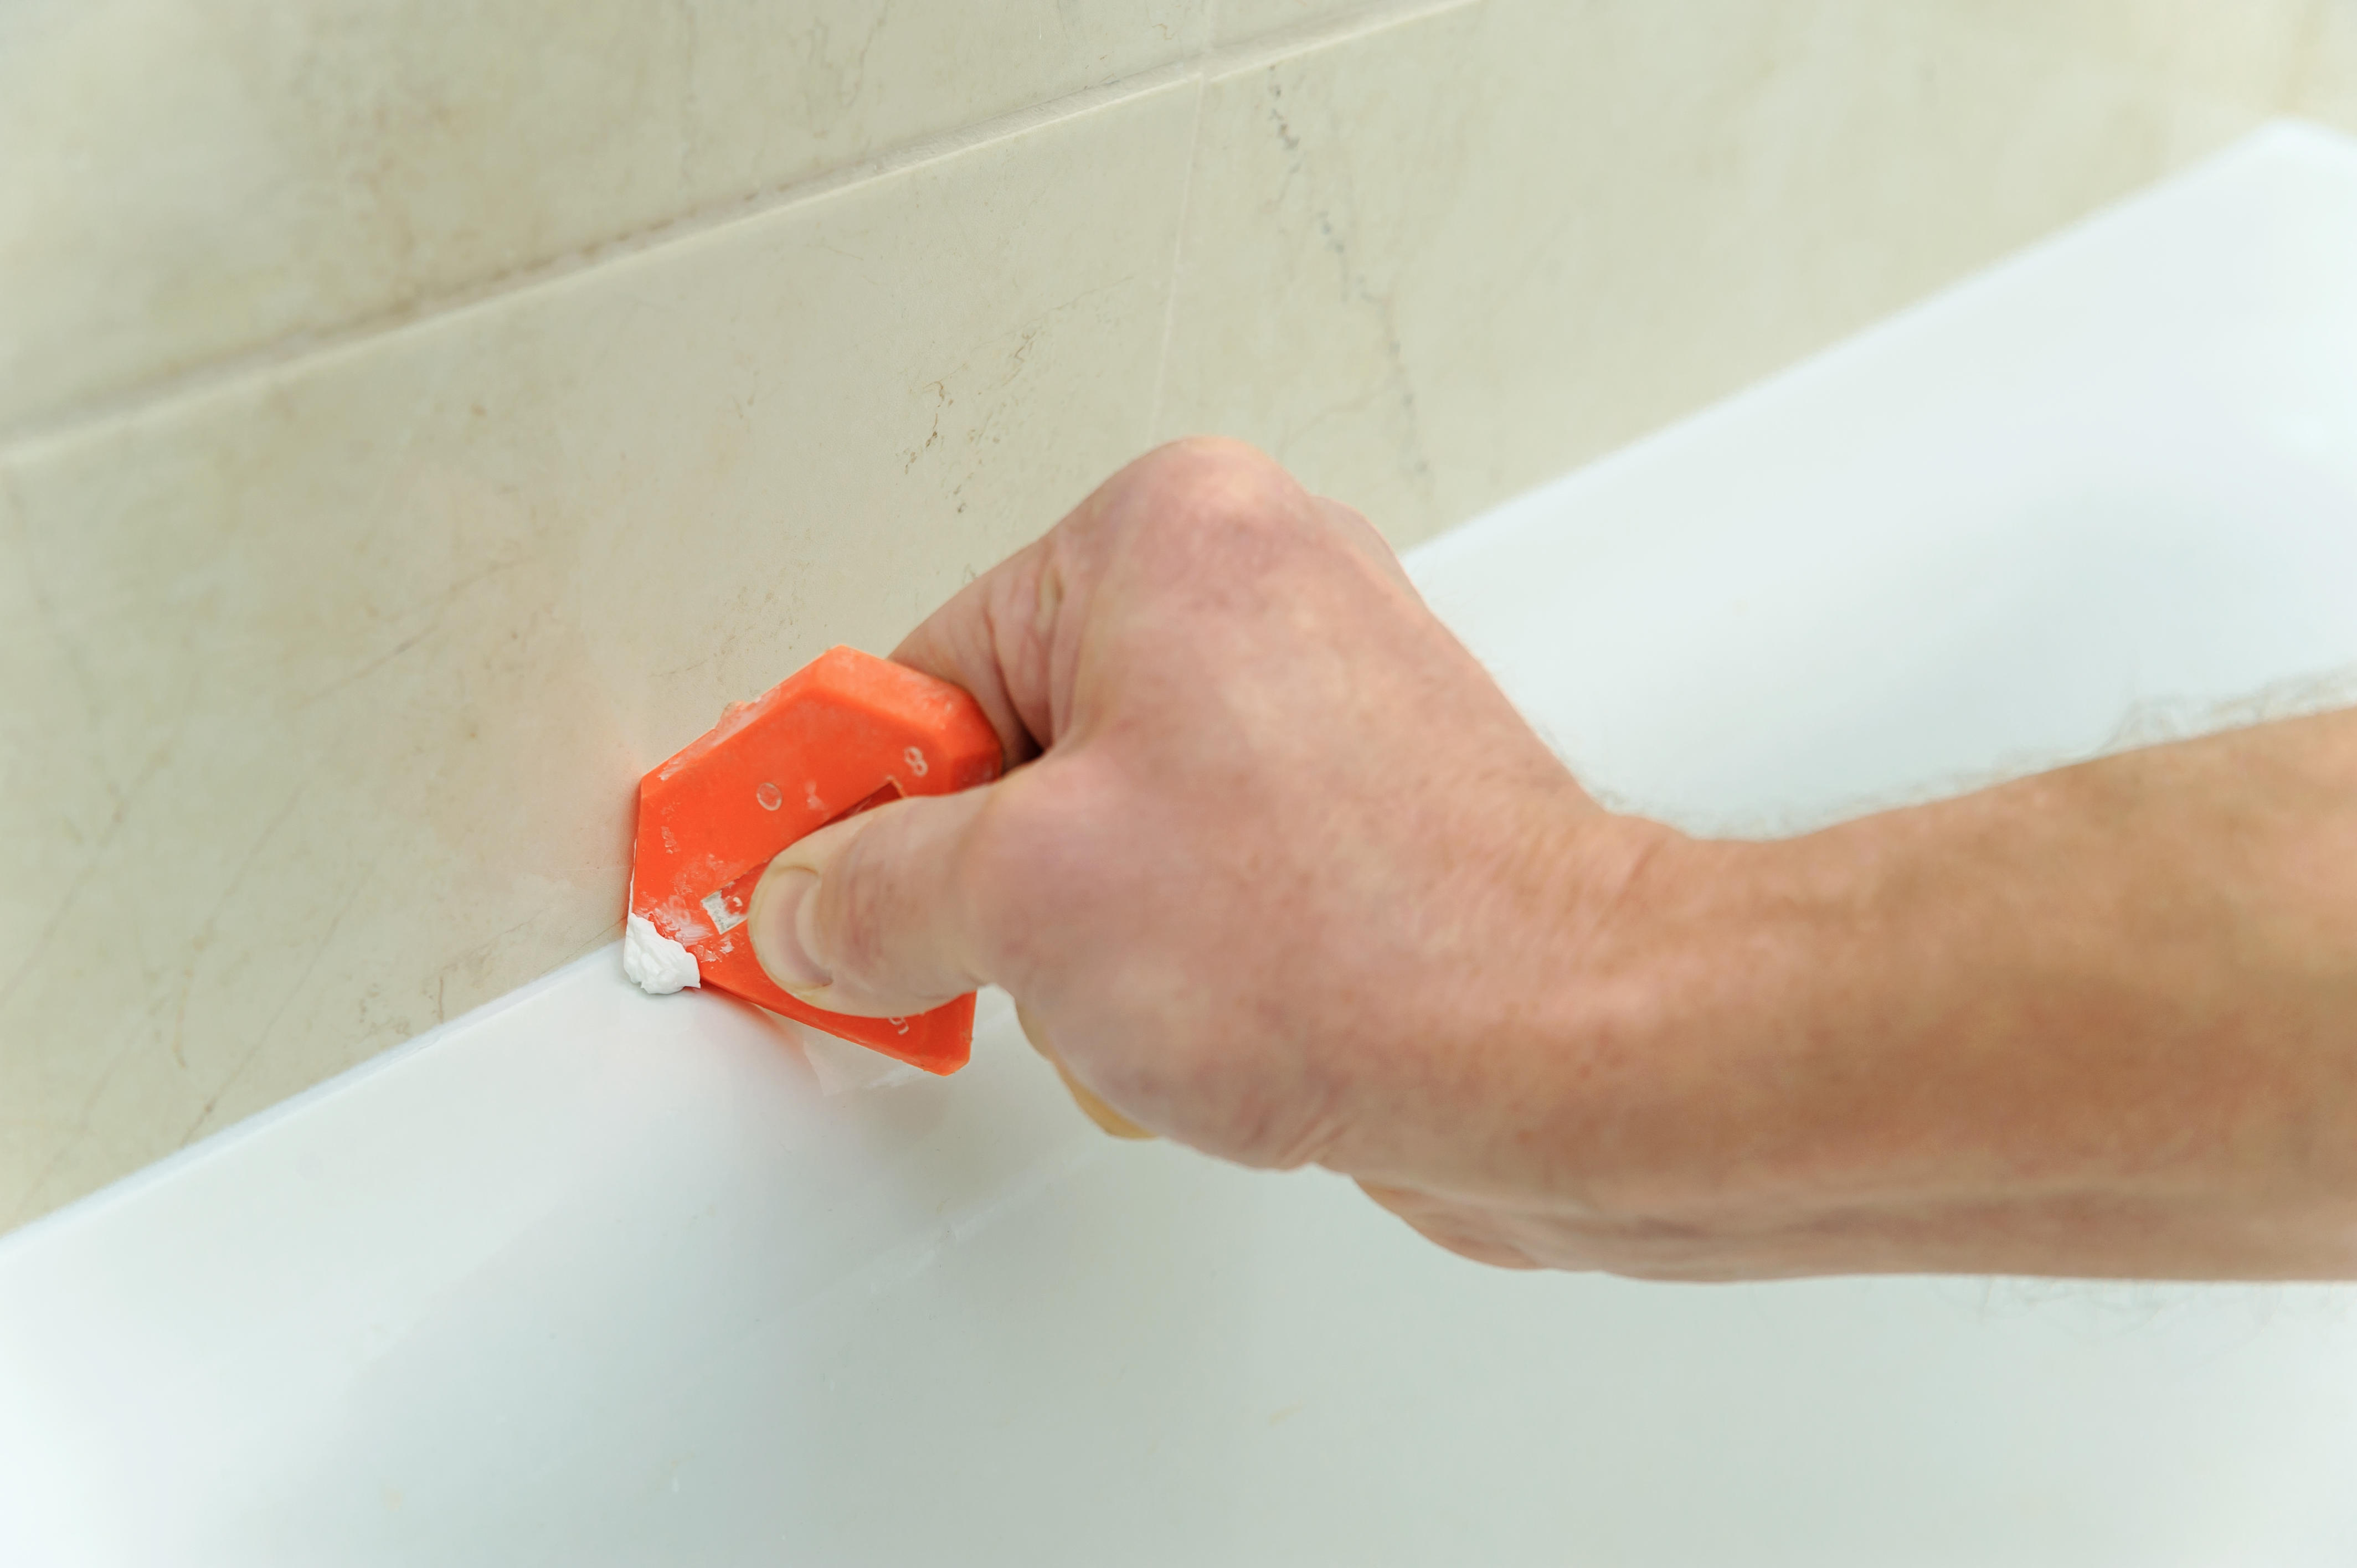
The first step in replacing silicone around a kitchen sink is to remove the old silicone. This can be a bit tedious, but it's important to make sure you completely remove all of the old sealant before applying the new one. Start by using a razor blade or scraper to carefully scrape away the old silicone. You may also need to use a caulk remover solution to soften and loosen the old sealant. Once all of the old silicone is removed, use a clean rag and some rubbing alcohol to thoroughly clean the area where the new silicone will be applied.
Replacing Silicone Caulk Around a Kitchen Sink
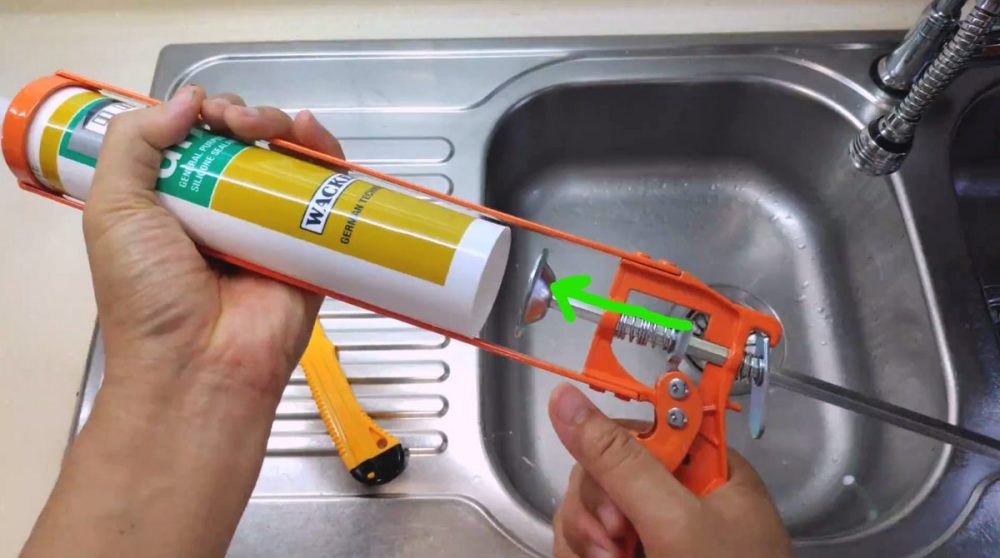
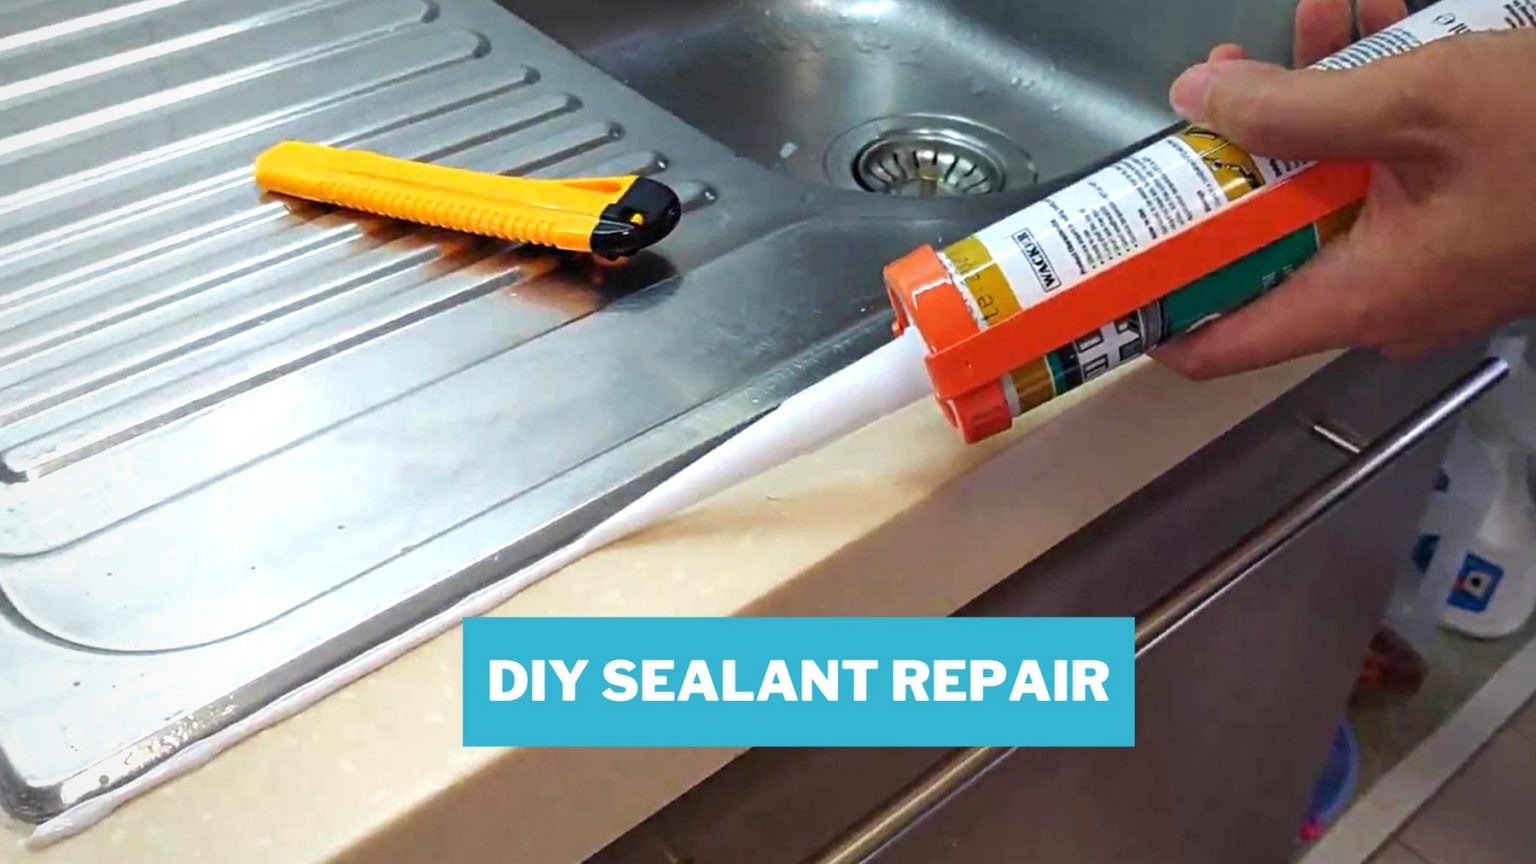
Next, it's time to apply the new silicone caulk around your kitchen sink. You'll want to choose a high-quality silicone caulk that is specifically designed for use in kitchens and bathrooms. This type of caulk is waterproof and mold-resistant, making it perfect for use around sinks. Using a caulk gun, carefully apply a thin, even line of caulk around the edge of your sink. Use your finger or a caulk smoothing tool to smooth out the caulk and create a clean, even line. Make sure to work quickly as silicone caulk dries fairly fast.
DIY: Replacing Silicone Around a Kitchen Sink
Replacing silicone around a kitchen sink is a great DIY project for those with some basic home improvement skills. Not only will it save you money on hiring a professional, but it's also a relatively quick and easy task. Just make sure to follow the steps carefully and take your time to ensure a proper seal. If you have any doubts or concerns, don't hesitate to reach out to a professional for assistance.
Step-by-Step Guide to Replacing Silicone Around a Kitchen Sink
For those who prefer a more detailed guide, here is a step-by-step breakdown of how to replace silicone around a kitchen sink:
Step 1: Remove the old silicone using a razor blade or scraper.
Step 2: Clean the area with rubbing alcohol.
Step 3: Choose a high-quality silicone caulk designed for use in kitchens and bathrooms.
Step 4: Apply a thin, even line of caulk around the edge of the sink using a caulk gun.
Step 5: Smooth out the caulk using your finger or a caulk smoothing tool.
Step 6: Allow the caulk to dry according to the manufacturer's instructions before using the sink or getting it wet.
Best Practices for Replacing Silicone Around a Kitchen Sink
While replacing silicone around a kitchen sink is a fairly simple task, there are a few best practices to keep in mind to ensure a successful and long-lasting seal:
Use the right caulk: Make sure to choose a high-quality silicone caulk specifically designed for use in kitchens and bathrooms.
Remove all of the old silicone: It's important to completely remove all of the old sealant before applying the new one to ensure a proper seal.
Allow the caulk to dry completely: Don't use the sink or get it wet until the caulk has dried completely according to the manufacturer's instructions.
Check for leaks regularly: After replacing the silicone, keep an eye out for any potential leaks and reapply caulk if necessary.
Replacing Silicone Sealant Around a Kitchen Sink
Silicone sealant is a type of adhesive that is commonly used around sinks to create a waterproof seal. Over time, it can become cracked or discolored and need to be replaced. To replace silicone sealant around a kitchen sink, follow the same steps outlined above for replacing silicone caulk. Just be sure to use a silicone sealant instead of caulk.
Tips for Replacing Silicone Around a Kitchen Sink
Here are a few additional tips to keep in mind when replacing silicone around a kitchen sink:
Be patient: Removing the old silicone and applying the new one can be a bit time-consuming, so be patient and take your time to ensure a proper seal.
Wear gloves: Silicone caulk can be messy and difficult to clean off your hands, so it's a good idea to wear gloves while working with it.
Use a caulk smoothing tool: A caulk smoothing tool can help create a clean and even line of caulk around your sink.
How to Properly Apply New Silicone Around a Kitchen Sink
When applying new silicone around a kitchen sink, it's important to follow a few key steps to ensure a proper and long-lasting seal. These include:
Clean the area: Before applying the new silicone, make sure to thoroughly clean the area with rubbing alcohol to remove any residue or dirt.
Apply a thin, even line: It's important to apply a thin and even line of silicone to avoid any excess that can create a messy and ineffective seal.
Smooth out the caulk: Use your finger or a caulk smoothing tool to smooth out the caulk and create a clean, even line.
Replacing Cracked or Moldy Silicone Around a Kitchen Sink
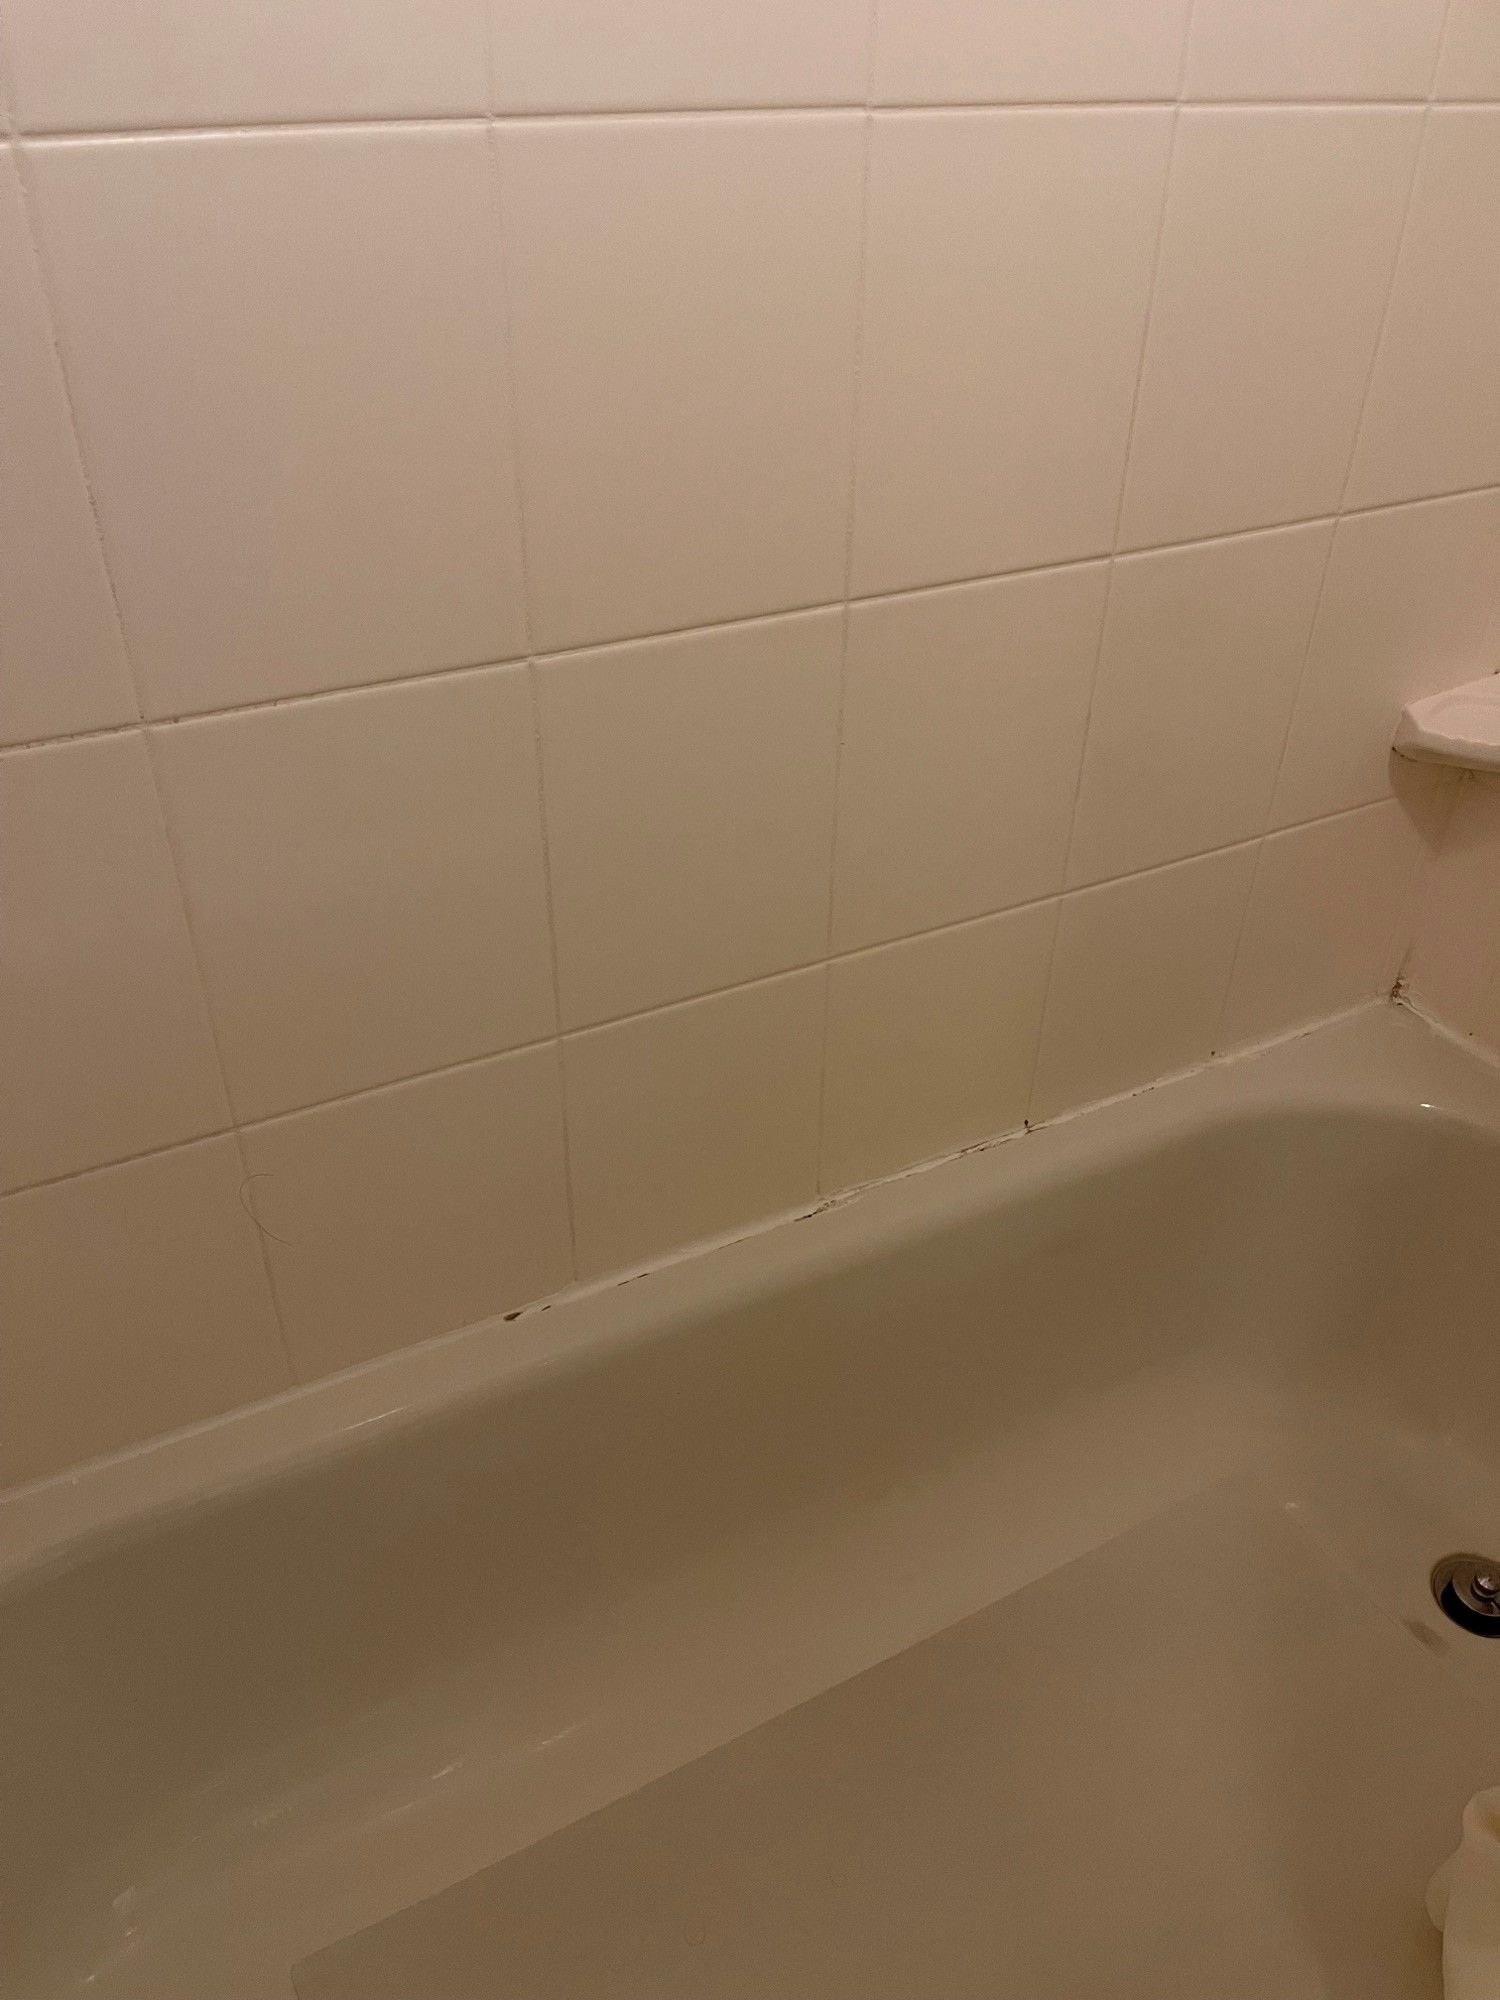
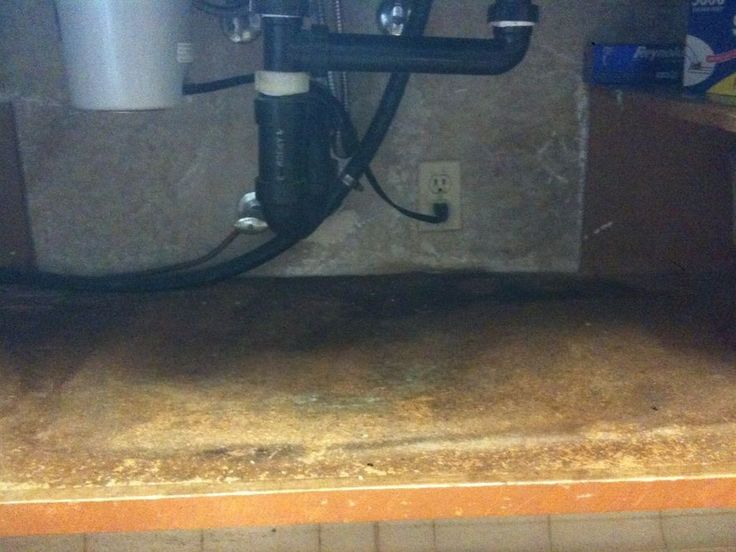
If you notice that the silicone around your kitchen sink is cracked or moldy, it's important to replace it as soon as possible. Cracked or moldy silicone can lead to water leaks and damage to your cabinets and countertops. Follow the steps outlined in this guide to replace the silicone and prevent any further issues.
In conclusion, replacing silicone around a kitchen sink is a simple and important task that can help to maintain the cleanliness and functionality of your sink. By following the steps and tips outlined in this guide, you can easily replace the silicone and ensure a long-lasting and effective seal. Remember to use a high-quality silicone caulk or sealant and to take your time to do the job properly. Happy DIYing!
Why Replacing the Silicone Around Your Kitchen Sink is Essential for a Beautiful and Functional Kitchen
When it comes to designing a kitchen, every detail matters. From the color of the cabinets to the type of countertops, homeowners put a lot of thought into creating their dream kitchen. However, one aspect that often gets overlooked is the silicone around the kitchen sink .
The Importance of Silicone in Your Kitchen Sink

Silicone is a versatile and durable material that is commonly used in kitchen sinks. It is a type of sealant that is applied around the edges of the sink to prevent water from seeping into the countertop and causing damage. It also helps to keep the sink securely in place.
Over time, the silicone around your kitchen sink can become worn out, discolored, or cracked. This not only affects the appearance of your kitchen, but it can also lead to water damage and mold growth. That's why it's important to replace the silicone around your kitchen sink regularly.
How to Replace the Silicone Around Your Kitchen Sink

Replacing the silicone around your kitchen sink may seem like a daunting task, but it is actually a simple and affordable DIY project. Here are the steps to follow:
- Gather your materials: You will need a silicone sealant, a caulking gun, a putty knife, and some rubbing alcohol.
- Remove the old silicone: Use the putty knife to scrape off the old silicone around the edges of the sink. Make sure to clean the area thoroughly with rubbing alcohol to remove any residue.
- Apply the new silicone: Load the caulking gun with the silicone sealant and carefully apply a thin and even line around the edges of the sink.
- Smooth out the silicone: Use a wet finger or a damp cloth to smooth out the silicone and remove any excess. This will create a clean and seamless finish.
- Let it dry: Allow the silicone to dry completely before using your sink again.
The Benefits of Replacing the Silicone Around Your Kitchen Sink

By replacing the silicone around your kitchen sink regularly, you can maintain the beauty and functionality of your kitchen. Here are some of the benefits:
- Prevents water damage: A properly sealed sink prevents water from seeping into the countertop and causing costly damage.
- Reduces mold and mildew growth: Old and cracked silicone can create a breeding ground for mold and mildew. By replacing it, you can keep your kitchen clean and hygienic.
- Improves the appearance of your kitchen: Fresh, clean silicone can make your kitchen sink look brand new and add a touch of elegance to your space.
- Increases the lifespan of your sink: By keeping the silicone around your sink in good condition, you can extend the lifespan of your sink.
In conclusion, replacing the silicone around your kitchen sink is an essential part of maintaining a beautiful and functional kitchen. By following the steps above and making it a regular part of your kitchen maintenance routine, you can ensure that your sink stays in top condition for years to come.


