1. How to Replace a Shelf Under a Kitchen Sink
Replacing a shelf under your kitchen sink may seem like a daunting task, but with the right tools and some basic knowledge, it can be done in no time. Whether your current shelf is damaged or you simply want to upgrade to a more functional and durable option, this step-by-step guide will walk you through the process of replacing it yourself.
Start by gathering all necessary tools and materials, such as a new shelf, measuring tape, saw, drill, screws, and a level. It's also a good idea to wear protective gear, such as gloves and safety glasses, to keep yourself safe during the process.
Next, remove any items stored on the existing shelf and clear out the area under the sink. Use a flashlight to inspect the condition of the old shelf and make note of any adjustments that may need to be made for the new shelf.
Using your measuring tape, carefully measure the length and width of the existing shelf. This will serve as a guide for cutting the new shelf to the correct size. Make sure to also measure the distance between the sink and the cabinet walls to ensure a proper fit.
Once you have your measurements, use a saw to cut the new shelf to the appropriate size. If you are using a wooden shelf, you can sand down any rough edges for a smoother finish.
Now it's time to install the new shelf. Place it in the designated area and use a level to ensure it is straight. Use a drill to secure the shelf with screws, making sure to leave enough space for any pipes or drains under the sink.
Finally, test the stability of the new shelf by placing some weight on it. If it feels sturdy and secure, you're all set! If not, make any necessary adjustments or add additional support to ensure the shelf can hold the weight of your items.
2. DIY Kitchen Sink Shelf Replacement
For those who enjoy DIY projects, replacing a shelf under your kitchen sink can be a fun and rewarding task. Not only will you save money by doing it yourself, but you'll also have the satisfaction of knowing you accomplished a home improvement project on your own.
Start by following the same steps as mentioned in the first heading, gathering all necessary tools and materials and measuring the existing shelf. However, instead of purchasing a new shelf, you can create your own using materials such as plywood, brackets, and screws.
Cut the plywood to the appropriate size and attach the brackets to the bottom of the shelf with screws. Then, install the shelf in the designated area, using a level to ensure it is straight. This is a great option for those looking for a more customizable and budget-friendly shelf replacement.
3. Easy Steps for Replacing a Kitchen Sink Shelf
If you're looking for a quick and easy way to replace a shelf under your kitchen sink, follow these simple steps:
1. Remove any items stored on the existing shelf and clear out the area under the sink.
2. Measure the length and width of the existing shelf and purchase a new one of the same size.
3. Install the new shelf, using a level to ensure it is straight.
4. Test the stability of the new shelf and make any necessary adjustments.
This method is ideal for those who are short on time or don't have the necessary tools for a more involved DIY project.
4. Tips for Installing a New Shelf Under Your Kitchen Sink
While replacing a shelf under your kitchen sink may seem like a simple task, there are a few tips to keep in mind to ensure a successful installation:
- Always measure the existing shelf before purchasing a new one to ensure a proper fit.
- Take note of any pipes or drains under the sink to avoid installing the shelf in the wrong location.
- Use a level to ensure the shelf is straight and secure before adding weight to it.
- Consider adding additional support, such as brackets or extra screws, for a sturdier shelf.
5. Best Materials for a Durable Kitchen Sink Shelf Replacement
When it comes to choosing the best materials for a durable kitchen sink shelf replacement, there are a few options to consider:
- Wood: Wooden shelves are a popular choice for their durability and classic look. They can also be easily customized to fit your specific needs.
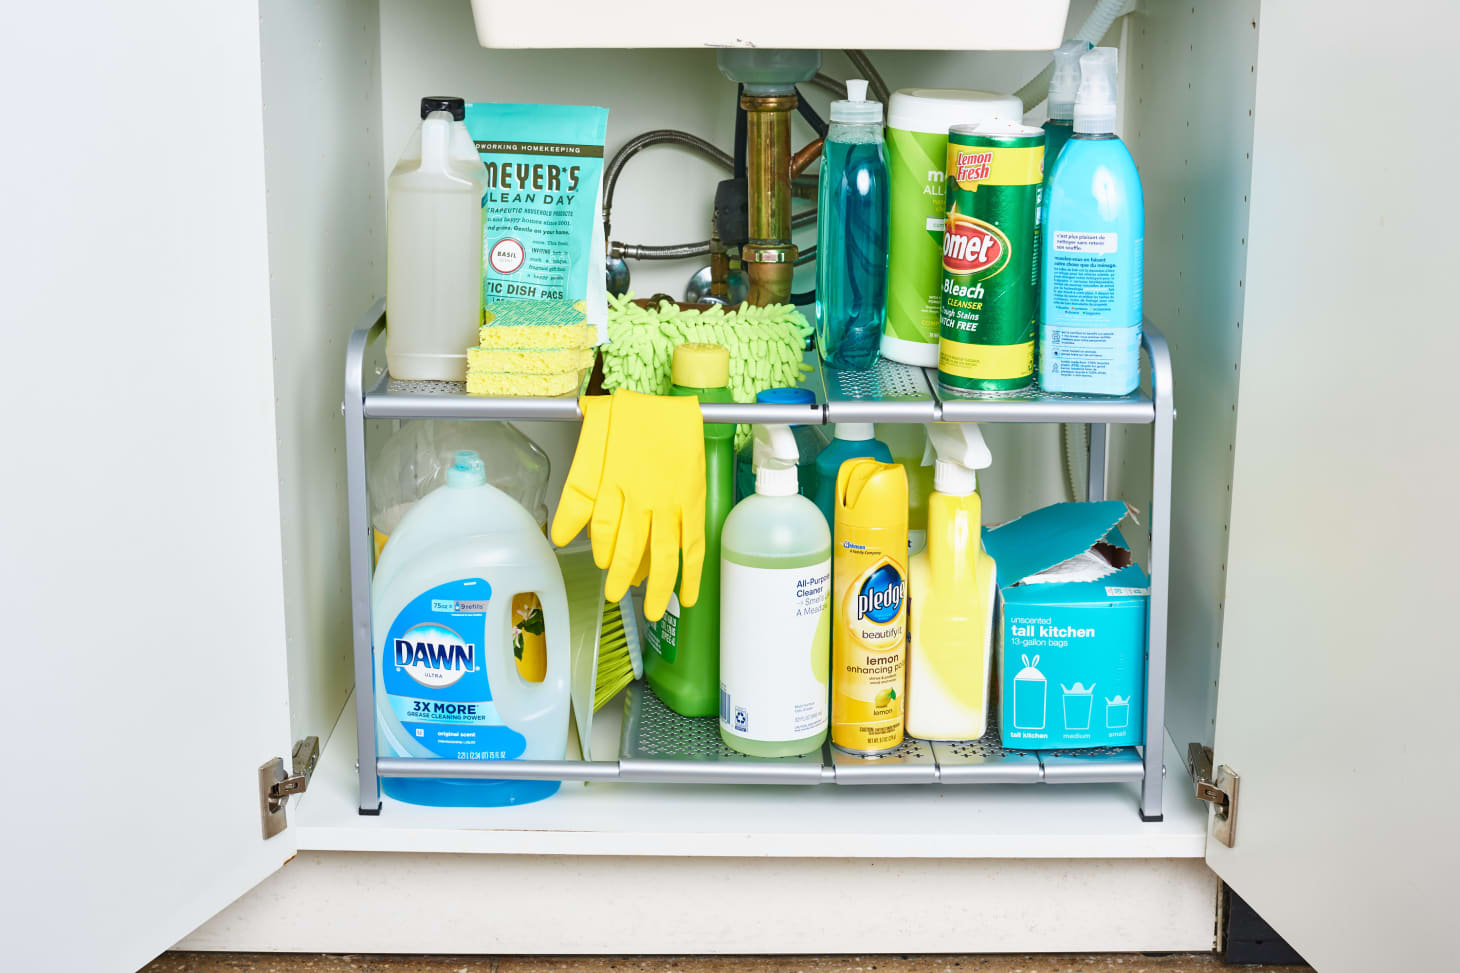
- Metal: Metal shelves are a great option for those looking for a more modern and sleek design. They are also strong and sturdy, making them a great choice for heavy items.
- Plastic: For a budget-friendly option, plastic shelves can be a good choice. While not as durable as wood or metal, they can still provide a functional and organized space under your sink.
6. How to Measure and Cut a Replacement Shelf for Your Kitchen Sink
As mentioned in previous sections, measuring and cutting a replacement shelf for your kitchen sink is an important step in the installation process. Here's how to do it:
1. Measure the length, width, and distance between the sink and cabinet walls of the existing shelf.
2. Use a saw to cut the new shelf to the appropriate size.
3. Sand down any rough edges if using a wooden shelf.
4. Test the fit of the new shelf and make any necessary adjustments before installing it.
7. Common Problems with Kitchen Sink Shelves and How to Fix Them
Like any home improvement project, there are bound to be some challenges along the way. Here are some common problems with kitchen sink shelves and how to fix them:
- Shelf is not level: Use a level to adjust the shelf and make sure it is straight before securing it with screws.
- Shelf is not sturdy: Consider adding additional support, such as brackets or extra screws, to increase the shelf's stability.
- Shelf is too small or too big: Double check your measurements and make any necessary adjustments before cutting the shelf to size.
- Shelf is damaged: If the shelf is damaged, it may be time for a replacement. Follow the steps mentioned above for a smooth installation process.
8. Creative Ideas for Organizing Under Your Kitchen Sink with a New Shelf
Replacing a shelf under your kitchen sink not only provides a more functional space, but it also gives you the opportunity to get creative with organization. Here are a few ideas to get you started:
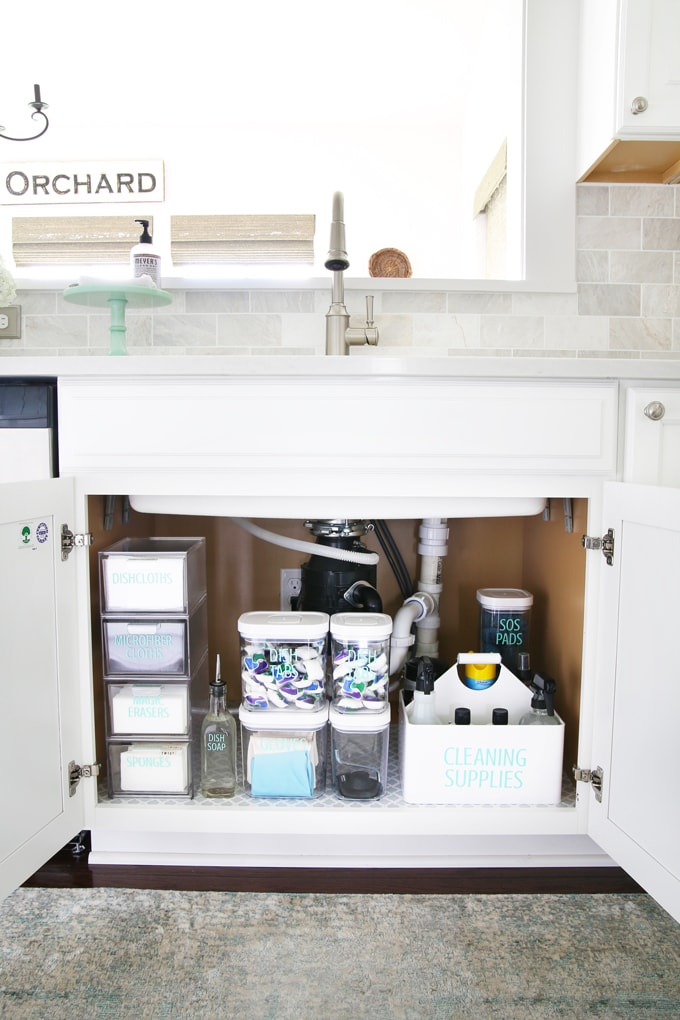
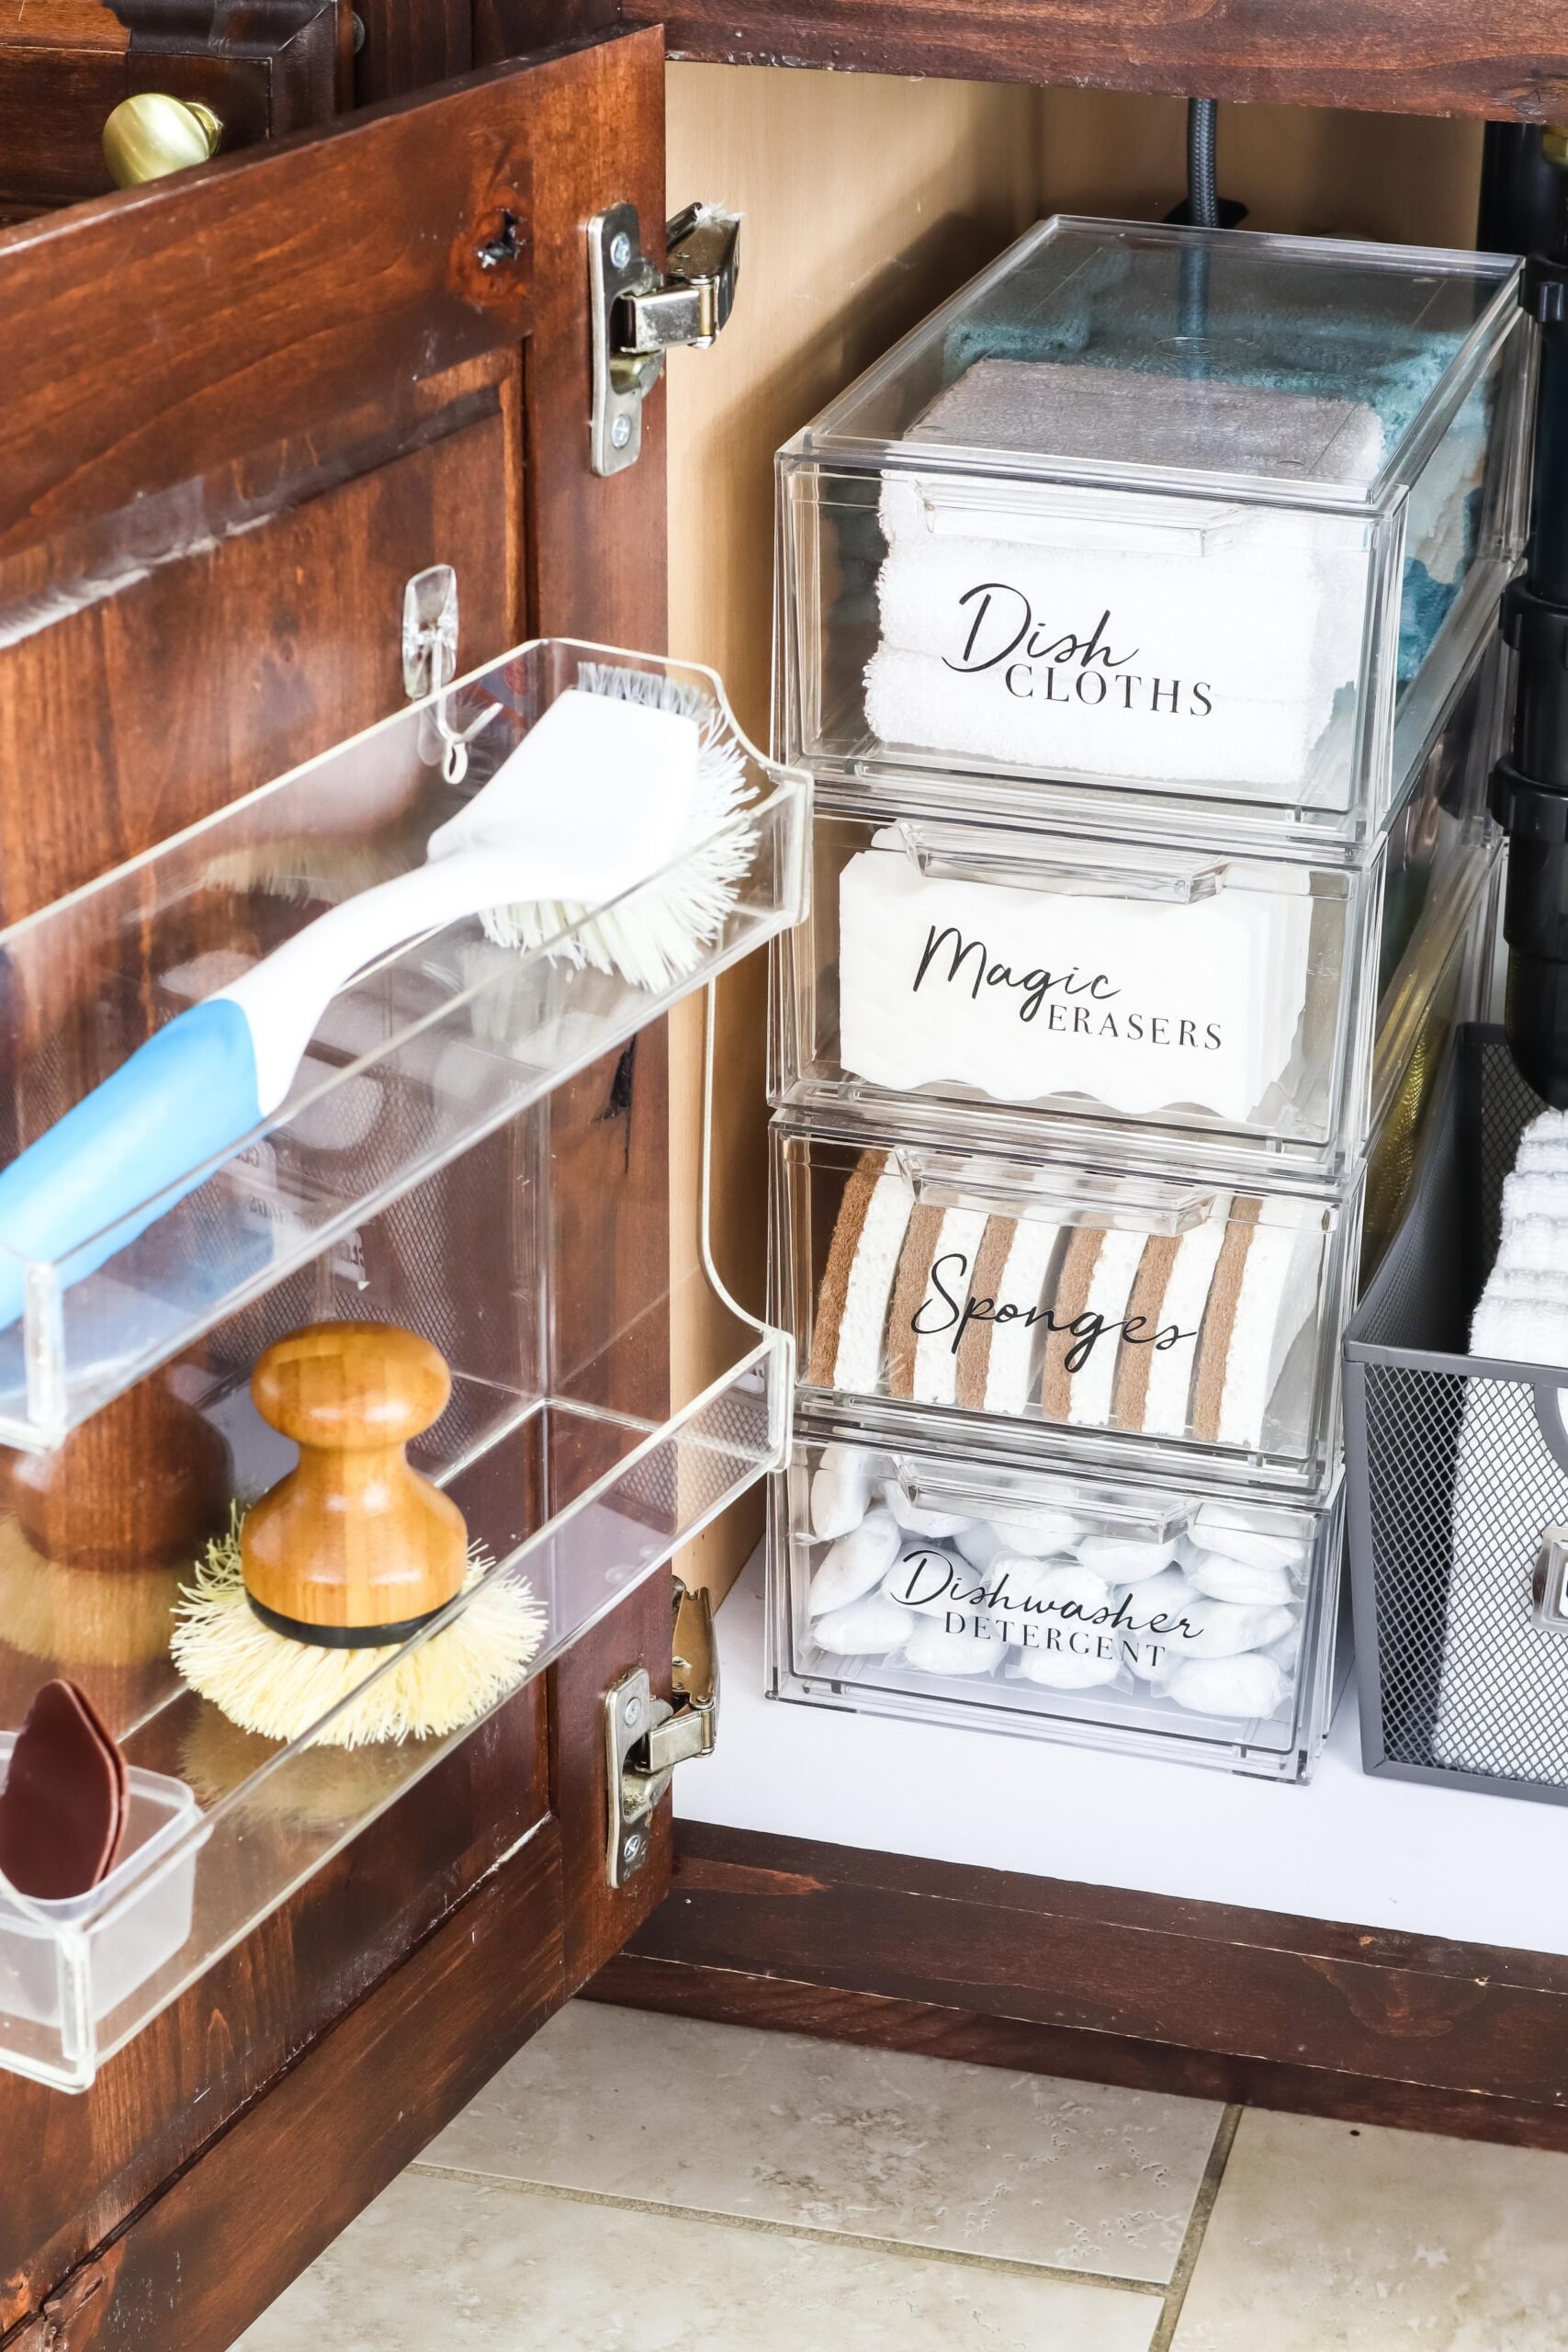
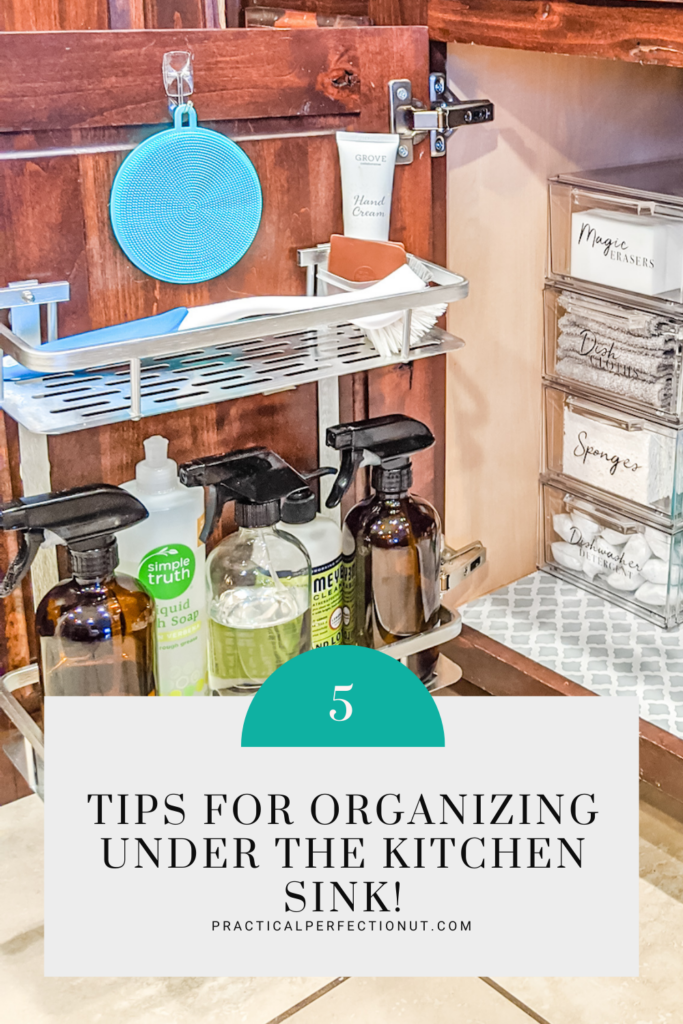
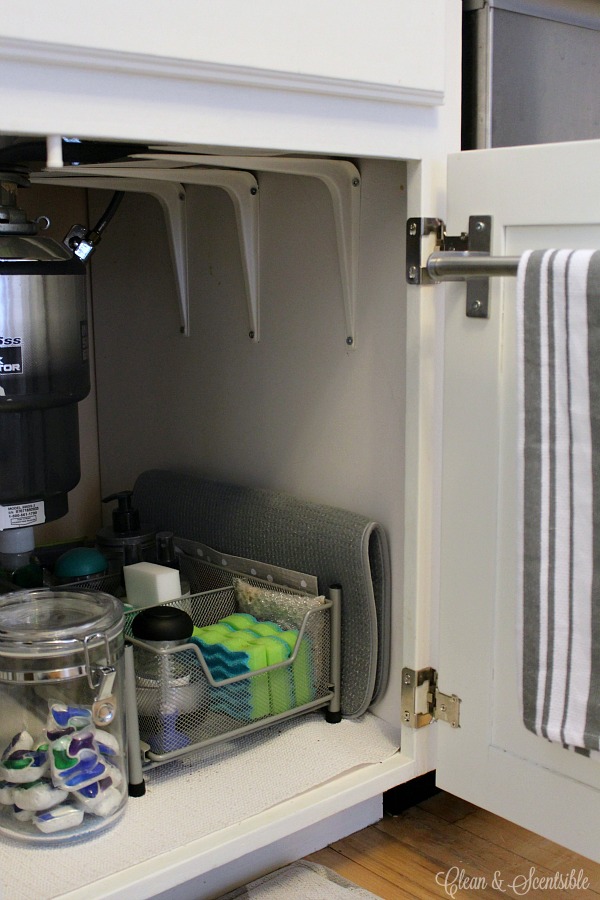
- Use baskets or bins to group similar items together and keep them organized.
- Install hooks or racks on the inside of the cabinet doors for additional storage space.
- Use stackable shelves or organizers to make the most of the vertical space under the sink.
9. Step-by-Step Guide for Removing and Replacing a Kitchen Sink Shelf
If your current shelf is damaged or you simply want to upgrade to a new one, here's a step-by-step guide for removing and replacing it:
1. Clear out the area under the sink and remove any items on the existing shelf.
2. Use a drill to remove any screws securing the shelf to the cabinet.
3. Carefully lift and remove the old shelf from the cabinet.
4. Follow the steps mentioned in previous sections for measuring, cutting, and installing the new shelf.
5. Test the stability of the new shelf and make any necessary adjustments.
6. Secure the shelf with screws and place items back on the shelf for storage.
10. Where to Find Affordable Replacement Shelves for Your Kitchen Sink
If you're in need of a replacement shelf for your kitchen sink, there are a few places you can look for affordable options:
- Home improvement stores: Places like Home Depot or Lowe's often have a variety of shelf options to choose from.
- Online retailers: Websites such as Amazon or Wayfair offer a wide selection of kitchen sink shelves at various price points.
- DIY options: As mentioned in previous sections, creating your own shelf using materials from a hardware store can be a budget-friendly option.
Replacing a shelf under your kitchen sink may seem like a daunting task, but with the right tools and some basic knowledge, it can be done in no time. Whether you choose to DIY or hire a professional, a new and functional shelf can make a big difference in the organization and functionality of your kitchen. Follow these tips and ideas for a successful and stress-free shelf replacement.
Transform Your Kitchen with a Replacement Shelf Under the Sink

Maximize Your Kitchen Space
 The kitchen is often considered the heart of the home, where meals are prepared, memories are made, and families come together. It is a space that should be functional, organized, and aesthetically pleasing. However, with the constant use and accumulation of various kitchen items, it can quickly become cluttered and overwhelming. One area that tends to accumulate the most clutter is the cabinet under the kitchen sink. This space is often underutilized and can become a black hole of cleaning supplies, sponges, and miscellaneous items. But fear not, with a simple replacement shelf under the sink, you can transform your kitchen and maximize your space.
Upgrade to a Sturdier Solution
 The standard shelf that comes with most kitchen cabinets is often flimsy and not adjustable, making it difficult to fit all of your items and causing items to topple over. This can result in wasted space and a frustrating search for that one item you need. By investing in a replacement shelf, you can upgrade to a sturdier solution that is customizable to your needs. Adjustable shelves mean you can fit taller items, and a sturdy design ensures your items stay in place. This not only creates a more organized space but also saves you time and eliminates frustration.
Add a Touch of Style
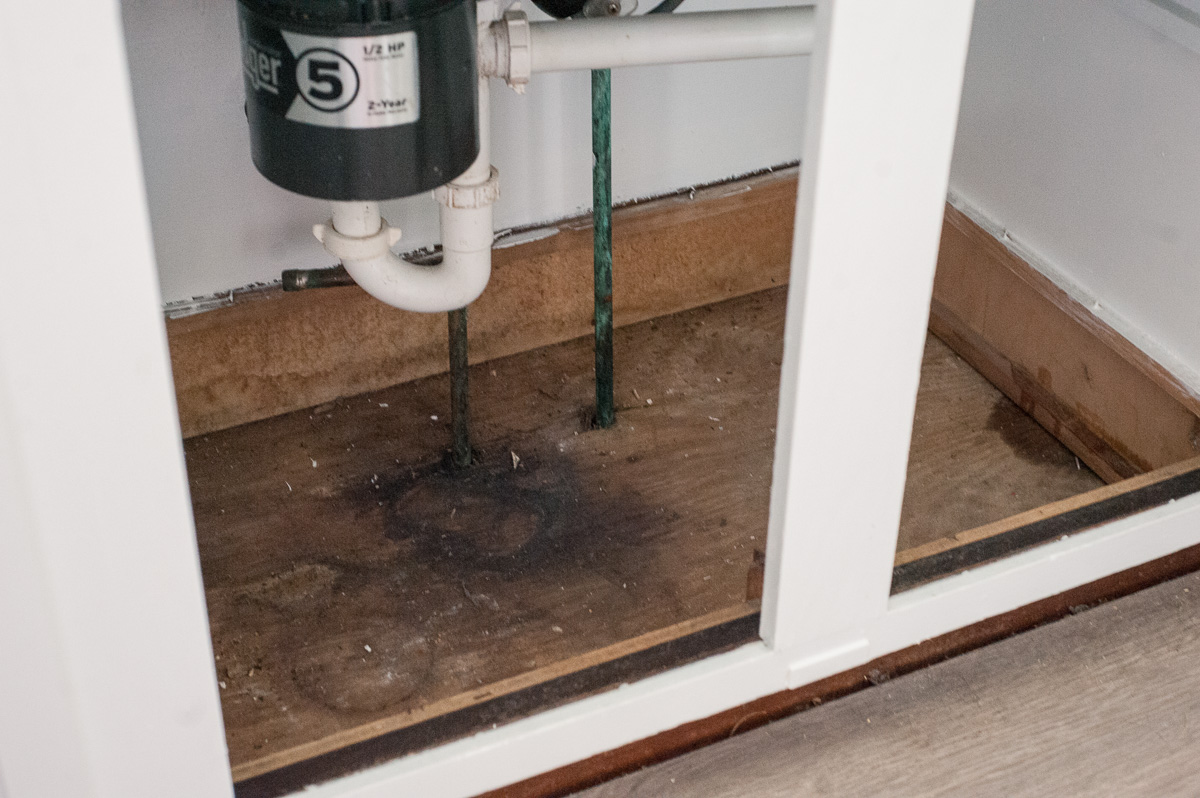 A replacement shelf under the sink is not only functional but can also add a touch of style to your kitchen. With various materials and finishes available, you can choose one that complements your existing kitchen design. A sleek metal shelf can add a modern touch, while a wooden shelf can add warmth and a rustic feel. By incorporating a replacement shelf into your kitchen, you are not only increasing the functionality of the space but also enhancing its overall aesthetic.
Transform your kitchen with a replacement shelf under the sink
and say goodbye to clutter and frustration. By maximizing your space, upgrading to a sturdier solution, and adding a touch of style, you can create a more organized and visually appealing kitchen. So why wait? Upgrade your kitchen with a replacement shelf and see the difference it can make.





























:max_bytes(150000):strip_icc()/Basic-kitchen-sink-types-1821207_color_rev-0b539306b9ef4236a136624ad2a89a4c.jpg)


