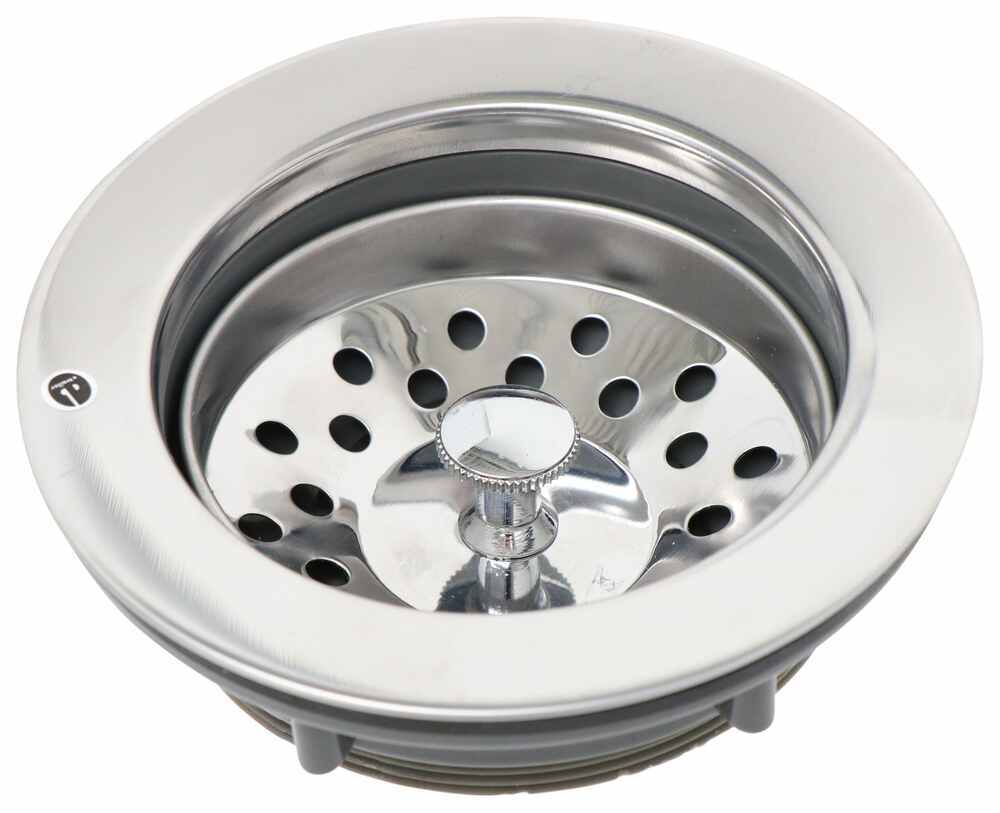
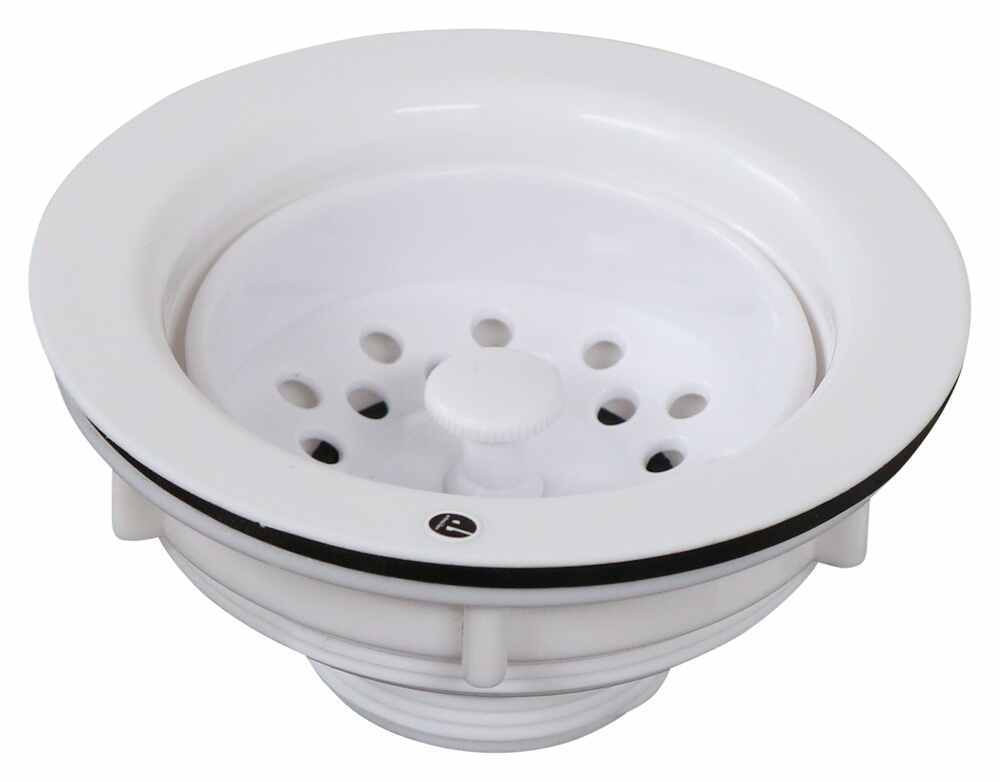
How to Replace an RV Kitchen Sink Strainer Washer
Are you tired of dealing with a leaky and clogged kitchen sink in your RV? The culprit could be a worn out or damaged sink strainer washer. Thankfully, replacing this small but essential part is a simple DIY task that can save you time and money. In this guide, we'll walk you through the steps of replacing your RV kitchen sink strainer washer, so you can enjoy a functional and leak-free sink on your next road trip.
RV Kitchen Sink Strainer Washer Replacement Guide
Before you begin the replacement process, it's important to gather all the necessary tools and materials. You'll need a new strainer washer, pliers, a screwdriver, and plumber's putty. It's also a good idea to have some paper towels or rags handy to clean up any water that may spill during the process.
Step-by-Step Instructions for Replacing an RV Kitchen Sink Strainer Washer
Step 1: Shut off the water supply to your sink. This can usually be done by turning the water valves located under the sink clockwise.
Step 2: Place a bucket or bowl under the sink to catch any remaining water in the pipes.
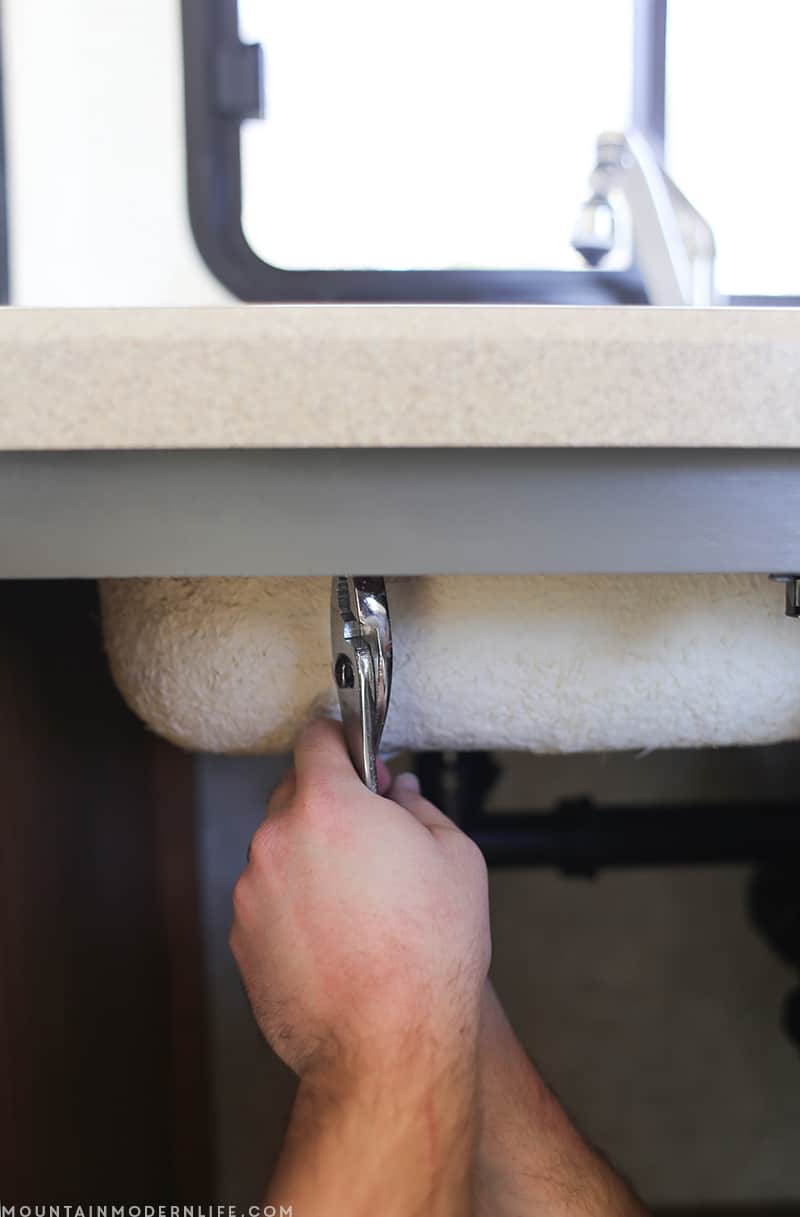
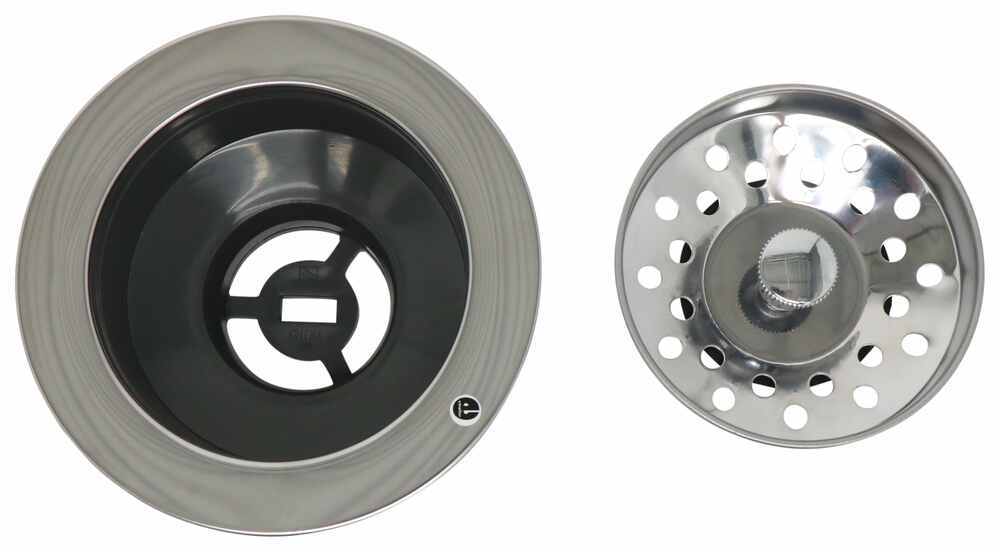
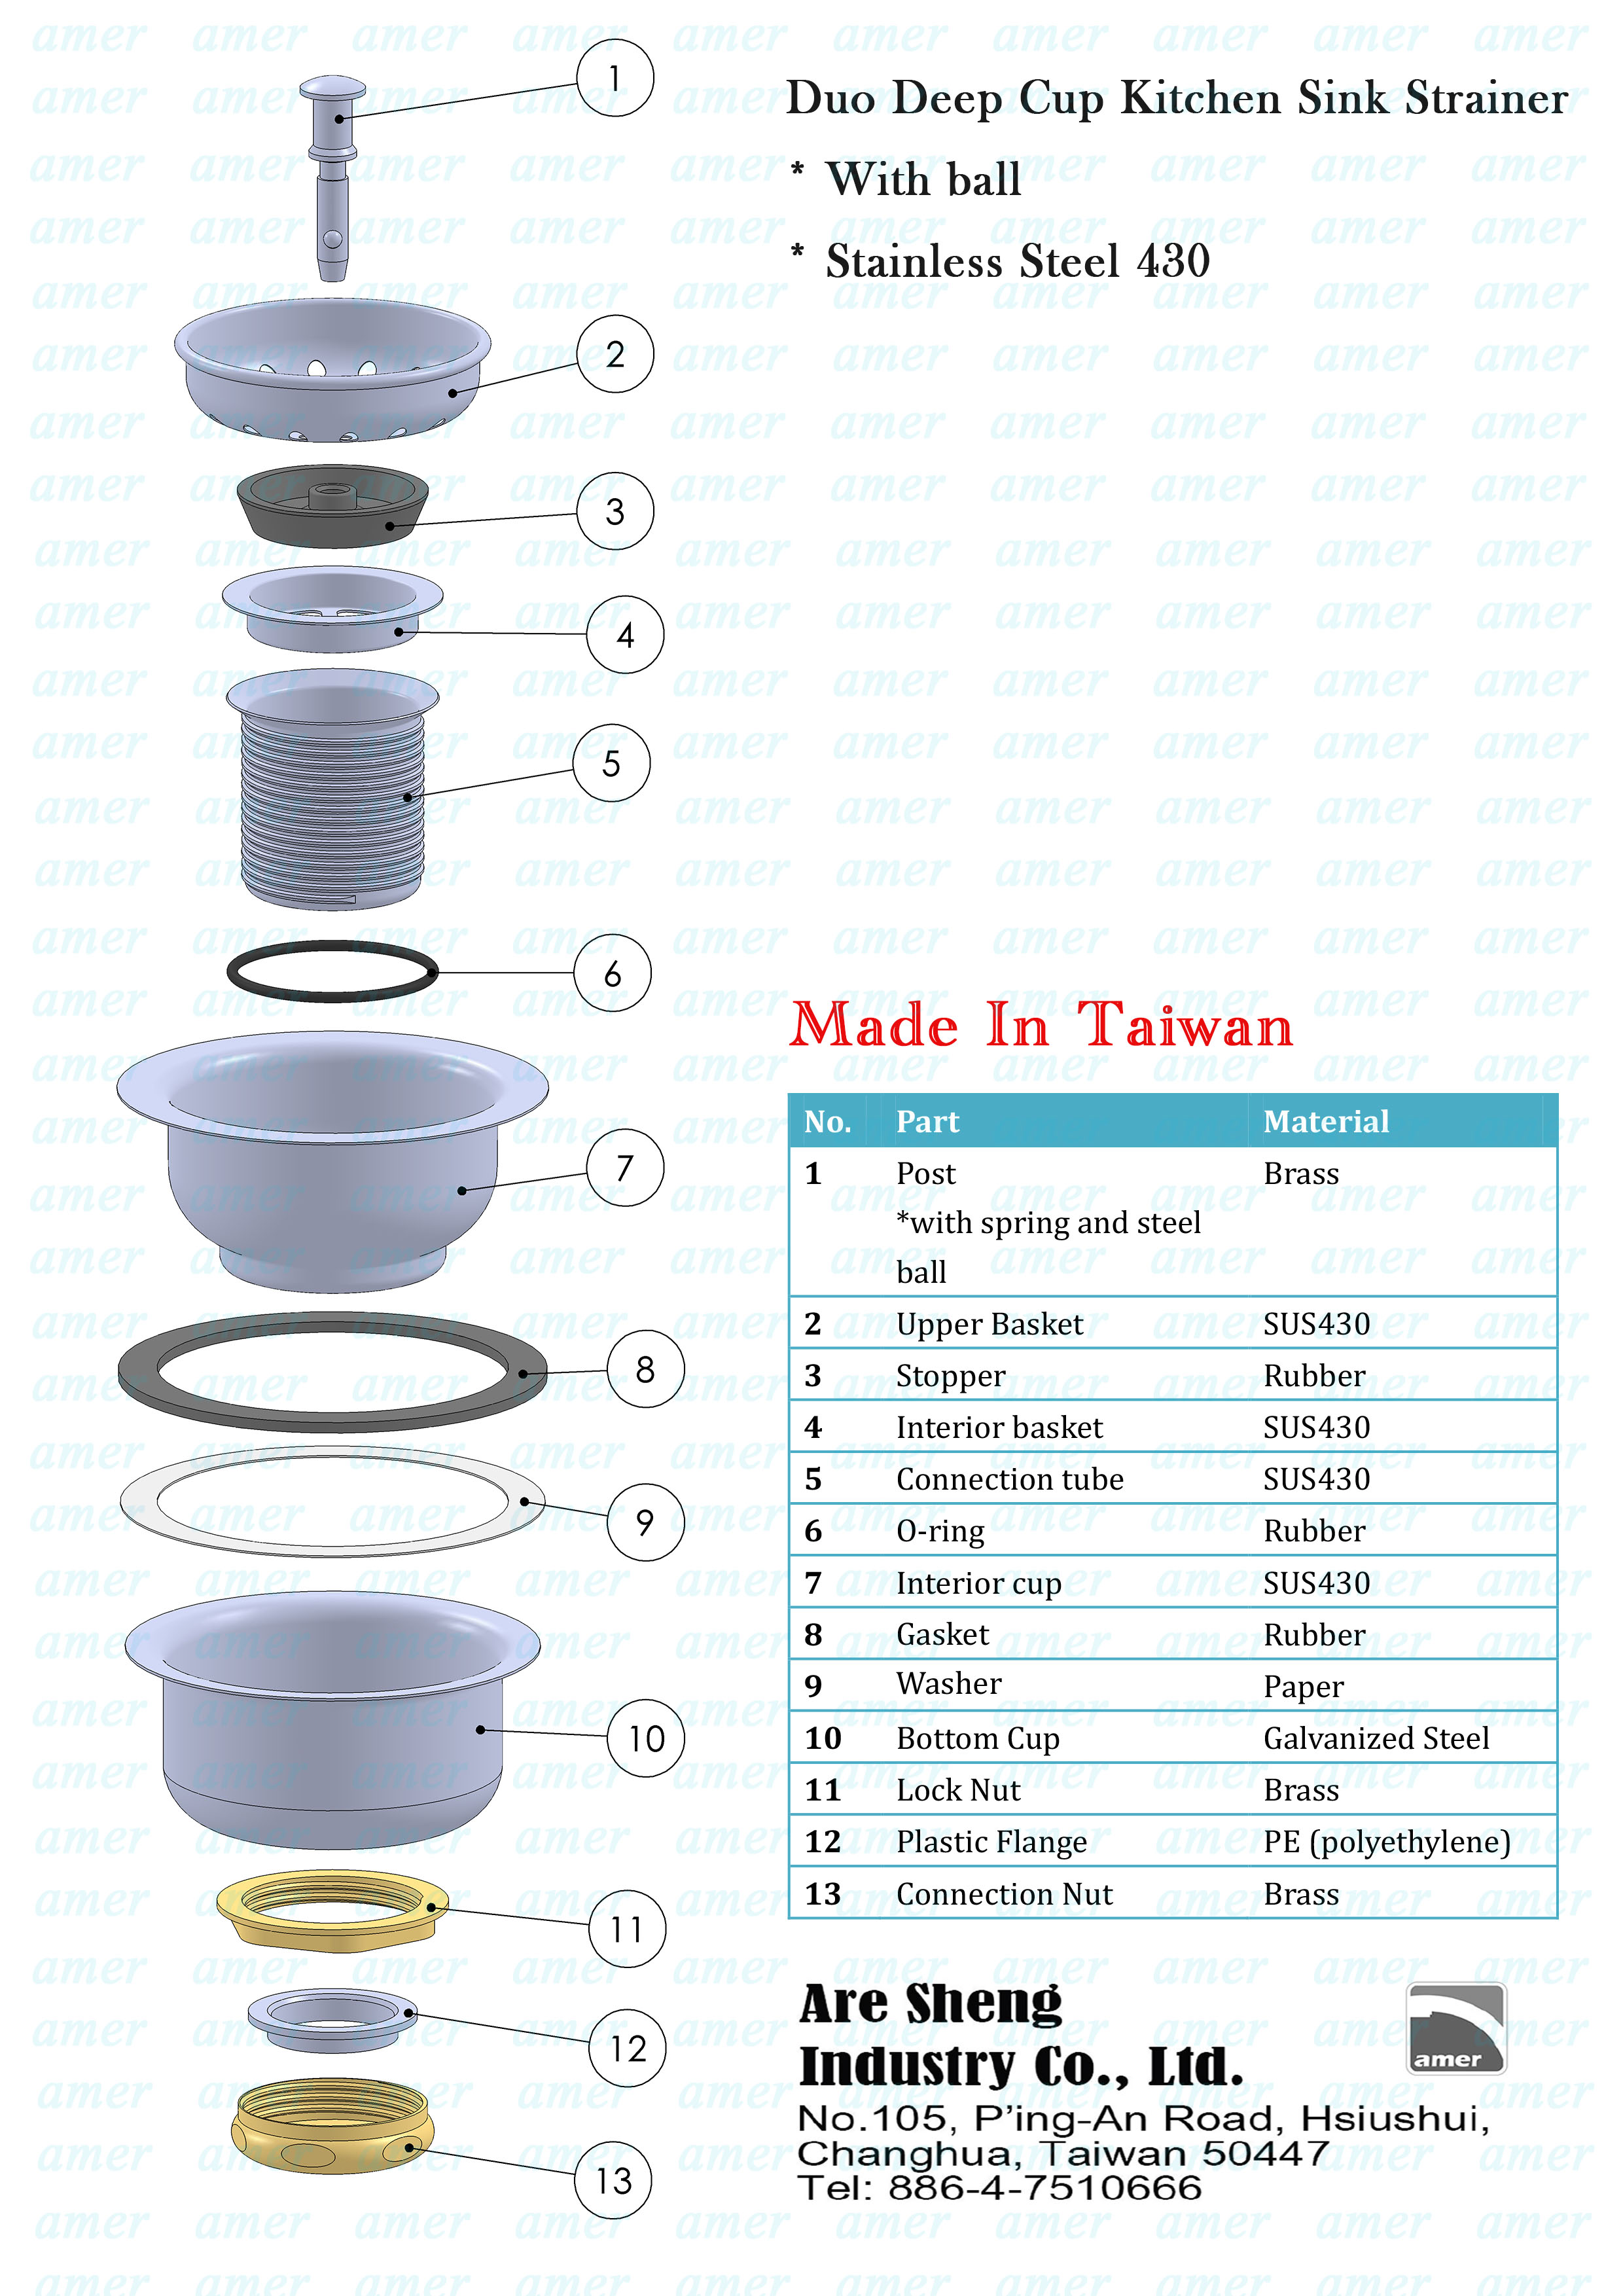
Step 3: Using pliers, unscrew the locknut located underneath the sink. This will release the strainer basket.
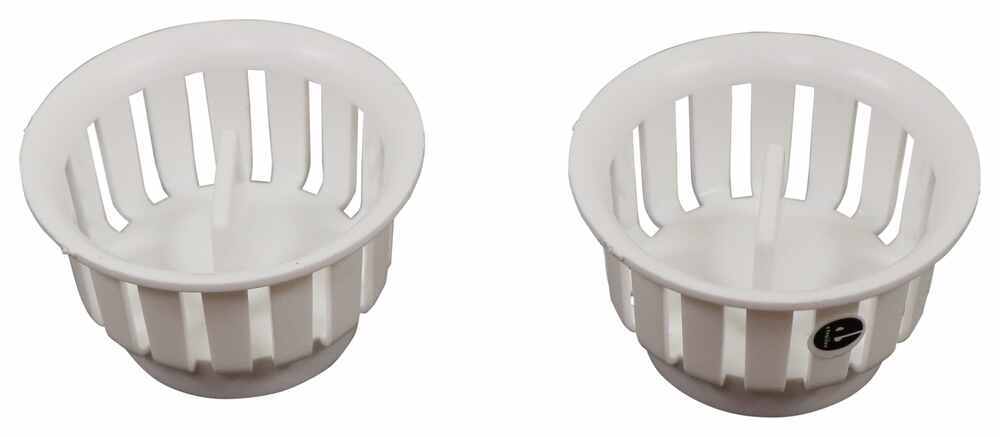
Step 4: Carefully remove the strainer basket and set it aside.
Step 5: Using a screwdriver, unscrew the mounting screws that hold the strainer basket in place.
Step 6: Once the mounting screws are removed, the old strainer washer should come off easily.
Step 7: Clean the area around the sink strainer thoroughly. Any leftover debris or old plumber's putty can prevent the new washer from sealing properly.
Step 8: Apply a thin layer of plumber's putty to the underside of the new strainer washer.
Step 9: Place the new washer over the drain opening and press down firmly to create a seal.
Step 10: Reattach the strainer basket and secure it with the mounting screws.
Step 11: Tighten the locknut with pliers to secure the strainer basket in place.
Step 12: Turn the water supply back on and check for any leaks. If there are no leaks, your new strainer washer has been successfully installed.
Replacing the Washer on Your RV Kitchen Sink Strainer: A DIY Guide
As you can see, replacing an RV kitchen sink strainer washer is a simple task that can be done in just a few easy steps. Not only will it save you money on hiring a professional, but it will also ensure that your sink is functioning properly for your next adventure on the road.
RV Kitchen Sink Strainer Washer Replacement: Tips and Tricks
Here are a few tips to keep in mind when replacing your RV kitchen sink strainer washer:
Tip 1: It's always a good idea to have a spare strainer washer on hand in case of emergencies.
Tip 2: Make sure to clean the area around the sink strainer thoroughly to ensure a tight seal with the new washer.
Tip 3: Use a good quality plumber's putty for a long-lasting seal.
Tip 4: If you notice any cracks or damage on the strainer basket or other parts, it may be time to replace those as well.
The Importance of Replacing Your RV Kitchen Sink Strainer Washer
The sink strainer washer may seem like a small and insignificant part, but it plays a crucial role in keeping your kitchen sink functioning properly. A worn out or damaged washer can lead to leaks, clogs, and other plumbing issues, which can be a major inconvenience during your travels.
DIY RV Kitchen Sink Strainer Washer Replacement: Save Time and Money
By learning how to replace your RV kitchen sink strainer washer yourself, you can save time and money on hiring a professional plumber. With just a few simple tools and materials, you can have your sink back in working order in no time.
Common Signs That Your RV Kitchen Sink Strainer Washer Needs to Be Replaced
If you're unsure whether or not your sink strainer washer needs to be replaced, here are a few common signs to look out for:
- Leaking water from the sink strainer
- Difficulty draining water from the sink
- A foul odor coming from the sink
If you notice any of these issues, it's best to replace the washer as soon as possible to prevent further damage and inconvenience.
Choosing the Right Replacement Washer for Your RV Kitchen Sink Strainer
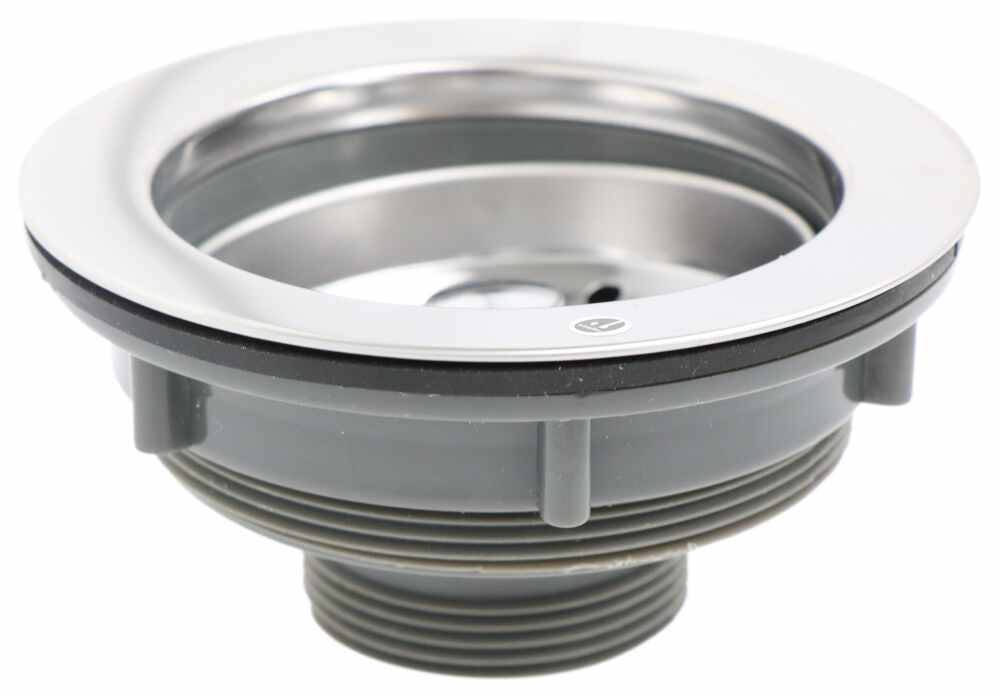
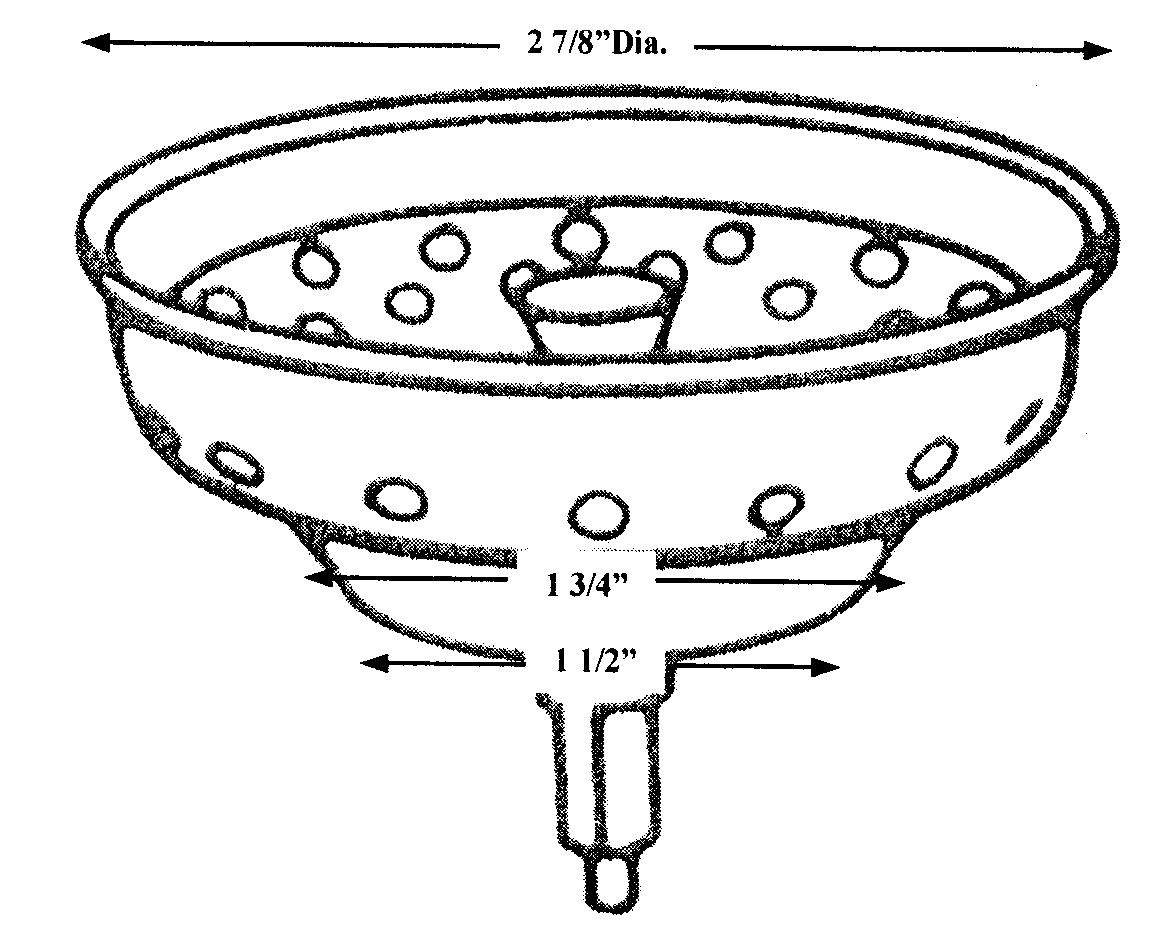
When it comes to choosing a replacement washer for your RV kitchen sink strainer, it's important to make sure you get the right size and material. Most RV sinks use a 3 1/2 inch strainer, but it's always a good idea to measure your old washer to be sure. Additionally, make sure to choose a washer made of a durable and long-lasting material, such as rubber or silicone.
RV Kitchen Sink Strainer Washer Replacement: Tools and Materials You'll Need
To recap, here's a list of the tools and materials you'll need for replacing your RV kitchen sink strainer washer:
- New strainer washer
- Pliers
- Screwdriver
- Plumber's putty
- Bucket or bowl
- Paper towels or rags
With these tools and our step-by-step guide, you'll have your RV kitchen sink strainer washer replaced and your sink working like new in no time. Happy travels!
Why Replacing Your RV Kitchen Sink Strainer Washer is Essential for a Well-Designed Home
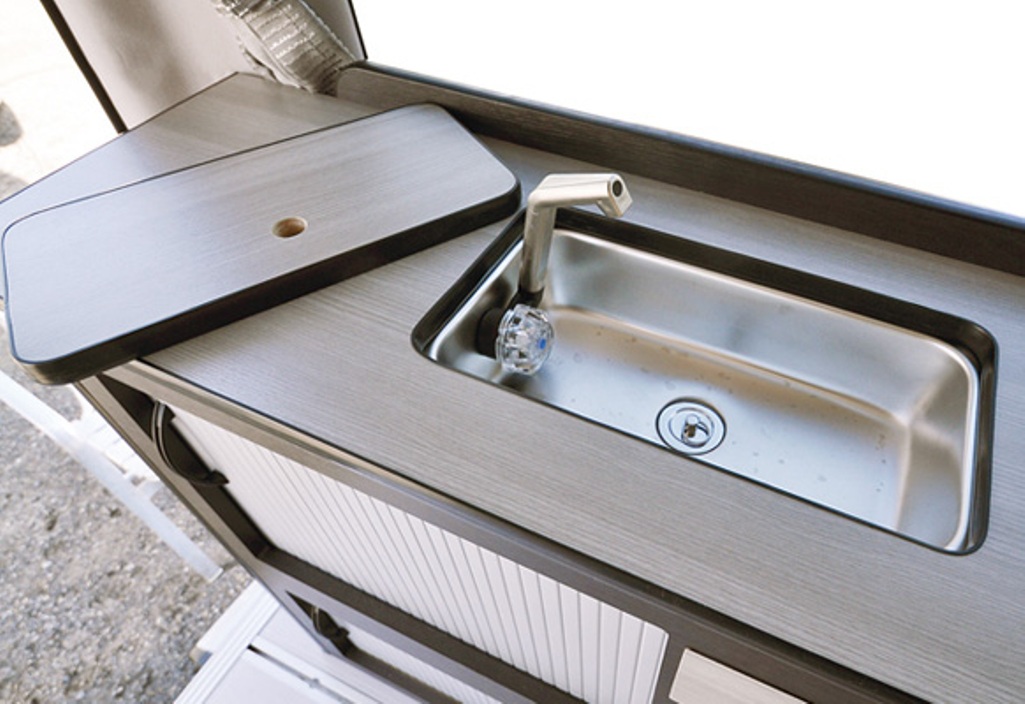
The Importance of a Functional Kitchen
 The kitchen is the heart of any home, and this is especially true for RVs. It is where you prepare your meals, wash your dishes, and gather with loved ones. As such, it is important to have a functional and efficient kitchen, regardless of the size or type of your home. This is why replacing your RV kitchen sink strainer washer should be a priority in your house design.
The Purpose of a Kitchen Sink Strainer Washer
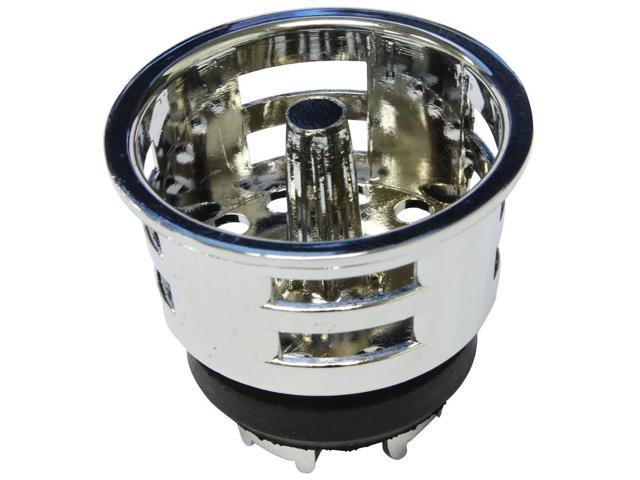
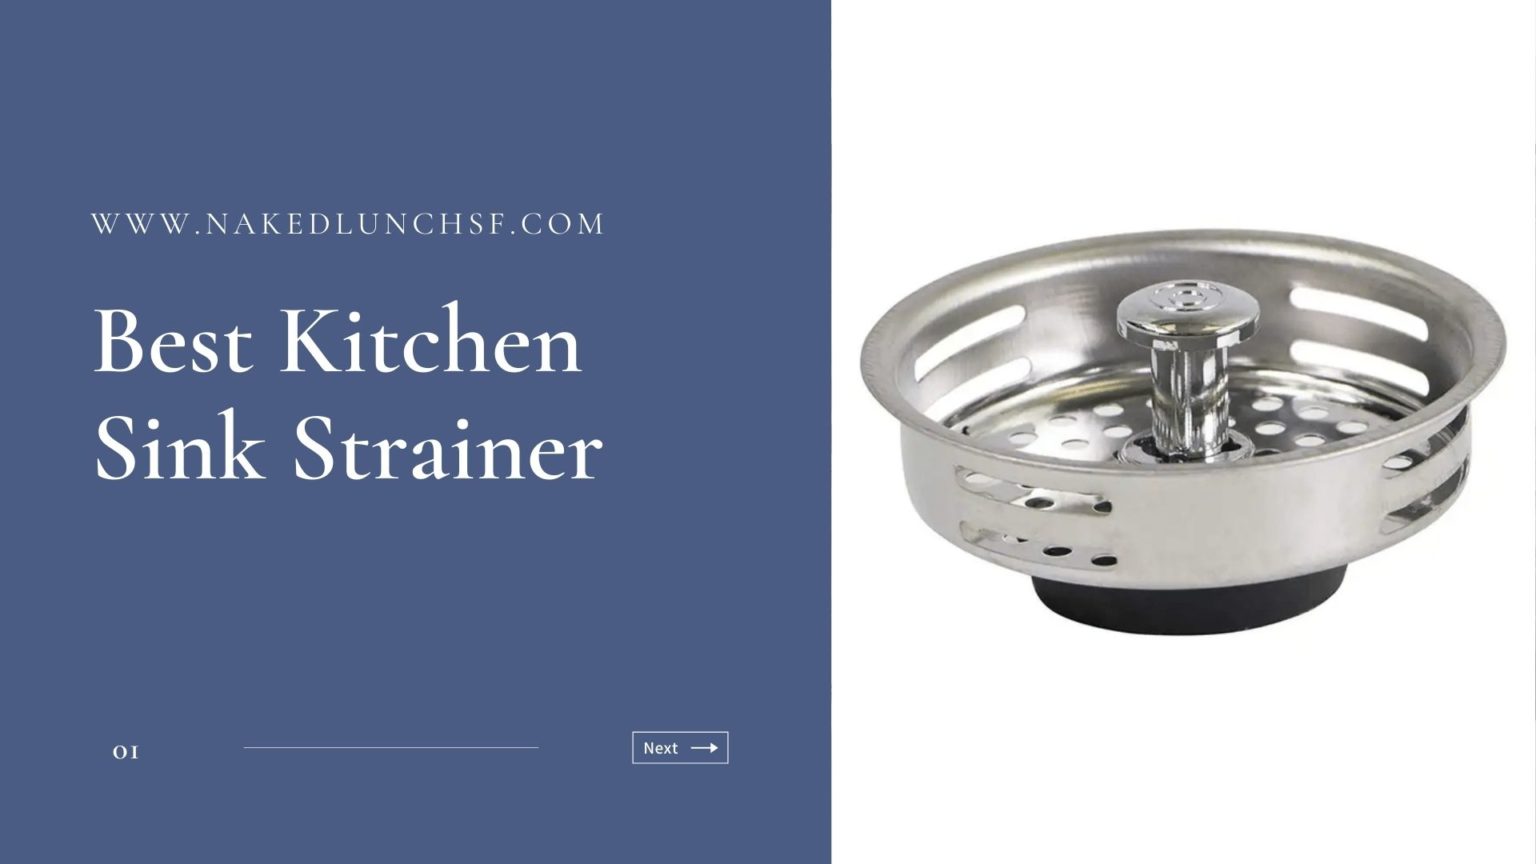
 Before diving into the importance of replacing your kitchen sink strainer washer, it is essential to understand its purpose. The strainer washer is a small but crucial component of your kitchen sink. It is responsible for catching food scraps and debris, preventing them from clogging your pipes and causing bigger plumbing issues. Over time, the strainer washer can become worn out or damaged, rendering it ineffective in doing its job.
The Consequences of a Faulty Strainer Washer
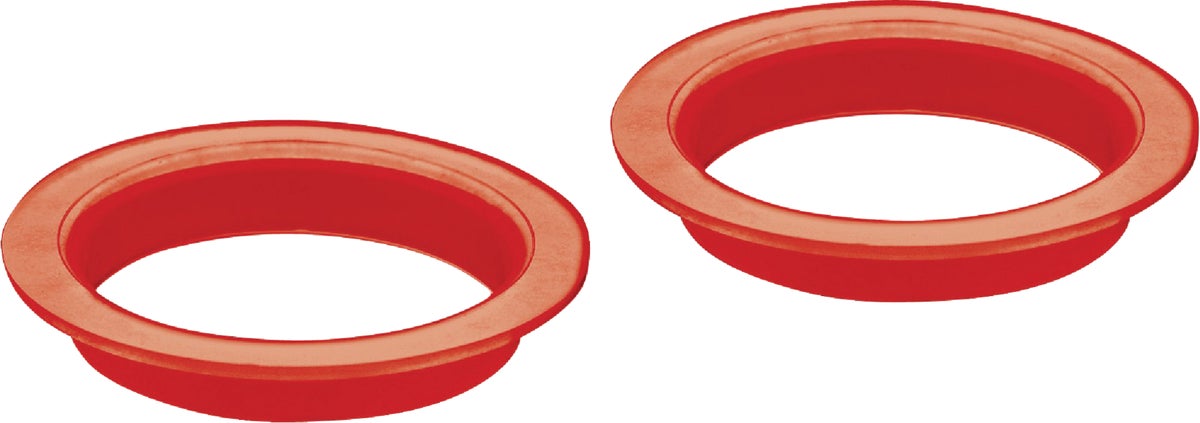 A faulty strainer washer can lead to a host of problems in your kitchen. First and foremost, it can cause clogs in your pipes, leading to slow draining or even backups. This not only creates an unpleasant and unhygienic environment but also requires costly repairs. Additionally, a faulty strainer washer can allow food particles to pass through, resulting in foul odors and attracting pests to your kitchen. These consequences not only affect the functionality of your kitchen but also its overall cleanliness and hygiene.
The Solution: Replacing Your RV Kitchen Sink Strainer Washer
 Fortunately, the solution to avoiding these problems is simple: replacing your RV kitchen sink strainer washer. This small and inexpensive part can have a significant impact on the functionality and cleanliness of your kitchen. By regularly replacing your strainer washer, you can avoid costly plumbing issues and maintain a clean and hygienic kitchen.
In conclusion, a well-designed home must have a functional and efficient kitchen. This includes regularly replacing your RV kitchen sink strainer washer to avoid clogs, foul odors, and potential pest infestations. Don't overlook the importance of this small component in your house design, and make sure to prioritize its replacement for a well-maintained and enjoyable kitchen experience.


