Replacing your kitchen sink water supply lines may seem like a daunting task, but with the right tools and knowledge, it can be a simple DIY project. Whether you are updating your kitchen or just need to replace old and worn out supply lines, this guide will walk you through the steps to successfully replace your kitchen sink water supply lines.How to Replace Kitchen Sink Water Supply Lines


How to Replace Kitchen Sink Water Supply Lines
Before starting the project, make sure you have all the necessary tools and materials. This includes new water supply lines, an adjustable wrench, a basin wrench, Teflon tape, and a bucket or towel to catch any water that may leak out during the process.Step 1: Gather Your Materials


Replacing Kitchen Sink Water Supply Lines: A Step-by-Step Guide


:max_bytes(150000):strip_icc()/water-pipe-under-kitchen-sink-980755656-3ec7719515ab4e269908381b760f7366.jpg)
:max_bytes(150000):strip_icc()/sink-pipe-under-wash-basin-119001607-75542e154b364e7bb52032249f293908.jpg)


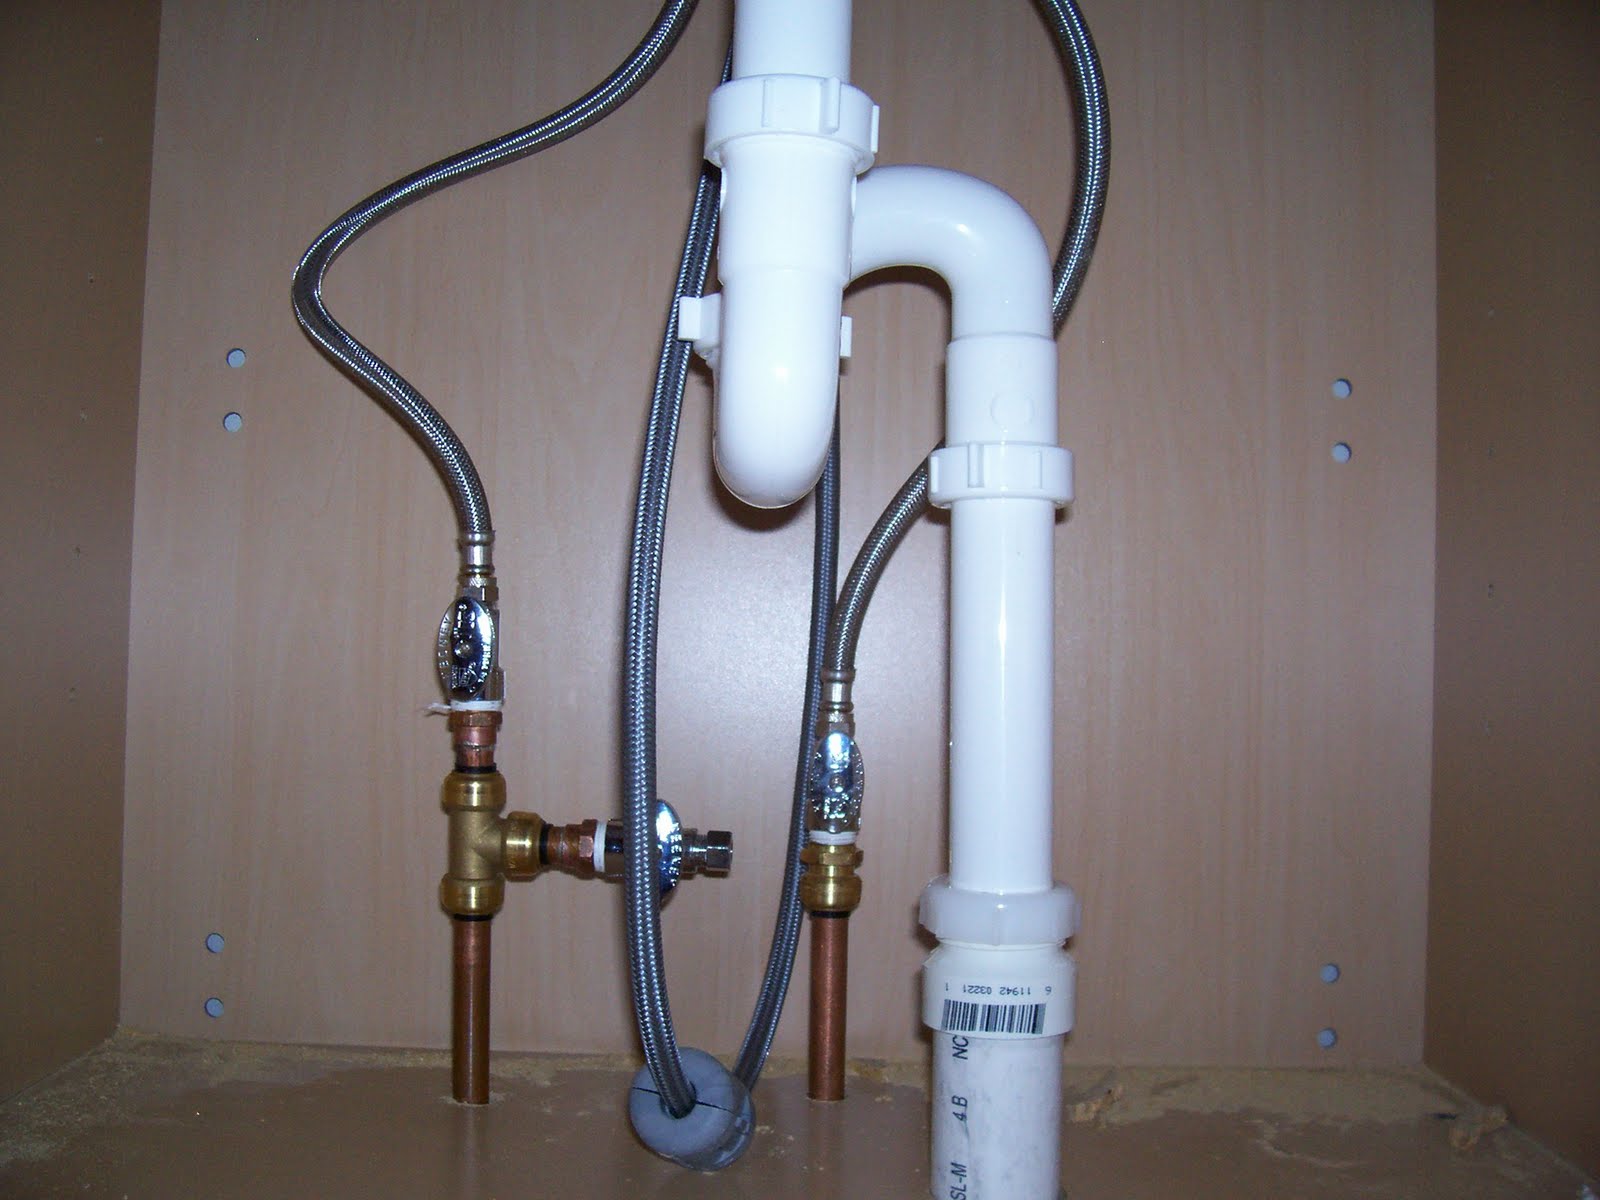
Before beginning any work on your kitchen sink, it is crucial to turn off the water supply. This can usually be done by turning off the shutoff valves located under the sink. If you do not have shutoff valves, you will need to turn off the main water supply to your home.Step 2: Turn Off the Water Supply


DIY: Replacing Kitchen Sink Water Supply Lines


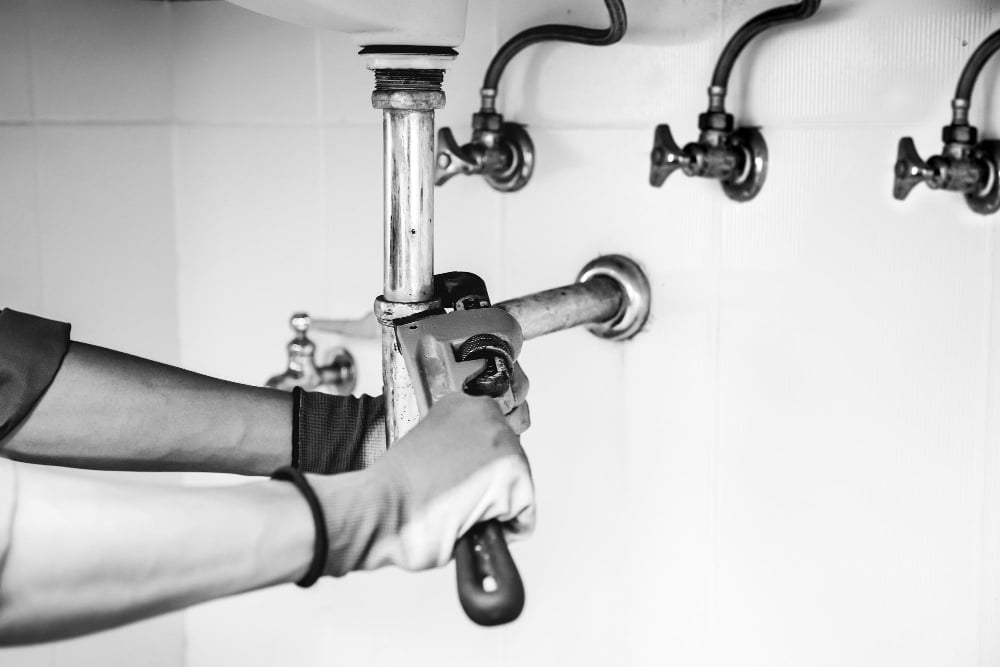
Using your adjustable wrench, loosen the nuts connecting the supply lines to the shutoff valves and the faucet. Once they are loose, use your basin wrench to remove the nuts completely. Be sure to have a bucket or towel handy to catch any water that may leak out.Step 3: Remove the Old Supply Lines

Replacing Kitchen Sink Water Supply Lines: Tips and Tricks
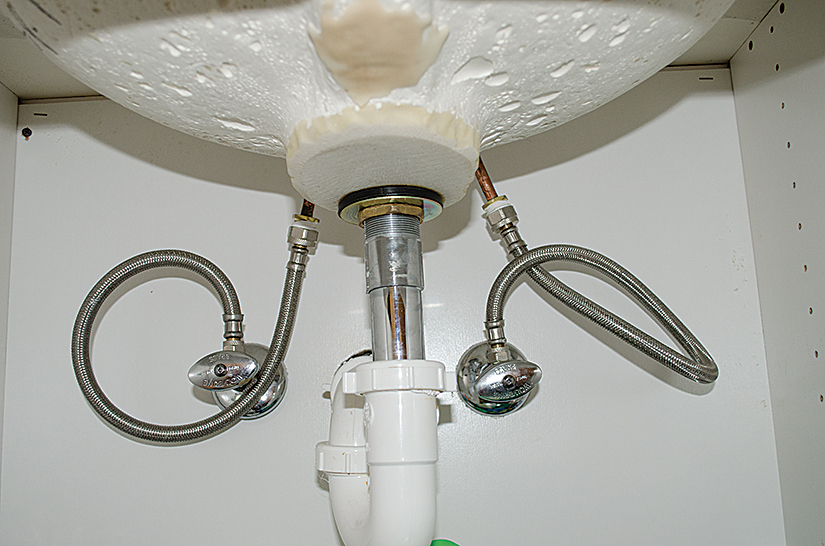

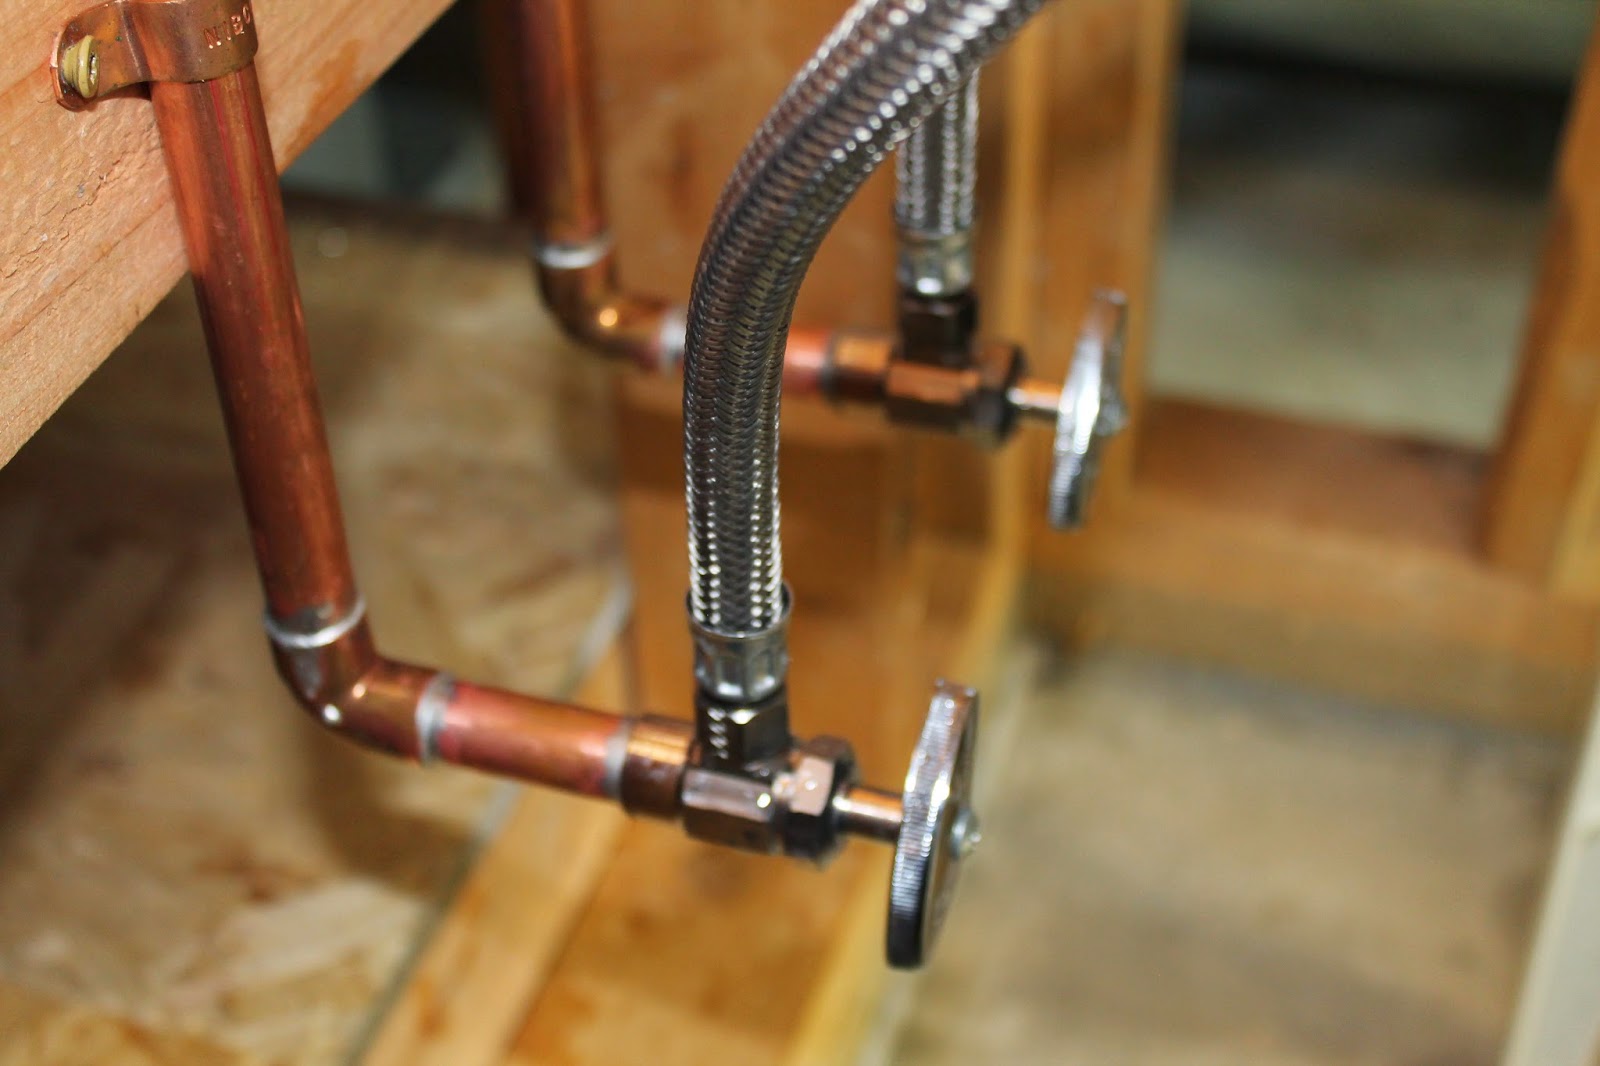
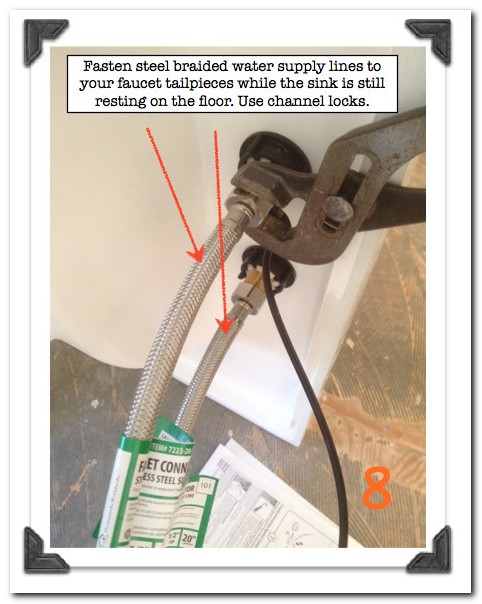
Take your new supply lines and wrap Teflon tape around the threads. This will help create a tight seal and prevent any leaks. Then, attach the supply lines to the shutoff valves and faucet, tightening the nuts with your basin wrench. Make sure the lines are not twisted or kinked.Step 4: Install the New Supply Lines
Replacing Kitchen Sink Water Supply Lines: Common Mistakes to Avoid
Once the new supply lines are securely attached, turn the water supply back on. Check for any leaks and tighten the connections if necessary.Step 5: Turn on the Water Supply

Replacing Kitchen Sink Water Supply Lines: Tools and Materials You'll Need
Turn on the faucet and let the water run for a few minutes to ensure there are no leaks and that the water is flowing properly. If you notice any issues, double check the connections and make any necessary adjustments.Step 6: Test the Water Flow

Replacing Kitchen Sink Water Supply Lines: Troubleshooting Common Issues
Tip #1: When purchasing new supply lines, make sure to measure the distance between the shutoff valves and the faucet to ensure you get the correct length. Tip #2: Wipe down the threads of the shutoff valves and faucet before attaching the new supply lines to ensure a clean and tight seal. Tip #3: If you have trouble reaching the connections with a basin wrench, consider using a long-handled wrench or pliers for better leverage.Replacing Kitchen Sink Water Supply Lines: Tips and Tricks


How to Choose the Right Water Supply Lines for Your Kitchen Sink


Mistake #1: Not turning off the water supply before starting the project can result in a messy and potentially damaging situation. Mistake #2: Overtightening the connections can cause damage to the supply lines and create leaks. Mistake #3: Not wrapping Teflon tape around the threads can lead to leaks.Replacing Kitchen Sink Water Supply Lines: Common Mistakes to Avoid

Replacing Kitchen Sink Water Supply Lines: When to Call a Professional

When selecting new water supply lines for your kitchen sink, it is important to consider the material, length, and diameter. Stainless steel and braided nylon are popular choices for their durability. Make sure to measure the distance between the shutoff valves and the faucet to get the correct length. The standard diameter for supply lines is 3/8 inch.How to Choose the Right Water Supply Lines for Your Kitchen Sink

Replacing Kitchen Sink Water Supply Lines: Safety Precautions to Keep in Mind


Replacing Kitchen Sink Water Supply Lines: A Step-by-Step Guide

Why Replace Your Kitchen Sink Water Supply Lines?
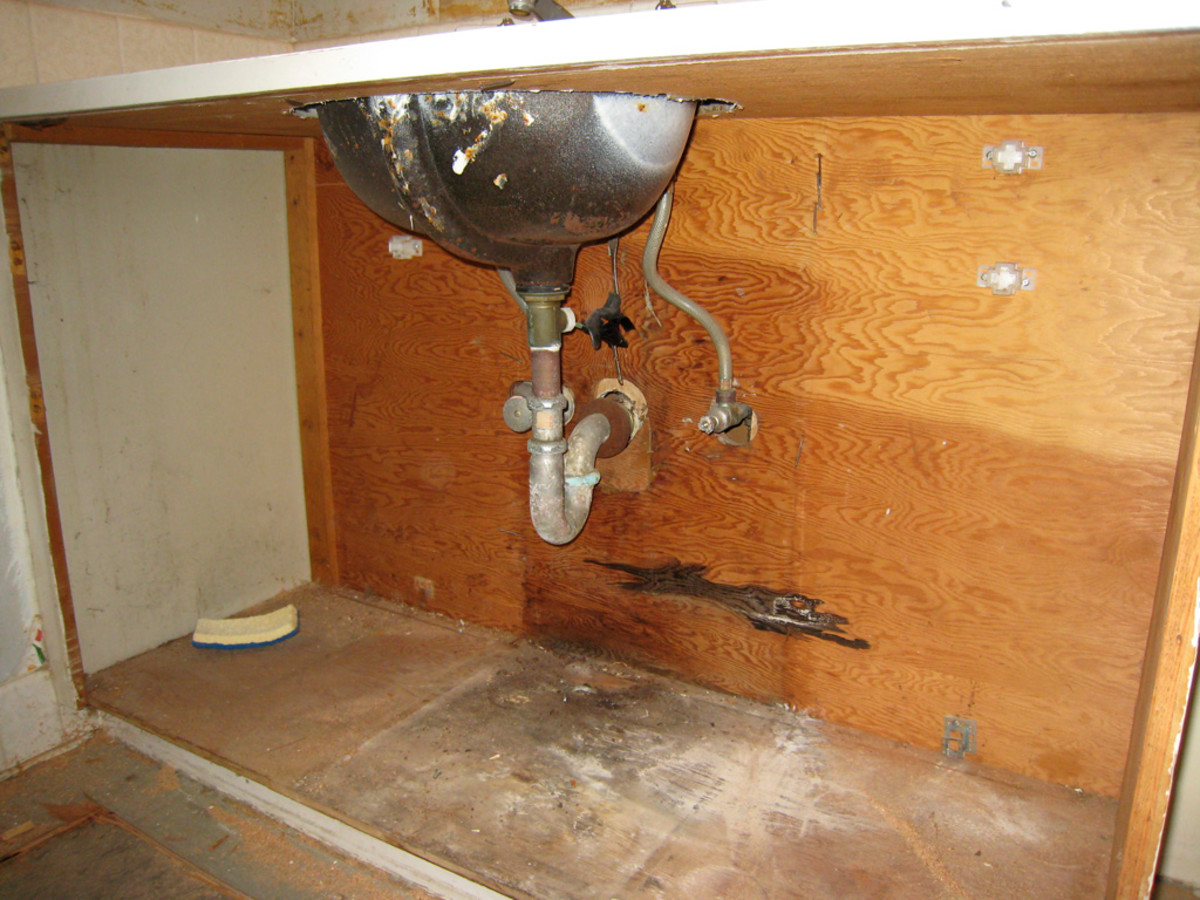
 When it comes to the functionality of your kitchen, the water supply lines are a crucial component. These lines are responsible for delivering water to your sink, allowing you to wash dishes, cook, and stay hydrated. Over time, these supply lines can become worn, corroded, or damaged, leading to potential leaks and water damage in your kitchen. By regularly replacing your kitchen sink water supply lines, you can ensure the safety and efficiency of your kitchen.
Materials Needed:
 - New water supply lines
- Adjustable wrench
- Pliers
- Bucket
- Teflon tape
- Towel
- New water supply lines
- Adjustable wrench
- Pliers
- Bucket
- Teflon tape
- Towel
Step 1: Turn Off Water Supply
 Before beginning any work on your kitchen sink water supply lines, it is crucial to turn off the water supply. Locate the shut-off valve under your sink and turn it clockwise until the water stops flowing. If you cannot find a shut-off valve, you may need to turn off the main water supply to your house.
Step 2: Remove Old Water Supply Lines
 Using an adjustable wrench, carefully unscrew the nuts connecting the water supply lines to the shut-off valve and the faucet. Once the nuts are removed, use pliers to loosen and remove the water supply lines. Be sure to have a bucket handy to catch any excess water that may drain out.
Step 3: Install New Water Supply Lines
 Take your new water supply lines and wrap Teflon tape around the threads to create a watertight seal. Carefully screw the lines onto the shut-off valve and the faucet, using pliers to tighten the nuts. Make sure the lines are connected securely to avoid any leaks.
Step 4: Turn Water Supply Back On
 Once the new water supply lines are installed, turn the water supply back on and check for any leaks. If you notice any leaks, tighten the nuts further or add another layer of Teflon tape. Wipe down the area with a towel to remove any excess water.
Step 5: Test and Monitor
 After completing the installation, test your new water supply lines by turning on the faucet and checking for any leaks. If everything looks good, monitor the lines over the next few days to ensure they are functioning properly and there are no leaks.
Replacing your kitchen sink water supply lines is a simple and cost-effective way to maintain the functionality and safety of your kitchen. By following these steps, you can easily replace your old supply lines and enjoy a leak-free kitchen. Remember to regularly check and replace your water supply lines to avoid any potential damage and ensure a well-functioning kitchen.
After completing the installation, test your new water supply lines by turning on the faucet and checking for any leaks. If everything looks good, monitor the lines over the next few days to ensure they are functioning properly and there are no leaks.
Replacing your kitchen sink water supply lines is a simple and cost-effective way to maintain the functionality and safety of your kitchen. By following these steps, you can easily replace your old supply lines and enjoy a leak-free kitchen. Remember to regularly check and replace your water supply lines to avoid any potential damage and ensure a well-functioning kitchen.