How to Replace a Kitchen Sink Trim
If you're tired of looking at your old, worn out kitchen sink trim, it may be time to replace it. This may seem like a daunting task, but with the right tools and knowledge, you can easily give your sink a fresh new look. Follow these steps to learn how to replace your kitchen sink trim in no time.


How to Replace a Kitchen Sink Trim


Replacing Kitchen Sink Trim: A Step-by-Step Guide
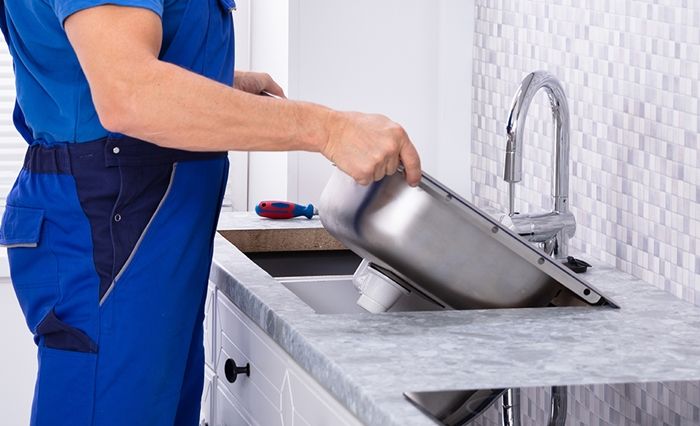
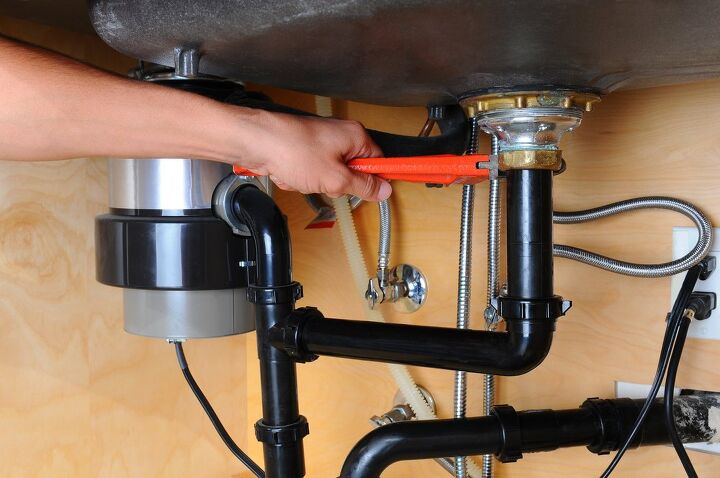
The first step to replacing your kitchen sink trim is to remove the old trim. Start by turning off the water supply to your sink. Next, use a screwdriver to remove any screws holding the old trim in place. Once the screws are removed, carefully pry the trim away from the sink using a putty knife. Be sure to remove any old caulk or adhesive from the sink before proceeding.


Replacing Kitchen Sink Trim: A Step-by-Step Guide


DIY Kitchen Sink Trim Replacement: Tips and Tricks
When it comes to DIY projects, it's always helpful to have some insider tips and tricks to make the process smoother. When replacing your kitchen sink trim, make sure to measure carefully before purchasing a new trim to ensure a perfect fit. Also, using a hairdryer to heat up old caulk can make it easier to remove.


DIY Kitchen Sink Trim Replacement: Tips and Tricks


Replacing Kitchen Sink Trim: What You Need to Know
Before starting the replacement process, it's important to know a few key things about kitchen sink trim. There are many different styles and materials to choose from, so be sure to consider the design and functionality of your sink when selecting a new trim. It's also important to choose a trim that is the correct size for your sink.


Replacing Kitchen Sink Trim: What You Need to Know


Step-by-Step Guide for Replacing Kitchen Sink Trim
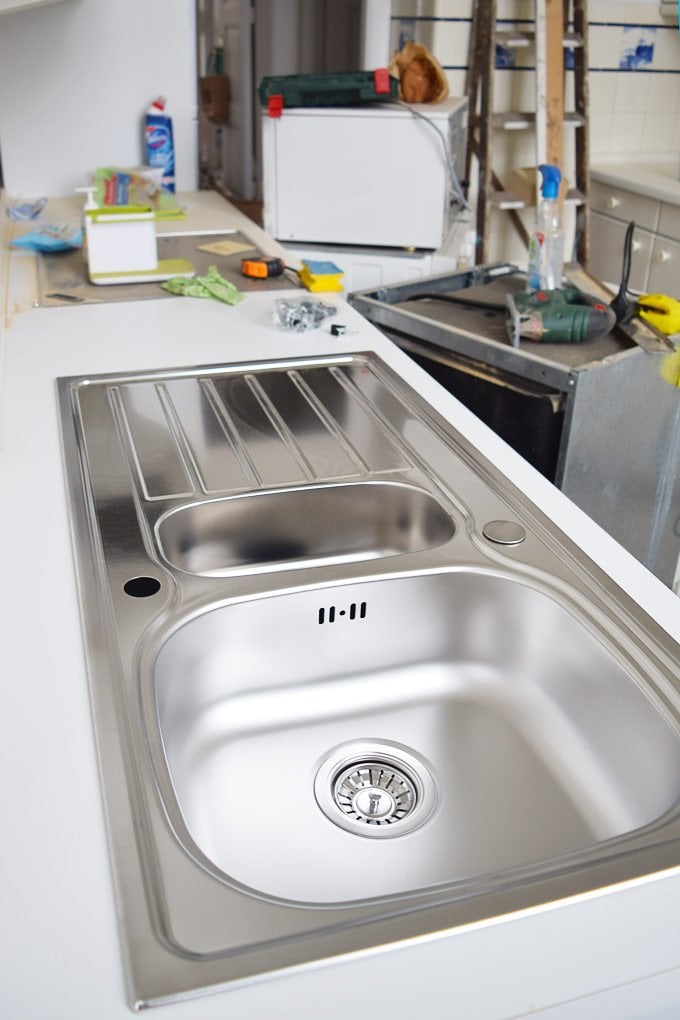
Now that you have all the necessary information, it's time to replace your kitchen sink trim. Start by placing the new trim in the desired location to ensure a proper fit. Next, use a caulk gun to apply a thin layer of adhesive to the back of the trim. Carefully press the trim into place, making sure it is straight and aligned with the sink. Finally, use a damp cloth to wipe away any excess adhesive.

Step-by-Step Guide for Replacing Kitchen Sink Trim

Replacing Kitchen Sink Trim: Common Mistakes to Avoid
While replacing your kitchen sink trim may seem like a simple task, there are some common mistakes that can easily be avoided. Be sure to use the correct tools and materials for the job, and always measure and double check before making cuts or applying adhesive. It's also important to take your time and not rush the process.


Replacing Kitchen Sink Trim: Common Mistakes to Avoid


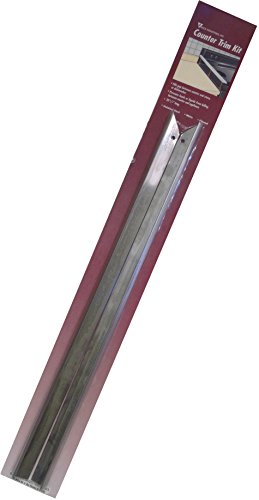
Replacing Kitchen Sink Trim: Tools and Materials You'll Need
To successfully replace your kitchen sink trim, you'll need a few essential tools and materials. These include a screwdriver, putty knife, caulk gun, adhesive, and of course, the new trim itself. Depending on the design and material of your new trim, you may also need a saw or scissors for cutting.


Replacing Kitchen Sink Trim: Tools and Materials You'll Need


How to Choose the Right Kitchen Sink Trim for Your Home
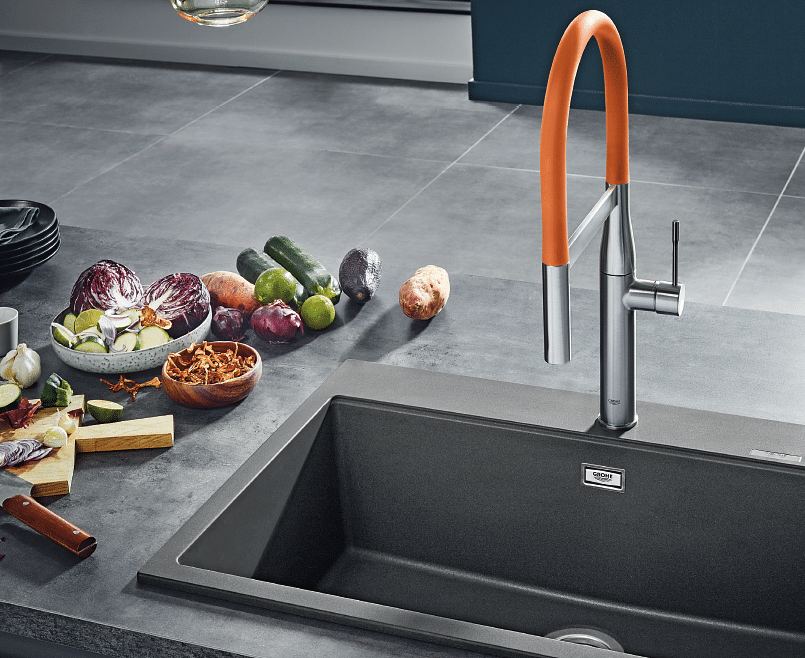
When selecting a new kitchen sink trim, it's important to consider both style and functionality. There are many different materials to choose from, including stainless steel, chrome, and plastic. Consider the design of your sink and the overall aesthetic of your kitchen to find the perfect trim for your home.


How to Choose the Right Kitchen Sink Trim for Your Home


.jpg)


Replacing Kitchen Sink Trim: Professional vs. DIY
While replacing your kitchen sink trim can be a DIY project, it may be best to leave it to the professionals in some cases. If you're not confident in your abilities or if your sink has more complex features, it may be worth hiring a professional to ensure the job is done correctly. Remember, it's always better to be safe than sorry.


Replacing Kitchen Sink Trim: Professional vs. DIY

Replacing Kitchen Sink Trim: Troubleshooting Common Issues
Even with proper preparation and careful execution, sometimes things don't go as planned. If you encounter any issues while replacing your kitchen sink trim, don't panic. Some common problems include uneven cuts, crooked trim, or a faulty adhesive. These can all be easily fixed with a little patience and some extra supplies.


Replacing Kitchen Sink Trim: Troubleshooting Common Issues


Why You Should Consider Replacing Your Kitchen Sink Trim

The Importance of Kitchen Sink Trim
 The kitchen sink is one of the most used and essential fixtures in any home. It not only serves as a functional space for washing dishes and preparing food, but it also adds to the overall aesthetic of the kitchen. However, often overlooked, the trim around your kitchen sink plays a crucial role in both the functionality and appearance of your sink.
Kitchen sink trim
refers to the caulk or sealant that goes around the edges of your sink, where it meets the countertop. This helps to create a waterproof seal and prevent any water or debris from getting trapped between the sink and the counter. Without proper trim, you risk water damage, mold growth, and a less-than-desirable look for your kitchen.
The kitchen sink is one of the most used and essential fixtures in any home. It not only serves as a functional space for washing dishes and preparing food, but it also adds to the overall aesthetic of the kitchen. However, often overlooked, the trim around your kitchen sink plays a crucial role in both the functionality and appearance of your sink.
Kitchen sink trim
refers to the caulk or sealant that goes around the edges of your sink, where it meets the countertop. This helps to create a waterproof seal and prevent any water or debris from getting trapped between the sink and the counter. Without proper trim, you risk water damage, mold growth, and a less-than-desirable look for your kitchen.
Signs That Your Kitchen Sink Trim Needs Replacing
 Over time, the caulk or sealant around your kitchen sink can wear out and become damaged. This can happen due to frequent use, exposure to water and cleaning products, or simply from old age. Here are some signs that it might be time to
replace your kitchen sink trim
:
- Cracking or peeling caulk: If you notice cracks or peeling in the caulk around your sink, it's a sign that it's no longer effectively sealing the edges of your sink.
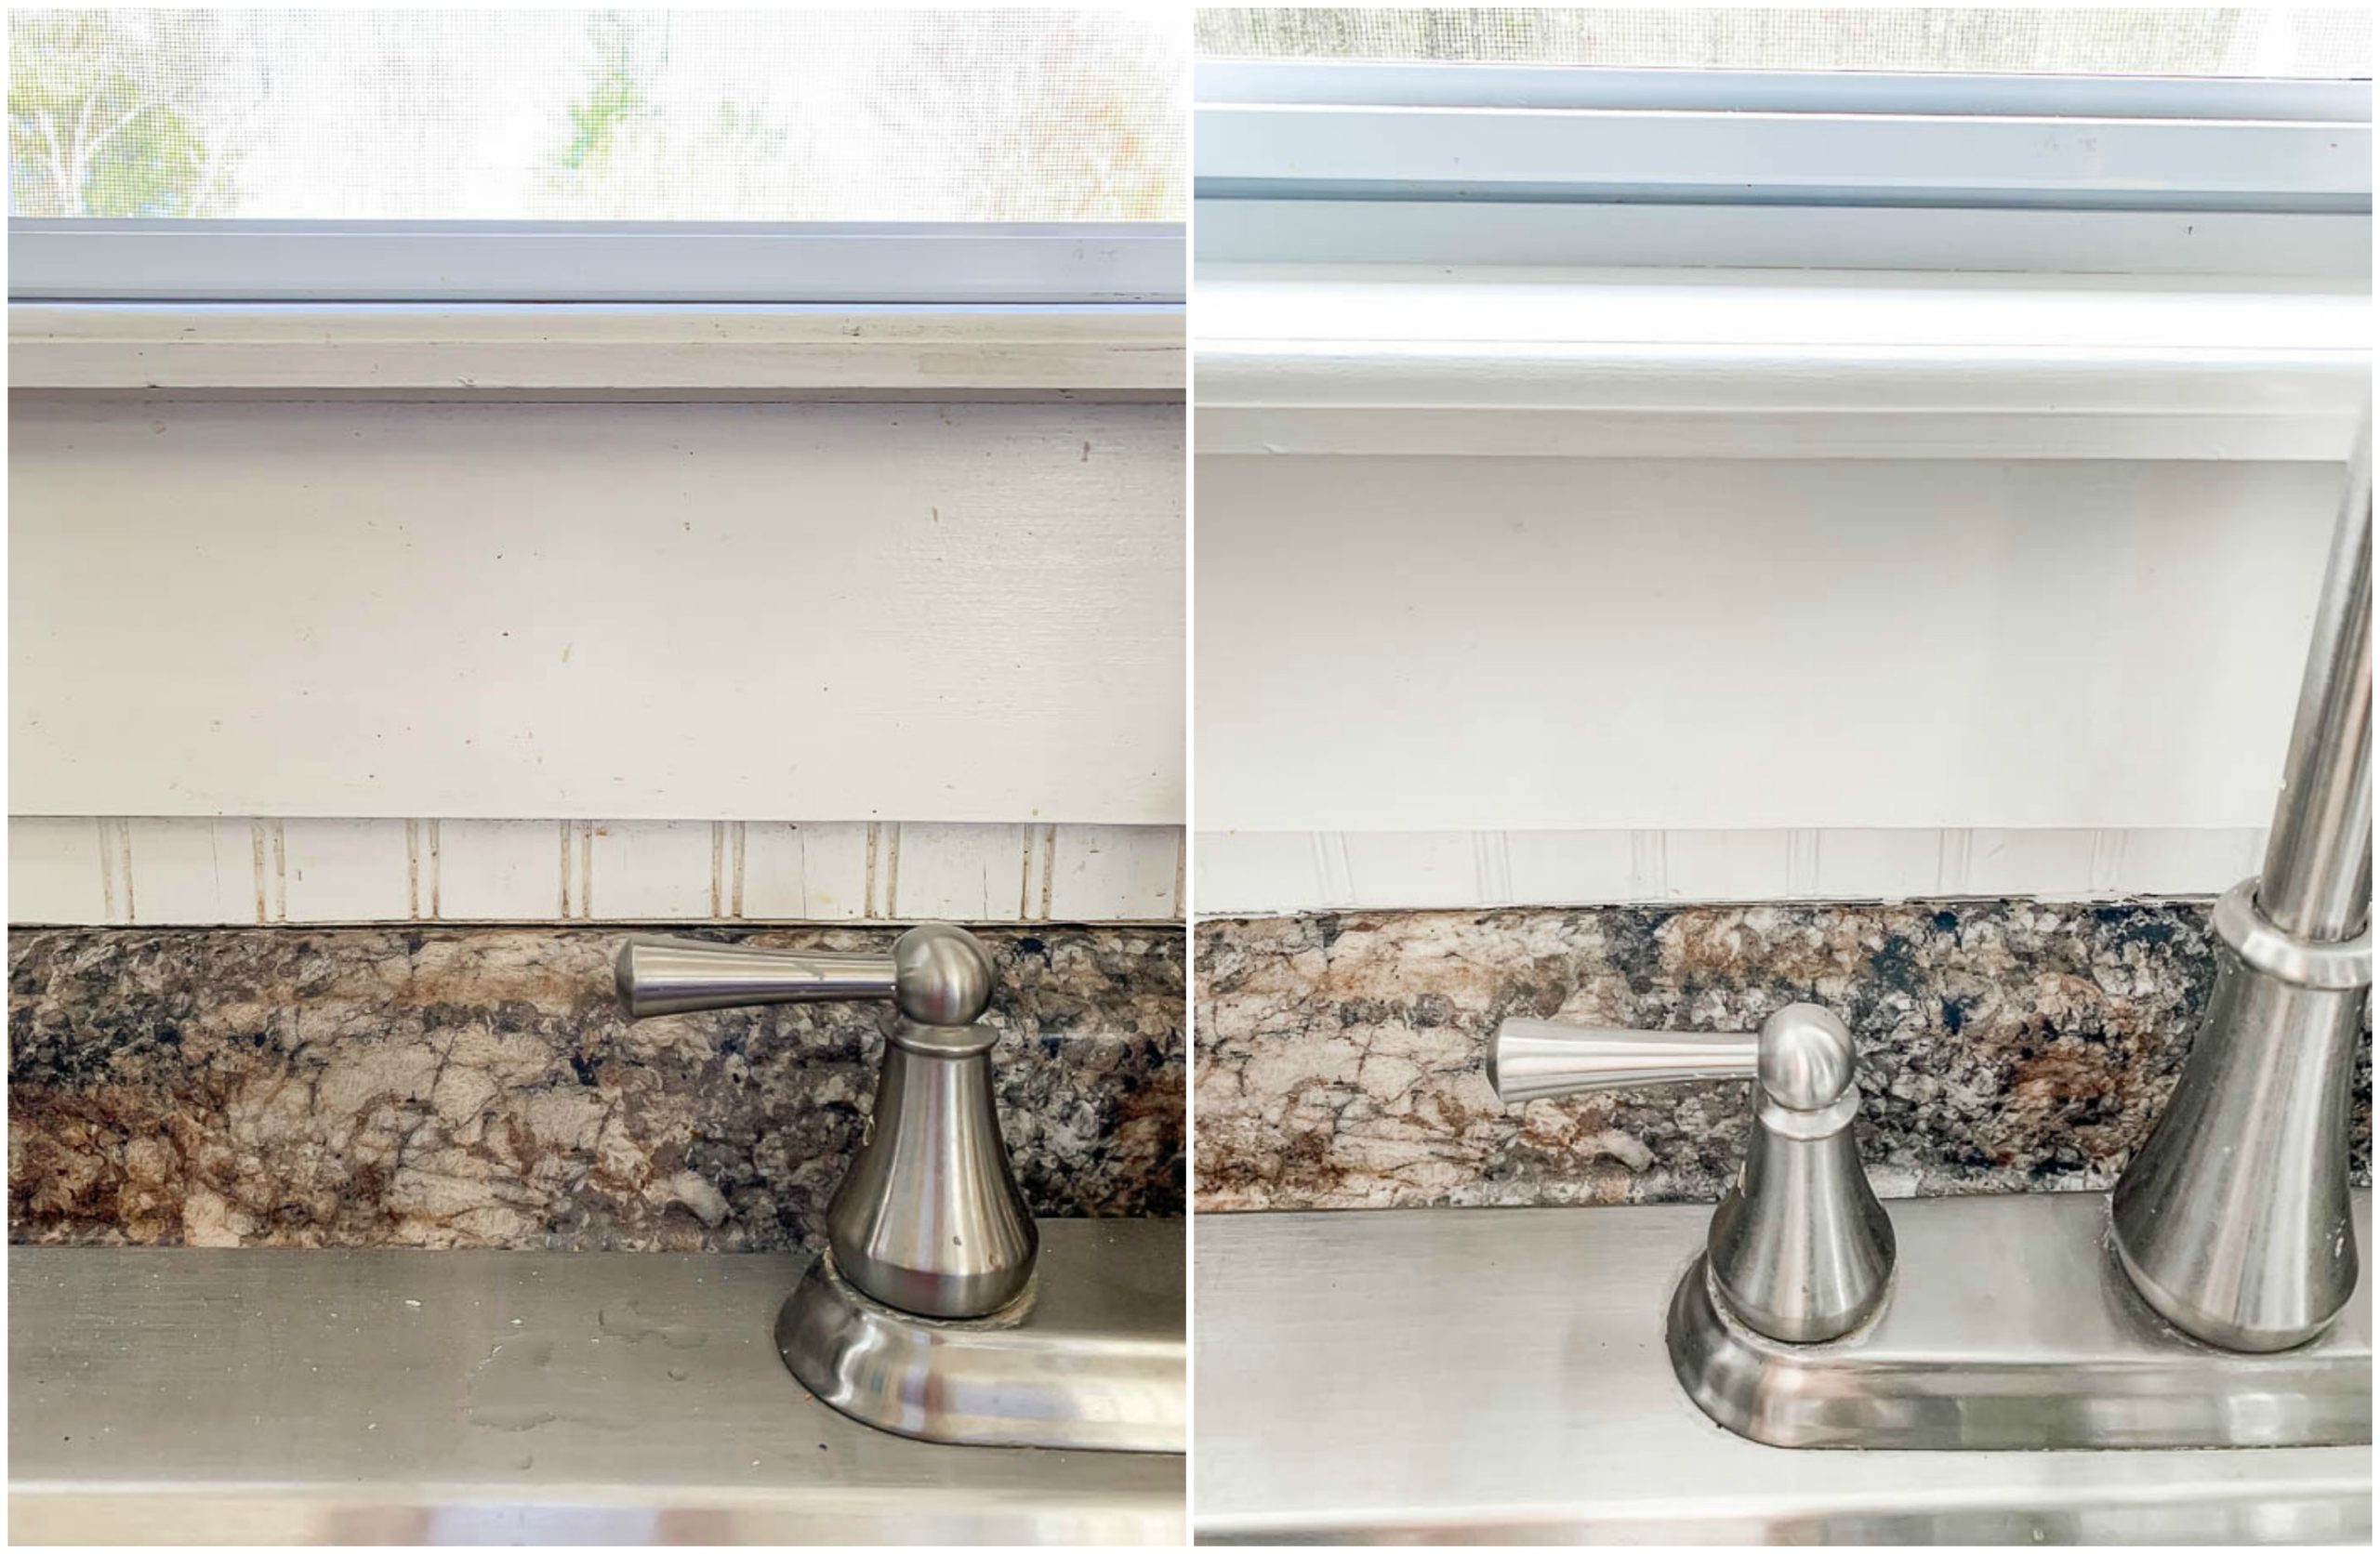
- Water stains or mold growth: If you see water stains or mold forming around the edges of your sink, it's a sign that water is seeping through and getting trapped between the sink and the counter.
- Aesthetic issues: Old or damaged caulk can also make your sink look unappealing. It can become discolored, stained, or just generally unsightly.
Over time, the caulk or sealant around your kitchen sink can wear out and become damaged. This can happen due to frequent use, exposure to water and cleaning products, or simply from old age. Here are some signs that it might be time to
replace your kitchen sink trim
:
- Cracking or peeling caulk: If you notice cracks or peeling in the caulk around your sink, it's a sign that it's no longer effectively sealing the edges of your sink.
- Water stains or mold growth: If you see water stains or mold forming around the edges of your sink, it's a sign that water is seeping through and getting trapped between the sink and the counter.
- Aesthetic issues: Old or damaged caulk can also make your sink look unappealing. It can become discolored, stained, or just generally unsightly.
The Benefits of Replacing Your Kitchen Sink Trim
 Replacing your kitchen sink trim can bring several benefits to your kitchen and home. Here are a few reasons why you should consider this simple upgrade:
- Prevent water damage: By replacing old and damaged caulk, you can ensure that water stays where it's supposed to - in the sink. This can prevent costly water damage to your countertops and cabinets.
- Improve hygiene: Mold growth and water stains can be breeding grounds for bacteria, making your kitchen a less hygienic space. Replacing the trim will eliminate these issues and create a cleaner and healthier environment for food preparation.
- Enhance the look of your kitchen: A fresh, new layer of caulk can make your kitchen sink look like new again. It can also provide a clean and seamless transition between the sink and counter, improving the overall appearance of your kitchen.
Replacing your kitchen sink trim can bring several benefits to your kitchen and home. Here are a few reasons why you should consider this simple upgrade:
- Prevent water damage: By replacing old and damaged caulk, you can ensure that water stays where it's supposed to - in the sink. This can prevent costly water damage to your countertops and cabinets.
- Improve hygiene: Mold growth and water stains can be breeding grounds for bacteria, making your kitchen a less hygienic space. Replacing the trim will eliminate these issues and create a cleaner and healthier environment for food preparation.
- Enhance the look of your kitchen: A fresh, new layer of caulk can make your kitchen sink look like new again. It can also provide a clean and seamless transition between the sink and counter, improving the overall appearance of your kitchen.
Conclusion
 Replacing kitchen sink trim
may seem like a small and insignificant task, but it can have a big impact on the functionality and aesthetics of your kitchen. If you notice any signs of wear and tear or simply want to give your sink a quick upgrade, consider replacing the trim for a fresh and clean look. Trust us, your kitchen will thank you.
Replacing kitchen sink trim
may seem like a small and insignificant task, but it can have a big impact on the functionality and aesthetics of your kitchen. If you notice any signs of wear and tear or simply want to give your sink a quick upgrade, consider replacing the trim for a fresh and clean look. Trust us, your kitchen will thank you.