If you've noticed that your kitchen sink plug hole is damaged or not functioning properly, it may be time to replace it. This DIY project may seem daunting, but with the right tools and knowledge, it can be a simple and affordable task. In this guide, we'll walk you through the steps of replacing a kitchen sink plug hole so you can have a fully functional and stylish sink in no time.How to Replace a Kitchen Sink Plug Hole
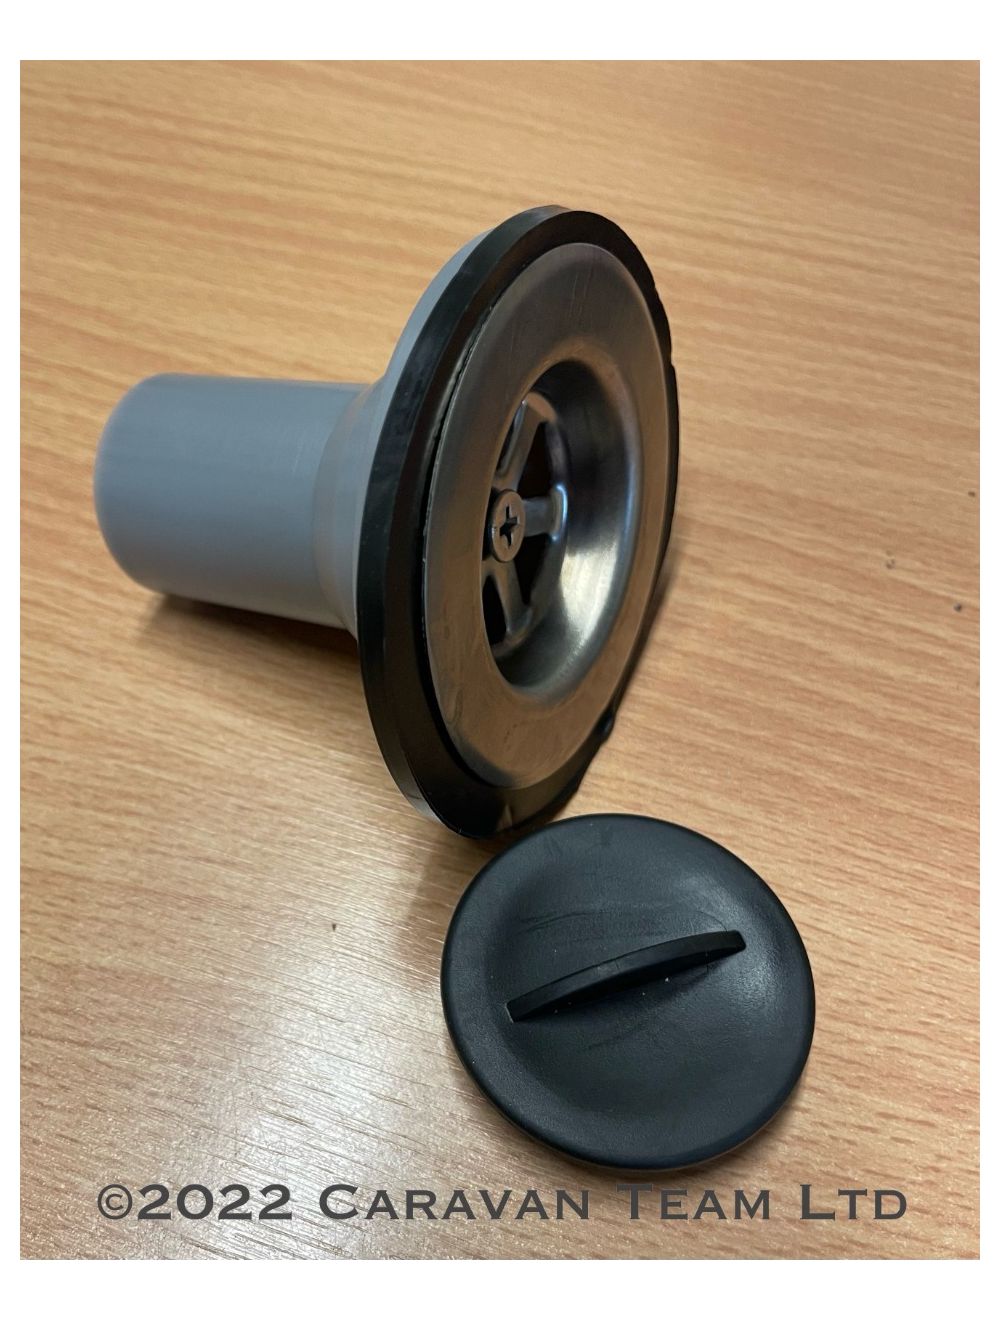
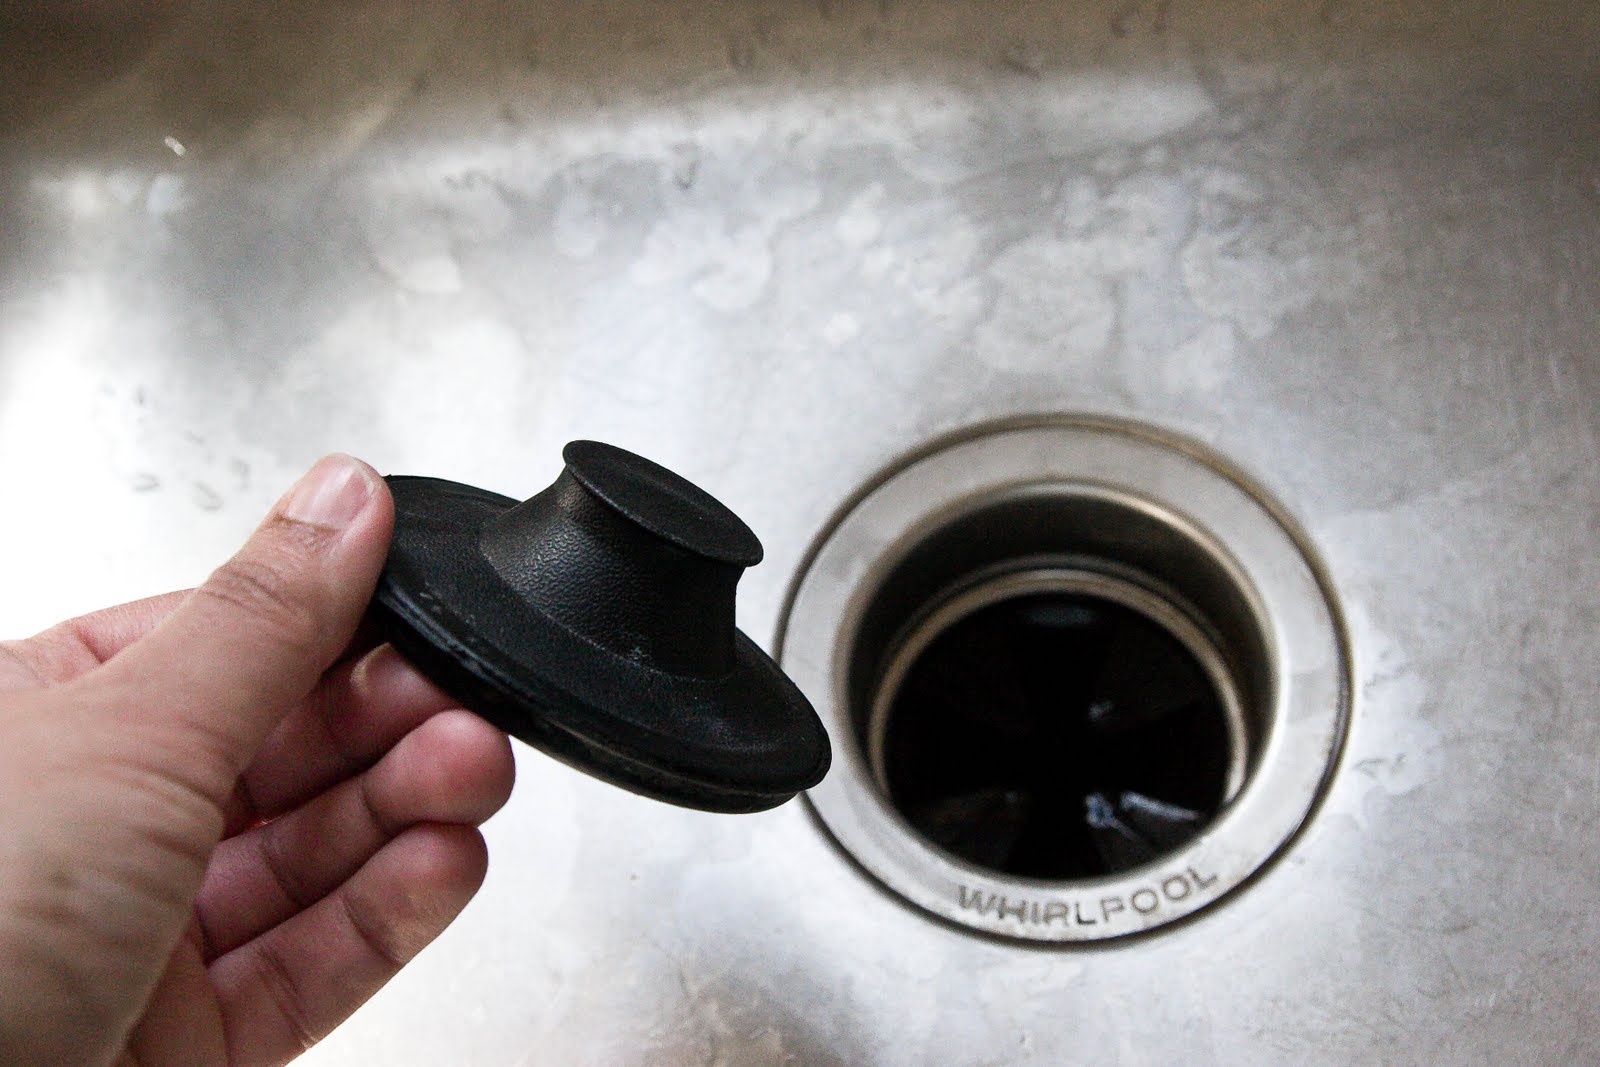
The first step in replacing a kitchen sink plug hole is to gather all the necessary tools and materials. This includes a new plug hole, plumber's putty, a wrench, a screwdriver, and a putty knife. Once you have everything you need, follow these steps: Step 1: Remove the Old Plug Hole The first thing you need to do is remove the old plug hole. Start by unscrewing the old drain and pulling it out. Then, use a putty knife to scrape off any remaining putty or debris around the hole. This will ensure a clean surface for the new plug hole. Step 2: Apply Plumber's Putty Roll a small amount of plumber's putty into a thin rope and wrap it around the lip of the new plug hole. Make sure it is evenly distributed and there are no gaps. This will create a watertight seal between the sink and the plug hole. Step 3: Insert the New Plug Hole Place the new plug hole into the sink, making sure it is centered and level. Then, from underneath the sink, thread the locknut onto the plug hole and tighten it with a wrench. This will secure the plug hole in place. Step 4: Connect the Drain Next, you'll need to connect the drain to the plug hole. This may vary depending on the type of sink and drain you have, so refer to the manufacturer's instructions for specific details. Once connected, use a screwdriver to tighten the drain into place. Step 5: Test for Leaks Turn on the water and let it run for a few minutes to test for leaks. If you notice any leaks, tighten the connections or add more plumber's putty as needed.Replacing a Kitchen Sink Plug Hole: A Step-by-Step Guide
Here are some additional tips and tricks to keep in mind when replacing a kitchen sink plug hole: Use a Silicone Sealant If you want extra protection against leaks, you can use a silicone sealant around the edges of the plug hole before tightening the locknut. This will provide an additional seal for added security. Check for Compatibility Make sure the new plug hole is compatible with your sink and drain before purchasing. This will save you time and hassle in the long run. Don't Overtighten Be careful not to overtighten the connections as this can cause damage to the sink or plug hole. Use a gentle but firm touch when tightening.Replacing a Kitchen Sink Plug Hole: Tips and Tricks
If you prefer a more visual guide, here is a step-by-step breakdown of how to replace a kitchen sink plug hole: 1. Gather tools and materials 2. Remove old plug hole 3. Apply plumber's putty 4. Insert new plug hole 5. Connect drain 6. Test for leaksStep-by-Step Guide to Replacing a Kitchen Sink Plug Hole
Here are some important things to keep in mind when replacing a kitchen sink plug hole: Size Matters Make sure to measure the size of your old plug hole before purchasing a new one. This will ensure a proper fit and save you from having to return or exchange it. Consider the Style There are various styles of plug holes available, so choose one that matches the design of your sink and kitchen. This will ensure a cohesive look. Don't Rush Take your time when replacing a kitchen sink plug hole. Rushing can lead to mistakes and cause more issues in the long run. Follow the steps carefully and make sure everything is properly connected and sealed.Replacing a Kitchen Sink Plug Hole: What You Need to Know
Here are some common mistakes to avoid when replacing a kitchen sink plug hole: Not Using Enough Plumber's Putty As mentioned earlier, plumber's putty is essential for creating a watertight seal. Make sure to use enough putty to ensure a proper seal. Skipping the Instructions Every sink and plug hole may have different installation instructions, so make sure to read and follow them carefully. Skipping or ignoring the instructions can lead to mistakes and potential issues. Forgetting to Turn Off the Water Before starting the replacement process, make sure to turn off the water supply to the sink. Forgetting to do so can result in a flooded kitchen and a bigger mess to clean up.Replacing a Kitchen Sink Plug Hole: Common Mistakes to Avoid
Now that you have all the necessary information and tips, you should feel confident in replacing your kitchen sink plug hole. Remember to take your time, follow the steps carefully, and don't be afraid to ask for help if needed.How to Replace a Kitchen Sink Plug Hole: A Comprehensive Guide
To recap, here are the tools and materials you'll need for this DIY project: - New plug hole - Plumber's putty - Wrench - Screwdriver - Putty knifeReplacing a Kitchen Sink Plug Hole: Tools and Materials You'll Need
If you encounter any issues during the replacement process, here are some troubleshooting tips: Leaking Connections If you notice any leaks around the connections, try tightening them with a wrench. If that doesn't work, you may need to add more plumber's putty to create a stronger seal. Improper Fit If the new plug hole doesn't fit properly, double-check the measurements and make sure it is compatible with your sink and drain. You may need to exchange it for a different size or style. Cracked or Damaged Sink If you notice any cracks or damage to your sink during the replacement process, it may be time to replace the entire sink. Contact a professional for assistance if needed.Replacing a Kitchen Sink Plug Hole: Troubleshooting Common Issues
Why Replacing Your Kitchen Sink Plug Hole is Essential for a Functional and Stylish Kitchen

Upgrade Your Kitchen with a New Sink Plug Hole
 The kitchen sink is often the most used and overlooked feature in a kitchen. From washing dishes to preparing meals, the sink is an essential part of any functional kitchen. However, many homeowners neglect to pay attention to the sink's plug hole. Over time, the plug hole can become worn, damaged, and unsightly. This not only affects the overall appearance of your kitchen but can also cause inconvenience and even potential plumbing issues. That's why it's important to replace your kitchen sink plug hole when necessary. Here's why.
Ensure Proper Functionality
 The main purpose of a kitchen sink plug hole is to prevent water from draining out while you are filling up the sink. However, if the plug hole is worn or damaged, it may not create a proper seal, causing water to leak out. This can be a huge inconvenience when you are trying to clean dishes or fill up a pot with water. By replacing your plug hole, you can ensure that your sink functions properly and avoid any potential water damage or wastage.
Improve the Appearance of Your Kitchen
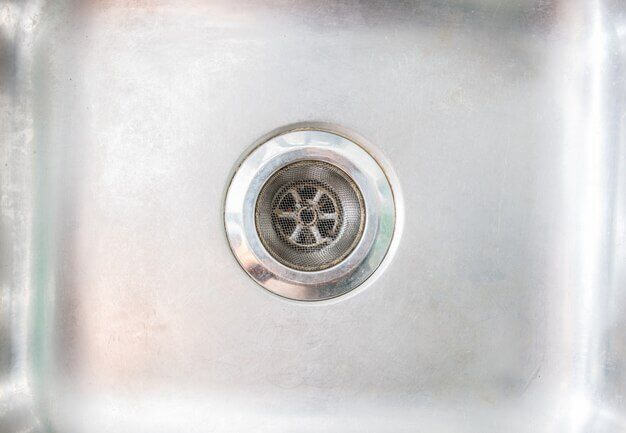
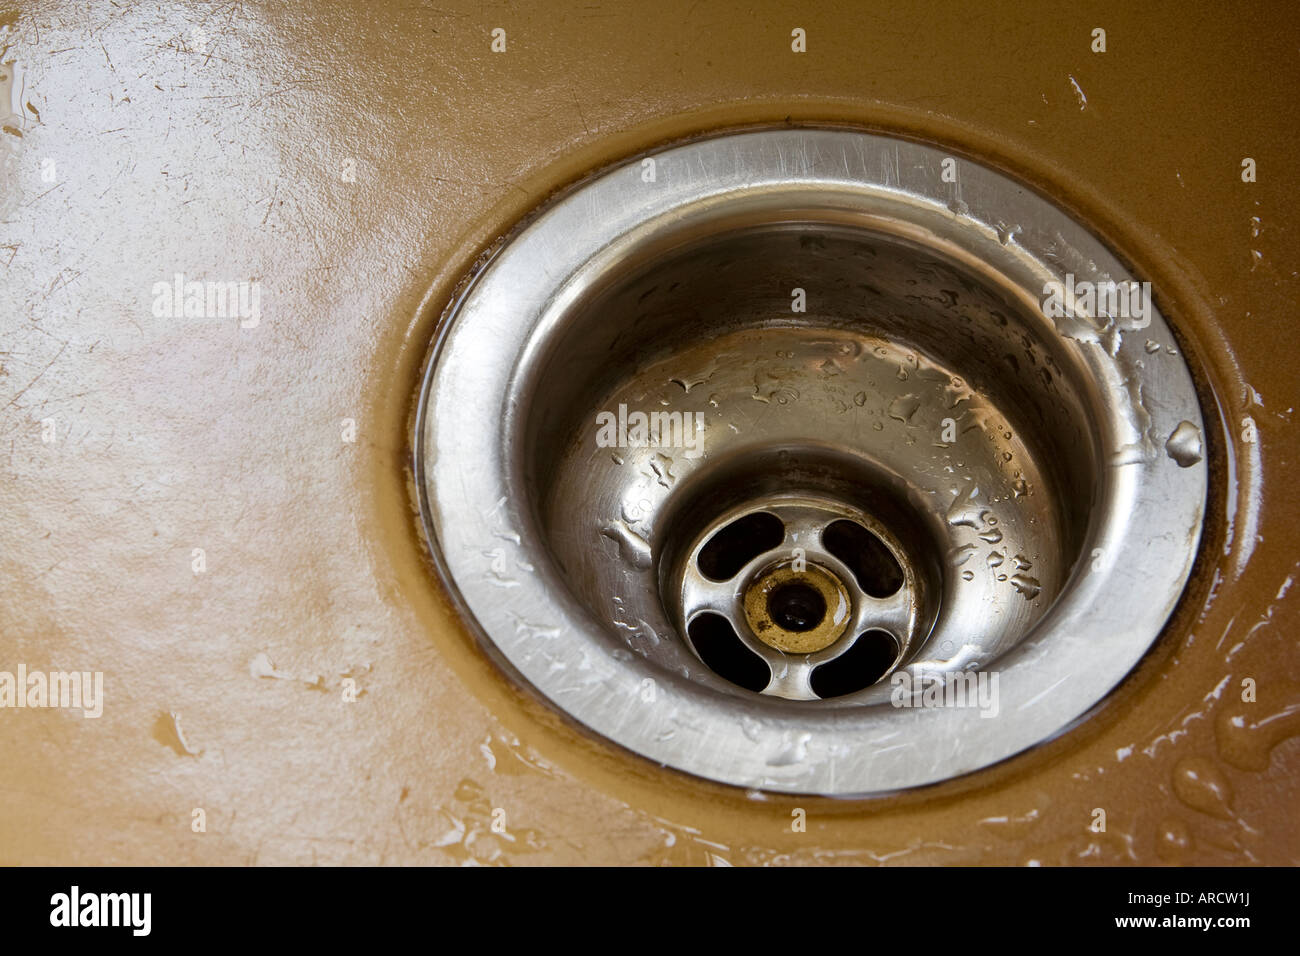
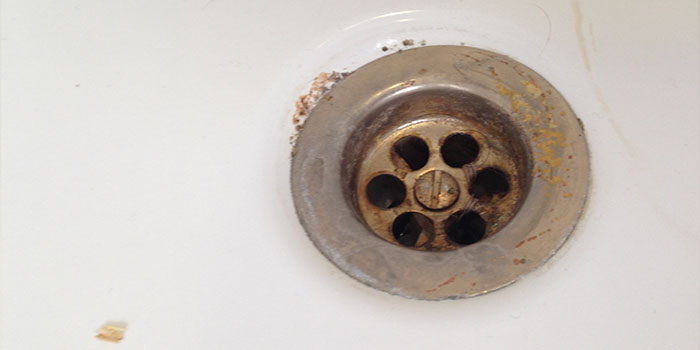
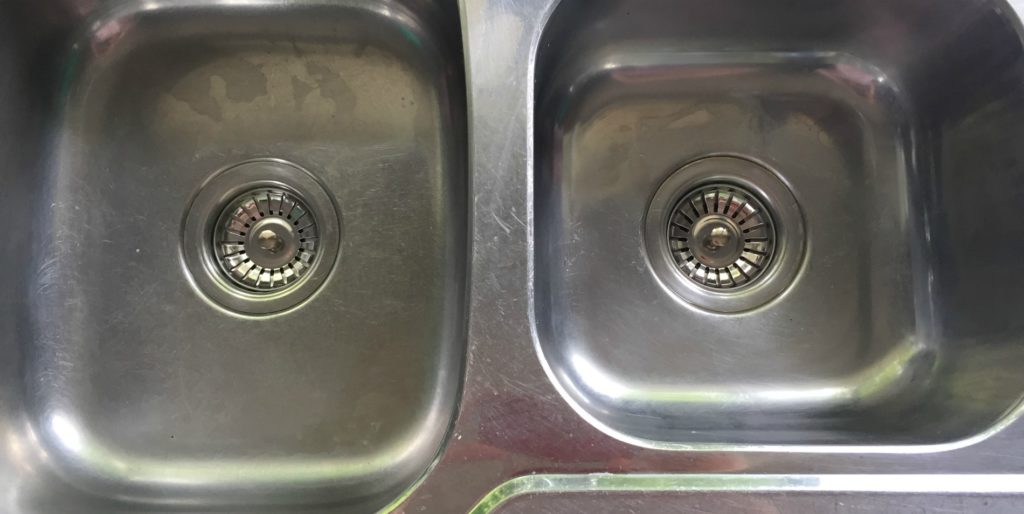 Let's face it, a worn and damaged plug hole can be an eyesore in an otherwise beautiful kitchen. It can make your sink look dingy and old, even if the rest of your kitchen is modern and stylish. By replacing your plug hole, you can instantly improve the overall appearance of your kitchen. You can choose from a variety of sleek and modern plug hole designs that will enhance the aesthetic of your sink and give your kitchen a fresh new look.
Prevent Clogs and Plumbing Issues
 A damaged plug hole can also lead to plumbing issues if left unattended. Bits of food, hair, and other debris can easily get trapped in the damaged plug hole, causing clogs and potentially damaging your pipes. This can result in costly repairs and inconvenience in the long run. By replacing your plug hole, you can prevent these issues and ensure that your kitchen plumbing runs smoothly.
Conclusion
 In conclusion, replacing your kitchen sink plug hole is essential for a functional and stylish kitchen. It ensures proper functionality, improves the appearance of your kitchen, and prevents clogs and plumbing issues. So if your plug hole is worn, damaged, or simply outdated, it's time to upgrade and give your kitchen the attention it deserves. Trust us, you won't regret it.


