Replacing a kitchen sink basket strainer may seem like a daunting task, but with the right tools and knowledge, it can be a relatively simple process. Whether your old strainer is damaged or simply in need of an update, here is a step-by-step guide on how to replace it and install a new one.How to Replace a Kitchen Sink Basket Strainer
Installing a kitchen sink basket strainer is a necessary task when replacing an old or damaged one. It can also be done as a DIY project to update the look of your sink. To ensure a successful replacement and installation, it is important to follow these steps carefully.How to Install a Kitchen Sink Basket Strainer
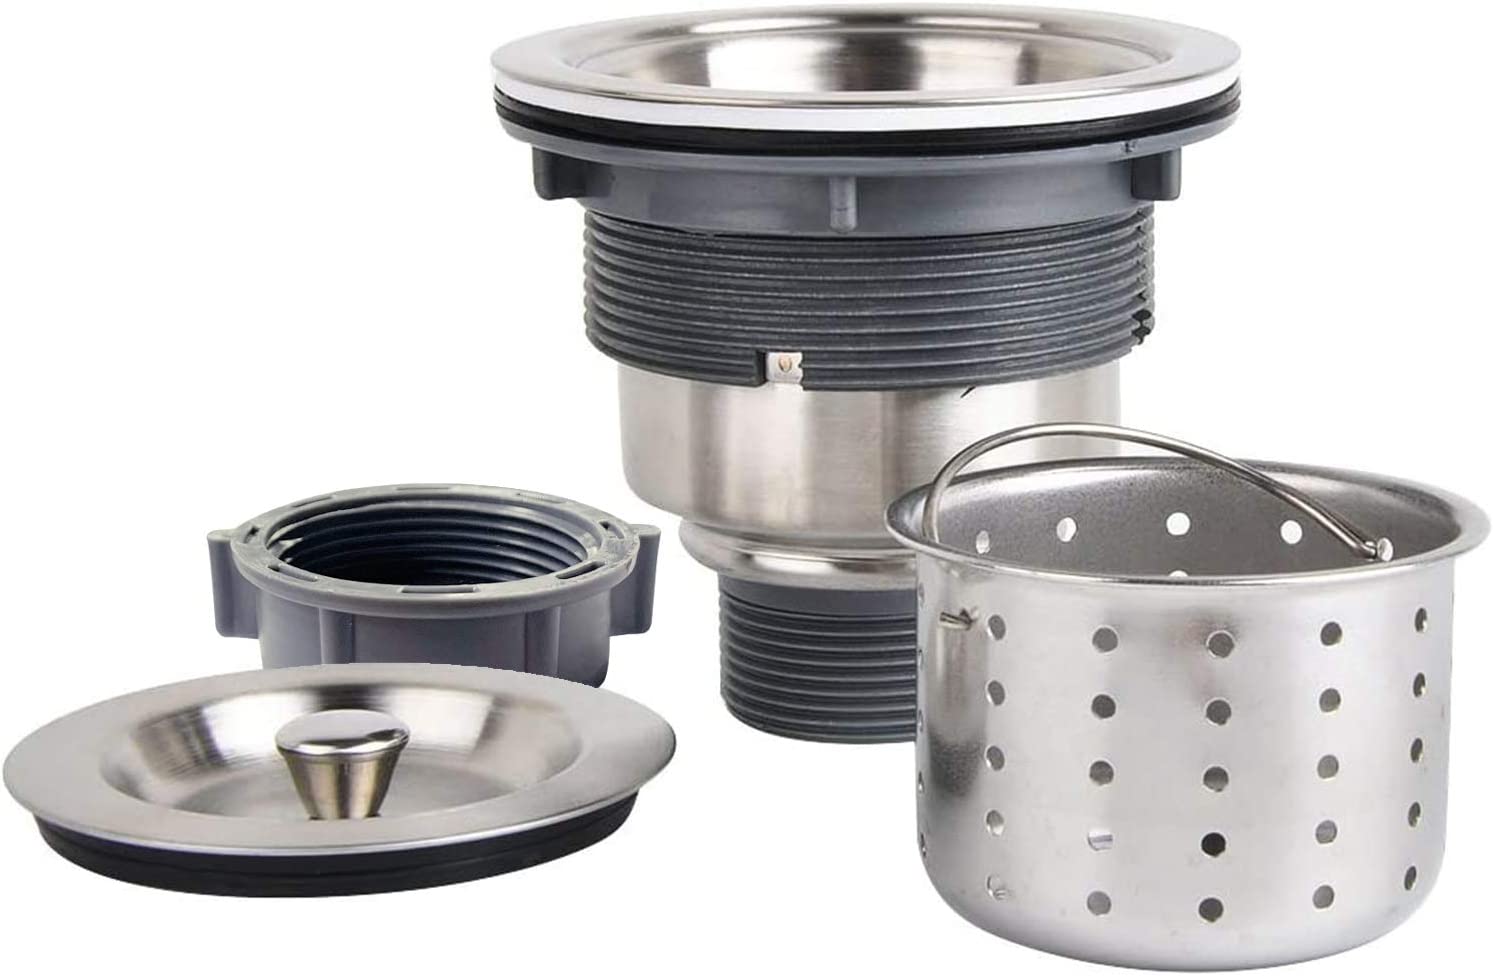
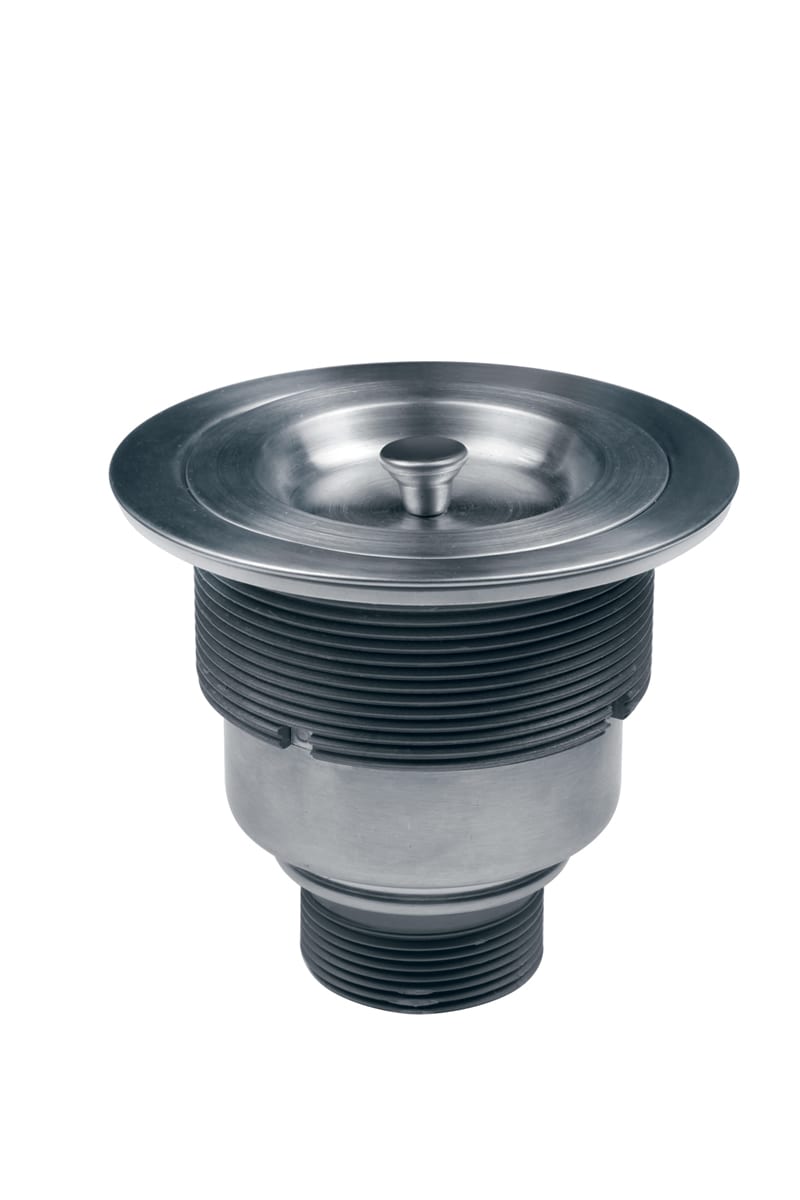
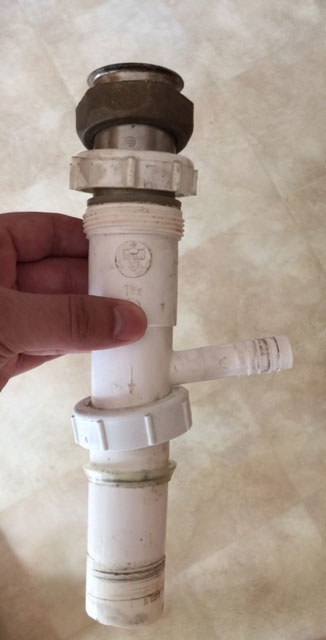
Step 1: Gather your tools and materials. For this project, you will need a sink strainer wrench, a putty knife, plumber's putty, a new basket strainer, and a screwdriver. Step 2: Turn off the water supply to your sink by shutting off the valves under the sink. Step 3: Use the sink strainer wrench to loosen and remove the old strainer. This may require some force, but be careful not to damage the sink or the pipes. Step 4: Use the putty knife to remove any old putty or debris from the sink and the drain hole. Step 5: Roll out a small amount of plumber's putty and form it into a rope-like shape. Place it around the edge of the drain hole on the sink. Step 6: Place the new basket strainer into the drain hole, making sure it is centered and level. Press down firmly to create a seal with the plumber's putty. Step 7: Under the sink, place the rubber gasket and metal nut onto the basket strainer and tighten with the sink strainer wrench. Step 8: Attach the new strainer assembly to the sink using the included screws and a screwdriver. Step 9: Turn the water supply back on and check for any leaks. If there are any, tighten the connections further with the sink strainer wrench.Replacing a Kitchen Sink Basket Strainer: Step-by-Step Guide
Replacing a kitchen sink basket strainer can be a DIY project, saving you time and money. By following the steps outlined above, you can easily replace an old or damaged strainer and give your sink a fresh new look.DIY Kitchen Sink Basket Strainer Replacement
- When choosing a new basket strainer, make sure it is the same size and type as your old one to ensure a proper fit. - If you are having trouble removing the old strainer, try using a hairdryer to warm up the putty and make it easier to loosen. - Plumber's putty can stain some sink materials, so use it sparingly and clean up any excess immediately. - If you are unsure of how to turn off the water supply to your sink, consult a professional plumber before beginning the project.Replacing a Kitchen Sink Basket Strainer: Tips and Tricks
With the right tools and knowledge, replacing a kitchen sink basket strainer can be a quick and easy process. By following these steps and tips, you can replace your old or damaged strainer and have a functioning sink in no time.Quick and Easy Kitchen Sink Basket Strainer Replacement
- Not turning off the water supply before beginning the project can result in a flooded kitchen. - Using too much plumber's putty can create a messy and difficult cleanup. - Not tightening the connections enough can lead to leaks.Replacing a Kitchen Sink Basket Strainer: Common Mistakes to Avoid
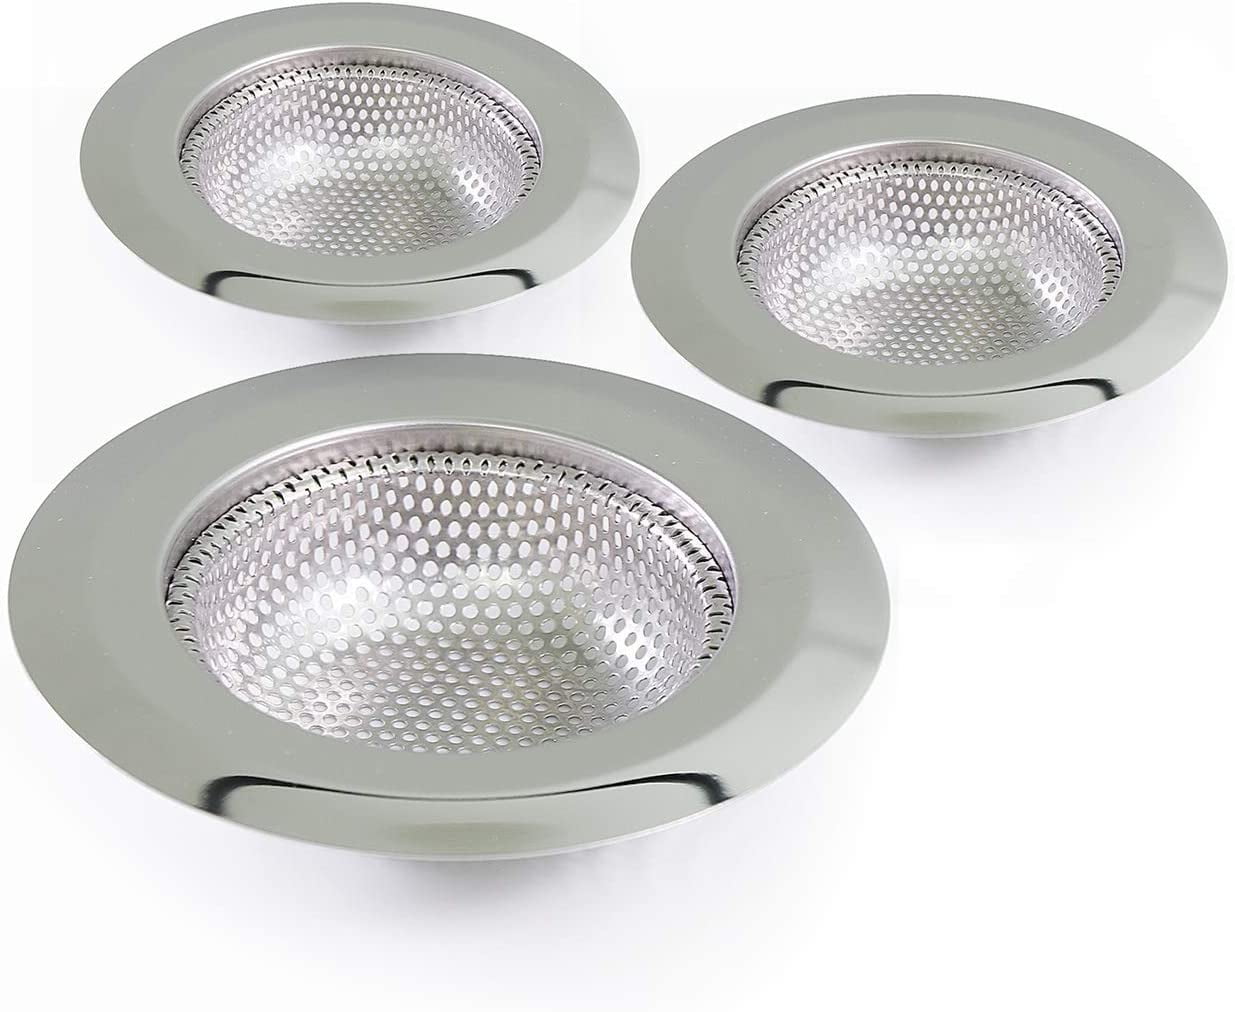
When choosing a new basket strainer for your kitchen sink, it is important to consider the size, type, and material of your sink. This will ensure a proper fit and prevent any potential issues with installation.How to Choose the Right Kitchen Sink Basket Strainer for Your Sink
- Sink strainer wrench - Putty knife - Plumber's putty - New basket strainer - ScrewdriverReplacing a Kitchen Sink Basket Strainer: Tools and Materials You'll Need
1. Gather your tools and materials. 2. Turn off the water supply to your sink. 3. Loosen and remove the old strainer. 4. Clean the sink and drain hole. 5. Apply plumber's putty around the drain hole. 6. Install the new basket strainer. 7. Secure the strainer with a rubber gasket and metal nut. 8. Attach the strainer assembly to the sink. 9. Turn the water supply back on and check for leaks. By following these steps and tips, you can easily replace your kitchen sink basket strainer and have a functioning sink in no time. Remember to choose the right tools and materials for the job and always turn off the water supply before beginning the project. Happy replacing!Step-by-Step Guide to Replacing a Kitchen Sink Basket Strainer
Why You Should Consider Replacing Your Kitchen Sink Basket Strainer

Maintain a Clean and Functional Kitchen
 When it comes to designing your dream kitchen, the sink is often the centerpiece. It's where you do everything from washing dishes to preparing meals, making it one of the most used and important fixtures in your kitchen. That's why it's essential to keep it in top condition, and one way to do that is by replacing your kitchen sink basket strainer.
Kitchen sink basket strainers
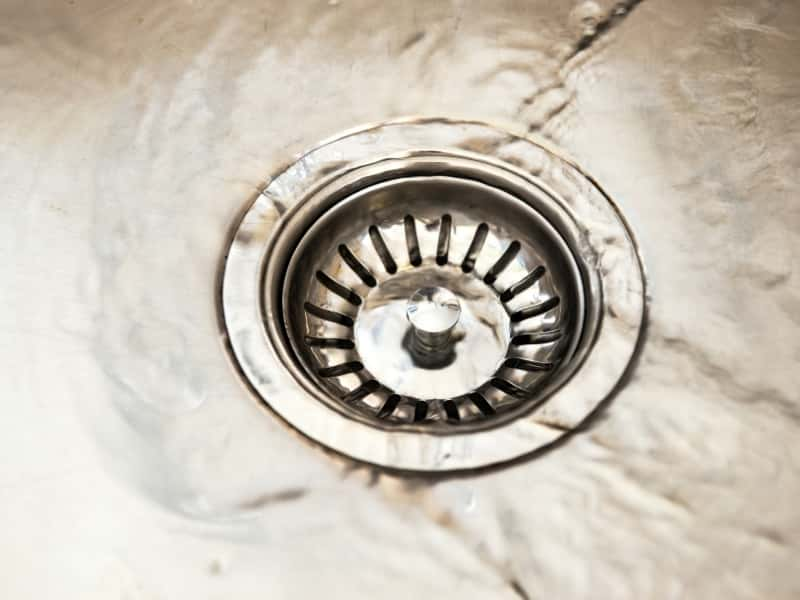
play a crucial role in keeping your sink clean and functional. They are responsible for catching food scraps and other debris, preventing them from clogging your pipes and causing unpleasant odors. However, over time, these strainers can become worn out and less effective, leading to a host of issues for your kitchen sink.
Prevent Costly Plumbing Issues
 A malfunctioning or damaged kitchen sink basket strainer can lead to bigger problems, such as clogged pipes and leaks. These issues can be expensive to fix and can disrupt your daily routine. By regularly replacing your strainer, you can prevent these issues from occurring and save yourself from the hassle and expense of dealing with plumbing problems.
Replacing your kitchen sink basket strainer
is a small investment that can save you from bigger headaches down the line. It's a simple and cost-effective way to maintain the functionality and cleanliness of your kitchen.
Add a Touch of Style to Your Kitchen
 Aside from its functional benefits, replacing your kitchen sink basket strainer can also give your kitchen a fresh new look. With various designs and finishes to choose from, you can add a touch of style and personality to your sink area. Whether you prefer a modern, sleek look or a more traditional vibe, there's a strainer that can complement your kitchen's design.
Kitchen sink basket strainers
may seem like a small and insignificant part of your kitchen, but they play a significant role in its overall functionality and aesthetic. By replacing them, you can maintain a clean and functional kitchen, prevent costly plumbing issues, and add a stylish touch to your space. So, if you haven't replaced your kitchen sink basket strainer in a while, it's time to give it some attention and invest in a new one. Your kitchen will thank you for it.












/how-to-install-a-sink-drain-2718789-hero-b5b99f72b5a24bb2ae8364e60539cece.jpg)


