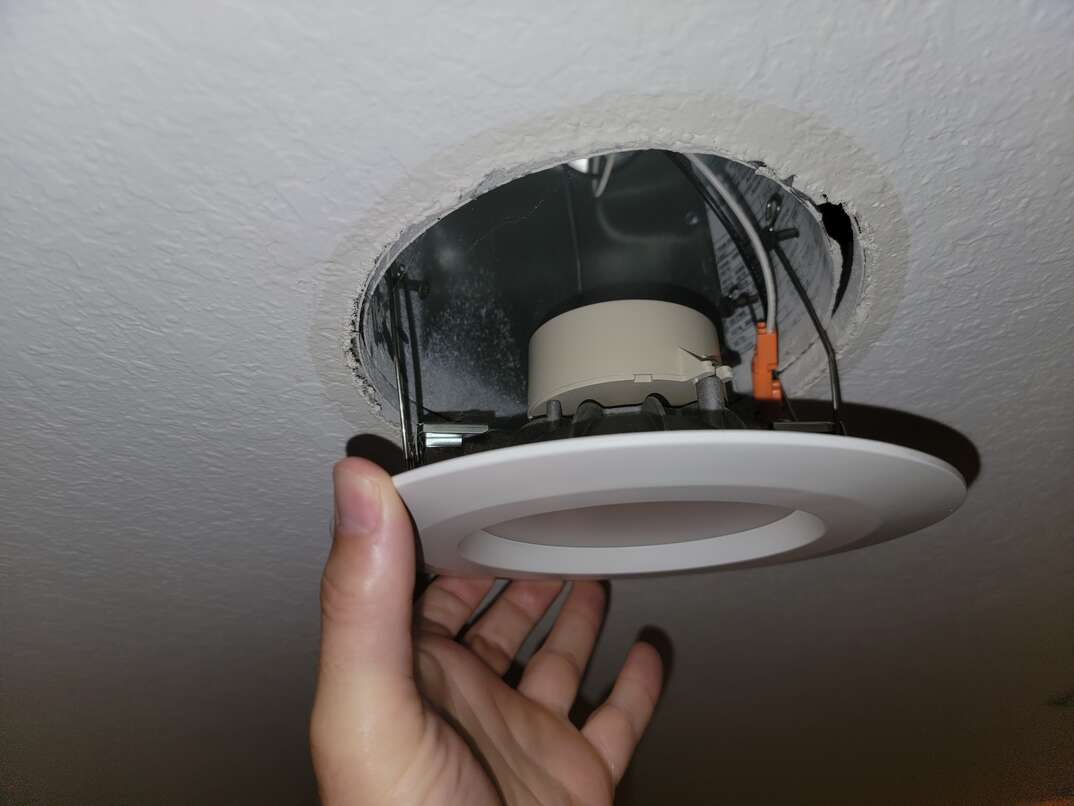
How to Replace a Kitchen Light with a Recessed Ceiling Light
Replacing a kitchen light with a recessed ceiling light can be a great way to update the look and feel of your kitchen. Not only does it provide better lighting, but it also gives your kitchen a more modern and sleek look. If you're ready to take on this DIY project, here's a step-by-step guide to help you get started.
Replacing a Kitchen Light with a Recessed Ceiling Light: A Step-by-Step Guide
Step 1: Gather Your Materials
The first step is to gather all the necessary materials for this project. You will need a recessed ceiling light kit, a drill, a drywall saw, wire strippers, wire connectors, and a ladder. Make sure to read the instructions carefully before starting.
Step 2: Turn off the Power
Before you start working on the light fixture, make sure to turn off the power to the kitchen. You can do this by flipping the switch on your circuit breaker. It's always better to be safe than sorry when dealing with electricity.
Step 3: Remove the Old Light Fixture
Using a drill, remove the old light fixture from the ceiling. Be sure to save any screws or mounting hardware that you will need later on. Once the fixture is removed, disconnect the wires and set the old fixture aside.
Step 4: Cut a Hole in the Ceiling
Using a drywall saw, cut a hole in the ceiling where the new recessed light will be placed. Follow the instructions provided with your recessed light kit to determine the size of the hole needed.
Step 5: Install the Recessed Light Fixture
Take the recessed light kit and follow the instructions to install it in the hole you just cut. Make sure it is securely attached to the ceiling and any wiring is properly connected.
Step 6: Connect the Wiring
Using wire strippers, strip the ends of the wires attached to the recessed light and connect them to the corresponding wires in the ceiling. Use wire connectors to secure the connections and make sure there are no exposed wires.
Step 7: Test the Light
Before finishing up, turn the power back on and test the new light fixture to make sure it is working properly. If everything checks out, turn the power back off and proceed to the final step.
Step 8: Install the Trim
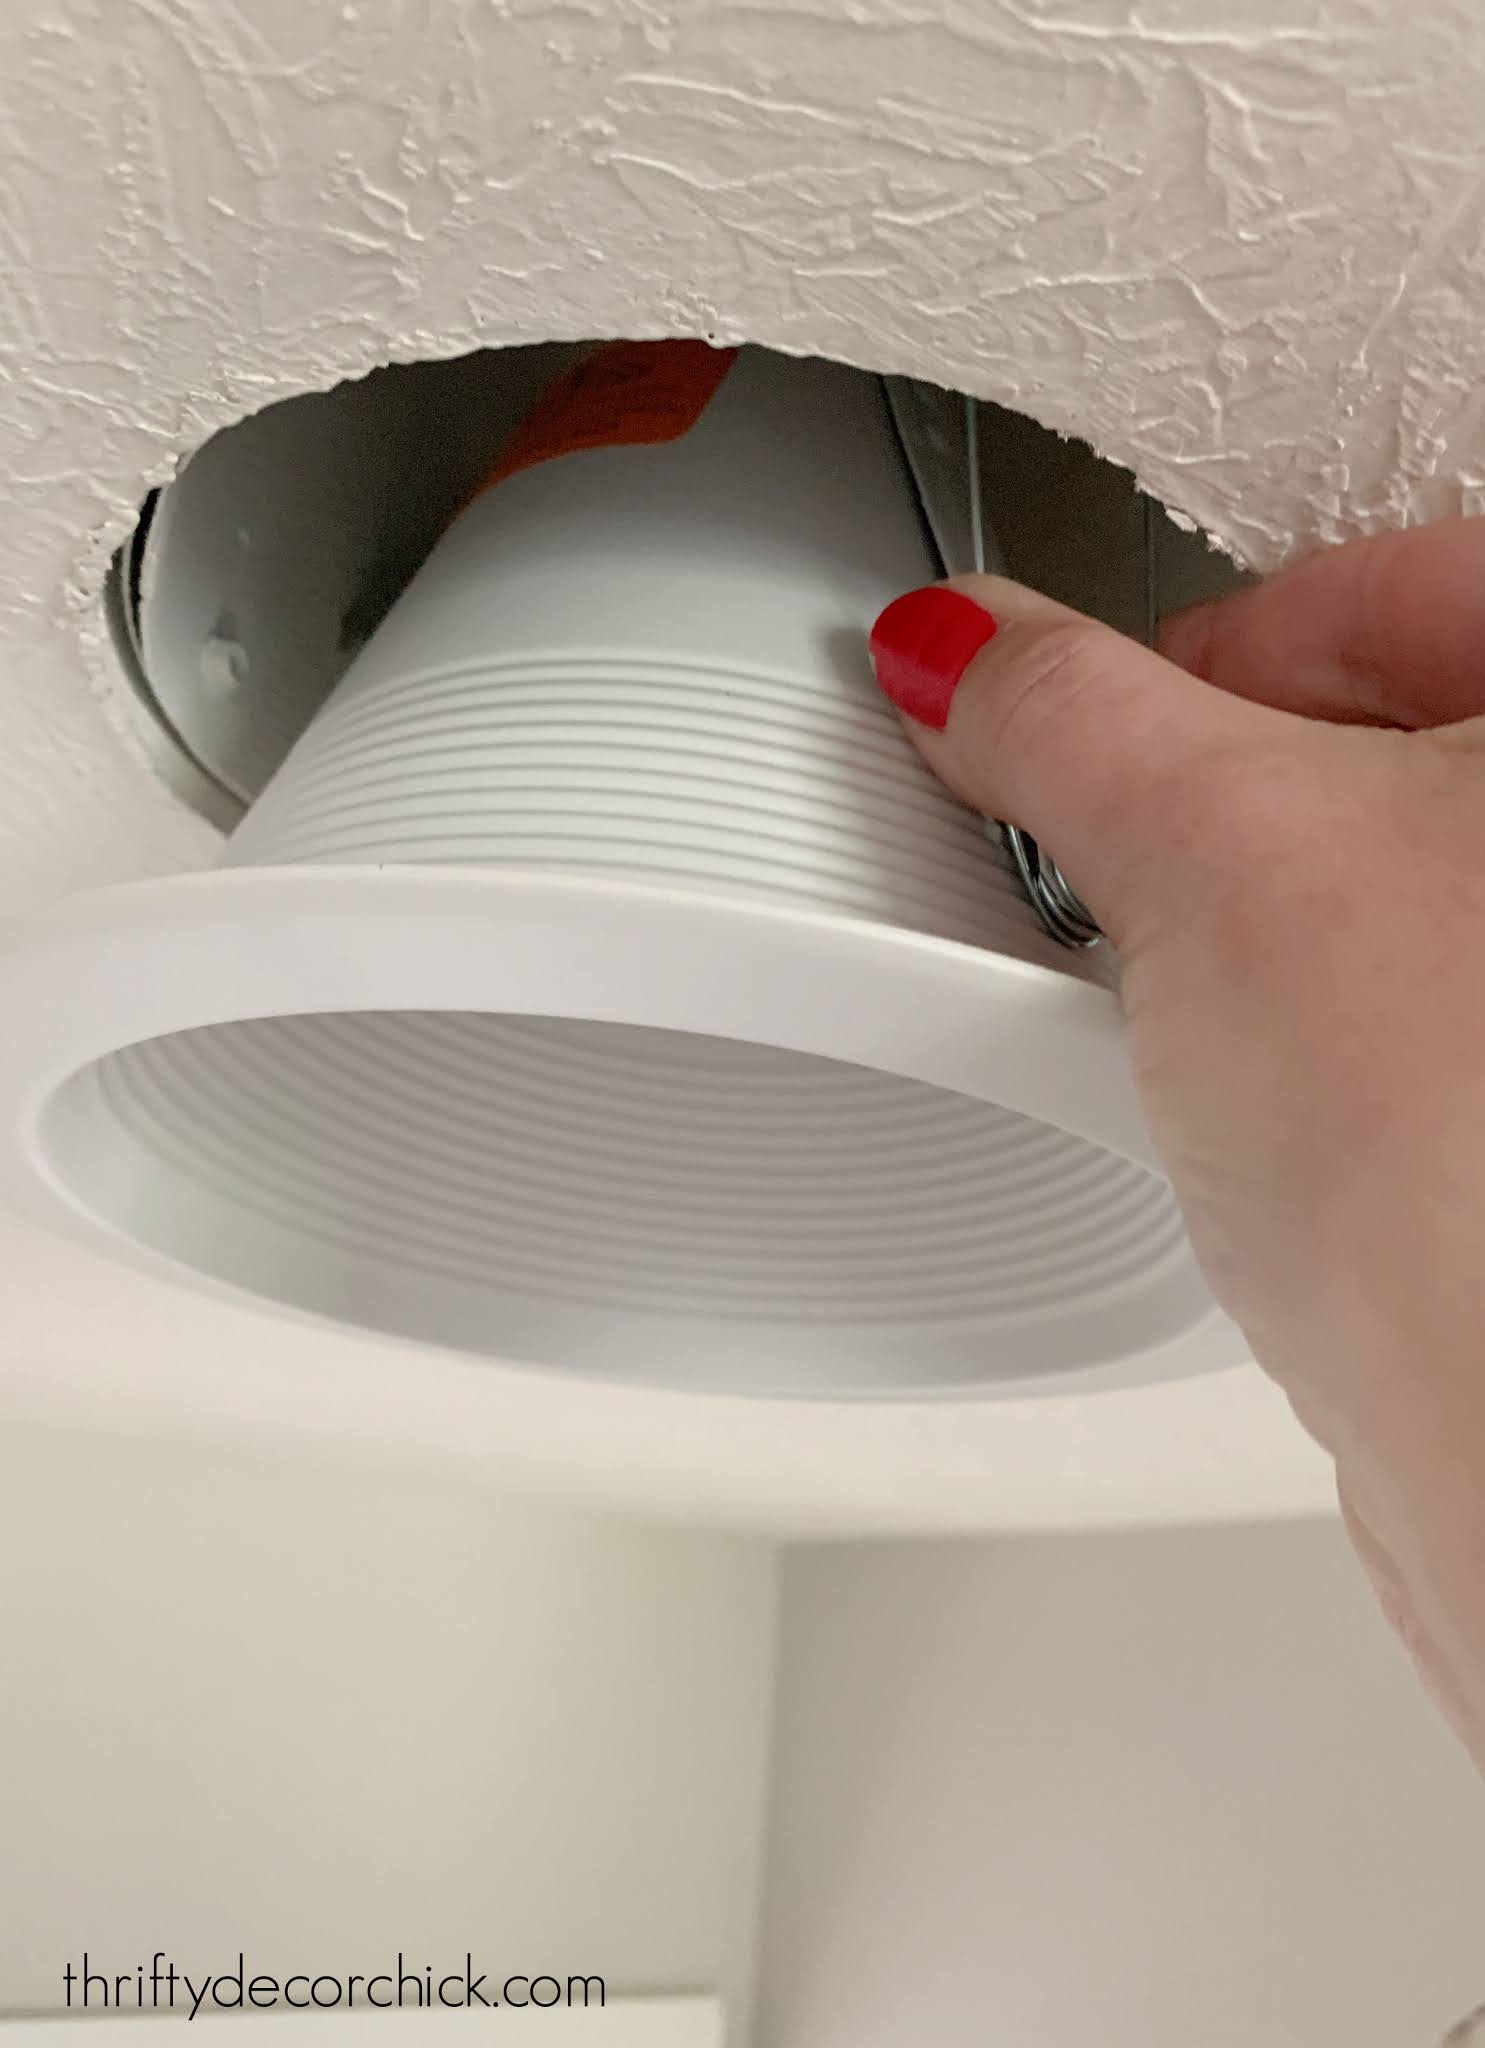
The final step is to install the trim on the recessed light fixture. This will give it a finished look and help to blend it in with the rest of your ceiling. Follow the instructions provided with your recessed light kit to properly install the trim.
Transform Your Kitchen with a Recessed Ceiling Light: A DIY Guide
Replacing a kitchen light with a recessed ceiling light can completely transform the look and feel of your kitchen. Not only does it provide better lighting, but it also gives your kitchen a modern and sophisticated touch. With just a few simple steps, you can upgrade your kitchen lighting in no time.
Replacing a Kitchen Light with a Recessed Ceiling Light: Tips and Tricks
Here are a few tips and tricks to keep in mind when replacing a kitchen light with a recessed ceiling light:
• Measure carefully to ensure the hole for the recessed light is the correct size.
• Always turn off the power before working with any electrical wiring.
• Use a stud finder to locate ceiling joists for a more secure installation.
• Consider using LED bulbs for energy efficiency and longer-lasting lighting.
• Don't be afraid to ask for help if needed, especially when dealing with electrical work.
Upgrade Your Kitchen Lighting: Replacing a Light with a Recessed Ceiling Light
If you're looking to upgrade your kitchen lighting, replacing a light with a recessed ceiling light is a great option. It not only provides better lighting, but it also gives your kitchen a more modern and polished look. With just a few tools and some basic knowledge, you can easily tackle this DIY project.
DIY Kitchen Lighting Upgrade: Replacing a Light with a Recessed Ceiling Light
Don't want to spend a lot of money on a kitchen lighting upgrade? DIY it! Replacing a kitchen light with a recessed ceiling light is a budget-friendly way to give your kitchen a fresh and updated look. With some basic tools and a little bit of patience, you can achieve a professional-looking result without breaking the bank.
DIY: How to Replace a Kitchen Light with a Recessed Ceiling Light
Replacing a kitchen light with a recessed ceiling light may seem like a daunting task, but with the right tools and instructions, it can be a simple DIY project. By following these steps and taking proper safety precautions, you can successfully replace your kitchen light and enjoy a brighter, more stylish kitchen in no time.
Replacing a Kitchen Light with a Recessed Ceiling Light: What You Need to Know
Before starting this project, there are a few things you should keep in mind:
• Make sure to read and follow the instructions provided with your recessed light kit.
• Take your time and be patient to avoid any mistakes.
• Don't be afraid to seek professional help if you are unsure about any step of the process.
• Always prioritize safety and turn off the power before working with any electrical wiring.
Step-by-Step Guide to Replacing a Kitchen Light with a Recessed Ceiling Light
Here is a step-by-step guide to help you replace a kitchen light with a recessed ceiling light:
Step 1: Gather all the necessary materials.
Step 2: Turn off the power to the kitchen.
Step 3: Remove the old light fixture.
Step 4: Cut a hole in the ceiling.
Step 5: Install the recessed light fixture.
Step 6: Connect the wiring.
Step 7: Test the light.
Step 8: Install the trim.
Why You Should Consider Replacing Your Kitchen Light with Recessed Ceiling Lights
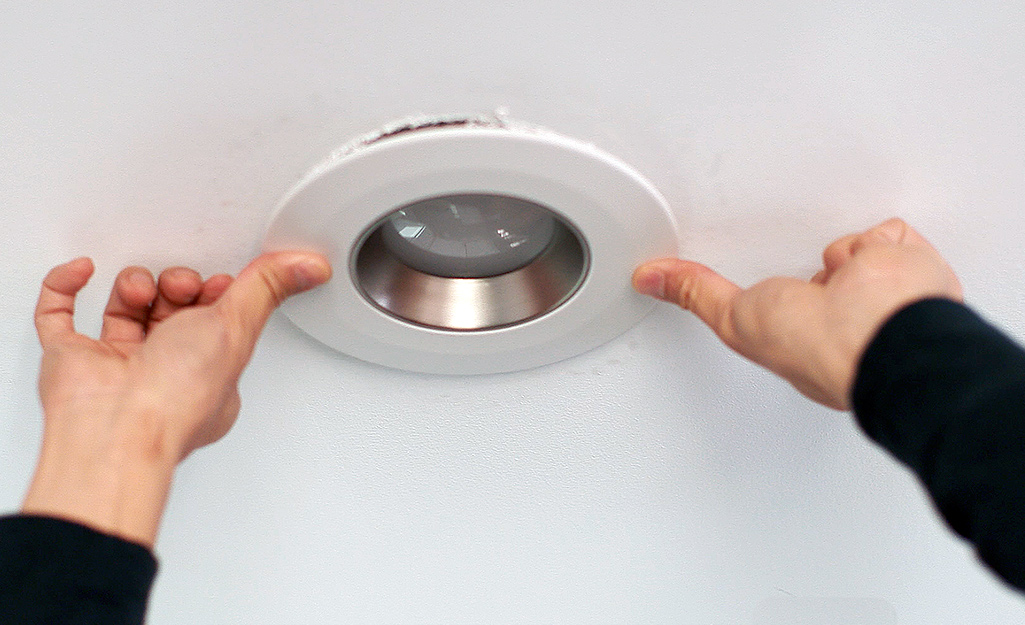
The Importance of Proper Lighting in House Design
 In house design, lighting plays a crucial role in creating a functional and aesthetically pleasing space. It not only allows you to see and perform tasks easily, but it also sets the mood and ambiance of a room. This is especially true in the kitchen, where proper lighting is essential for cooking, cleaning, and entertaining. That's why it's important to carefully consider the type of lighting you use in your kitchen, and one option that is gaining popularity is replacing traditional kitchen lights with
recessed ceiling lights
.
What are Recessed Ceiling Lights?
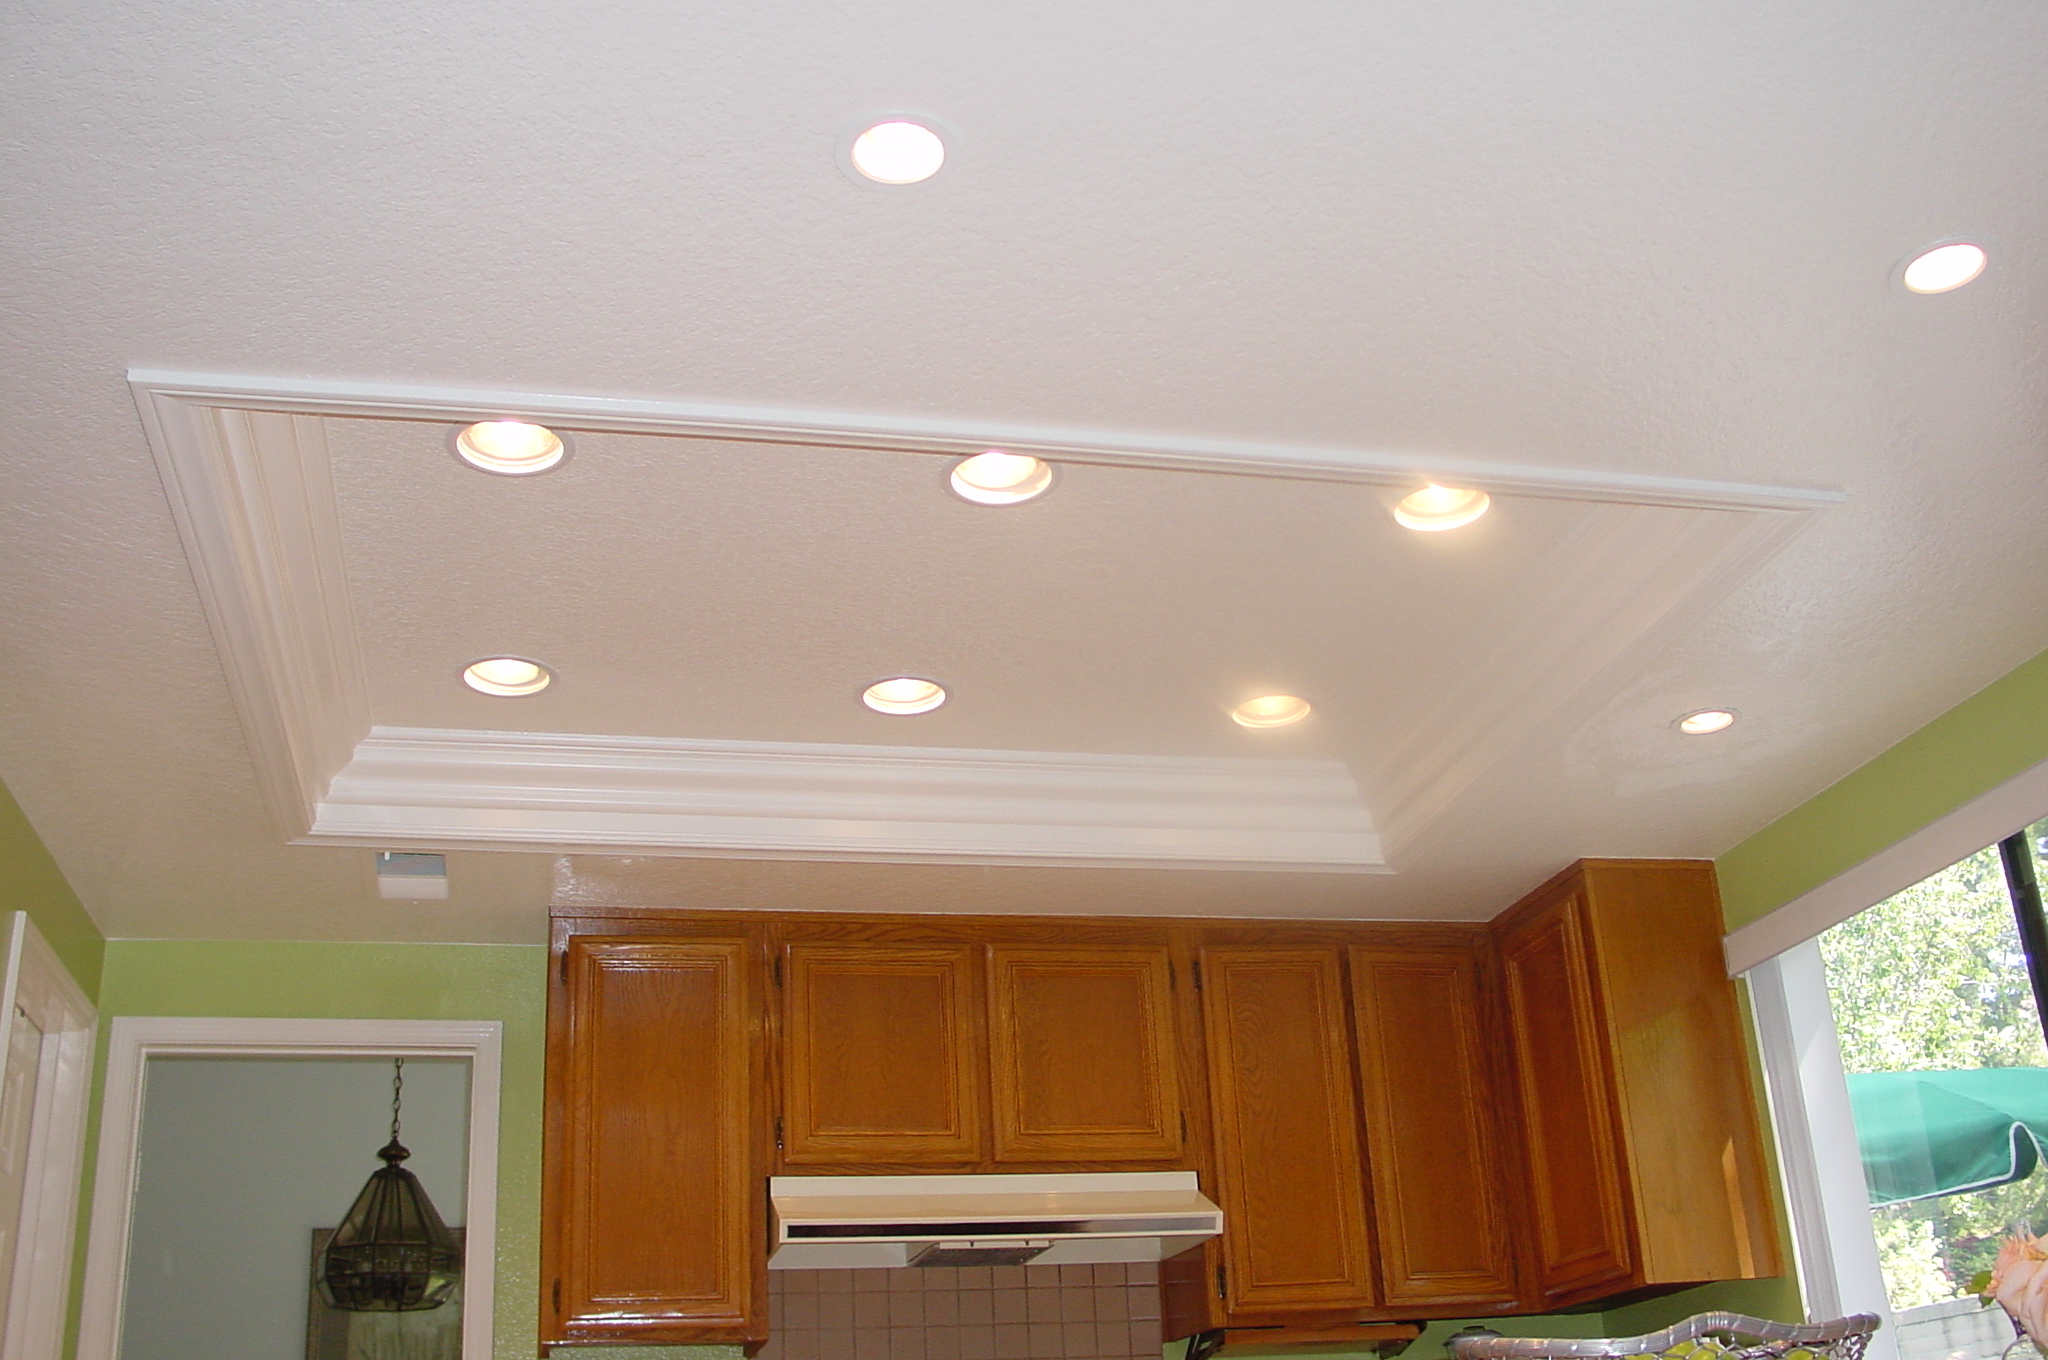
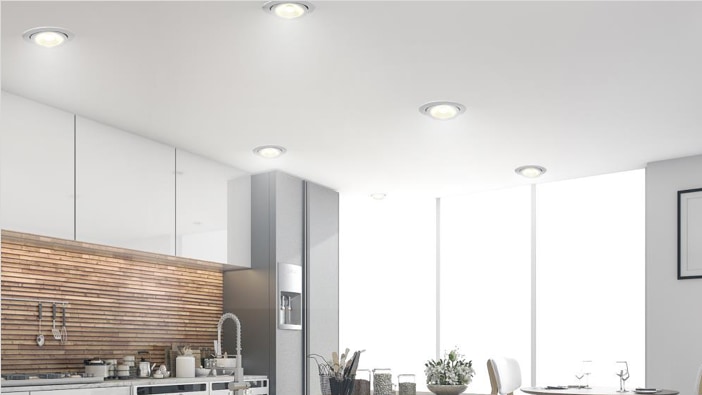
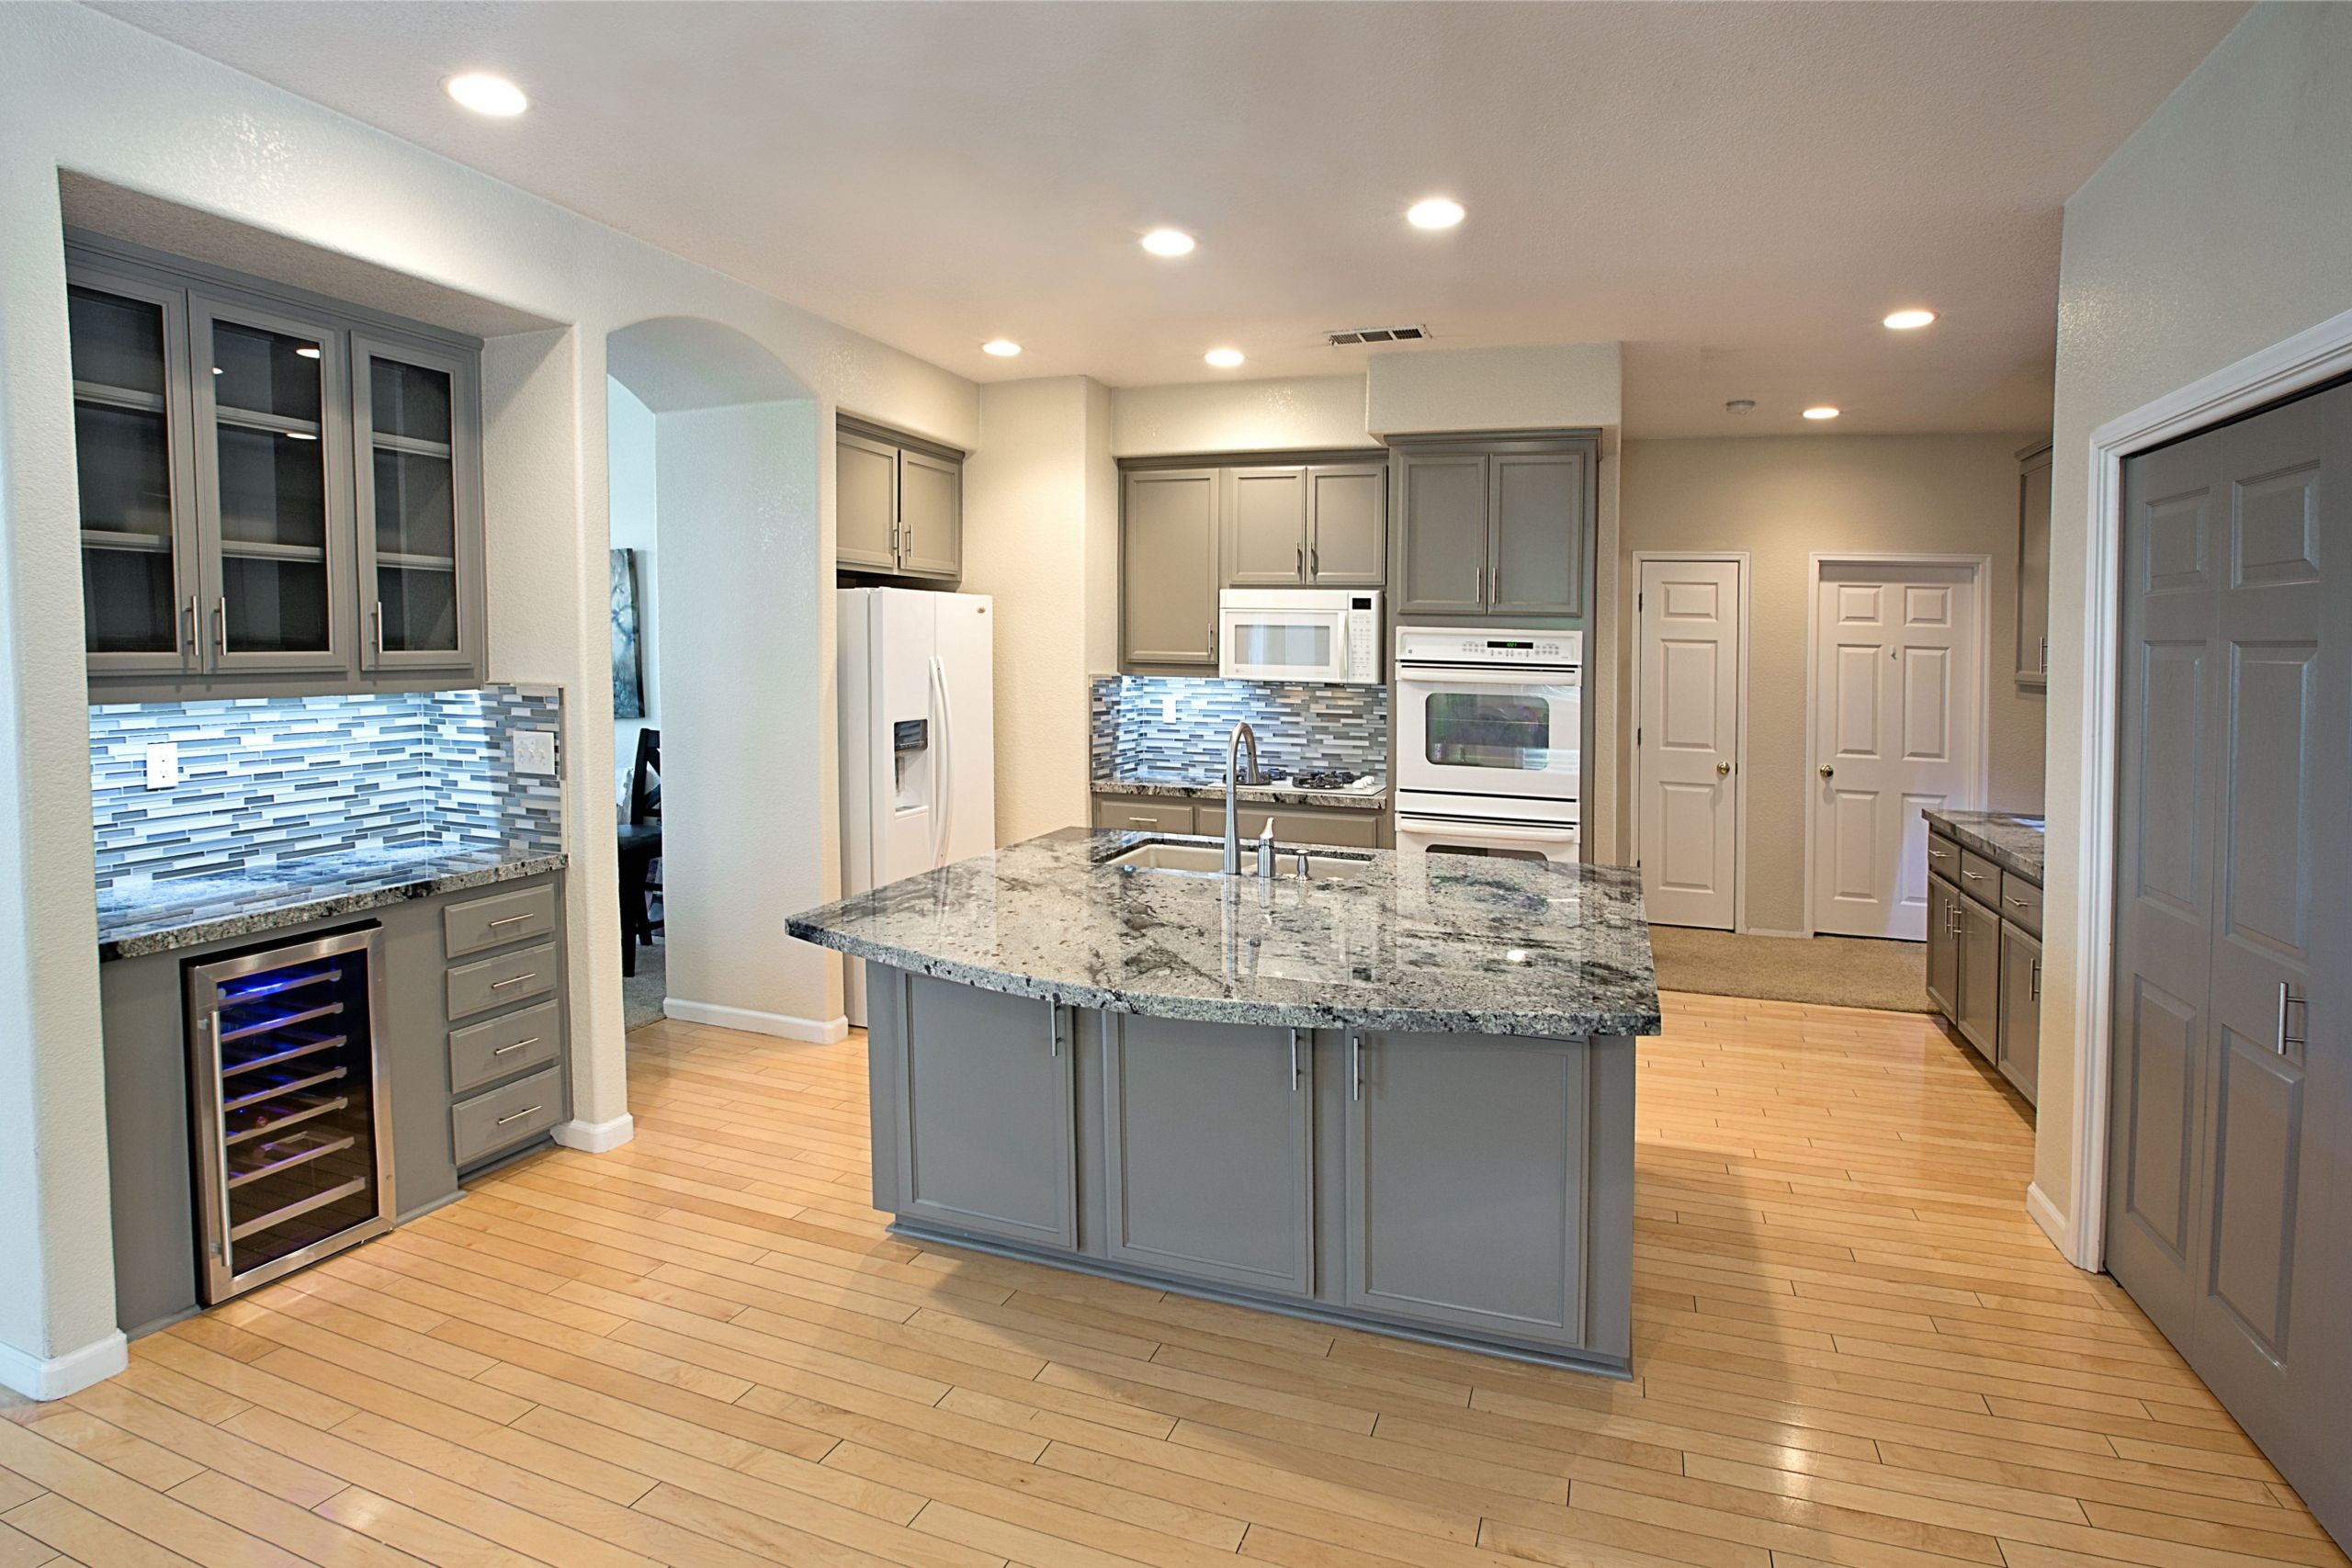
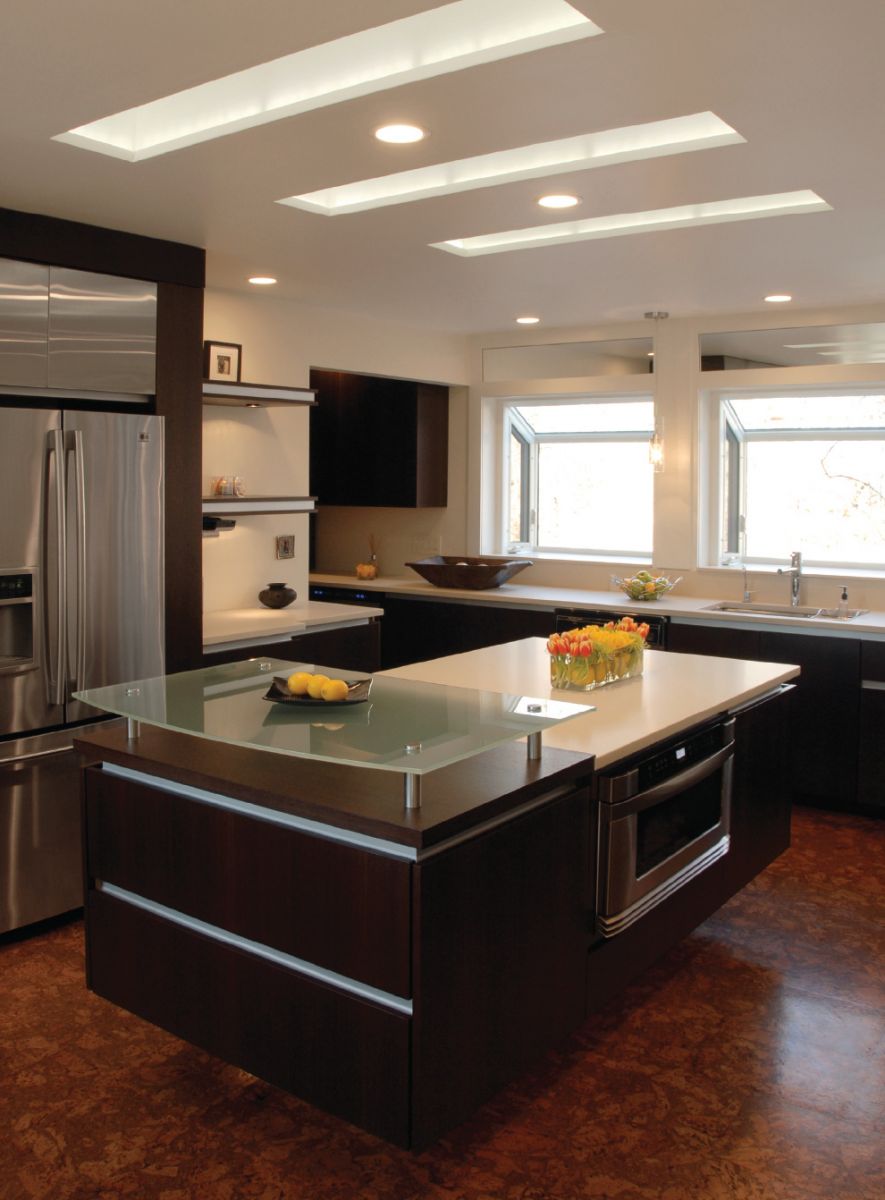
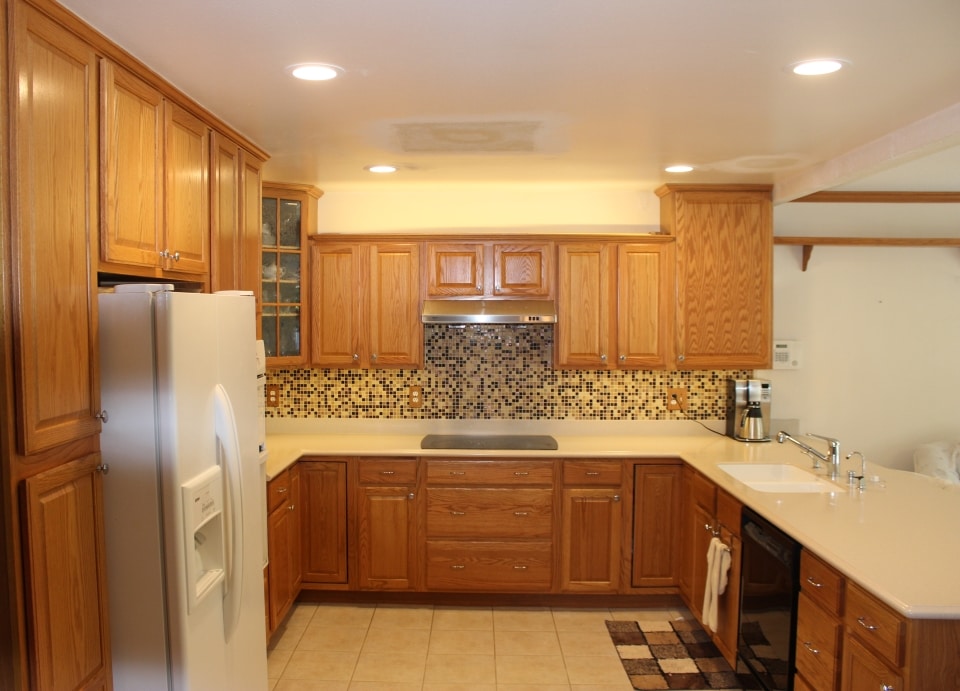
 Recessed ceiling lights, also known as can lights or pot lights, are fixtures that are installed into the ceiling, creating a seamless and clean look. They are typically round or square in shape and are installed by cutting a hole in the ceiling and mounting the light inside. These lights are versatile and can be used as task lighting, ambient lighting, or accent lighting, making them a popular choice for modern house design.
The Benefits of Using Recessed Ceiling Lights in Your Kitchen
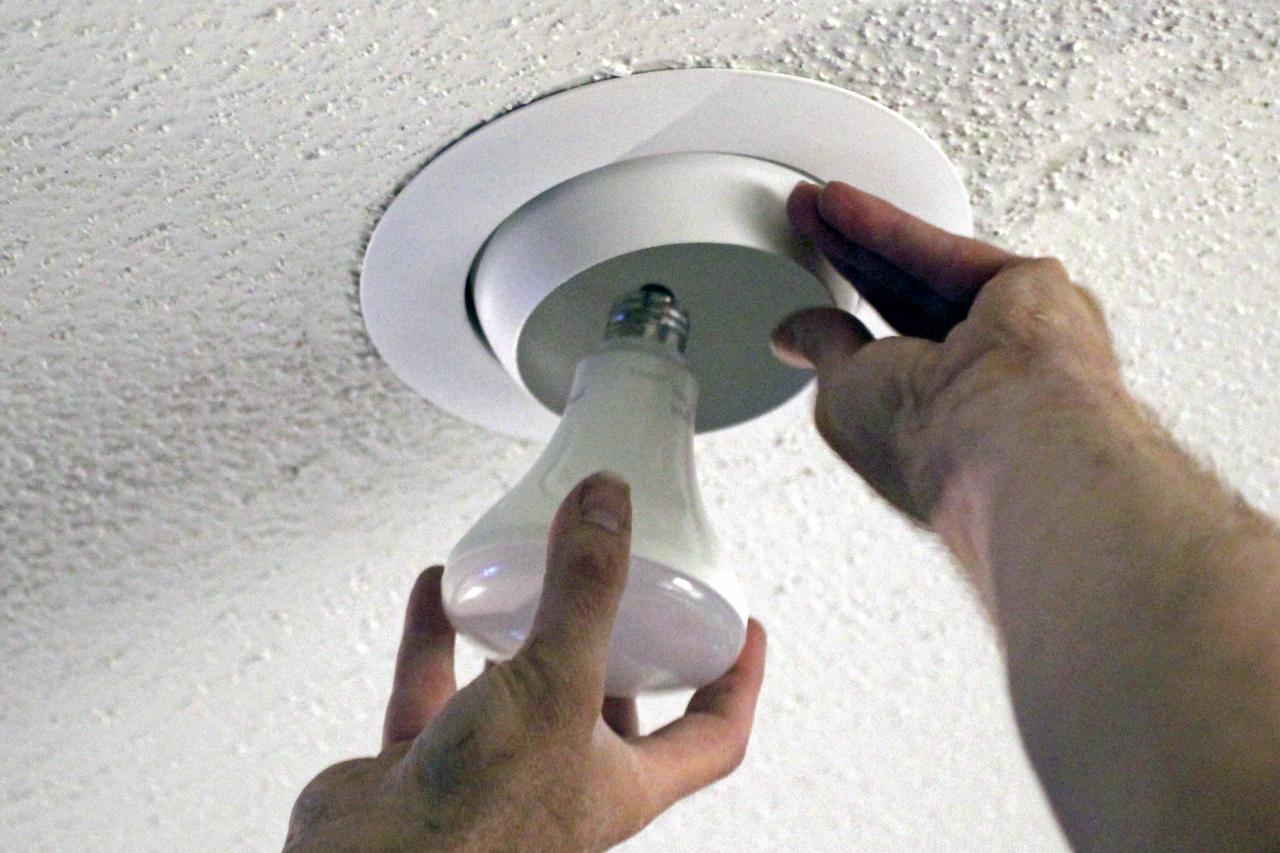 There are several reasons why you should consider replacing your kitchen light with recessed ceiling lights. First and foremost, they provide
efficient and even lighting
throughout the space. Unlike traditional lights that can cast shadows and create dark spots, recessed ceiling lights are dispersed evenly, providing bright and uniform lighting in your kitchen.
Furthermore, recessed ceiling lights are
space-saving
, making them ideal for smaller kitchens or those with low ceilings. Since they are installed flush with the ceiling, they don't take up any visual space and can make your kitchen feel more open and spacious.
Another advantage of recessed ceiling lights is that they are
versatile
and can be used for different purposes. You can install them over your kitchen counters as task lighting, above your dining table for ambient lighting, or even in your cabinets to showcase your kitchenware.
How to Replace Your Kitchen Light with Recessed Ceiling Lights
 The process of replacing your kitchen light with recessed ceiling lights may seem daunting, but it can be done with the right tools and guidance. First, you'll need to measure the size of your existing light fixture and choose recessed lights that will fit into the same space. Then, you'll need to turn off the power to your kitchen and safely remove the old light fixture. Finally, you can install the recessed lights and connect them to your home's electrical system.
In conclusion, replacing your kitchen light with recessed ceiling lights is a simple and effective way to elevate your house design and improve the functionality of your kitchen. With their efficient and even lighting, space-saving design, and versatility, they are a popular choice among homeowners and interior designers. So why not consider making the switch and see how it can transform your kitchen?


:max_bytes(150000):strip_icc()/convert-ceiling-light-to-recessed-light-p2-1821561-09-d6f90af585b2482c91a3e18464d76070.jpg)




:max_bytes(150000):strip_icc()/convert-ceiling-light-to-recessed-light-p2-1821561-hero-1fd056c75f4c453b911a9ab5ea211d71.jpg)
:max_bytes(150000):strip_icc()/kitchenrecessedlighting-GettyImages-155383268-dec5caad600541ff81cbdd6d06846c66.jpg)


