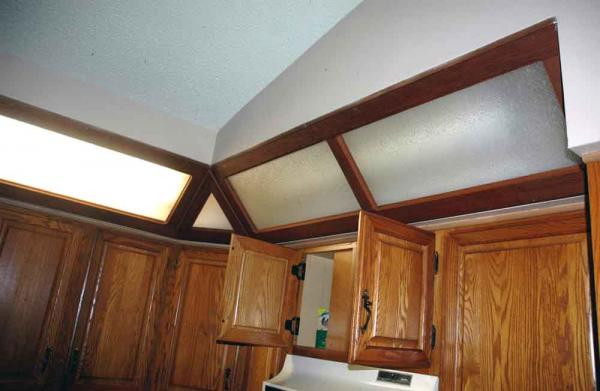
Incandescent soffit lights are a popular choice for kitchen lighting, but they can be expensive to operate and not very energy-efficient. If you're looking to upgrade your kitchen lighting, one of the first things you should consider is replacing those old incandescent soffit lights with new, more efficient options. Not only will this save you money on your energy bills, but it will also give your kitchen a fresh, modern look. But how exactly do you replace an incandescent soffit light in the kitchen? Don't worry, it's not as complicated as it may seem. With a few simple steps, you can have your new lights installed and shining bright in no time. In this article, we'll guide you through the process of replacing incandescent soffit lights in your kitchen, so let's get started!How to Replace an Incandescent Soffit Light in the Kitchen
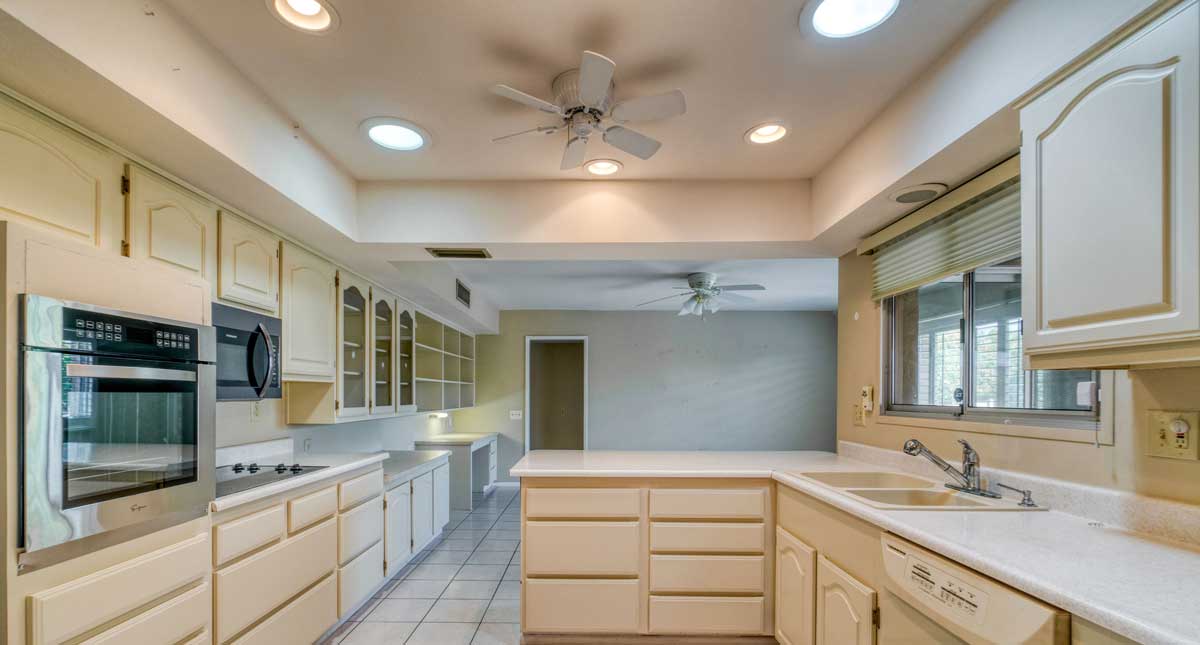
Step 1: Gather your materials The first step in any DIY project is to gather all the necessary materials. For this project, you will need new LED soffit lights, a ladder, a screwdriver, wire nuts, and electrical tape. Make sure to choose LED lights that are the same size and shape as your old incandescent lights so that they fit into the existing holes in your soffit. Step 2: Turn off the power Before you start working on your lights, be sure to turn off the power to the circuit that controls the soffit lights. This is an essential safety precaution that will prevent any accidents or injuries. Step 3: Remove the old lights Using a ladder, carefully remove the old incandescent soffit lights from the ceiling. You may need to unscrew them or gently pull them out of their sockets. Once they are removed, disconnect the wires by loosening the wire nuts and separating them. Step 4: Install the new lights Now it's time to install the new LED soffit lights. Carefully connect the wires to the corresponding wires in your ceiling using wire nuts. Make sure the connections are secure and then tuck the wires back into the ceiling. Gently push the new lights into the holes in the soffit until they are flush with the ceiling. Step 5: Turn the power back on Once the new lights are installed, turn the power back on and test them to make sure they are working correctly. If they are not working, go back and double-check your connections.Replacing Incandescent Soffit Lights in the Kitchen: A Step-by-Step Guide
Now that your new LED soffit lights are installed and working, you can enjoy the benefits of upgraded kitchen lighting. LED lights are not only more energy-efficient, but they also last longer than incandescent lights, which means you won't have to replace them as often. Plus, their bright, white light will make your kitchen look brighter and more modern. If you want to take your kitchen lighting upgrade one step further, you can also install a dimmer switch for your new LED soffit lights. This will allow you to adjust the brightness of the lights, making it easier to create the perfect ambiance for any occasion.Upgrade Your Kitchen Lighting: Replacing Incandescent Soffit Lights
Still not convinced about the benefits of switching to LED soffit lights? Here are a few more reasons why you should make the switch: Energy-efficient: LED lights use up to 80% less energy than incandescent lights, which means you'll save money on your energy bills. Long-lasting: LED lights have an average lifespan of 25,000 hours, compared to incandescent lights, which only last around 1,200 hours. Eco-friendly: LED lights are more environmentally friendly as they do not contain any harmful chemicals or gases. Less heat: LED lights produce less heat compared to incandescent lights, making them safer to use and reducing the risk of fire hazards.Replacing Incandescent Soffit Lights with LED in the Kitchen
If you're still unsure about how to replace incandescent soffit lights with LED in your kitchen, here is a simplified step-by-step guide: Step 1: Turn off the power to the circuit that controls the soffit lights. Step 2: Remove the old lights by disconnecting the wires and unscrewing them from the ceiling. Step 3: Install the new LED lights by connecting the wires and pushing them into the soffit. Step 4: Turn the power back on and test the lights to make sure they are working. Step 5: Enjoy your upgraded kitchen lighting!Step-by-Step Guide to Replacing Incandescent Soffit Lights in the Kitchen
Upgrading your kitchen lighting doesn't have to be a daunting task. With the right tools and a little bit of know-how, you can easily replace your old incandescent soffit lights with new, energy-efficient LED lights. Not only will this save you money on your energy bills, but it will also give your kitchen a more modern look and feel. Plus, replacing incandescent soffit lights with LED is a simple and effective way to make your kitchen more eco-friendly. With LED lights, you can enjoy brighter, longer-lasting, and safer lighting in your kitchen.How to Upgrade Your Kitchen Lighting by Replacing Incandescent Soffit Lights
If you're new to DIY projects, replacing incandescent soffit lights may seem like a daunting task. But don't worry, it's a relatively simple process that anyone can do with the right instructions. By following the step-by-step guide in this article, you can easily upgrade your kitchen lighting and save money in the long run. Just remember to always turn off the power before working with any electrical components and to double-check your connections before turning the power back on.Replacing Incandescent Soffit Lights in the Kitchen: A Beginner's Guide
Why spend money on hiring a professional to upgrade your kitchen lighting when you can do it yourself? With just a few tools and a little bit of time, you can easily replace your old incandescent soffit lights with new LED lights. Not only will this save you money, but it will also give you a sense of accomplishment and make your kitchen more energy-efficient. So why wait? Grab your tools and start your DIY kitchen lighting upgrade today!DIY Kitchen Lighting Upgrade: Replacing Incandescent Soffit Lights
Here are a few extra tips and tricks to keep in mind when replacing incandescent soffit lights in your kitchen: Choose the right size: Make sure the LED lights you choose are the same size and shape as your old incandescent lights to ensure they fit into the existing holes in your soffit. Upgrade to a dimmer switch: As mentioned earlier, installing a dimmer switch for your new LED soffit lights can give you more control over the brightness and ambiance in your kitchen. Consider color temperature: LED lights come in a variety of color temperatures, so be sure to choose one that best suits your kitchen's style and preferences. Dispose of old lights safely: Incandescent lights contain small amounts of mercury, so it's essential to dispose of them properly. Check with your local waste management facility for proper disposal methods. By following these tips and tricks, you can ensure a smooth and successful DIY project when replacing incandescent soffit lights in your kitchen. Now that you have all the information you need, it's time to start your kitchen lighting upgrade journey. With new LED soffit lights, you can brighten up your kitchen, save money, and do your part for the environment. So go ahead, replace those old incandescent lights, and enjoy a brighter, more energy-efficient kitchen today!Replacing Incandescent Soffit Lights in the Kitchen: Tips and Tricks
Why You Should Replace Your Incandescent Soffit Lights in the Kitchen

The Importance of Proper Lighting in Kitchen Design
 When designing your kitchen, lighting is often an overlooked aspect. However, it plays a crucial role in the functionality and atmosphere of the space. Proper lighting can make a small kitchen feel more spacious, improve visibility for cooking and food prep, and even enhance the overall aesthetic of the space. That's why it's important to carefully consider the type of lighting you choose for your kitchen, including your soffit lights.
The Problem with Incandescent Soffit Lights
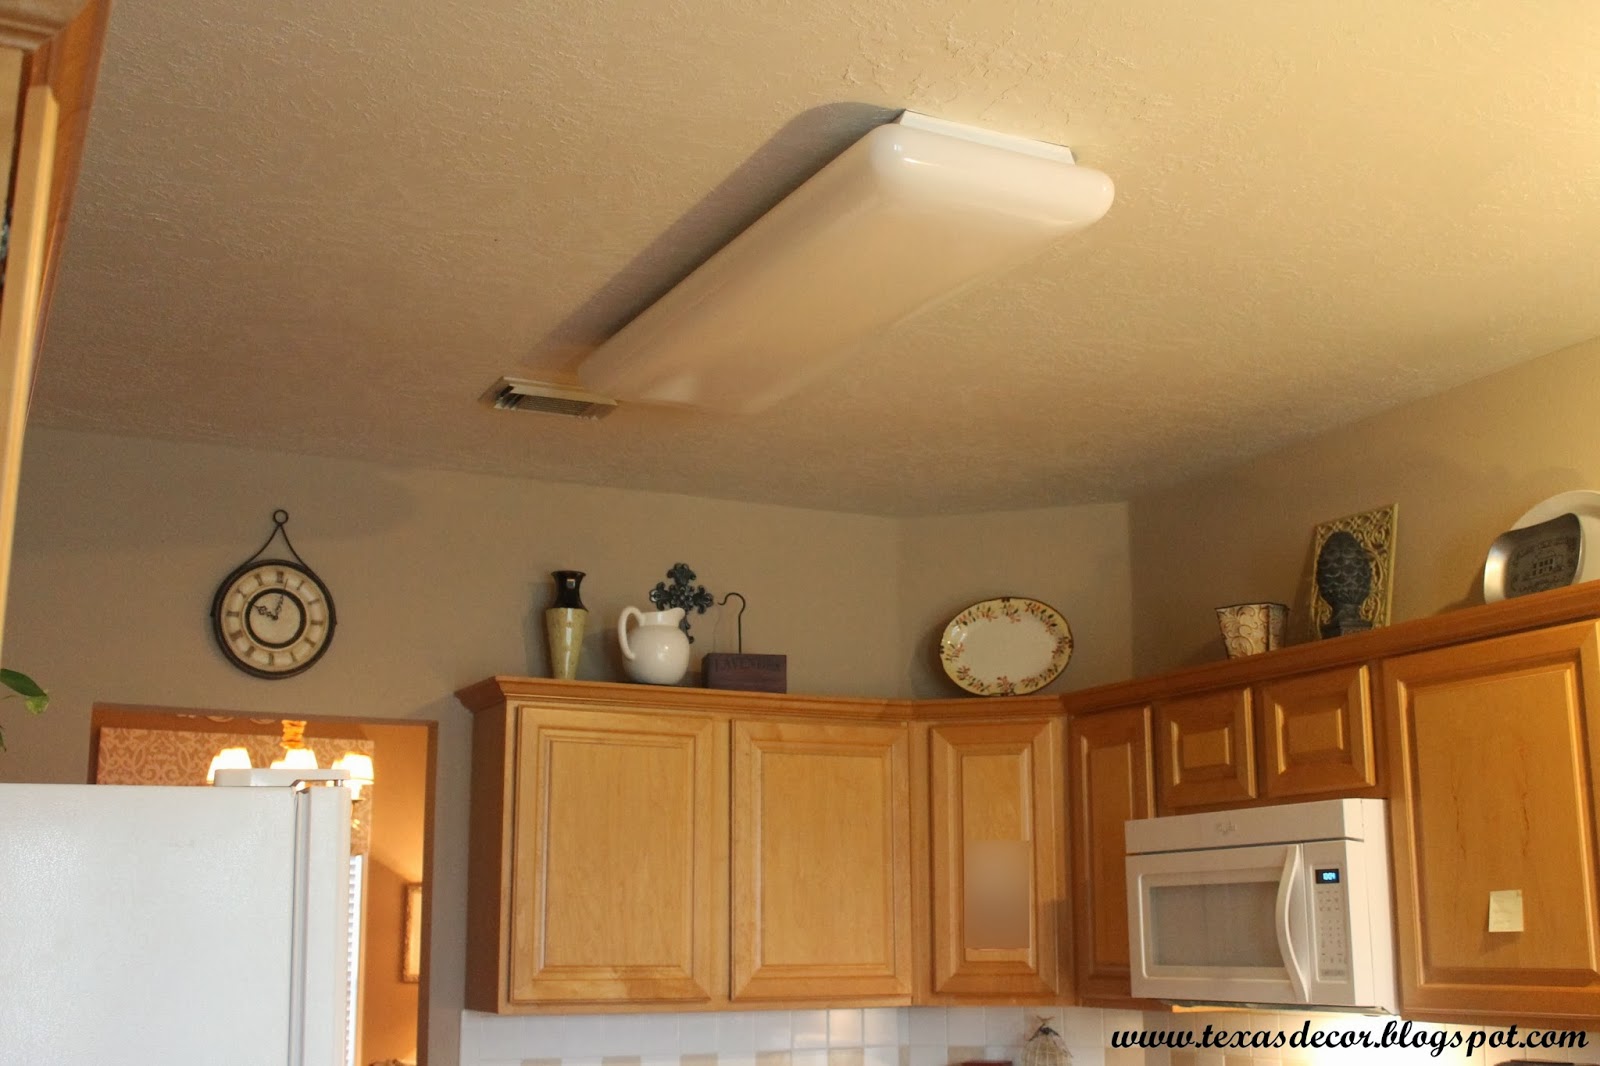 Incandescent soffit lights have been a popular choice for kitchen lighting for decades. However, they are no longer the most efficient or cost-effective option. Incandescent bulbs use a lot of energy and have a relatively short lifespan, leading to frequent replacements and higher electricity bills. They also emit a lot of heat, which can be uncomfortable and potentially dangerous in a kitchen setting. Additionally, incandescent bulbs have a yellowish hue, which can distort colors and make it difficult to see clearly while cooking.
The Benefits of Replacing with LED Soffit Lights
 Replacing your incandescent soffit lights with
LED
(Light Emitting Diode) lights is a smart and eco-friendly decision. LED lights use significantly less energy and have a much longer lifespan, making them a more cost-effective option in the long run. They also emit very little heat, making them safer and more comfortable in a kitchen environment. LED lights also come in a variety of color temperatures, including cool and warm white, allowing you to choose the perfect lighting for your kitchen.
The Impact on Your Kitchen Design
 Aside from the practical benefits, LED soffit lights can also greatly enhance the overall design of your kitchen. They are sleek and modern, with a slim profile that can easily blend into your kitchen's ceiling. They also provide more focused and directional lighting, allowing you to highlight specific areas of your kitchen, such as your countertops or backsplash. With LED lights, you can create a more visually appealing and functional kitchen.
Make the Switch Today
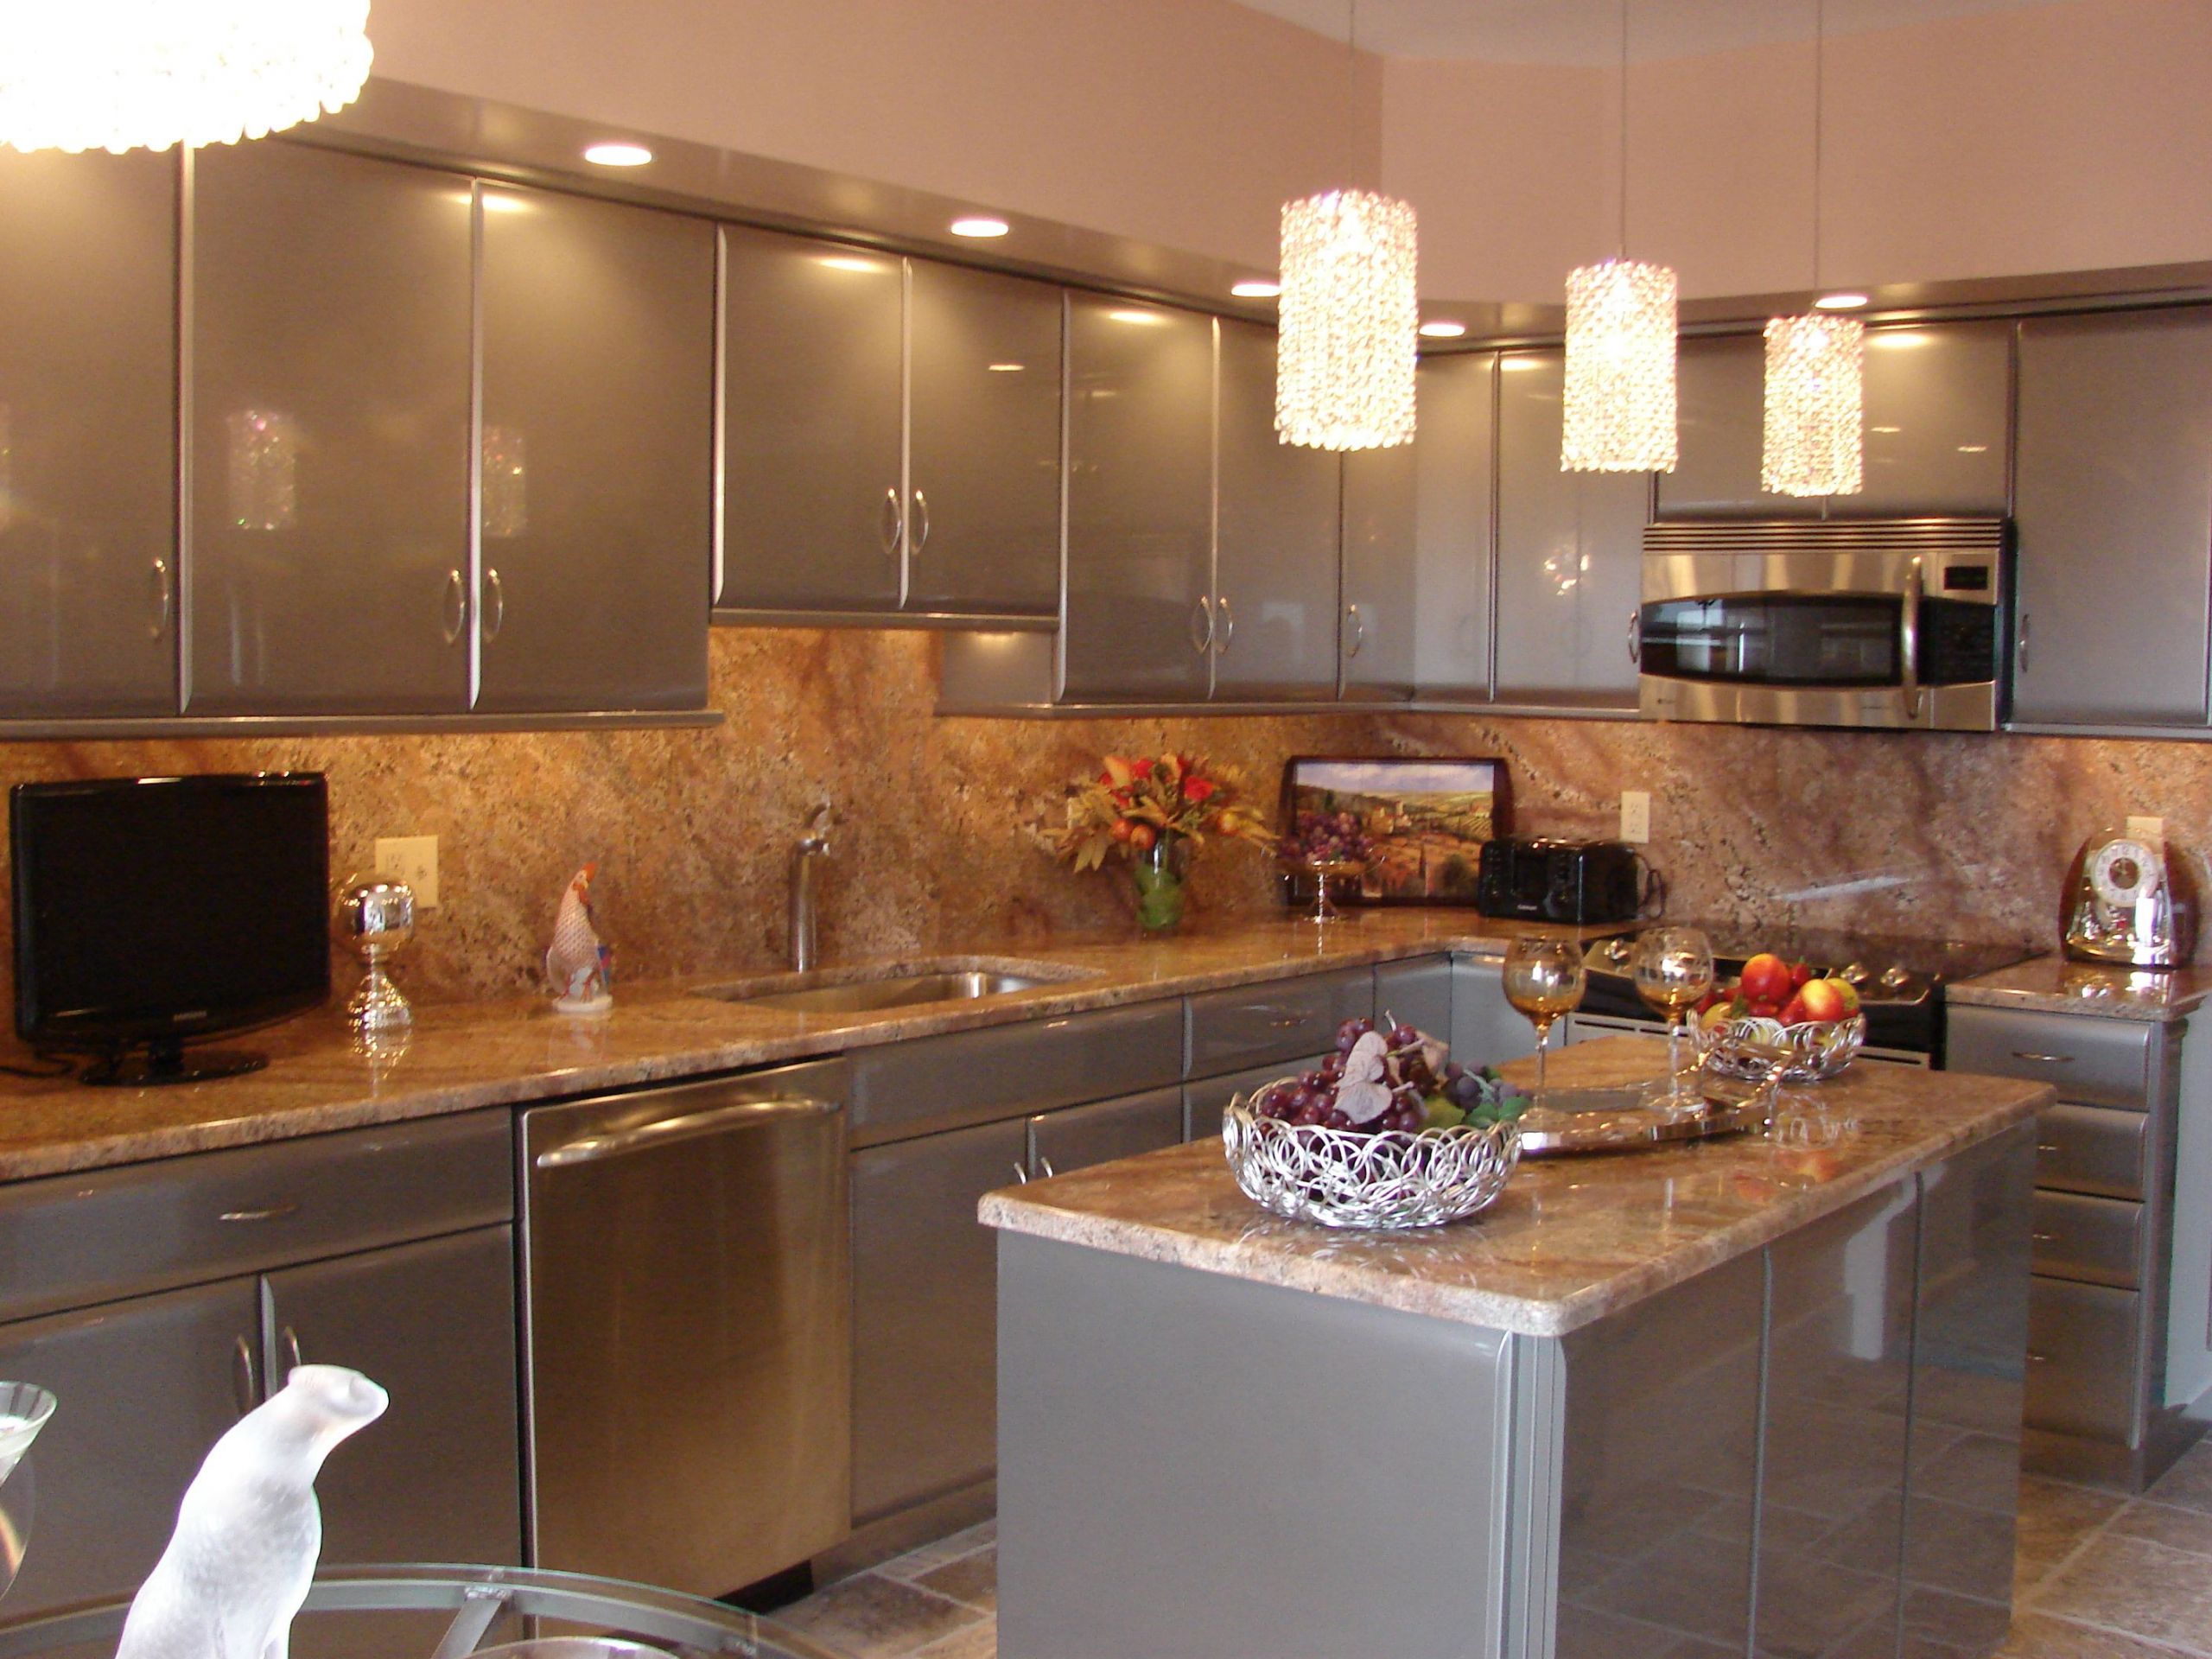 In conclusion, replacing your incandescent soffit lights with LED lights is a wise decision for both your wallet and your kitchen design. LED lights are energy-efficient, long-lasting, and offer a variety of lighting options to suit your needs. So don't wait any longer, make the switch and enjoy a brighter, more stylish, and functional kitchen today!


