If you're experiencing leaks or unpleasant odors coming from your kitchen sink, it may be time to replace your kitchen sink flange. This small but important part plays a crucial role in keeping your sink and plumbing in good working condition. Fortunately, replacing a kitchen sink flange is a relatively simple DIY project that can save you both time and money. In this guide, we'll take you through the step-by-step process of replacing a kitchen sink flange. 1. How to Replace a Kitchen Sink Flange


1. How to Replace a Kitchen Sink Flange


Replacing a kitchen sink flange may sound daunting, but with the right tools and a little know-how, you can easily tackle this project on your own. Not only will this save you the cost of hiring a professional plumber, but it also allows you to have more control over the quality of the replacement. Plus, it's a great way to learn more about your kitchen sink and plumbing system. 2. DIY Kitchen Sink Flange Replacement


2. DIY Kitchen Sink Flange Replacement


Before you start the replacement process, make sure you have all the necessary tools and materials on hand. This includes a new kitchen sink flange, plumber's putty, a wrench, and a screwdriver. Once you have everything you need, follow these steps: Step 1: Turn off the water supply to your kitchen sink by shutting off the valves under the sink. Step 2: Use a wrench to disconnect the drain pipe from the sink strainer and the P-trap. Step 3: Loosen the mounting bolts that hold the sink flange in place. You may need to use a screwdriver or pliers to do this. Step 4: Once the mounting bolts are removed, carefully lift the old sink flange out of the sink. Step 5: Clean the area around the sink opening and remove any old plumber's putty. Step 6: Roll a small amount of plumber's putty into a thin rope and place it around the bottom edge of the new sink flange. Step 7: Carefully place the new sink flange into the sink opening, making sure it is centered and level. Step 8: Underneath the sink, secure the sink flange by tightening the mounting bolts. Step 9: Reconnect the drain pipe and P-trap, making sure they are securely tightened. Step 10: Turn the water supply back on and check for any leaks. If there are no leaks, you're good to go!3. Step-by-Step Guide for Replacing a Kitchen Sink Flange


3. Step-by-Step Guide for Replacing a Kitchen Sink Flange


Here are some tips to keep in mind when replacing your kitchen sink flange: - Be gentle when removing the old sink flange to avoid damaging the sink or plumbing. - Use a good quality plumber's putty to ensure a watertight seal. - Double check that the new sink flange is centered and level before securing it. - If you encounter any difficulties during the replacement process, don't hesitate to call a professional plumber for assistance.4. Tips for Replacing a Kitchen Sink Flange


4. Tips for Replacing a Kitchen Sink Flange


While replacing a kitchen sink flange is a fairly straightforward process, there are a few common problems that you may encounter. These include: - Difficulty removing the old sink flange due to corrosion or rust. - Problems with the mounting bolts, such as rusted or stripped threads. - Leaks caused by an improper seal between the sink flange and the sink. - Difficulty reconnecting the drain pipe and P-trap due to misalignment or improper tightening.5. Common Problems When Replacing a Kitchen Sink Flange

5. Common Problems When Replacing a Kitchen Sink Flange


Here's a list of the essential tools you'll need to replace your kitchen sink flange: - Wrench - Screwdriver - Plumber's putty - New kitchen sink flange6. Tools You'll Need for Replacing a Kitchen Sink Flange


6. Tools You'll Need for Replacing a Kitchen Sink Flange

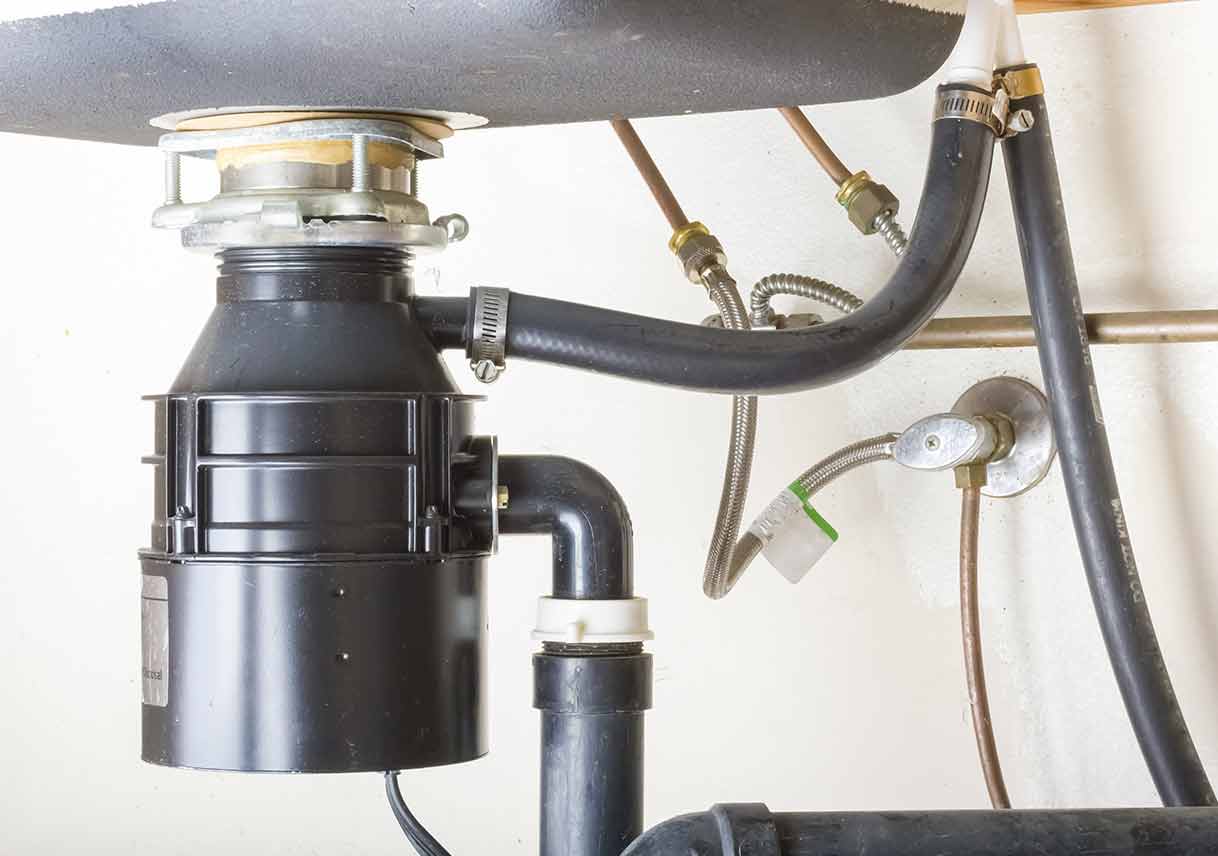
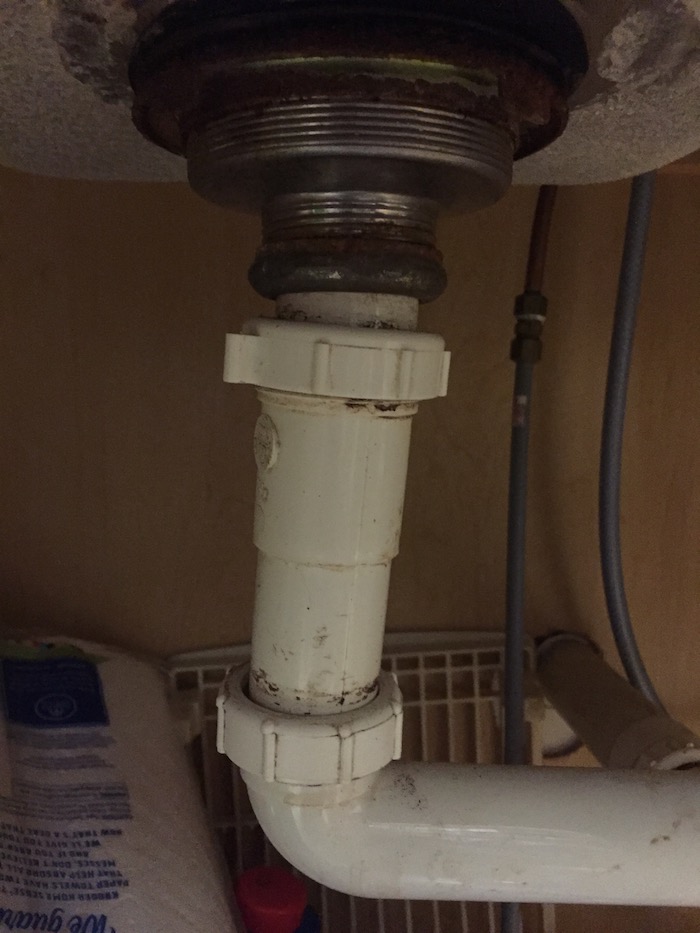
If you're replacing a kitchen sink flange, chances are you'll need to remove the old one first. Here's how to do it: Step 1: Turn off the water supply to your kitchen sink by shutting off the valves under the sink. Step 2: Use a wrench to disconnect the drain pipe from the sink strainer and the P-trap. Step 3: Loosen the mounting bolts that hold the sink flange in place. You may need to use a screwdriver or pliers to do this. Step 4: Once the mounting bolts are removed, carefully lift the old sink flange out of the sink.7. How to Remove an Old Kitchen Sink Flange


7. How to Remove an Old Kitchen Sink Flange


When installing a new kitchen sink flange, there are a few important things to keep in mind: - Make sure the new sink flange is the correct size and type for your sink. - Use a good quality plumber's putty to ensure a watertight seal. - Be sure to tighten the mounting bolts securely to prevent leaks.8. Installing a New Kitchen Sink Flange: What You Need to Know

8. Installing a New Kitchen Sink Flange: What You Need to Know


If you encounter any issues while replacing your kitchen sink flange, here are some troubleshooting tips to help you out: - If the old sink flange is stuck or difficult to remove, try using a penetrating lubricant to loosen it. - If the mounting bolts are giving you trouble, try using a wrench or pliers to loosen them. - If you're having difficulty getting the new sink flange to sit evenly in the sink opening, try adjusting the plumber's putty or using a level to ensure it is centered.9. Troubleshooting Tips for Replacing a Kitchen Sink Flange

9. Troubleshooting Tips for Replacing a Kitchen Sink Flange


Replacing a kitchen sink flange may seem like a small and insignificant task, but it plays a crucial role in maintaining the functionality of your sink and plumbing. A faulty or improperly installed sink flange can lead to leaks, unpleasant odors, and even more serious plumbing issues. By following the steps outlined in this guide, you can ensure that your kitchen sink flange is replaced correctly and your sink and plumbing are in good working condition. 10. The Importance of Properly Replacing a Kitchen Sink Flange

10. The Importance of Properly Replacing a Kitchen Sink Flange


Why You Should Consider Replacing the Flange in Your Kitchen Sink
What is a Flange and Why is it Important?
 When it comes to the functionality and design of your kitchen, the
flange
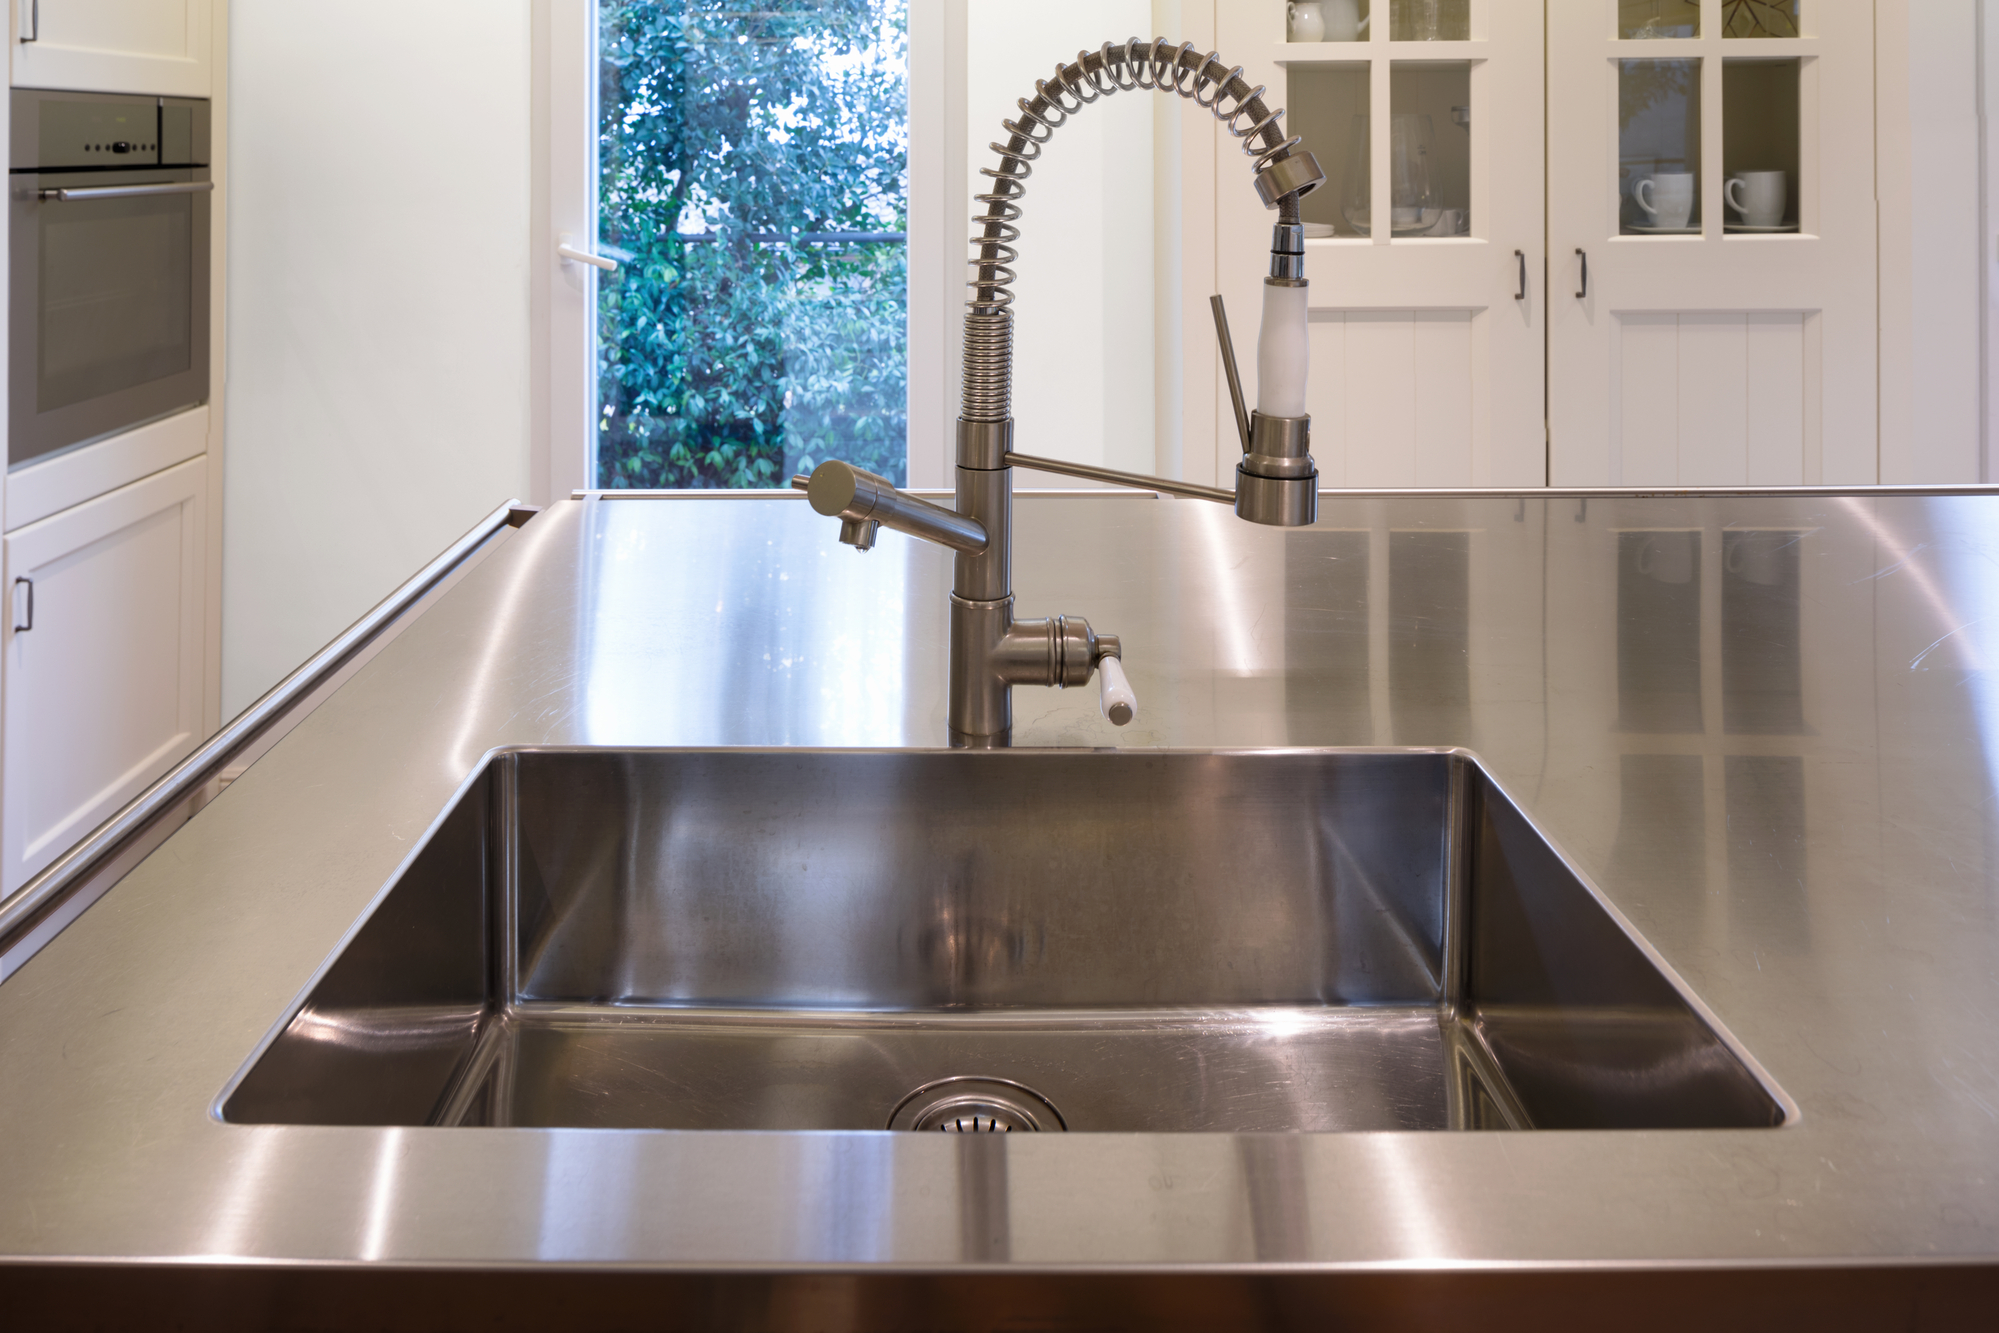
is an important component that often goes unnoticed. The flange is the piece of hardware that connects your kitchen sink to the
drainpipe
. It helps to keep the sink securely in place and allows for proper drainage. But over time, the flange can become worn or damaged, leading to problems with your sink's functionality and overall appearance.
When it comes to the functionality and design of your kitchen, the
flange
is an important component that often goes unnoticed. The flange is the piece of hardware that connects your kitchen sink to the
drainpipe
. It helps to keep the sink securely in place and allows for proper drainage. But over time, the flange can become worn or damaged, leading to problems with your sink's functionality and overall appearance.
The Importance of Replacing a Damaged Flange
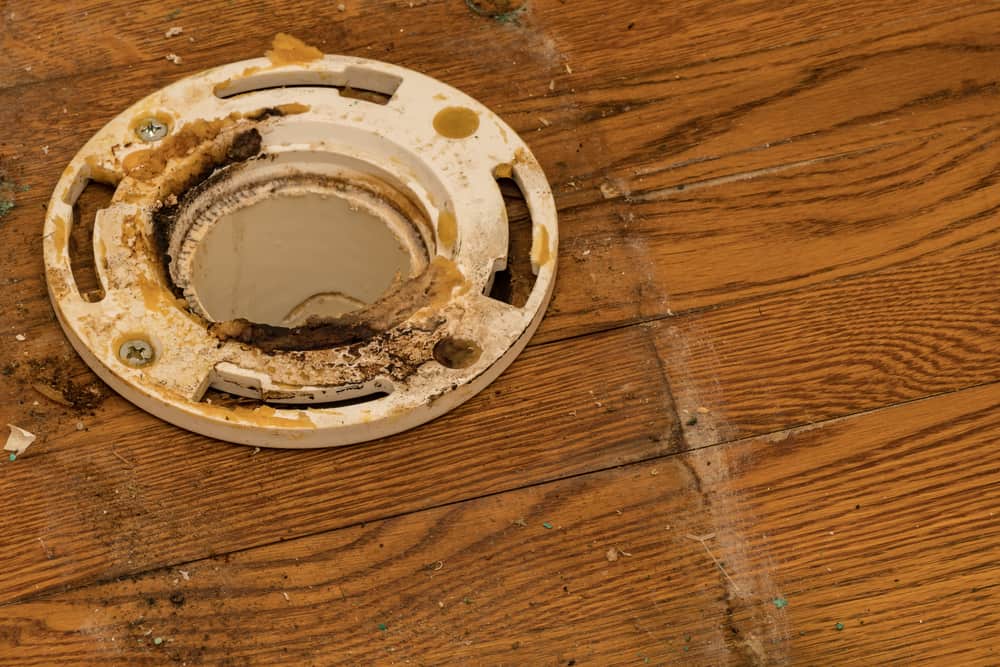
 A damaged or
loose flange
can lead to a variety of issues in your kitchen. One of the most common problems is a leaky sink, which can cause water damage to your cabinets and floors. A loose flange can also cause your sink to become unstable, making it difficult to use and potentially causing damage to your countertops. Additionally, a damaged flange can affect the aesthetic of your kitchen, making it look worn and outdated.
A damaged or
loose flange
can lead to a variety of issues in your kitchen. One of the most common problems is a leaky sink, which can cause water damage to your cabinets and floors. A loose flange can also cause your sink to become unstable, making it difficult to use and potentially causing damage to your countertops. Additionally, a damaged flange can affect the aesthetic of your kitchen, making it look worn and outdated.
Steps to Replacing the Flange in Your Kitchen Sink
 If you've noticed any of the above issues with your kitchen sink, it may be time to consider replacing the flange. While this may seem like a daunting task, it can actually be a relatively simple process. Here are the steps to take to replace the flange in your kitchen sink:
Step 1: Gather Your Materials
Before you begin, make sure you have all the necessary materials on hand. This includes a new flange, plumber's putty, a wrench, and a screwdriver.
Step 2: Remove the Old Flange
Start by shutting off the water supply to your sink. Then, use a wrench to loosen and remove the old flange. You may need to use some force to detach it from the drainpipe. Once it's removed, clean off any remaining plumber's putty or debris.
Step 3: Install the New Flange
Apply a layer of plumber's putty around the bottom of the new flange. Then, carefully insert it into the drainpipe and tighten it with a wrench. Make sure it is secure and level.
Step 4: Reconnect the Sink
Once the new flange is in place, you can reconnect your sink to the drainpipe. Use a screwdriver to secure it in place.
If you've noticed any of the above issues with your kitchen sink, it may be time to consider replacing the flange. While this may seem like a daunting task, it can actually be a relatively simple process. Here are the steps to take to replace the flange in your kitchen sink:
Step 1: Gather Your Materials
Before you begin, make sure you have all the necessary materials on hand. This includes a new flange, plumber's putty, a wrench, and a screwdriver.
Step 2: Remove the Old Flange
Start by shutting off the water supply to your sink. Then, use a wrench to loosen and remove the old flange. You may need to use some force to detach it from the drainpipe. Once it's removed, clean off any remaining plumber's putty or debris.
Step 3: Install the New Flange
Apply a layer of plumber's putty around the bottom of the new flange. Then, carefully insert it into the drainpipe and tighten it with a wrench. Make sure it is secure and level.
Step 4: Reconnect the Sink
Once the new flange is in place, you can reconnect your sink to the drainpipe. Use a screwdriver to secure it in place.
Conclusion
 Replacing a damaged flange in your kitchen sink is an important step in maintaining the functionality and appearance of your kitchen. By following these simple steps, you can ensure that your sink is securely connected and free from any leaks or instability. Don't neglect this important piece of hardware and keep your kitchen looking and functioning at its best.