Replace Drop-In Bathroom Sink
Are you tired of your old, outdated bathroom sink? Are you ready for an upgrade that will not only improve the look of your bathroom, but also add value to your home? Look no further than replacing your drop-in bathroom sink. This simple DIY project is a great way to give your bathroom a fresh new look without breaking the bank.


Replace Drop-In Bathroom Sink


How to Replace a Drop-In Bathroom Sink
Replacing a drop-in bathroom sink may seem like a daunting task, but with the right tools and a little bit of know-how, you can easily tackle this project on your own. The first step is to choose the right replacement sink. Make sure to measure the size of your current sink to ensure the new one will fit properly. You'll also want to consider the style and material of the sink to match the aesthetic of your bathroom.


How to Replace a Drop-In Bathroom Sink


DIY: Replacing a Drop-In Bathroom Sink
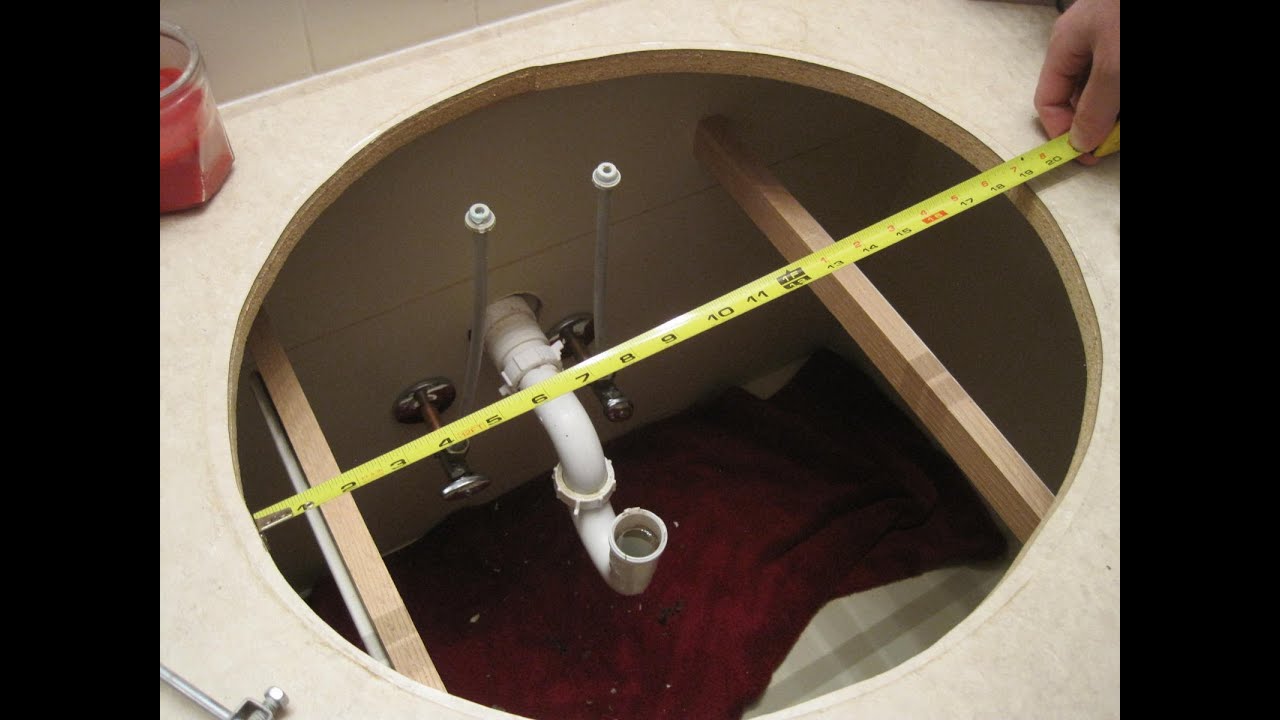
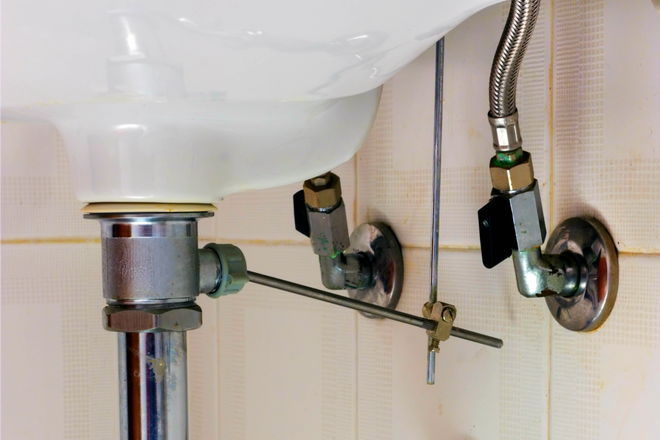
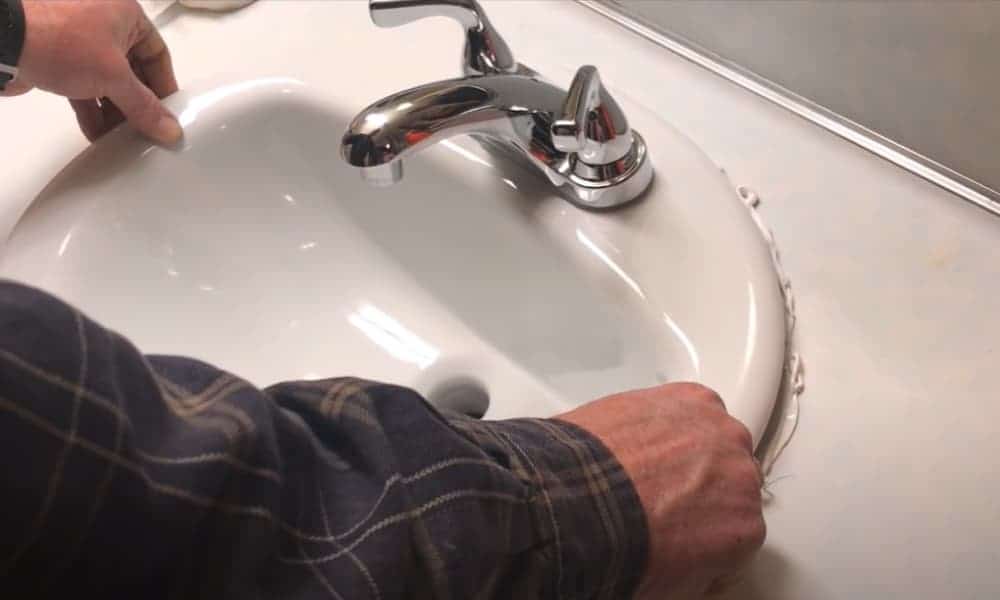
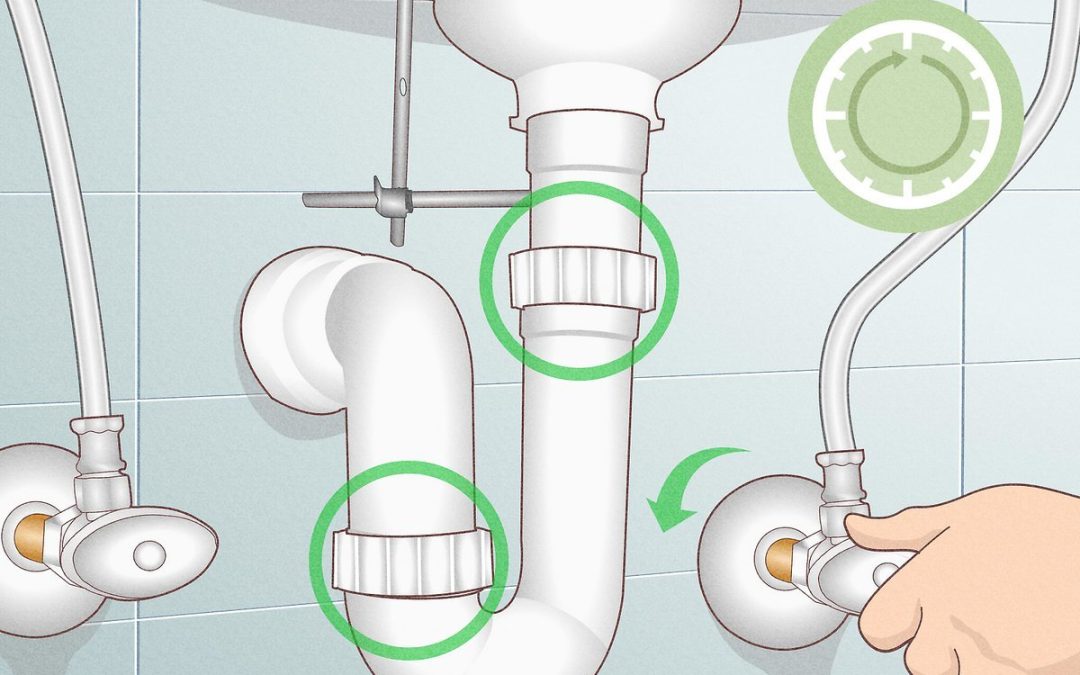
Now that you have your new sink, it's time to start the DIY process. The first step is to turn off the water supply to your sink. Once the water is off, disconnect the plumbing and remove the old sink. Make sure to also remove any sealant or adhesive around the edges of the sink. Next, place your new sink in the opening and secure it with caulk or adhesive. Reconnect the plumbing and turn the water back on. Voila! You have successfully replaced your drop-in bathroom sink.


DIY: Replacing a Drop-In Bathroom Sink


Step-by-Step Guide to Replacing a Drop-In Bathroom Sink
If you're a visual learner, a step-by-step guide can be helpful in the process of replacing your drop-in bathroom sink. Start by gathering all the necessary tools and materials, such as a wrench, caulk, and a new sink. Next, turn off the water supply and disconnect the plumbing. Remove the old sink and clean the area. Apply caulk or adhesive around the edges of the new sink and place it in the opening. Reconnect the plumbing and turn the water back on. For a more detailed guide, check out our blog post on how to replace a drop-in bathroom sink.


Step-by-Step Guide to Replacing a Drop-In Bathroom Sink


Tips for Replacing a Drop-In Bathroom Sink
Replacing a drop-in bathroom sink may seem like a simple task, but there are a few tips and tricks that can make the process even smoother. Make sure to turn off the water supply before starting the project and have all the necessary tools and materials on hand. It's also important to properly measure the size of your current sink and choose a replacement that fits properly. And don't forget to clean the area before installing the new sink to ensure a tight and secure fit.


Tips for Replacing a Drop-In Bathroom Sink


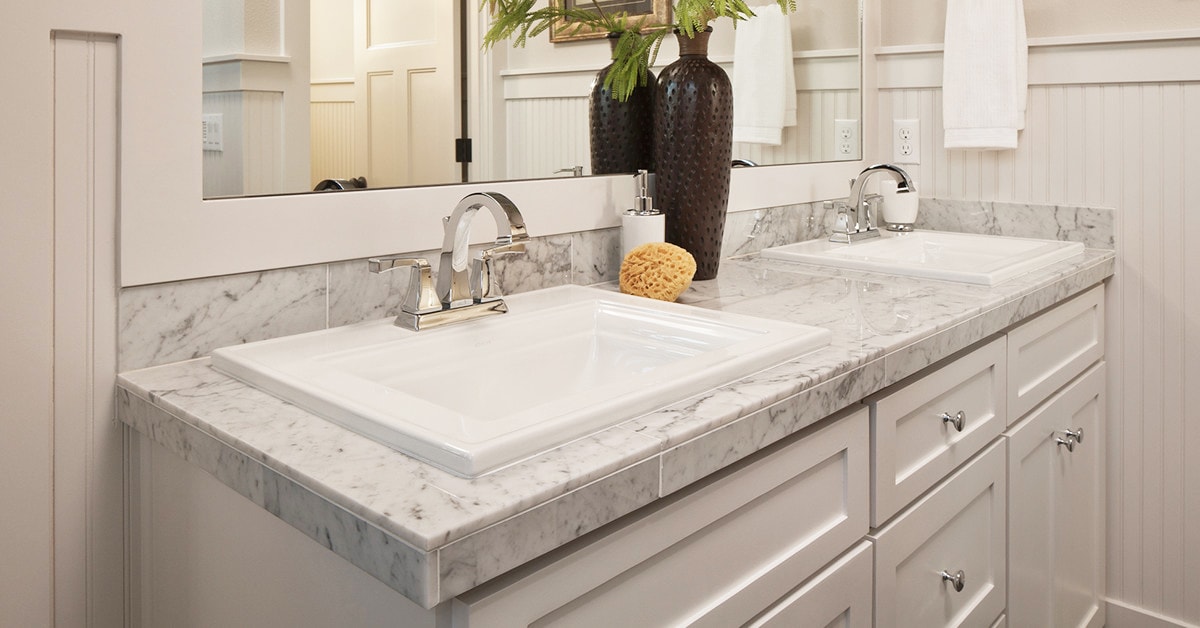
Choosing the Right Replacement Drop-In Bathroom Sink
When it comes to choosing the right replacement drop-in bathroom sink, there are a few key factors to consider. First, make sure to measure the size of your current sink to ensure the new one will fit properly. Next, consider the style and material of the sink to match the aesthetic of your bathroom. You may also want to consider the number of holes in the sink for faucet installation and whether or not you want an overflow drain.


Choosing the Right Replacement Drop-In Bathroom Sink


Common Mistakes to Avoid When Replacing a Drop-In Bathroom Sink
While replacing a drop-in bathroom sink may seem like a simple DIY project, there are a few common mistakes that can easily be avoided. One of the most common mistakes is not properly measuring the size of the sink, which can result in an ill-fitting replacement. Another mistake is not cleaning the area before installing the new sink, which can prevent a secure seal. Make sure to also use the right tools and materials for the job to avoid any potential mishaps.


Common Mistakes to Avoid When Replacing a Drop-In Bathroom Sink


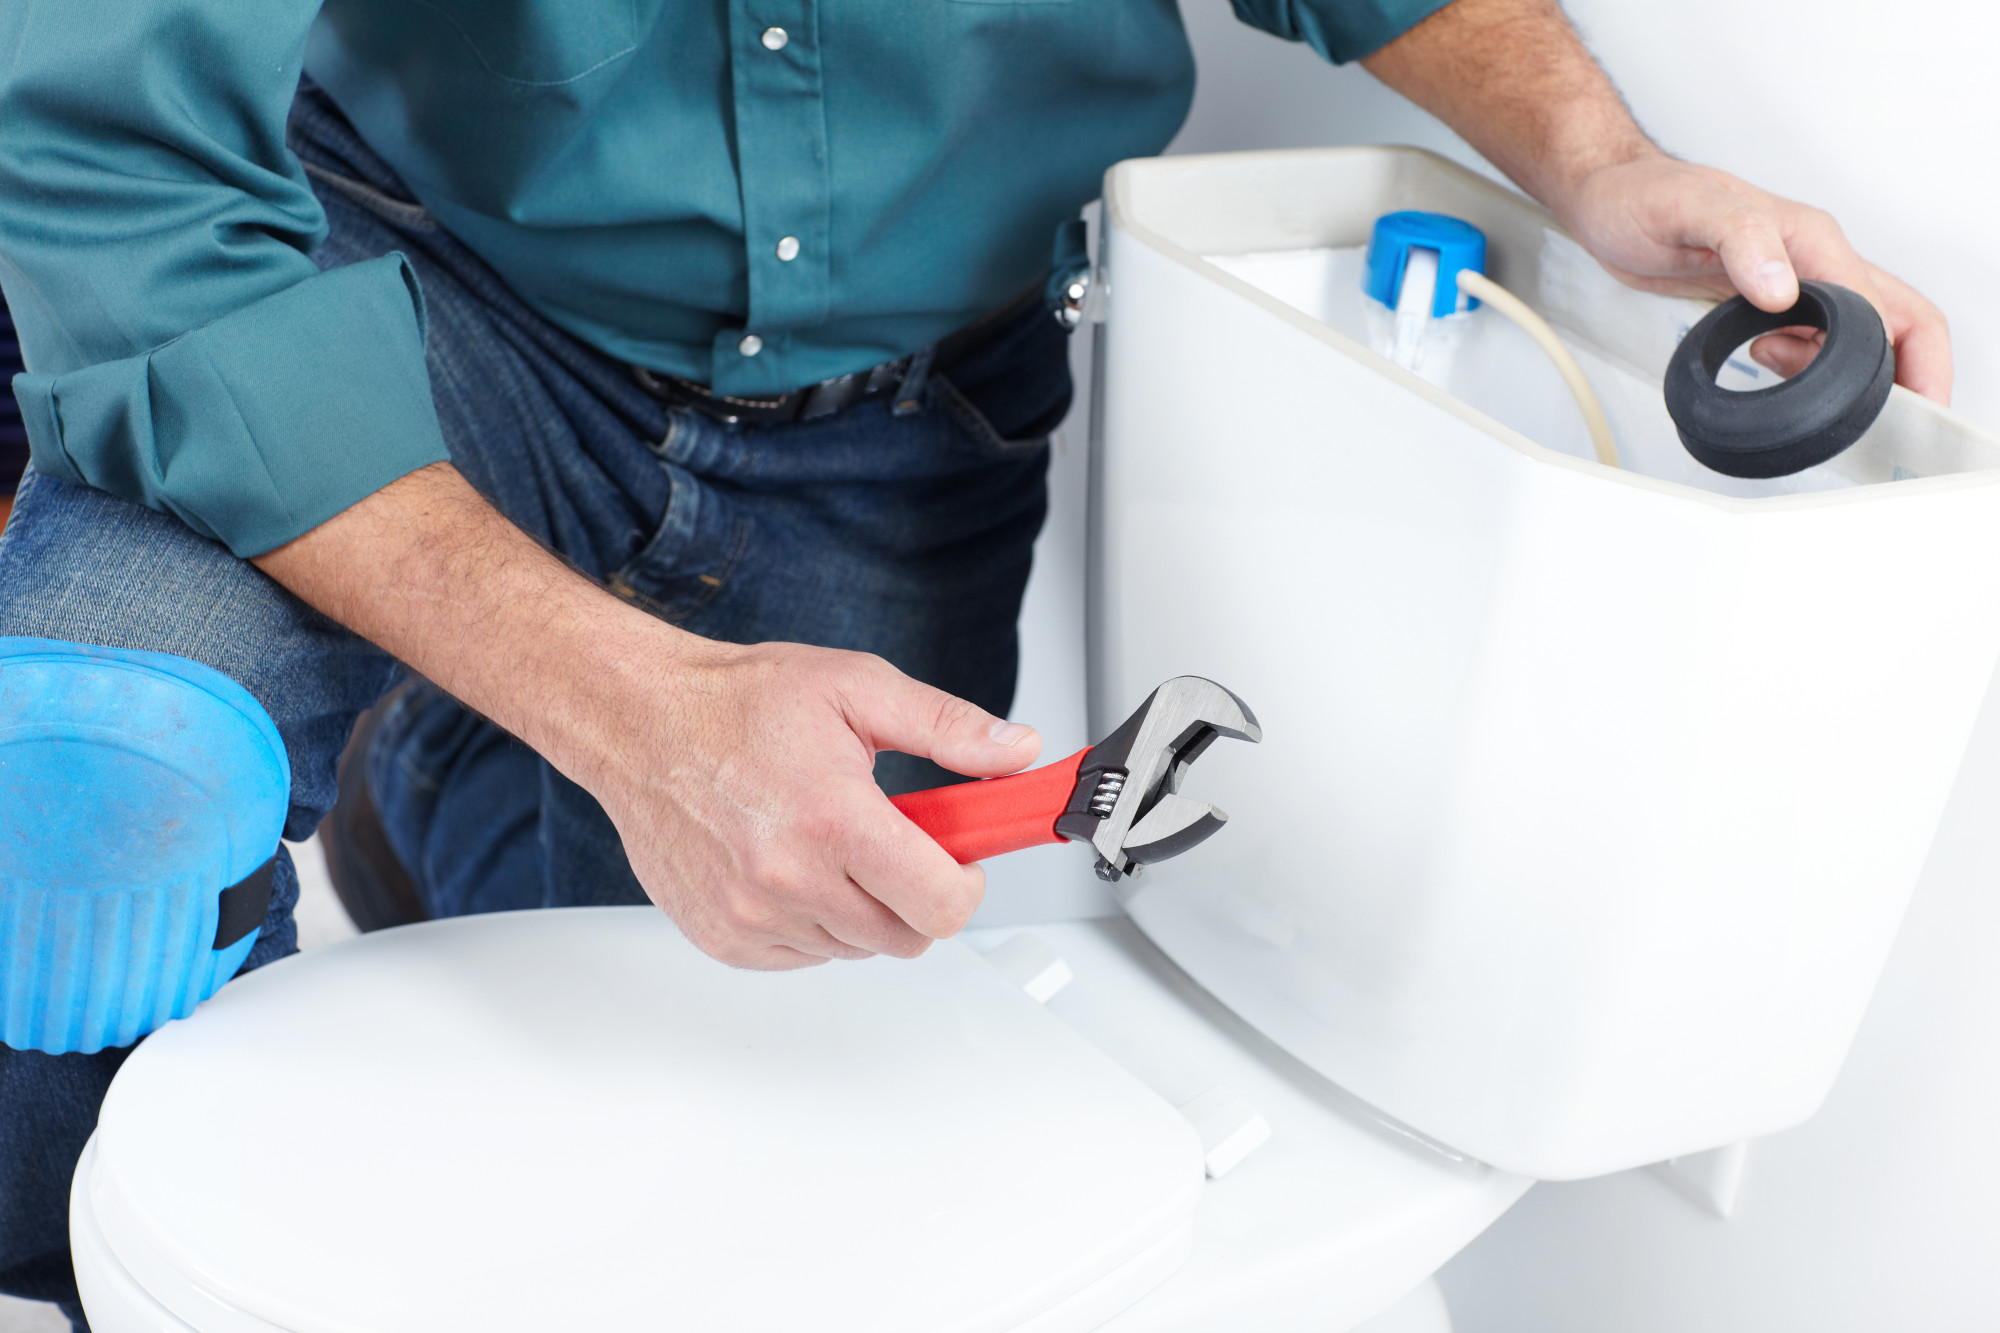
Tools You'll Need to Replace a Drop-In Bathroom Sink
Before starting your DIY project of replacing a drop-in bathroom sink, it's important to gather all the necessary tools and materials. Some essential tools you'll need include a wrench, caulk gun, and putty knife. You'll also need caulk or adhesive for securing the sink, as well as a new sink to replace the old one. Having all the tools and materials on hand will make the process much smoother and easier.


Tools You'll Need to Replace a Drop-In Bathroom Sink


How to Remove and Install a Drop-In Bathroom Sink
If you're wondering how to remove and install a drop-in bathroom sink, you're not alone. This is a common question for those looking to upgrade their bathroom sink. The process involves turning off the water supply, disconnecting the plumbing, removing the old sink, cleaning the area, applying caulk or adhesive, and installing the new sink. For a more detailed guide, check out our blog post on how to replace a drop-in bathroom sink.


How to Remove and Install a Drop-In Bathroom Sink


Troubleshooting Common Issues When Replacing a Drop-In Bathroom Sink
While replacing a drop-in bathroom sink is a relatively simple DIY project, there may be some common issues that arise. One common issue is a sink that doesn't fit properly, which can be avoided by properly measuring the size of the sink before purchasing a replacement. Another issue is a leaky sink, which can be caused by not properly cleaning the area before installation or not using enough caulk or adhesive. If you encounter any issues, refer to our blog post on how to replace a drop-in bathroom sink for troubleshooting tips.


Troubleshooting Common Issues When Replacing a Drop-In Bathroom Sink


Why You Should Consider Replacing Your Drop-In Bathroom Sink
The Importance of a Functional Bathroom Sink
 When it comes to house design, the bathroom is often the most overlooked room. However, it is a space that is used daily and can greatly affect the overall comfort and functionality of your home. One of the key elements in a bathroom is the sink, and it plays a crucial role in our daily routines. From brushing our teeth to washing our face, we rely on our bathroom sink for many tasks. That's why it's important to have a sink that not only looks good, but also functions properly. If you have a drop-in bathroom sink, you may want to consider replacing it with a newer, more modern option.
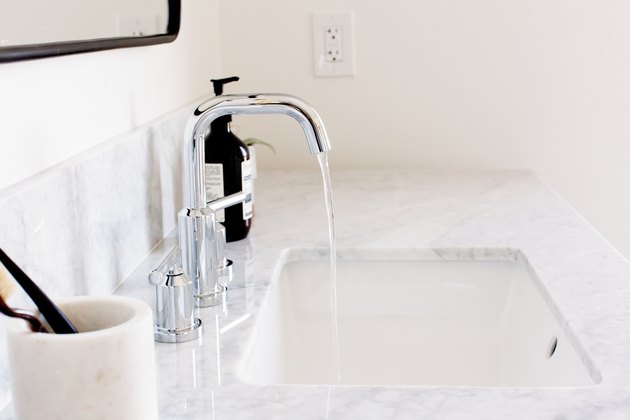
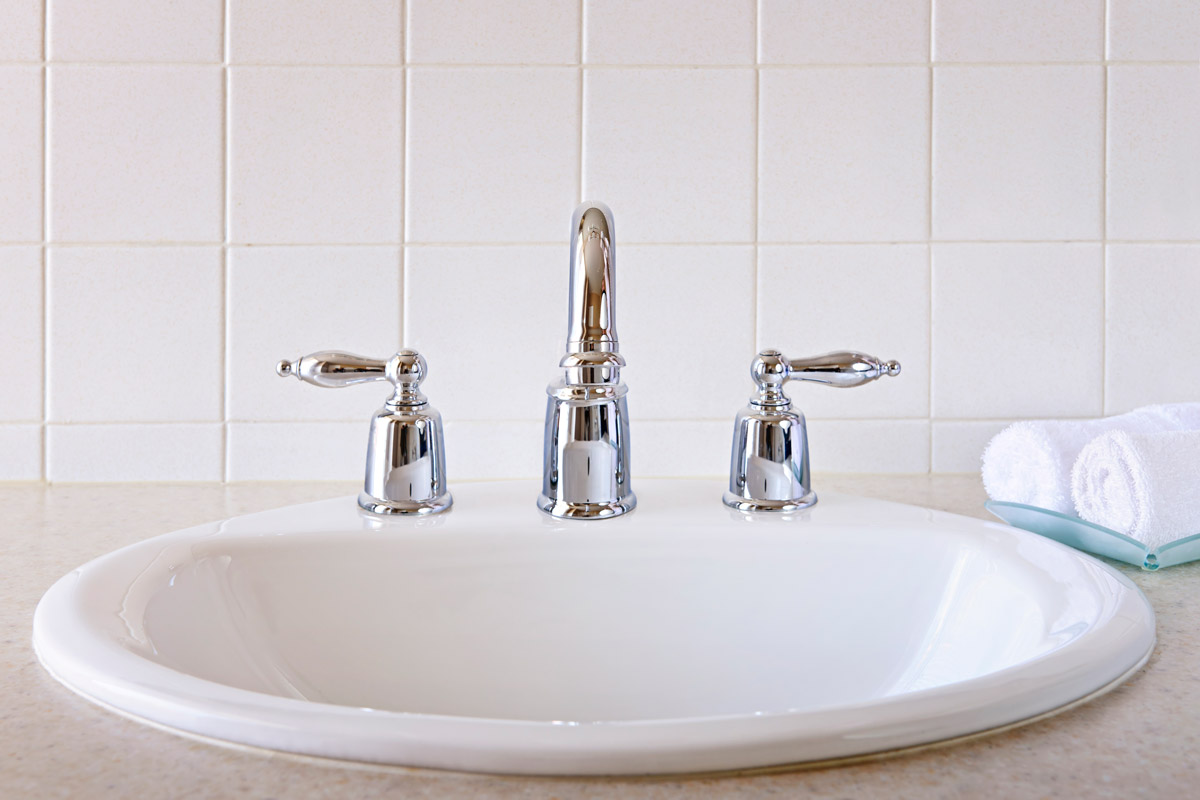
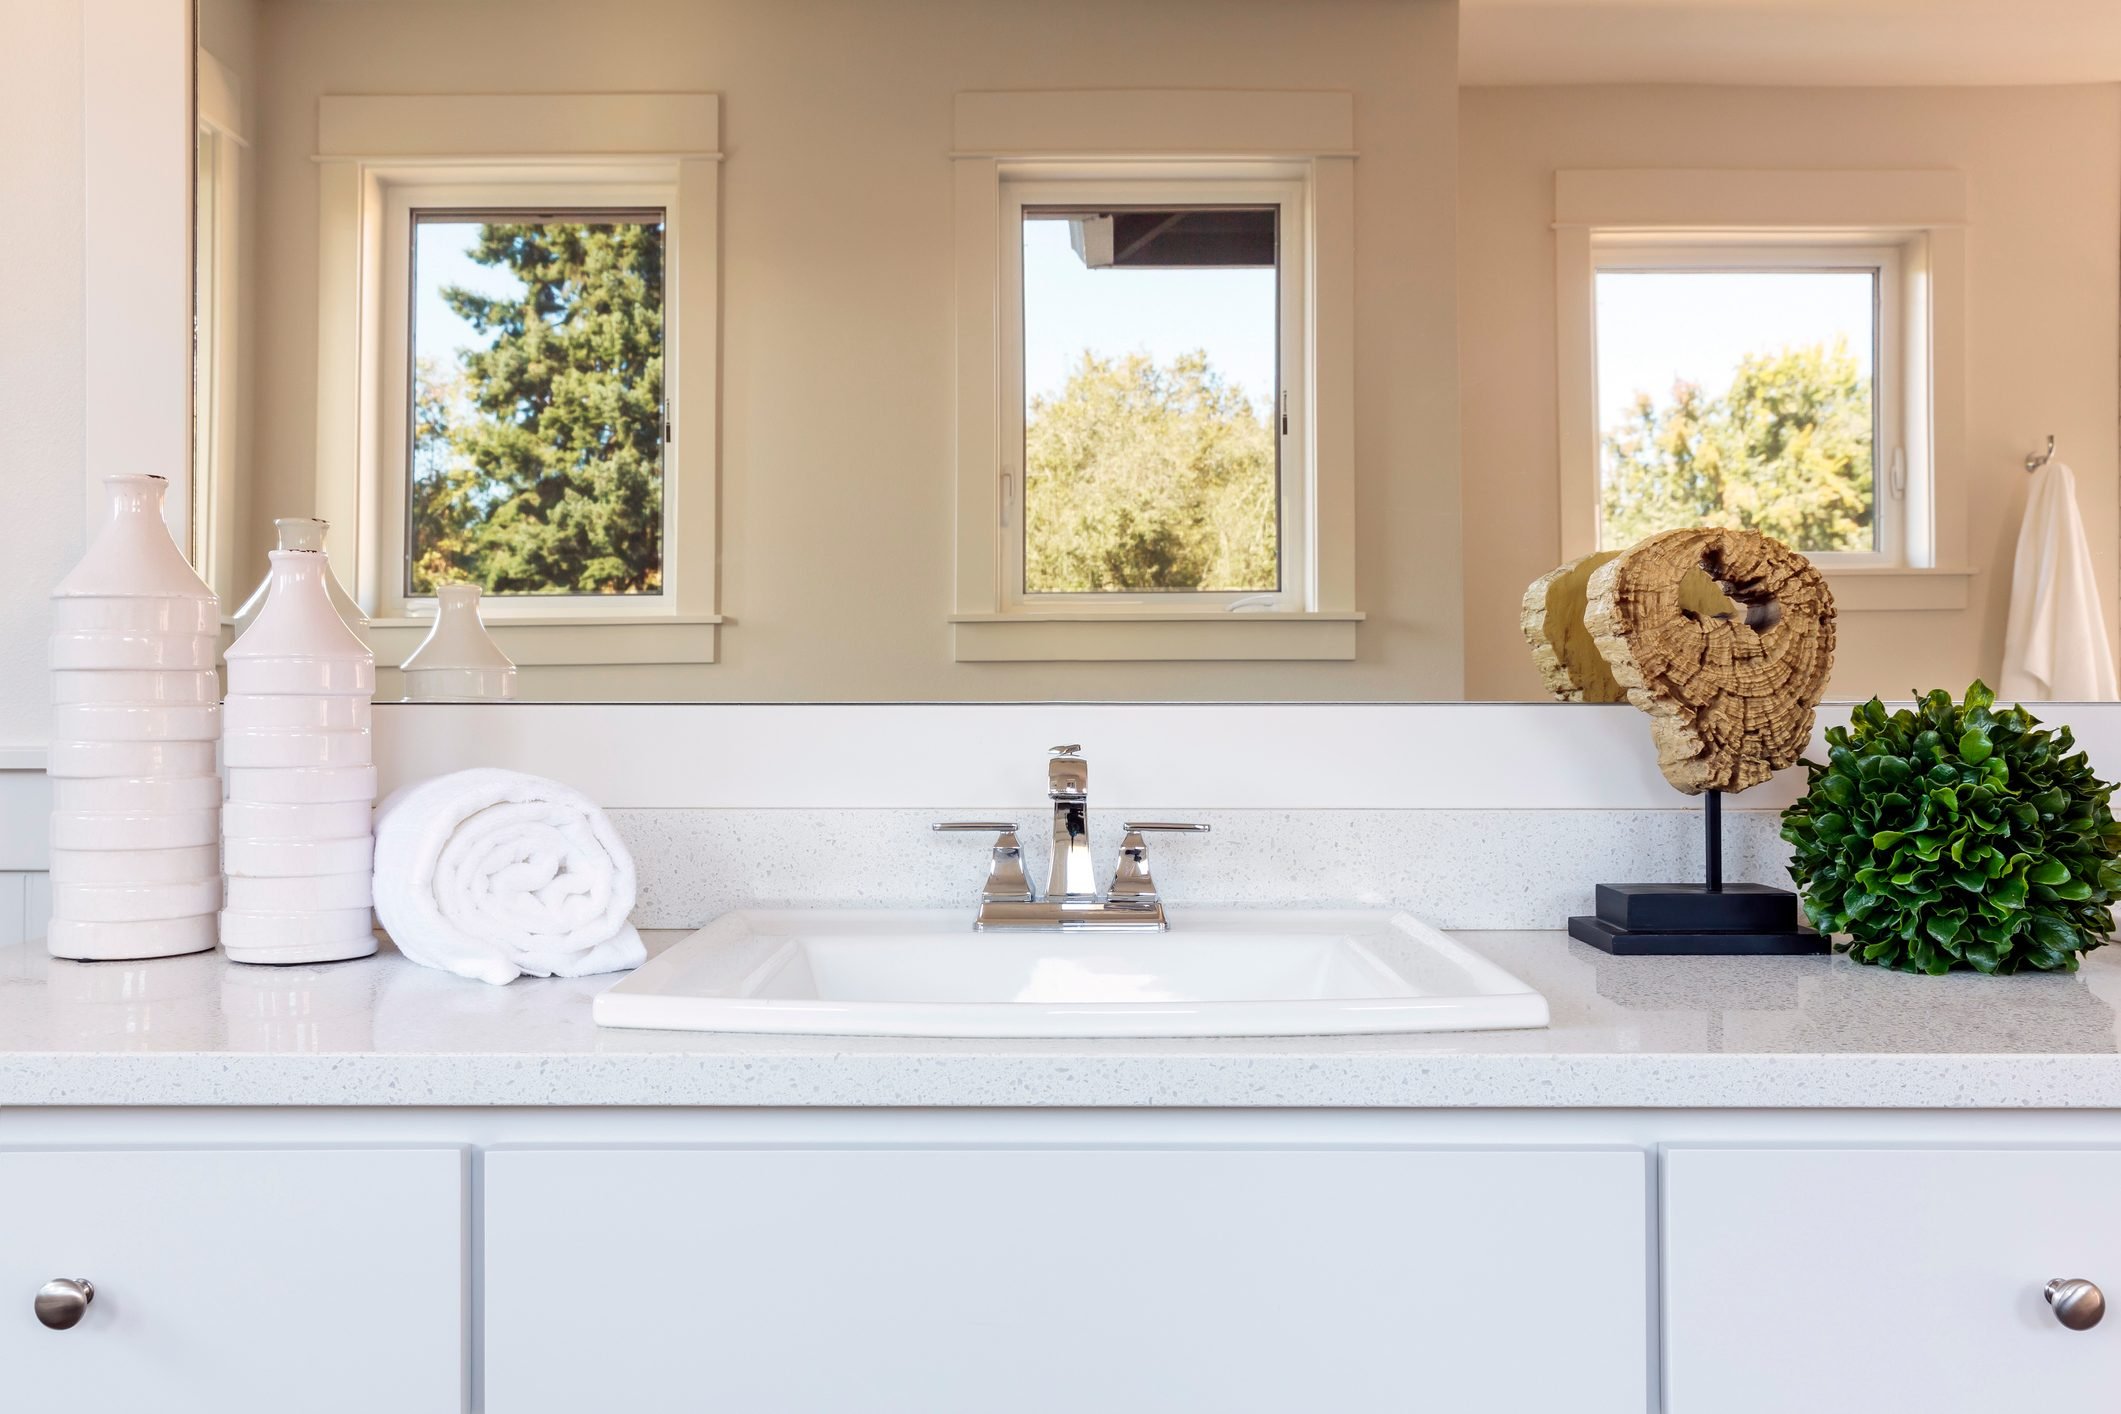
The Downfalls of a Drop-In Bathroom Sink
 Drop-in bathroom sinks, also known as self-rimming or top-mount sinks, have been a popular choice for many years. They are relatively easy to install and come in a variety of styles and materials. However, there are some downsides to this type of sink. One of the main issues is that the lip of the sink, which sits on top of the countertop, can collect dirt and grime, making it difficult to clean. This can also lead to mold and mildew growth, creating an unhygienic environment. Additionally, the lip of the sink can also trap water, causing it to pool and potentially lead to water damage on your countertop.
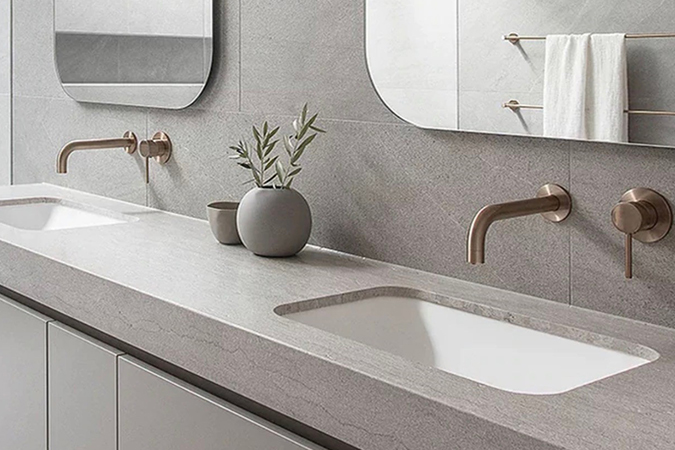
The Benefits of a Newer, Undermount Sink
 Replacing your drop-in bathroom sink with a newer, undermount sink can greatly improve the functionality and aesthetics of your bathroom. An undermount sink is installed underneath the countertop, creating a seamless and clean look. Without the lip of the sink, there are no crevices for dirt and grime to collect, making it easier to clean and maintain. Additionally, undermount sinks are available in a variety of shapes and sizes, allowing for more customization and a modern look.
Considerations Before Replacing Your Sink
 Before making the switch to an undermount sink, there are a few things to consider. The installation process may be more involved and may require professional help, especially if you have a tiled countertop. You will also need to ensure that the new sink is compatible with your existing plumbing. Lastly, undermount sinks may be more expensive than drop-in sinks, but the benefits often outweigh the cost.
In conclusion,
if you are looking to upgrade your bathroom and improve its functionality, replacing your drop-in bathroom sink with an undermount sink is definitely worth considering. With a sleek and modern design, easier maintenance, and potential for increased home value, it is a worthwhile investment in your home. Don't be afraid to explore different styles and materials to find the perfect sink for your bathroom.
Before making the switch to an undermount sink, there are a few things to consider. The installation process may be more involved and may require professional help, especially if you have a tiled countertop. You will also need to ensure that the new sink is compatible with your existing plumbing. Lastly, undermount sinks may be more expensive than drop-in sinks, but the benefits often outweigh the cost.
In conclusion,
if you are looking to upgrade your bathroom and improve its functionality, replacing your drop-in bathroom sink with an undermount sink is definitely worth considering. With a sleek and modern design, easier maintenance, and potential for increased home value, it is a worthwhile investment in your home. Don't be afraid to explore different styles and materials to find the perfect sink for your bathroom.