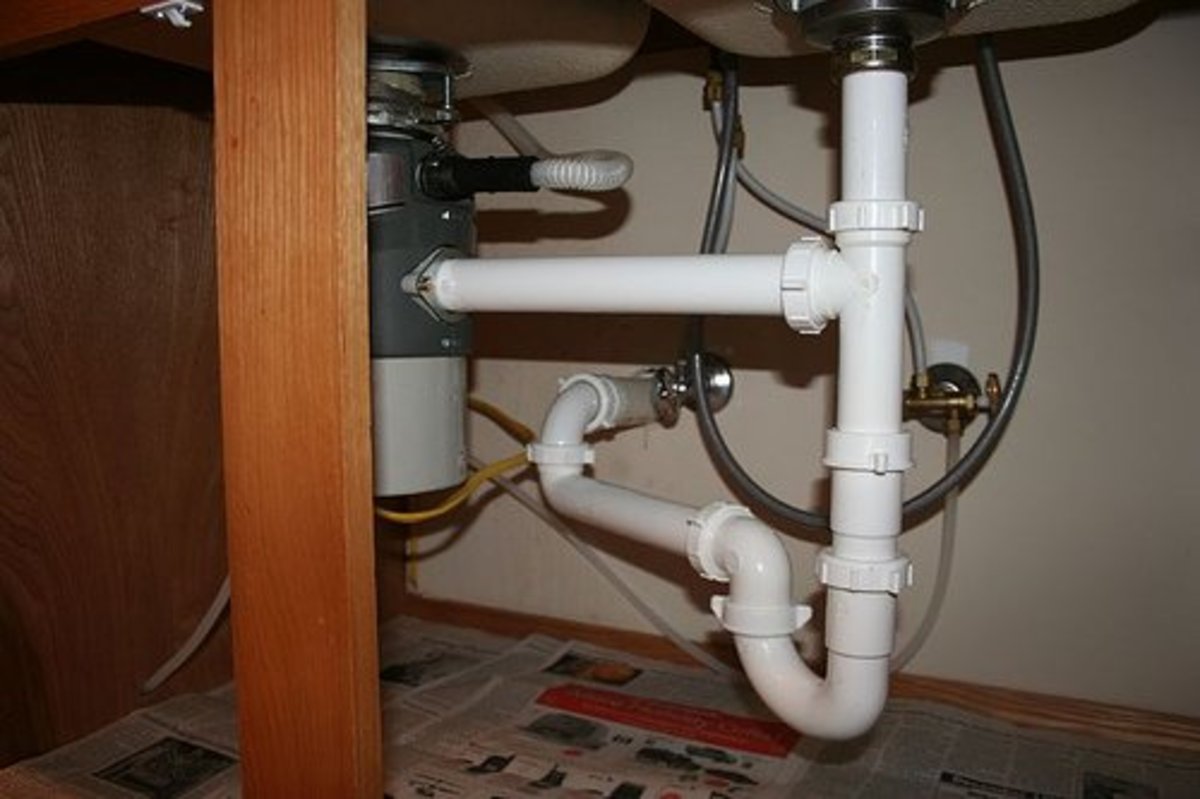
If you're experiencing leaks or rust in your kitchen sink, it may be time to replace your copper pipes. While copper pipes are known for their durability and longevity, they can still wear out over time. Replacing them may seem like a daunting task, but with the right tools and knowledge, it can be a DIY project that you can tackle on your own. Here's a step-by-step guide on how to replace copper pipes under your kitchen sink.Replacing Copper Pipes Under Kitchen Sink
Before you begin, it's important to turn off the water supply to your sink. This can usually be done by turning off the main water valve in your home. Once the water is turned off, you can start the process of replacing your copper pipes. Here are the steps you need to follow:How to Replace Copper Pipes Under Kitchen Sink
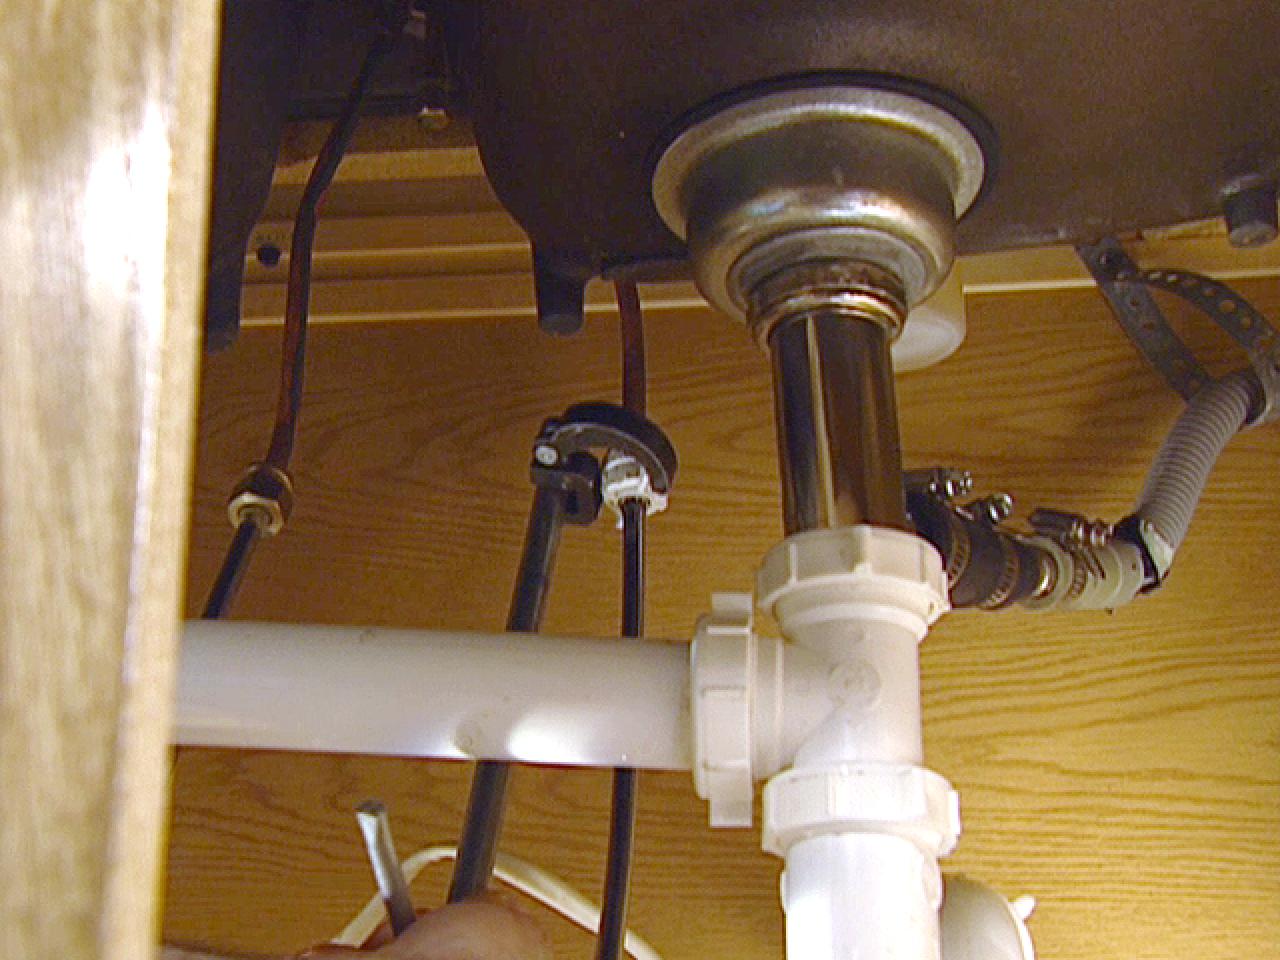
Start by removing the old pipes. Using a pipe cutter, cut the pipes at the joints and carefully remove them from the sink. You may need to use pliers to loosen the connections. Make sure to wear gloves and safety glasses during this process.Step 1: Remove the Old Pipes
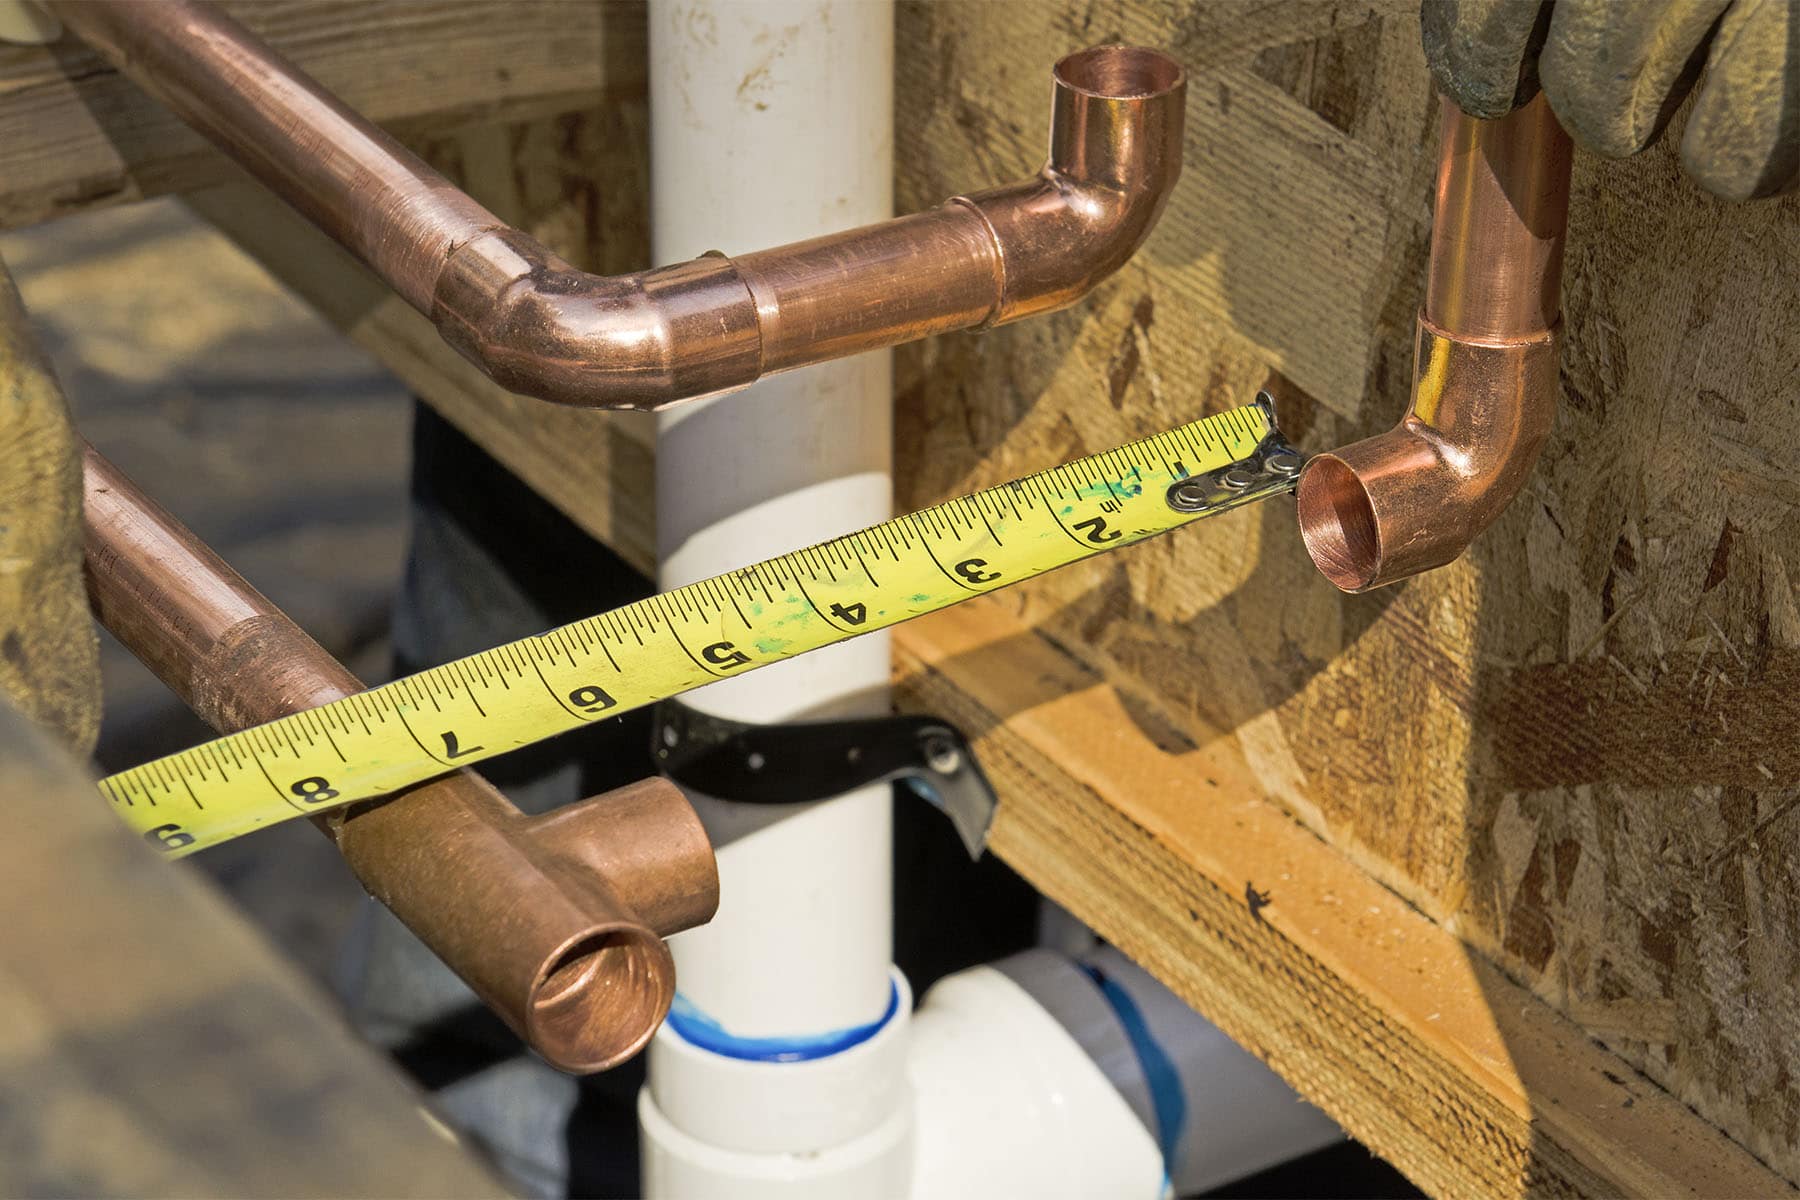
Measure the length of the pipes you need to replace and cut the new pipes accordingly. It's important to get the measurements right to ensure a proper fit. You can use a pipe cutter or a hacksaw to cut the pipes.Step 2: Measure and Cut the New Pipes
Before installing the new pipes, it's important to clean the fittings to ensure a tight seal. You can use emery cloth to clean the inside of the fittings and remove any debris or corrosion.Step 3: Clean the Fittings
Flux is a chemical compound that helps solder bind to the copper pipes. Apply flux to the inside of the fittings and the end of the pipes before assembling them. This will help create a strong bond.Step 4: Apply Flux
Once the pipes are in place, it's time to solder them together. Heat the joint with a propane torch and apply solder to the seam. The solder will melt and create a seal between the pipes and fittings. Make sure to wipe off any excess solder with a cloth.Step 5: Solder the Pipes
After the pipes have cooled down, turn the water back on and check for any leaks. If you notice any, you may need to reheat the joint and apply some more solder. Once you're satisfied that there are no leaks, you can move on to the next step.Step 6: Test for Leaks
Here are the tools you'll need to replace copper pipes under your kitchen sink: Pipe cutter or hacksaw - for cutting the pipes Pliers - for loosening connections Gloves - for protection Safety glasses - for eye protection Emery cloth - for cleaning fittings Flux - for creating a strong bond Propane torch - for soldering pipes Solder - for creating a seal between pipes and fittingsTools Needed for Replacing Copper Pipes Under Kitchen Sink
The cost of replacing copper pipes under your kitchen sink will depend on the length and number of pipes you need to replace. On average, the cost can range from $200 to $500, including materials and labor. However, if you choose to tackle the project yourself, you can save on labor costs.Cost of Replacing Copper Pipes Under Kitchen Sink
Why You Should Consider Replacing Copper Pipes Under Your Kitchen Sink
/how-to-install-a-sink-drain-2718789-hero-24e898006ed94c9593a2a268b57989a3.jpg)
The Importance of Maintaining Your Plumbing System
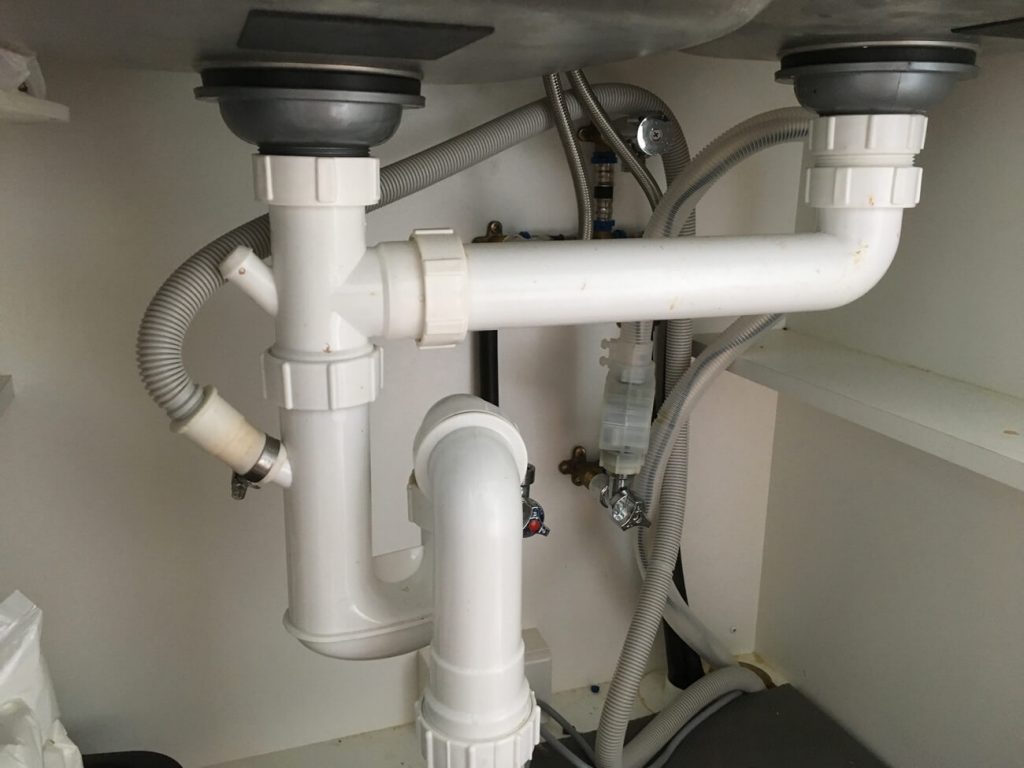 The plumbing system in your home is a crucial component of your overall house design. It is responsible for providing clean water for drinking, cooking, and bathing, as well as removing waste and keeping your home free from leaks and water damage. Despite its importance, many homeowners overlook the maintenance of their plumbing system until it becomes a major issue. One common issue that often goes unnoticed is deteriorating
copper pipes
under the kitchen sink.
Understanding the Hazards of Old Copper Pipes
 Copper pipes have been a popular choice for plumbing systems for decades due to their durability and resistance to corrosion. However, over time, these pipes can begin to deteriorate, causing potential hazards and costly damage to your home.
Leaking pipes
can lead to water damage, mold growth, and even structural damage if left untreated. Additionally, older copper pipes may contain lead solder, which can contaminate your water supply and pose health risks.
The Benefits of Replacing Copper Pipes
 Replacing
copper pipes
under your kitchen sink may seem like a daunting and expensive task, but it can save you from potential hazards and costly repairs in the future. Newer pipes made from materials such as PEX or PVC are more durable and resistant to corrosion, making them a safer and more reliable option. They also require less maintenance and are less likely to develop
leaks
.
Hiring a Professional for the Job
 While some homeowners may attempt to replace their copper pipes themselves, it is highly recommended to hire a professional plumber for this task. A licensed plumber has the necessary skills and experience to properly
replace
your old pipes without causing any damage to your home. They will also ensure that the new pipes are properly installed and connected to the rest of your plumbing system.
Conclusion
:max_bytes(150000):strip_icc()/ReplaceCopperWithPEXMain-565ca15a5f9b5835e47800bb.jpg?resize=720%2C405&ssl=1) In conclusion, it is important to prioritize the maintenance of your plumbing system, including the
copper pipes
under your kitchen sink. By replacing these pipes, you can prevent potential hazards and costly damage to your home. Be sure to hire a professional plumber for the job to ensure it is done correctly and efficiently. Don't wait until it's too late, consider replacing your old copper pipes today for a safer and more reliable plumbing system.
In conclusion, it is important to prioritize the maintenance of your plumbing system, including the
copper pipes
under your kitchen sink. By replacing these pipes, you can prevent potential hazards and costly damage to your home. Be sure to hire a professional plumber for the job to ensure it is done correctly and efficiently. Don't wait until it's too late, consider replacing your old copper pipes today for a safer and more reliable plumbing system.





/water-pipe-under-kitchen-sink-980755656-3ec7719515ab4e269908381b760f7366.jpg)





:max_bytes(150000):strip_icc()/ReplaceCopperWithPEXMain-565ca15a5f9b5835e47800bb.jpg)
:max_bytes(150000):strip_icc()/ConnectPEXtoCopperPipe-565c9d555f9b5835e477a655.jpg?resize=720%2C405&ssl=1)


/how-to-install-a-sink-drain-2718789-hero-b5b99f72b5a24bb2ae8364e60539cece.jpg)
:max_bytes(150000):strip_icc()/SeverCopperPipeBranchestoToiletandSink-565c96ae3df78c6ddf641bcf.jpg)


/copper-pipes-107198898-59de11daaad52b00106cad25.jpg)


:max_bytes(150000):strip_icc()/replacing-a-sink-p-trap-2718773-hero-f3f65fbc400e41438c4d8280de025fc6.jpg)
