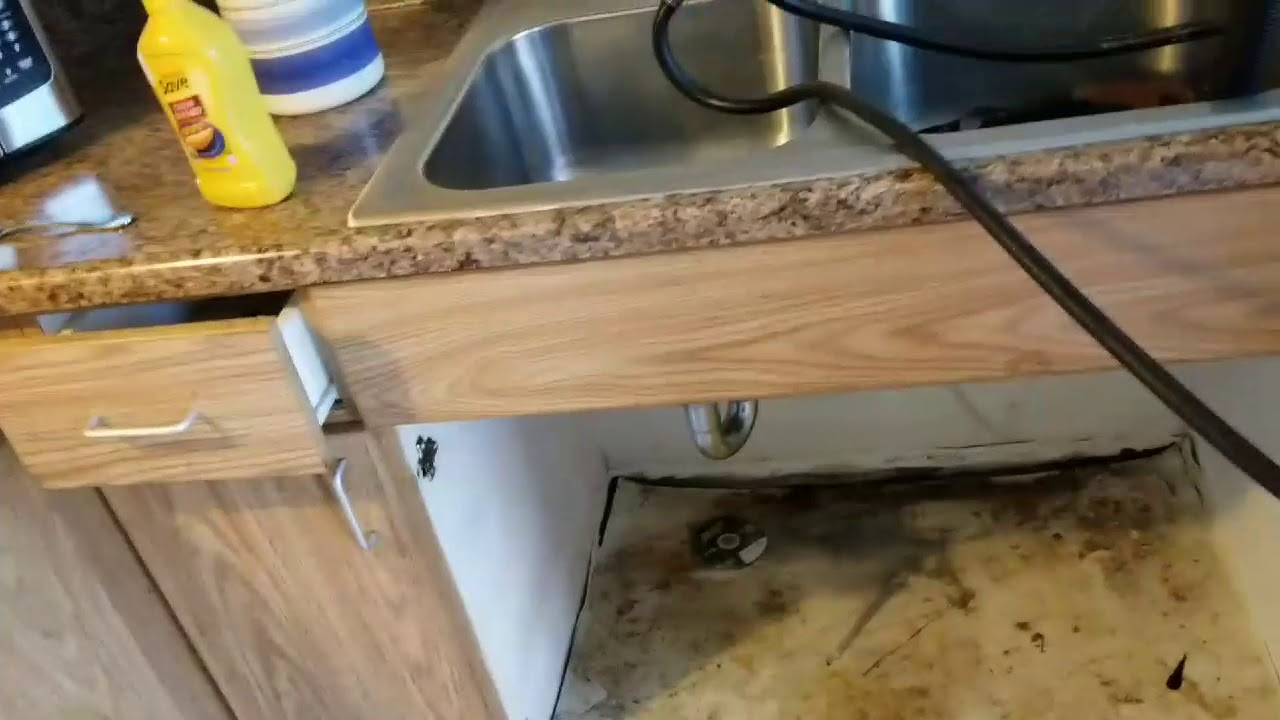
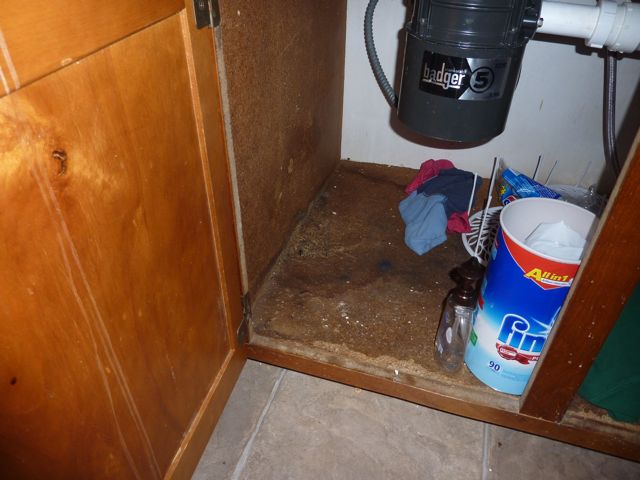
If you've noticed the bottom of your kitchen sink cabinet is looking worse for wear, it may be time to replace it. Over time, the constant exposure to water and other kitchen substances can cause the bottom of the cabinet to deteriorate. Not only is this unsightly, but it can also weaken the structure of the cabinet and lead to bigger problems down the line. Luckily, replacing the bottom of a kitchen sink cabinet is a relatively simple process that you can do yourself with the right tools and materials. In this guide, we'll walk you through the steps to replace the bottom of your kitchen sink cabinet and have it looking good as new.How to Replace the Bottom of a Kitchen Sink Cabinet


How to Replace the Bottom of a Kitchen Sink Cabinet


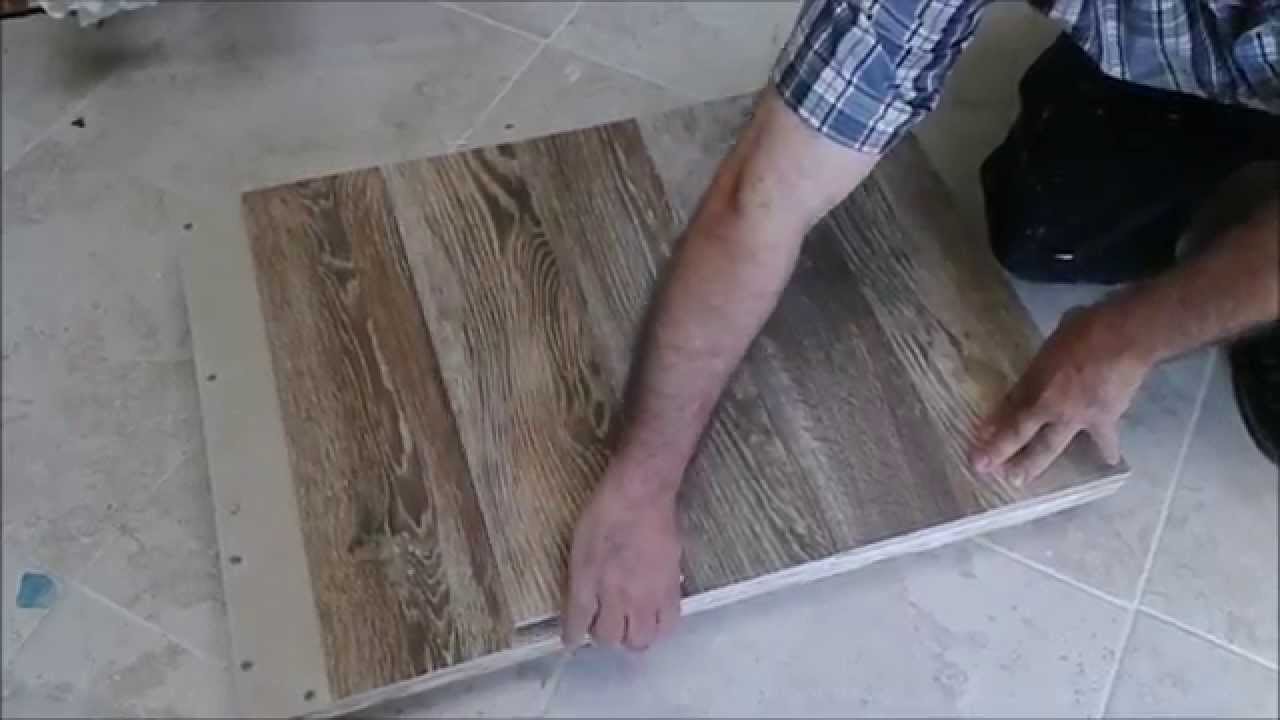


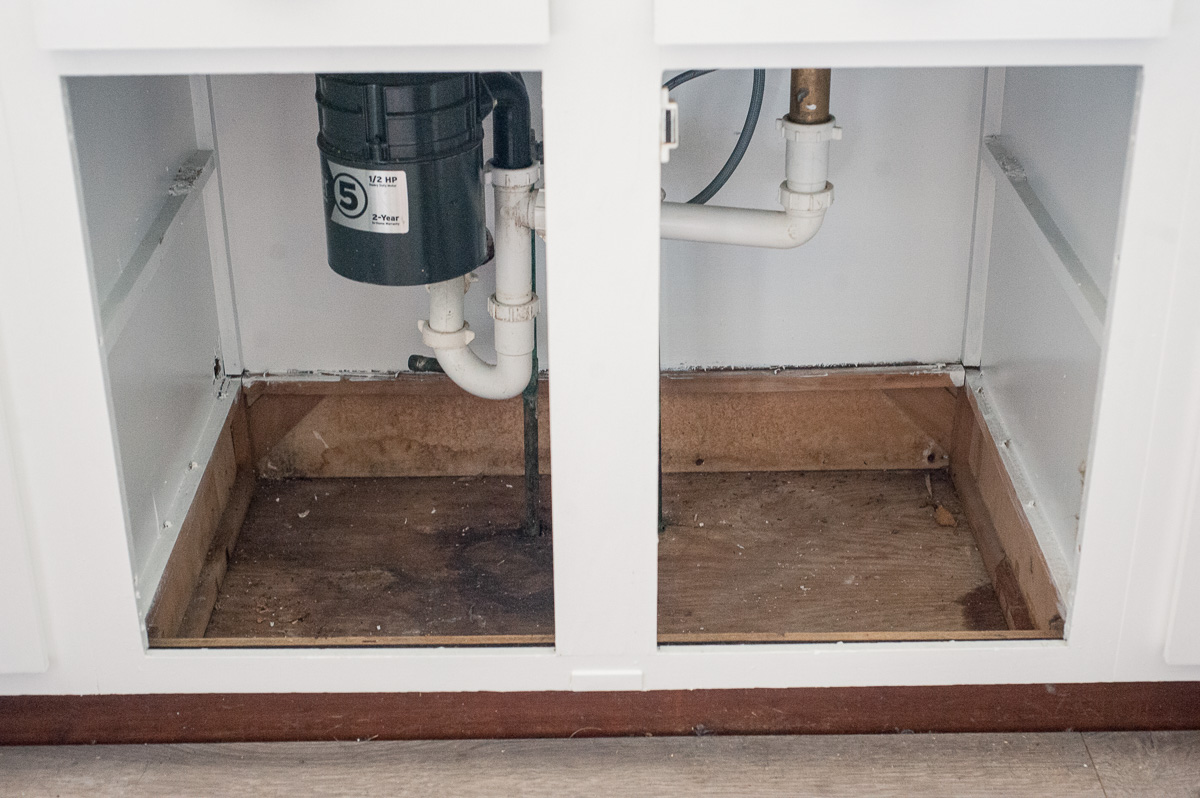
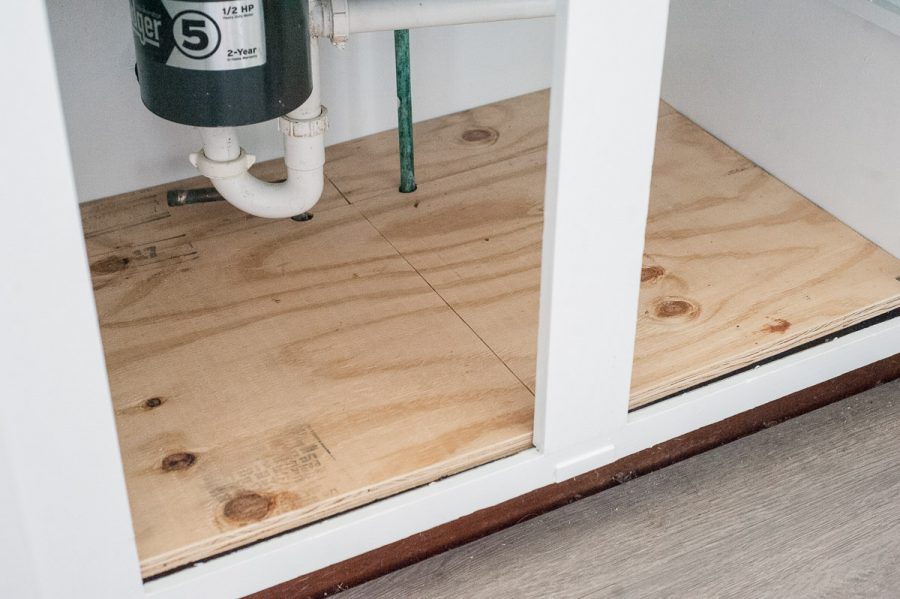
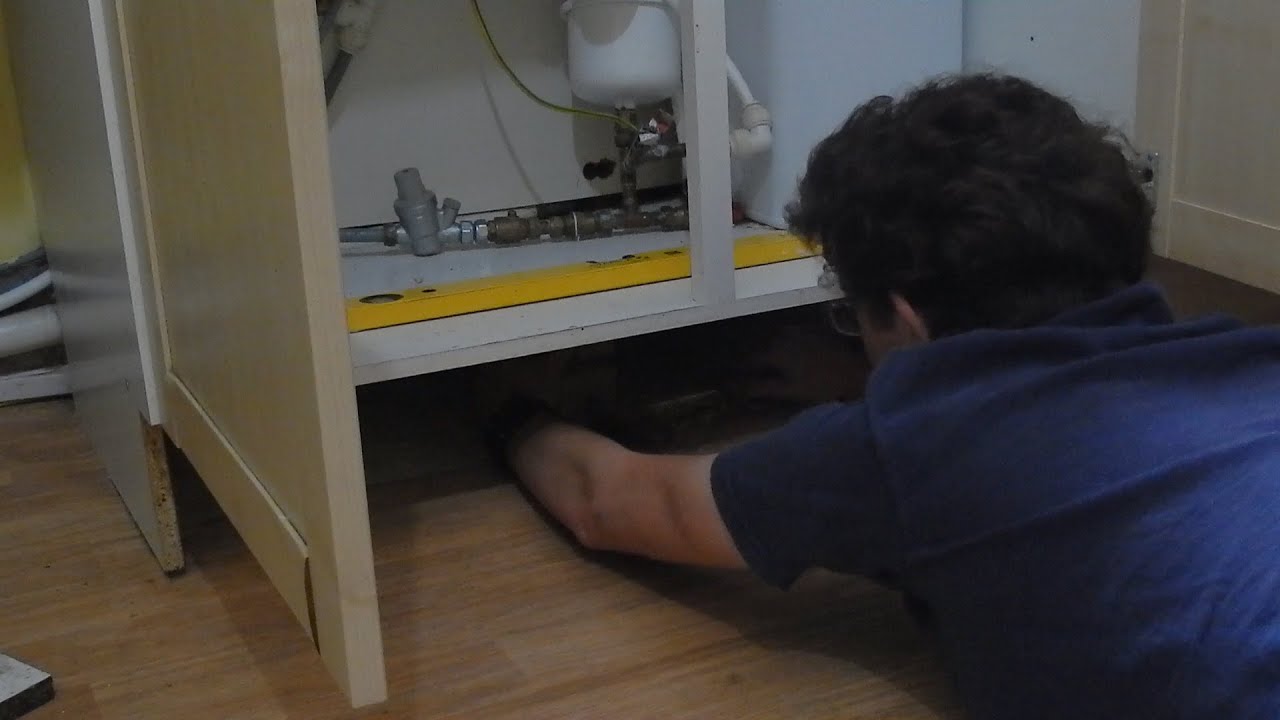
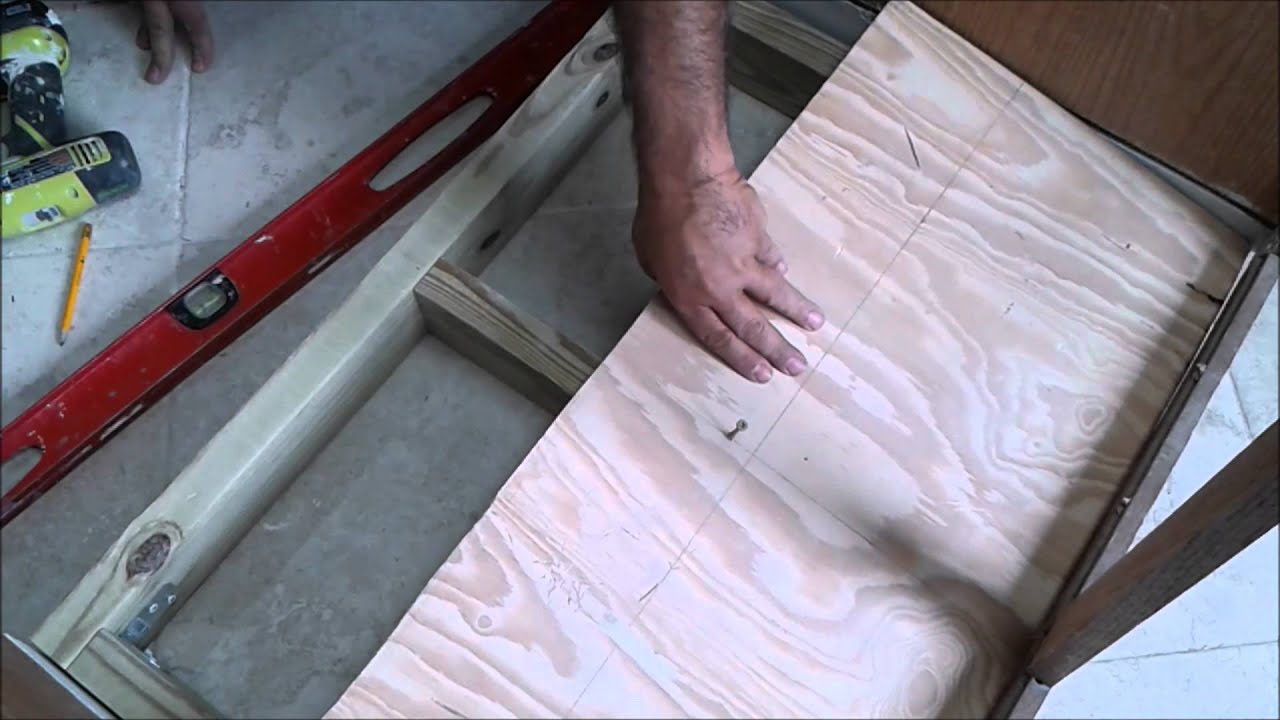
Step 1: Measure the bottom of your cabinet - Before you start removing the old bottom, you'll want to measure the dimensions of the space so you know what size replacement board you'll need. Use a tape measure to get the length and width of the area, and be sure to account for any corners or cutouts that may affect the shape. Step 2: Remove the old bottom - Using a screwdriver or drill, remove any screws or nails that are holding the old bottom in place. Be careful not to damage the surrounding cabinet or plumbing while doing this. Once the old bottom is loose, you can simply lift it out of the cabinet. Step 3: Cut the replacement board to size - Using the measurements you took earlier, cut the new board to fit the bottom of your cabinet. You can use a saw or even a utility knife for this step, depending on the type of material you're using for the replacement. Step 4: Install the new bottom - Place the new board into the bottom of the cabinet and make sure it fits snugly. If needed, you can use a hammer to gently tap it into place. Then, use screws or nails to secure the new bottom to the cabinet frame. Step 5: Seal the edges - To prevent any moisture from seeping into the new bottom, use a waterproof sealant to seal the edges of the board and any seams or joints in the cabinet. This will also help to reinforce the strength of the new bottom.Replacing the Bottom of a Kitchen Sink Cabinet: A Step-by-Step Guide


Replacing the Bottom of a Kitchen Sink Cabinet: A Step-by-Step Guide


Replacing the bottom of a kitchen sink cabinet is a DIY project that most homeowners can tackle themselves. With the right tools and materials, it can be a relatively quick and easy process. Plus, doing it yourself can save you the cost of hiring a professional. Just be sure to take your time and follow the steps carefully to ensure a successful replacement.DIY: Replacing the Bottom of a Kitchen Sink Cabinet


DIY: Replacing the Bottom of a Kitchen Sink Cabinet


- If you're not sure what type of material to use for the replacement bottom, consider using marine-grade plywood or a waterproof composite board. These materials are specifically designed to withstand moisture and are a great choice for kitchen cabinets. - Before installing the new bottom, you may want to sand down any rough edges or imperfections to ensure a smooth finish. - If your cabinet has a cutout for plumbing, be sure to measure and cut the replacement board to fit around it properly. You may need to use a jigsaw or other cutting tool for this.Replacing the Bottom of a Kitchen Sink Cabinet: Tips and Tricks

Replacing the Bottom of a Kitchen Sink Cabinet: Tips and Tricks


Step 1: Measure the bottom of your cabinet. Step 2: Remove the old bottom. Step 3: Cut the replacement board to size. Step 4: Install the new bottom. Step 5: Seal the edges.Step-by-Step Guide to Replacing the Bottom of a Kitchen Sink Cabinet

Step-by-Step Guide to Replacing the Bottom of a Kitchen Sink Cabinet

- It's important to properly support the cabinet while you're replacing the bottom. You can use temporary braces or have a helper hold it in place to prevent any shifting or damage to the cabinet. - If your cabinet has a baseboard or toe kick, you may need to remove it in order to access the bottom of the cabinet. Be sure to put it back in place once the replacement is complete. - If you're not comfortable using power tools, you can always opt for pre-cut replacement bottoms that are available at most home improvement stores.Replacing the Bottom of a Kitchen Sink Cabinet: What You Need to Know

Replacing the Bottom of a Kitchen Sink Cabinet: What You Need to Know
While replacing the bottom of a kitchen sink cabinet is a straightforward process, you may also be able to repair the existing bottom if it's not too damaged. This can be a good option if you're on a tight budget or don't have the time to replace it completely. You can use wood filler or putty to fill in any cracks or holes, and then sand and paint over it for a smooth finish.How to Repair or Replace the Bottom of a Kitchen Sink Cabinet


How to Repair or Replace the Bottom of a Kitchen Sink Cabinet


- Not properly measuring the space before cutting the replacement board can lead to a poorly fitting bottom that may need to be redone. - Forgetting to seal the edges of the new bottom can leave it susceptible to moisture damage and decrease its longevity. - Rushing through the installation process can result in a sloppy job and potential mistakes. Take your time and follow the steps carefully.Replacing the Bottom of a Kitchen Sink Cabinet: Common Mistakes to Avoid

Replacing the Bottom of a Kitchen Sink Cabinet: Common Mistakes to Avoid

- Tape measure - Screwdriver or drill - Saw or utility knife - Replacement board (marine-grade plywood or waterproof composite) - Screws or nails - Waterproof sealant - Sandpaper - Paint (optional, for touch-ups)Replacing the Bottom of a Kitchen Sink Cabinet: Tools and Materials You'll Need

Replacing the Bottom of a Kitchen Sink Cabinet: Tools and Materials You'll Need
While it is possible to hire a professional to replace the bottom of your kitchen sink cabinet, it's also a project that most homeowners can handle themselves. By doing it yourself, you can save on labor costs and have the satisfaction of completing a home improvement project on your own. Just be sure to assess your own skills and comfort level before deciding whether to tackle this project yourself or hire a professional.Replacing the Bottom of a Kitchen Sink Cabinet: Professional vs. DIY

Replacing the Bottom of a Kitchen Sink Cabinet: Professional vs. DIY
Why You Should Replace the Bottom of Your Kitchen Sink Cabinet

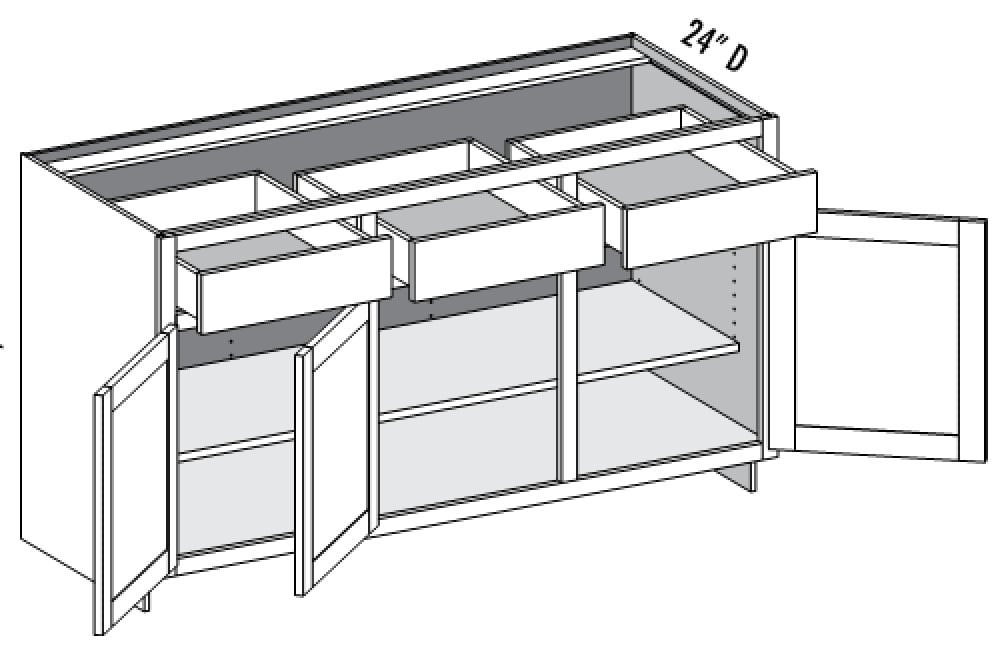
The Importance of a Structurally Sound Kitchen Sink Cabinet
 The kitchen sink is one of the most frequently used areas of any home. From washing dishes to preparing food, it is an essential part of our daily routines. However, what many homeowners fail to realize is that the bottom of their kitchen sink cabinet plays a crucial role in maintaining the overall functionality and stability of their kitchen.
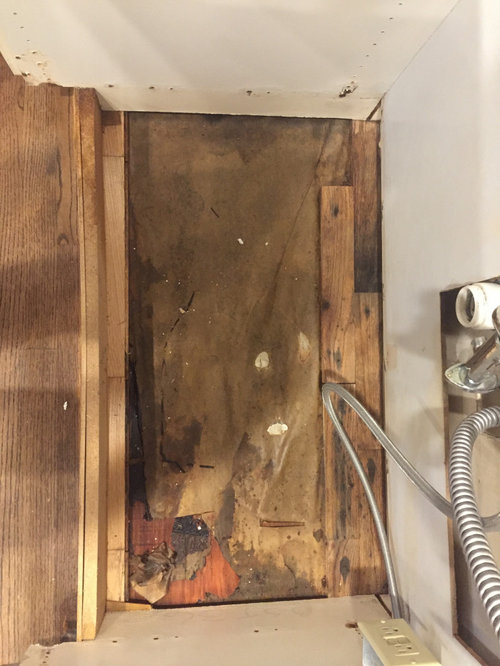
Over time, the bottom of your kitchen sink cabinet can become weakened and damaged due to exposure to water, moisture, and heavy items stored inside.
This can lead to sagging, warping, and even complete collapse of the cabinet. Not only does this pose a safety hazard, but it can also result in costly repairs and replacements.
Replacing the bottom of your kitchen sink cabinet is an important maintenance task that should not be overlooked. Not only does it ensure the structural integrity of your kitchen, but it also provides a clean and organized space for all your kitchen essentials.
The kitchen sink is one of the most frequently used areas of any home. From washing dishes to preparing food, it is an essential part of our daily routines. However, what many homeowners fail to realize is that the bottom of their kitchen sink cabinet plays a crucial role in maintaining the overall functionality and stability of their kitchen.
Over time, the bottom of your kitchen sink cabinet can become weakened and damaged due to exposure to water, moisture, and heavy items stored inside.
This can lead to sagging, warping, and even complete collapse of the cabinet. Not only does this pose a safety hazard, but it can also result in costly repairs and replacements.
Replacing the bottom of your kitchen sink cabinet is an important maintenance task that should not be overlooked. Not only does it ensure the structural integrity of your kitchen, but it also provides a clean and organized space for all your kitchen essentials.
The Benefits of Replacing the Bottom of Your Kitchen Sink Cabinet
 Improved Durability and Longevity:
By replacing the bottom of your kitchen sink cabinet, you are investing in its durability and longevity. The new base will be able to withstand heavy items and constant exposure to moisture, ensuring that your cabinet will last for years to come.
Enhanced Functionality:
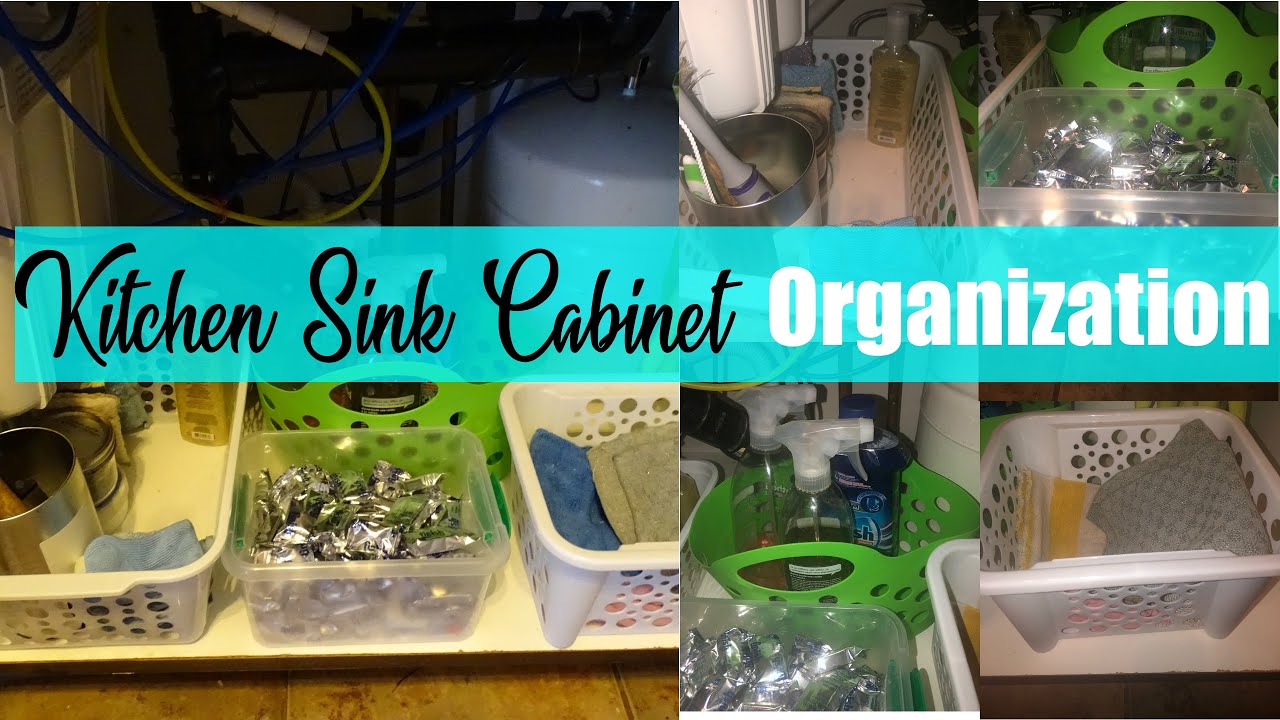
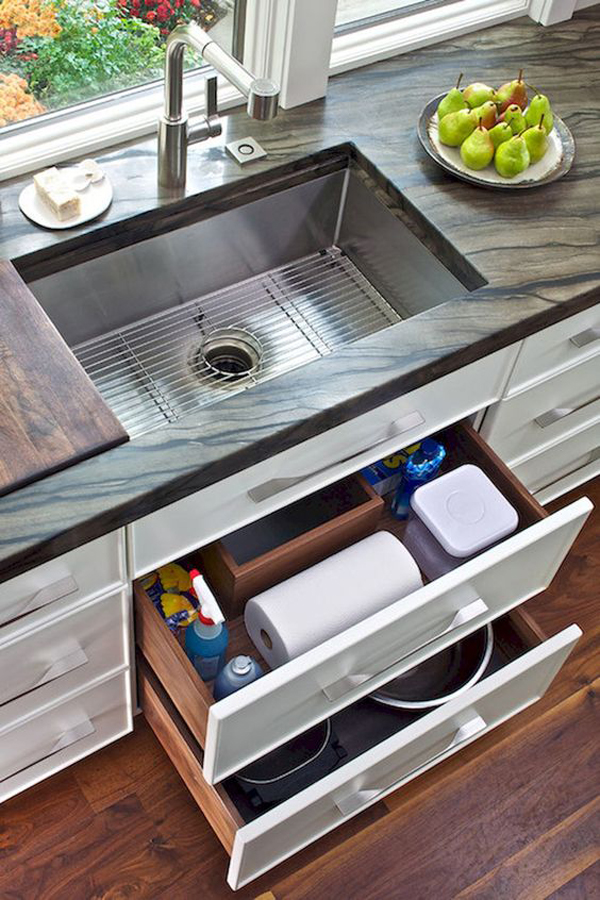
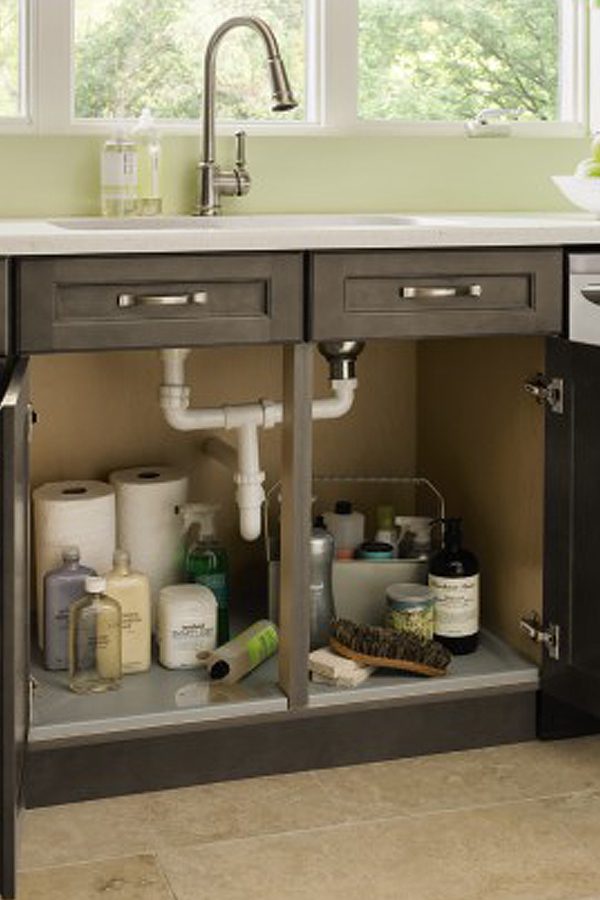
A sagging or warped bottom can make it difficult to store items and access them easily. By replacing the base, you can create a sturdy and level surface, making it easier to organize and access your kitchen essentials.
Better Aesthetics:
A damaged bottom not only affects the functionality of your kitchen sink cabinet but also its appearance. Replacing the base will not only improve the structural integrity but also enhance the overall aesthetics of your kitchen.
Improved Durability and Longevity:
By replacing the bottom of your kitchen sink cabinet, you are investing in its durability and longevity. The new base will be able to withstand heavy items and constant exposure to moisture, ensuring that your cabinet will last for years to come.
Enhanced Functionality:
A sagging or warped bottom can make it difficult to store items and access them easily. By replacing the base, you can create a sturdy and level surface, making it easier to organize and access your kitchen essentials.
Better Aesthetics:
A damaged bottom not only affects the functionality of your kitchen sink cabinet but also its appearance. Replacing the base will not only improve the structural integrity but also enhance the overall aesthetics of your kitchen.
Professional Replacement Services for Your Kitchen Sink Cabinet
 Replacing the bottom of your kitchen sink cabinet is not a task that should be attempted by inexperienced individuals. It requires precision, knowledge, and specialized tools to ensure a proper and long-lasting installation.
At XYZ Home Improvement, we offer professional and reliable cabinet replacement services.
Our team of experienced professionals will assess the condition of your cabinet and provide the best solution for your specific needs. We use high-quality materials and techniques to ensure a seamless and durable replacement that will withstand the demands of a busy kitchen.
Don't wait for your kitchen sink cabinet to become a safety hazard or an eyesore. Contact us today to schedule a consultation and give your kitchen the upgrade it deserves.
Replacing the bottom of your kitchen sink cabinet is not a task that should be attempted by inexperienced individuals. It requires precision, knowledge, and specialized tools to ensure a proper and long-lasting installation.
At XYZ Home Improvement, we offer professional and reliable cabinet replacement services.
Our team of experienced professionals will assess the condition of your cabinet and provide the best solution for your specific needs. We use high-quality materials and techniques to ensure a seamless and durable replacement that will withstand the demands of a busy kitchen.
Don't wait for your kitchen sink cabinet to become a safety hazard or an eyesore. Contact us today to schedule a consultation and give your kitchen the upgrade it deserves.