Is your bathroom sink drain constantly leaking? It may be time to replace the gasket. The gasket is a small but essential component of your sink drain, responsible for creating a watertight seal. Over time, it can become worn out and cracked, leading to leaks and potential water damage. In this article, we will discuss the top 10 steps to replace your bathroom sink drain gasket. Replace Bathroom Sink Drain Gasket


Replace Bathroom Sink Drain Gasket


Replacing a bathroom sink drain gasket may seem like a daunting task, but with the right tools and knowledge, it can be a straightforward process. The key is to take your time and carefully follow each step. Here's a quick overview of the process: remove the old gasket, clean the drain, apply plumber's putty, and install the new gasket and drain. Let's dive into the details. How to Replace a Bathroom Sink Drain Gasket


How to Replace a Bathroom Sink Drain Gasket


If you've noticed a leak under your bathroom sink, it's time to replace the gasket. The first step is to determine the type of gasket you need. There are different sizes and shapes of gaskets, so it's best to remove the old one and take it with you to the hardware store. This will ensure you purchase the correct replacement. Bathroom Sink Drain Gasket Replacement


Bathroom Sink Drain Gasket Replacement


While you may be tempted to call a professional plumber to replace your bathroom sink drain gasket, it is a task that can easily be done yourself. Not only will you save money, but you'll also gain a sense of accomplishment. Plus, with this step-by-step guide, you'll have the confidence to tackle any future plumbing projects. DIY Bathroom Sink Drain Gasket Replacement


DIY Bathroom Sink Drain Gasket Replacement


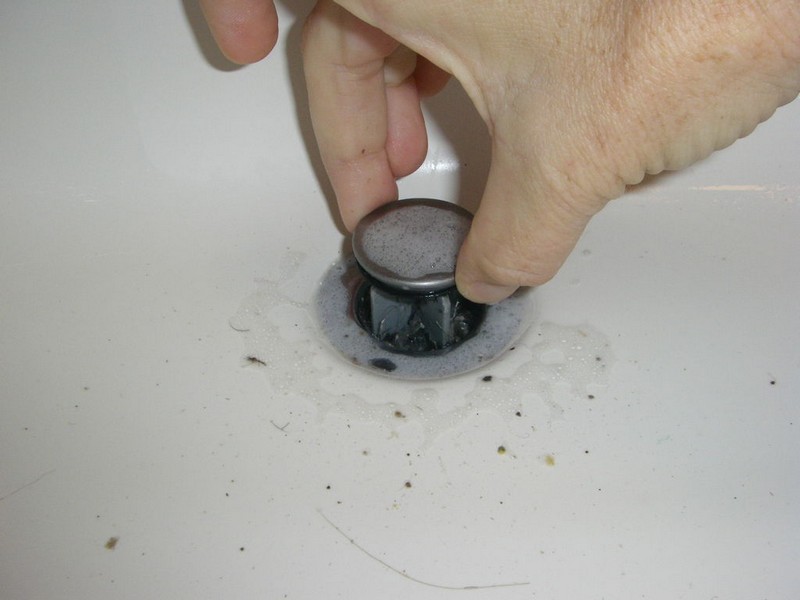
Step 1: Gather your tools. You will need a pair of pliers, a wrench, a putty knife, and a new gasket. Step 2: Turn off the water supply to the sink. Step 3: Place a bucket or towel under the sink to catch any water that may drip. Step 4: Use the pliers to loosen the slip nut on the P-trap and remove it. Step 5: Use the wrench to loosen the slip nut on the bottom of the sink drain and remove it. Step 6: Remove the drain flange by twisting it counterclockwise. Step 7: Clean the drain opening with a putty knife to remove any old putty or debris. Step 8: Roll a small amount of plumber's putty into a rope and place it around the opening of the drain. Step 9: Place the new gasket on top of the putty. Step 10: Reattach the drain flange by twisting it clockwise. Step 11: Reinstall the slip nut on the bottom of the sink drain and tighten it with the wrench. Step 12: Reinstall the P-trap and tighten the slip nut with the pliers. Step 13: Turn the water supply back on and check for any leaks.Step-by-Step Guide to Replacing a Bathroom Sink Drain Gasket


Step-by-Step Guide to Replacing a Bathroom Sink Drain Gasket


When it comes to choosing the best gasket for your bathroom sink drain replacement, there are a few options. Rubber gaskets are the most common and affordable, but they may need to be replaced more often. Silicone gaskets are more durable and long-lasting, but they can be more expensive. It's best to choose a gasket that fits your budget and needs.Best Gasket for Bathroom Sink Drain Replacement


Best Gasket for Bathroom Sink Drain Replacement


By following these steps and using the right tools, replacing your bathroom sink drain gasket can be a quick and easy process. It's important to take your time and make sure each step is done correctly to prevent any future leaks. With a little effort, you can have a leak-free sink in no time.Quick and Easy Bathroom Sink Drain Gasket Replacement

Quick and Easy Bathroom Sink Drain Gasket Replacement

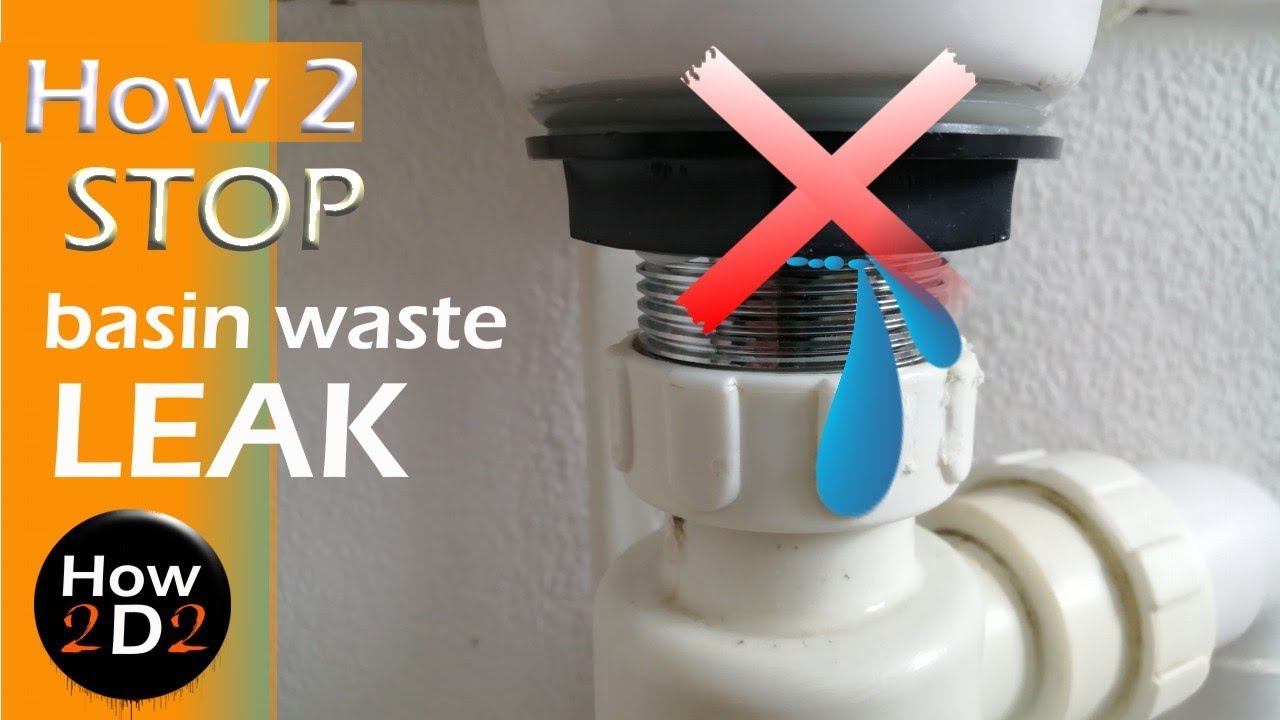
If you've noticed a leak under your bathroom sink, the culprit is likely a worn-out gasket. It's essential to replace the gasket as soon as possible to prevent any further damage. With the right tools and knowledge, you can easily replace the gasket and say goodbye to that pesky leak.Replacing a Leaky Bathroom Sink Drain Gasket


Replacing a Leaky Bathroom Sink Drain Gasket


As mentioned earlier, you will need a pair of pliers, a wrench, a putty knife, and a new gasket for this project. It's also a good idea to have a bucket or towel on hand to catch any water that may drip while you're working. Having the right tools will make the process much smoother and efficient.Tools Needed for Replacing a Bathroom Sink Drain Gasket


Tools Needed for Replacing a Bathroom Sink Drain Gasket

Replacing a bathroom sink drain gasket may seem like a daunting task, but with these tips, you'll be able to successfully complete the job. - Take your time and follow each step carefully. - Make sure to turn off the water supply before starting. - Use the correct size and type of gasket for your sink. - Clean the drain opening thoroughly before applying the new gasket. - Check for leaks after completing the replacement. Now that you have a step-by-step guide and some helpful tips, you can confidently replace your bathroom sink drain gasket. Remember to take your time and don't hesitate to call a professional if you encounter any difficulties. With a little effort, you'll have a leak-free sink in no time. Tips for a Successful Bathroom Sink Drain Gasket Replacement

Tips for a Successful Bathroom Sink Drain Gasket Replacement

Why Replacing the Bathroom Sink Drain Gasket is Important for Your House Design

The Importance of a Well-Functioning Sink Drain
 When it comes to house design, every detail matters. From the color scheme to the furniture placement, each element contributes to creating a cohesive and aesthetically pleasing space. However, one aspect that is often overlooked is the functionality of the sink drain. A properly functioning sink drain is not only crucial for a smooth daily routine but also for the overall health of your home. That's why it's essential to regularly
replace the bathroom sink drain gasket
to ensure everything is working properly.
When it comes to house design, every detail matters. From the color scheme to the furniture placement, each element contributes to creating a cohesive and aesthetically pleasing space. However, one aspect that is often overlooked is the functionality of the sink drain. A properly functioning sink drain is not only crucial for a smooth daily routine but also for the overall health of your home. That's why it's essential to regularly
replace the bathroom sink drain gasket
to ensure everything is working properly.
The Role of the Sink Drain Gasket
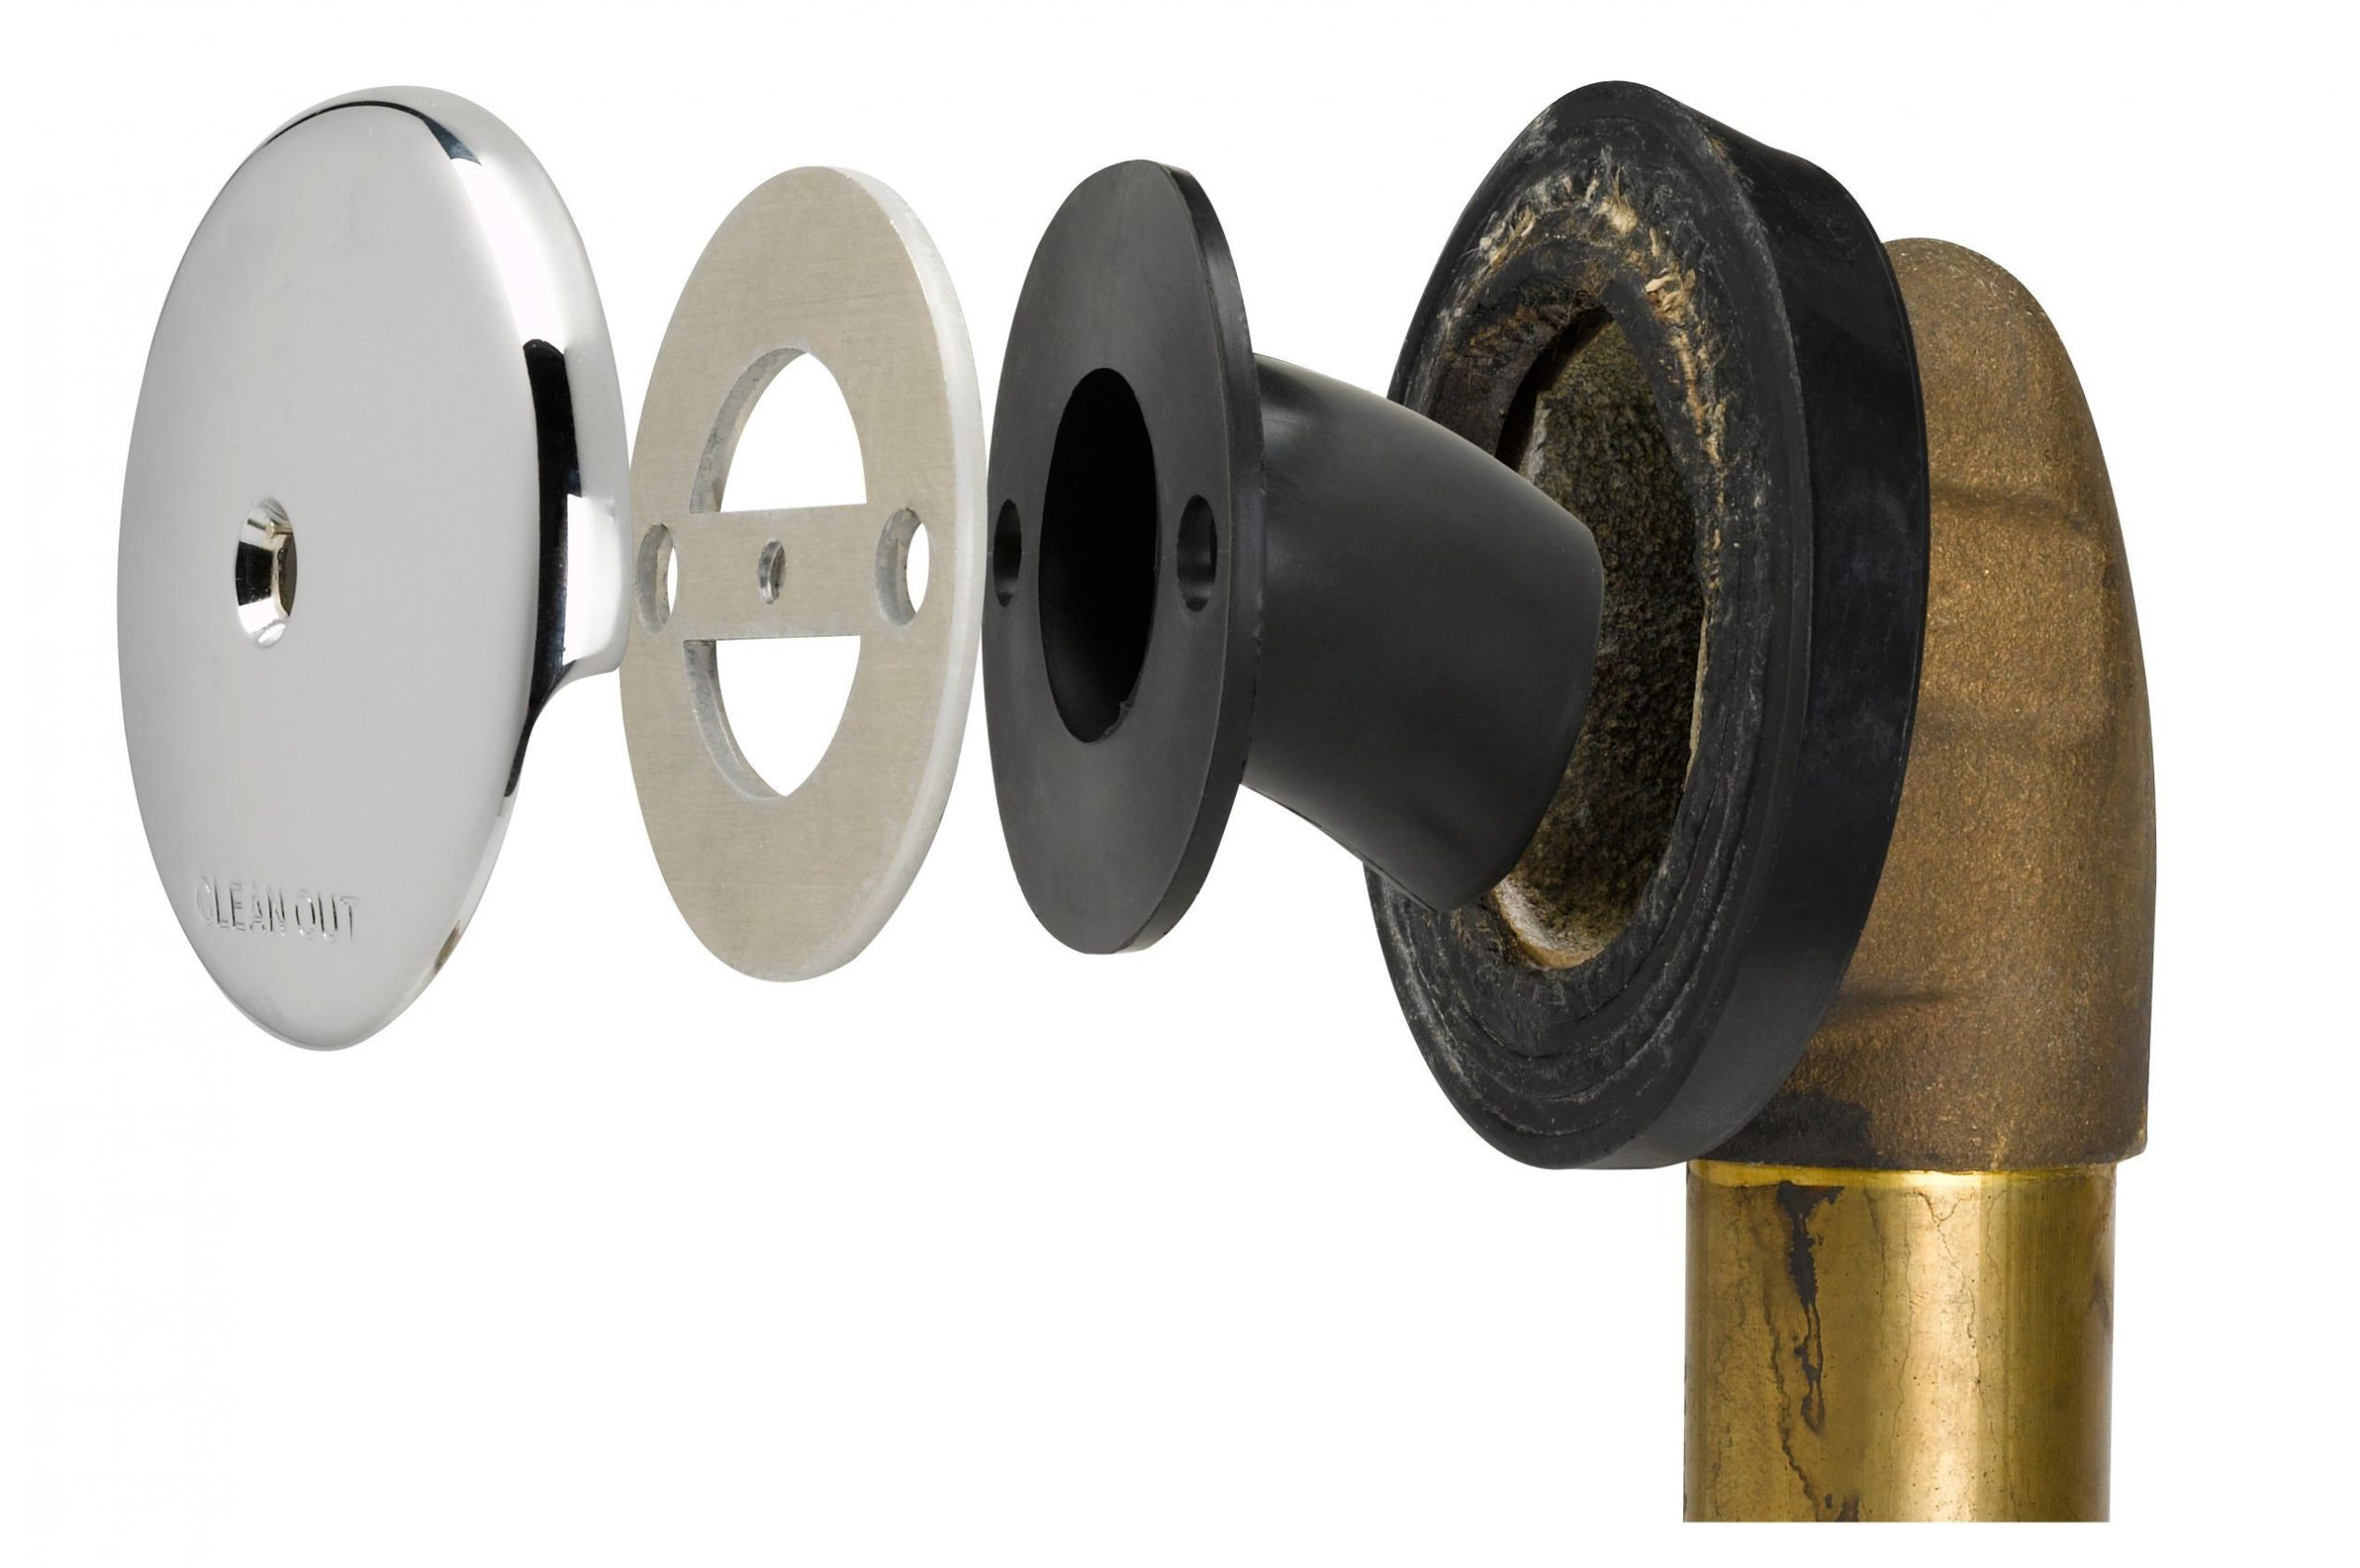
 The sink drain gasket is a small but important piece of the sink drain assembly. It serves as a seal between the sink and the drain, preventing any water or debris from leaking out. Over time, this gasket can become worn out, cracked, or damaged, leading to leaks and potential water damage. Not only can this be a nuisance, but it can also cause damage to your house design if left unaddressed.
Preventing Mold and Mildew Growth
 One of the most significant consequences of a malfunctioning sink drain gasket is the potential for mold and mildew growth. When water leaks out of the drain, it can seep into the surrounding areas, creating a damp and humid environment that is ideal for mold and mildew to thrive. Not only can this damage your house design, but it can also pose health risks to you and your family. By
replacing the bathroom sink drain gasket
regularly, you can prevent any potential water damage and avoid the growth of mold and mildew.
One of the most significant consequences of a malfunctioning sink drain gasket is the potential for mold and mildew growth. When water leaks out of the drain, it can seep into the surrounding areas, creating a damp and humid environment that is ideal for mold and mildew to thrive. Not only can this damage your house design, but it can also pose health risks to you and your family. By
replacing the bathroom sink drain gasket
regularly, you can prevent any potential water damage and avoid the growth of mold and mildew.
Improving the Aesthetic of Your Bathroom
 A leaky sink drain can also have a negative impact on the overall aesthetic of your bathroom. Water stains and damage can ruin the beautiful tiles or flooring that you carefully chose for your house design. Additionally, a constantly dripping faucet can be a constant annoyance and disrupt the peaceful atmosphere of your bathroom. By
replacing the bathroom sink drain gasket
and fixing any leaks, you can maintain the beauty and functionality of your bathroom.
A leaky sink drain can also have a negative impact on the overall aesthetic of your bathroom. Water stains and damage can ruin the beautiful tiles or flooring that you carefully chose for your house design. Additionally, a constantly dripping faucet can be a constant annoyance and disrupt the peaceful atmosphere of your bathroom. By
replacing the bathroom sink drain gasket
and fixing any leaks, you can maintain the beauty and functionality of your bathroom.
Conclusion
 In conclusion, the sink drain gasket may seem like a small and insignificant component of your house design, but it plays a crucial role in maintaining the functionality and aesthetics of your bathroom. By regularly
replacing the bathroom sink drain gasket
, you can prevent potential water damage, mold and mildew growth, and maintain the overall beauty of your home. Don't overlook this simple yet important task in your regular house maintenance routine.
In conclusion, the sink drain gasket may seem like a small and insignificant component of your house design, but it plays a crucial role in maintaining the functionality and aesthetics of your bathroom. By regularly
replacing the bathroom sink drain gasket
, you can prevent potential water damage, mold and mildew growth, and maintain the overall beauty of your home. Don't overlook this simple yet important task in your regular house maintenance routine.