How to Repair a Leaky Kitchen Sink Faucet
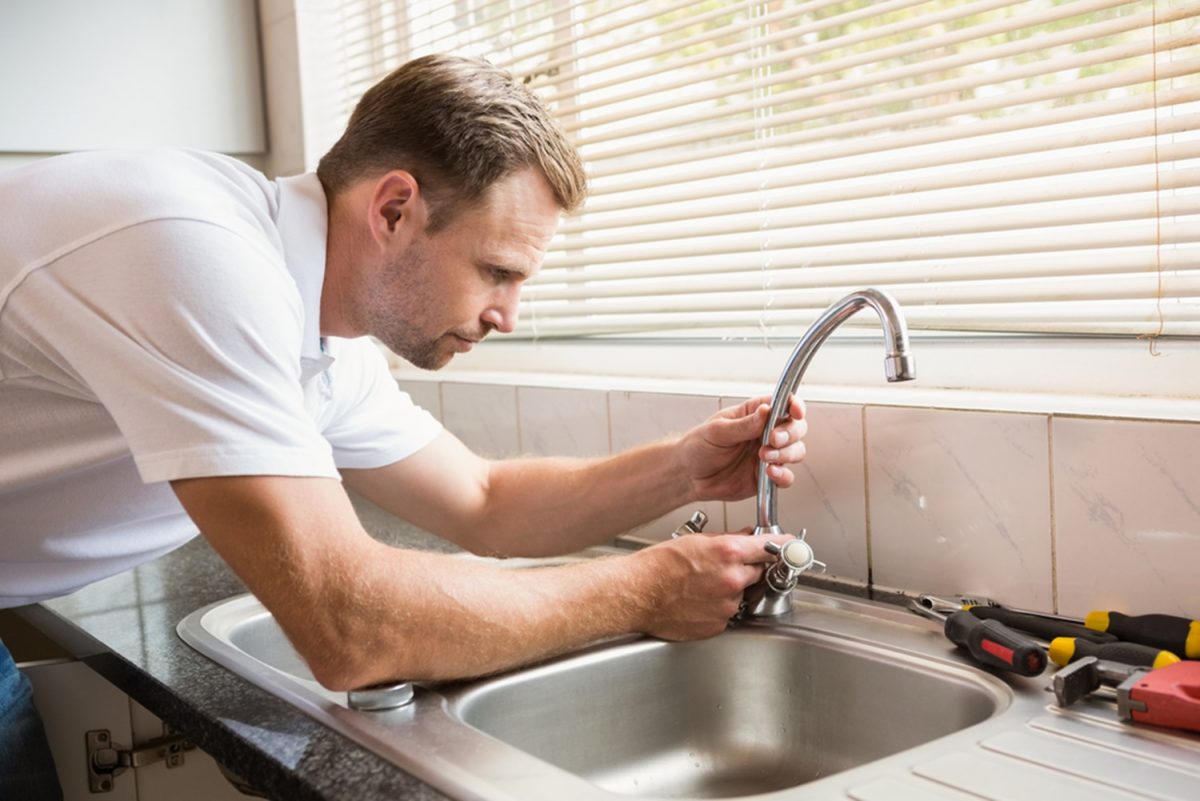
Dealing with a leaky kitchen sink faucet can be frustrating and can also lead to wasted water and increased water bills. But before you call a plumber and spend a fortune on repairs, why not try fixing it yourself? With a few simple tools and some basic knowledge, you can easily repair a leaky kitchen sink faucet.
The first step is to identify the cause of the leak. Is it a worn out washer, a faulty O-ring, or a damaged valve? Once you know the source of the problem, you can move on to the next step.
Next, you will need to turn off the water supply to the faucet. This can usually be done by turning off the shut-off valves located under the sink. If you don't have individual shut-off valves, you will need to turn off the main water supply to your house.
Now comes the actual repair. Depending on the cause of the leak, you may need to replace the washer or the O-ring, or you may need to replace the entire faucet. If you are replacing the washer or O-ring, make sure to bring the old ones with you to the hardware store to ensure you get the correct size and type. If you are replacing the entire faucet, make sure to choose a high-quality, durable one that will last for years to come.
Once you have the necessary parts, you can start the repair process. Make sure to follow the manufacturer's instructions carefully and use the correct tools. As you reassemble the faucet, be sure to check for any leaks and make adjustments as needed.
If you are not comfortable with DIY repairs, or if the problem seems more complicated than a simple washer or O-ring replacement, it may be best to call a professional plumber. They have the experience and expertise to handle any kitchen sink faucet repair, and it may end up saving you time and money in the long run.
Remember, a leaky kitchen sink faucet should not be ignored. Not only is it wasting water and money, but it can also lead to further damage and more expensive repairs down the line. So don't hesitate to take action and fix that leaky faucet!
DIY Kitchen Sink Faucet Repair Guide
Are you tired of constantly dripping or leaking kitchen sink faucet? Fixing it yourself can save you time and money, and give you a sense of accomplishment. With this DIY kitchen sink faucet repair guide, you'll have your faucet working like new in no time.
The first step is to gather all the necessary tools and materials. This may include a screwdriver, pliers, an adjustable wrench, replacement parts like washers or O-rings, and plumber's tape. It's important to have everything on hand before you start the repair process.
Next, turn off the water supply to your faucet. This can usually be done by turning off the shut-off valves under the sink. If you don't have individual shut-off valves, you will need to turn off the main water supply to your house.
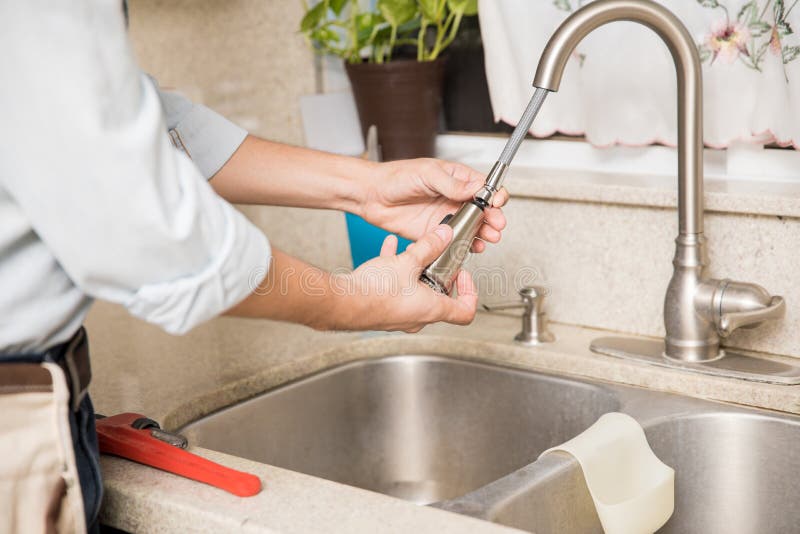
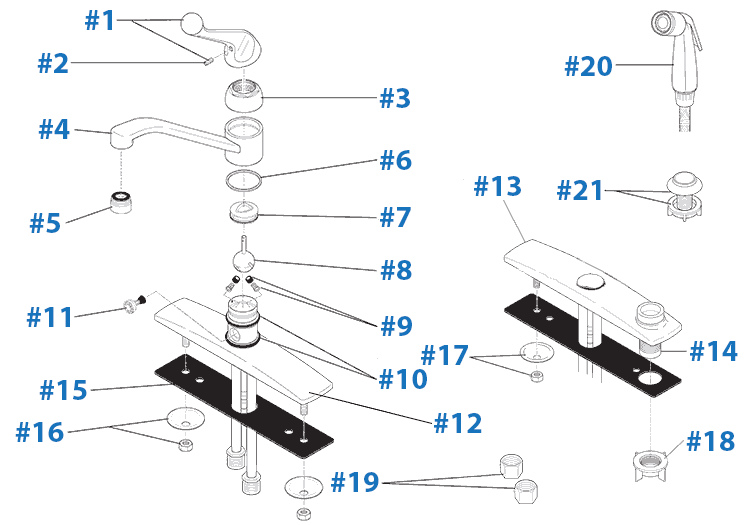
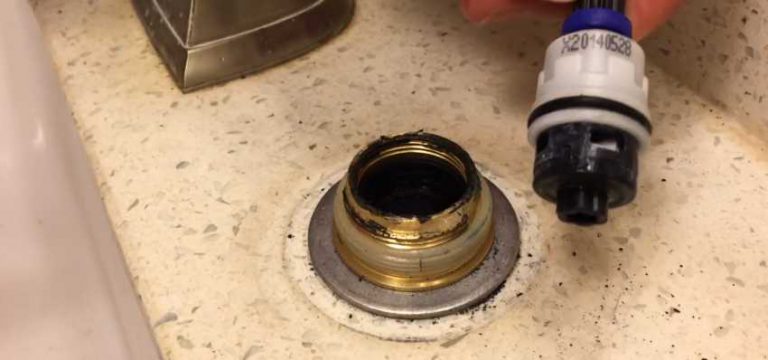
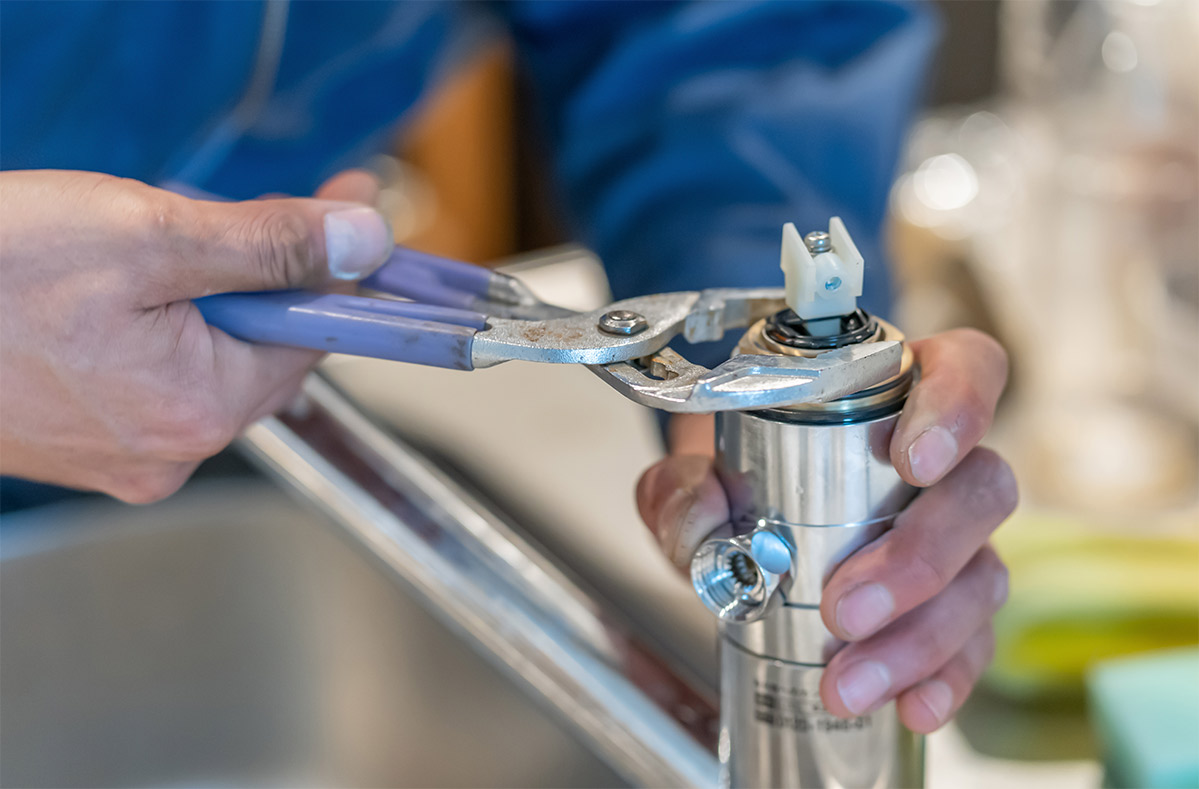
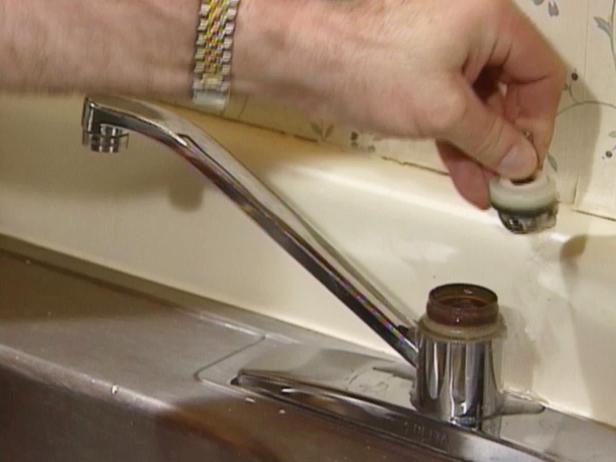
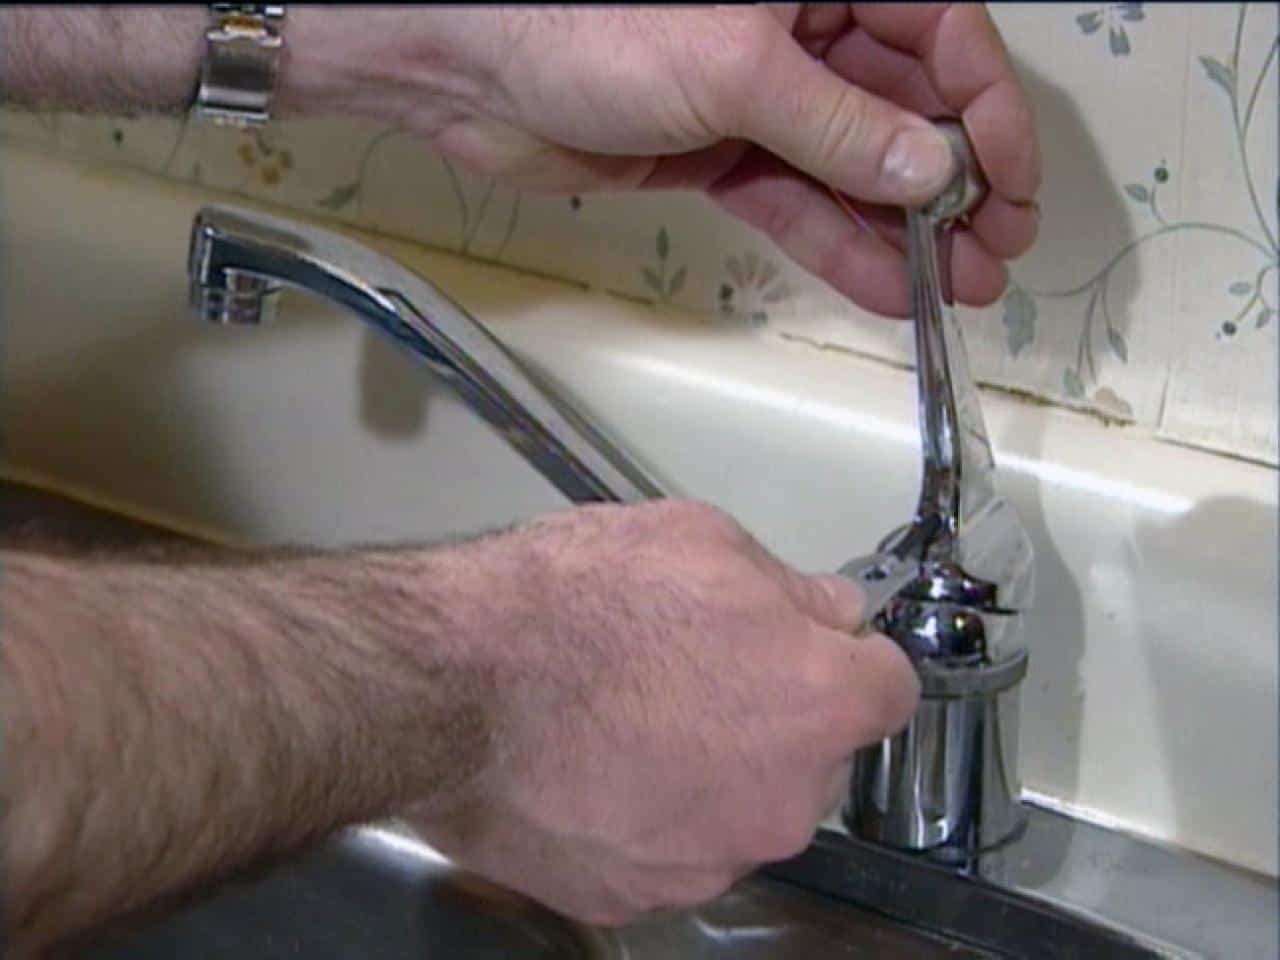
Now, disassemble the faucet by removing the handle, spout, and any other parts that may be causing the leak. Inspect all the parts for any damage or wear and tear. If you notice any, it's best to replace them to ensure a long-lasting repair.
Once you have replaced any necessary parts, reassemble the faucet and turn the water supply back on. Check for leaks and make any adjustments as needed. If everything looks good, you have successfully completed a DIY kitchen sink faucet repair!
However, if you are not confident in your DIY skills, or if the problem seems more complicated, it's always best to call a professional plumber. They have the expertise to handle any repair and can ensure the job is done correctly.
By following this DIY kitchen sink faucet repair guide, you can save yourself time and money and have a functioning faucet in no time. Just remember to always turn off the water supply before beginning any repairs and take your time to ensure everything is done correctly.
Fixing a Dripping Kitchen Sink Faucet
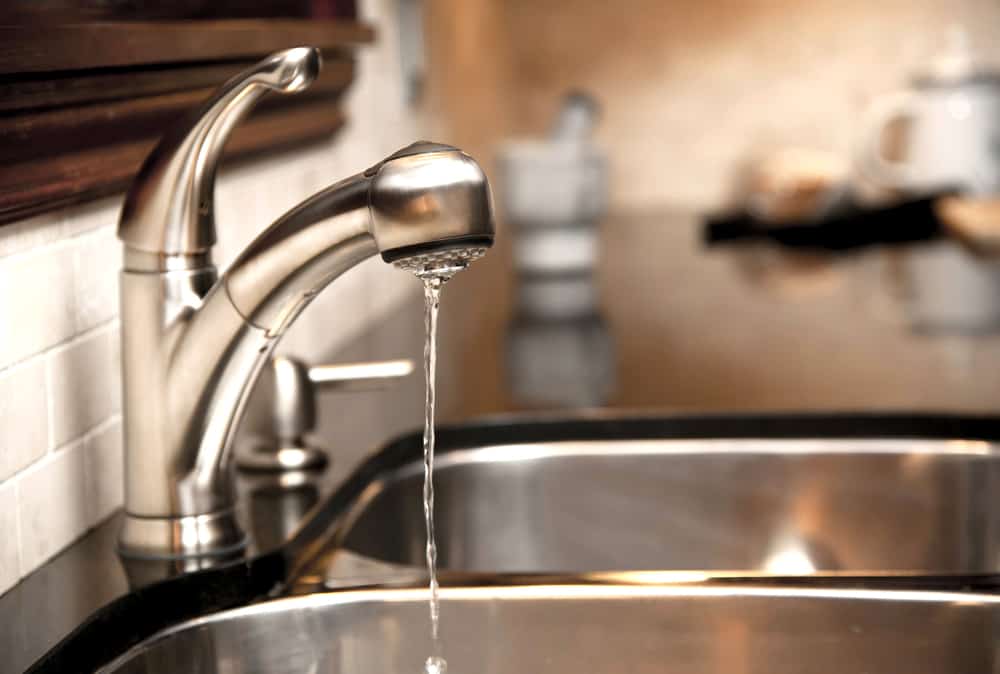
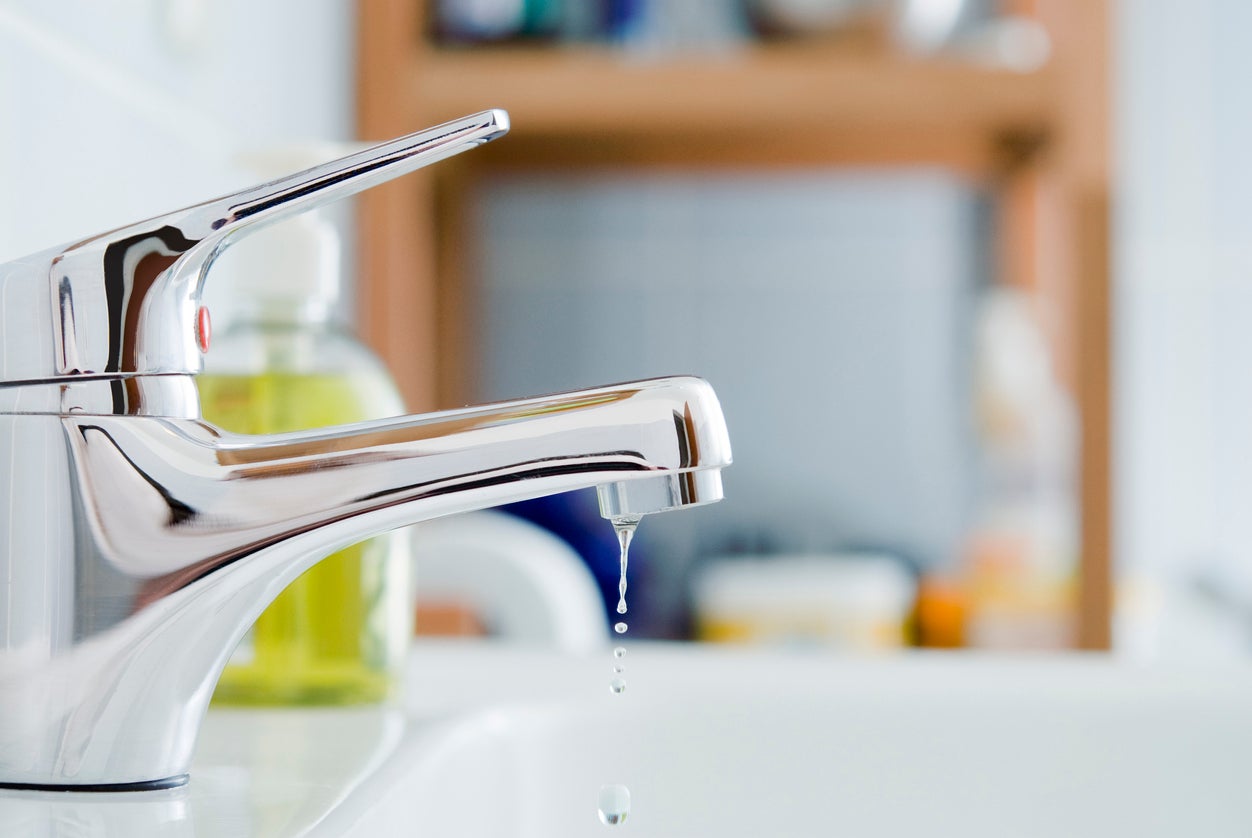
A dripping kitchen sink faucet can be a frustrating and annoying problem. Not only does it waste water, but it can also lead to expensive water bills. But before you call a plumber and spend a fortune on repairs, try fixing it yourself with these simple steps.
The first step is to determine the cause of the drip. It could be a damaged washer or O-ring, or it could be a problem with the valve or cartridge. Once you know the source of the issue, you can move on to the next step.
Next, turn off the water supply to the faucet. This can usually be done by turning off the shut-off valves under the sink. If you don't have individual shut-off valves, you will need to turn off the main water supply to your house.
Now, disassemble the faucet and inspect all the parts for any damage or wear and tear. Replace any necessary parts and reassemble the faucet. As you do so, be sure to check for any leaks and make adjustments as needed.
If you are not comfortable with DIY repairs, or if the problem seems more complicated, it's best to call a professional plumber. They have the skills and experience to handle any kitchen sink faucet repair and can save you time and money in the long run.
Remember, fixing a dripping kitchen sink faucet is important not only for saving water and money but also for preventing further damage and more expensive repairs. So don't hesitate to take action and fix that drip!
Step-by-Step Guide for Repairing a Kitchen Sink Faucet
Repairing a kitchen sink faucet may seem like a daunting task, but with this step-by-step guide, you can easily fix any issues and have your faucet working like new again.
The first step is to determine the cause of the problem. Is it a leak, low water pressure, or a malfunctioning handle or spout? Once you know the source of the issue, you can move on to the next step.
Next, turn off the water supply to the faucet. This can usually be done by turning off the shut-off valves under the sink. If you don't have individual shut-off valves, you will need to turn off the main water supply to your house.
Now, disassemble the faucet and inspect all the parts for any damage or wear and tear. Replace any necessary parts and reassemble the faucet. As you do so, be sure to check for any leaks and make adjustments as needed.
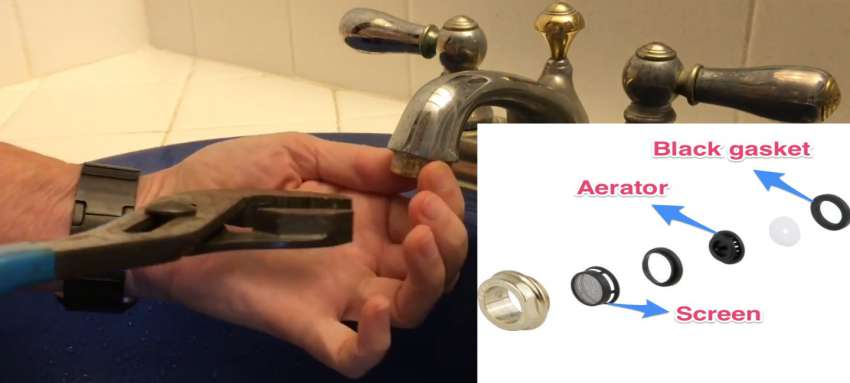
If the problem is low water pressure, you may need to clean or replace the aerator. If the issue is a malfunctioning handle or spout, you may need to replace the entire faucet. It's important to follow the manufacturer's instructions and use the correct tools for the repair.
If you are not confident in your DIY skills, or if the problem seems more complicated, it's best to call a professional plumber. They have the expertise to handle any repair and can ensure the job is done correctly.
By following this step-by-step guide, you can easily repair a kitchen sink faucet and save yourself time and money. Just remember to always turn off the water supply before beginning any repairs and take your time to ensure everything is done correctly.
Common Problems and Solutions for Kitchen Sink Faucet Repair
Kitchen sink faucets are used every day and can experience a range of issues, from leaks to low water pressure. But don't worry, most of these problems have simple solutions. Here are some of the most common kitchen sink faucet problems and how to fix them.
Leaky faucet: A leaky faucet is often caused by a worn out washer or O-ring. To fix this, turn off the water supply, disassemble the faucet, and replace any damaged parts.
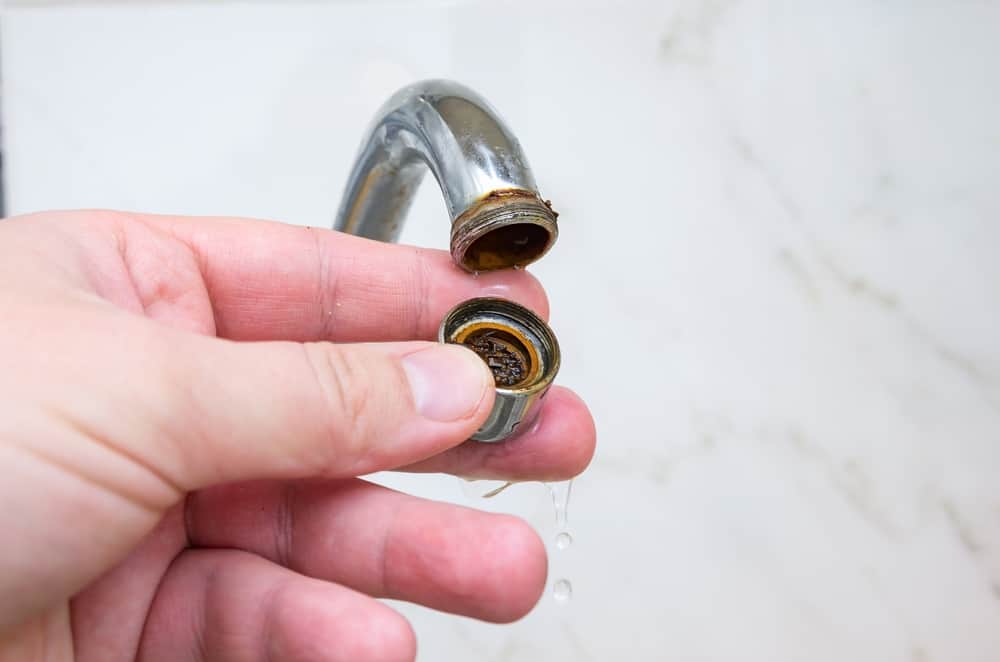
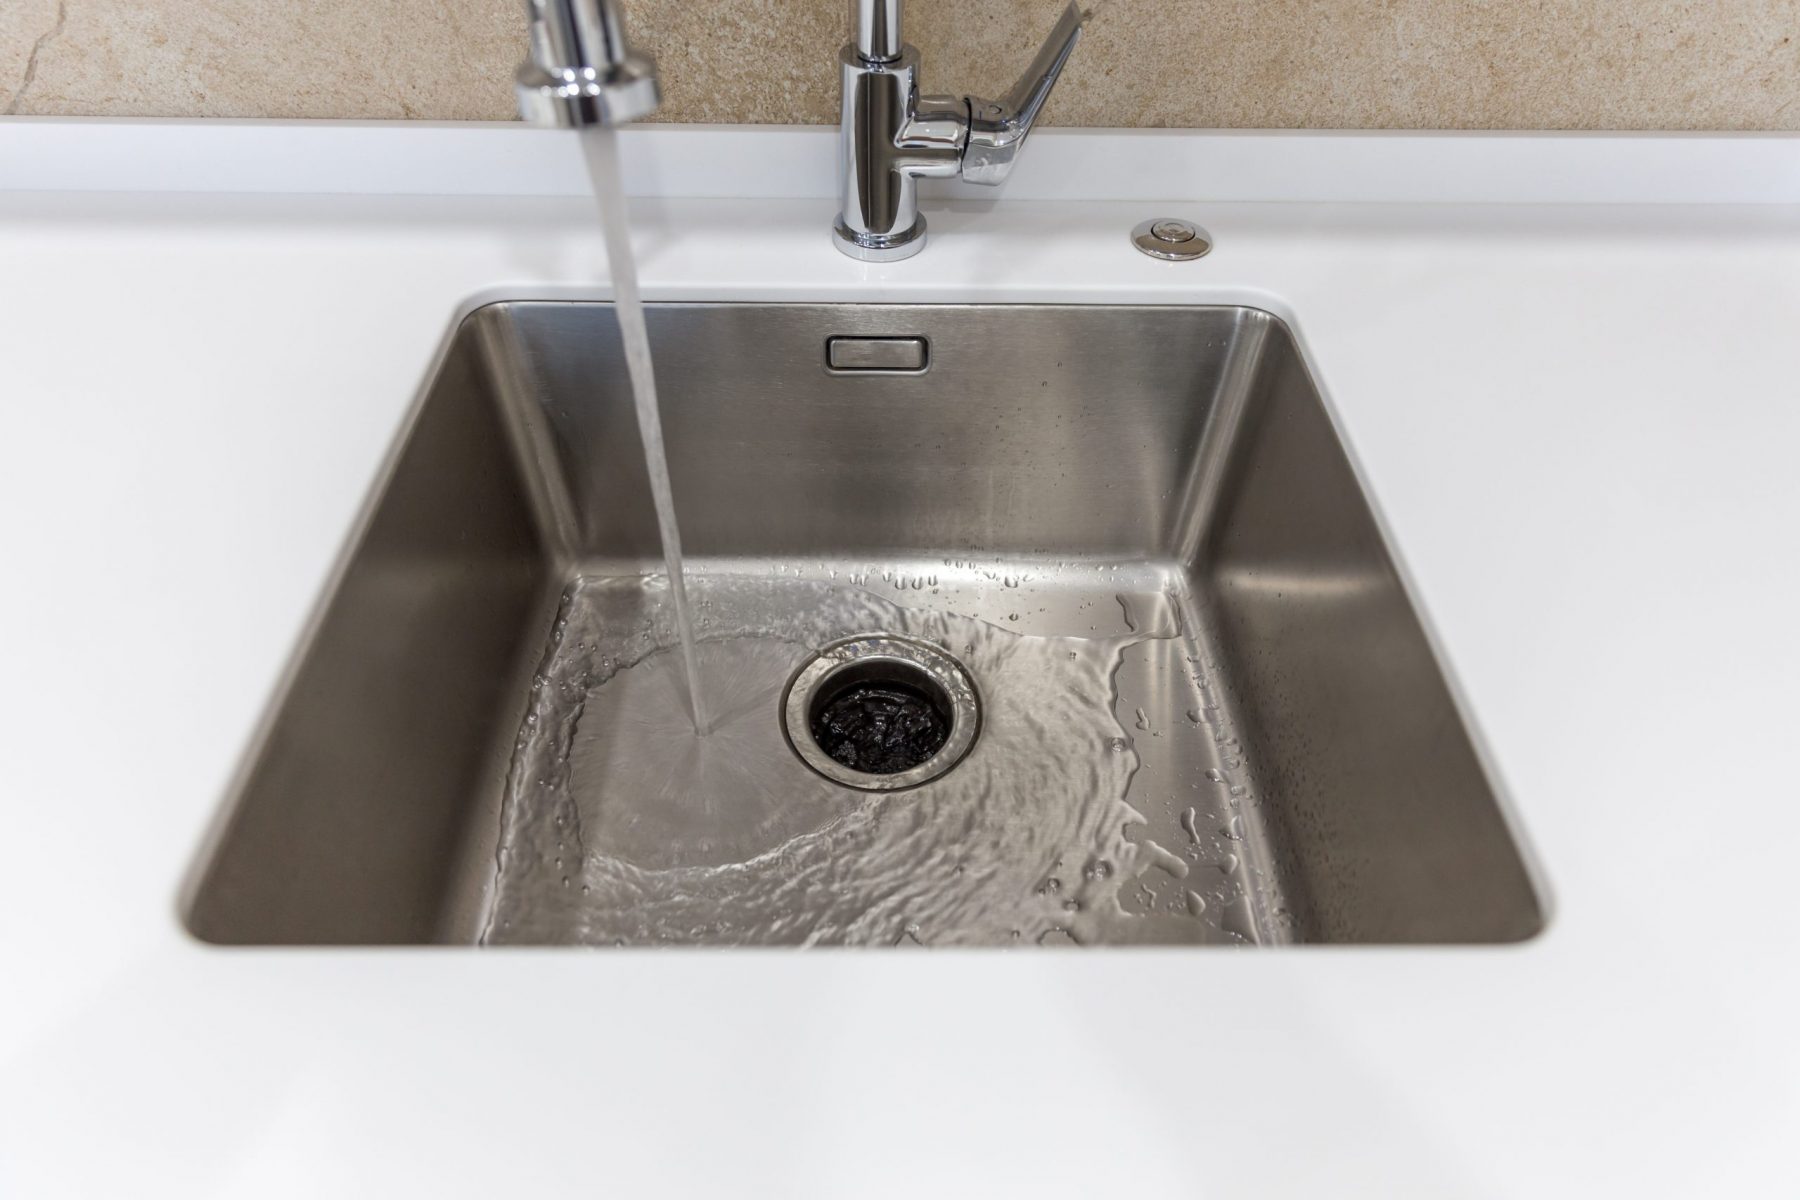
Low water pressure: Low water pressure can be caused by a buildup of debris in the aerator. Remove the aerator, clean it thoroughly, and reattach it to the faucet.
Dripping faucet: A dripping faucet can be caused by a damaged valve or cartridge. To fix this, replace the valve or cartridge and reassemble the faucet.
Loose handle or spout: If your faucet handle or spout is loose, it may need to be tightened or replaced. Make sure to use the correct tools and follow the manufacturer's instructions for the repair.
Noisy faucet: A noisy faucet can be caused by a loose or worn out part. Inspect all the parts and tighten or replace any necessary ones.
If you are not comfortable with DIY repairs, or if the problem seems more complicated, it's best to call a professional plumber. They have the experience and expertise to handle any kitchen sink faucet issue and can save you time and money in the long run.
Tools and Materials Needed for Repairing a Kitchen Sink Faucet
Repairing a kitchen sink faucet requires a few basic tools and materials. Here is a list of what you will need to successfully fix any issues with your faucet:
Screwdriver: A screwdriver will be needed to remove and tighten screws on the faucet.
Pliers: Pliers may be needed to remove and tighten nuts and bolts on the faucet.
Adjustable wrench: An adjustable wrench is useful for loosening and tightening fittings on the faucet.
Replacement parts: Depending on the problem, you may need to replace washers, O-rings, valves, cartridges, or the entire faucet.
Plumber's tape: Plumber's tape is used to create a watertight seal on threaded fittings.
It's important to have all these tools and materials on hand before beginning any kitchen sink faucet repair. This will ensure the process goes smoothly and you have everything you need to fix the issue.
Tips for Repairing a Kitchen Sink Faucet Without a Plumber
While some kitchen sink faucet issues may require the help of a professional plumber, there are some problems that you can easily fix yourself. Here are some tips for repairing a kitchen sink faucet without the need for a plumber:
Do your research: Before attempting any repairs, make sure to research the issue and the necessary steps to fix it. This will ensure you have the knowledge and confidence to successfully complete the repair.
Turn off the water supply: Always turn off the water supply before beginning any repairs to avoid any accidental flooding or water damage.
Take your time: Rushing through a repair can lead to mistakes and potentially make the problem worse. Take your time and follow the steps carefully.
Have the right tools and materials: As mentioned earlier, having the necessary tools and materials on hand is crucial to a successful repair.
Follow instructions: Whether you are following a DIY guide or the manufacturer's instructions, make sure to follow them carefully to ensure the repair is done correctly.
By following these tips, you can successfully repair a kitchen sink faucet without the need for a plumber. However, if you are not comfortable with DIY repairs or the problem seems more complicated, it's best to call a professional.
Replacing vs. Repairing a Kitchen Sink Faucet: Which is Better?
When faced with a kitchen sink faucet that is not functioning properly, you may wonder if it's better to replace it or attempt to repair it. The answer depends on the severity of the issue and the overall condition of your faucet.
If the problem is a simple fix, such as a worn out washer or O-ring, it may be more cost-effective to repair the faucet. However, if the faucet is old and constantly experiencing issues, it may be best to replace it with a new, more durable one.
It's also important to consider the cost of a professional plumber. If the repair requires extensive knowledge and expertise, it may end up being more expensive to hire a plumber than to replace the faucet yourself.
In the end, the decision between replacing and repairing a kitchen sink faucet comes down to the specific circumstances and what is more cost-effective for you. Make sure to weigh all the factors before making a decision.
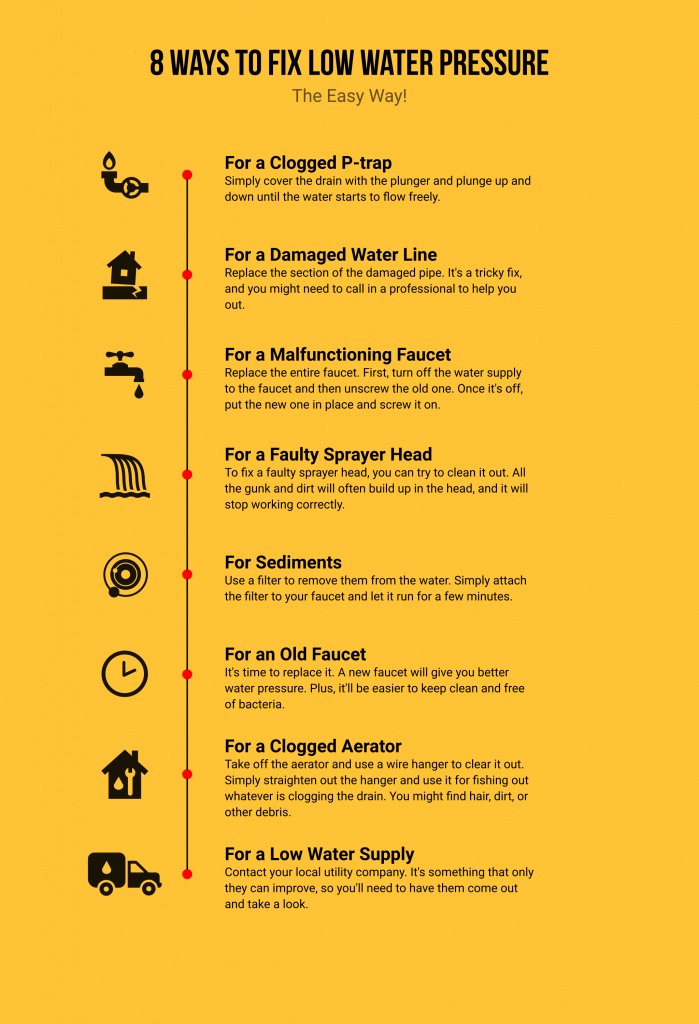
How to Troubleshoot and Fix Low Water Pressure in a Kitchen Sink Faucet
Low water pressure in a kitchen sink faucet can be a frustrating problem, but it can also have a simple solution. Here are some steps to troubleshoot and fix low water pressure in your kitchen sink faucet:
Step 1: Check all other faucets in your house to see if they also have low water pressure. If they do, the problem may be with your main water supply, and you may need to call a professional plumber.
Step 2: Clean the aerator by removing it from the faucet, rinsing it with water, and removing any debris or buildup. Reattach the aerator and check the water pressure.
Step 3: Check the shut-off valves under the sink. If they are not fully open, this can cause low water pressure. Make sure they are fully turned on.
Step 4: Inspect the faucet's supply lines for any kinks or blockages. If you find any, straighten them out or remove the blockage and check the water pressure.
Why It's Important to Repair Your Kitchen Sink Faucet

Ensuring Functionality and Efficiency
 When it comes to the functionality and efficiency of your kitchen, the sink faucet plays a crucial role. It is one of the most used fixtures in the kitchen, and a malfunctioning faucet can greatly disrupt your daily routine. A leaky faucet not only wastes water and increases your utility bill, but it can also lead to potential water damage and mold growth. By
repairing your kitchen sink faucet
in a timely manner, you can ensure that it is functioning properly and efficiently, saving you money and preventing any potential damage.
Enhancing the Aesthetics of Your Kitchen
 In addition to functionality, your kitchen's design and aesthetics are also important. A broken or outdated faucet can easily become an eyesore and detract from the overall look of your kitchen. By
repairing or replacing
your kitchen sink faucet, you can instantly enhance the appearance of your kitchen. There are a variety of faucet styles and finishes to choose from, allowing you to make a statement and complement your kitchen's design.
Increasing the Value of Your Home
 Whether you are planning to sell your home in the near future or simply want to maintain its value,
repairing
your kitchen sink faucet is a wise investment. Potential buyers are often drawn to updated and well-maintained kitchens, and a broken or outdated faucet can be a red flag. By ensuring that your kitchen sink faucet is in good working condition, you can increase the value of your home and make a positive impression on potential buyers.
DIY vs. Professional Repair
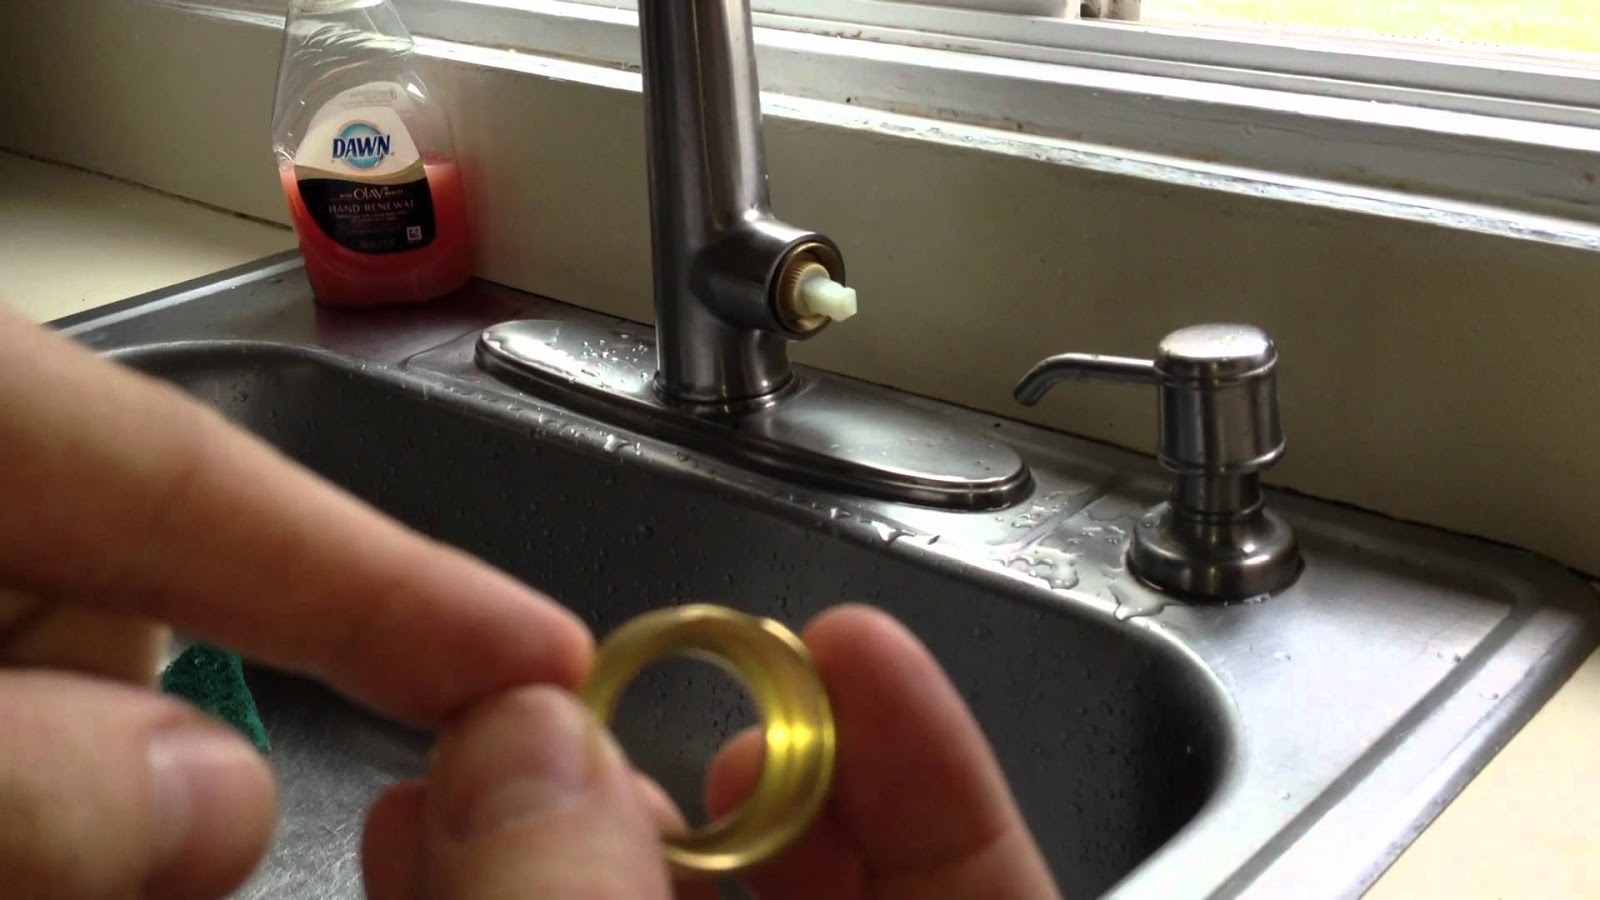 While some minor faucet issues can be easily fixed with DIY methods, it is always recommended to seek professional help for more complex repairs. A professional plumber has the necessary knowledge, experience, and tools to properly diagnose and fix any faucet problem. Attempting to fix it yourself may result in further damage and end up costing you more in the long run. Additionally, a professional repair can provide a long-term solution, saving you time and hassle.
In conclusion,
repairing your kitchen sink faucet
is not only important for its functionality, but also for the aesthetics and value of your home. By addressing any issues in a timely and professional manner, you can ensure that your kitchen runs smoothly and looks its best. Don't hesitate to seek professional help for any faucet problems, as it can save you money and give you peace of mind.









/Bathroomfaucetleak-GettyImages-182691828-59d59e50d088c00010867f1e.jpg)
