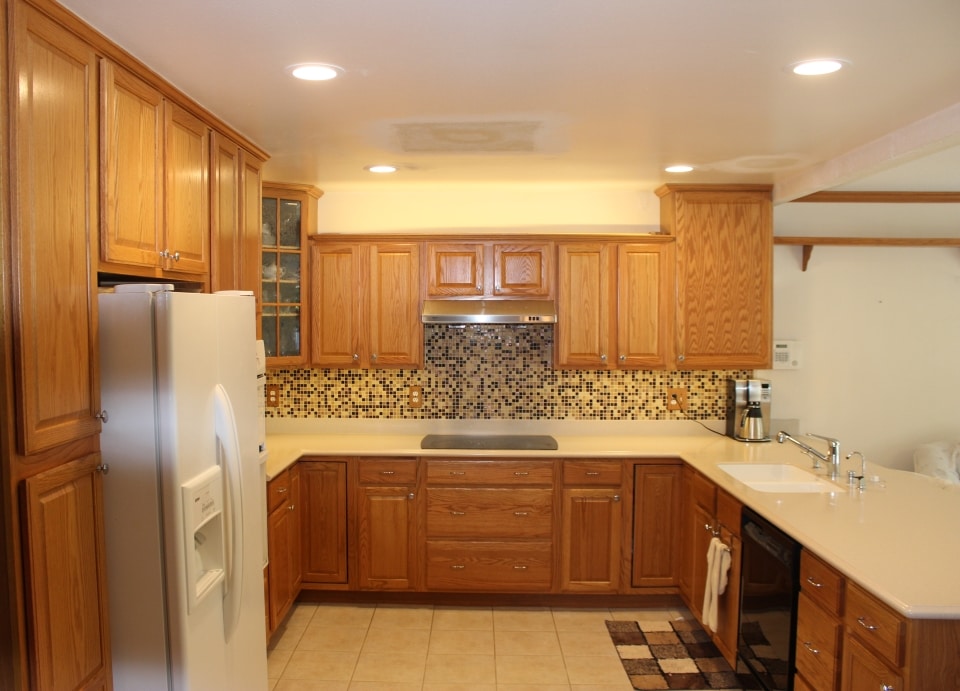
Kitchen recessed lights are a popular choice for modern homes, providing a sleek and unobtrusive lighting solution. However, like any other household fixture, they can experience issues and require repair. Here's a step-by-step guide on how to repair a kitchen recessed light.How to Repair a Kitchen Recessed Light
Before calling in a professional, try troubleshooting and repairing your kitchen recessed light yourself. Not only will this save you money, but it's also a great opportunity to learn more about your home's electrical system.DIY Kitchen Recessed Light Repair
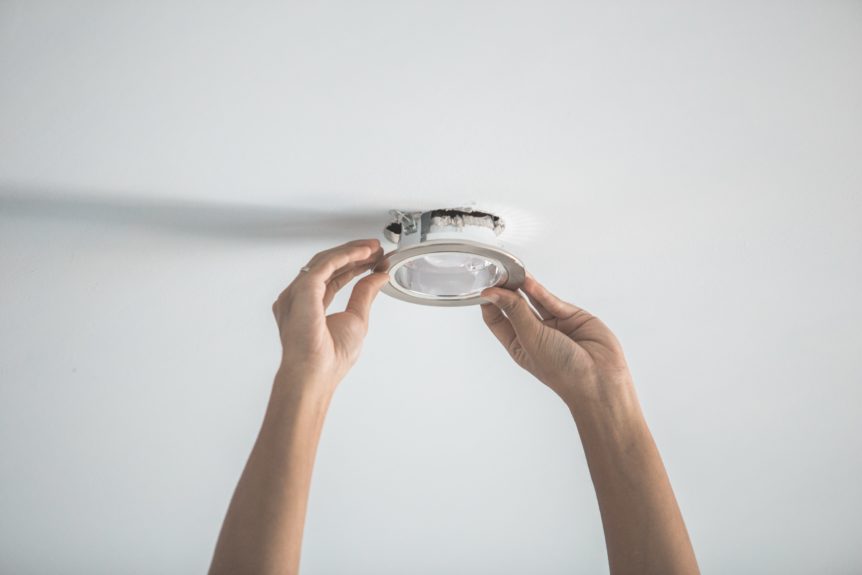
Step 1: Turn off the power. Before attempting any repairs, make sure to turn off the power to the light at the circuit breaker. Step 2: Remove the trim. The trim is the visible part of the light that surrounds the bulb. Gently twist and pull the trim to remove it from the housing. Step 3: Check the wiring. Carefully inspect the wiring for any damage or loose connections. If necessary, tighten or replace any loose wires. Step 4: Replace the bulb. If the issue is simply a burnt out bulb, replace it with a new one. Be sure to use the correct wattage for your fixture. Step 5: Test the light. Turn the power back on and test the light to see if it's working properly. If not, move on to the next step. Step 6: Replace the socket or transformer. If the bulb and wiring are in good condition, the issue may lie with the socket or transformer. These can be easily replaced with new ones from your local hardware store. Step 7: Reinstall the trim. Once the issue has been resolved, reattach the trim to the housing. Turn the power back on and test the light again to ensure it's working properly.Step-by-Step Guide for Repairing Kitchen Recessed Lights
Some common issues with kitchen recessed lights include flickering, dimming, and loose fixtures. These can often be fixed by simply replacing the bulb or tightening any loose connections. If the issue persists, it may be a sign of a larger electrical problem and it's best to call in a professional for further inspection.Common Issues with Kitchen Recessed Lights and How to Fix Them
For a DIY repair, you will need the following tools and materials: - Screwdriver - Replacement bulbs - Replacement sockets or transformersTools and Materials Needed for Repairing Kitchen Recessed Lights
If you're unsure about how to troubleshoot or repair your kitchen recessed light, here are a few tips to keep in mind: - Always turn off the power before attempting any repairs. - Use caution when handling the light fixture to avoid any potential electric shock. - If you're unsure about any part of the repair process, it's best to call in a professional.Tips for Troubleshooting and Repairing Kitchen Recessed Lights
Replacing bulbs and wiring in kitchen recessed lights is a simple process that can be done in just a few steps. However, if you're uncomfortable working with electricity or don't have the necessary tools, it's best to call in a professional.Replacing Bulbs and Wiring in Kitchen Recessed Lights
If your kitchen recessed light is loose or flickering, it may be due to a loose connection or faulty wiring. Follow the steps in the DIY repair guide to check and tighten any loose connections, or replace the wiring if necessary.How to Fix a Loose or Flickering Kitchen Recessed Light
If you're not comfortable working with electricity or don't have the necessary tools and materials, it's best to call in a professional for kitchen recessed light repair. They have the knowledge and experience to quickly and safely fix any issues with your lights.Professional vs. DIY Kitchen Recessed Light Repair
To avoid potential issues with your kitchen recessed lights, it's important to perform regular maintenance. This includes replacing bulbs when they burn out, checking and tightening any loose connections, and inspecting the wiring for any damage. By following these tips and performing regular maintenance, you can ensure that your kitchen recessed lights stay in top working condition for years to come.Preventative Maintenance for Kitchen Recessed Lights
Why You Should Consider Repairing Your Kitchen Recessed Light
Illuminate Your Space
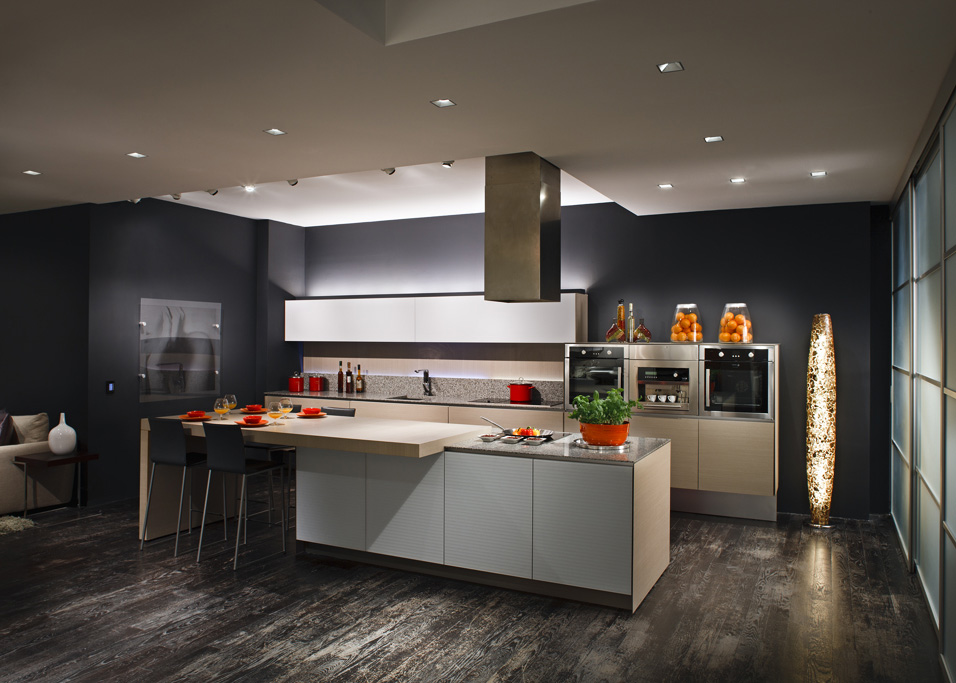
 Having proper lighting in your kitchen is essential for both functionality and aesthetics. Recessed lights, also known as can lights, are a popular choice for kitchen lighting as they provide a sleek and modern look while also providing ample illumination. However, over time, these lights may start to flicker or dim, which not only affects the overall look of your kitchen but can also be a safety hazard. This is why it is important to
repair your kitchen recessed lights
as soon as you notice any issues.
Save Money on Energy Bills
 Faulty recessed lights can lead to wasted energy and higher electricity bills. When a recessed light starts to flicker or dim, it is usually a sign of a loose connection or a faulty bulb. This can cause the light to consume more energy than necessary, resulting in higher electricity costs. By
repairing your kitchen recessed lights
, you can ensure that your lights are functioning efficiently and not wasting any unnecessary energy.
Prevent Fire Hazards
 In some cases, flickering or dimming recessed lights can be caused by faulty wiring, which can pose a fire hazard if left unattended. This is especially dangerous in the kitchen, where electrical appliances and cooking activities are common. By
repairing your kitchen recessed lights
, you can prevent any potential fire hazards and ensure the safety of your home and family.
Enhance Your Home's Value
 A well-designed and well-maintained kitchen can greatly increase the value of your home. This includes having functional and visually pleasing lighting. If you are planning to sell your home in the future,
repairing your kitchen recessed lights
is a small but impactful way to enhance its value and impress potential buyers.
In conclusion
,
repairing your kitchen recessed lights
is a crucial step in maintaining the overall functionality and safety of your kitchen. It can also help save money on energy bills and enhance the value of your home. If you are not confident in your DIY skills, it is best to hire a professional electrician to handle the repairs for you. By taking care of your kitchen recessed lights, you can ensure a well-lit and inviting space for all your cooking and dining needs.


/RecessedLighting-5c60f471c9e77c00010a4a3e.jpg)





















:max_bytes(150000):strip_icc()/185006363-56a5a6425f9b58b7d0ddd374.jpg)

:max_bytes(150000):strip_icc()/convert-ceiling-light-to-recessed-light-p2-1821561-09-d6f90af585b2482c91a3e18464d76070.jpg)





/recessed-lights-slipping-a-quick-solution-1821564-hero-1ad0fad5595f41fe9bda5cbee770450e.jpg)
/installing-led-retrofit-bulb-into-ceiling-fixture-184968332-584f033a3df78c491e1876af.jpg)
:max_bytes(150000):strip_icc()/fix-a-flickering-light-bulb-4123638-08-e10ea3bdd6f146e8a49d31140a964a11.jpg)



:max_bytes(150000):strip_icc()/steam-cleaning-professional-vs-diy-2908776-hero-24ffd77737924bca908036dabcdcbbad.jpg)

