How to Repair an Air Mattress Seam
If you're an avid camper or have unexpected guests staying over, an air mattress is a convenient and comfortable sleeping option. However, just like any other inflatable item, air mattresses are prone to damage and can develop leaks over time. One of the most common areas for leaks to occur is at the seam, where the top and bottom layers of the mattress are joined together. But don't worry, with the right tools and techniques, repairing an air mattress seam can be a simple and quick task.
How to Fix a Seam on an Air Mattress
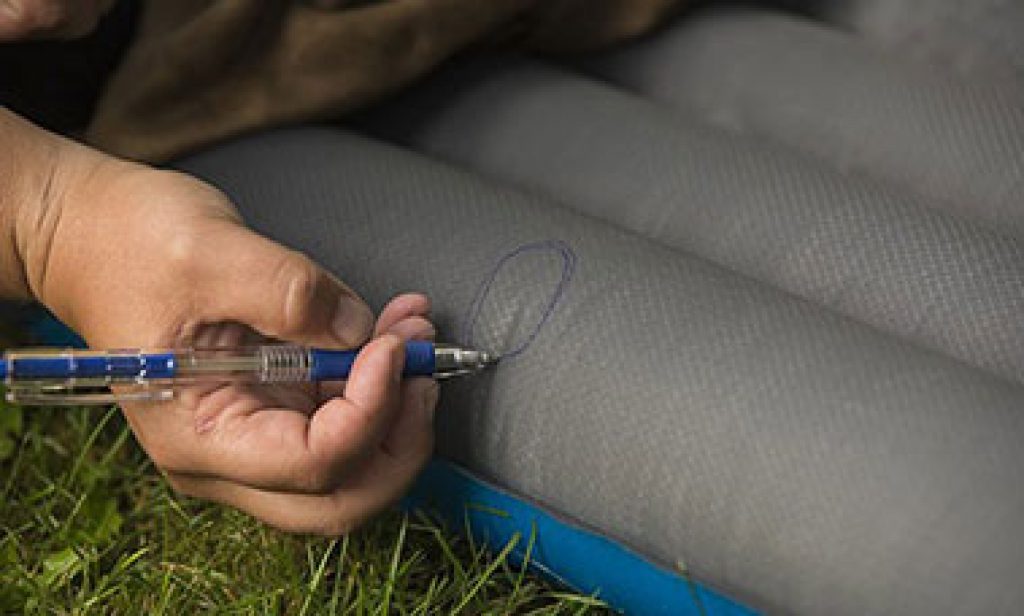
The first step in fixing a seam on an air mattress is to locate the leak. This can be done by inflating the mattress and listening for a hissing sound or by using a mixture of soap and water to create bubbles at the seams. Once you have identified the area of the leak, follow these steps to repair the seam and make your air mattress as good as new:
Step 1: Clean the Area – Before starting the repair, make sure the area around the seam is clean and dry. Use a mild soap and water solution to gently clean the surface and then dry it thoroughly with a clean towel.
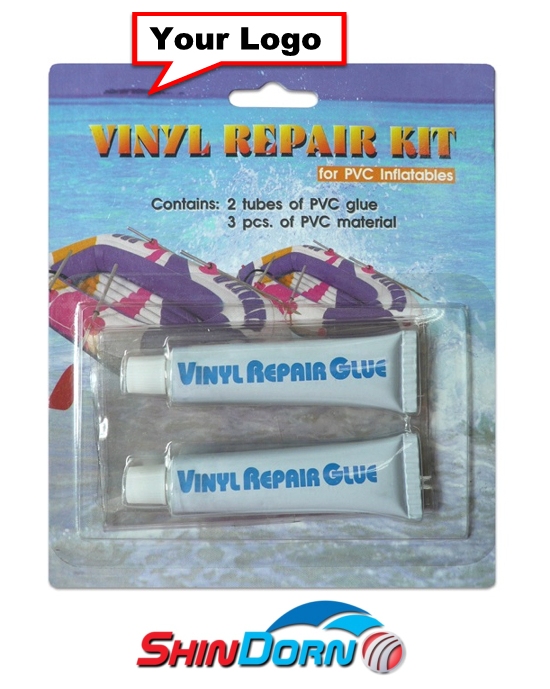
Step 2: Prepare the Patch – Cut a piece of vinyl patch material that is slightly larger than the damaged area. You can use an old vinyl tablecloth, shower curtain, or purchase a vinyl repair kit from your local hardware store.
Step 3: Apply Adhesive – Apply a thin layer of vinyl adhesive to the patch, making sure to cover the entire surface. Be sure to use a product specifically designed for vinyl, as other adhesives may not be strong enough to hold the patch in place.
Step 4: Place the Patch – Carefully place the patch over the damaged area and press down firmly. Smooth out any air bubbles and ensure that the edges are securely attached to the mattress.
Step 5: Let it Dry – Allow the adhesive to dry completely, following the manufacturer's instructions. This may take a few hours, so it's best to leave the mattress untouched for at least 24 hours to ensure a strong bond.
DIY Air Mattress Seam Repair
If you don't have a vinyl repair kit on hand, there are still a few DIY methods you can try to repair the seam on your air mattress. One option is to use duct tape or packing tape to cover the damaged area. While this may not provide a permanent solution, it can work as a temporary fix until you can purchase a repair kit.
You can also try using a hot glue gun to seal the seam. This method works best for small leaks and can be effective in creating a strong seal. However, be careful not to use too much glue, as it can create a hard and uncomfortable spot on your mattress.
Quick and Easy Air Mattress Seam Fix
If you need a quick and easy fix for your air mattress seam, there are some products specifically designed for this purpose. One popular option is a vinyl repair patch that comes with a self-adhesive backing. Simply peel off the backing and stick it over the damaged area for an instant fix. However, keep in mind that these patches may not be as durable as a vinyl adhesive or hot glue method.
Seam Repair for Air Mattresses
There are a few other methods you can try for repairing an air mattress seam. Some people have had success using a bike tire patch kit or even a tire inflator and sealant, which can be found at most gas stations. These options may work in a pinch, but it's important to remember that they are not intended for use on vinyl materials and may not provide a long-term solution.
Step-by-Step Guide for Repairing Air Mattress Seams
Repairing an air mattress seam doesn't have to be a daunting task. With the right tools and techniques, you can easily fix any leaks and prolong the life of your air mattress. Here's a quick step-by-step guide for repairing an air mattress seam:
Step 1: Locate the Leak – Inflate the mattress and listen for leaks or use a soap and water solution to identify the damaged area.
Step 2: Clean the Area – Thoroughly clean and dry the area around the seam.
Step 3: Prepare the Patch – Cut a piece of vinyl patch material and apply adhesive to one side.
Step 4: Place the Patch – Carefully place the patch over the damaged area and press down firmly.
Step 5: Let it Dry – Allow the adhesive to dry completely before using the mattress.
Best Products for Repairing Air Mattress Seams
As mentioned earlier, there are a few different products you can use to repair an air mattress seam. Some of the best options include:
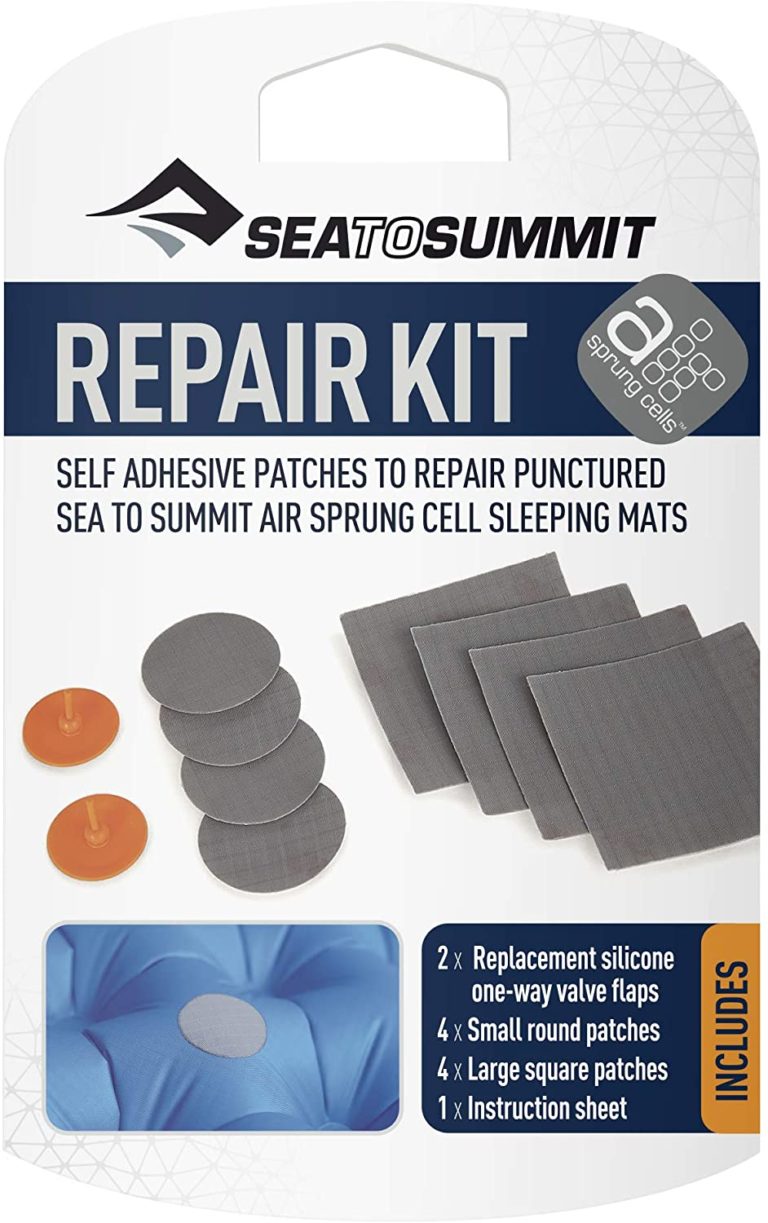
Vinyl repair kits – These kits come with everything you need to repair your air mattress seam, including patches, adhesive, and instructions.
Self-adhesive patches – These patches are quick and easy to use, but may not provide a long-term solution.
Vinyl adhesive – A strong and durable option for repairing air mattress seams.
Hot glue gun – Can be effective for small leaks, but be careful not to use too much glue.
Tips for Preventing Air Mattress Seam Damage
Once you have repaired your air mattress seam, there are a few things you can do to prevent further damage and extend its lifespan:
Avoid sharp objects – Be careful not to place your air mattress on rough or uneven surfaces that may puncture the vinyl.
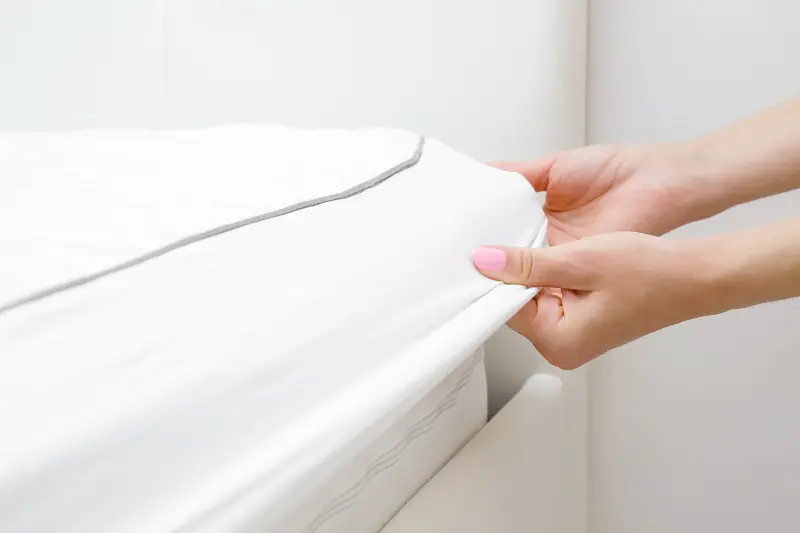
Protect with a sheet – Use a fitted sheet or mattress cover to protect your air mattress from any potential damage.
Avoid over-inflating – Over-inflating your air mattress can put extra pressure on the seams, causing them to weaken over time.
Common Causes of Air Mattress Seam Leaks
Understanding the common causes of air mattress seam leaks can help you prevent them from occurring in the future. Some of the most common causes include:
Normal wear and tear – Over time, the vinyl material of an air mattress can become weakened and develop small leaks.
Mishandling – Rough handling, folding or bending the mattress can cause damage to the seams.
Environmental factors – Extreme temperatures, exposure to sunlight, and contact with oils or chemicals can all cause damage to air mattress seams.
Professional Air Mattress Seam Repair Services
If your air mattress seam is beyond repair, or you simply don't have the time or tools to fix it yourself, there are professional services available. Some camping and outdoor stores offer seam repair services for air mattresses, or you can search for a local company that specializes in inflatable repair.
Repairing an air mattress seam may seem like a daunting task, but with the right tools and techniques, it can be a quick and simple fix. Follow these tips and methods to ensure your air mattress stays in top condition for all your future adventures. And remember, prevention is key – taking proper care of your air mattress can help prevent damage and save you from having to make repairs in the first place.
Preventing Air Mattress Seam Damage

Why Proper Maintenance is Key
 When it comes to house design, every detail matters. This includes not just the furniture and decor, but also the smaller, more practical items such as an air mattress. Having a functional and comfortable air mattress is essential for guests or for your own use during camping trips. However, it can be frustrating when the seams of your air mattress start to leak and deflate. This is a common issue that can be easily avoided with proper maintenance.
Proper maintenance includes regularly checking and repairing the air mattress seams.
Identifying the Problem
 Before diving into repairing the air mattress seam, it is important to first identify the problem. Typically, air mattress seams can become damaged due to wear and tear, punctures, or over-inflating the mattress.
It's important to regularly check the seams for any signs of damage, such as small holes, tears, or loose stitches.
These issues can cause air to escape from the mattress, leading to deflation and discomfort. If not addressed promptly, the damage can become worse and even render the air mattress unusable.
Repairing the Seam
 When it comes to repairing the air mattress seam, there are a few options depending on the severity of the damage. For smaller tears or holes, a simple patch kit can be used.
These kits typically include adhesive patches that can be placed over the damaged area to seal it.
For larger tears or loose stitches, a more thorough repair may be needed. This can involve using a needle and thread to sew the seam back together or even using a patch of fabric to cover the damaged area.
Preventing Future Damage
 In addition to regularly checking and repairing the air mattress seam, there are also preventative measures that can be taken to avoid future damage.
Properly inflating the mattress and avoiding over-inflating it can help prevent strain on the seams.
It's also important to avoid placing the air mattress on rough or sharp surfaces, as these can cause punctures or tears. When storing the air mattress, make sure it is completely deflated and stored in a dry, clean area to prevent any damage.
In conclusion, maintaining the seams of your air mattress is crucial for its longevity and functionality. By regularly checking for damage and taking preventative measures, you can avoid the frustration of a deflated air mattress and ensure a comfortable and enjoyable experience for yourself and your guests.
Remember, a little maintenance goes a long way in preserving the quality of your air mattress.































:max_bytes(150000):strip_icc()/aerobed-opti-comfort-queen-air-mattress-with-headboard-93c9f99d65ee4cce88edf90b9411b1cd.jpg)


