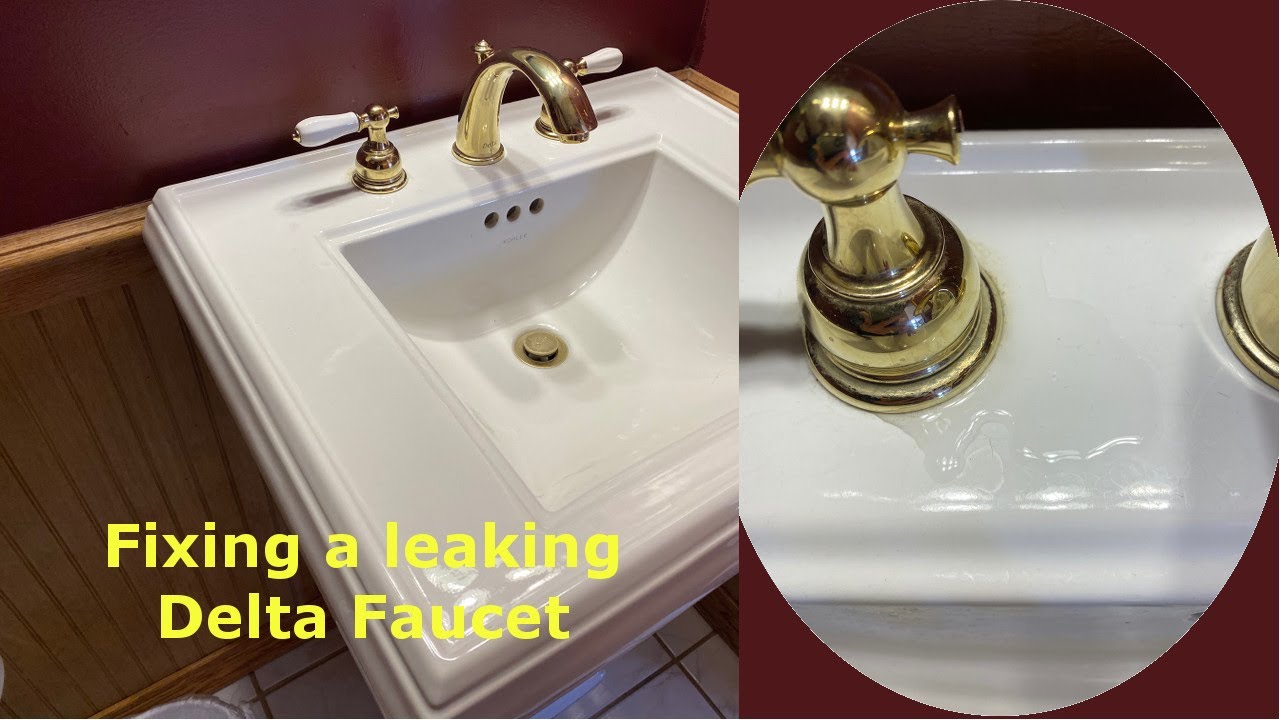
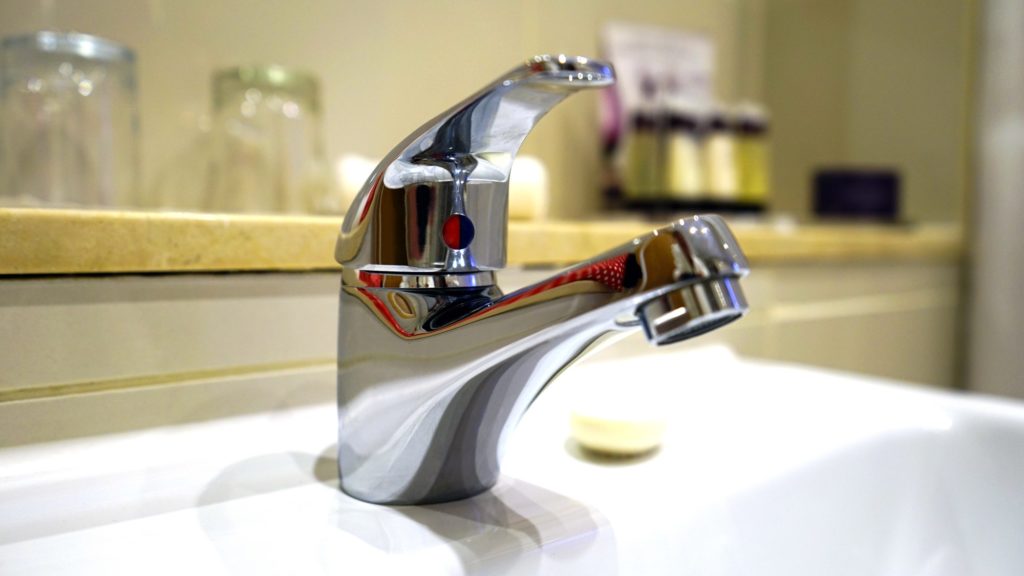
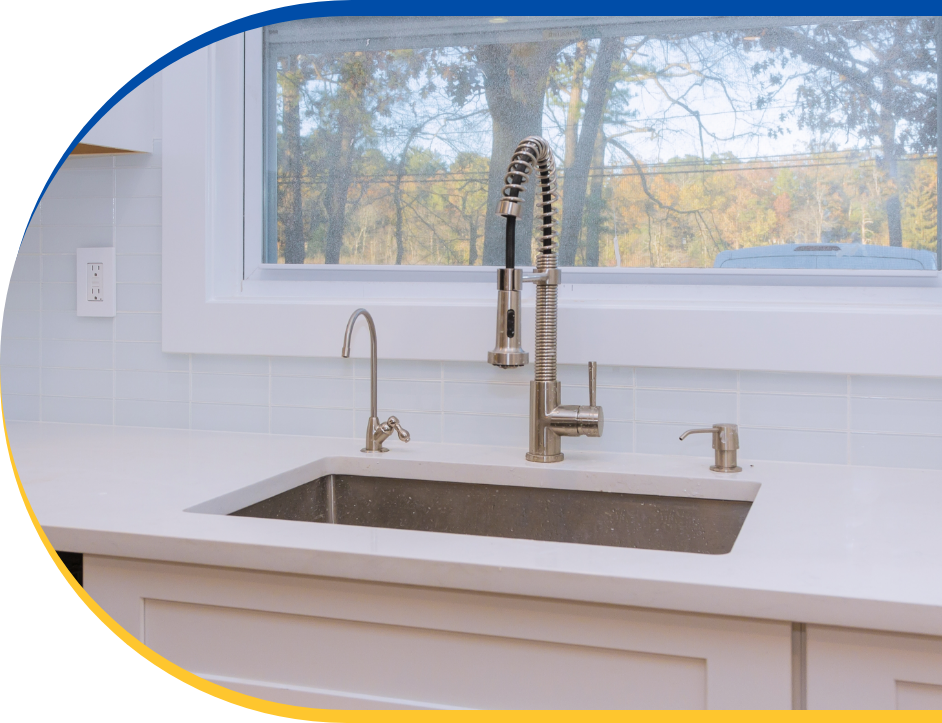
If you have noticed a constant drip or puddle of water under your bathroom sink, chances are you have a leaky faucet. Not only can this be annoying, but it can also lead to higher water bills and potential damage to your sink and cabinets. Fortunately, repairing a leaky bathroom sink faucet is a relatively simple task that you can do yourself with just a few tools and materials.Repairing a Leaky Bathroom Sink Faucet


Repairing a Leaky Bathroom Sink Faucet


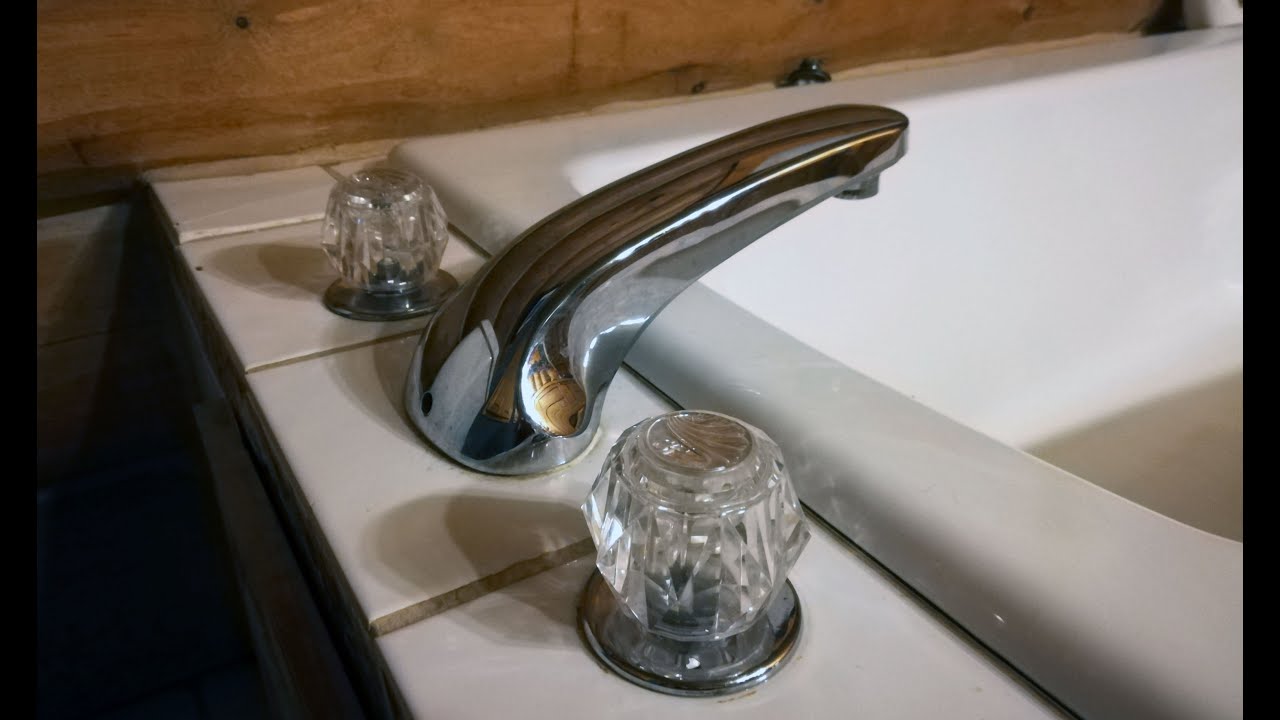
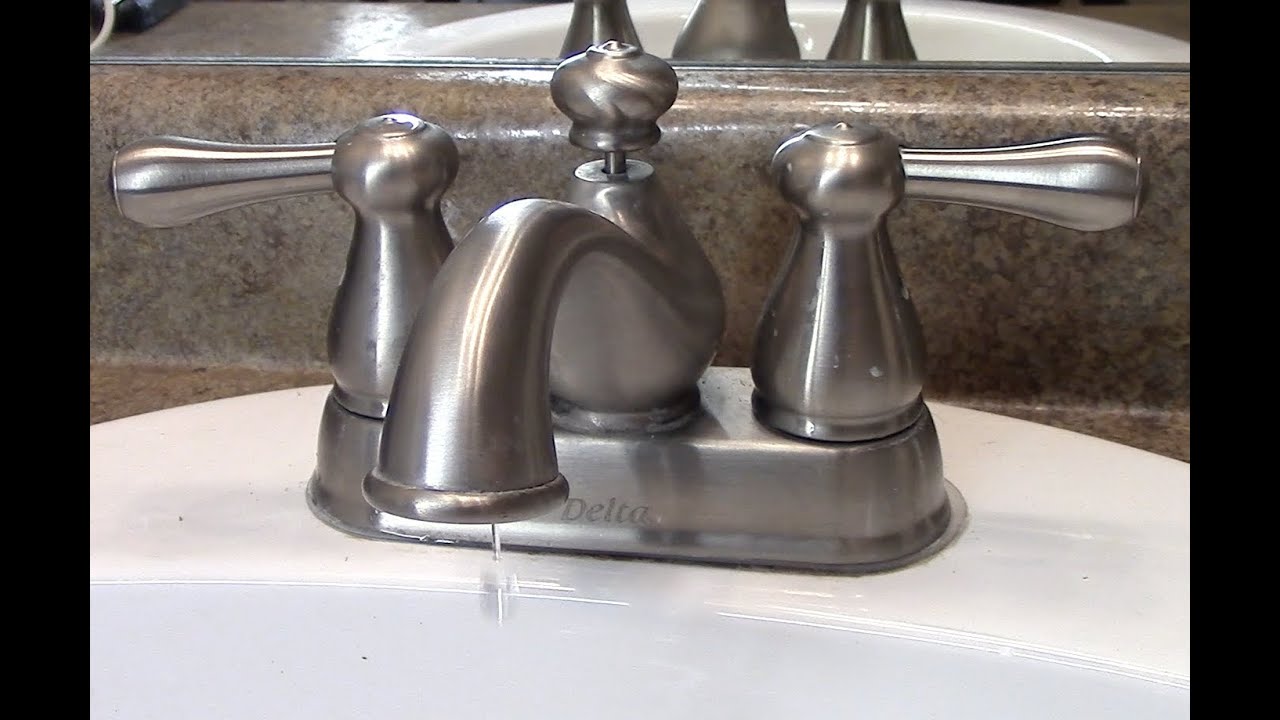
The first step in fixing a leaky bathroom sink faucet is to determine the type of faucet you have. There are four main types: compression, cartridge, ball, and ceramic disk. Each type has a different method of repair, so it’s important to know which one you have before getting started. You can usually find this information in the manufacturer’s instructions or by doing a quick online search. Once you know the type of faucet you have, you can begin the repair process. Start by turning off the water supply to the sink. This can usually be done by turning the shut-off valves under the sink in a clockwise direction. If you can’t find these valves, you may need to shut off the main water supply to your home.How to Fix a Leaky Bathroom Sink Faucet


How to Fix a Leaky Bathroom Sink Faucet


If you’re comfortable with basic plumbing tasks, you can save money by repairing your leaky bathroom sink faucet yourself. The first step is to disassemble the faucet and clean all the parts. Use a cloth or brush to remove any debris or mineral buildup that may be causing the leak. Next, inspect the O-ring, washer, and other components for any signs of wear or damage. If necessary, replace these parts with new ones from your local hardware store. Next, reassemble the faucet and turn the water supply back on. Slowly turn the faucet on and check for any leaks. If the leak persists, you may need to replace the entire faucet. If you’re not comfortable with this task, it’s always best to call a professional plumber to avoid causing further damage.DIY Bathroom Sink Faucet Repair


DIY Bathroom Sink Faucet Repair


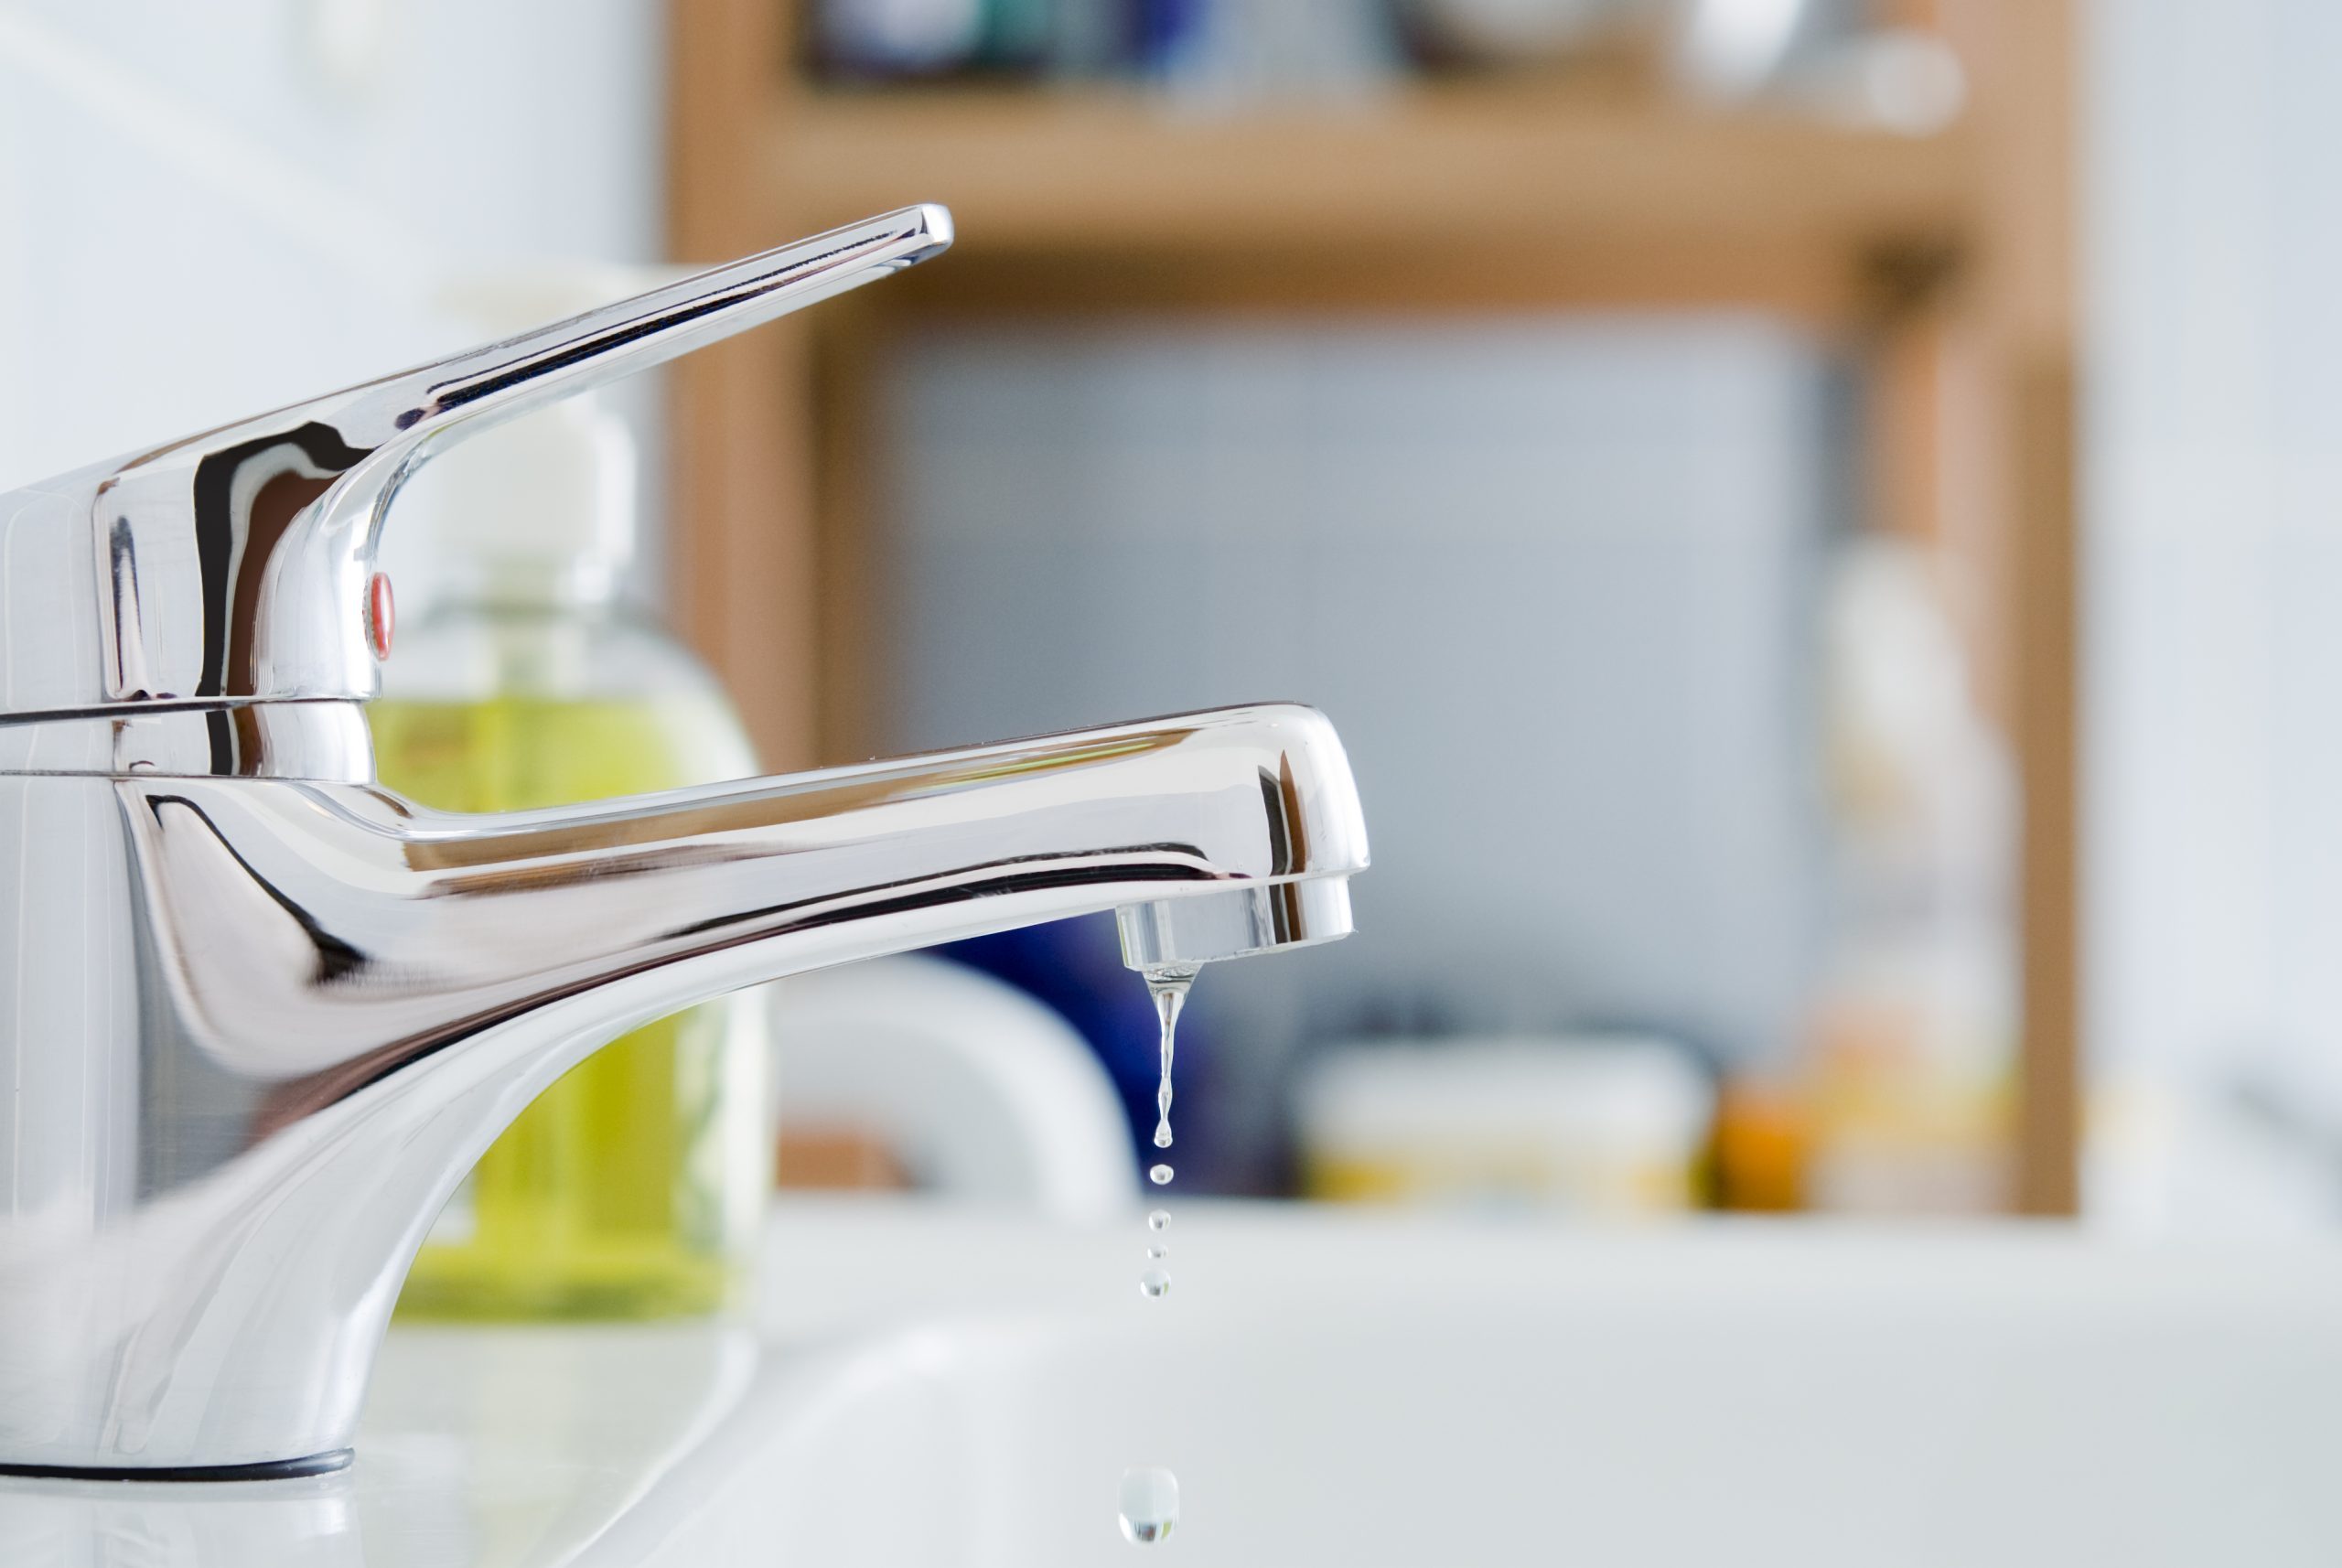
A dripping bathroom sink faucet can be a nuisance, but it’s also wasting water and money. The most common cause of a dripping faucet is a worn out or damaged washer. This is an easy fix that requires minimal tools and time. Start by shutting off the water supply and disassembling the faucet. Replace the old washer with a new one and reassemble the faucet. Turn the water back on and test for leaks. If the drip persists, you may need to replace the entire faucet.Fixing a Dripping Bathroom Sink Faucet


Fixing a Dripping Bathroom Sink Faucet


If you’re new to DIY tasks, repairing a leaky bathroom sink faucet may seem intimidating. However, with the right tools and instructions, it’s a task that can be completed in just a few simple steps. Start by gathering all the necessary tools and materials, such as a wrench, screwdriver, and replacement parts. Next, turn off the water supply and disassemble the faucet. Clean and inspect all the components before reassembling the faucet. Turn the water back on and check for leaks. If the leak persists, you may need to replace the entire faucet.Step-by-Step Bathroom Sink Faucet Repair

Step-by-Step Bathroom Sink Faucet Repair


There are several reasons why your bathroom sink faucet may be leaking. Some of the most common causes include worn out or damaged parts, mineral buildup, and improper installation. By understanding the cause of the leak, you can better determine the best course of action for repair. For example, if the issue is due to mineral buildup, you may need to clean the faucet regularly to prevent future leaks. If the leak is caused by worn out parts, you can easily replace them to fix the problem. However, if the faucet was not installed correctly, it may be best to call a professional plumber to ensure it is installed properly and prevent future leaks.Common Causes of Bathroom Sink Faucet Leaks


Common Causes of Bathroom Sink Faucet Leaks


If you’re short on time or don’t have the necessary tools and materials, you can still fix a leaky bathroom sink faucet with a quick and easy repair. Start by turning off the water supply and inspecting the faucet for any visible signs of damage. If you notice any worn out or damaged parts, replace them with new ones. If the cause of the leak is not obvious, try tightening any loose connections or adjusting the faucet handle. Turn the water back on and check for leaks. If the problem persists, it may be time to call a professional.Quick and Easy Bathroom Sink Faucet Leak Repair


Quick and Easy Bathroom Sink Faucet Leak Repair

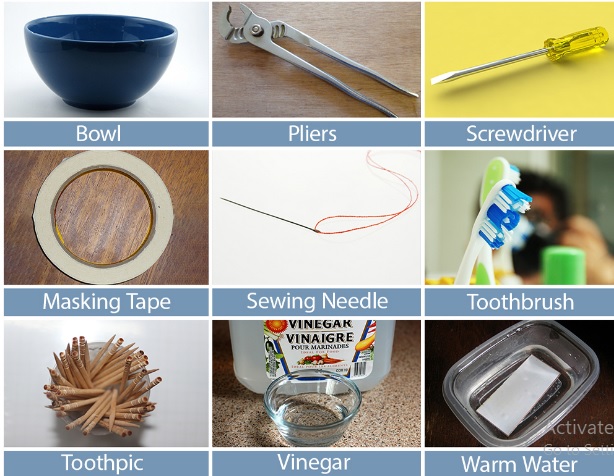
Before attempting to repair your bathroom sink faucet, it’s important to have all the necessary tools and materials on hand. This will make the process much easier and prevent any unexpected trips to the hardware store. Some common tools and materials you may need include a wrench, screwdriver, replacement parts, and plumber’s tape. It’s always a good idea to research the specific repair process for your type of faucet to ensure you have all the necessary items.Tools and Materials Needed for Bathroom Sink Faucet Repair

Tools and Materials Needed for Bathroom Sink Faucet Repair


While many bathroom sink faucet leaks can be easily fixed with a DIY approach, there are some instances where it’s best to call a professional plumber. This is especially true if the leak is caused by a more serious issue, such as a damaged water pipe or faulty faucet installation. A professional plumber will have the expertise and tools to properly diagnose and fix the problem, saving you time and hassle in the long run.Professional Bathroom Sink Faucet Leak Repair Services

Professional Bathroom Sink Faucet Leak Repair Services

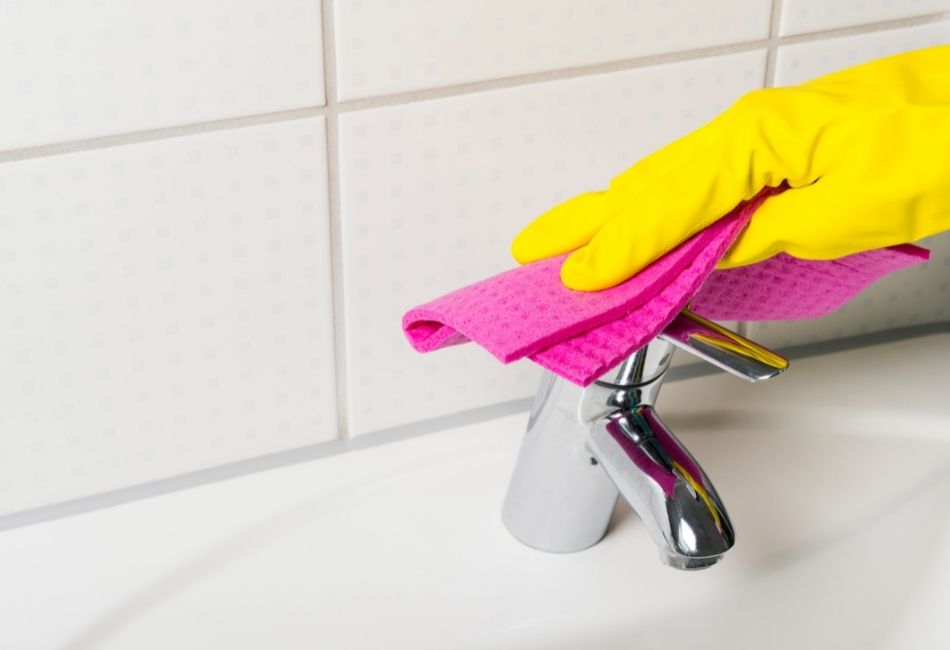
Once you have successfully repaired your leaky bathroom sink faucet, you’ll want to take steps to prevent future leaks. One of the easiest ways to do this is by regularly cleaning and maintaining your faucet. This will prevent mineral buildup and ensure all components are in good working condition. You can also invest in a high-quality faucet to avoid any issues in the future. And if you notice any small leaks or drips, don’t ignore them – addressing them early on can prevent larger and more costly problems down the road. In conclusion, a leaky bathroom sink faucet is a common household issue that can easily be fixed with the right tools and knowledge. By following these tips and steps, you can save money and prevent further damage to your sink and cabinets. And if you’re not comfortable with DIY tasks, don’t hesitate to call a professional for assistance. Your leaky faucet will be fixed in no time, and you can enjoy a fully functional and drip-free bathroom sink. Preventing Future Leaks in Your Bathroom Sink Faucet
Preventing Future Leaks in Your Bathroom Sink Faucet


How to Repair a Bathroom Sink Faucet Leak? A Comprehensive Guide
Introduction
 Having a leaky bathroom sink faucet can be a nuisance. Not only does it waste water and increase your utility bill, but it also creates a mess in your bathroom. If left untreated, a small leak can turn into a big problem, causing damage to your sink and even the surrounding areas. However, repairing a bathroom sink faucet leak is not as daunting as it may seem. With the right tools and some basic knowledge, you can fix it yourself. In this article, we will guide you through the process of repairing a bathroom sink faucet leak.
Step 1: Identify the Source of the Leak
 The first step in fixing a leaky bathroom sink faucet is to identify where the leak is coming from. There are three common areas where leaks can occur: the handle, the base, and the spout. To determine the source, turn on the water and observe where the water is coming from. If the leak is coming from the handle, it could be due to a faulty O-ring or cartridge. If the base of the faucet is leaking, it may be because of a loose connection. And if the water is dripping from the spout, it could be due to a worn-out seal.
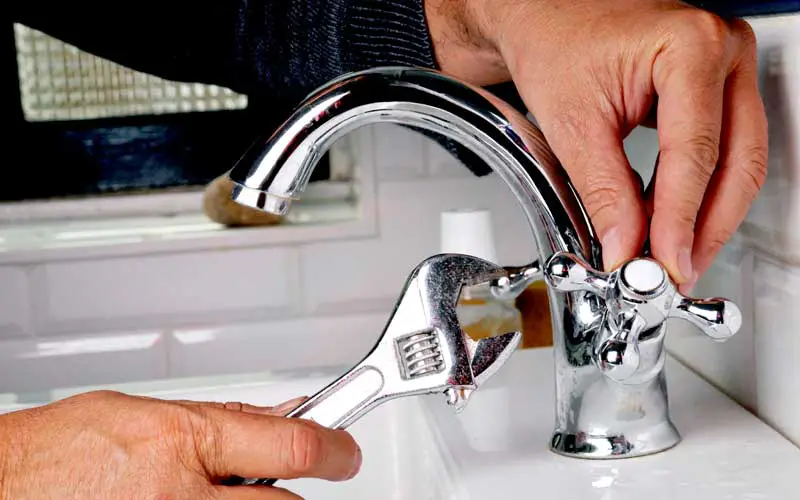
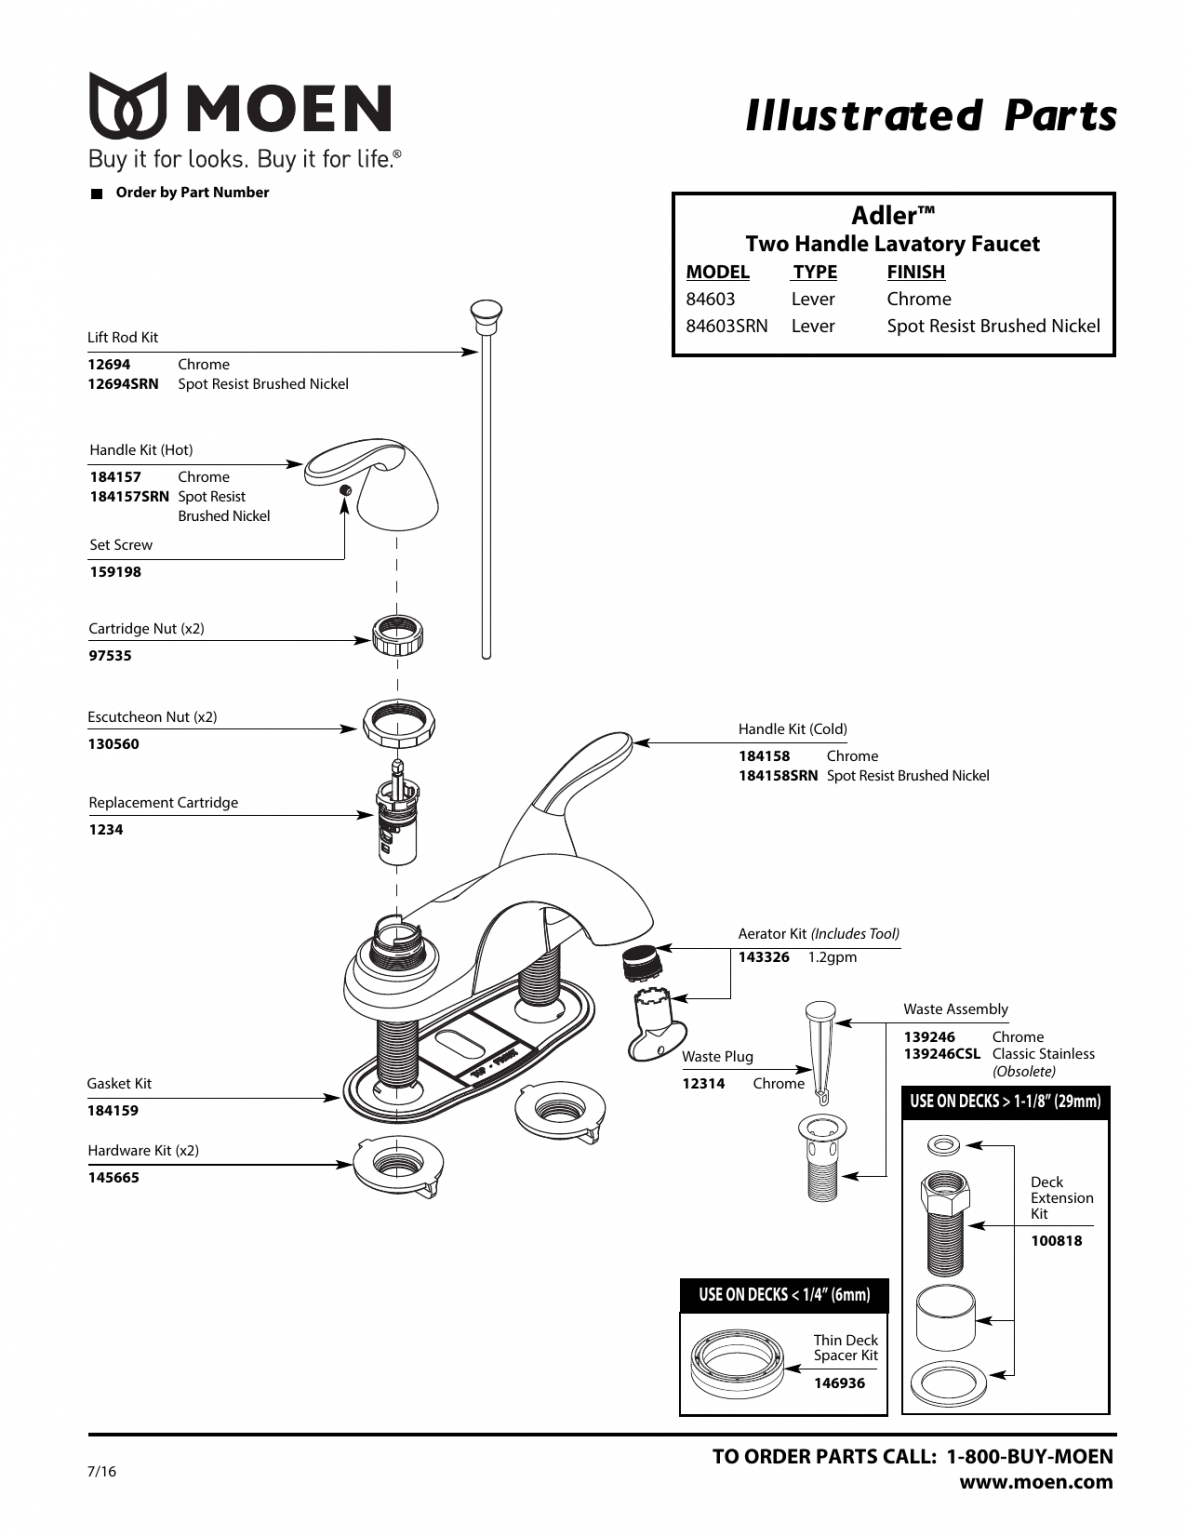
Step 2: Gather the Necessary Tools
 Before you start the repair process, make sure you have all the necessary tools and materials. These typically include a wrench, pliers, screwdriver, replacement parts (O-ring, cartridge, or seal), and Teflon tape. It is important to gather the correct tools and replacement parts to ensure a successful repair.
Step 3: Turn off the Water Supply
 Before you begin any repair work, always turn off the water supply to your sink. This can usually be done by turning the shut-off valves located under the sink clockwise. If you cannot find the shut-off valves, you can always turn off the main water supply to your house.
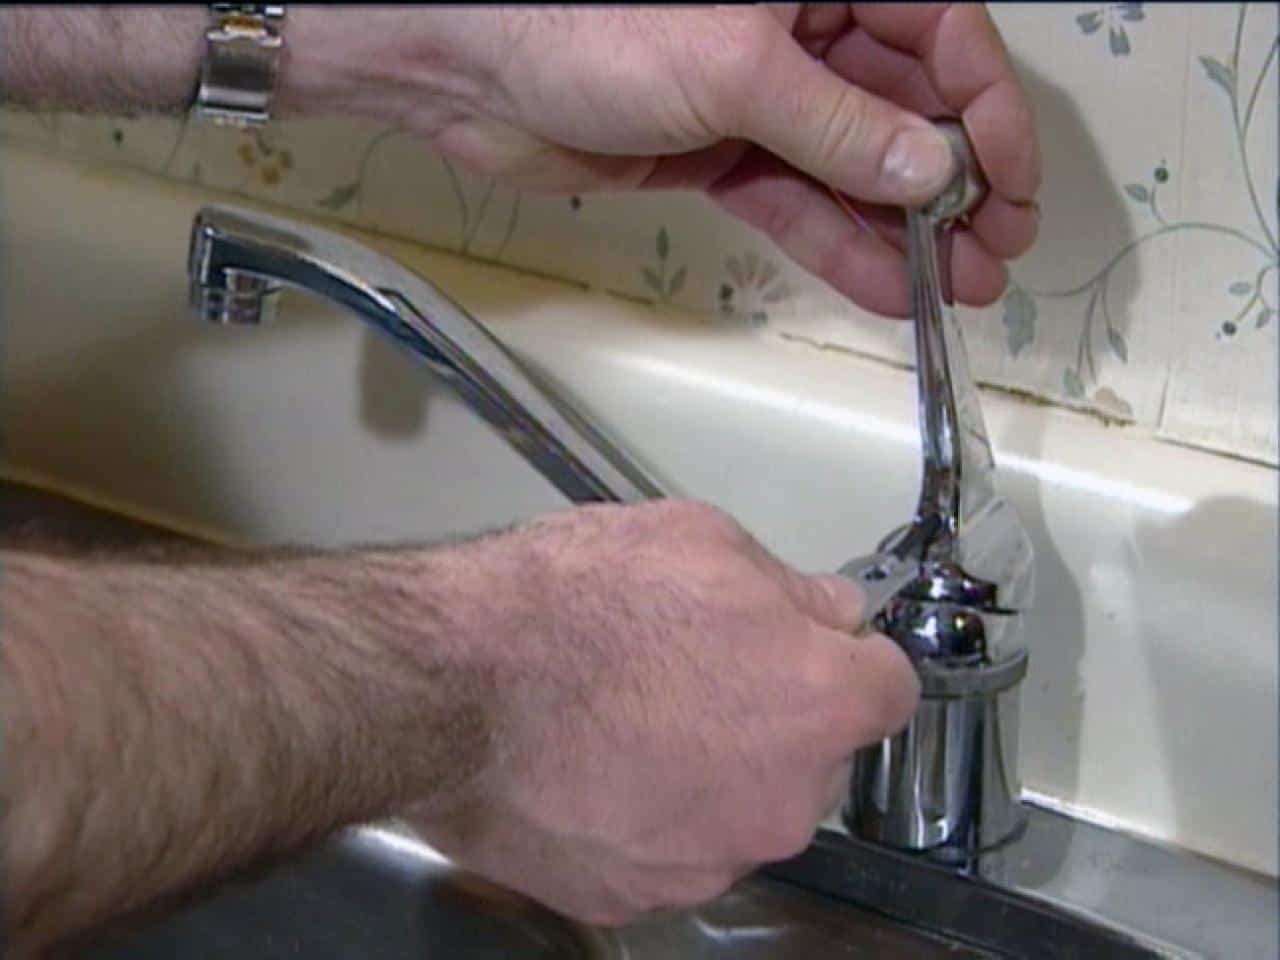
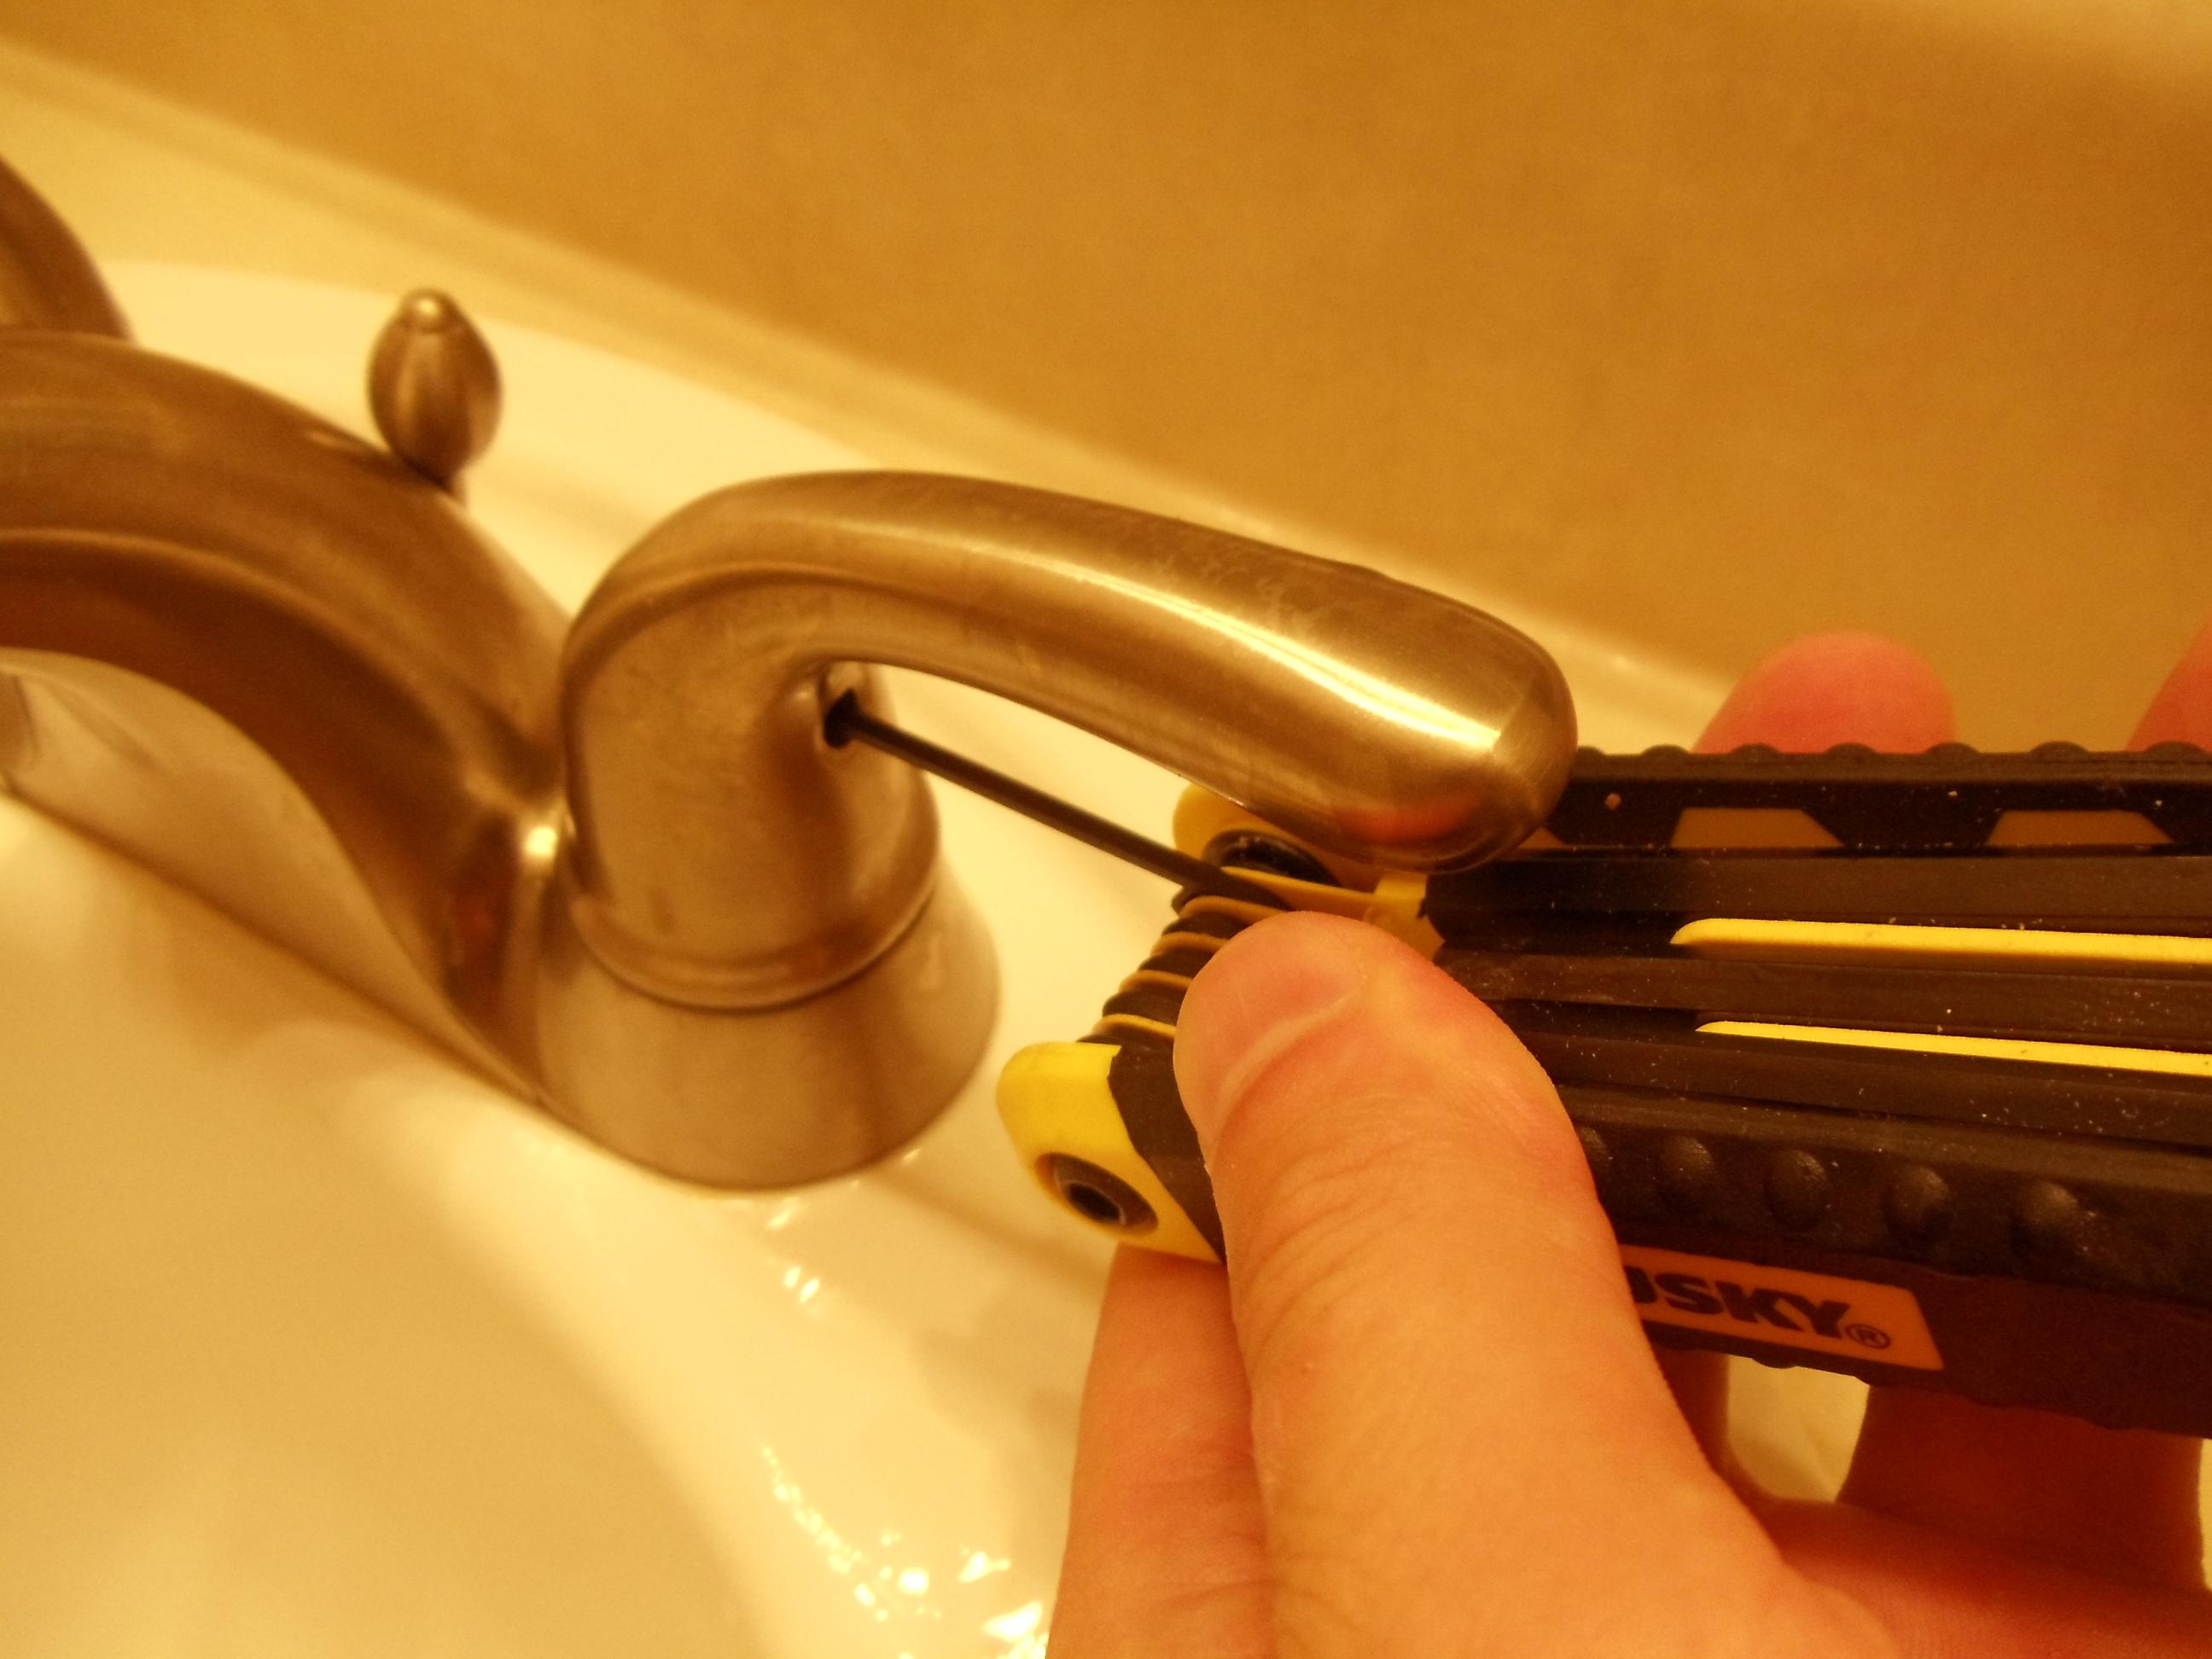
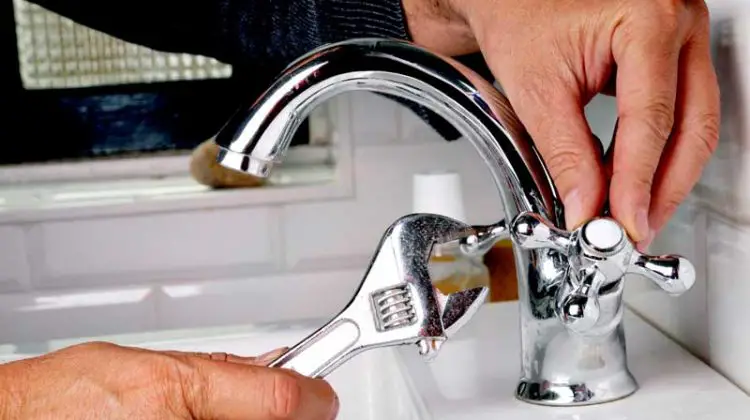
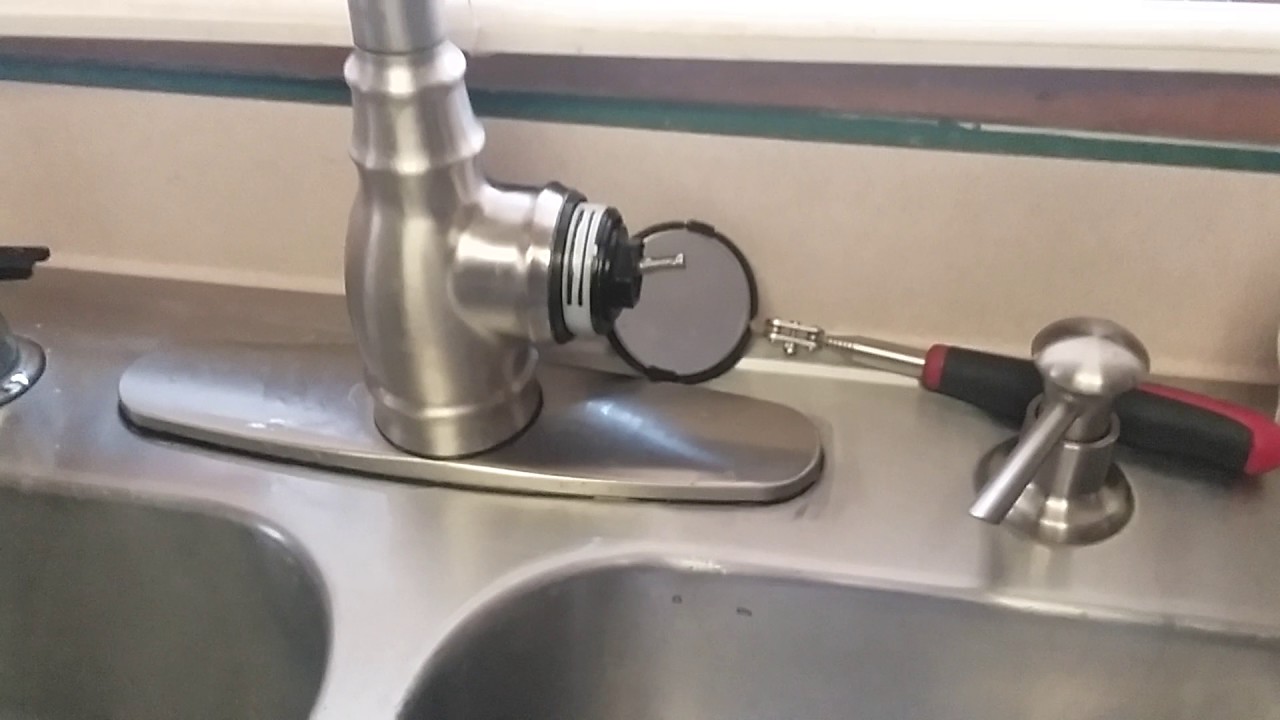
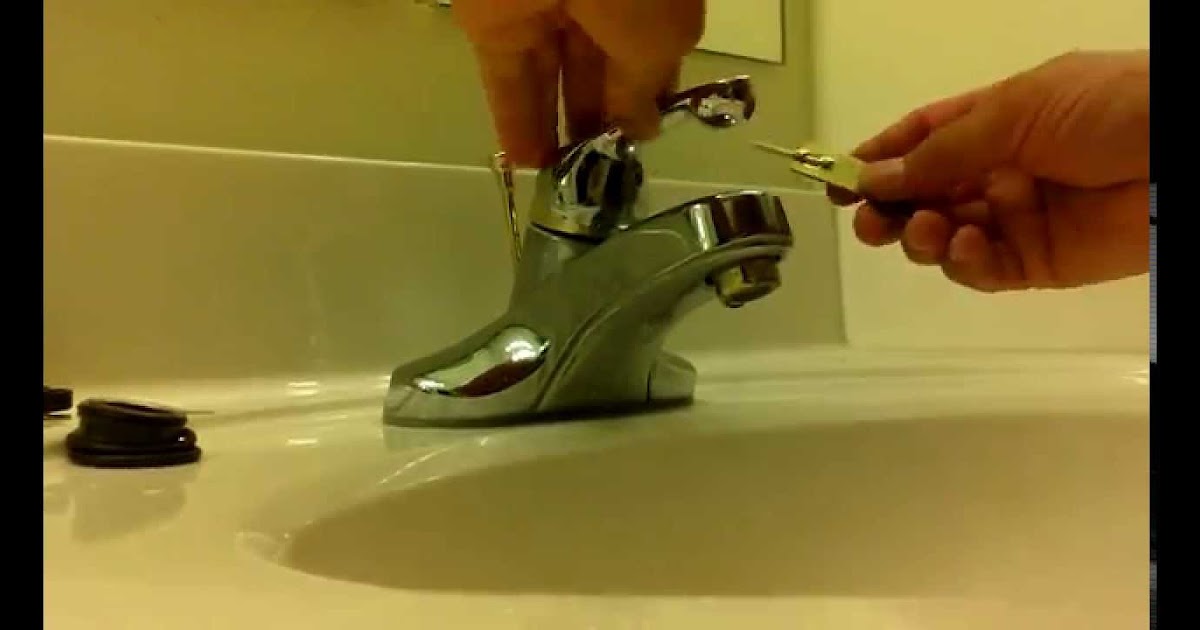
Step 4: Disassemble the Faucet
 Using a wrench and pliers, carefully disassemble the faucet by removing the handle, the spout, and the base. Be sure to keep all the parts in a safe place so you can easily put them back together later.
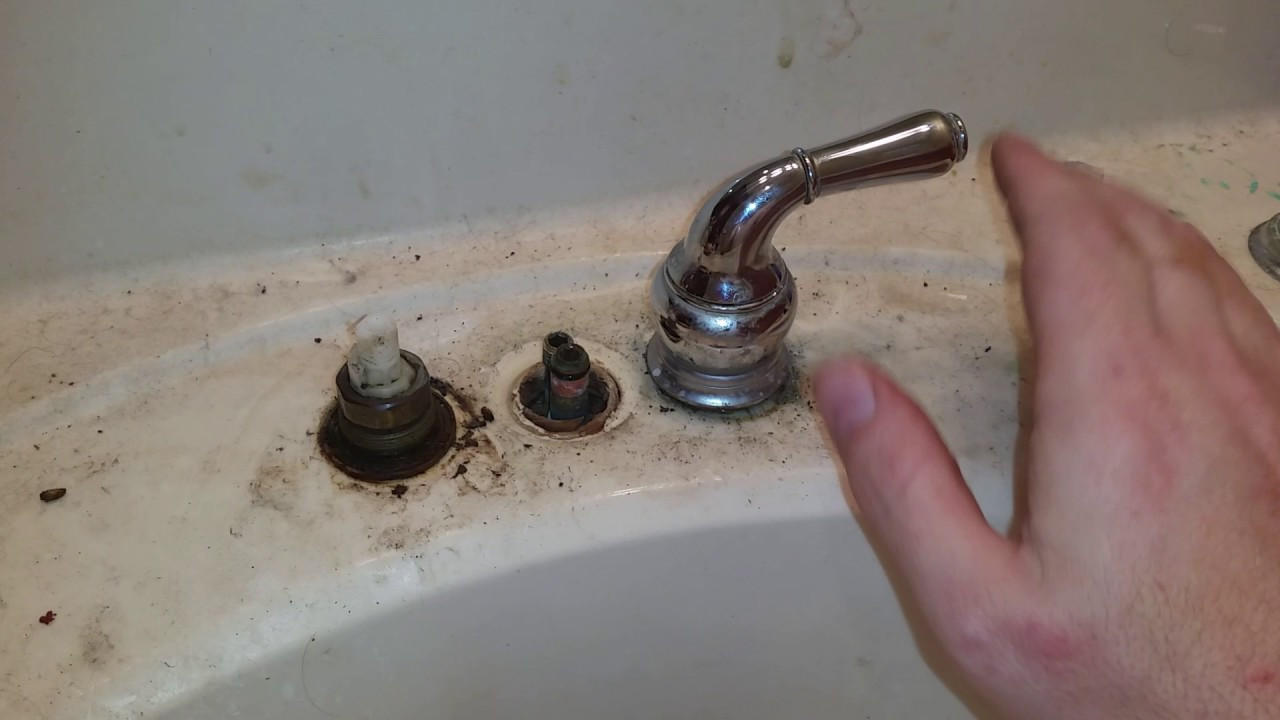
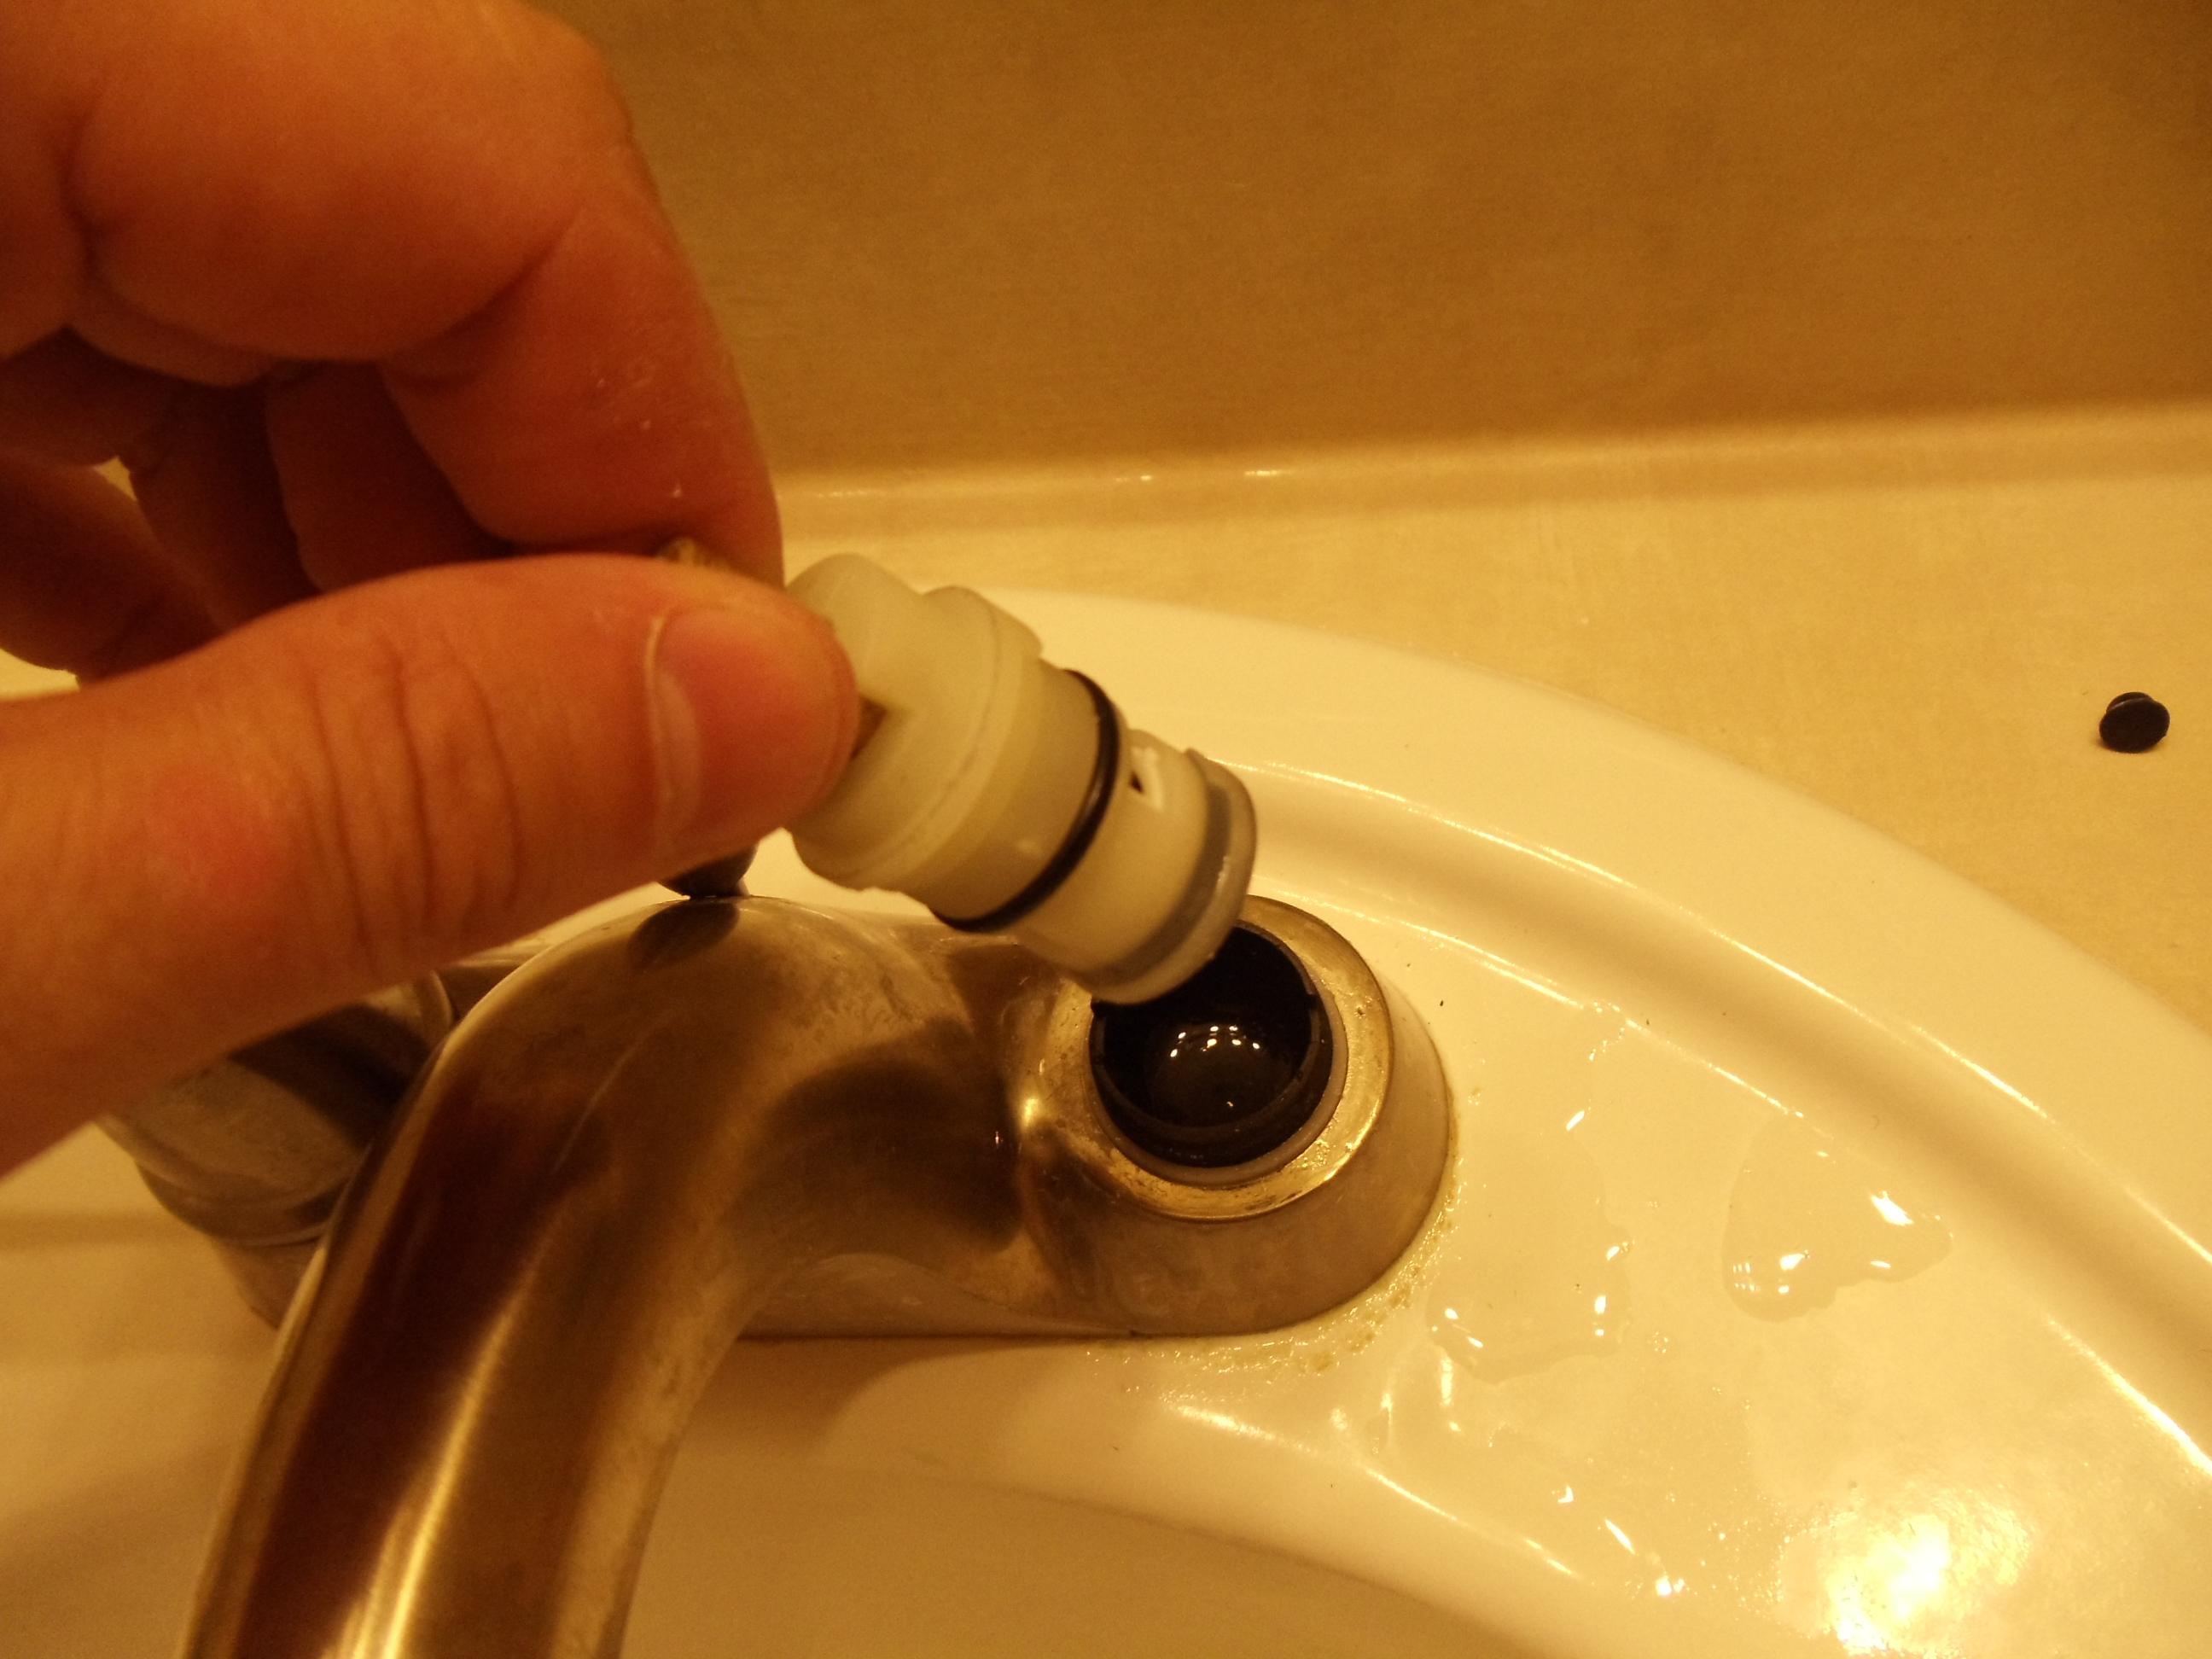
Step 5: Replace the Faulty Parts
 Once you have disassembled the faucet, you can now identify which parts need to be replaced. If the O-ring or cartridge is damaged, replace it with a new one. If the seal is worn out, replace it with a new one as well. Use Teflon tape to ensure a tight seal when reassembling the faucet.
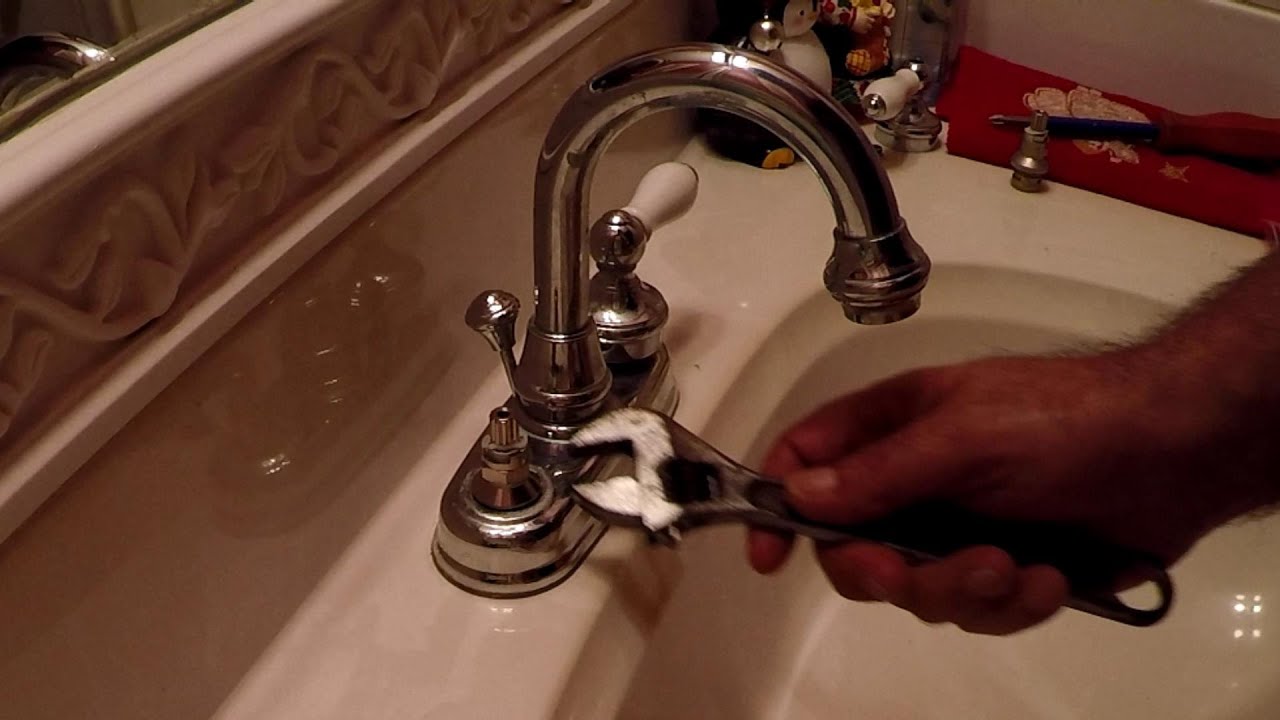
Step 6: Reassemble the Faucet
 Carefully put the faucet back together in the reverse order of how you disassembled it. Make sure all connections are tight and secure.
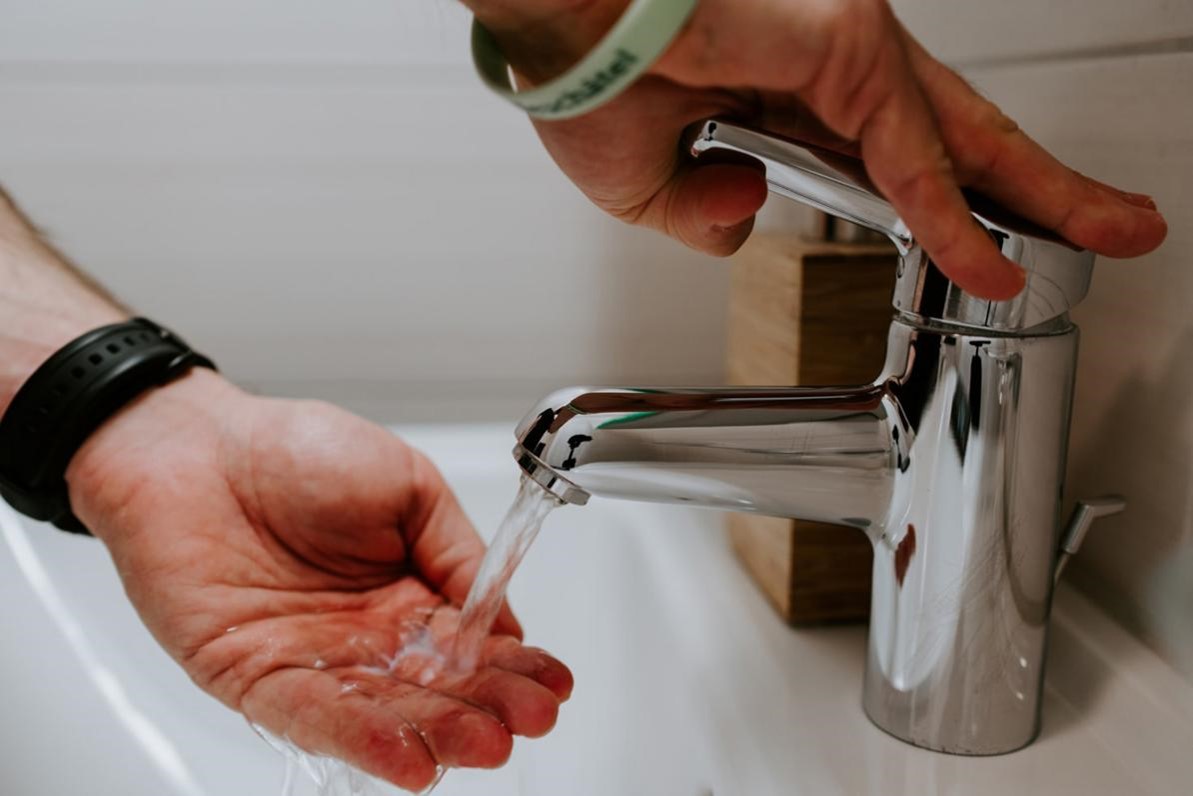
Step 7: Turn on the Water Supply and Test
 Once the faucet is reassembled, turn the water supply back on and test the faucet for any leaks. If there are no leaks, congratulations, you have successfully repaired your bathroom sink faucet leak!
Conclusion
 Repairing a bathroom sink faucet leak may seem like a daunting task, but with the right tools and knowledge, it can be done easily. By following these simple steps, you can save yourself the hassle and expense of hiring a professional plumber. Remember to always turn off the water supply before starting any repair work and to use the correct tools and replacement parts. With a little effort, you can have your bathroom sink faucet leak-free in no time.