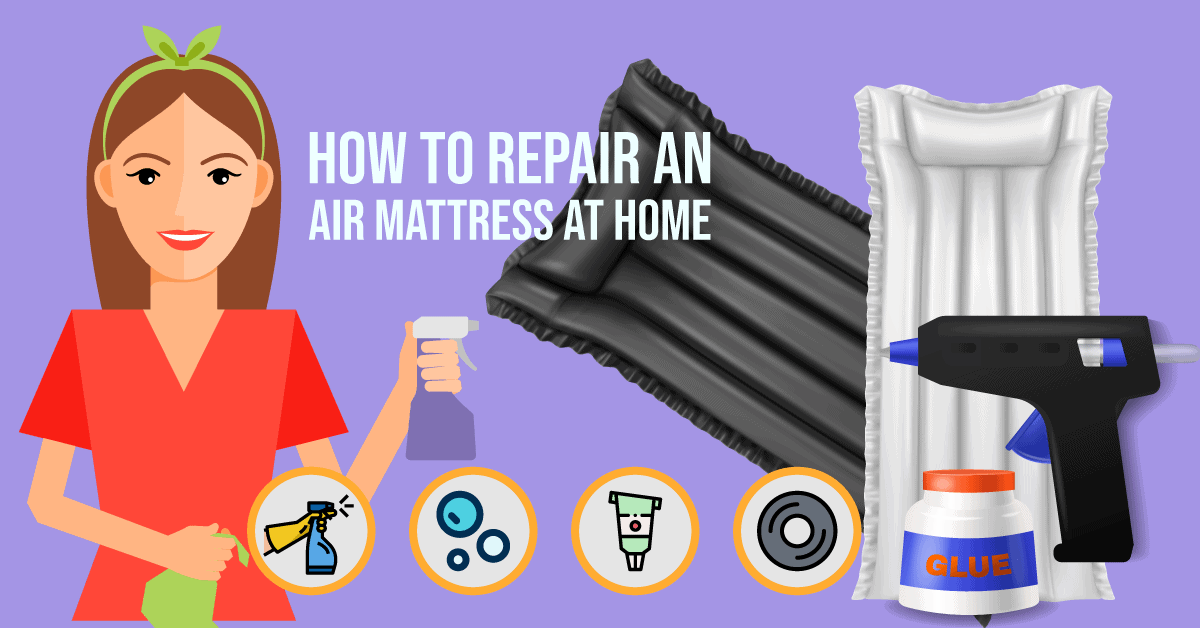
How to Repair an Air Mattress Seam
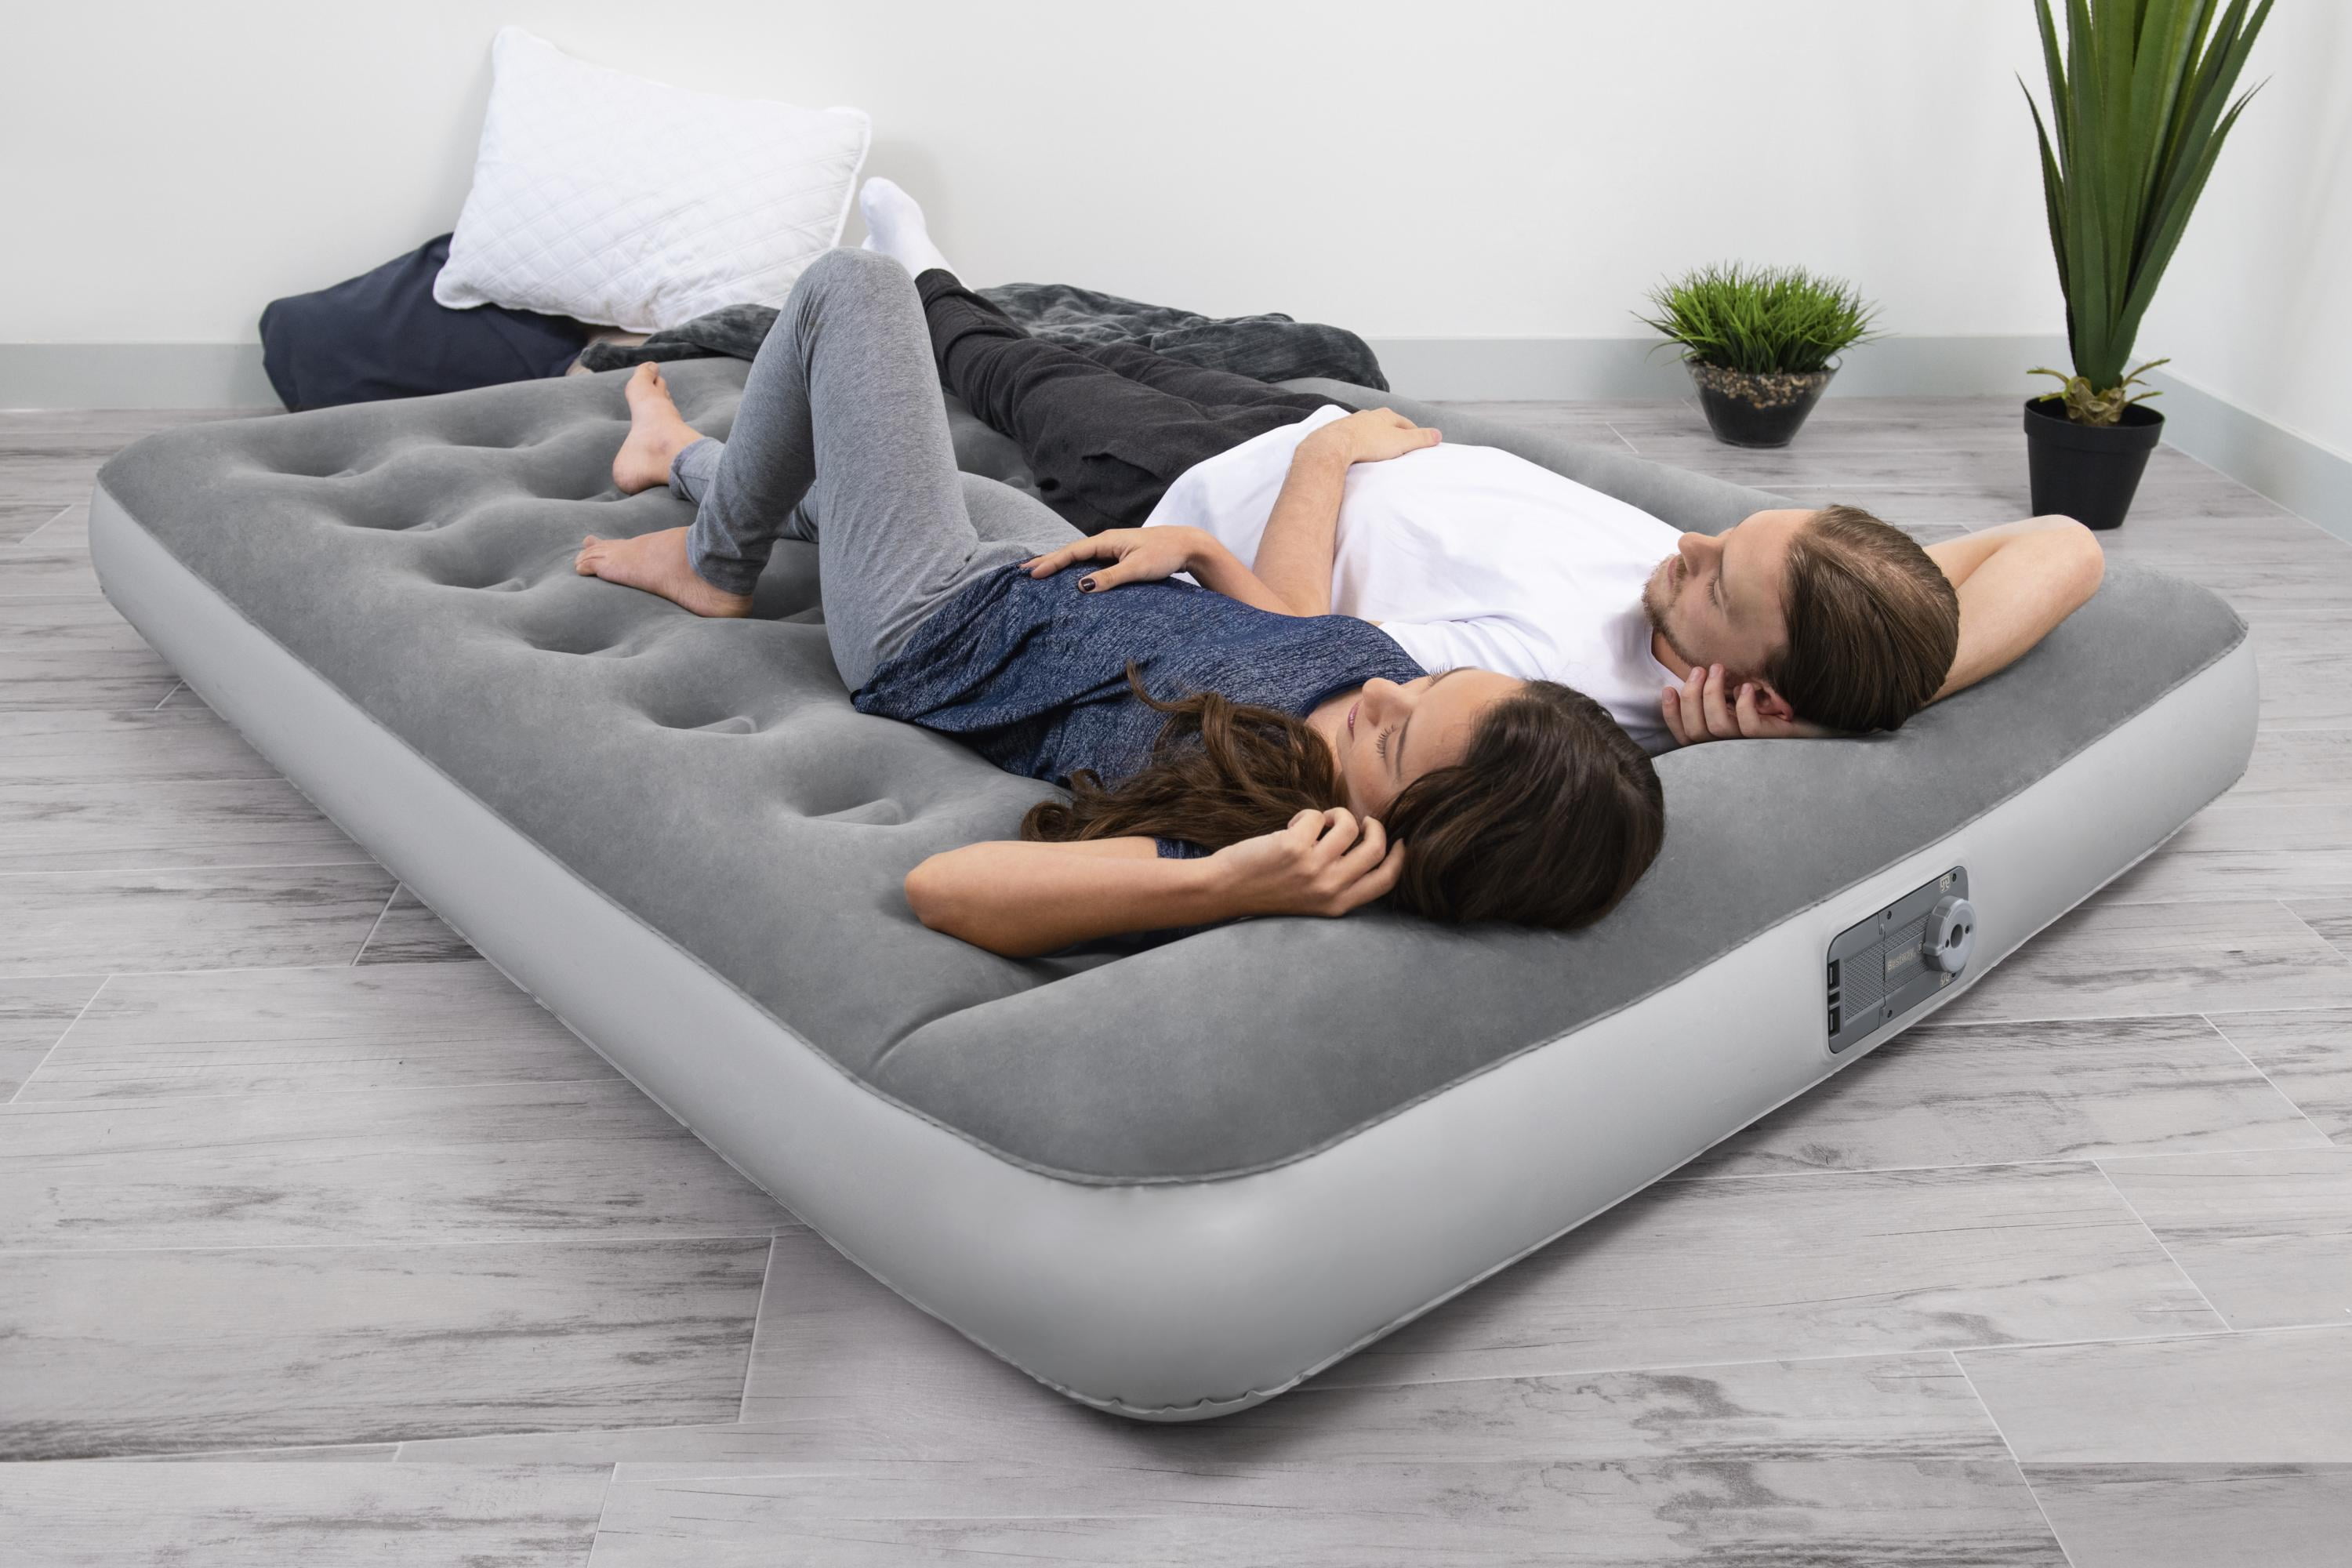
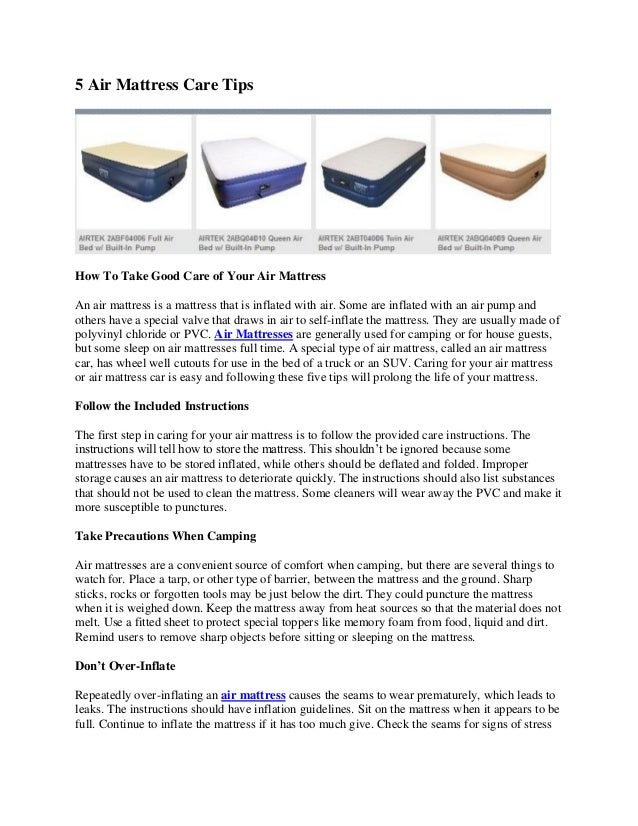
If you're an avid camper or have unexpected guests staying over, you know the importance of having a functioning air mattress. But what happens when you discover a rip or tear along the seam of your air mattress? Don't worry, with the right tools and techniques, you can easily repair the seam and have your air mattress back to its fully functional state. In this article, we will guide you through the step-by-step process of repairing an air mattress seam.


How to Repair an Air Mattress Seam


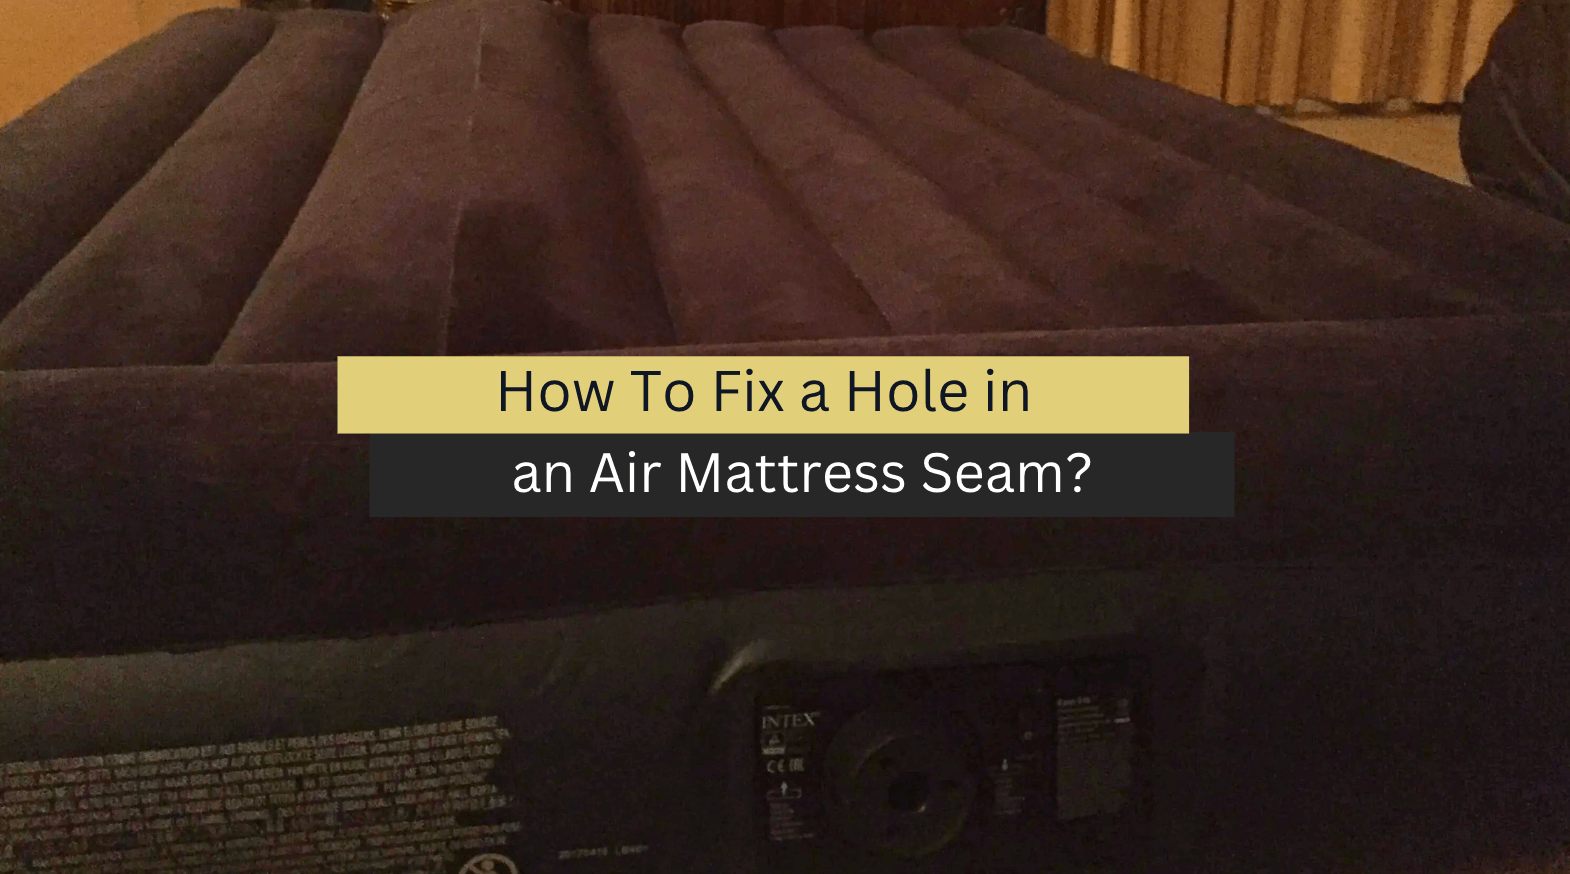
How to Fix an Air Mattress Seam
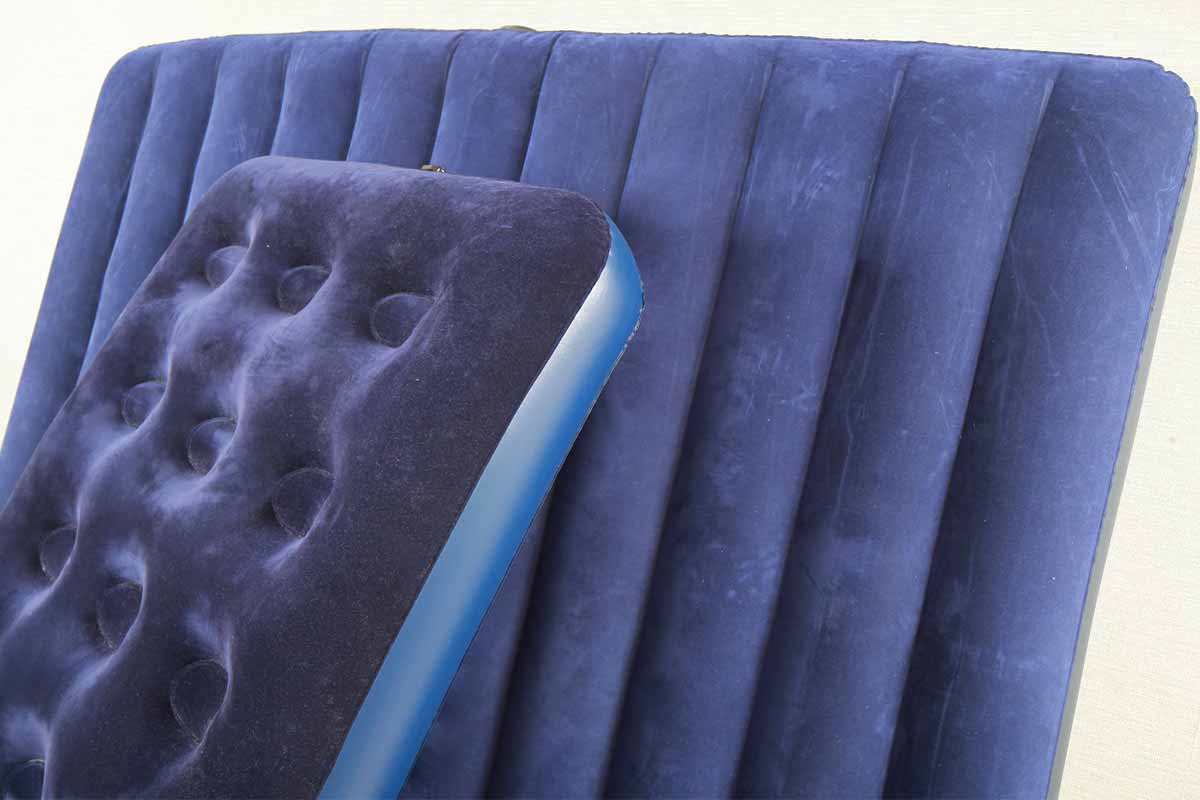
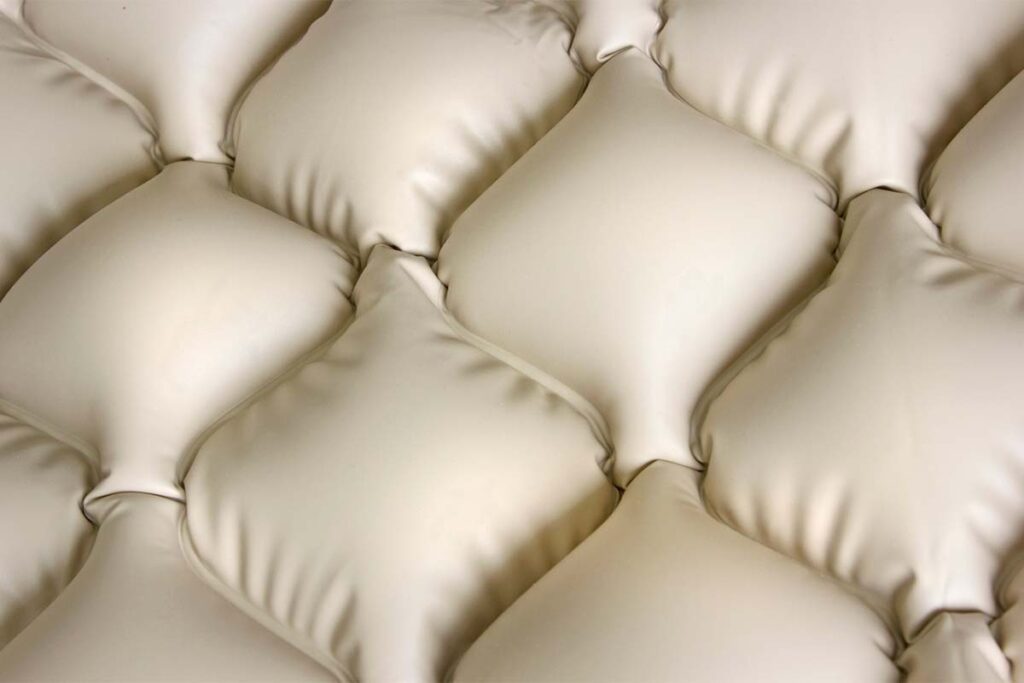
If you notice a rip or tear along the seam of your air mattress, the first thing to do is to locate the damaged area. This can be done by gently inflating the mattress and running your hand along the seams until you feel a leak. Once you've identified the damaged area, you can start the repair process.


How to Fix an Air Mattress Seam


DIY Air Mattress Seam Repair
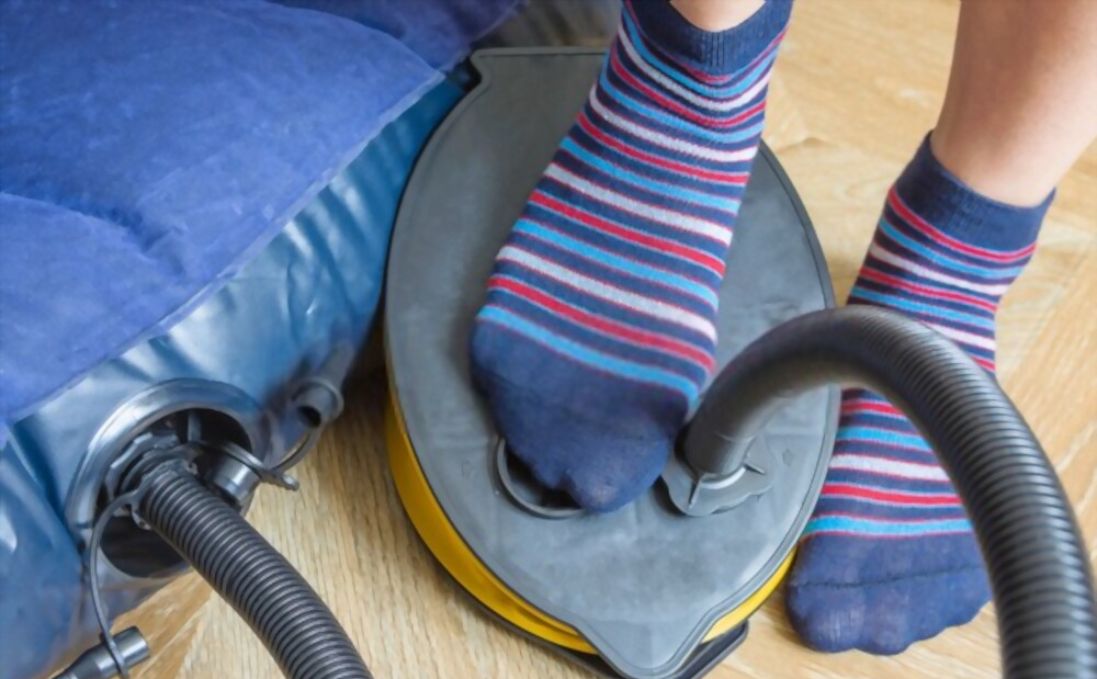
Repairing an air mattress seam can easily be done at home with some simple tools and materials. The first step is to deflate the mattress completely. Using a cloth, clean the damaged area and surrounding area to remove any dirt or dust. Then, apply a small amount of rubbing alcohol to the damaged area to ensure a strong bond between the materials.


DIY Air Mattress Seam Repair


Quick and Easy Air Mattress Seam Fix
The next step is to apply a patch to the damaged area. You can use a vinyl patch repair kit or a vinyl adhesive for this step. Cut the patch to the appropriate size, making sure it covers the damaged area completely. Apply the adhesive to both the patch and the damaged area, and press the patch firmly onto the seam. Allow it to dry according to the manufacturer's instructions.


Quick and Easy Air Mattress Seam Fix


Step-by-Step Guide for Repairing an Air Mattress Seam
For a more detailed guide on how to repair an air mattress seam, follow the steps below:

Step-by-Step Guide for Repairing an Air Mattress Seam


Tools and Materials Needed for Repairing an Air Mattress Seam
For a successful air mattress seam repair, you will need the following tools and materials:


Tools and Materials Needed for Repairing an Air Mattress Seam


Tips for a Strong and Durable Air Mattress Seam Repair
To ensure your air mattress seam repair is long-lasting, here are a few tips to keep in mind:


Tips for a Strong and Durable Air Mattress Seam Repair


Common Mistakes to Avoid When Repairing an Air Mattress Seam
While repairing an air mattress seam may seem like a simple process, there are some common mistakes to avoid to ensure a successful repair:


Common Mistakes to Avoid When Repairing an Air Mattress Seam


Professional Air Mattress Seam Repair Services
If you do not feel confident in repairing the air mattress seam yourself, or if the damage is too severe, you can also seek the help of a professional. There are companies that specialize in repairing air mattresses, and they have the expertise and tools to fix the seam properly.


Professional Air Mattress Seam Repair Services


Preventative Measures to Avoid Future Air Mattress Seam Damage
To avoid having to repair your air mattress seam in the future, here are a few preventative measures you can take:


Preventative Measures to Avoid Future Air Mattress Seam Damage


Additional Tips for Repairing an Air Mattress Seam

Use the Right Materials
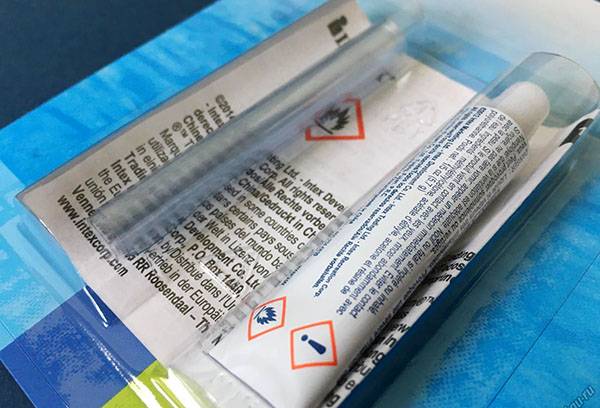
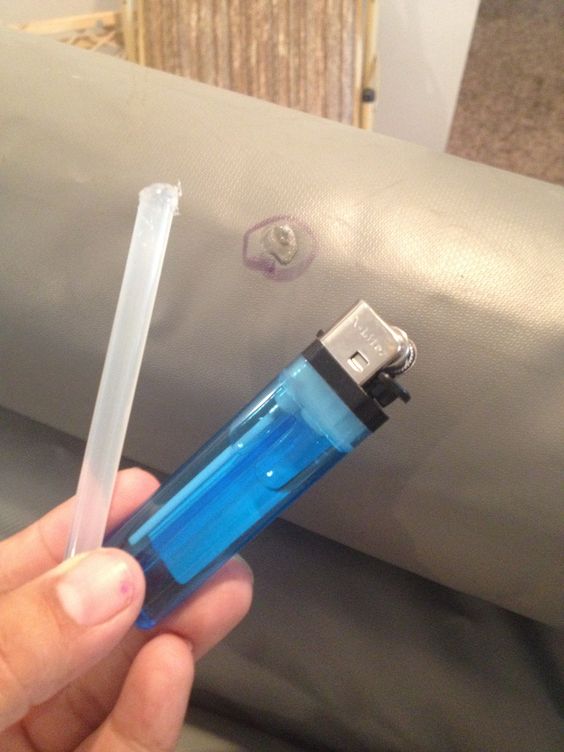
 When it comes to repairing an air mattress seam, using the right materials is crucial. To fix a small puncture or tear, you will need a patch kit specifically designed for air mattresses. These kits typically include a piece of patching material, adhesive, and a small brush for application. Make sure to read the instructions carefully and follow them precisely for the best results.
Pro Tip:
If you don't have a patch kit on hand, you can also use duct tape or a bicycle tire patch as a temporary fix until you can get a proper patch kit.
When it comes to repairing an air mattress seam, using the right materials is crucial. To fix a small puncture or tear, you will need a patch kit specifically designed for air mattresses. These kits typically include a piece of patching material, adhesive, and a small brush for application. Make sure to read the instructions carefully and follow them precisely for the best results.
Pro Tip:
If you don't have a patch kit on hand, you can also use duct tape or a bicycle tire patch as a temporary fix until you can get a proper patch kit.
Prepare the Area
 Before attempting to repair the seam, make sure to properly clean and dry the damaged area. Use a damp cloth to wipe away any dirt or debris, and then use a dry cloth to ensure the area is completely dry. This will help the patch adhere better and provide a stronger seal.
Pro Tip:
If your air mattress has a built-in pump, make sure to detach it before beginning the repair process.
Before attempting to repair the seam, make sure to properly clean and dry the damaged area. Use a damp cloth to wipe away any dirt or debris, and then use a dry cloth to ensure the area is completely dry. This will help the patch adhere better and provide a stronger seal.
Pro Tip:
If your air mattress has a built-in pump, make sure to detach it before beginning the repair process.
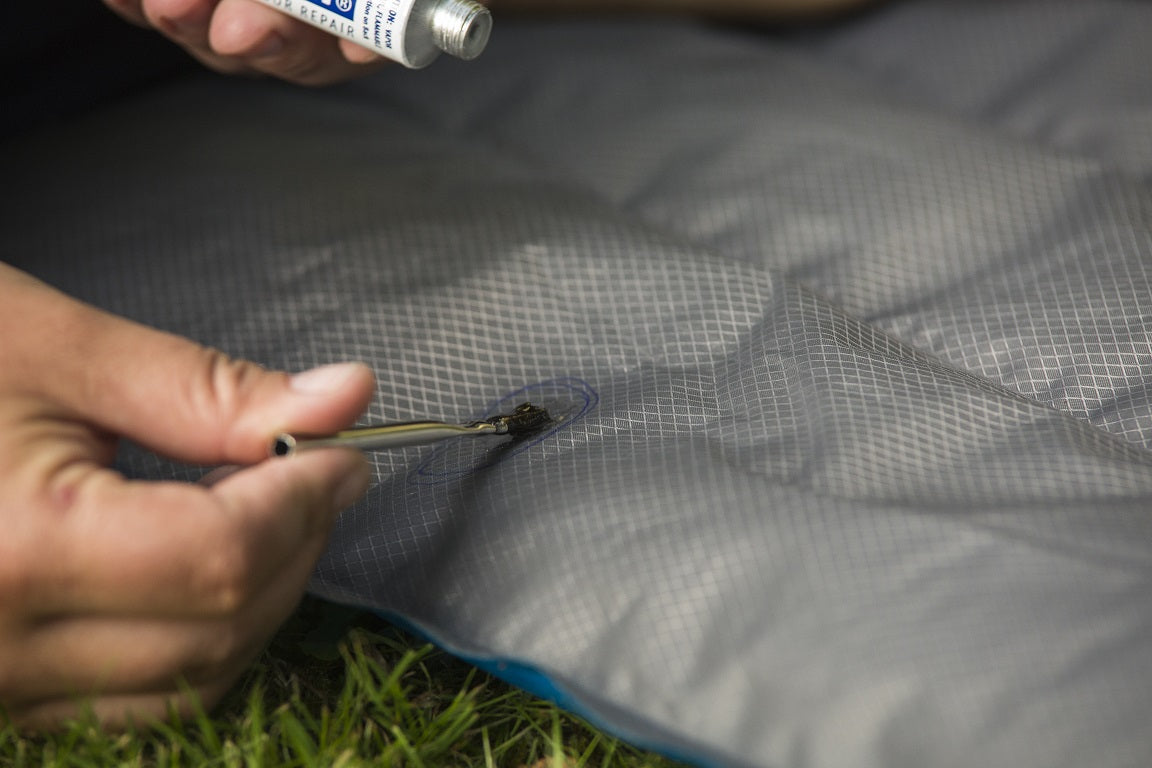
Apply the Patch
 Now it's time to apply the patch. Carefully follow the instructions on your patch kit or adhesive to apply the patch over the damaged area. Make sure to press down firmly and smooth out any wrinkles or bubbles. If using an adhesive, allow it to dry completely before inflating the mattress again.
Pro Tip:
For a more secure seal, you can also apply a second patch on the inside of the mattress, covering the initial patch on the outside.
Now it's time to apply the patch. Carefully follow the instructions on your patch kit or adhesive to apply the patch over the damaged area. Make sure to press down firmly and smooth out any wrinkles or bubbles. If using an adhesive, allow it to dry completely before inflating the mattress again.
Pro Tip:
For a more secure seal, you can also apply a second patch on the inside of the mattress, covering the initial patch on the outside.
Test the Repair
 After the patch has fully dried, it's important to test the repair before using the air mattress again. Inflate the mattress and let it sit for at least an hour to ensure there are no leaks. If you notice any air escaping, you may need to reapply the patch or use a different method of repair.
Main Keyword:
Repair an Air Mattress Seam
Related Keywords:
Air Mattress Repair, Patch Kit, Adhesive, Temporary Fix, Clean and Dry, Properly Apply Patch, Test Repair
After the patch has fully dried, it's important to test the repair before using the air mattress again. Inflate the mattress and let it sit for at least an hour to ensure there are no leaks. If you notice any air escaping, you may need to reapply the patch or use a different method of repair.
Main Keyword:
Repair an Air Mattress Seam
Related Keywords:
Air Mattress Repair, Patch Kit, Adhesive, Temporary Fix, Clean and Dry, Properly Apply Patch, Test Repair