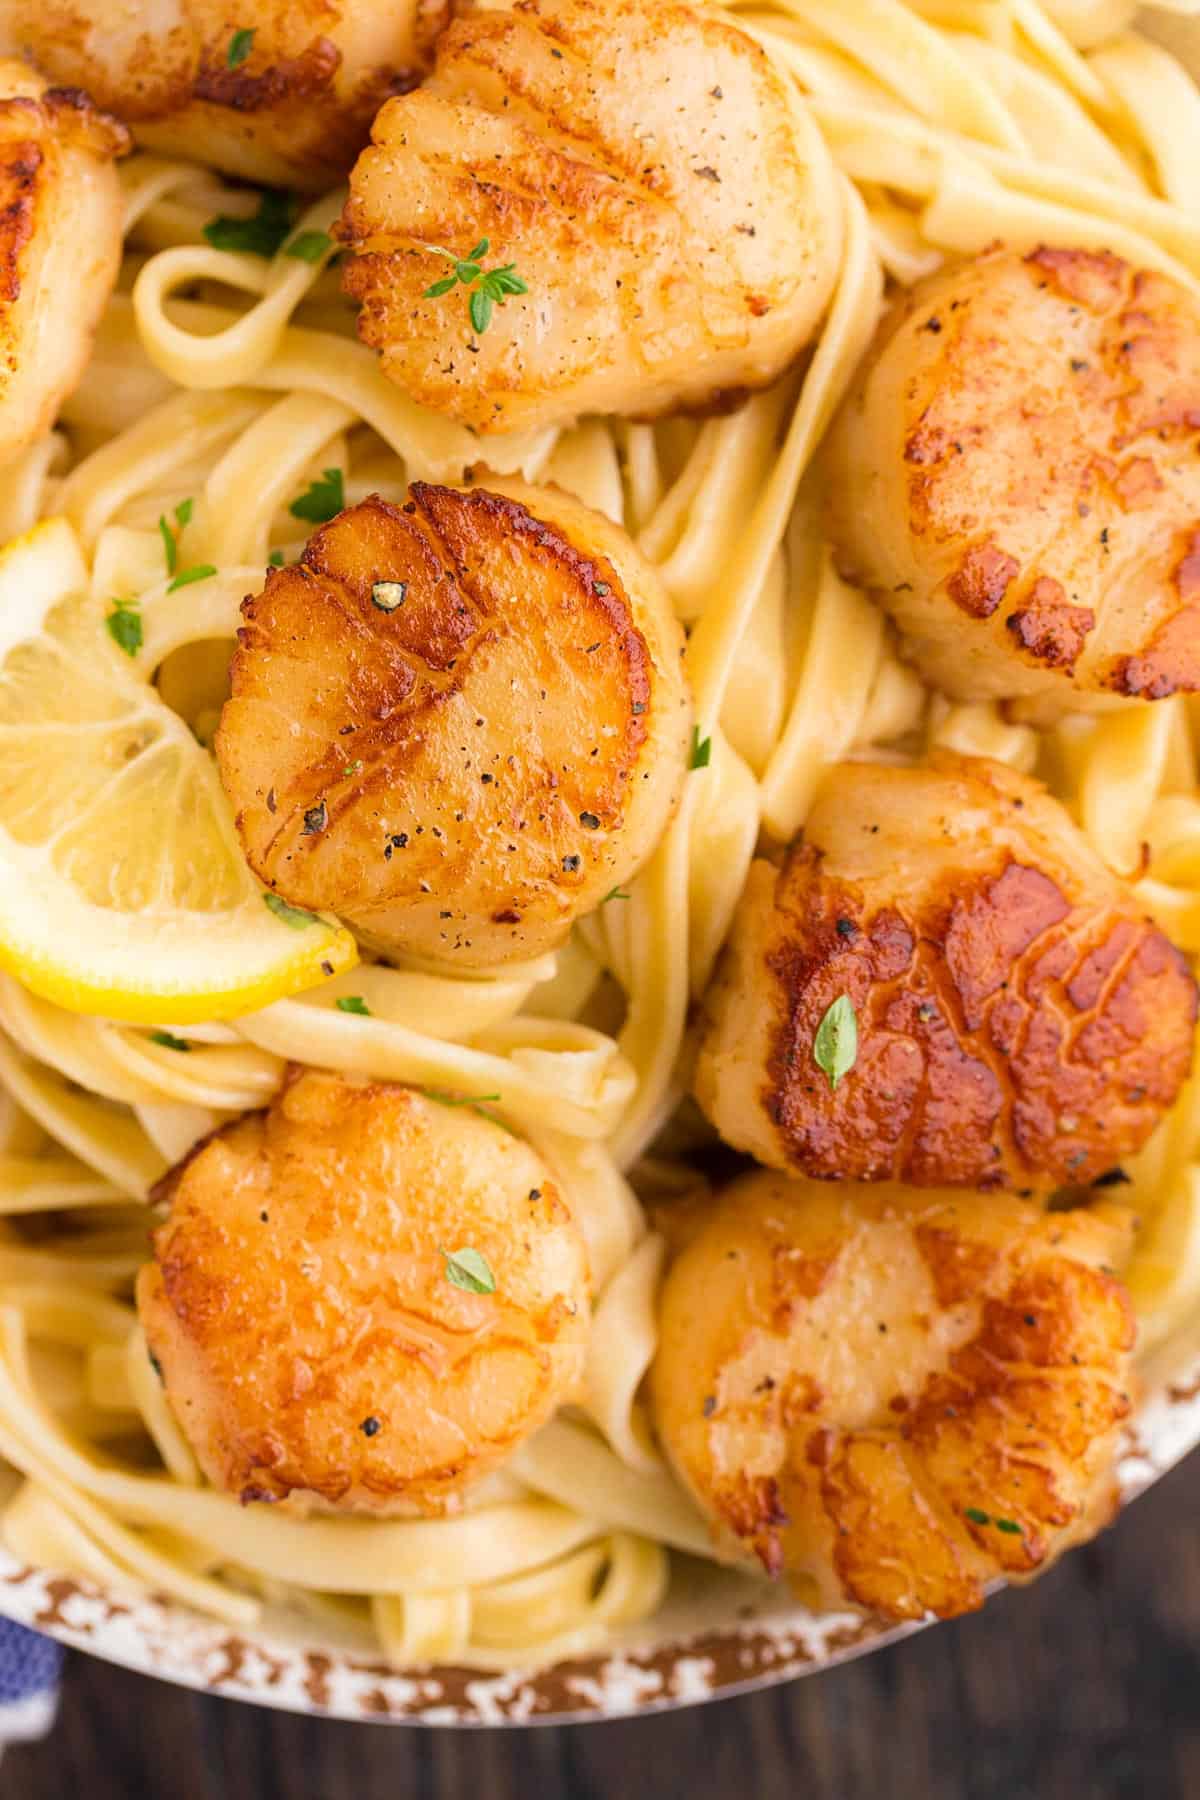
Scallops are a delicious and versatile seafood option that can be prepared in a variety of ways. But what happens when you accidentally get scallops stuck above your kitchen sink? Don't panic! With the right tools and techniques, you can easily remove these pesky scallops and get back to cooking up a storm. In this article, we'll go through the steps of removing scallops above a kitchen sink, as well as some tips and tricks to make the process even easier.How to Remove Scallops Above a Kitchen Sink


How to Remove Scallops Above a Kitchen Sink


Before you begin, make sure to gather all the necessary tools and materials. You'll need a screwdriver, pliers, a putty knife, a damp cloth, and a cleaning solution. Once you have everything ready, follow these steps: Step 1: Start by removing any visible screws or bolts holding the scallops in place. Use a screwdriver to loosen and remove them. If the scallops are attached with adhesive, skip to step 3. Step 2: Use pliers to gently pull the scallops away from the sink. Be careful not to apply too much force, as this could damage the sink or the scallops themselves. Step 3: If the scallops are attached with adhesive, use a putty knife to carefully pry them off. Start at one corner and work your way around, gently lifting the scallops off the sink. Step 4: Once the scallops are removed, use a damp cloth to wipe away any residue or debris left on the sink. You can also use a cleaning solution to ensure the area is completely clean. Step 5: If the sink has any scratches or damage from the scallops, you can use a sink repair kit to fix it. Follow the instructions on the kit carefully to ensure the best results.Removing Scallops Above a Kitchen Sink: A Step-by-Step Guide


Removing Scallops Above a Kitchen Sink: A Step-by-Step Guide


Removing scallops above a kitchen sink is a task that can easily be done on your own. By following the steps outlined above, you can successfully remove the scallops without the need for professional help. This not only saves you time and money, but it also gives you the satisfaction of fixing the issue yourself.DIY: Removing Scallops Above a Kitchen Sink


DIY: Removing Scallops Above a Kitchen Sink


To make the process even easier, here are some tips and tricks to keep in mind: Tip #1: If the scallops are stuck on really tight, try using a hairdryer to heat up the adhesive. This will make it easier to remove the scallops without causing any damage. Tip #2: Use a cleaning solution specifically designed for your sink material to avoid causing any damage or discoloration. Tip #3: If you're having trouble getting a good grip on the scallops with pliers, try wrapping a rubber band around the tips for better grip.Removing Scallops Above a Kitchen Sink: Tips and Tricks


Removing Scallops Above a Kitchen Sink: Tips and Tricks


When it comes to removing scallops above a kitchen sink, there are a few common mistakes that you should avoid: Mistake #1: Using too much force when trying to remove the scallops. This can cause damage to both the sink and the scallops. Mistake #2: Using a cleaning solution that is not suitable for your sink material. This can lead to discoloration or damage. Mistake #3: Not following the instructions on a sink repair kit properly. This can result in an unsuccessful repair.Removing Scallops Above a Kitchen Sink: Common Mistakes to Avoid

Removing Scallops Above a Kitchen Sink: Common Mistakes to Avoid


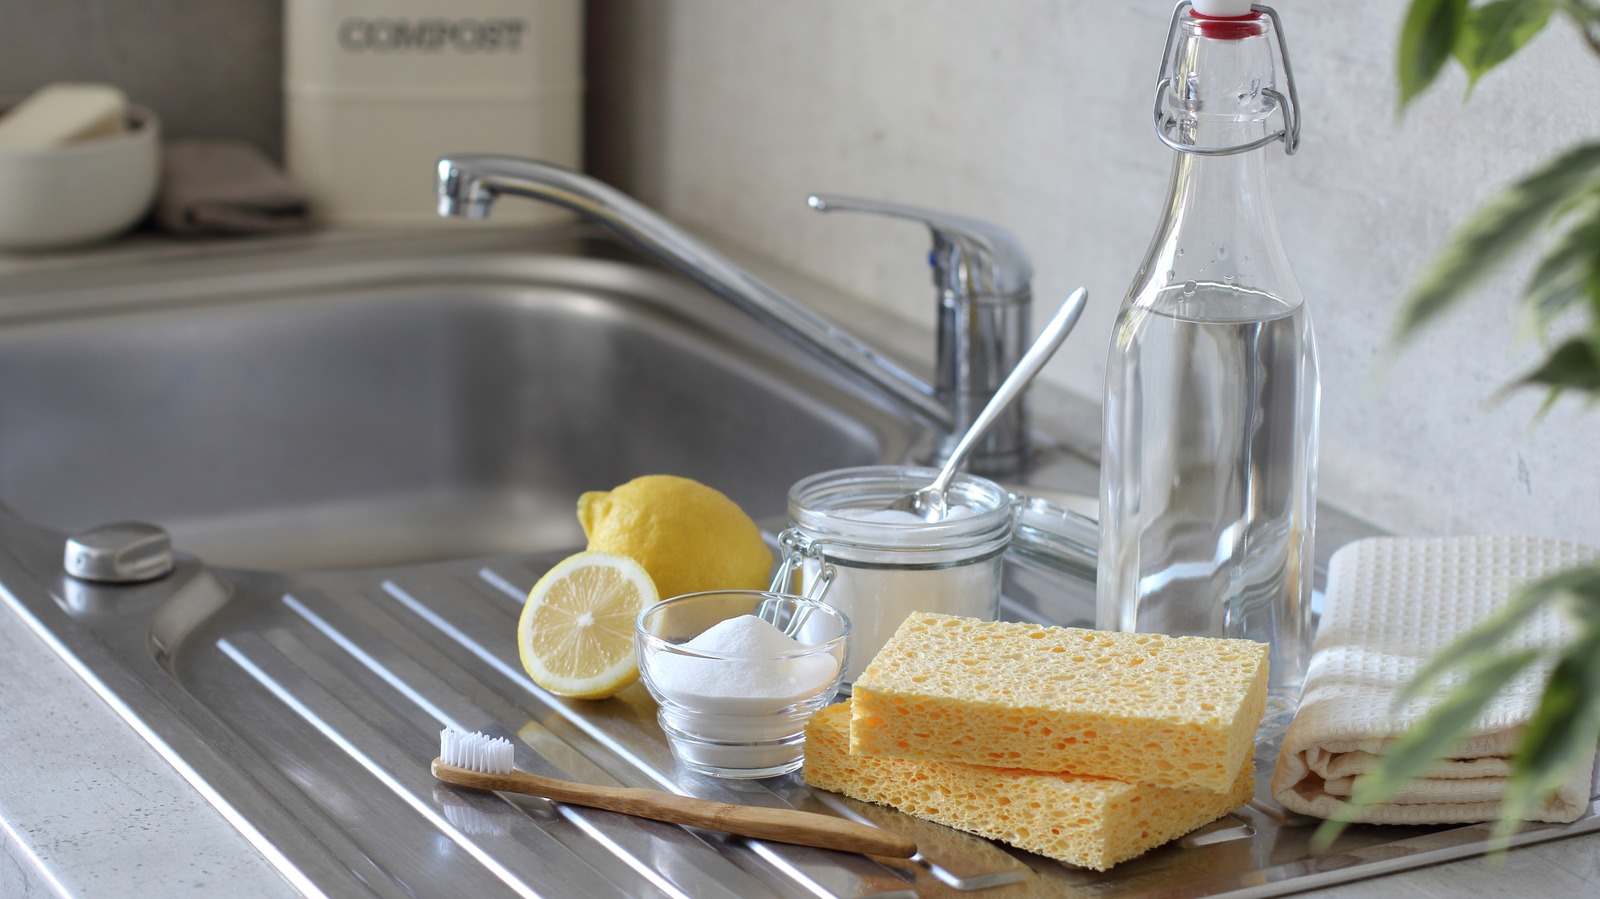
To successfully remove scallops above a kitchen sink, you'll need the following tools: Screwdriver: For loosening and removing any screws or bolts holding the scallops in place. Pliers: For gently pulling the scallops away from the sink. Putty Knife: For prying off scallops that are attached with adhesive. Damp Cloth: For wiping away any residue or debris left on the sink. Cleaning Solution: For thoroughly cleaning the sink area.Removing Scallops Above a Kitchen Sink: Tools You'll Need


Removing Scallops Above a Kitchen Sink: Tools You'll Need

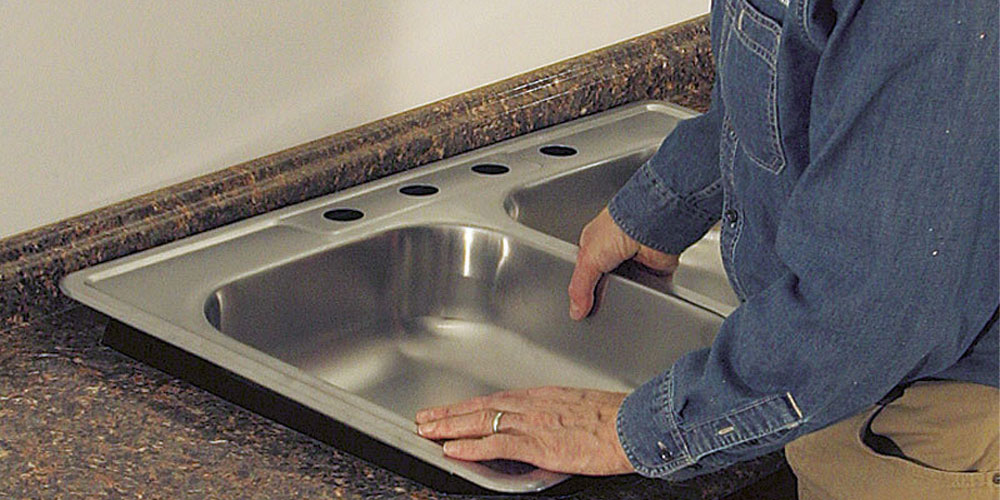
/how-to-install-a-sink-drain-2718789-hero-24e898006ed94c9593a2a268b57989a3.jpg)


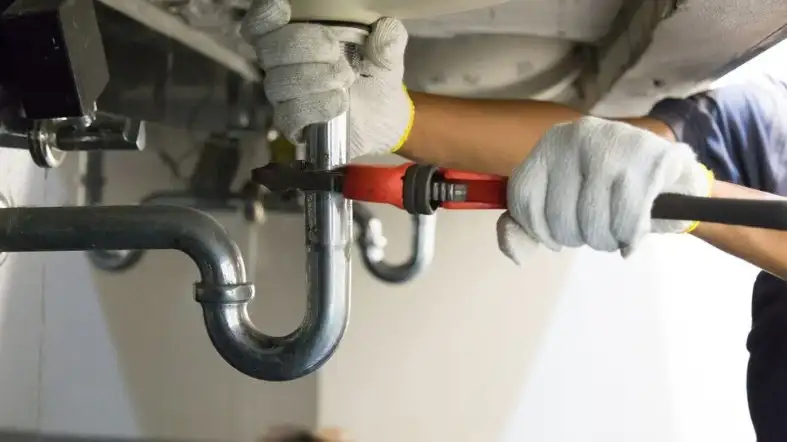
It's important to take safety precautions when removing scallops above a kitchen sink. Here are some things to keep in mind: Safety Precaution #1: Wear protective gloves to avoid any cuts or scrapes while removing the scallops. Safety Precaution #2: Use caution when using tools to avoid causing damage to the sink or yourself. Safety Precaution #3: Make sure to unplug any nearby electrical appliances to avoid any accidents.Removing Scallops Above a Kitchen Sink: Safety Precautions

Removing Scallops Above a Kitchen Sink: Safety Precautions


If the scallops are stuck on really tight and you're having trouble removing them, here are some alternative methods you can try: Method #1: Use a heat gun instead of a hairdryer to heat up the adhesive. Method #2: Soak a cloth in a mixture of equal parts vinegar and water and place it over the scallops for a few minutes. This will help loosen the adhesive. Method #3: Use a plastic putty knife instead of a metal one to avoid causing any damage to the sink.Removing Scallops Above a Kitchen Sink: Alternative Methods

Removing Scallops Above a Kitchen Sink: Alternative Methods


While it is possible to remove scallops above a kitchen sink on your own, you may want to consider hiring a professional for certain situations: When to Hire a Professional: If the scallops are attached with strong adhesive and you're having trouble removing them, it may be best to hire a professional to avoid causing any damage to the sink. When to DIY: If the scallops are held in place with screws or bolts, or if they are easily removable with pliers, you can successfully remove them yourself.Removing Scallops Above a Kitchen Sink: Professional Services vs. DIY


Removing Scallops Above a Kitchen Sink: Professional Services vs. DIY


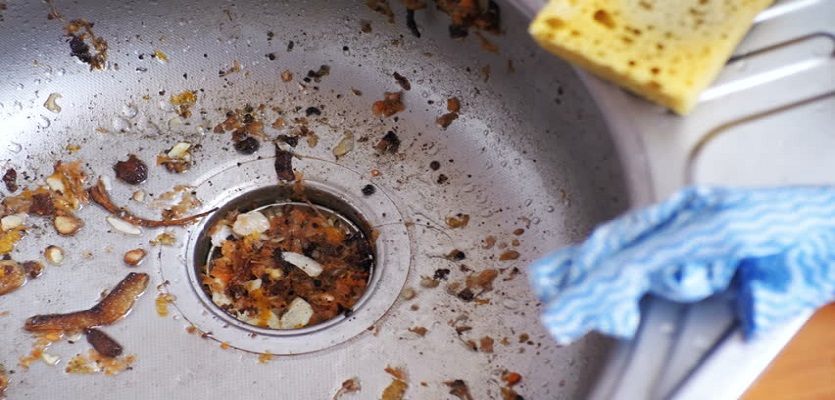
Once you've successfully removed the scallops, make sure to clean up any debris or residue left behind. You can also use a sink repair kit to fix any damage to the sink. Now you can get back to cooking and enjoying your kitchen sink without any pesky scallops in the way! With the right tools and techniques, removing scallops above a kitchen sink can be a quick and easy task. Remember to take safety precautions, follow the steps carefully, and use the tips and tricks provided to make the process even smoother. Whether you choose to hire a professional or DIY, your kitchen sink will be scallop-free in no time!Removing Scallops Above a Kitchen Sink: Final Touches and Clean-Up


Removing Scallops Above a Kitchen Sink: Final Touches and Clean-Up

The Benefits of Removing Scallops Above a Kitchen Sink
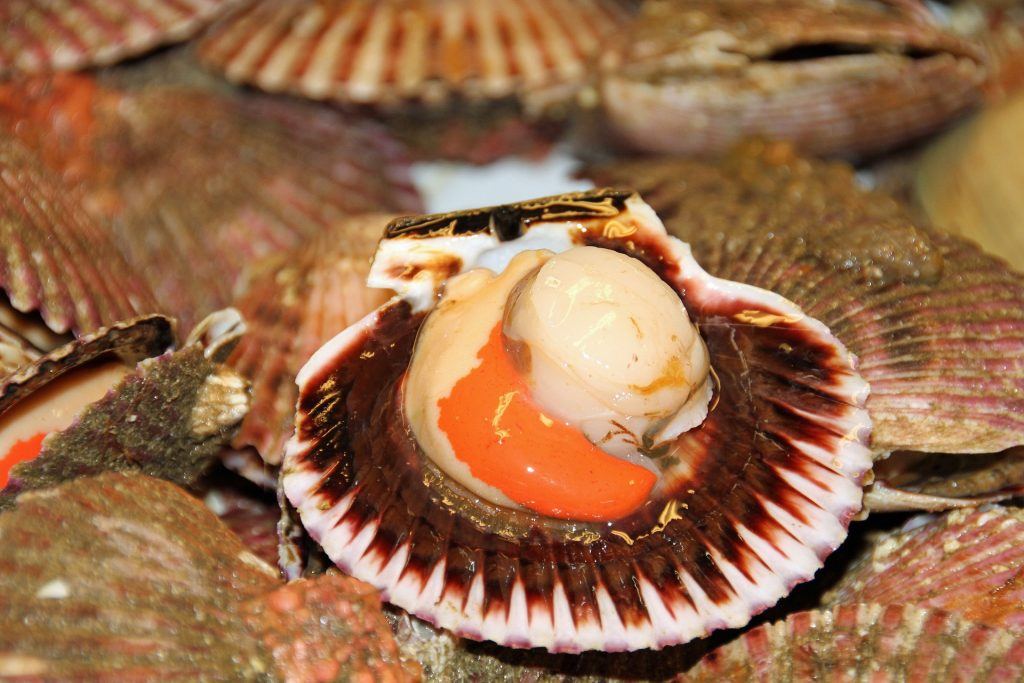
What are Scallops?
 Scallops are a popular design feature in many homes, especially in the kitchen. They are decorative, curved indentations found above kitchen sinks and can add a touch of elegance to the overall design of the room. However, there has been a recent trend of removing scallops above kitchen sinks and opting for a more modern and streamlined look. In this article, we will explore the benefits of removing scallops above a kitchen sink and how it can enhance the design of your home.
1. Creates a Sleeker and Cleaner Look
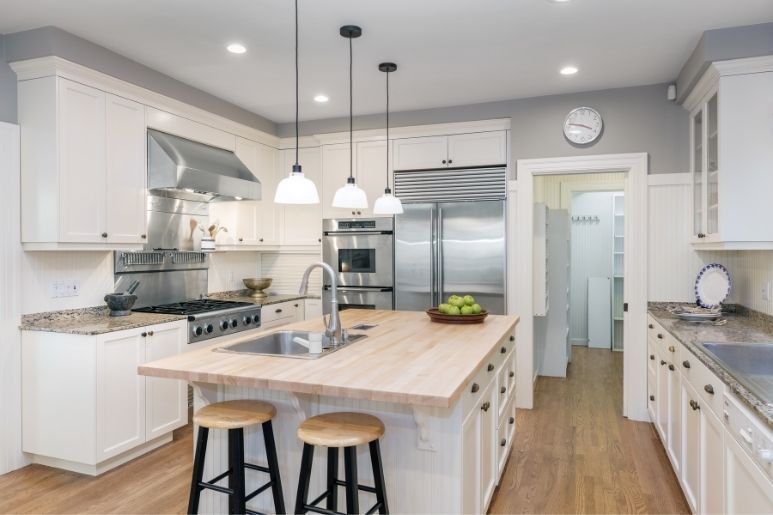
 One of the main reasons for removing scallops above a kitchen sink is to achieve a more modern and sleeker look. Scallops can often make a kitchen appear cluttered and dated, especially if they are heavily adorned with intricate designs. By removing them, you can create a clean and streamlined look that will instantly update the overall aesthetic of your kitchen.
2. Maximizes Counter Space
 Another advantage of removing scallops above a kitchen sink is that it allows for more counter space. In smaller kitchens, every inch of counter space counts. By eliminating the scallops, you can have more room to work with and can even add additional storage or appliances to your kitchen.
3. Increases Functionality
 Scallops can also be a hindrance when it comes to functionality in the kitchen. They can make it difficult to install larger sinks or add additional features, such as a pull-out faucet. By removing them, you can have more flexibility in your kitchen design and make it more functional for your needs.
4. Opens Up the Space
 Removing scallops above a kitchen sink can also help to open up the space and make it appear larger. This is especially beneficial for smaller kitchens or those with limited natural light. Without the scallops breaking up the wall, the kitchen will feel more spacious and airy.
5. Customizable Design Options
 Without the restrictions of scallops above the sink, you have more design options to choose from. You can opt for a simple and modern backsplash, add shelves or artwork, or even install a window above the sink for a beautiful view. The possibilities are endless and you can truly personalize the design to your taste.
Conclusion:
In conclusion, removing scallops above a kitchen sink can have numerous benefits, from creating a sleeker and cleaner look to increasing functionality and customization options. It is a simple and cost-effective way to update the overall design of your kitchen and make it more functional for your needs. Consider removing the scallops in your kitchen and see the difference it can make.
Without the restrictions of scallops above the sink, you have more design options to choose from. You can opt for a simple and modern backsplash, add shelves or artwork, or even install a window above the sink for a beautiful view. The possibilities are endless and you can truly personalize the design to your taste.
Conclusion:
In conclusion, removing scallops above a kitchen sink can have numerous benefits, from creating a sleeker and cleaner look to increasing functionality and customization options. It is a simple and cost-effective way to update the overall design of your kitchen and make it more functional for your needs. Consider removing the scallops in your kitchen and see the difference it can make.