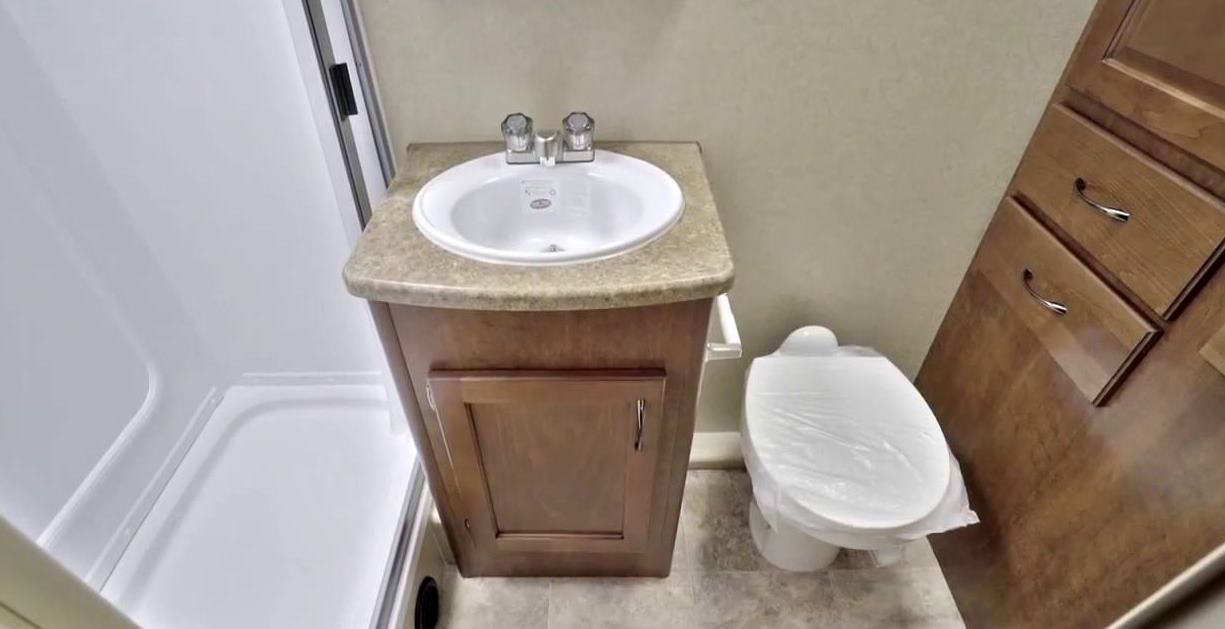
Is your bathroom sink faucet not working properly? The culprit could be a clogged screen. Over time, mineral deposits and debris can build up in the screen, causing reduced water flow. Luckily, removing a bathroom sink faucet screen is a simple task that you can do yourself. Follow these steps to remove the screen and get your faucet working like new again. How to Remove a Bathroom Sink Faucet Screen
Removing a bathroom sink faucet screen is a quick and easy process. Follow these steps to get the job done in no time: Step 1: Turn off the Water Supply Before you begin, make sure to turn off the water supply to your sink. Look for the shut-off valves under the sink and turn them all the way to the right to close them. Step 2: Gather Your Tools You will need a pair of pliers, a flathead screwdriver, and a small bowl or bucket to catch any water that may come out of the faucet. Step 3: Locate the Screen The screen is located at the end of the faucet where the water comes out. It is usually covered by a small cap or aerator. Use your fingers or a flathead screwdriver to remove the cap. Step 4: Remove the Screen Once the cap is removed, you should see the screen. Use your pliers to grip the screen and gently pull it out. If it is stuck, you can use the flathead screwdriver to pry it out. Step 5: Clean the Screen Once the screen is removed, you can clean it by rinsing it with water or soaking it in vinegar to remove any mineral deposits. You can also use an old toothbrush to scrub away any stubborn debris. Step 6: Reinstall the Screen After the screen is clean, you can reinsert it into the faucet. Make sure it is sitting securely in place. Step 7: Reattach the Cap Put the cap or aerator back on the end of the faucet and tighten it with your fingers. Step 8: Turn the Water Supply Back On Finally, turn the shut-off valves back on and test your faucet to make sure the water flow has improved. If the water is still not flowing properly, you may need to repeat the process or seek professional help. Removing Bathroom Sink Faucet Screen: Step-by-Step Guide
Removing a bathroom sink faucet screen is a simple DIY task that anyone can do. With the right tools and a little bit of patience, you can have your faucet working like new again in no time. DIY: Removing Bathroom Sink Faucet Screen
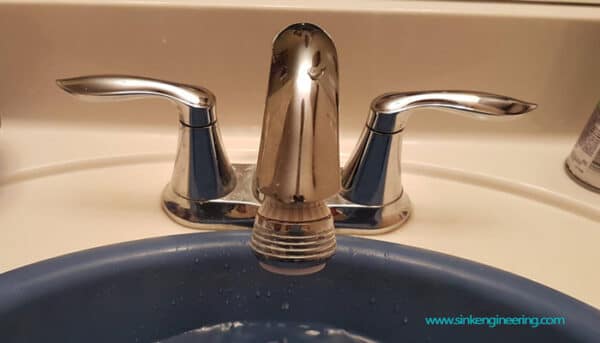
Don't let a clogged faucet slow you down. Removing a bathroom sink faucet screen is a quick and easy process that will have your water flowing freely again in minutes. Quick and Easy Way to Remove Bathroom Sink Faucet Screen
If you are having trouble removing the screen, try using a pair of pliers with a cloth to grip the screen and prevent any scratches. You can also soak the screen in vinegar for a few hours to help loosen any stubborn debris. Removing Bathroom Sink Faucet Screen: Tips and Tricks
There are a few different methods for removing a bathroom sink faucet screen, but using pliers or a flathead screwdriver is the most effective and efficient way to get the job done. The Best Method for Removing Bathroom Sink Faucet Screen
When removing the screen, be careful not to use too much force as it can cause damage to the screen or faucet. Also, make sure to turn off the water supply before attempting to remove the screen to avoid any leaks or mess. Removing Bathroom Sink Faucet Screen: Common Mistakes to Avoid
Follow these simple steps to remove a clogged bathroom sink faucet screen and restore your faucet's water flow: Step 1: Turn off the water supply. Step 2: Gather your tools. Step 3: Locate the screen. Step 4: Remove the screen. Step 5: Clean the screen. Step 6: Reinstall the screen. Step 7: Reattach the cap. Step 8: Turn the water supply back on. Step-by-Step Guide for Removing Bathroom Sink Faucet Screen
To remove a bathroom sink faucet screen, you will need a pair of pliers, a flathead screwdriver, and a small bowl or bucket to catch any water that may come out of the faucet. Removing Bathroom Sink Faucet Screen: Tools You'll Need
Cleaning and reinstalling a bathroom sink faucet screen is important to maintain proper water flow. Make sure to clean the screen regularly and reinstall it securely to prevent future clogs. How to Properly Clean and Reinstall a Bathroom Sink Faucet Screen
Why Removing a Bathroom Sink Faucet Screen is Important for Your House Design

The Importance of Maintaining Your Bathroom Sink
/cleaning-the-aerator-from-deposits--the-girl-hand-washes-a-dirty-limestone-aerator-with-water-1126244919-72868100964f42d5aa564a928371fea5.jpg) The bathroom is one of the most frequently used rooms in a house, and the sink is one of its most essential fixtures. It is where we brush our teeth, wash our hands, and clean our face. As such, it is crucial to keep it functioning properly and looking its best. One often overlooked aspect of maintaining a bathroom sink is the faucet screen. This small component plays a significant role in the overall design and functionality of your sink. Therefore, removing and cleaning it regularly is essential for the overall house design.
The bathroom is one of the most frequently used rooms in a house, and the sink is one of its most essential fixtures. It is where we brush our teeth, wash our hands, and clean our face. As such, it is crucial to keep it functioning properly and looking its best. One often overlooked aspect of maintaining a bathroom sink is the faucet screen. This small component plays a significant role in the overall design and functionality of your sink. Therefore, removing and cleaning it regularly is essential for the overall house design.
The Purpose of a Faucet Screen
 The faucet screen, also known as an aerator, is a small mesh filter located at the end of the faucet. Its main purpose is to control the flow of water and prevent splashing. It also helps to conserve water by mixing air with the water stream. Over time, however, the faucet screen can become clogged with mineral deposits and debris from the water, causing it to lose its effectiveness. This can result in a weaker water flow and splashing, which can be both frustrating and detrimental to the design of your bathroom.
Benefits of Removing the Faucet Screen
 Removing the faucet screen and cleaning it regularly has numerous benefits for your house design. Firstly, it helps to maintain the water flow and prevent splashing, ensuring a smooth and functional sink. Secondly, it allows for a more thorough cleaning of the sink and faucet, which can help to prevent the buildup of grime and bacteria. This is especially important for households with children, as it promotes a hygienic environment. Lastly, removing the faucet screen can also improve the overall aesthetic of your bathroom sink, making it look cleaner and more visually appealing.
How to Remove and Clean the Faucet Screen
 Removing and cleaning the faucet screen is a simple and quick task that can be done with basic household items. Start by turning off the water supply to the sink and placing a towel or cloth over the drain to prevent any small parts from falling in. Next, use pliers to unscrew the aerator from the end of the faucet. Once removed, use a toothbrush or small brush to scrub away any buildup on the screen. Rinse it with water and reattach it to the faucet. Turn on the water supply, and your faucet screen should be good as new.
In conclusion, while it may seem like a small and insignificant component, the faucet screen plays a vital role in the design and functionality of your bathroom sink. By removing and cleaning it regularly, you can ensure a smooth water flow, prevent splashing, and maintain a visually appealing and hygienic bathroom. So don't forget to add this simple task to your regular cleaning routine for a well-maintained and beautiful house design.


















/bathroom-sink-drain-installation-2718843-01-4955fe1f576b447a91abe51c126d220b.jpg)

