Removing a kitchen sink faucet may seem like a daunting task, but with the right tools and some basic knowledge, it can be done in no time. Whether you're looking to update your kitchen or your faucet is in need of repair, learning how to remove it is the first step. In this article, we'll guide you through the process of removing a kitchen sink faucet, specifically the popular Moen brand. So grab your tools and let's get started!How to Remove a Kitchen Sink Faucet


How to Remove a Kitchen Sink Faucet


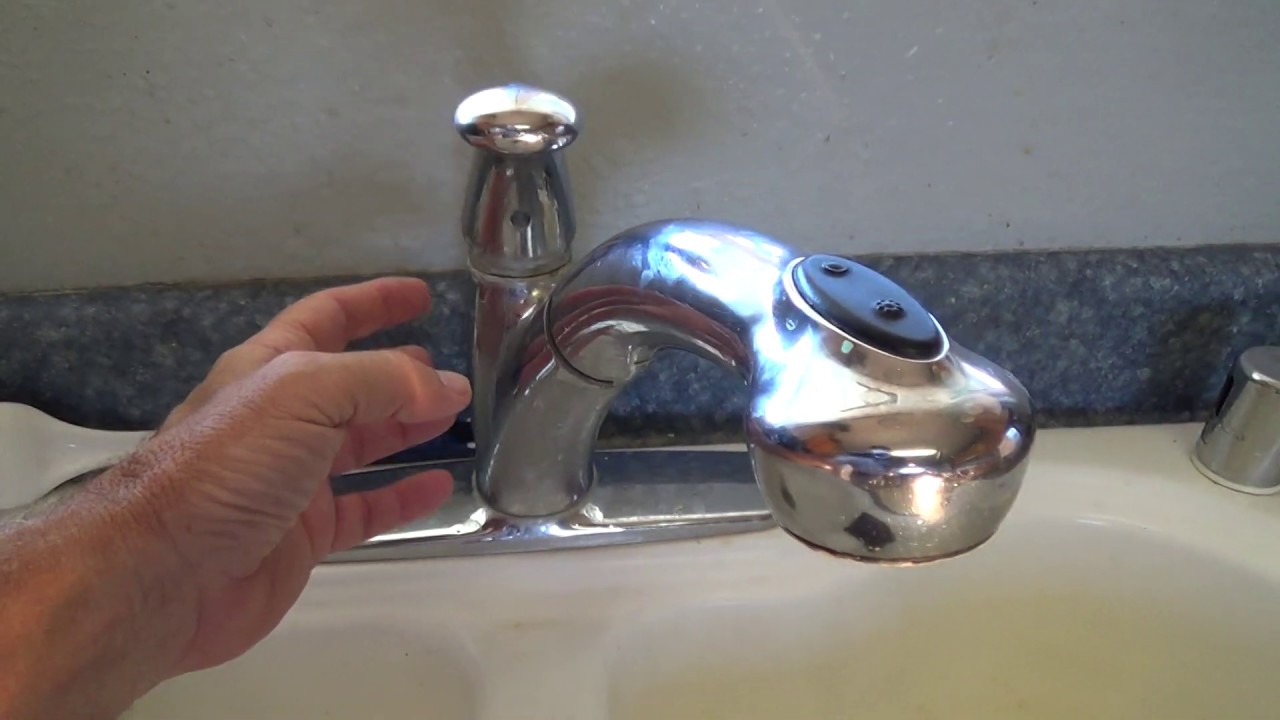


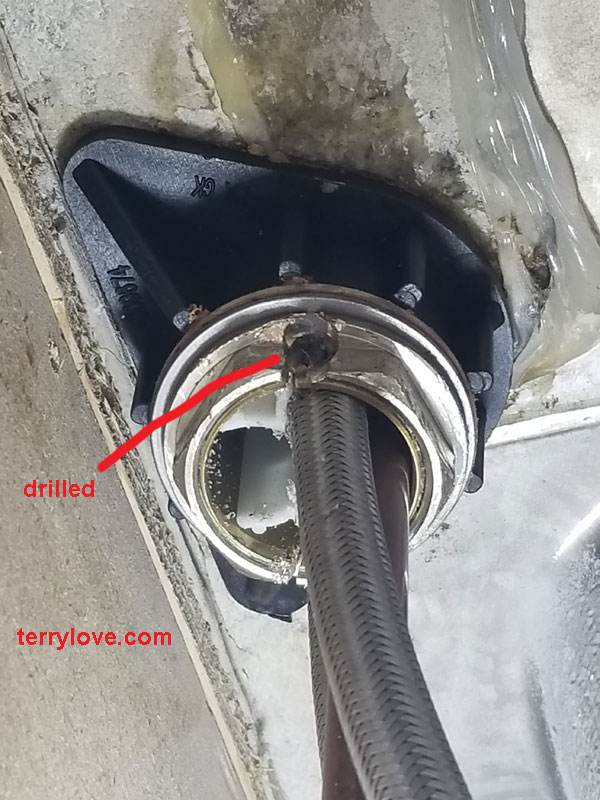
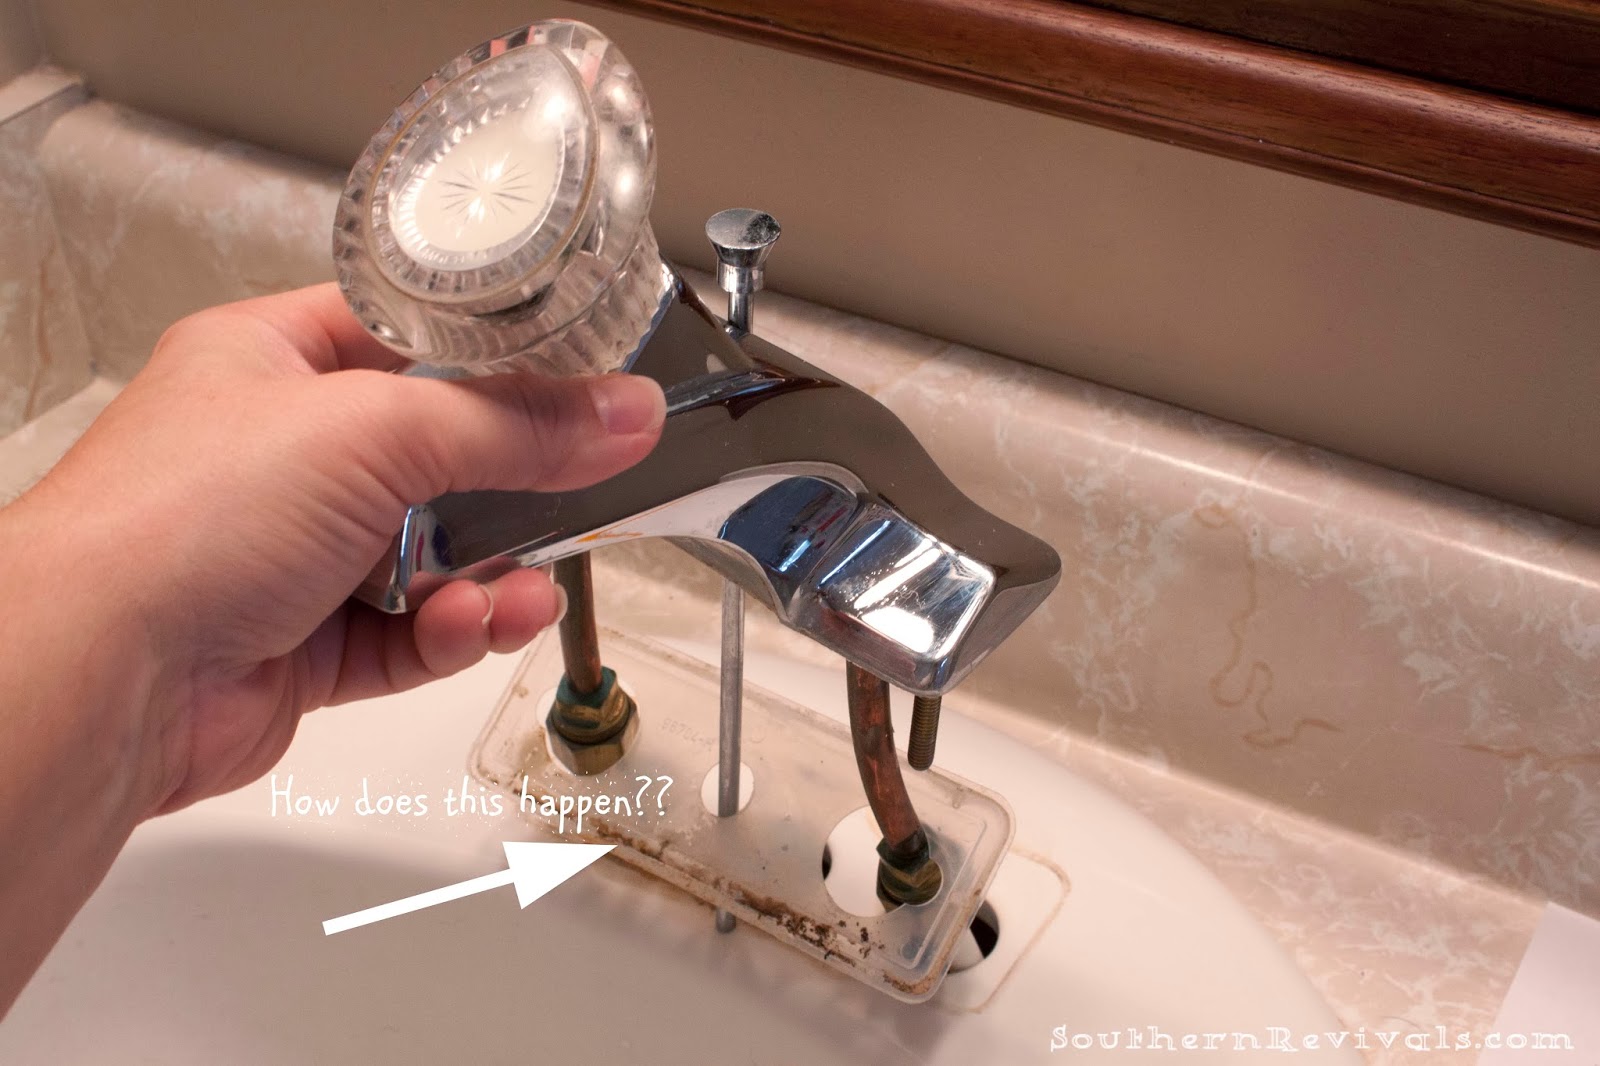
Moen is a well-known and trusted brand for kitchen sink faucets, with a variety of styles and options to choose from. But before you can install a new one, you'll need to remove the old one. Here's how: 1. Turn off the water supply: Before you start any work, make sure to turn off the water supply to your kitchen sink. This can usually be done by turning off the water valves located under the sink. 2. Gather your tools: For this project, you'll need a few tools including an adjustable wrench, pliers, screwdriver, and possibly a basin wrench. 3. Remove the handle: Using a screwdriver, remove the screw that holds the handle in place. Once the screw is removed, you should be able to easily lift off the handle. 4. Remove the spout: If your faucet has a separate spout, use a wrench or pliers to loosen and remove it from the base. 5. Loosen the mounting nuts: Underneath the sink, you'll find mounting nuts that hold the faucet in place. Use an adjustable wrench to loosen and remove these nuts. 6. Disconnect the water lines: With the mounting nuts removed, you can now disconnect the water lines from the faucet. Use pliers if necessary to loosen any stubborn connections. 7. Remove the old faucet: Once all the connections have been disconnected, you should be able to easily lift the old faucet out of the sink.How to Remove a Moen Kitchen Sink Faucet


How to Remove a Moen Kitchen Sink Faucet


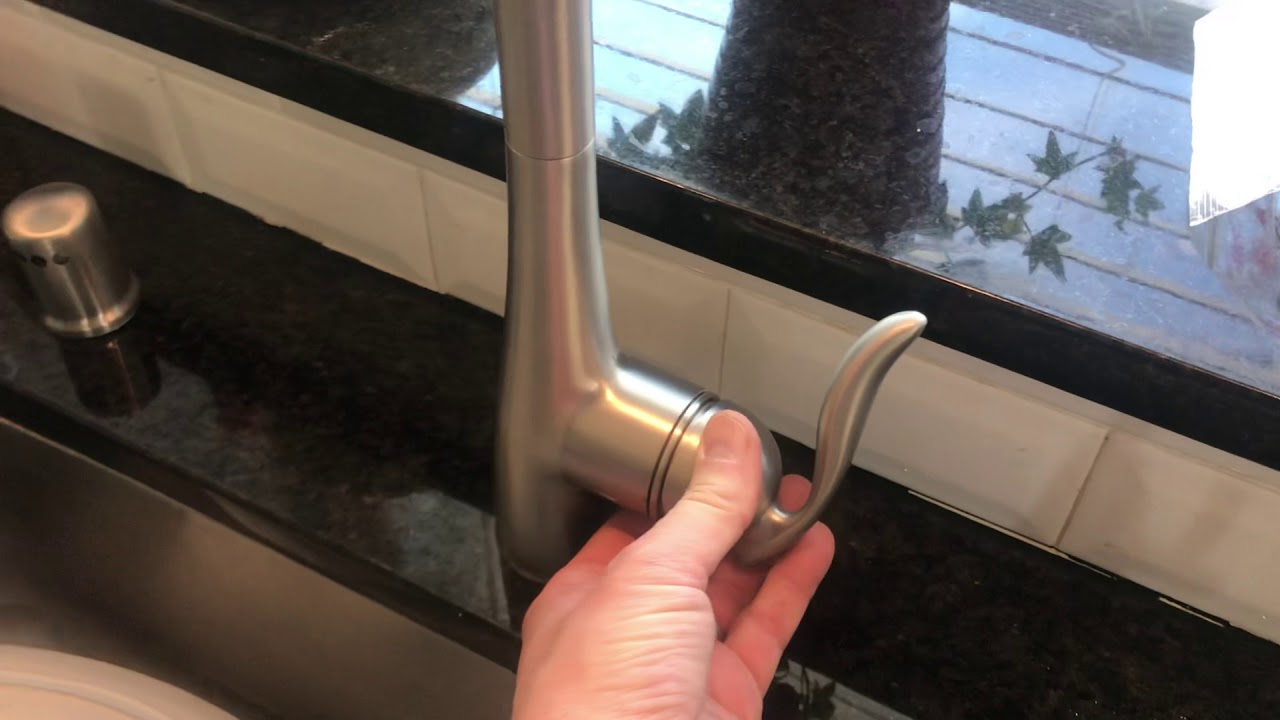


Now that you have a general idea of how to remove a Moen kitchen sink faucet, let's break it down into a step-by-step guide. Step 1: Gather your tools and turn off the water supply. Step 2: Remove the handle by unscrewing the screw that holds it in place. Step 3: If the faucet has a separate spout, remove it by loosening and pulling it off the base. Step 4: Use an adjustable wrench to loosen and remove the mounting nuts underneath the sink. Step 5: Disconnect the water lines from the faucet using pliers if necessary. Step 6: Lift the old faucet out of the sink.Step-by-Step Guide to Removing a Kitchen Sink Faucet


Step-by-Step Guide to Removing a Kitchen Sink Faucet


Removing a Moen kitchen sink faucet can be a straightforward process, but here are a few tips and tricks to make it even easier: - Before starting, take a picture of the faucet and its connections. This will serve as a reference when installing the new one. - If you're having trouble loosening any connections, try using a penetrating oil to help break them free. - Use a basin wrench to remove hard-to-reach mounting nuts. - Place a towel or cloth in the sink to prevent any small parts from falling into the drain.Removing a Moen Kitchen Sink Faucet: Tips and Tricks

Removing a Moen Kitchen Sink Faucet: Tips and Tricks


Removing a kitchen sink faucet is a great DIY project for homeowners looking to update their kitchen. Not only will you save money by doing it yourself, but you'll also gain valuable knowledge and skills. Follow our guide and you'll have your old faucet removed in no time!DIY: Removing a Kitchen Sink Faucet


DIY: Removing a Kitchen Sink Faucet


If you're still feeling unsure about removing your Moen kitchen sink faucet, don't worry. We've got you covered with this comprehensive guide that breaks down each step and provides additional tips and tricks. With this guide, you'll have your old faucet removed like a pro.Removing a Moen Kitchen Sink Faucet: A Comprehensive Guide

Removing a Moen Kitchen Sink Faucet: A Comprehensive Guide

Removing a kitchen sink faucet requires a few basic tools. Here's a list of what you'll need: - Adjustable wrench - Pliers - Screwdriver - Basin wrench (optional)Tools You'll Need to Remove a Kitchen Sink Faucet


Tools You'll Need to Remove a Kitchen Sink Faucet


While removing a kitchen sink faucet is a fairly simple process, there are some common mistakes that can be easily avoided: - Not turning off the water supply before starting. - Forgetting to take a picture of the connections before removing the old faucet. - Using the wrong tools, which can damage the faucet or sink. - Not placing a towel or cloth in the sink to catch small parts.Removing a Kitchen Sink Faucet: Common Mistakes to Avoid
Removing a Kitchen Sink Faucet: Common Mistakes to Avoid


As with any DIY project, it's important to take precautions to avoid damaging your sink. Here are some tips to help you remove your Moen kitchen sink faucet without causing any damage: - Use a basin wrench for hard-to-reach mounting nuts to avoid scratching the sink. - Be gentle when removing the faucet to avoid any accidental damage. - If you're unsure about how to remove any connections, refer to the manufacturer's instructions or seek professional help.How to Remove a Moen Kitchen Sink Faucet Without Damaging Your Sink

How to Remove a Moen Kitchen Sink Faucet Without Damaging Your Sink


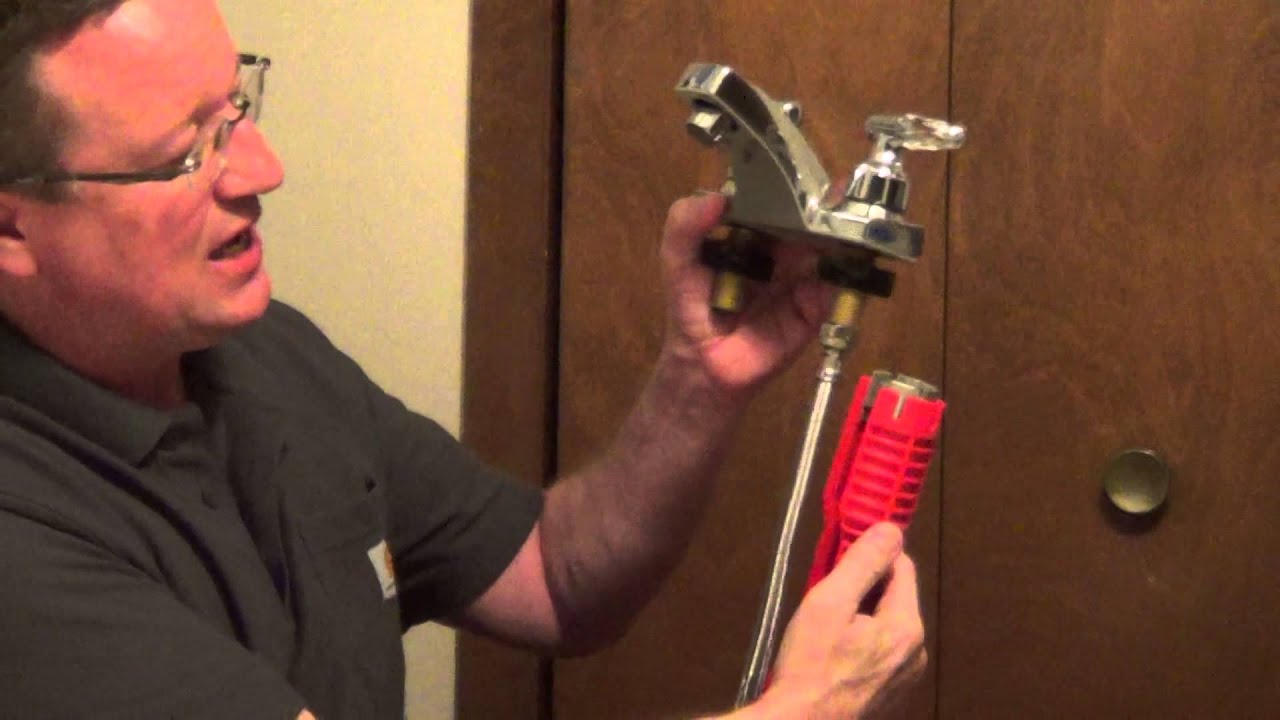
If you're a visual learner, we've got you covered. Check out this step-by-step video tutorial on how to remove a kitchen sink faucet. With this visual guide, you'll be able to confidently remove your Moen kitchen sink faucet in no time.Step-by-Step Video Tutorial: Removing a Kitchen Sink Faucet

Step-by-Step Video Tutorial: Removing a Kitchen Sink Faucet


Why It's Important to Remove Your Kitchen Sink Faucet Moen

The Role of Faucets in House Design
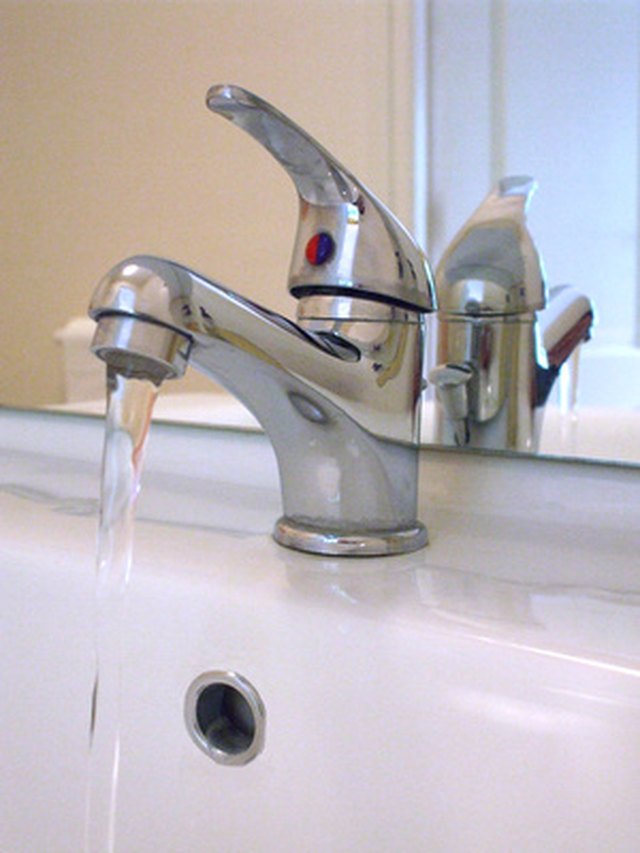
 When it comes to house design, the kitchen sink is often considered the heart of the home. It's where we wash our hands, clean our dishes, and fill up pots for cooking. And the faucet is the unsung hero that makes all of these tasks possible. However, over time, even the best faucets can wear out and need to be replaced. This is especially true for the kitchen sink faucet, as it is used more frequently than any other faucet in the house. In this article, we will discuss the importance of removing your kitchen sink faucet Moen and how it can improve your overall house design.
Improves Functionality
 One of the main reasons to remove your kitchen sink faucet Moen is to improve its functionality. As faucets age, they can become clogged with mineral deposits, making it harder for water to flow through. This can result in low water pressure and difficulty in completing everyday tasks such as washing dishes. By removing your old faucet and replacing it with a new one, you can ensure that your kitchen sink is functioning at its best.
Enhances Aesthetic Appeal
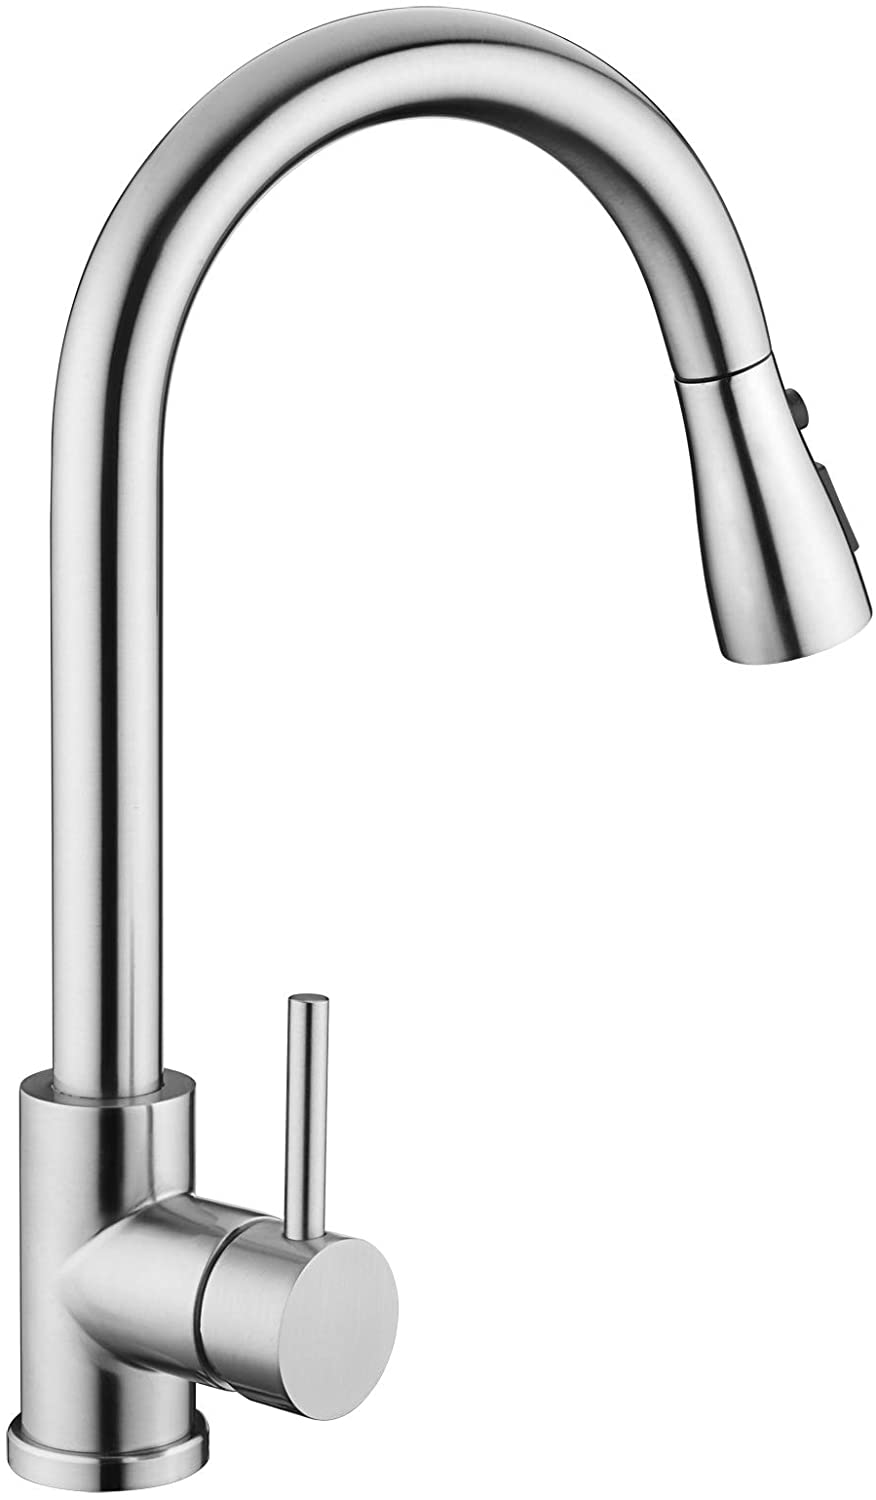
 In addition to functionality, the kitchen sink faucet also plays a significant role in the overall aesthetic appeal of your kitchen. With so many styles and finishes to choose from, replacing your old Moen faucet with a new one can instantly update the look of your kitchen. Whether you prefer a modern, sleek design or a more traditional look, there is a faucet to suit every house design. Plus, a new faucet can add a touch of elegance and sophistication to your kitchen, making it a more inviting space for both you and your guests.
Prevents Leaks and Water Damage
 Another important reason to remove your kitchen sink faucet Moen is to prevent leaks and potential water damage. Over time, the seals and connections of a faucet can wear out, causing leaks. Not only can this lead to an increase in your water bill, but it can also cause damage to your kitchen cabinets and flooring. By regularly replacing your kitchen sink faucet, you can avoid these potential issues and save yourself from costly repairs in the future.
In conclusion,
removing your kitchen sink faucet Moen is an essential aspect of house design. It not only improves functionality and enhances aesthetic appeal, but it also prevents potential leaks and water damage. So, if you notice any signs of wear and tear on your faucet, don't hesitate to replace it with a new one. Your kitchen sink will thank you.
Another important reason to remove your kitchen sink faucet Moen is to prevent leaks and potential water damage. Over time, the seals and connections of a faucet can wear out, causing leaks. Not only can this lead to an increase in your water bill, but it can also cause damage to your kitchen cabinets and flooring. By regularly replacing your kitchen sink faucet, you can avoid these potential issues and save yourself from costly repairs in the future.
In conclusion,
removing your kitchen sink faucet Moen is an essential aspect of house design. It not only improves functionality and enhances aesthetic appeal, but it also prevents potential leaks and water damage. So, if you notice any signs of wear and tear on your faucet, don't hesitate to replace it with a new one. Your kitchen sink will thank you.