Removing a bathroom vanity from the wall may seem like a daunting task, but with the right tools and know-how, it can be a simple DIY project. Whether you're looking to update your bathroom or need to replace a damaged vanity, knowing how to properly remove it from the wall is essential. In this article, we will discuss the top 10 steps to successfully remove a bathroom vanity from the wall.Top 10 MAIN_Remove Bathroom Vanity From Wall
Before we dive into the steps, it's important to understand why you may need to remove a bathroom vanity from the wall. Some common reasons include remodeling, water damage, or simply wanting to upgrade to a new vanity. Whatever your reason may be, it's important to follow these steps to ensure a smooth and successful removal process.Remove Bathroom Vanity From Wall
Removing a bathroom vanity from the wall requires careful planning and execution. Here are the steps you need to follow:How to Remove a Bathroom Vanity From the Wall
Before beginning the removal process, make sure you have all the necessary tools on hand. These may include a screwdriver, hammer, pry bar, utility knife, and a drill. It's important to have the right tools to avoid damaging the vanity or the wall.Step 1: Gather the Necessary Tools
If your vanity has a sink, you will need to shut off the water supply before continuing. This will prevent any water damage and make it easier to remove the sink and faucet later on.Step 2: Shut Off the Water Supply
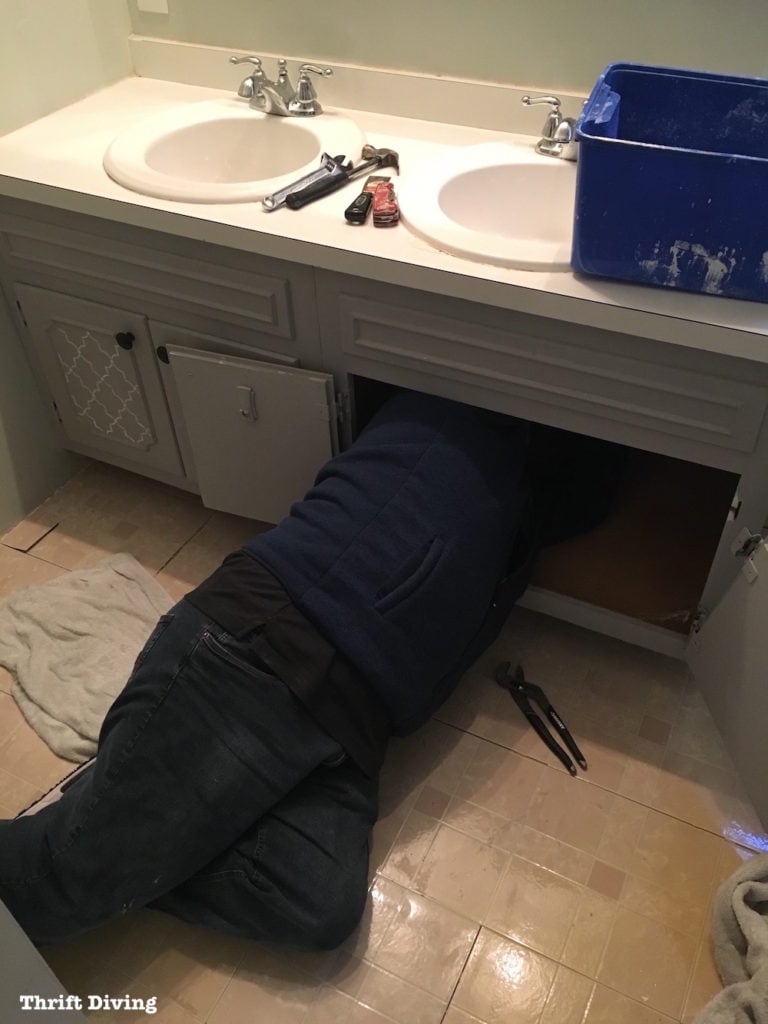
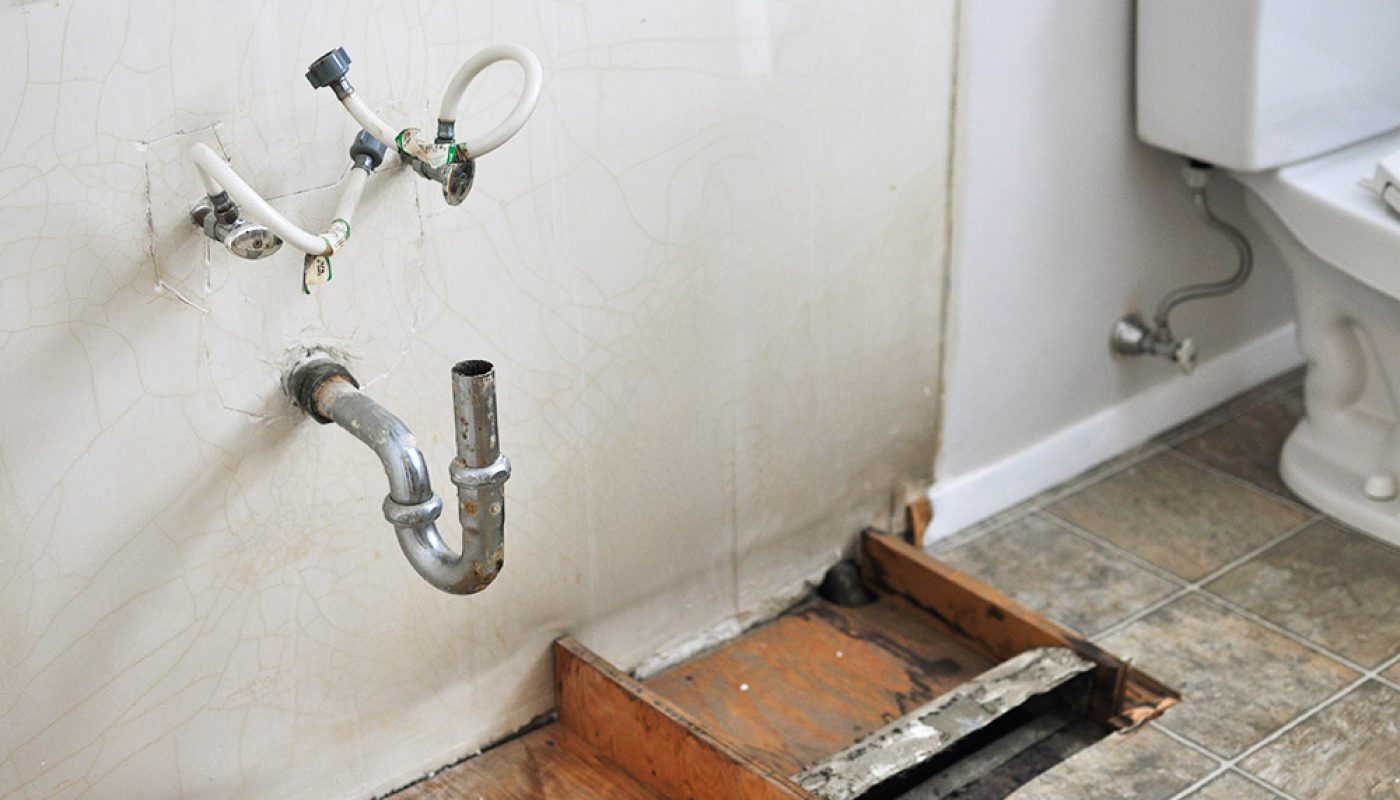
Using a wrench, disconnect the plumbing from the sink. This may include the water supply lines and the drain pipe. Place a bucket under the sink to catch any remaining water in the pipes.Step 3: Disconnect the Plumbing
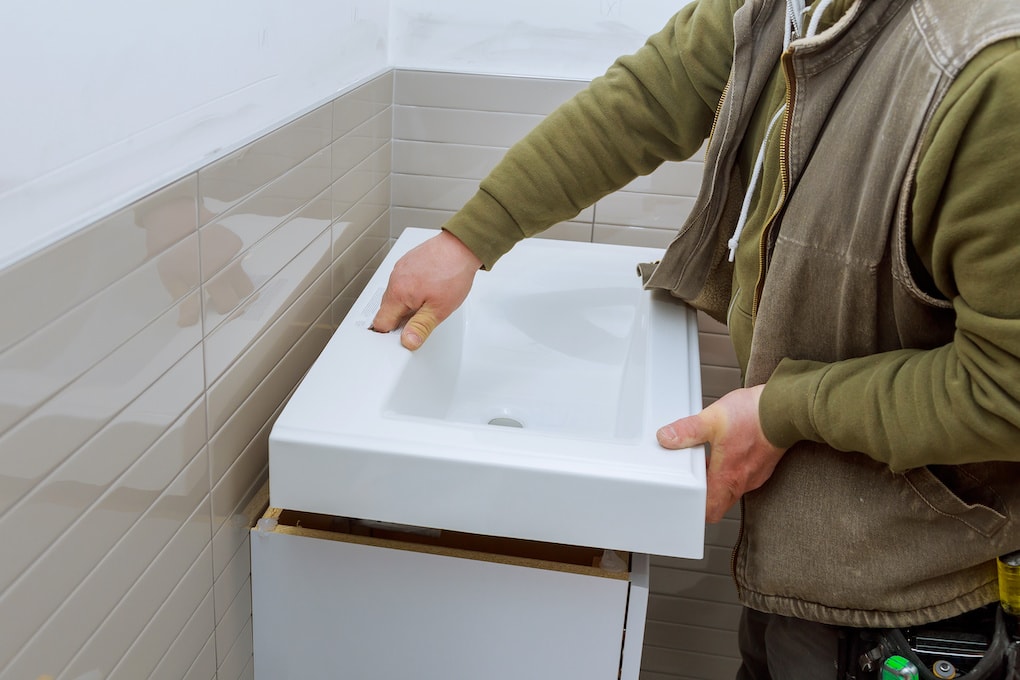
Once the plumbing is disconnected, you can remove the sink and faucet from the vanity. This may require unscrewing or unclipping any brackets or hardware holding them in place.Step 4: Remove the Sink and Faucet
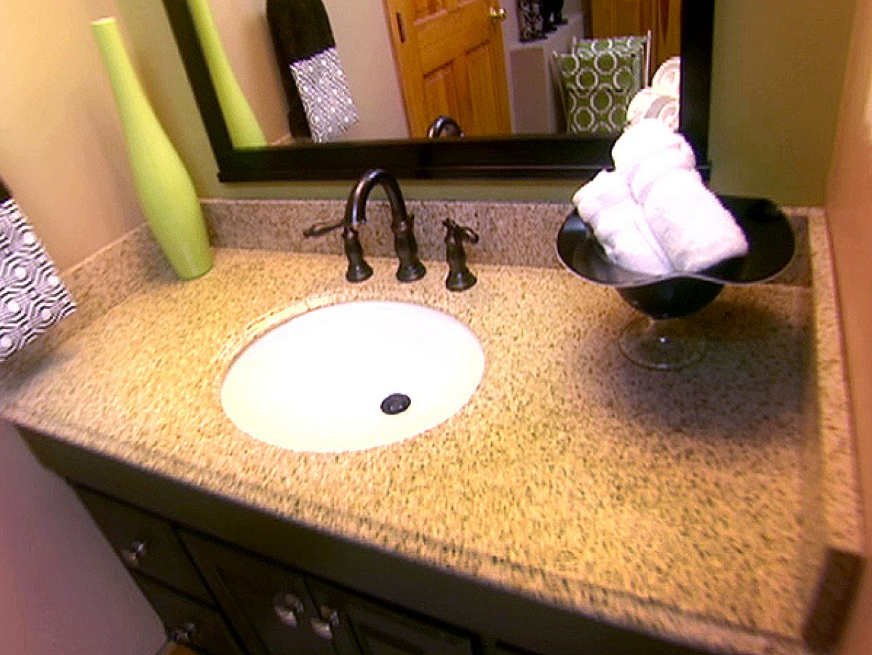
If your vanity has a countertop, you will need to remove it next. This may be attached with screws or adhesive, so use caution when removing it to avoid any damage.Step 5: Remove the Countertop
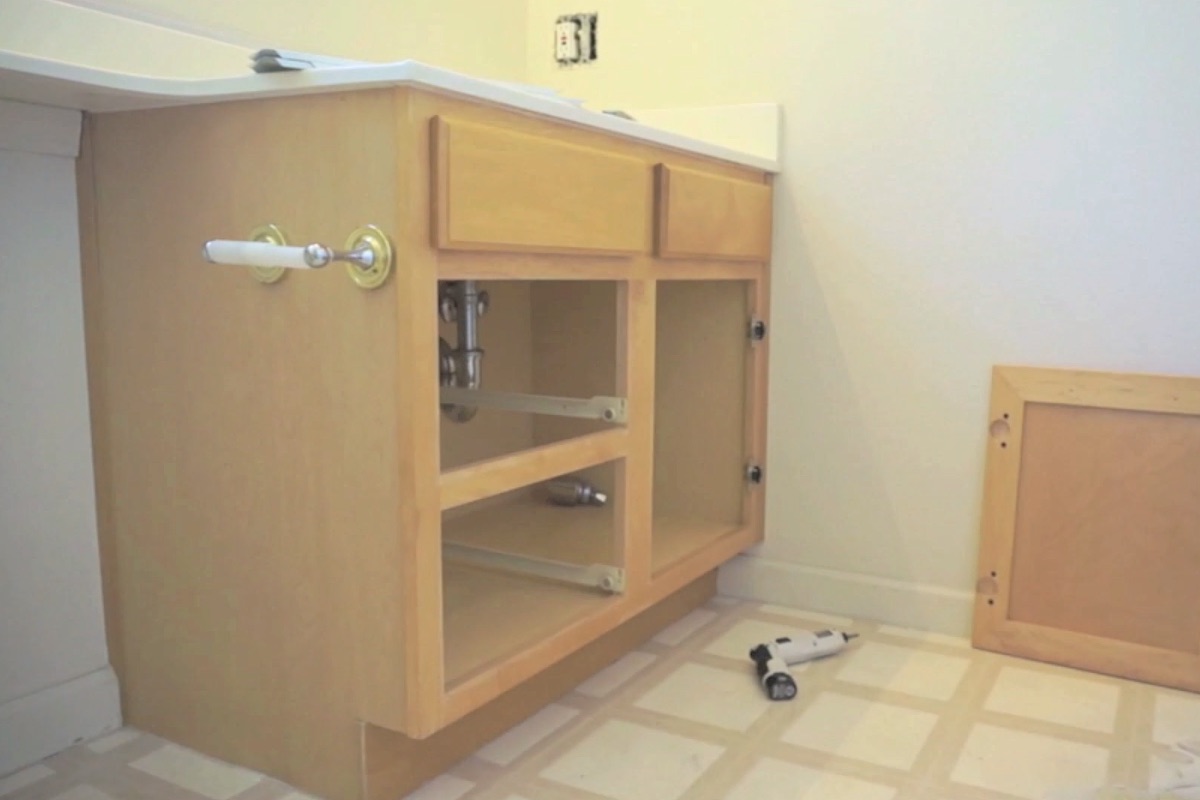
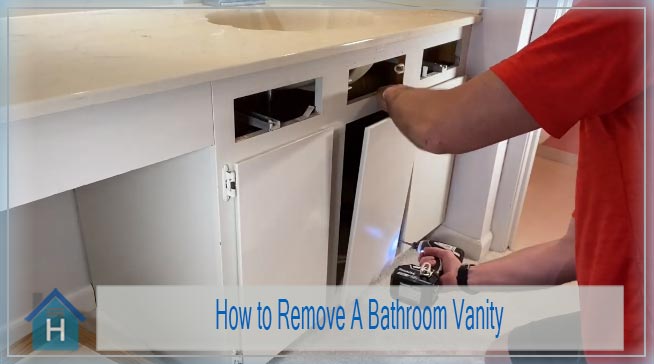
Using a screwdriver, unscrew the hardware holding the doors and drawers in place and remove them. This will make it easier to access the vanity itself.Step 6: Remove the Vanity Doors and Drawers
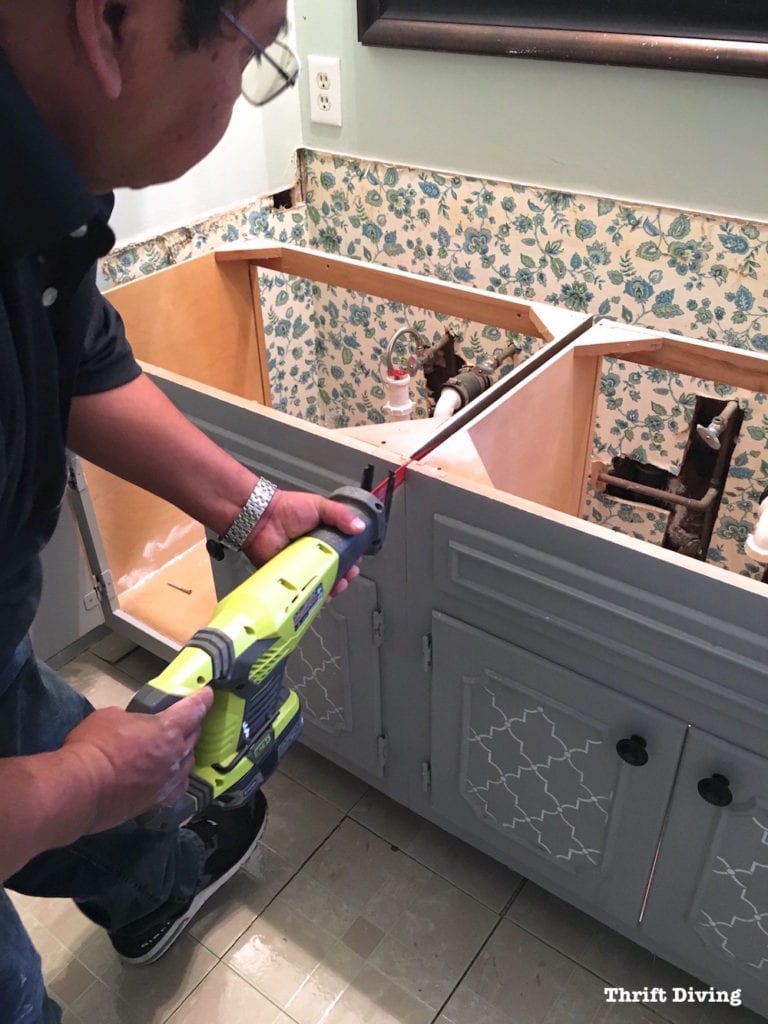
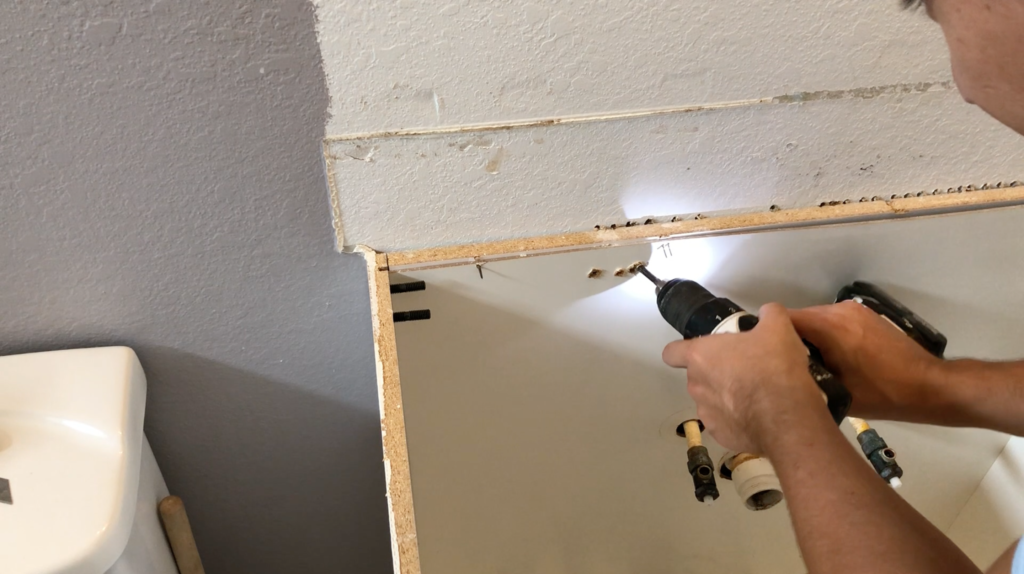
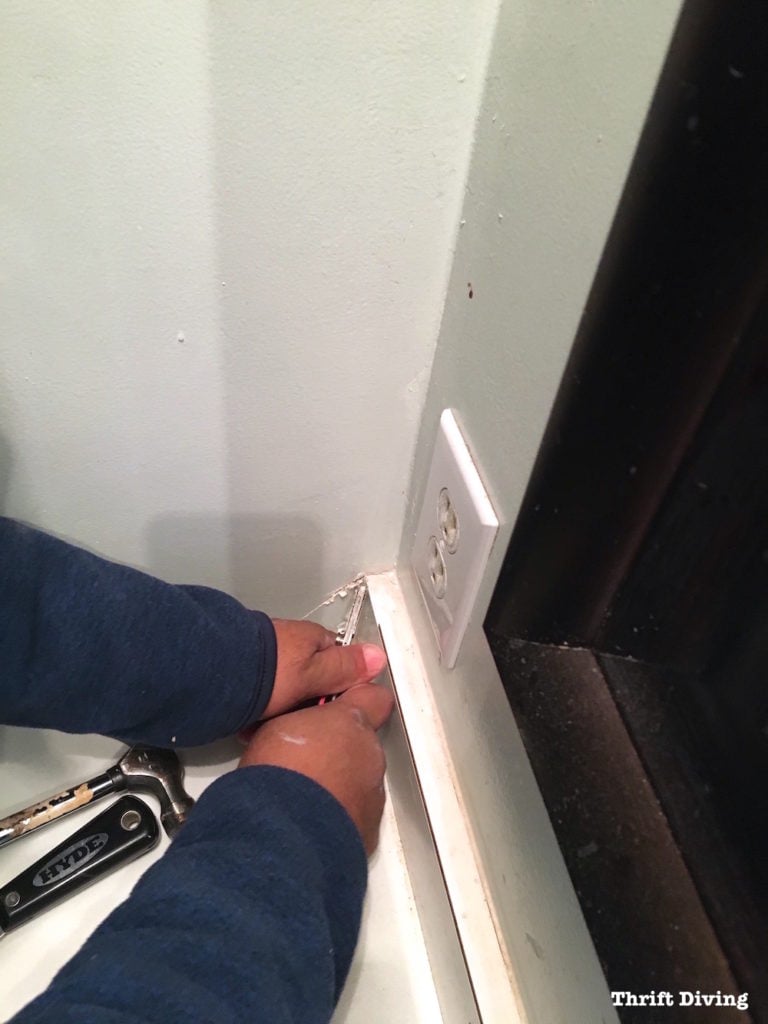
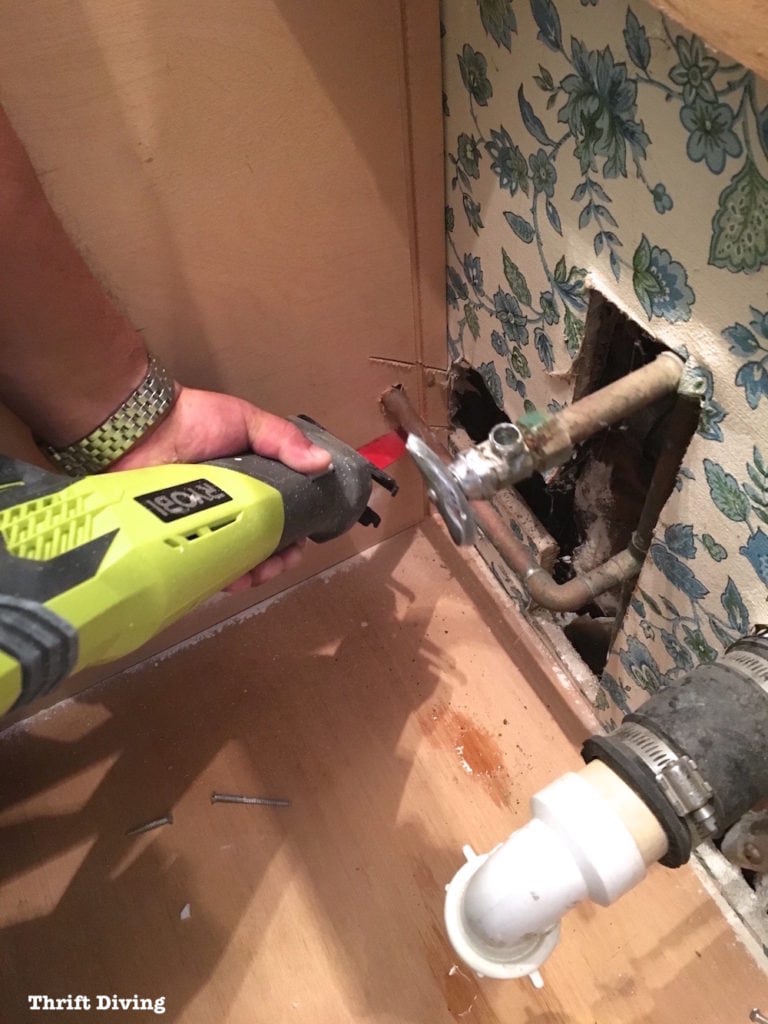
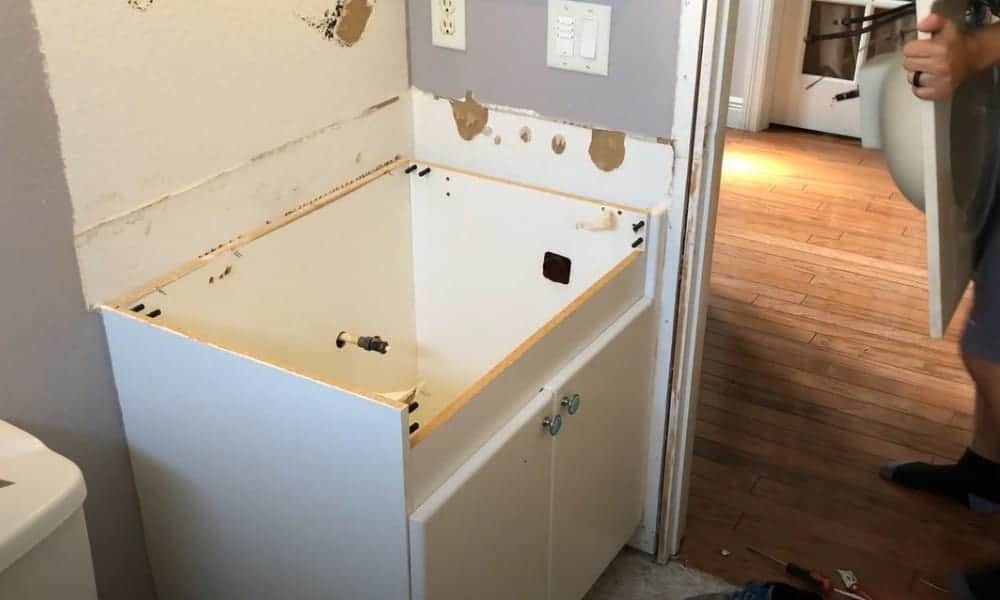
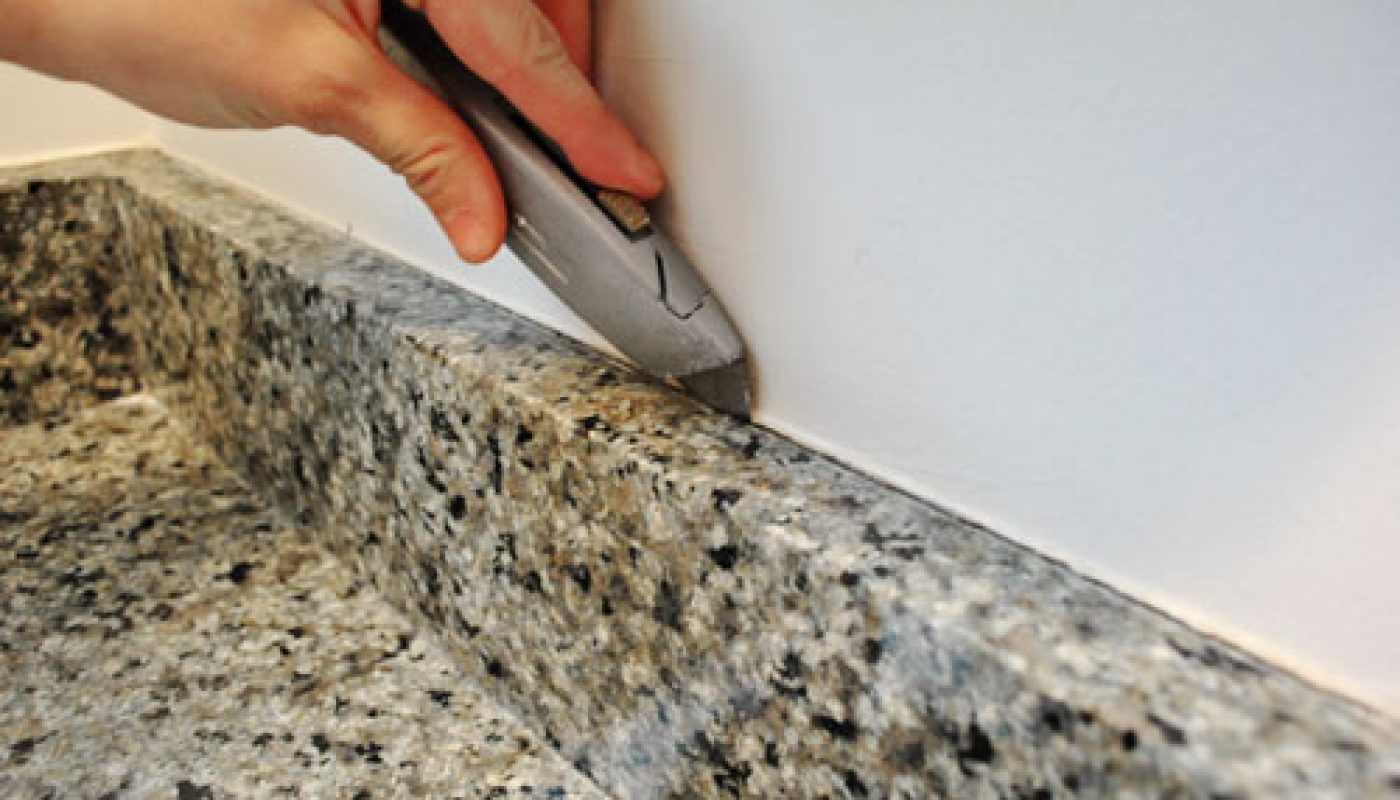
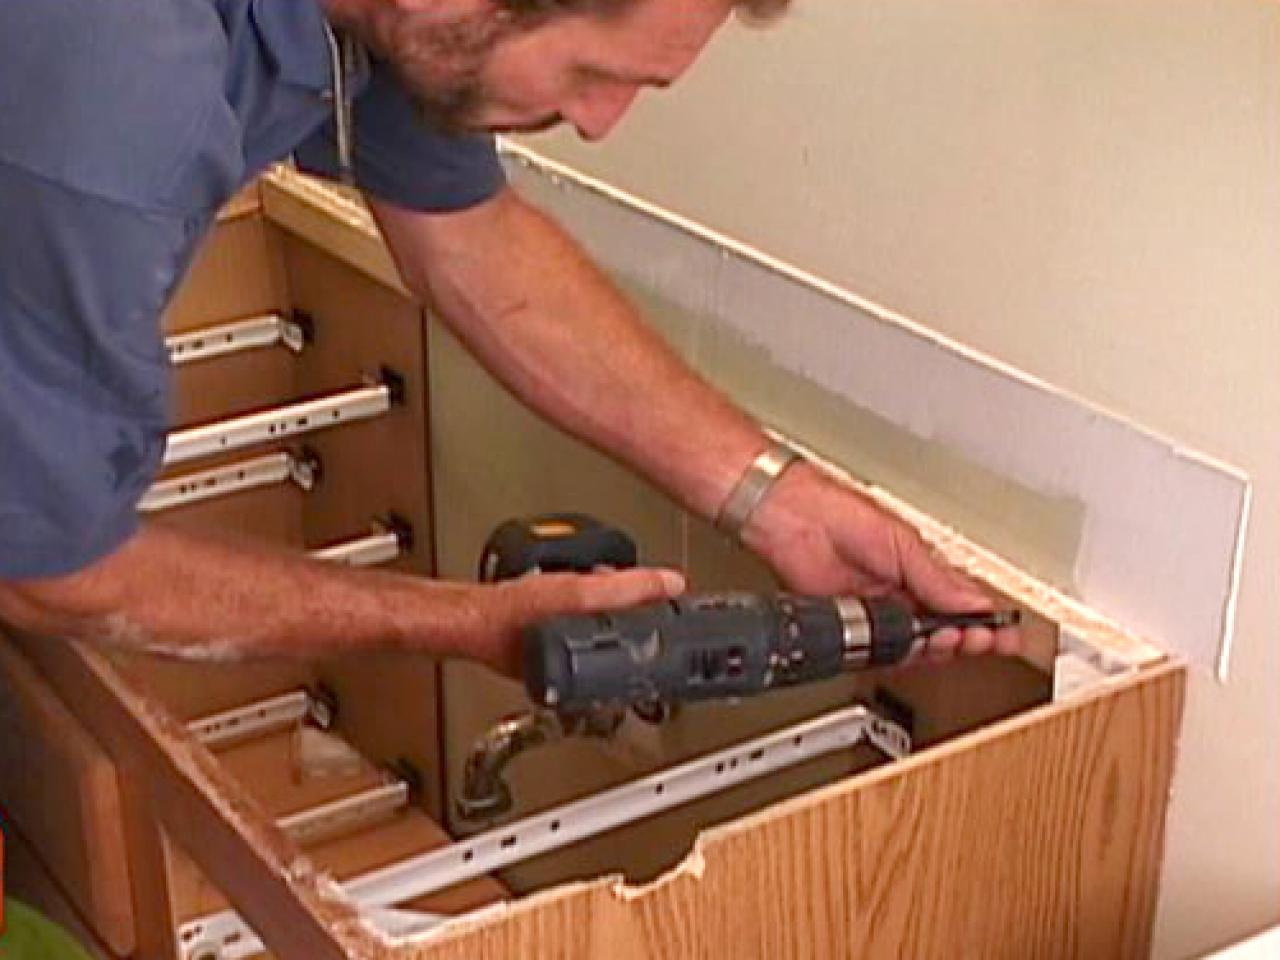
Using a utility knife, cut through any caulk or adhesive holding the vanity to the wall. Then, using a screwdriver or drill, unscrew any screws or bolts attaching the vanity to the wall. If there are no screws, use a pry bar to gently loosen the vanity from the wall.Step 7: Loosen the Vanity From the Wall
Why Removing a Bathroom Vanity from the Wall Can Enhance Your House Design

Revamp Your Bathroom with a Simple Change
 Are you looking for a quick and budget-friendly way to give your bathroom a fresh new look? Removing your old bathroom vanity from the wall can be the perfect solution. Not only does it add a touch of modernity to your space, but it also opens up the room and creates a more spacious and airy feel. Here's why you should consider removing your bathroom vanity from the wall to enhance your house design.
Maximize Space and Improve Flow
 One of the main benefits of removing a bathroom vanity from the wall is the increased space it creates. By eliminating this bulky piece of furniture, you instantly gain more floor space, making your bathroom feel larger and more open. This is especially useful for smaller bathrooms or for those who want to create a more minimalist and spacious design. Without a vanity taking up valuable wall space, you can also improve the flow and functionality of your bathroom, making it easier to move around and access other fixtures.
Related Keyword:
bathroom design
Create a Focal Point
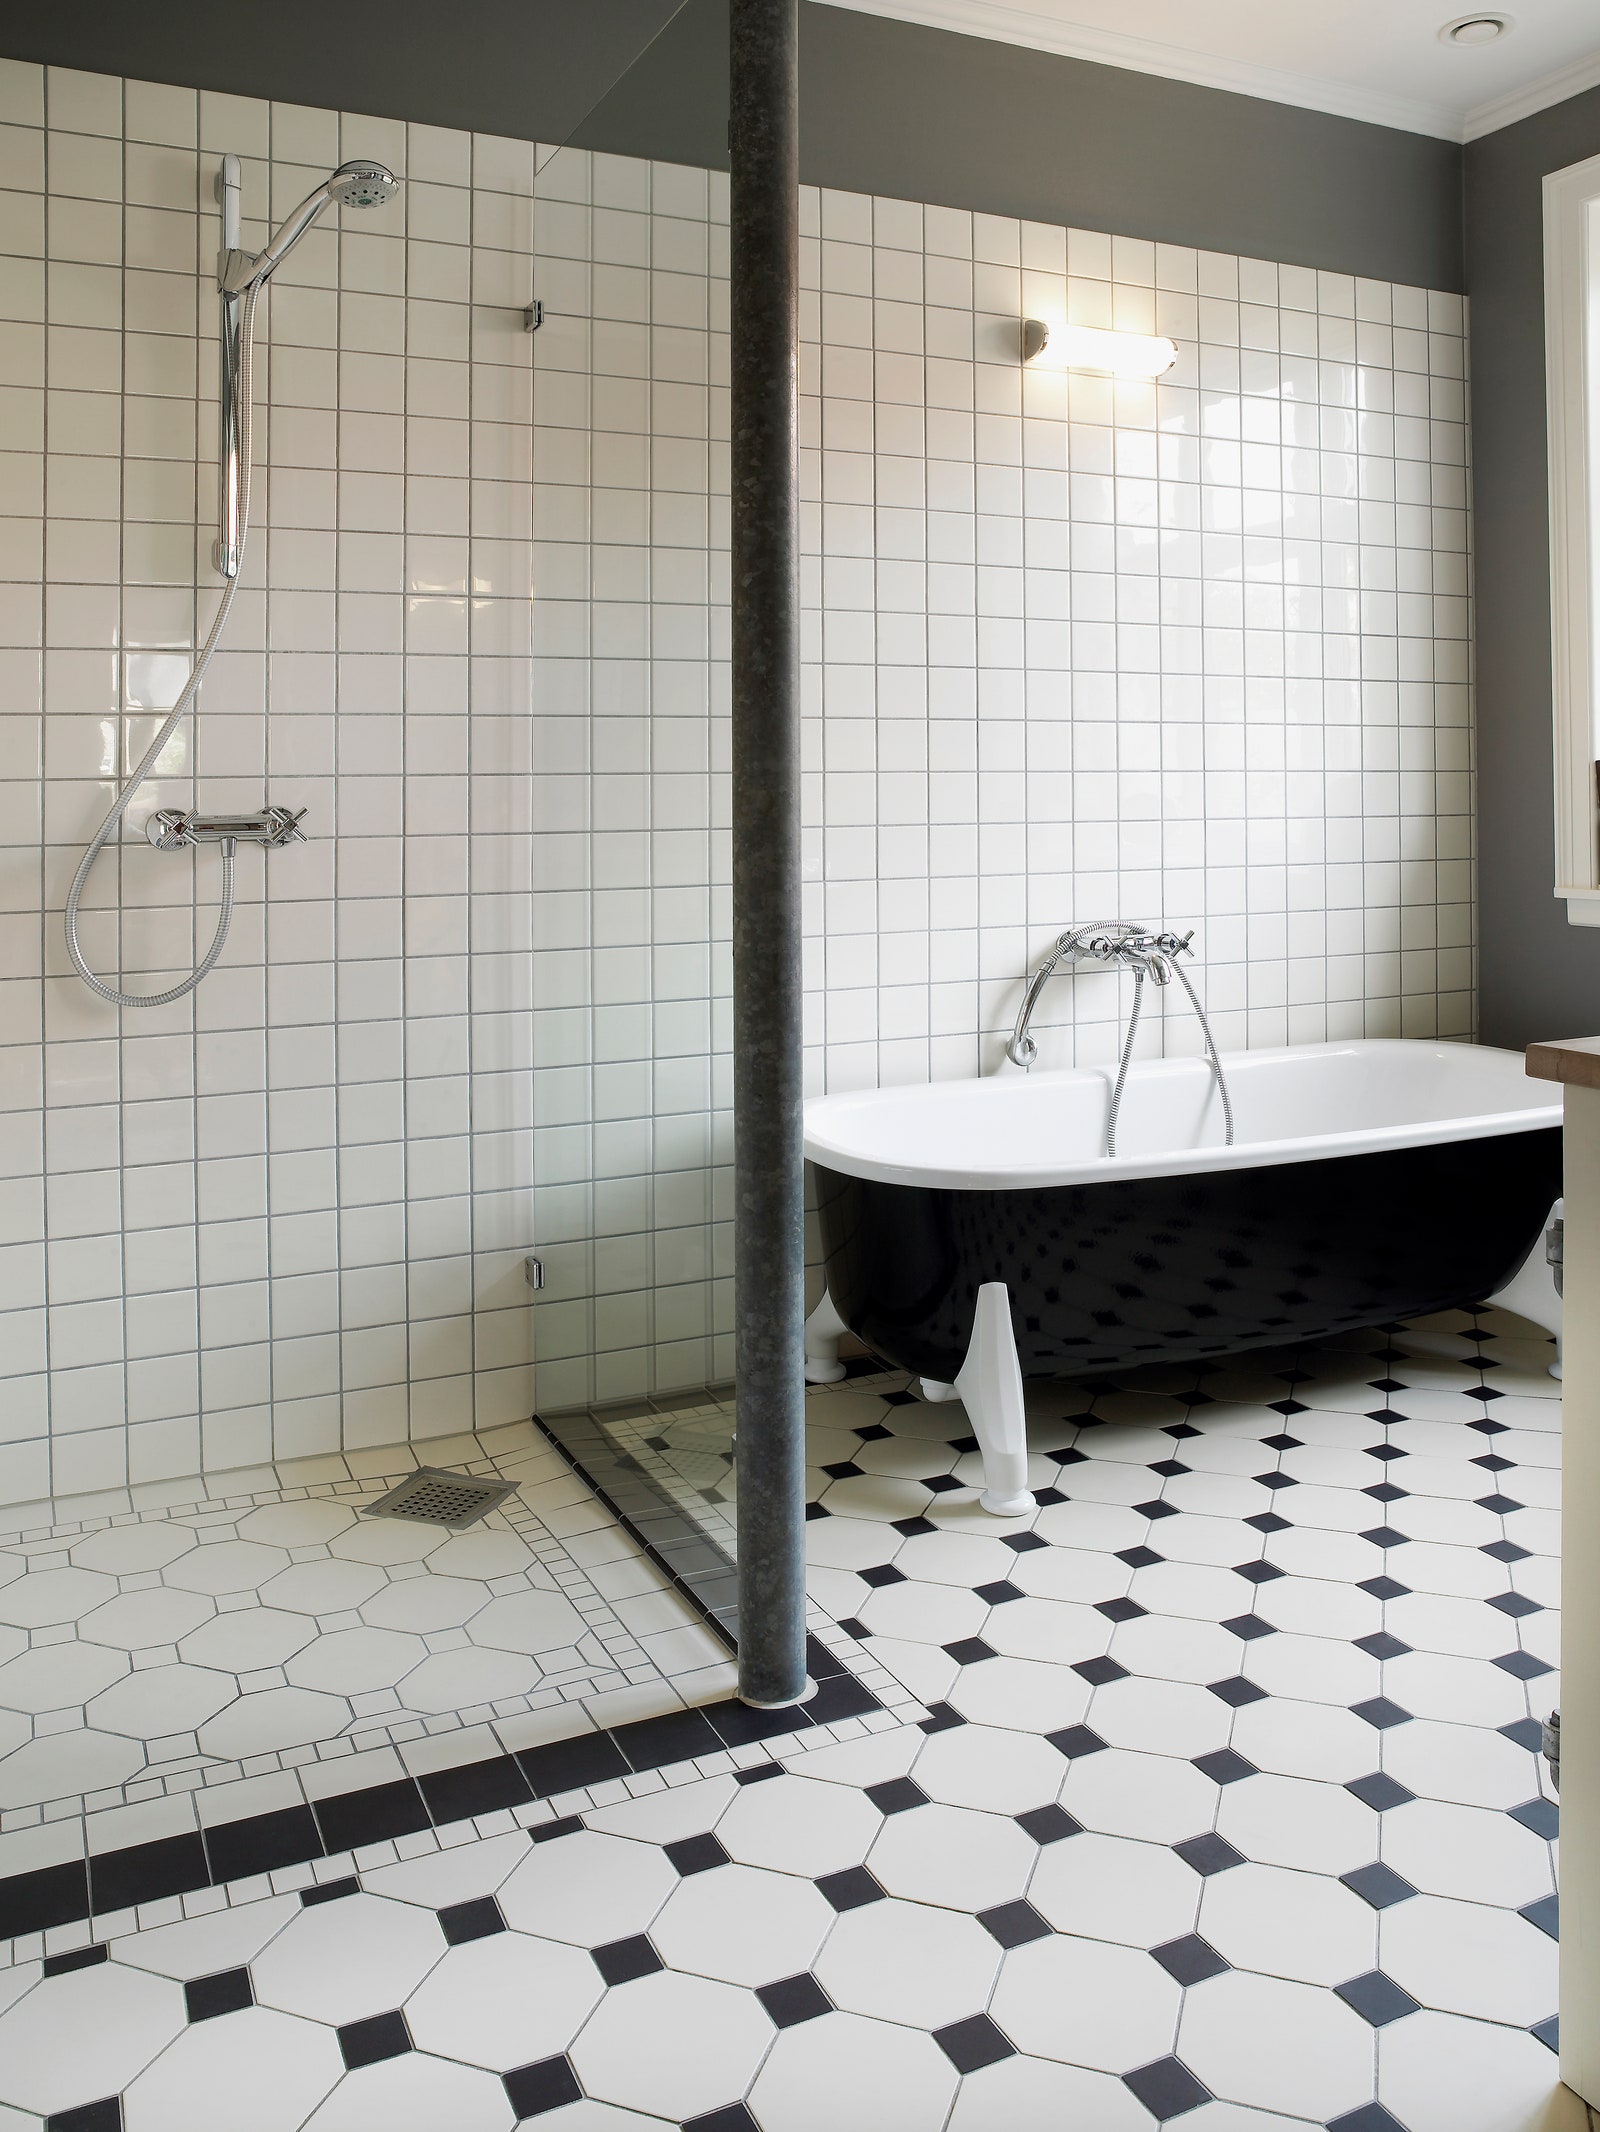
 Removing a bathroom vanity from the wall can also allow you to create a new focal point in your bathroom. Without the vanity taking up all the attention, you can draw the eye to other features, such as a statement bathtub or a beautiful piece of wall art. This can add more interest and personality to your bathroom, giving it a unique and stylish touch. Plus, with the additional floor space, you can also consider adding a decorative rug or plants to further enhance the design.
Related Keyword:
house design
Upgrade to a Floating Vanity
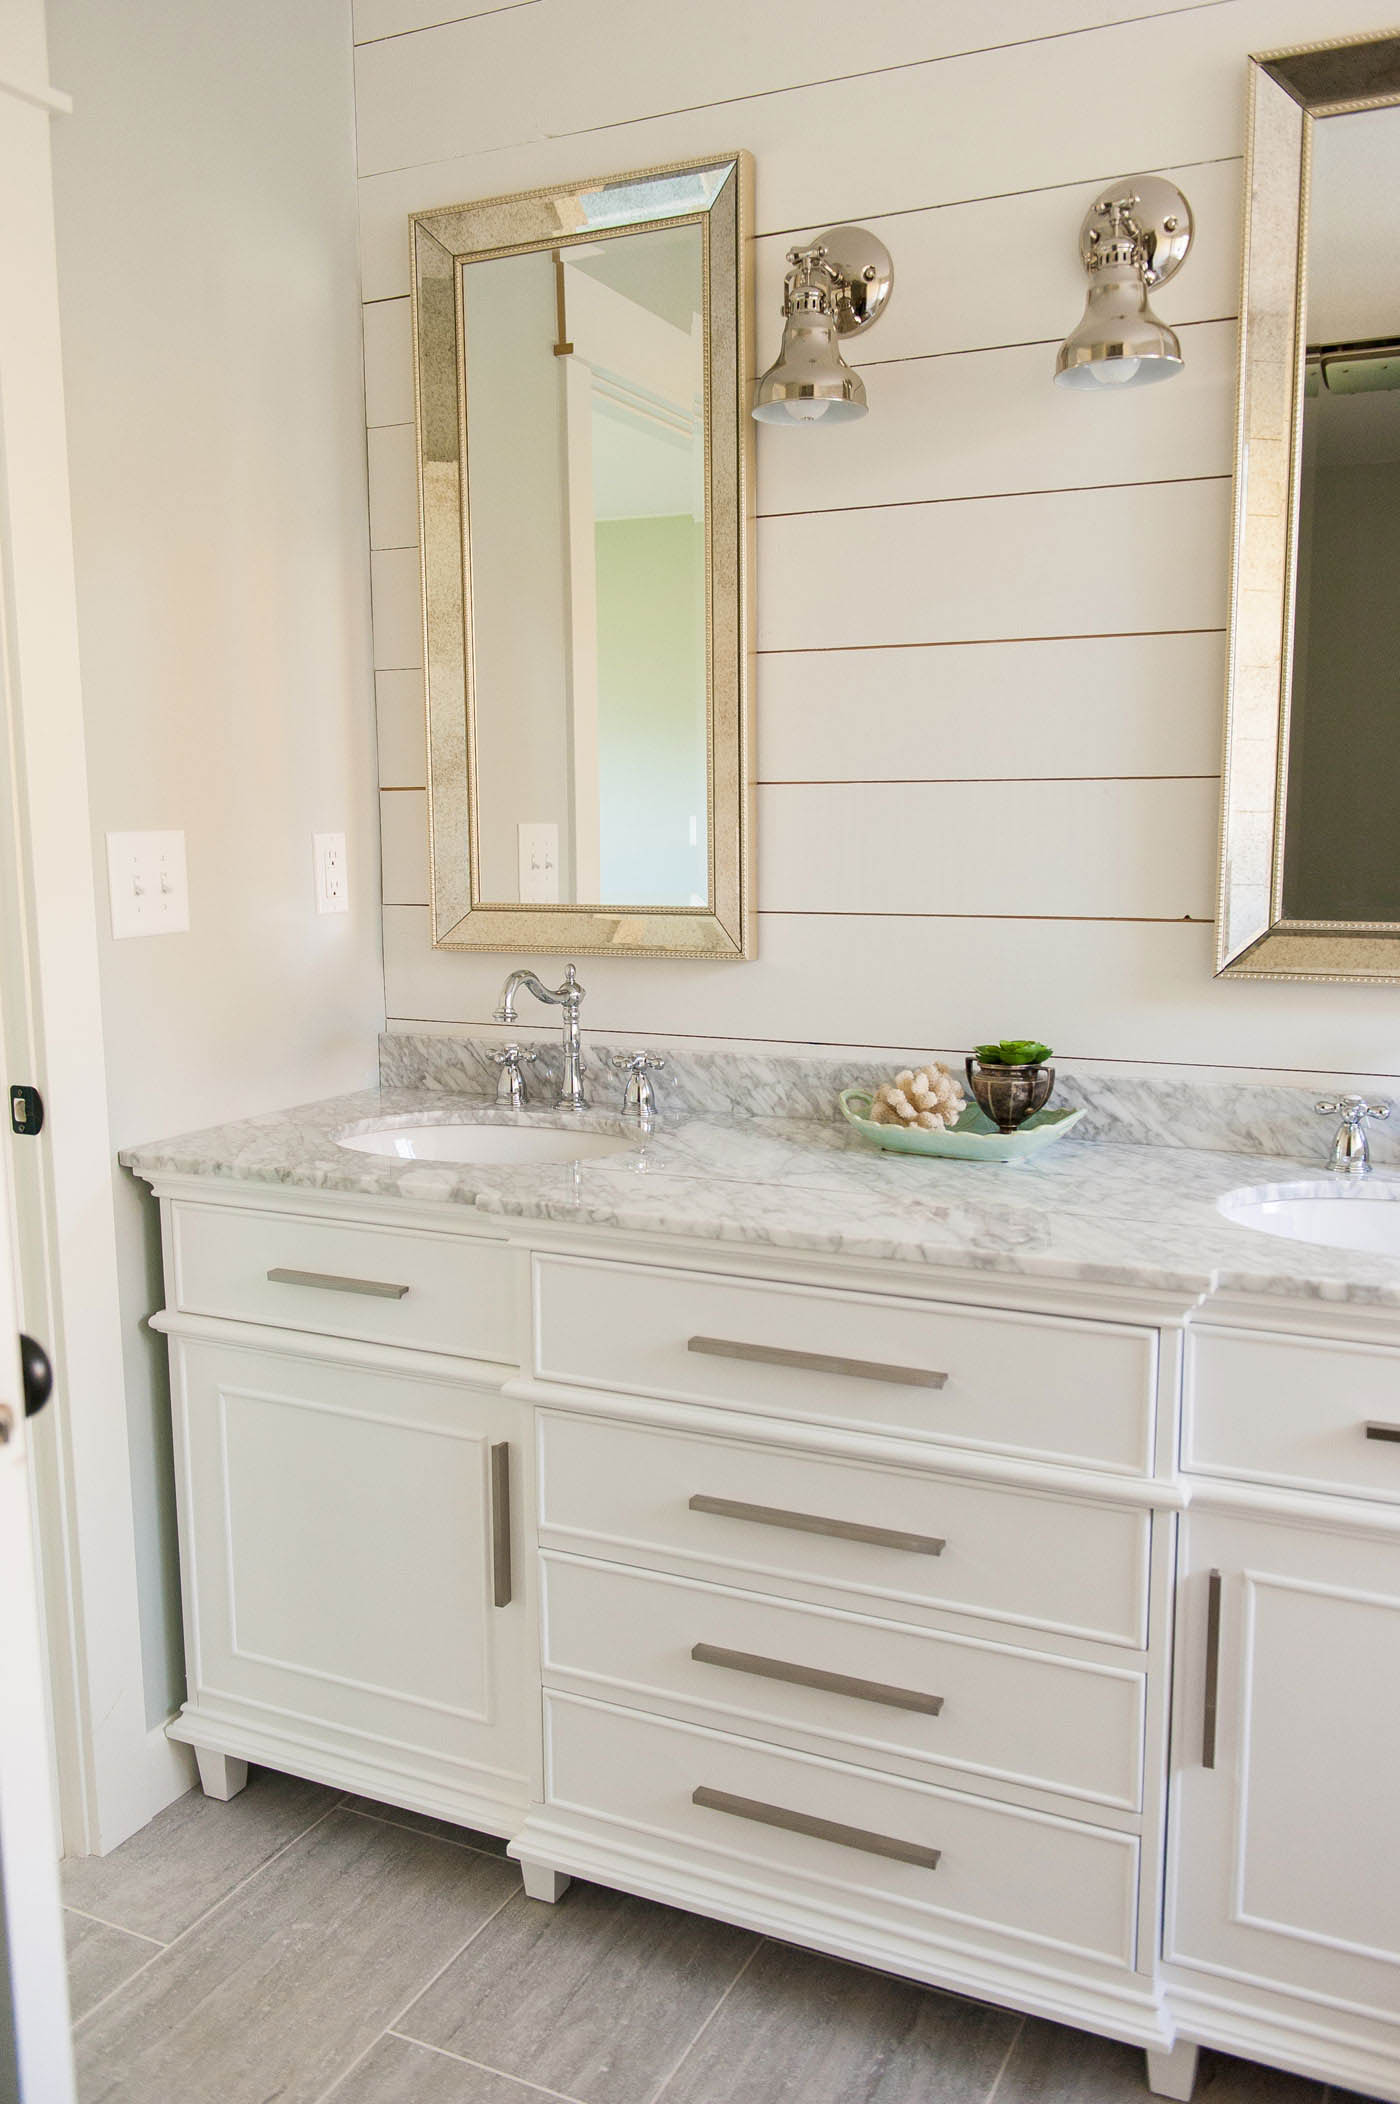
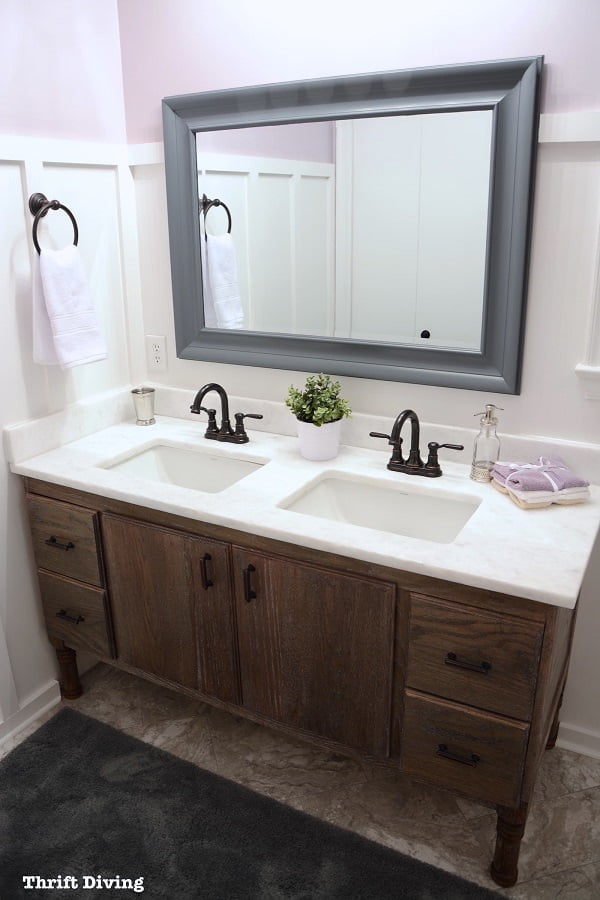
 If you're worried about losing storage space by removing your bathroom vanity from the wall, you can always opt for a floating vanity instead. This modern and sleek design sits above the floor, creating the illusion of more space while still providing storage for your bathroom essentials. Plus, with the variety of styles, colors, and finishes available, you can easily find a floating vanity that complements your house design and adds a touch of elegance to your bathroom.
Related Keyword:
modern house design
Conclusion
 In conclusion, removing a bathroom vanity from the wall can have a significant impact on your house design. It can create more space, improve flow and functionality, and allow for the creation of a new focal point in your bathroom. Consider upgrading to a floating vanity for added style and storage. So why wait? Give your bathroom a fresh new look by removing that old vanity from the wall today.











:max_bytes(150000):strip_icc()/build-something-diy-vanity-594402125f9b58d58ae21158.jpg)
