Refinishing a Dining Room Table Top: A Step-by-Step Guide
Refinishing your dining room table top is a great way to give your dining space a fresh new look without breaking the bank. Instead of spending hundreds of dollars on a brand new table, you can easily transform your existing one with just a few simple steps. Not only is refinishing a dining room table top a budget-friendly option, but it also allows you to customize the look of your table to fit your personal style.
How to Refinish a Dining Room Table Top in 5 Easy Steps
Refinishing a dining room table top may seem like a daunting task, but with the right tools and techniques, it can be a simple and rewarding DIY project. Here are the 5 easy steps to follow:
Step 1: Prepare Your Work Space
Before you start refinishing your dining room table top, it's important to prepare your work space. Lay down a drop cloth or plastic sheeting to protect your floors and gather all the necessary tools and materials.
Step 2: Remove the Old Finish
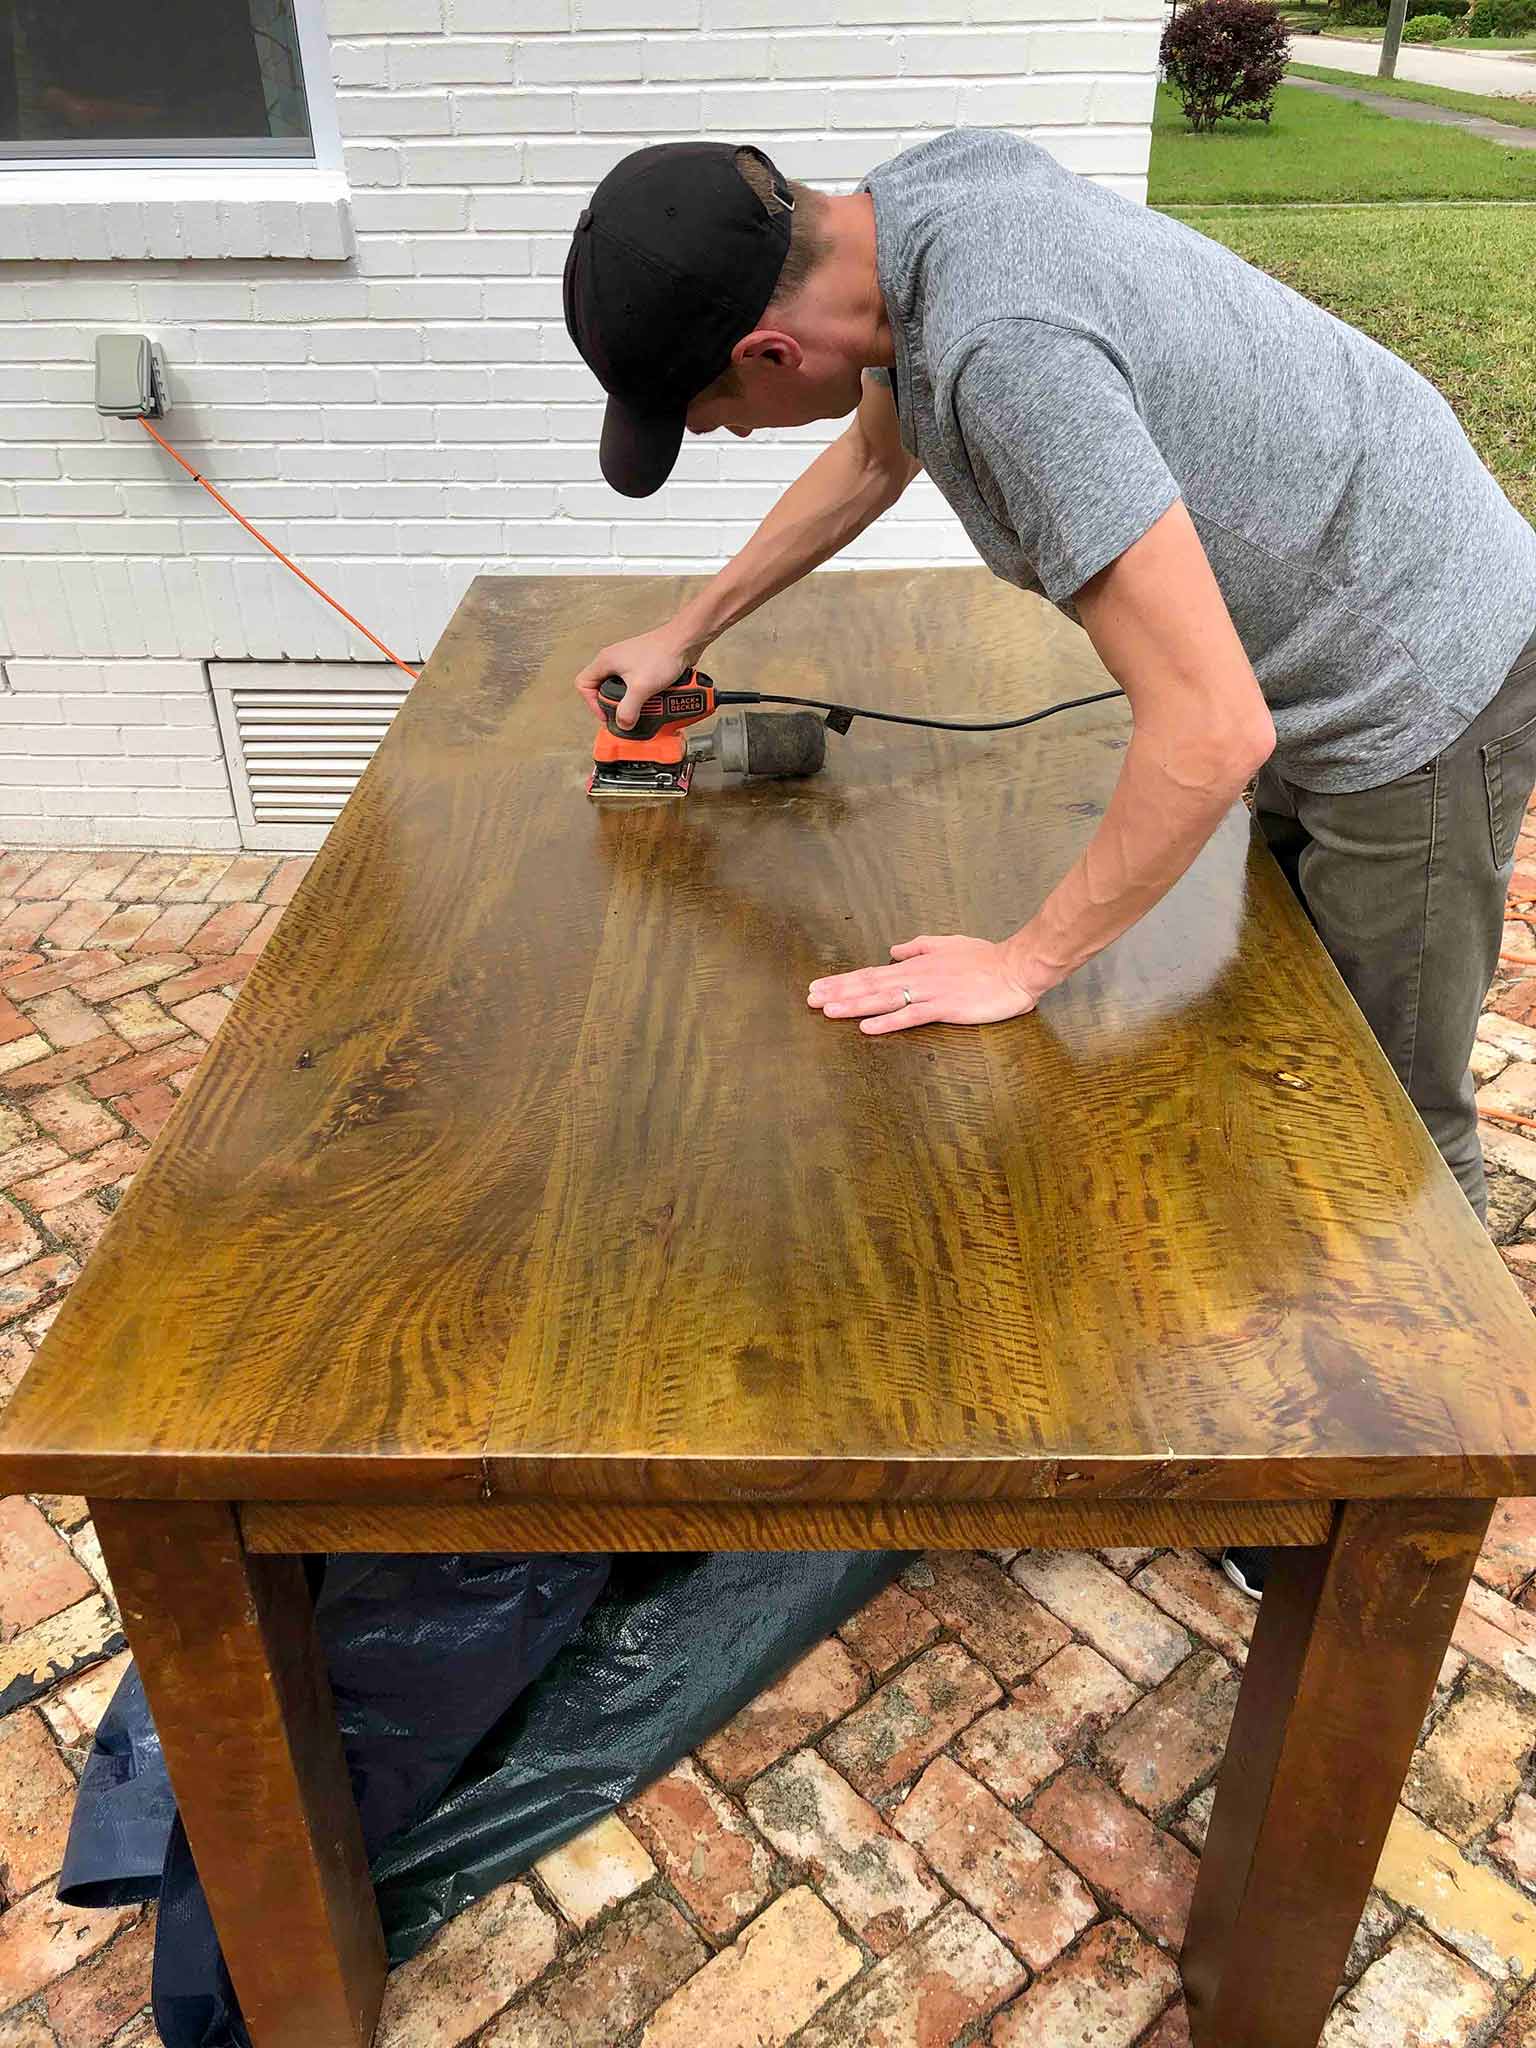
Using a chemical stripper or sandpaper, remove the old finish from your table top. This step may require some elbow grease, but it's important to completely remove the old finish for the new one to adhere properly.
Step 3: Sand the Surface
Once the old finish is removed, use a fine-grit sandpaper to smooth out the surface of your table top. This will create a clean and even base for your new finish.
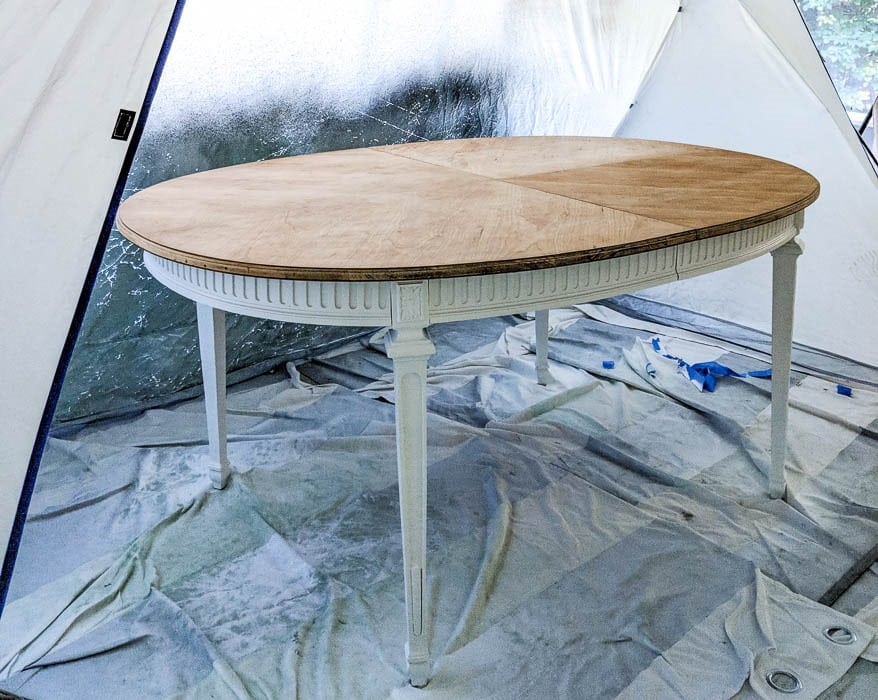
Step 4: Stain or Paint
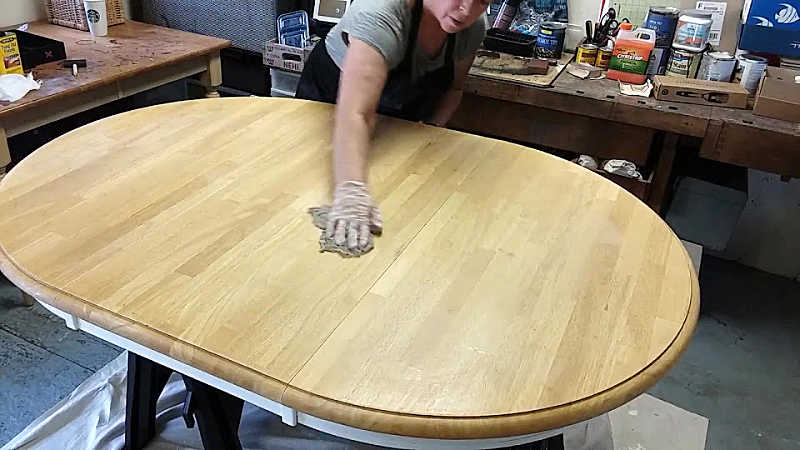
This step is where you can get creative and add your personal touch to your dining room table top. You can choose to stain the wood for a natural look or paint it for a pop of color. Whichever you choose, make sure to follow the manufacturer's instructions for best results.
Step 5: Apply a Protective Finish
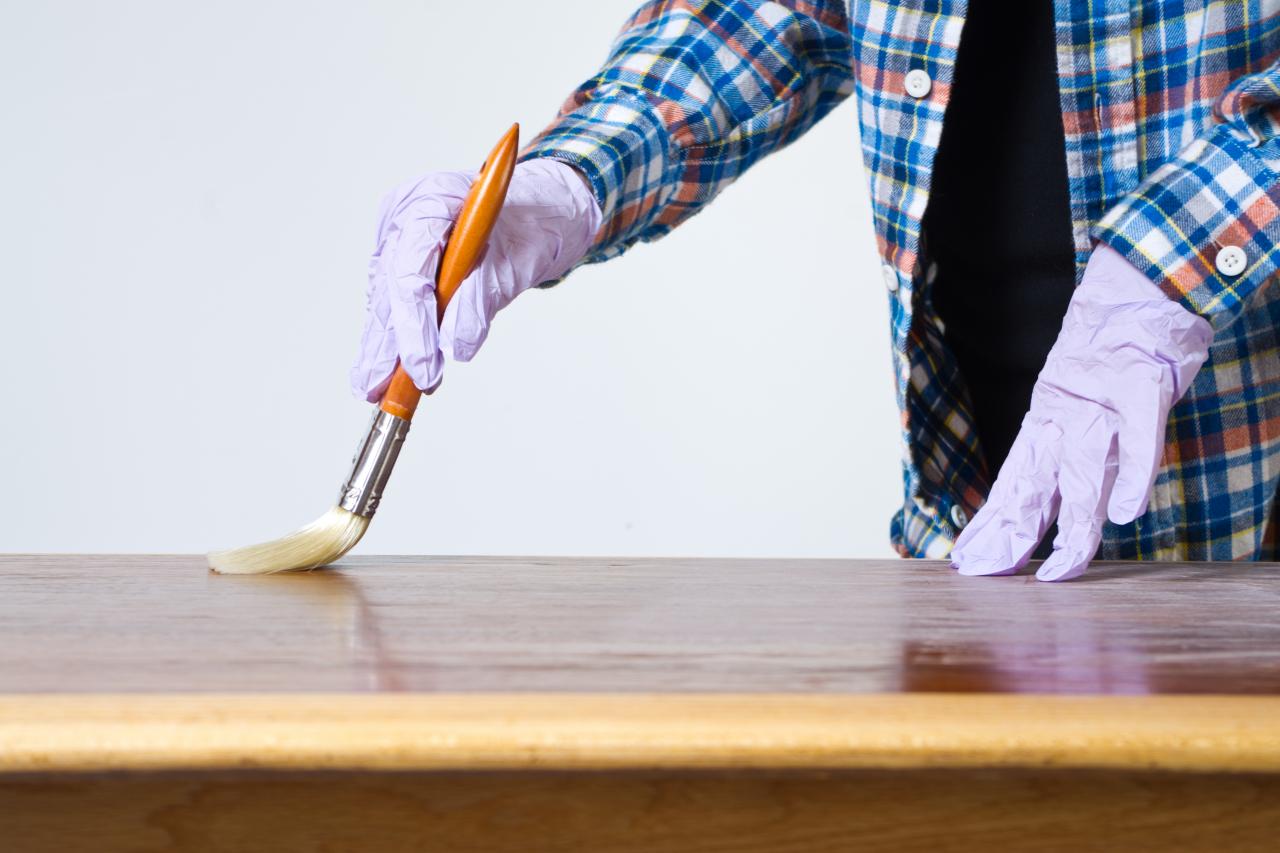
To ensure your newly refinished table top lasts, it's important to apply a protective finish. This can be a varnish, polyurethane, or wax, depending on the type of look and durability you want. Let the finish dry completely before using your table.
DIY Dining Room Table Refinishing: Tips and Tricks
Now that you know the basic steps to refinishing a dining room table top, here are some tips and tricks to help you achieve a professional-looking finish:
Prep is Key
Take the time to properly prepare your table top before starting the refinishing process. This includes removing all hardware, sanding the surface, and wiping it clean of any dust or debris.
Choose the Right Finish
When it comes to choosing the finish for your table top, consider the style of your dining room and the amount of use your table will get. A varnish or polyurethane will provide a durable and long-lasting finish, while wax gives a more natural and rustic look.
Protect Your Work Surface
To avoid damaging your work surface, make sure to use a drop cloth or plastic sheeting and cover any nearby furniture or objects with a protective layer.
Test Before You Apply
Before applying your chosen finish to the entire table top, it's a good idea to do a small test area first. This will help you determine the right amount of product to use and ensure you achieve the desired result.
Refinishing a Dining Room Table Top: What You Need to Know
While refinishing a dining room table top is a relatively simple process, there are a few things you need to keep in mind for the best outcome:
Choose a Well-Ventilated Area
Some of the products used in refinishing, such as chemical strippers and stains, can produce strong fumes. It's important to work in a well-ventilated area, preferably outdoors, to avoid inhaling these fumes.
Be Patient
Refinishing a dining room table top may take some time, especially if you're doing it for the first time. Don't rush the process and make sure to follow all the steps carefully for the best results.
Don't Skimp on Quality
Invest in good quality products for a professional-looking finish that will last. Cheap products may save you money in the short term, but they may not provide the desired results and may require frequent touch-ups.
Refinishing a Dining Room Table Top: Common Mistakes to Avoid
Even with the best intentions, refinishing a dining room table top can go wrong if you're not careful. Here are some common mistakes to avoid:
Skipping the Sanding Step
Sanding is a crucial step in refinishing a dining room table top as it helps to smooth out imperfections and remove the old finish. Skipping this step can result in a lumpy and uneven surface.
Not Cleaning the Surface Properly
Before applying any finish, make sure to clean the surface of your table top thoroughly. Any dust or debris left on the surface can affect the adherence of the finish and result in a less-than-desirable look.
Applying Too Much Finish
When it comes to applying a protective finish, less is more. Applying too much can result in a sticky and uneven surface. It's better to apply multiple thin coats for a smooth and durable finish.
Refinishing a Dining Room Table Top: Choosing the Right Finish
Choosing the right finish for your dining room table top can make all the difference in achieving the desired look and durability. Here are some popular options to consider:
Varnish
Varnish is a popular choice for its durability and ability to withstand daily use. It comes in a variety of finishes, from matte to high gloss, and can be applied with a brush or sprayed on.
Polyurethane
Polyurethane is another durable option that provides a clear and glossy finish. It's easy to apply and can be found in both water-based and oil-based formulas.
Wax
For a more natural and rustic look, wax is a great option. It provides a soft and matte finish and can be buffed to achieve a desired sheen.
Refinishing a Dining Room Table Top: Sanding Techniques for a Smooth Finish
Sanding is a crucial step in refinishing a dining room table top, but it's important to use the right techniques for a smooth and even finish. Here are some tips:
Start with Coarse Grit Sandpaper
When removing the old finish, start with a coarse grit sandpaper (80-100) to get rid of any major imperfections. Then gradually move to a finer grit for a smoother surface.
Use a Sanding Block
A sanding block helps to evenly distribute the pressure while sanding and prevents your hand from accidentally creating dents or uneven spots.
Sand with the Grain
Always sand in the direction of the wood grain to avoid creating scratches or damaging the surface.
How to Stain a Dining Room Table Top for a Professional Look
Staining your dining room table top is a great way to enhance the natural beauty of the wood and give it a professional look. Here are some tips for achieving a perfect stain:
Choose the Right Stain
When choosing a stain, consider the type of wood and the desired color. It's always a good idea to test the stain on a small area first to see how it will look on your table top.
Apply Evenly
To achieve an even color, make sure to apply the stain evenly with a brush or cloth. Work in small sections and wipe off any excess stain with a clean cloth.
Don't Overdo It
It's better to apply multiple thin coats of stain for a deeper color than one thick coat that can result in a blotchy and uneven finish.
Refinishing a Dining Room Table Top: Top Coating Options for Durability
To ensure your newly refinished dining room table top lasts for years to come, it's important to apply a protective top coat. Here are some options to consider:
Varnish
Varnish is a popular choice for its durability and ability to withstand daily use. It creates a hard and water-resistant finish that can protect your table from spills and scratches.
Polyurethane
Polyurethane is another durable option that provides a clear and glossy finish. It's easy to apply and can be found in both water-based and oil-based formulas.
Lacquer
Lacquer is a fast-drying and durable top coat that provides a smooth and glossy finish. Keep in mind that it can be more difficult to apply and requires proper ventilation.
Refinishing a Dining Room Table Top: Before and After Inspiration
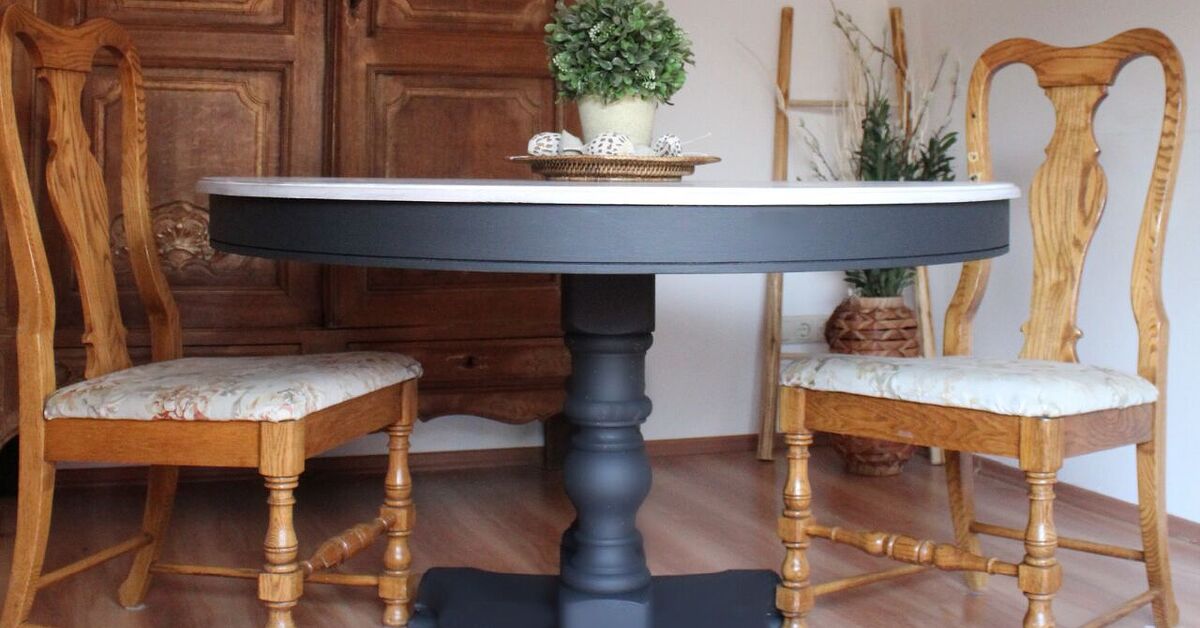
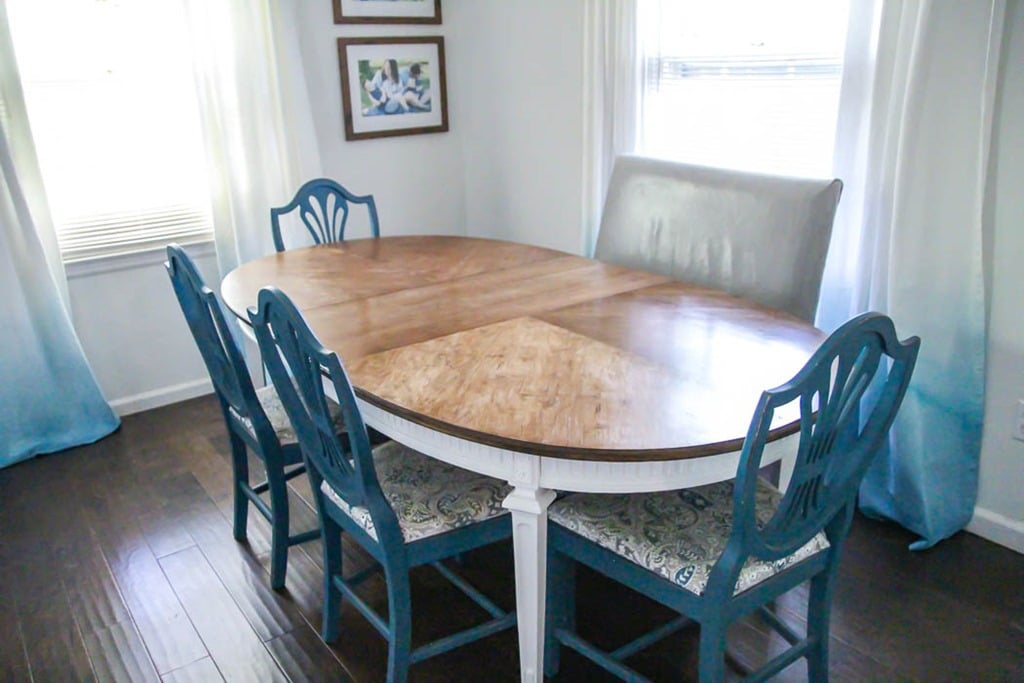
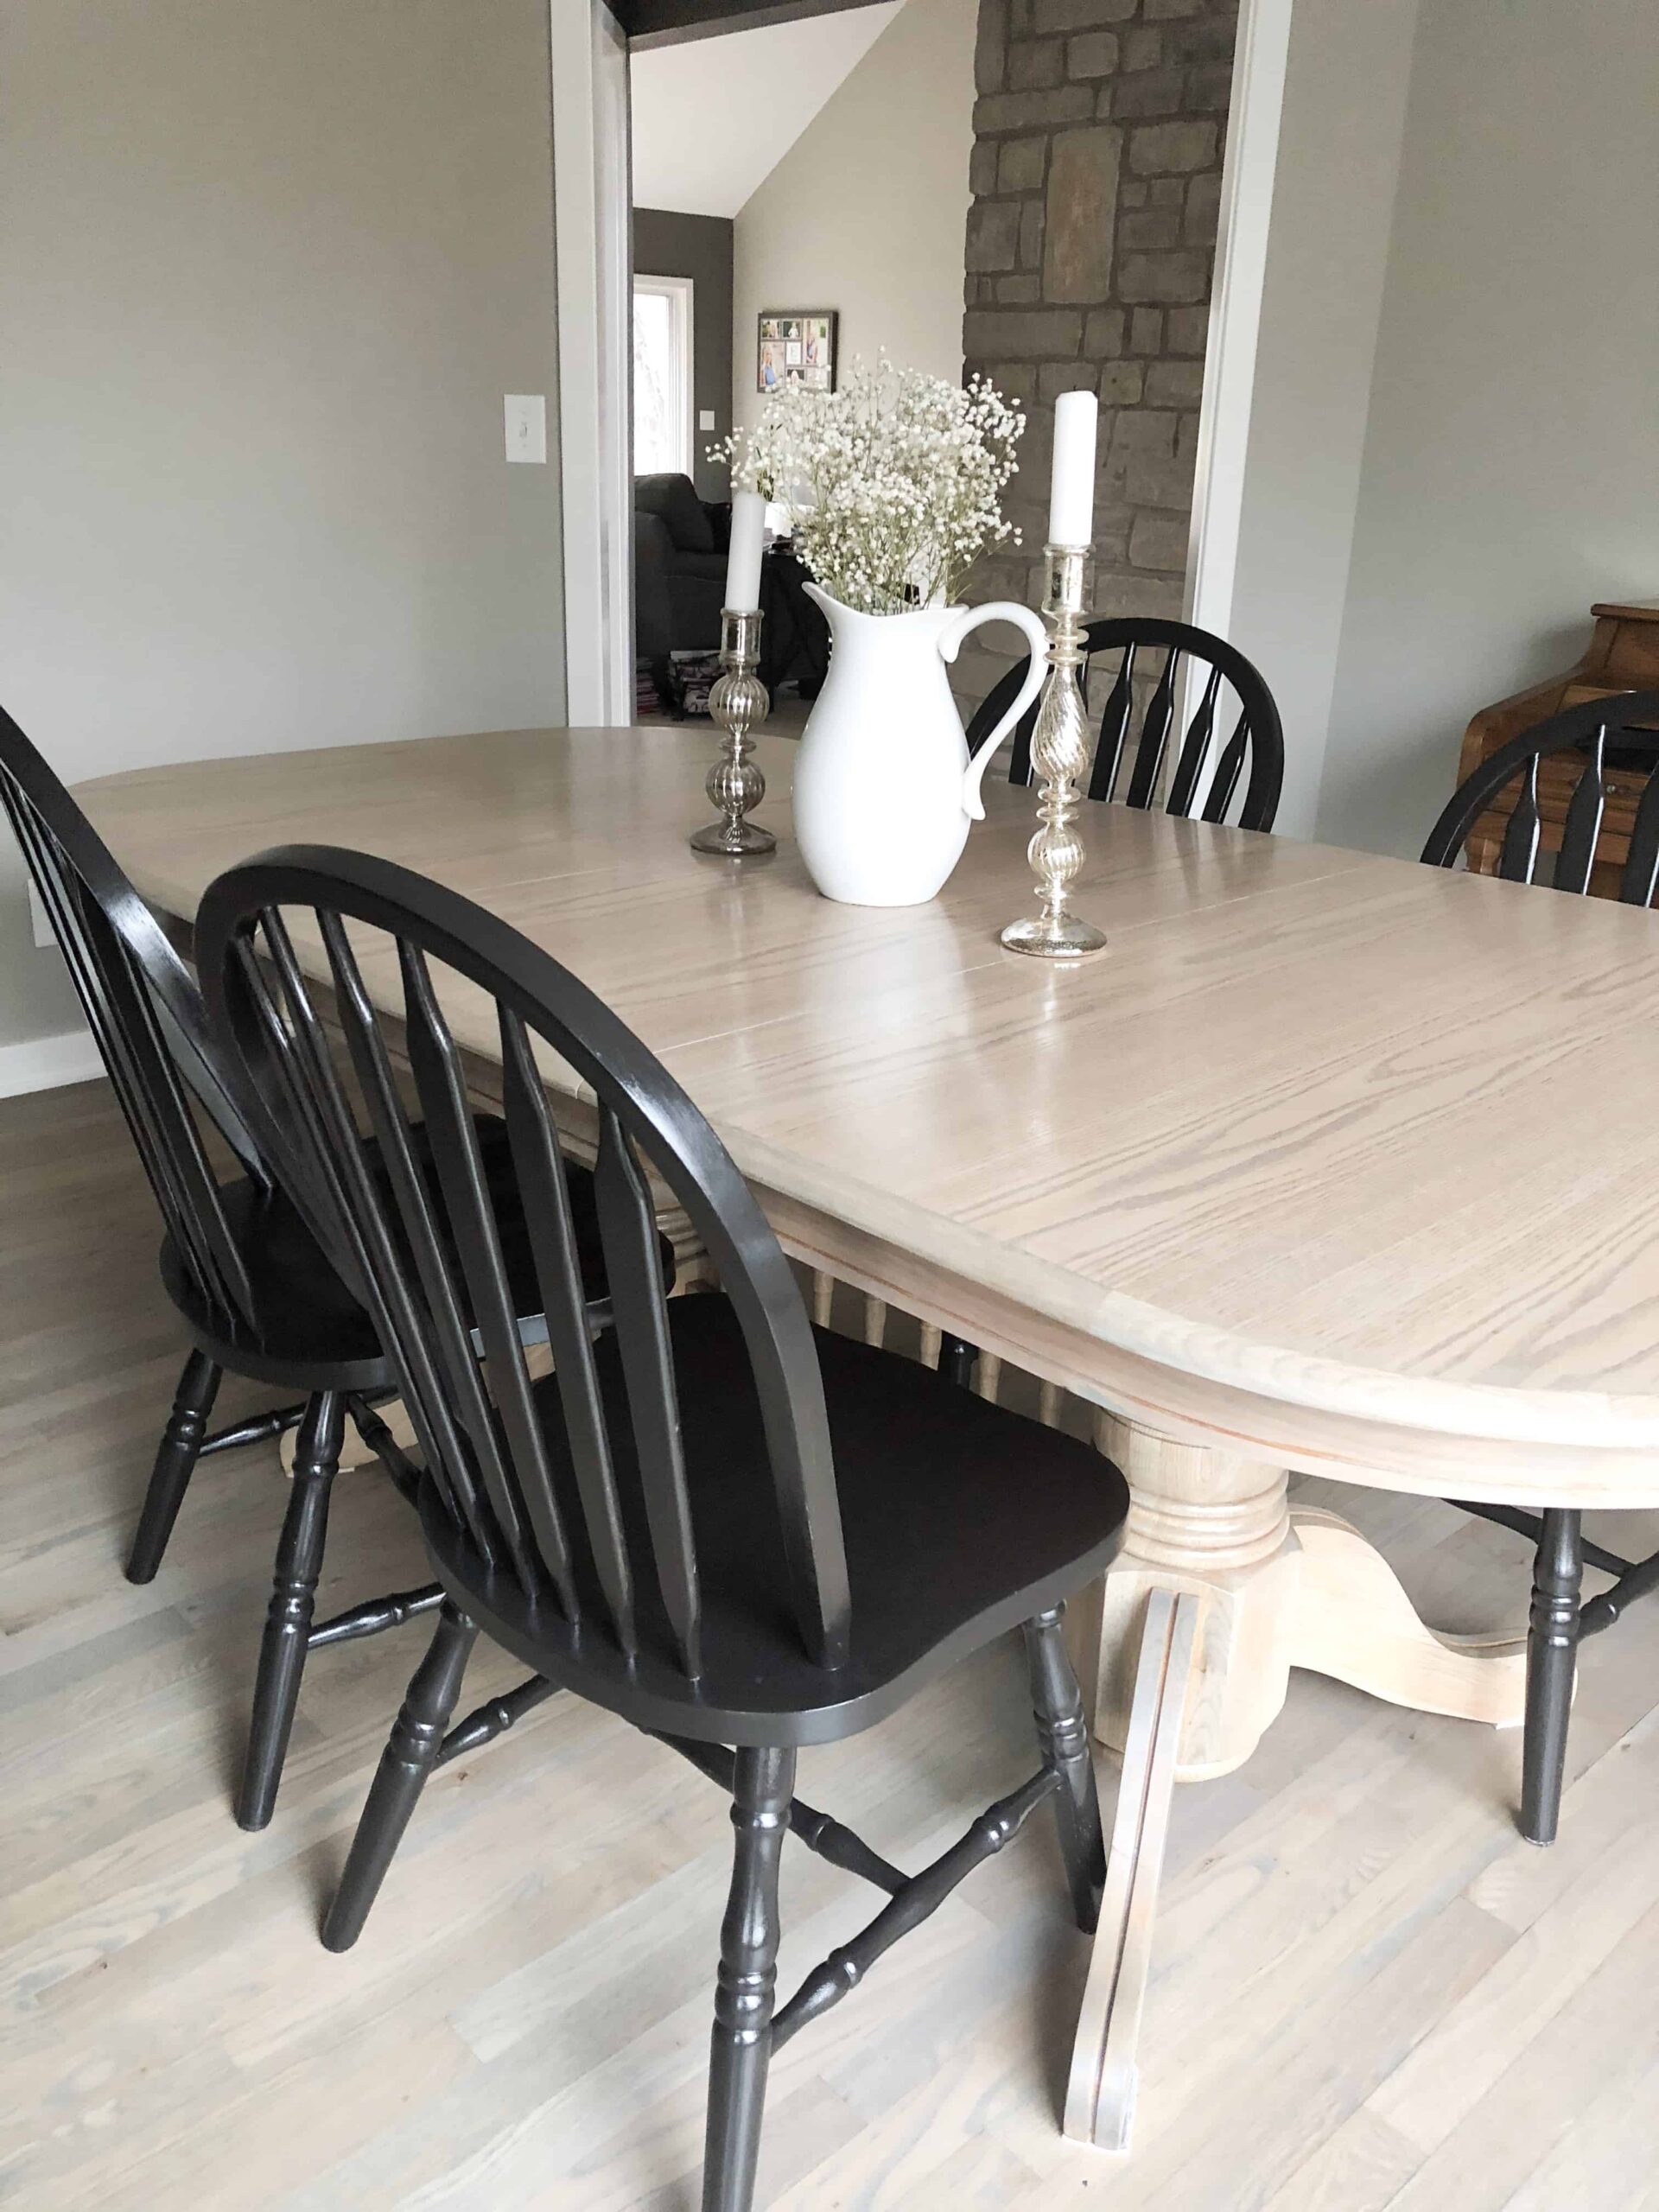
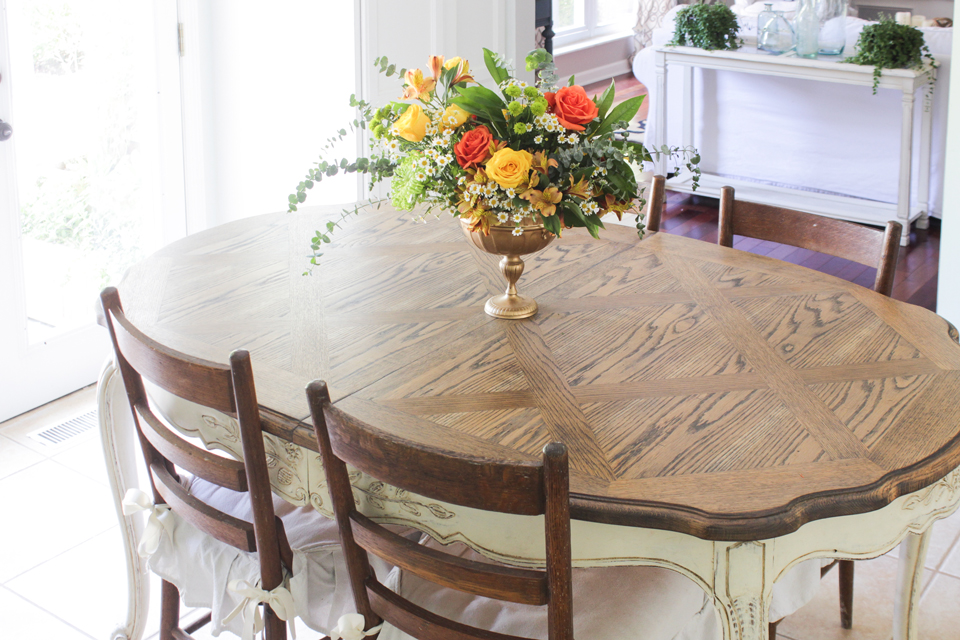
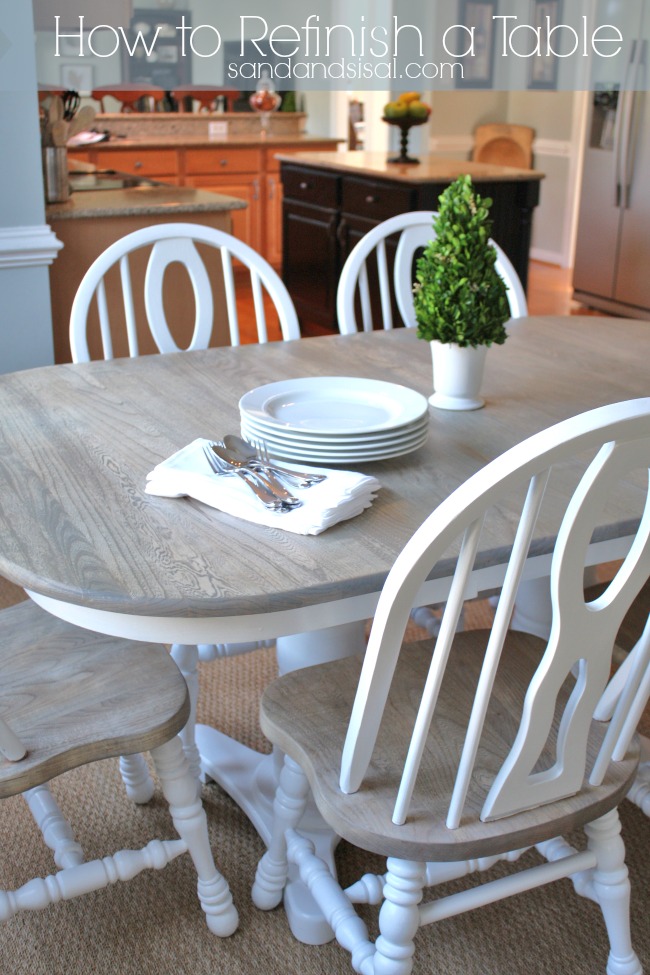
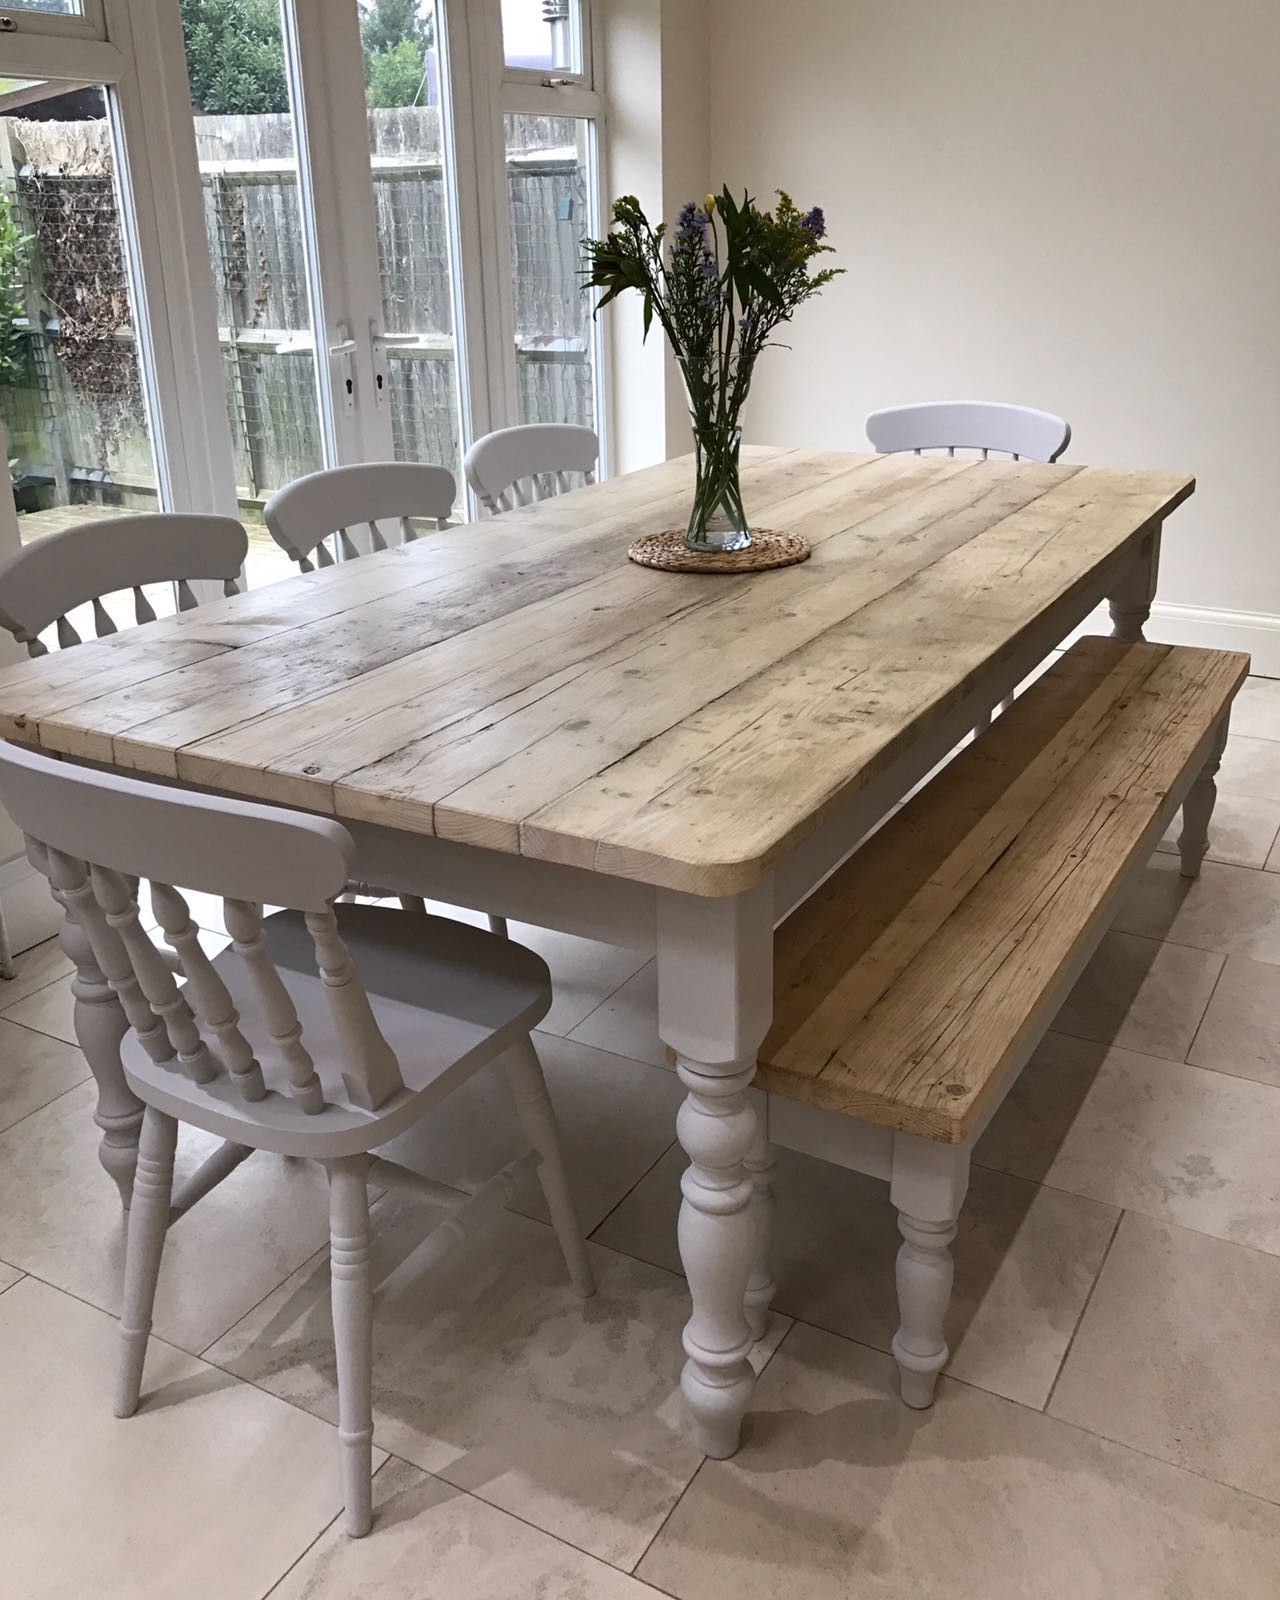
If you're still not convinced that refinishing your dining room table top is worth the effort, take a look at these stunning before and after transformations. From a dated and worn-out table to a beautiful and modern centerpiece, the possibilities are endless!
Why Refinishing Your Dining Room Table Top is the Perfect Way to Upgrade Your Home

Transform Your Space with a Freshly Refinished Dining Room Table Top
 Are you looking to give your dining room a new look? Are you tired of the same old table that has been passed down for generations? Look no further than refinishing your dining room table top. This simple and cost-effective solution will not only upgrade the look of your space, but it will also add value to your home.
Refinishing your dining room table top involves stripping off the old finish and applying a new one, giving it a fresh and updated appearance. This process can be done on any type of table, whether it's made of wood, metal, or even glass. Not only does it breathe new life into your table, but it also allows you to customize the look to match your personal style and home decor.
Enhance the Aesthetic Appeal of Your Dining Room
Your dining room is often the heart of your home, where friends and family gather to share meals and create memories. So why not make it a space that you are proud to show off? Refinishing your dining room table top allows you to choose the perfect color and finish that complements the rest of your decor. From sleek and modern to rustic and farmhouse, there are endless possibilities to transform the look of your dining room.
Save Money and Time
Replacing your dining room table can be a costly and time-consuming process. Refinishing, on the other hand, is a budget-friendly and efficient alternative. It allows you to keep your existing table while giving it a brand new look. Plus, the process can be completed in just a few simple steps, saving you the hassle of shopping for a new table and waiting for it to be delivered.
Add Value to Your Home
Refinishing your dining room table top not only adds value to your space but also to your home. A beautifully refinished table can make a great first impression on potential buyers and increase the overall value of your property. So not only are you upgrading your space for your own enjoyment, but you are also making a smart investment for the future.
In conclusion, refinishing your dining room table top is a simple and effective way to upgrade your home. It allows you to customize the look of your dining room, save money and time, and add value to your home. So why wait? Start planning your dining room transformation today and enjoy a beautiful and refreshed space in no time.


