Are you tired of seeing mold and mildew buildup around your bathroom sink? Or maybe your sink is starting to leak due to old, cracked caulk. Whatever the reason may be, it's time to re-caulk your bathroom sink. Don't worry, it's easier than you think! Follow these 5 simple steps to have your sink looking brand new in no time.Re-caulking a Bathroom Sink: A Step-by-Step Guide
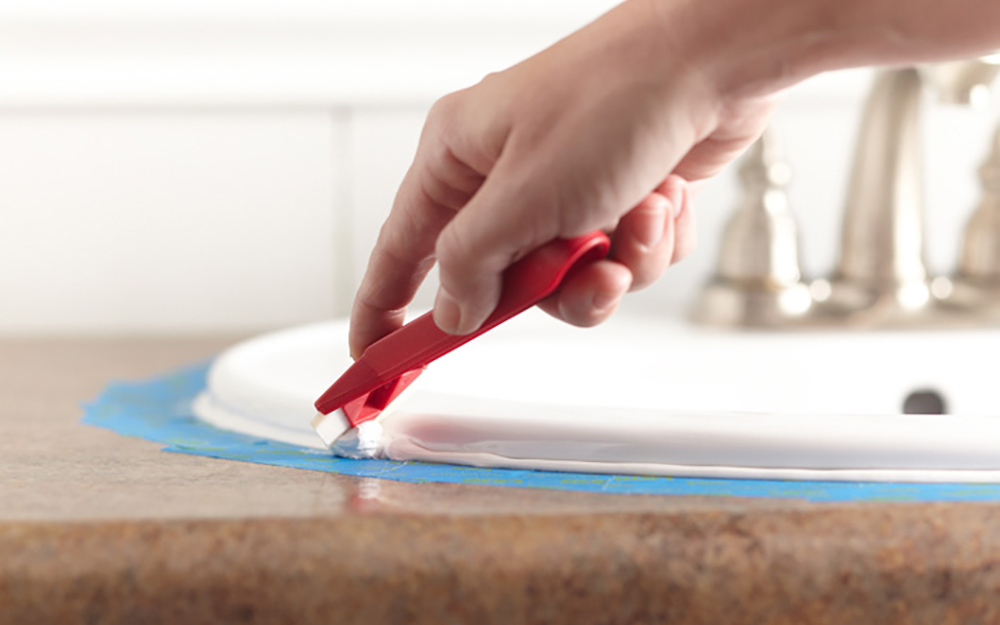
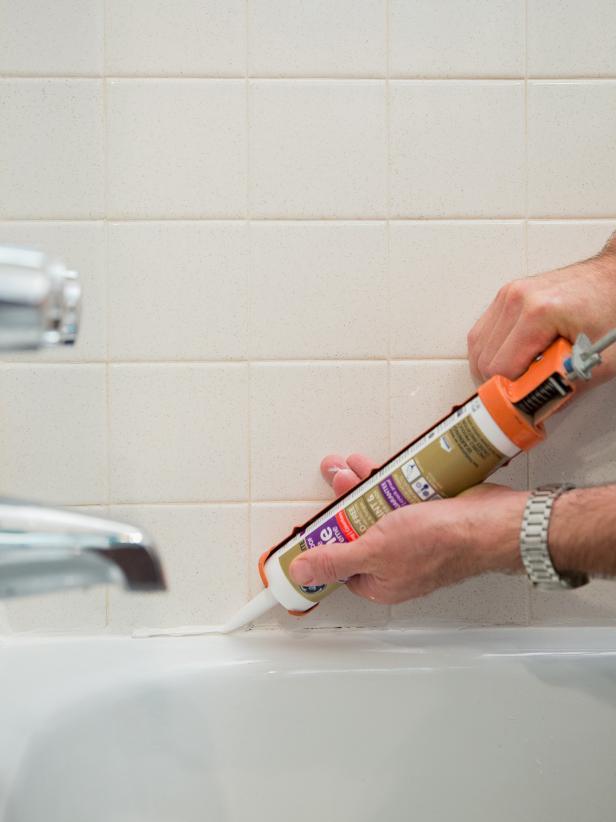
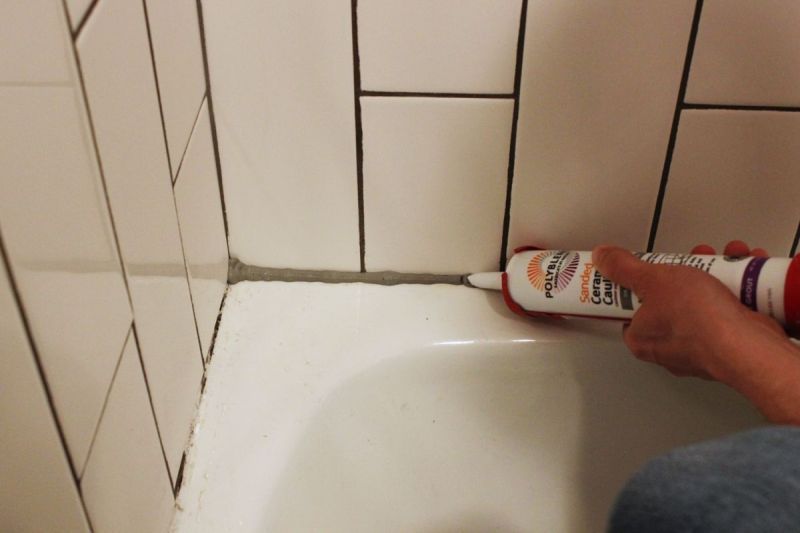
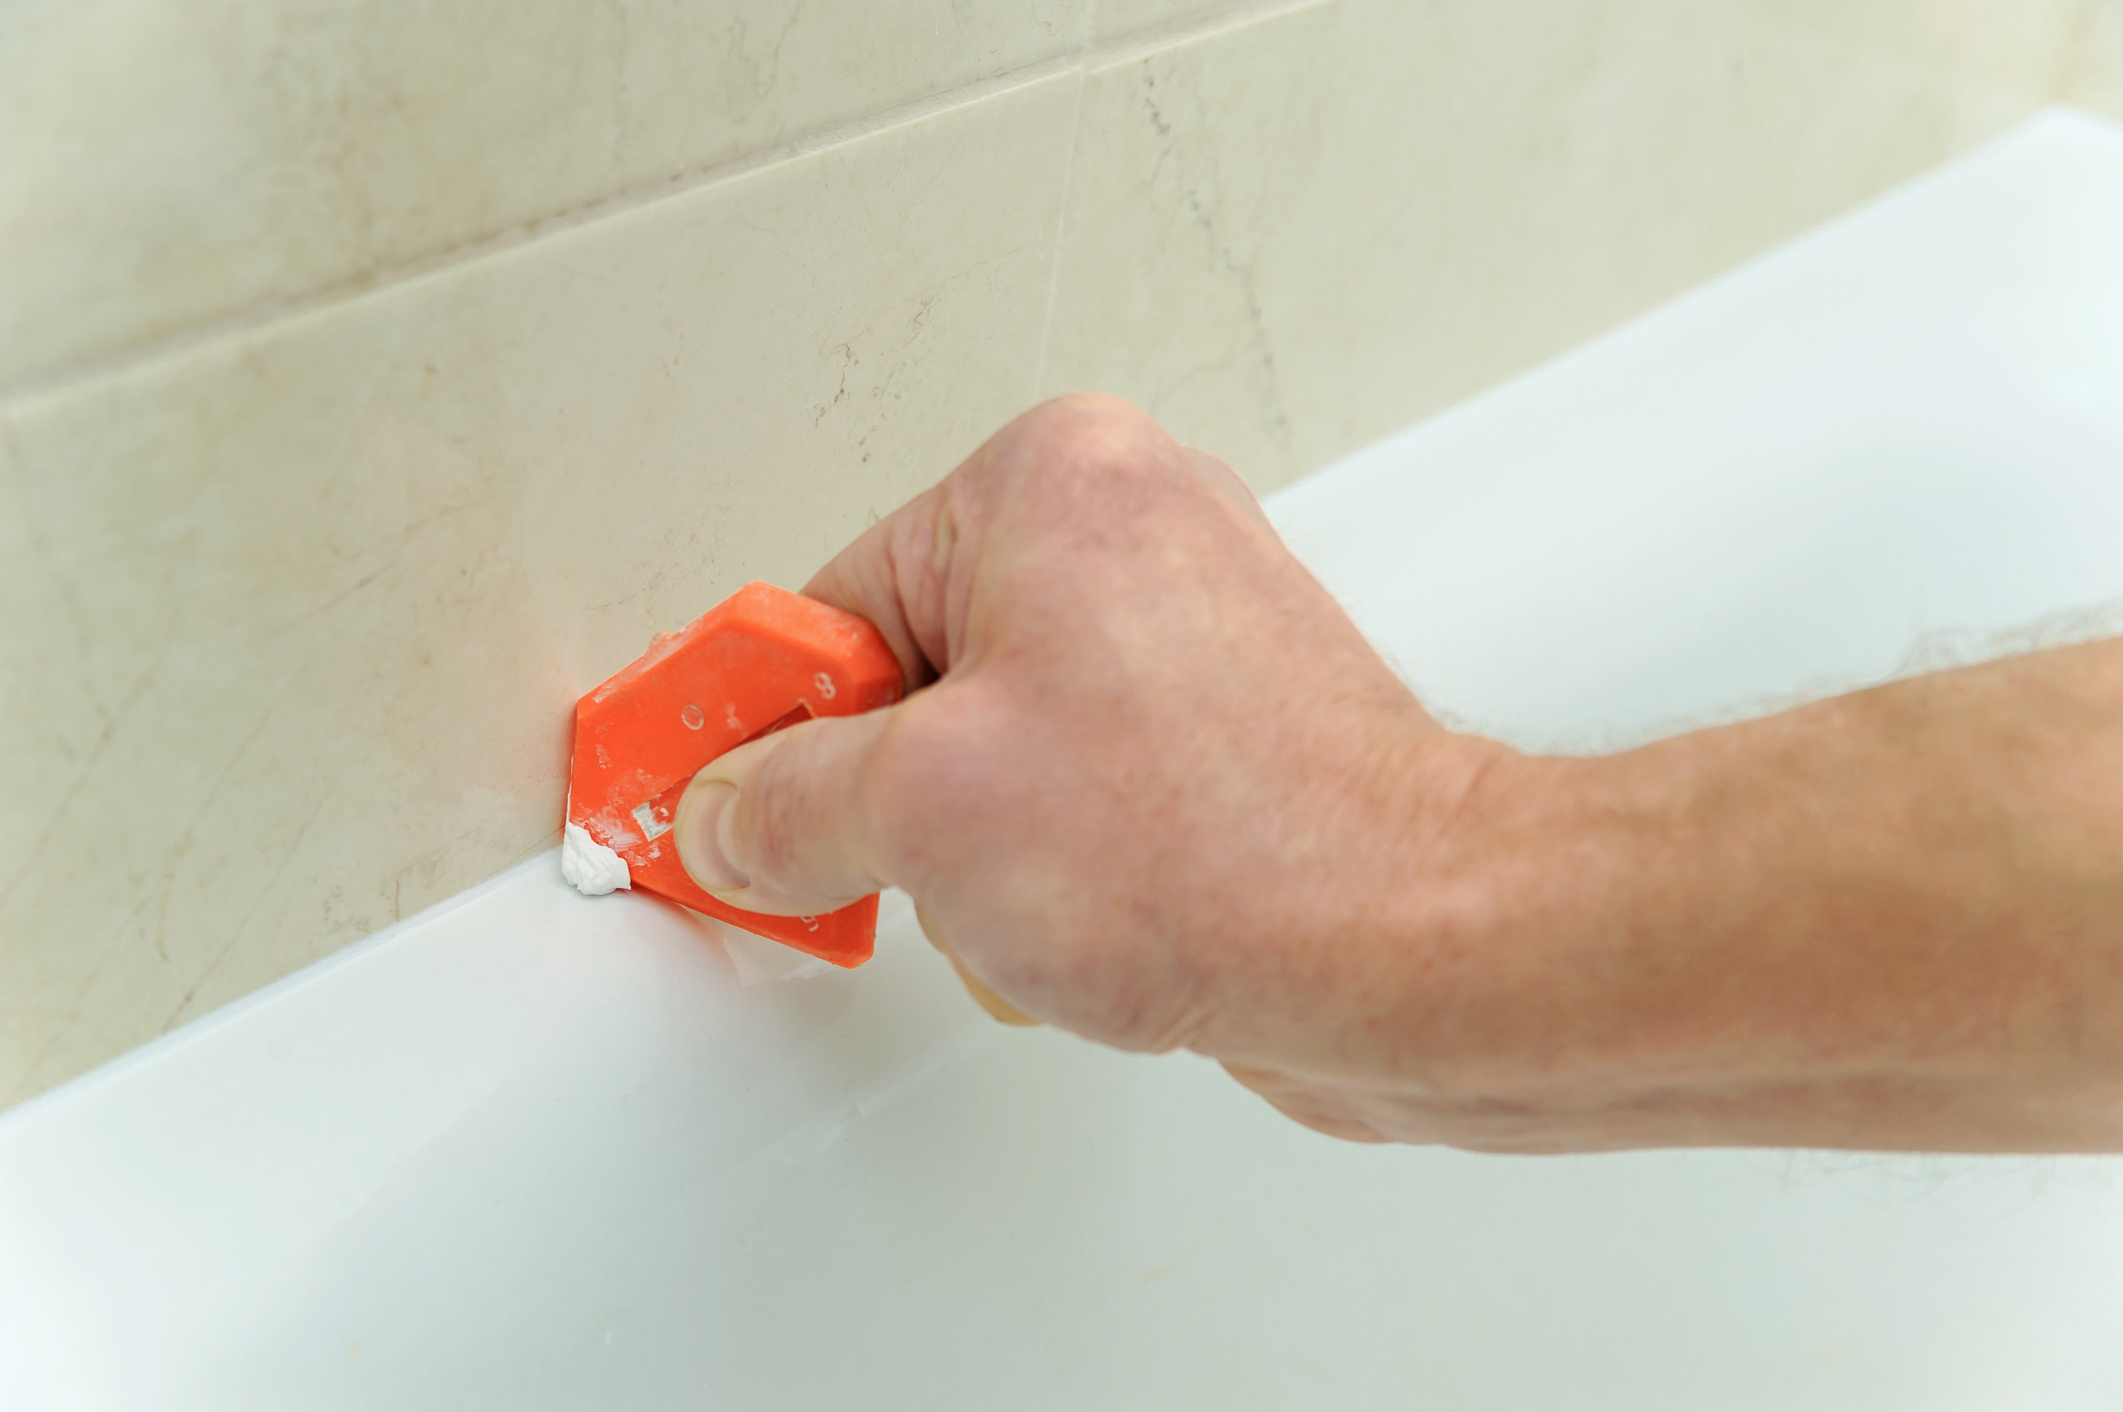
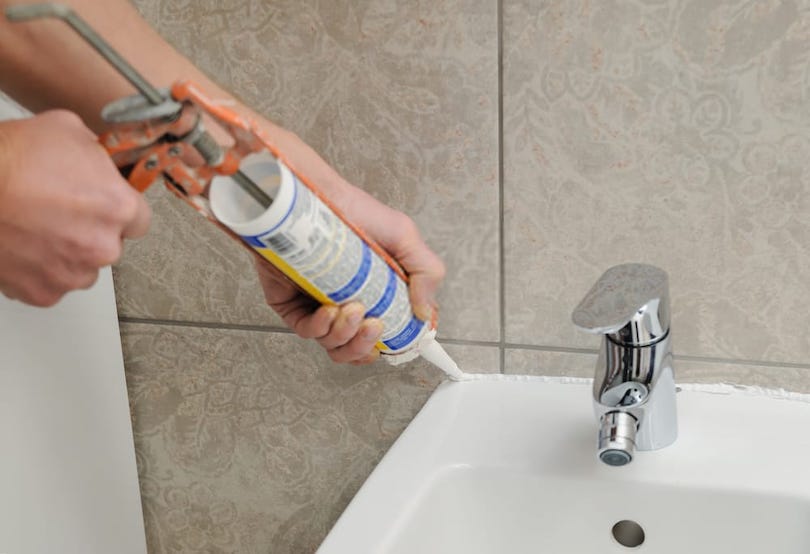
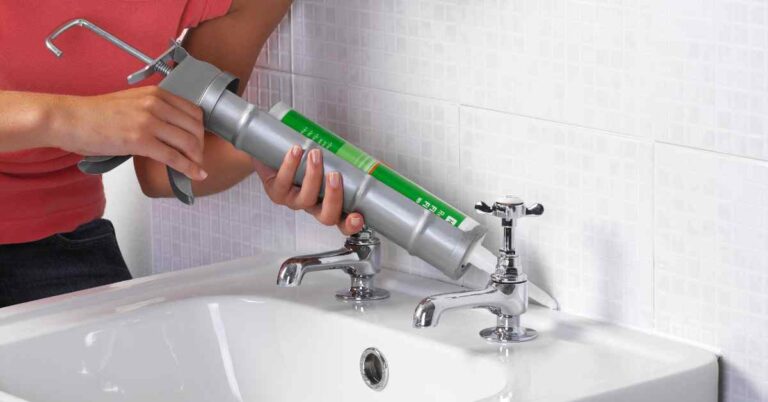
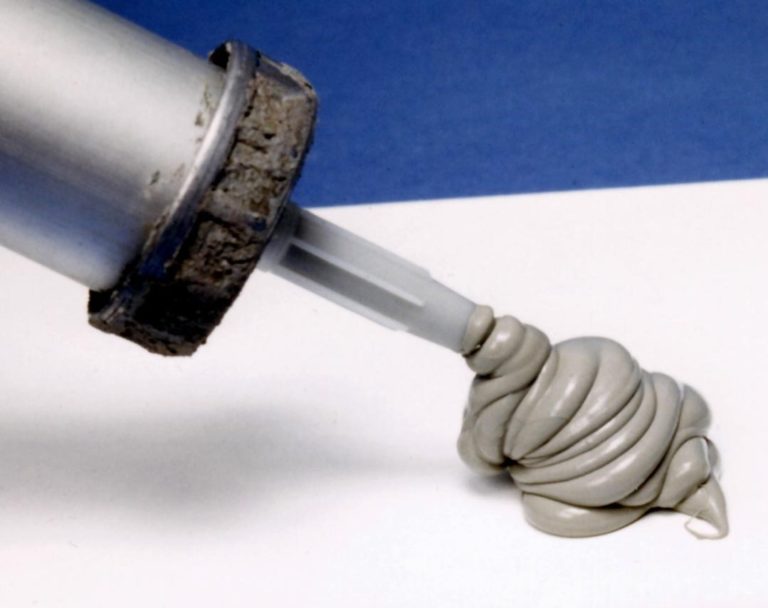
Step 1: Gather Your Materials The first step to re-caulking your bathroom sink is to gather all the necessary materials. You will need a caulk gun, caulk remover, a putty knife, rubbing alcohol, and your chosen caulk. Make sure to choose a caulk that is specifically made for bathroom use and is mold and mildew resistant. Step 2: Remove the Old Caulk Using your caulk remover and putty knife, carefully remove the old caulk from around your sink. Make sure to remove all traces of the old caulk to ensure a clean surface for the new caulk to adhere to. Step 3: Clean the Area Once all the old caulk is removed, clean the area with rubbing alcohol to remove any remaining residue. This will also help the new caulk adhere better. Step 4: Apply the New Caulk Load your caulk gun with the new caulk and carefully apply a thin, even line around the perimeter of your sink. Use a wet finger or caulk smoothing tool to smooth out the caulk and create a clean, finished look. Step 5: Let it Dry Allow the caulk to dry for at least 24 hours before using your sink again. This will ensure that the caulk has fully set and will prevent any cracks or gaps from forming.How to Re-Caulk a Bathroom Sink in 5 Simple Steps
Re-caulking your bathroom sink may seem like a tedious task, but it is crucial for maintaining the overall cleanliness and functionality of your sink. Over time, caulk can become discolored, cracked, or even moldy, which not only looks unsightly but can also lead to water damage and bacteria growth. By regularly re-caulking your sink, you can prevent these issues and keep your sink looking and functioning like new.The Importance of Regularly Re-Caulking Your Bathroom Sink
When it comes to choosing the best caulk for your bathroom sink, there are a few things to consider. Look for a caulk that is specifically made for bathroom use, as it will be more resistant to water, mold, and mildew. Silicone caulk is a popular choice for bathroom sinks, as it is flexible and waterproof. Some top picks include GE Silicone II Kitchen & Bath Caulk, DAP Kwik Seal Plus Kitchen & Bath Adhesive Caulk, and Loctite Polyseamseal Tub & Tile Caulk.Best Caulk for Bathroom Sink: Top Picks and Reviews
The frequency of re-caulking your bathroom sink will depend on the quality of the caulk and the amount of use your sink gets. On average, it is recommended to re-caulk every 1-2 years to maintain a clean and functional sink. However, if you notice any cracks or mold buildup, it's best to re-caulk immediately to prevent any further damage.How Often Should You Re-Caulk Your Bathroom Sink?
Re-caulking your bathroom sink is a DIY task that anyone can do with the right tools and technique. Not only will it save you money, but it also allows you to have more control over the end result. Follow the steps outlined above and you'll have a professional-looking bathroom sink in no time.DIY: How to Re-Caulk a Bathroom Sink Like a Pro
If your bathroom sink is old and worn out, you may be wondering if it's better to just replace it altogether instead of re-caulking. While replacing your sink may seem like the easier solution, it can be costly and time-consuming. In most cases, re-caulking is a sufficient solution and can extend the life of your sink. However, if your sink is severely damaged or outdated, it may be best to replace it.Re-Caulking vs. Replacing: Which is Best for Your Bathroom Sink?
Re-caulking your bathroom sink may seem like a simple task, but there are some common mistakes that can lead to a less-than-perfect result. Some mistakes to avoid include using the wrong type of caulk, not removing all the old caulk, and not smoothing out the caulk properly. By following the steps outlined above and being mindful of these mistakes, you can ensure a successful re-caulking job.Common Mistakes to Avoid When Re-Caulking Your Bathroom Sink
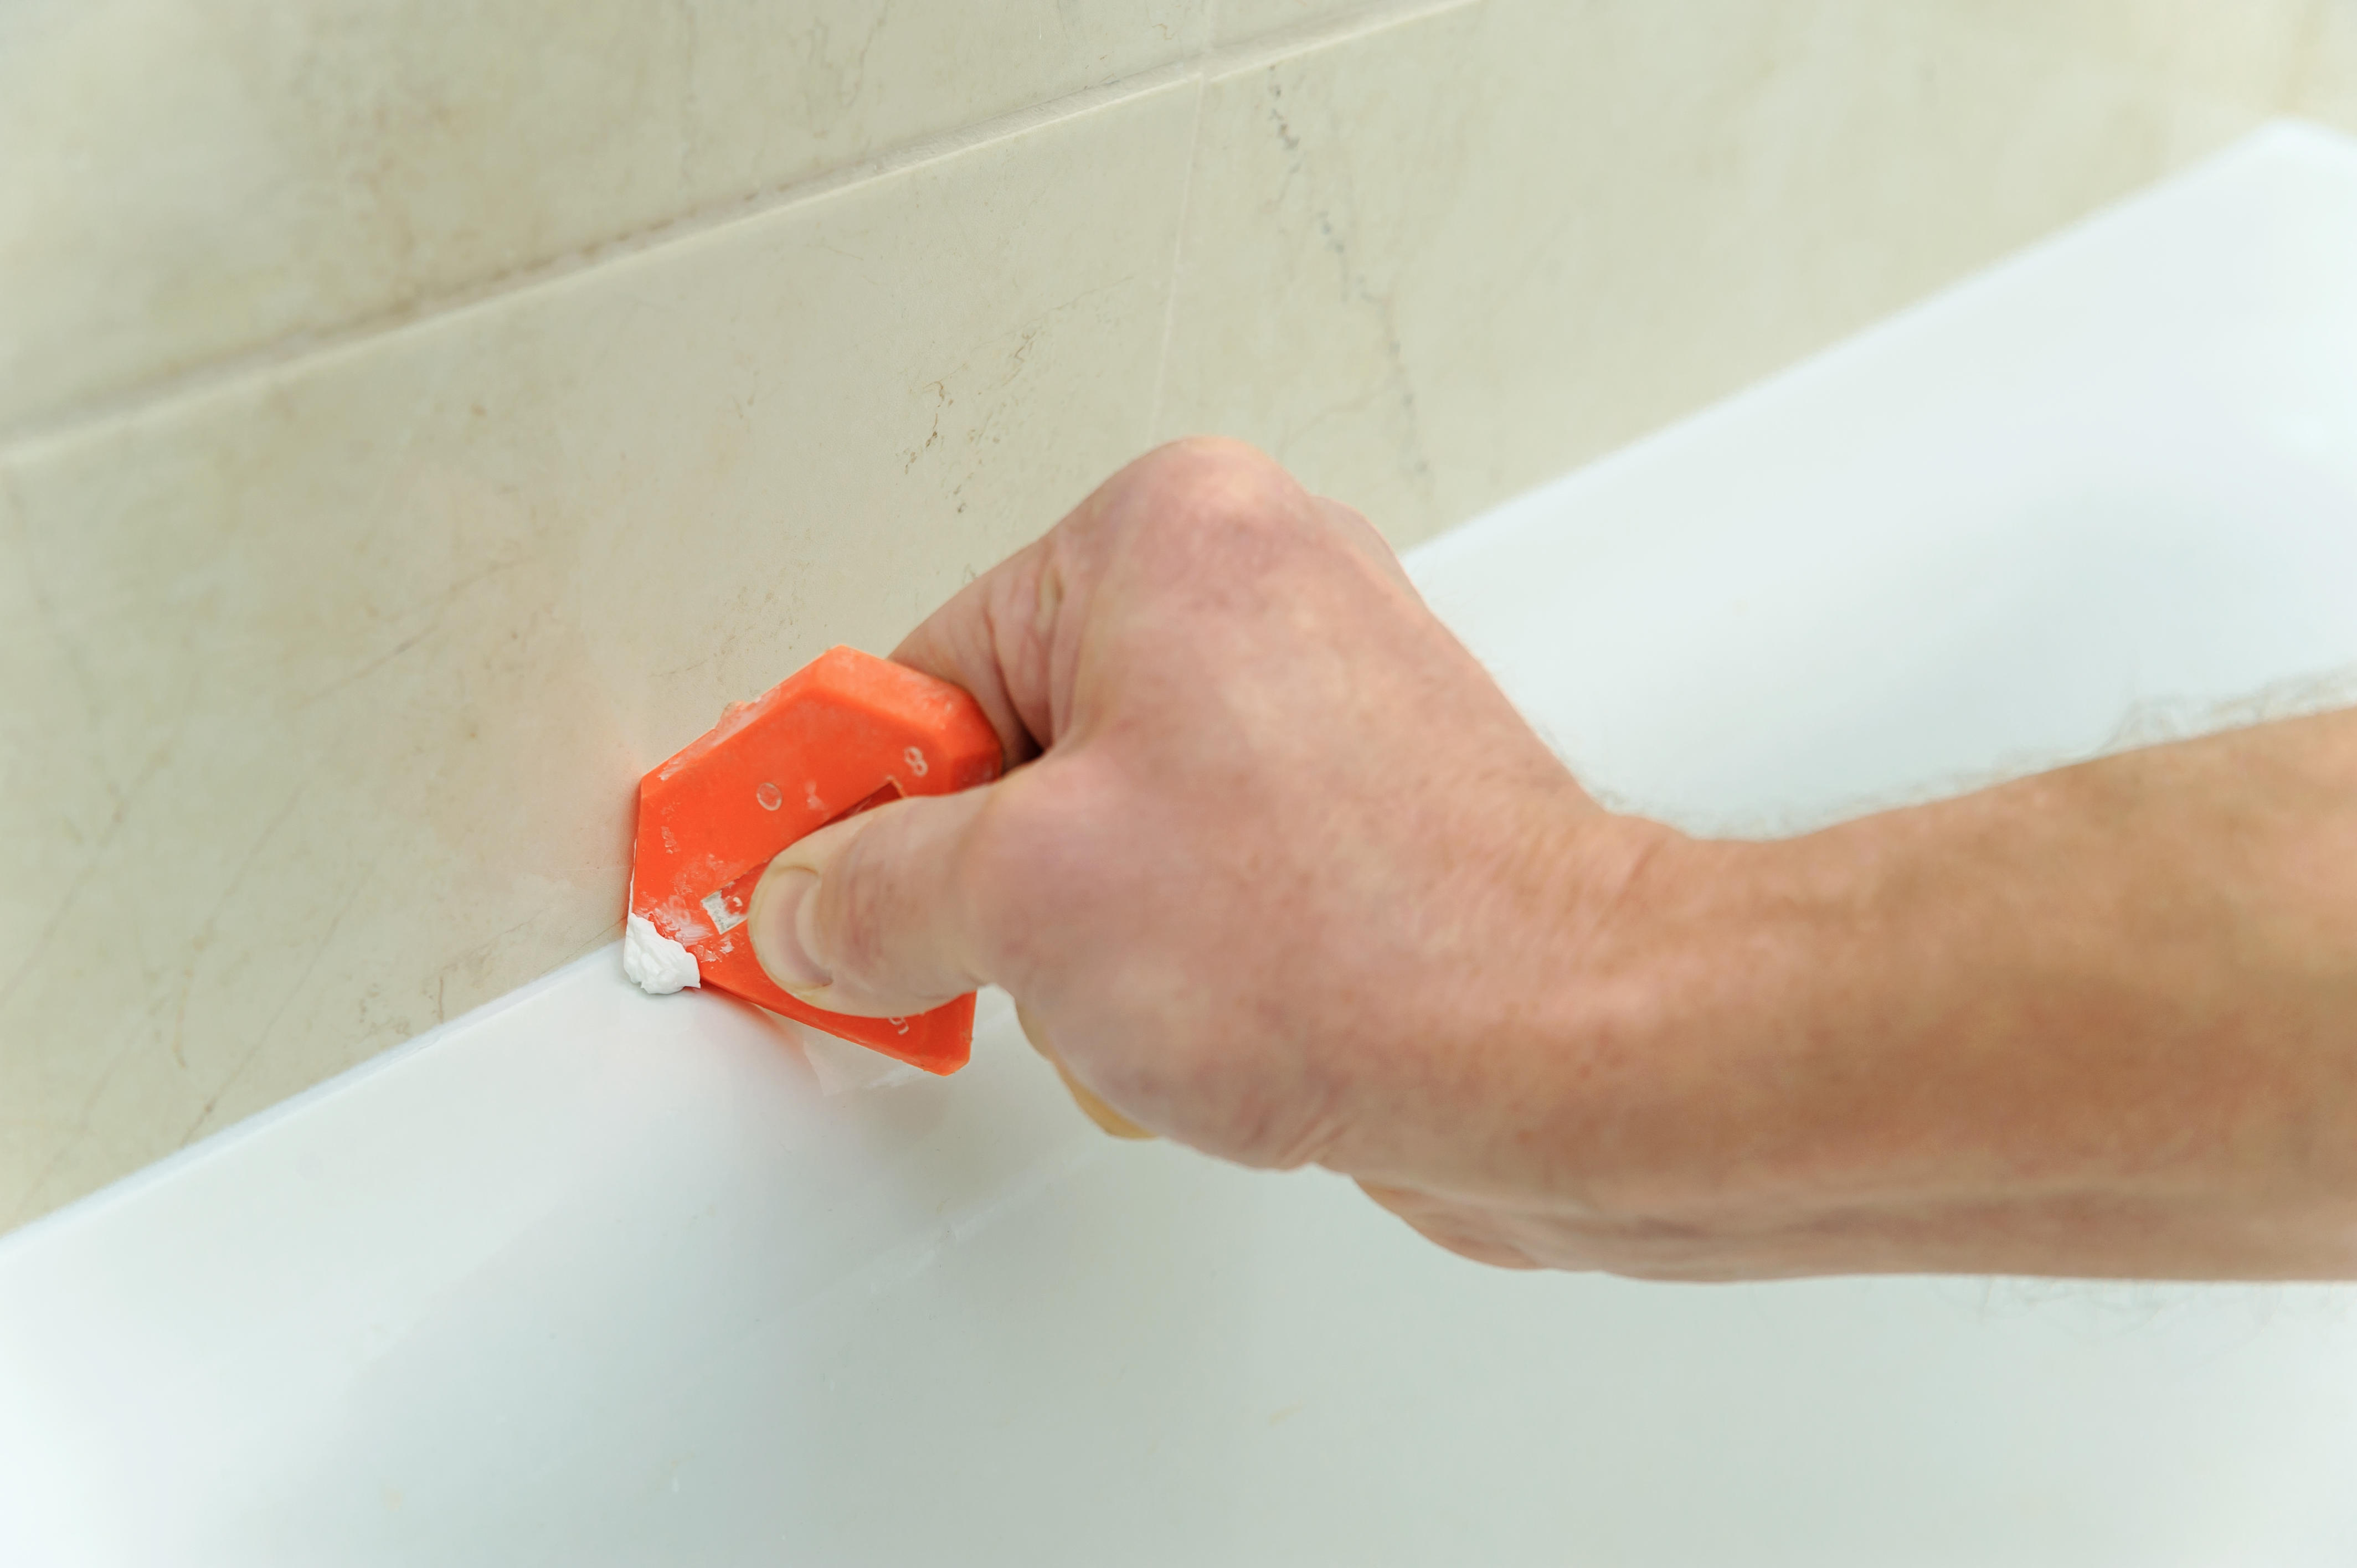
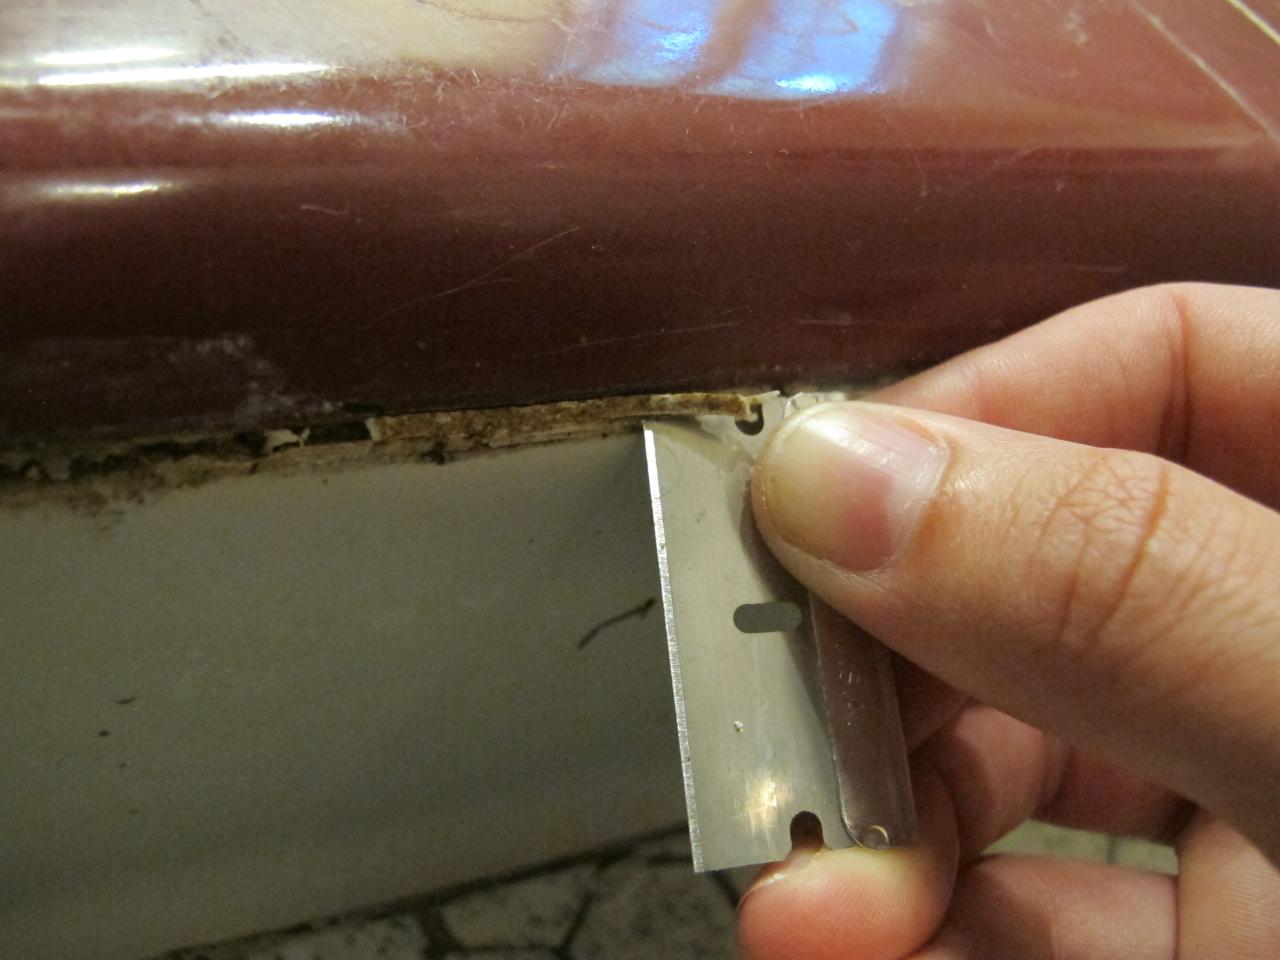
If you're re-caulking your bathroom sink, you'll need to remove the old caulk first. There are a few methods for removing old caulk, such as using a caulk remover, a putty knife, or a heat gun. Whichever method you choose, make sure to thoroughly remove all the old caulk to ensure a clean surface for the new caulk.How to Remove Old Caulk from a Bathroom Sink
Aside from the functional benefits of re-caulking your bathroom sink, there are also aesthetic benefits. By regularly re-caulking, you can keep your sink looking clean, fresh, and like new. It's a small and simple task that can make a big difference in the overall appearance of your bathroom. In conclusion, re-caulking your bathroom sink is an important task that should not be overlooked. By following these steps and tips, you can easily re-caulk your sink like a pro and enjoy a clean and functional sink for years to come.The Benefits of Re-Caulking Your Bathroom Sink for a Fresh Look
Why Re-Caulking Your Bathroom Sink is Important for Maintaining a Functional and Beautiful Home

The Importance of Proper Caulking in Your Bathroom
 When it comes to bathroom design, every detail matters. From the tiles to the fixtures, every element plays a role in creating a functional and aesthetically pleasing space. However, one aspect that is often overlooked is the caulking around the bathroom sink.
Properly caulking your bathroom sink is crucial for maintaining a functional and beautiful home.
What is Caulking?
 Caulking is the process of sealing the gaps and joints between two surfaces, such as a sink and a countertop, using a waterproof material. In the bathroom, caulking is typically done around sinks, showers, and bathtubs to prevent water from seeping into the walls and causing damage.
It also helps to create a smooth and seamless finish for a visually appealing bathroom.
The Importance of Re-Caulking
 Over time, caulk can deteriorate due to constant exposure to water, cleaning products, and general wear and tear. When this happens, it can lead to mold and mildew growth, water leaks, and a less attractive appearance.
Re-caulking your bathroom sink is essential for maintaining a clean, hygienic, and functional space.
How to Re-Caulk Your Bathroom Sink
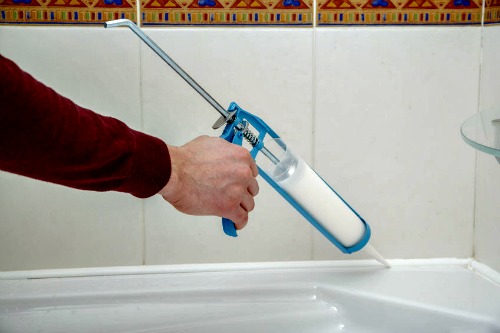
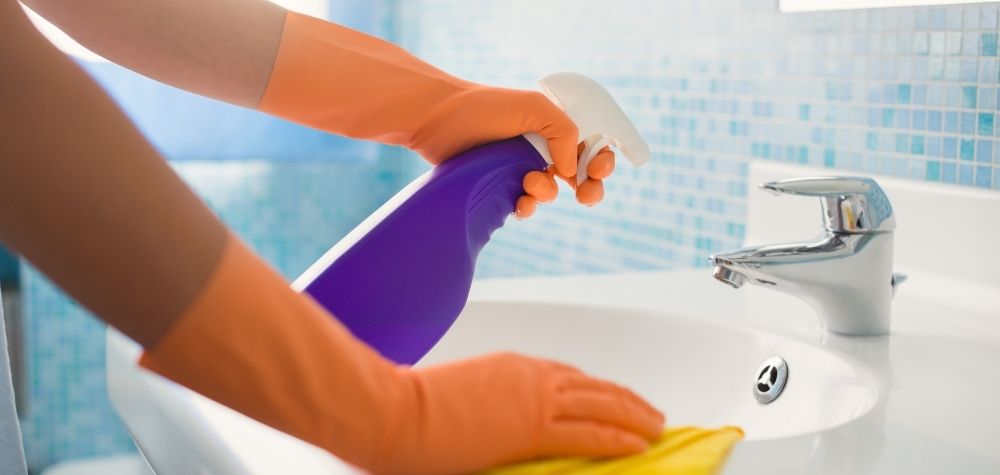
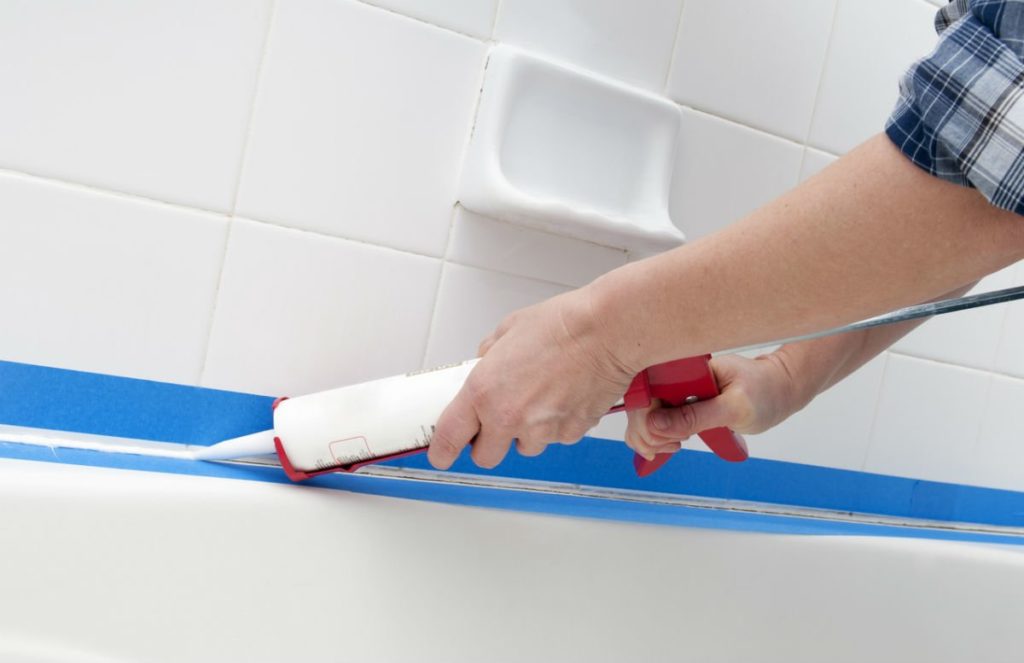
 Re-caulking your bathroom sink is a simple and affordable task that can be done in just a few steps. First, you will need to remove the old caulk using a caulk-removing tool or a razor blade. Next, thoroughly clean the area with a mild cleaner and let it dry completely. Then, cut the tip of a caulk tube at a 45-degree angle and apply a new bead of caulk along the seam of the sink and countertop. Use a caulk smoothing tool or your finger to create a smooth and even finish. Finally, let the caulk dry completely before using the sink.
By re-caulking your bathroom sink, you can prevent water damage and maintain a beautiful bathroom for years to come.
Conclusion
 In conclusion, proper caulking is crucial for maintaining a functional and beautiful bathroom. By regularly re-caulking your bathroom sink, you can prevent water damage, mold and mildew growth, and maintain an attractive space. So don't overlook this important aspect of bathroom design and make sure to include re-caulking in your regular home maintenance routine.




















:max_bytes(150000):strip_icc()/how-to-remove-old-caulk-1824827-01-3d0370c59e124dbbaa6560c68bab111c.jpg)

:max_bytes(150000):strip_icc()/how-to-remove-old-caulk-1824827-hero-4863fcf5169e426da8f822429ed46301.jpg?strip=all)







.jpg)

