Re-caulking a bathroom sink may seem like a daunting task, but with the right materials and techniques, it can be a simple and cost-effective way to refresh the appearance of your bathroom. By re-caulking your sink, you can prevent water damage, mold, and mildew, and give your bathroom a clean and polished look. Follow these easy steps to successfully re-caulk your bathroom sink. How to Re-Caulk a Bathroom Sink


How to Re-Caulk a Bathroom Sink


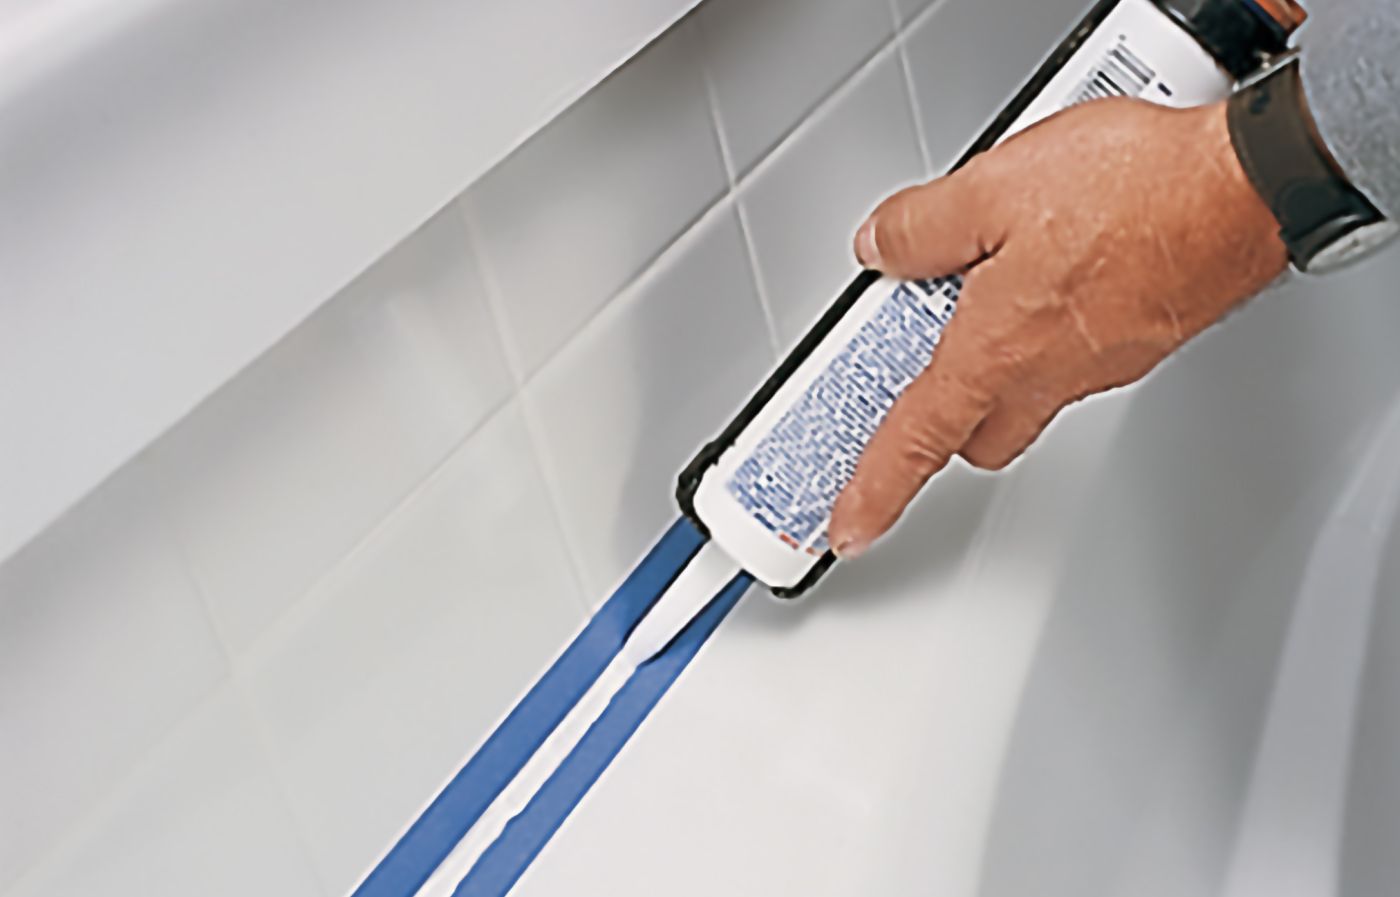
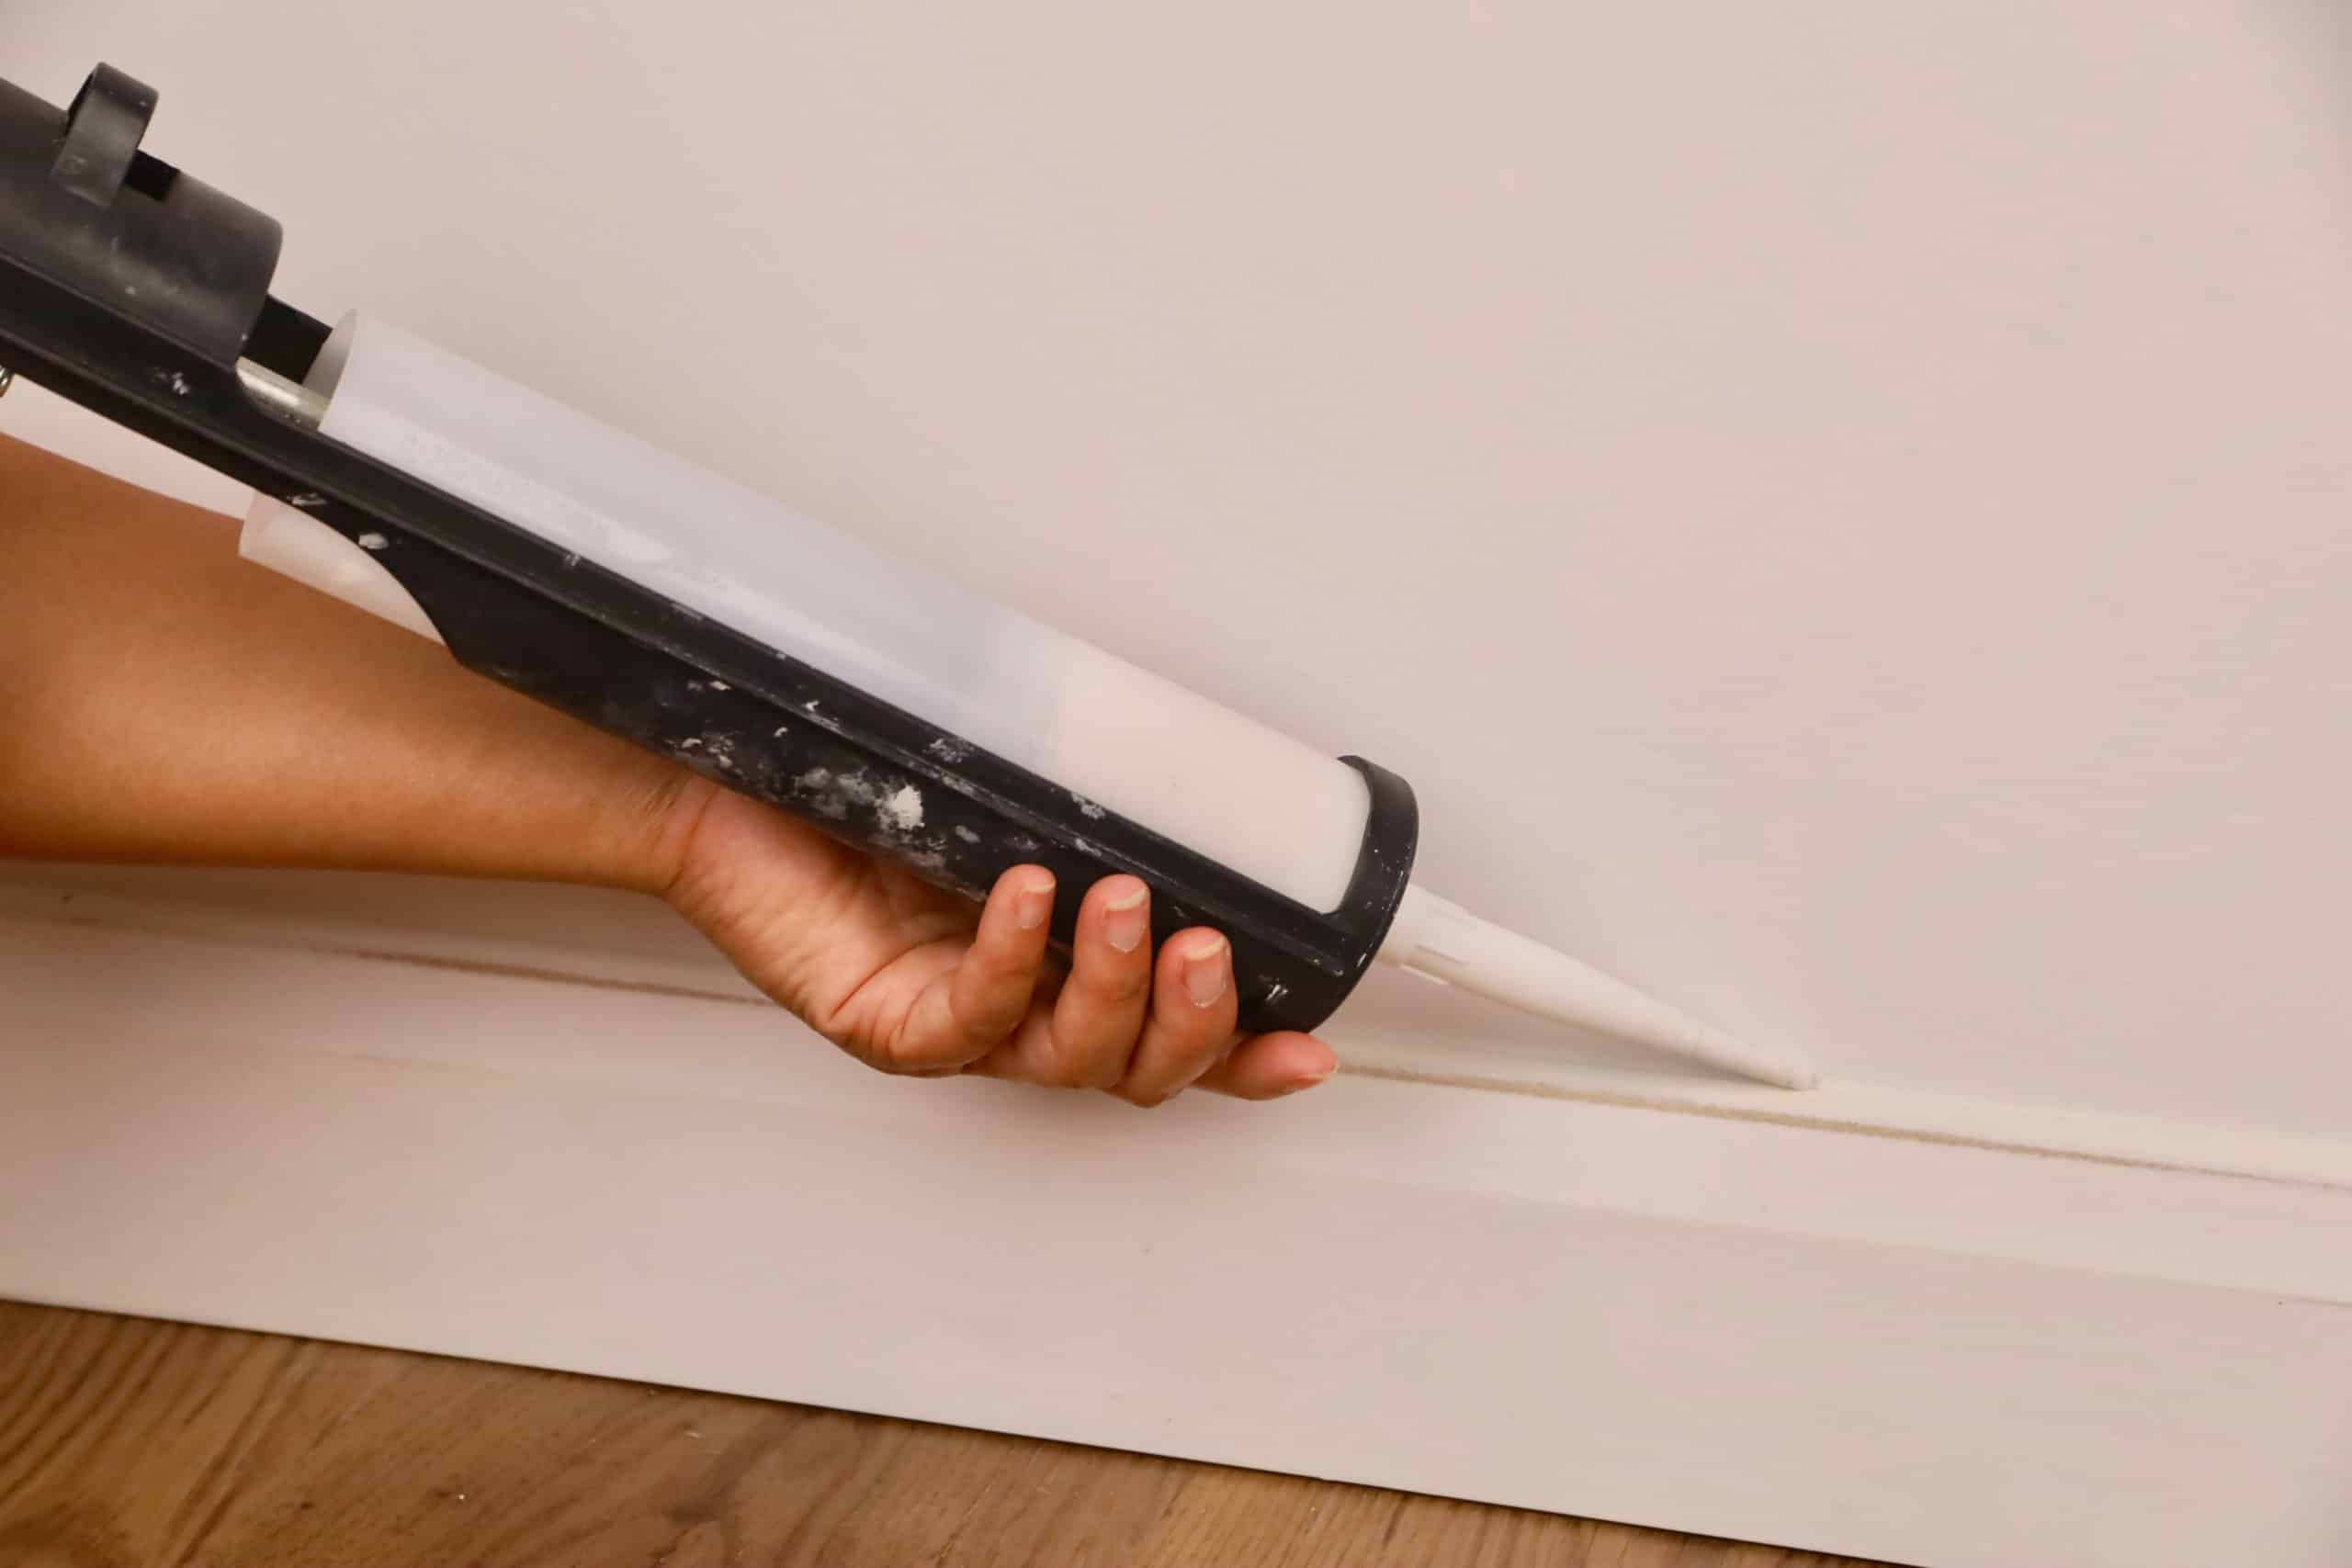
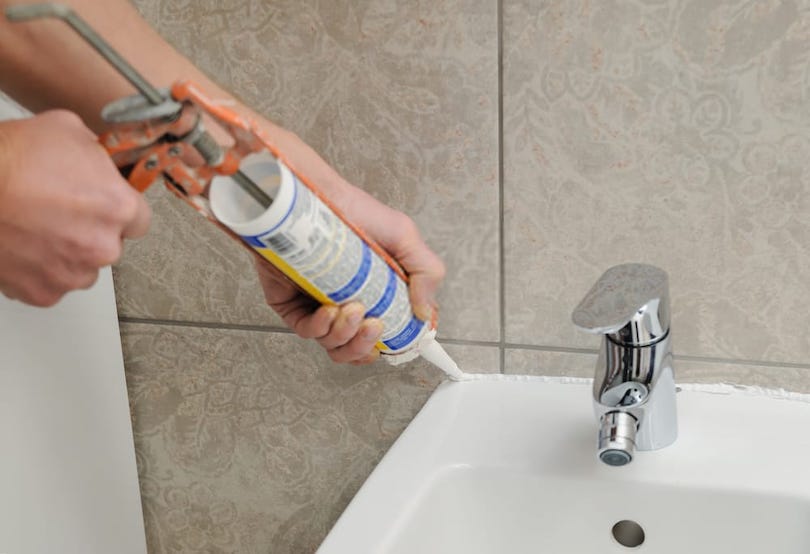
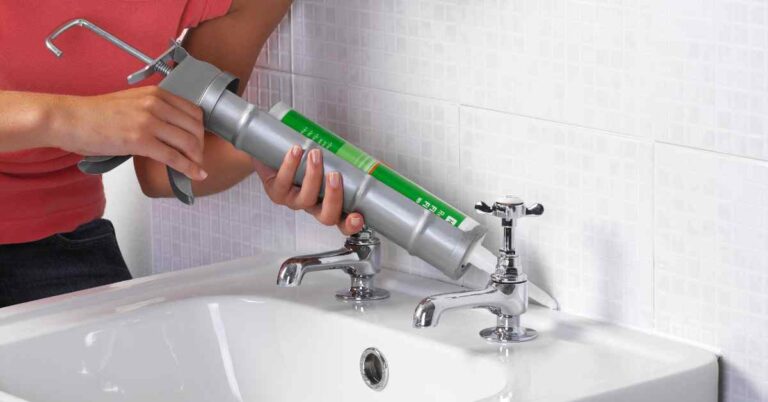
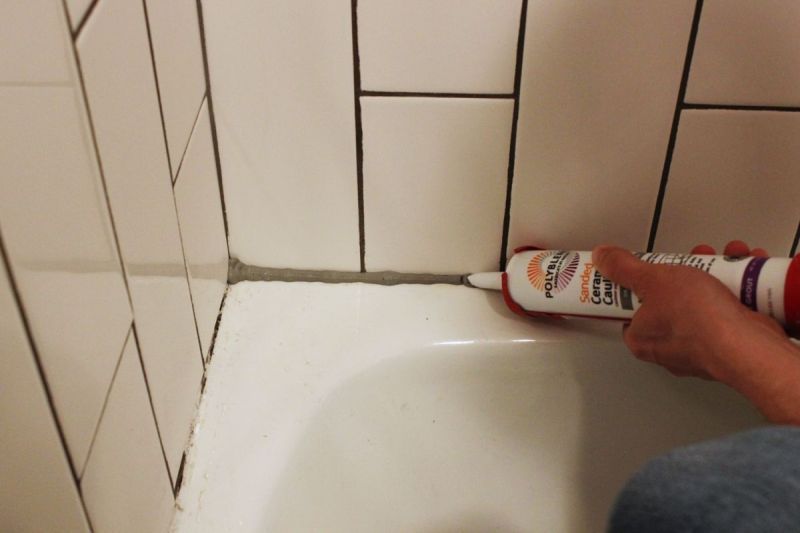
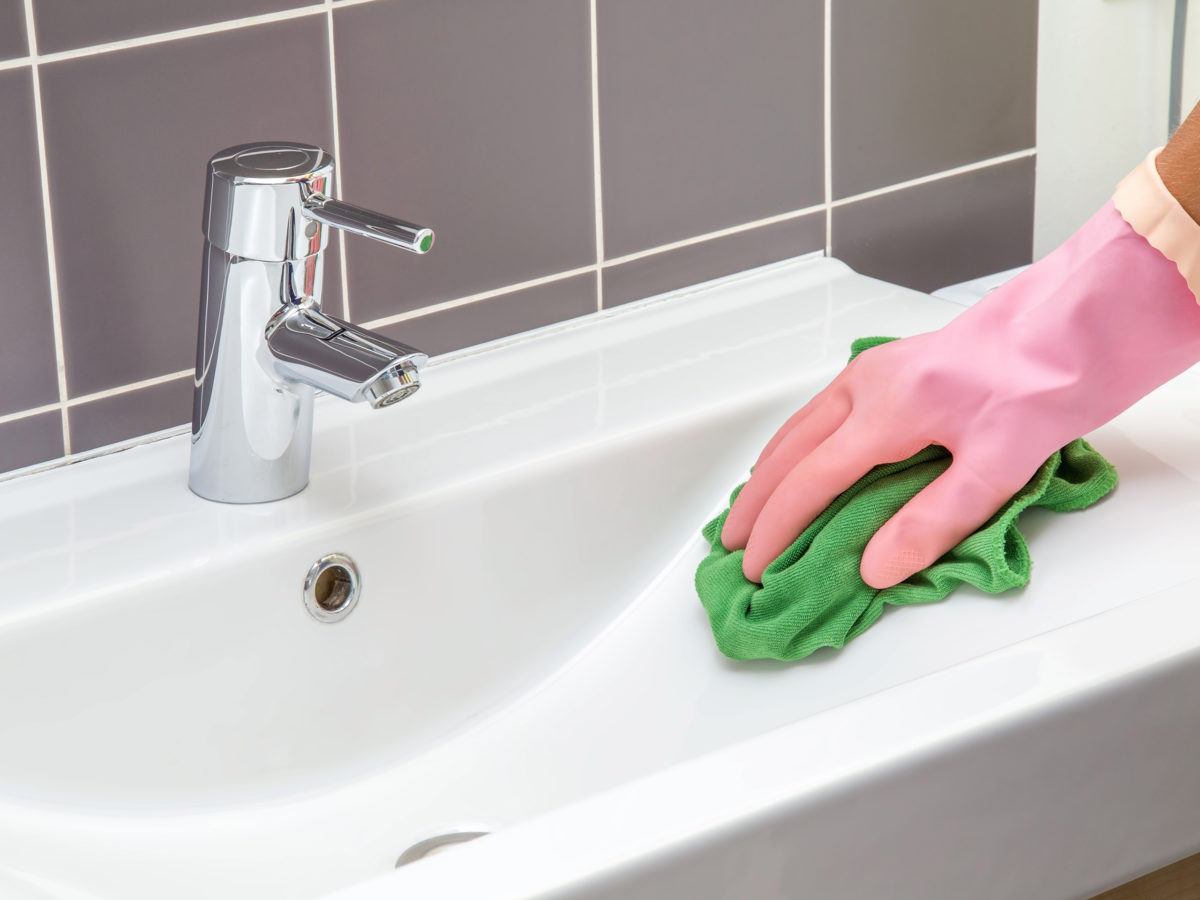
Step 1: Gather materials. Before you begin, make sure you have all the necessary materials. These include a caulk gun, caulk remover, caulk smoothing tool, and the caulk of your choice. It's also a good idea to have some rags or paper towels handy for any messes. Step 2: Remove old caulk. Use a caulk remover to soften and remove the old caulk from around your sink. This will ensure a clean and smooth surface for the new caulk to adhere to. Step 3: Clean and prep the area. Use a bathroom cleaner and scrub brush to thoroughly clean the area around your sink. Make sure to remove any dirt, grime, or debris. Dry the area completely before moving on to the next step. Step 4: Load the caulk gun. Load the caulk gun with the caulk of your choice. Be sure to cut the tip of the caulk tube at a 45-degree angle to get a precise application. Step 5: Apply the caulk. Using steady pressure, slowly run a bead of caulk along the edge of your sink. It's best to work in small sections to ensure the caulk doesn't dry out before you can smooth it. Step 6: Smooth the caulk. Using a caulk smoothing tool, run it along the edge of your sink to smooth out the caulk and remove any excess. This will create a clean and professional finish. Step 7: Let it dry. Allow the caulk to dry completely before using your sink again. This usually takes around 24 hours, but be sure to check the drying time on the caulk you chose. Step 8: Clean up. Once the caulk is dry, use a damp rag to clean up any excess or smudges. This will leave your sink looking clean and polished. Step-by-Step Guide for Re-Caulking a Bathroom Sink


Step-by-Step Guide for Re-Caulking a Bathroom Sink


- Choose a caulk that is specifically designed for bathrooms to prevent mold and mildew growth. Tips for Re-Caulking a Bathroom Sink
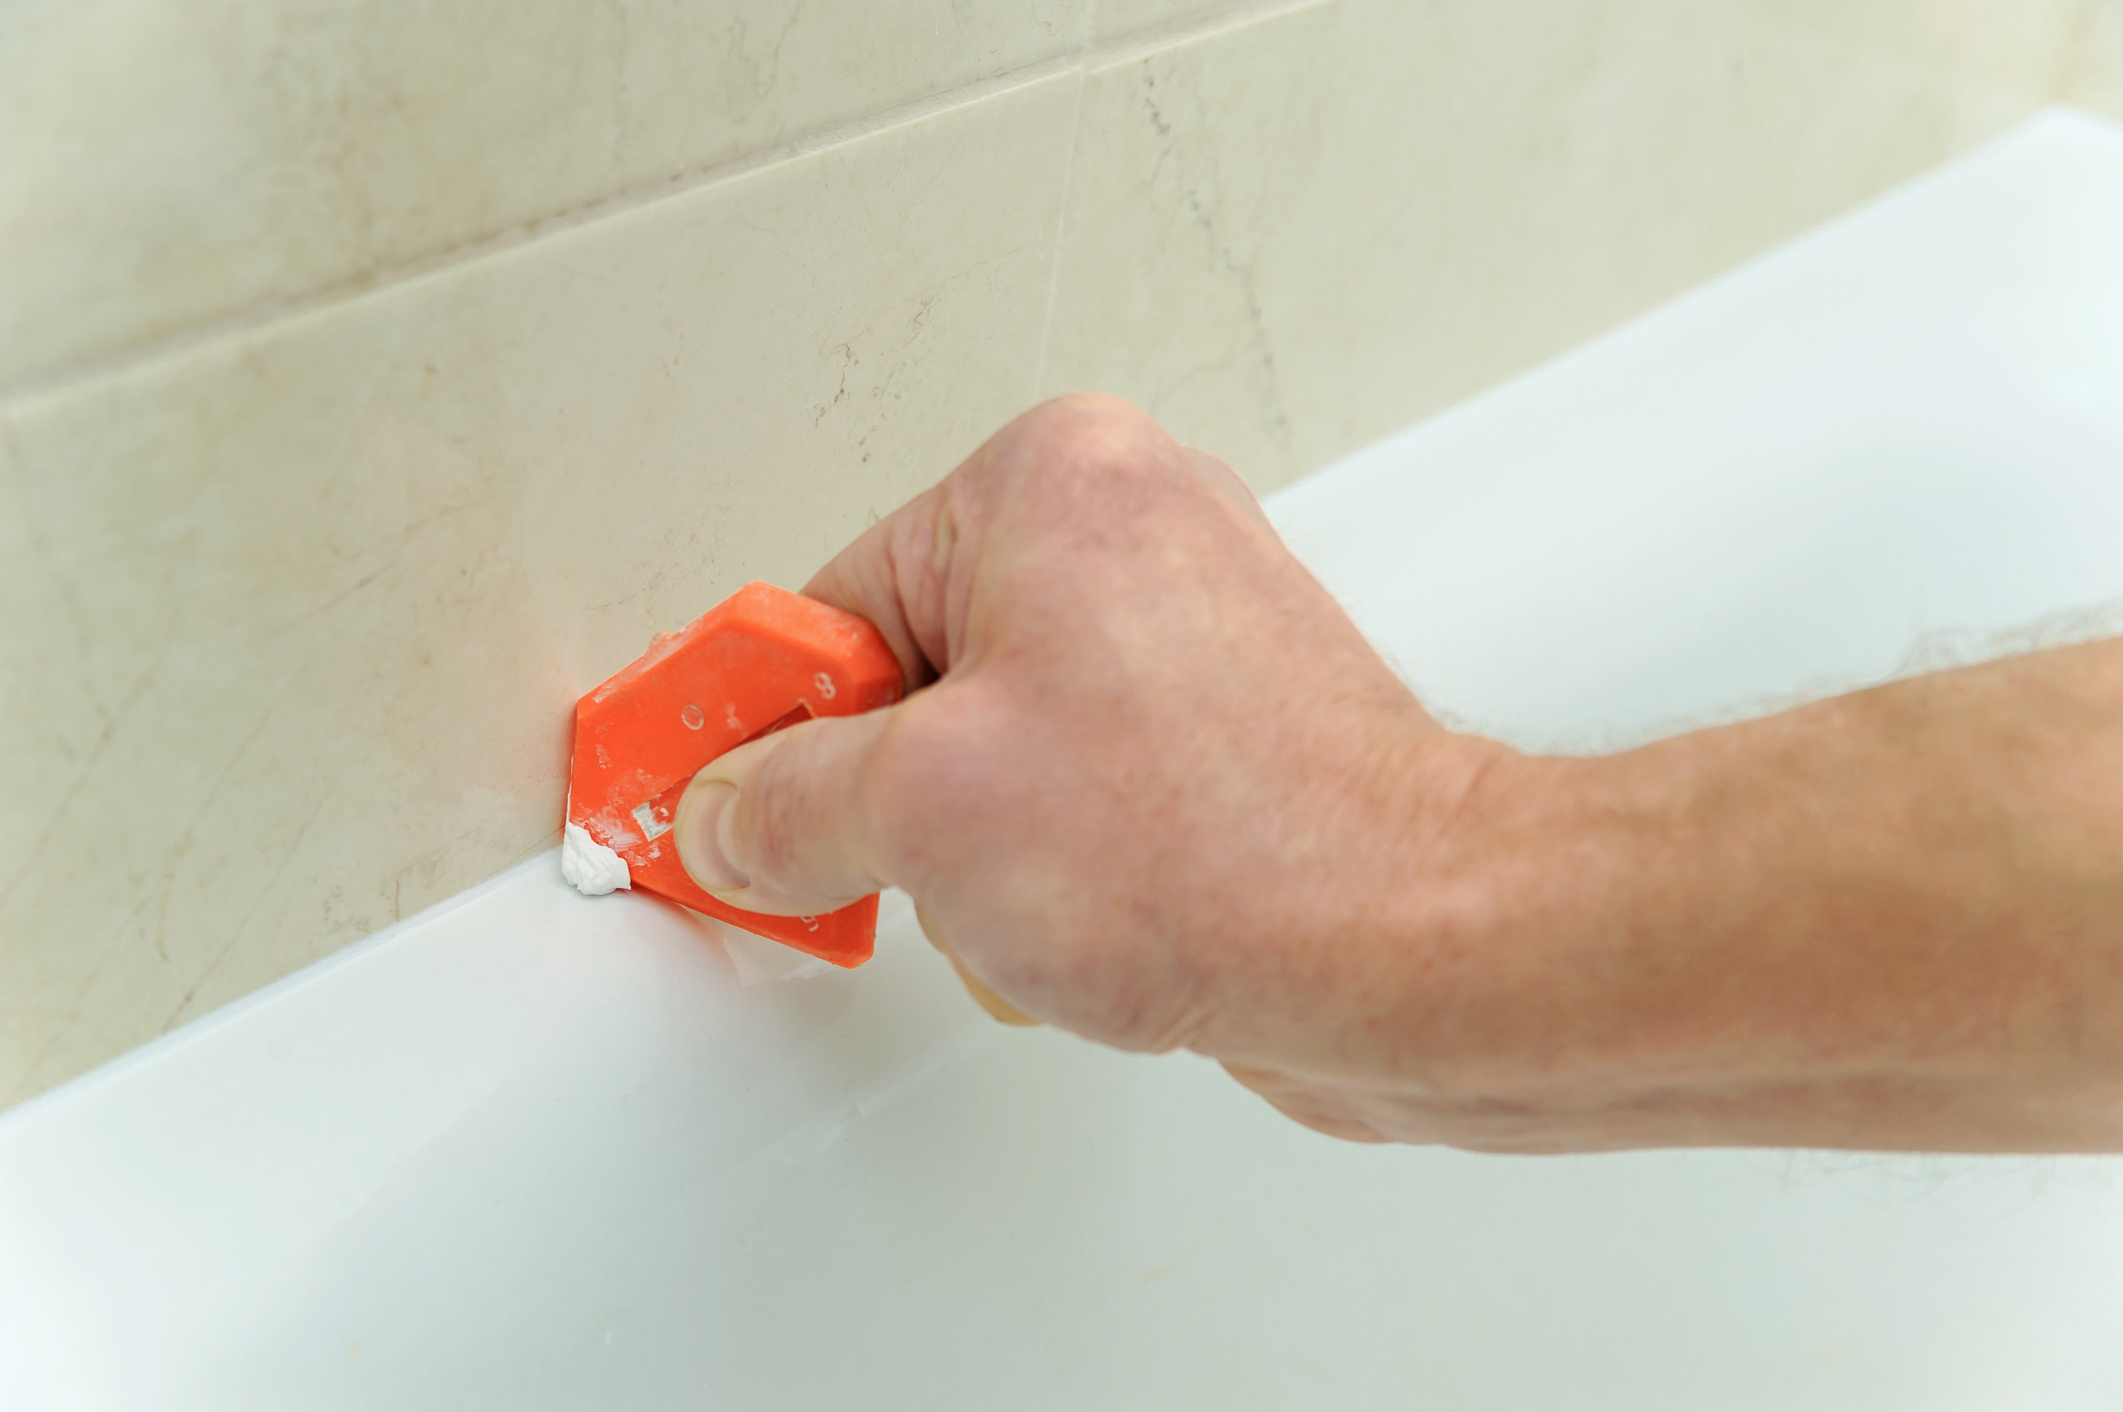
- Use a caulk smoothing tool or your finger to smooth out the caulk for a professional finish.
- Work in small sections to ensure the caulk doesn't dry out before you can smooth it.
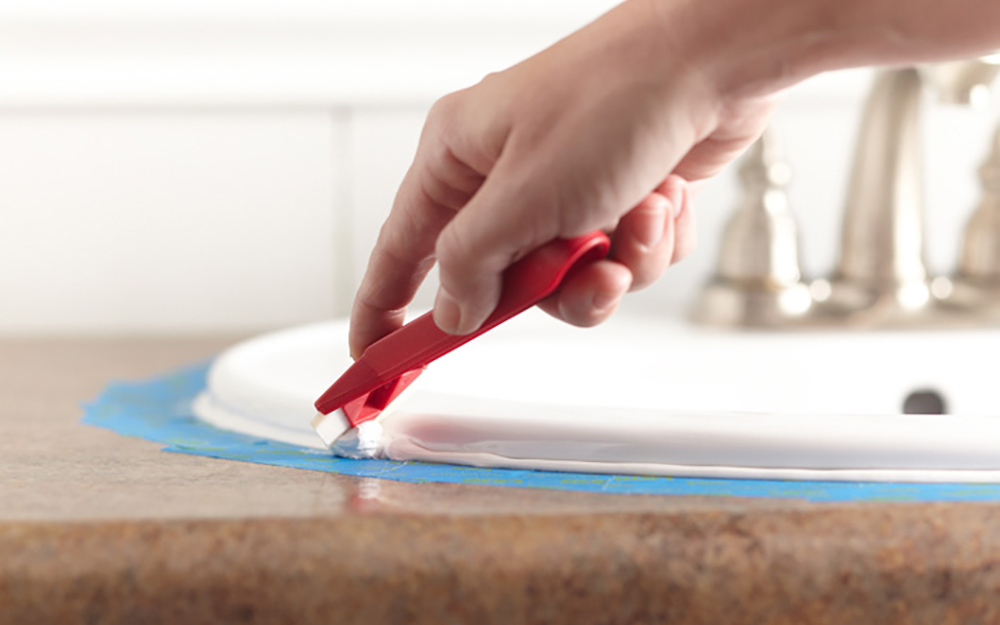
- Use a caulk remover to soften and remove old caulk for a clean and smooth surface.
- Allow the caulk to dry completely before using your sink again.
- Clean up any excess or smudges with a damp rag once the caulk has dried.

Tips for Re-Caulking a Bathroom Sink


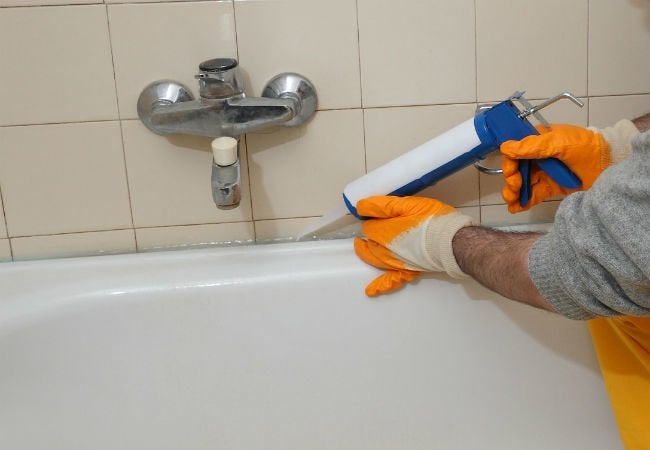


- Caulk gun Materials Needed for Re-Caulking a Bathroom Sink
- Caulk remover
- Caulk smoothing tool
- Rags or paper towels
- Bathroom cleaner
- Scrub brush
- Caulk of your choice


Materials Needed for Re-Caulking a Bathroom Sink


- Not removing old caulk before applying new caulk. Common Mistakes to Avoid When Re-Caulking a Bathroom Sink
- Using the wrong type of caulk for bathrooms.
- Not smoothing out the caulk for a professional finish.
- Using too much or too little caulk.
- Not allowing the caulk to dry completely before using the sink.


Common Mistakes to Avoid When Re-Caulking a Bathroom Sink


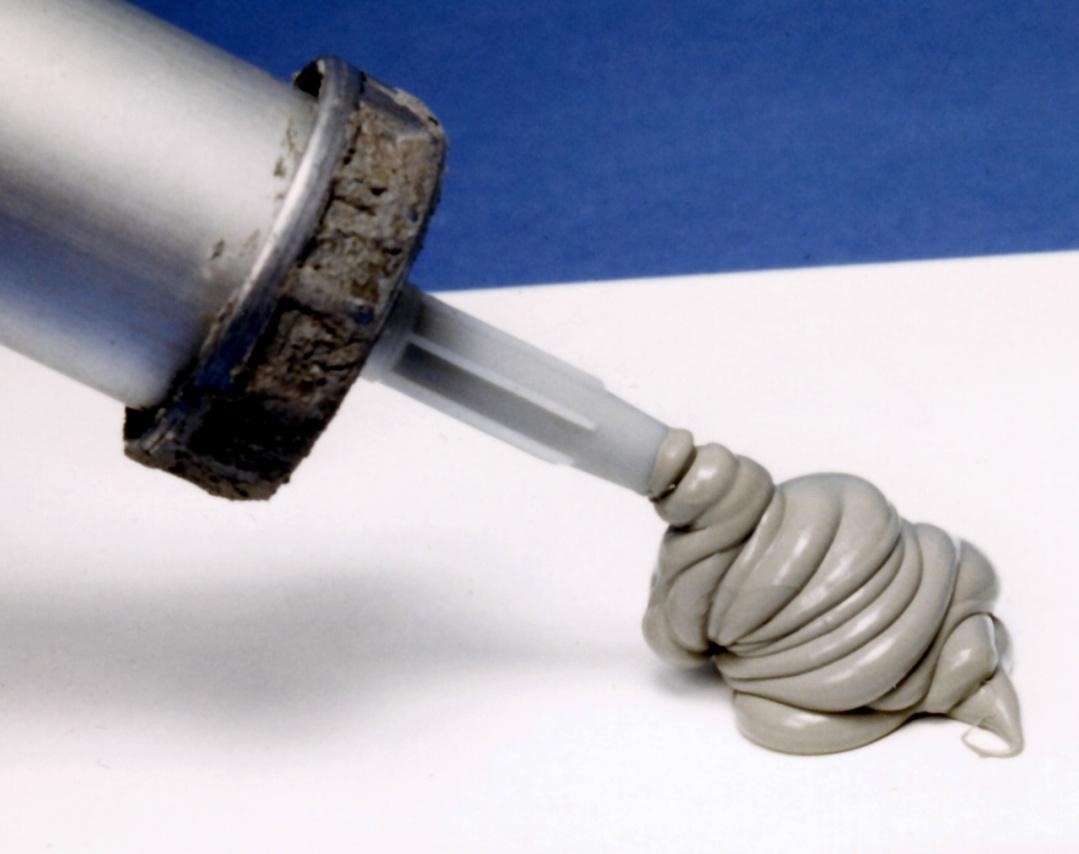

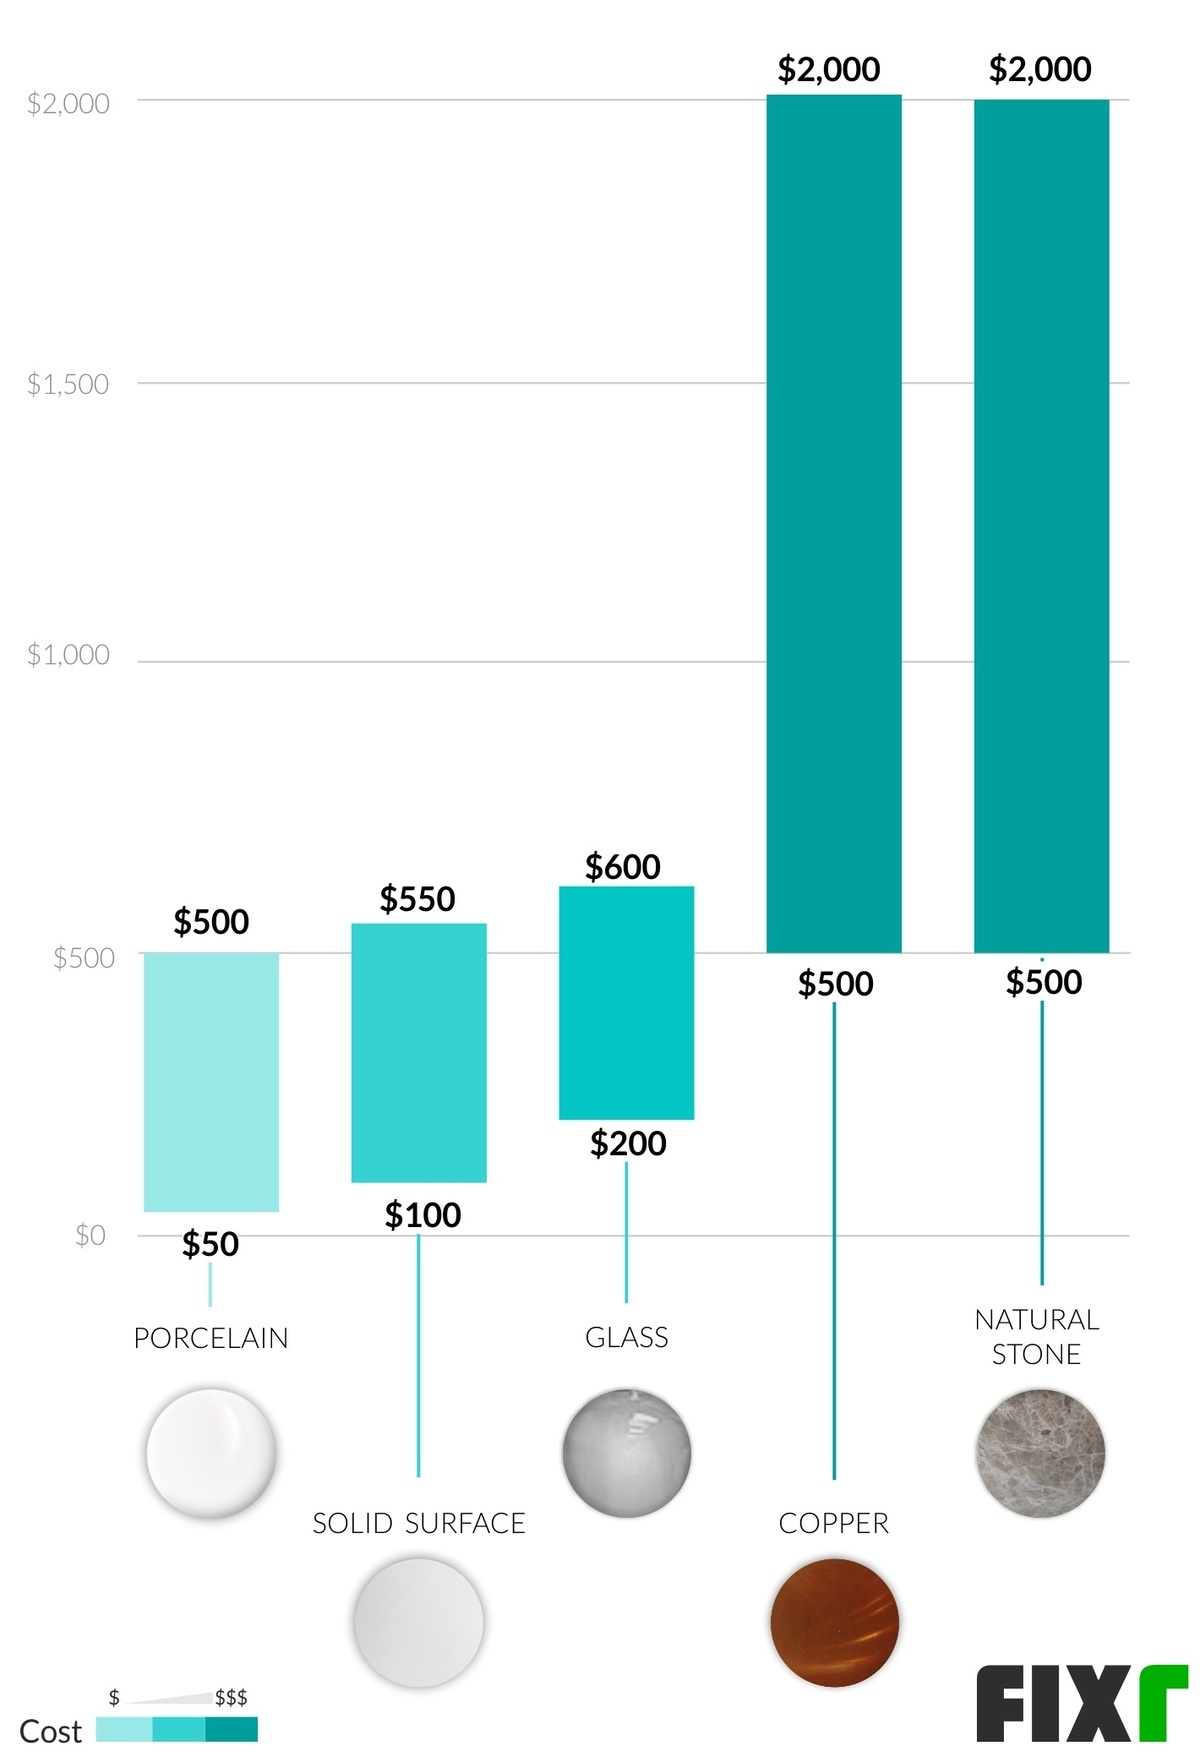
The best caulk for bathroom sinks is one that is specifically designed for bathrooms. Look for a caulk that is waterproof and mold and mildew resistant. Some popular options include silicone caulk, acrylic latex caulk, and polyurethane caulk. Best Caulk for Bathroom Sinks


Best Caulk for Bathroom Sinks


It's recommended to re-caulk your bathroom sink every 1-2 years to prevent water damage, mold, and mildew growth. However, if you notice any cracks or gaps in your caulk or if it starts to peel, it's best to re-caulk sooner. How Often Should You Re-Caulk a Bathroom Sink?


How Often Should You Re-Caulk a Bathroom Sink?


To remove old caulk from your bathroom sink, first, soften it with a caulk remover. Then, use a caulk scraper or putty knife to carefully scrape away the old caulk. Be sure to clean the area thoroughly before applying new caulk. How to Remove Old Caulk from a Bathroom Sink


How to Remove Old Caulk from a Bathroom Sink
:max_bytes(150000):strip_icc()/how-to-remove-old-caulk-1824827-01-3d0370c59e124dbbaa6560c68bab111c.jpg)
:max_bytes(150000):strip_icc()/how-to-remove-old-caulk-1824827-hero-4863fcf5169e426da8f822429ed46301.jpg?strip=all)

:max_bytes(150000):strip_icc()/caulk-removal-tool-56ec7f1b3df78ce5f83535fe.jpg)


To clean and prep a bathroom sink for re-caulking, use a bathroom cleaner and scrub brush to remove any dirt, grime, or debris. Then, dry the area completely before applying new caulk. How to Clean and Prep a Bathroom Sink for Re-Caulking

How to Clean and Prep a Bathroom Sink for Re-Caulking


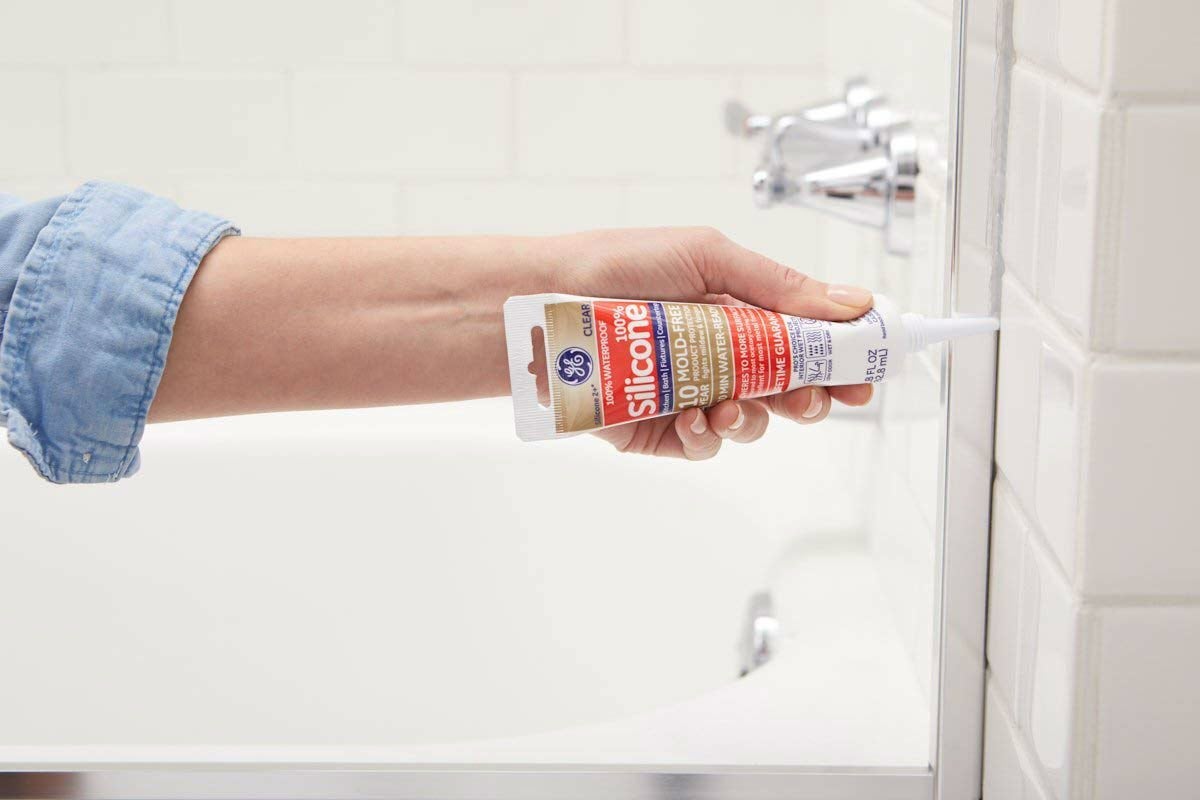
If you don't have a caulk gun, you can also use caulk in squeeze tubes or pre-cut caulk strips for re-caulking your bathroom sink. However, these methods may not provide as clean or precise of a finish as using a caulk gun and smoothing tool. Alternative Methods for Re-Caulking a Bathroom Sink


Alternative Methods for Re-Caulking a Bathroom Sink


Why Re-Caulking Your Bathroom Sink is Essential for Maintaining a Clean and Attractive Space

The Importance of Proper Caulking in Your Bathroom
 Proper caulking in your bathroom is crucial for maintaining a clean, functional, and attractive space. Over time, the caulk around your bathroom sink can begin to crack, peel, or discolor due to exposure to moisture, cleaning products, and general wear and tear. This can not only be unsightly but also lead to water damage and mold growth if left untreated. Re-caulking your bathroom sink is a simple and cost-effective solution that can improve the overall appearance and functionality of your bathroom.
How to Tell if Your Bathroom Sink Needs Re-Caulking
 Featured Keywords:
bathroom sink, re-caulking
If you notice any cracks, gaps, or discoloration in the caulk around your bathroom sink, it's a clear sign that it needs to be re-caulked. You may also see mold or mildew forming in these areas, which is a result of moisture getting trapped in the damaged caulk. Additionally, if you feel any movement or shifting in your sink, it could be a sign that the caulk has deteriorated and needs to be replaced.
Featured Keywords:
bathroom sink, re-caulking
If you notice any cracks, gaps, or discoloration in the caulk around your bathroom sink, it's a clear sign that it needs to be re-caulked. You may also see mold or mildew forming in these areas, which is a result of moisture getting trapped in the damaged caulk. Additionally, if you feel any movement or shifting in your sink, it could be a sign that the caulk has deteriorated and needs to be replaced.
The Benefits of Re-Caulking Your Bathroom Sink
 Featured Keywords:
benefits, re-caulking, bathroom sink
Re-caulking your bathroom sink can bring many benefits to your space. Firstly, it can prevent water damage and mold growth, which can be costly and challenging to fix. It also creates a waterproof barrier, ensuring that water doesn't seep into the walls or floors. Additionally, re-caulking can improve the overall aesthetic of your bathroom by giving it a clean and polished look. It also helps to keep your sink and surrounding areas clean by preventing water and debris from getting trapped in the gaps.
Featured Keywords:
benefits, re-caulking, bathroom sink
Re-caulking your bathroom sink can bring many benefits to your space. Firstly, it can prevent water damage and mold growth, which can be costly and challenging to fix. It also creates a waterproof barrier, ensuring that water doesn't seep into the walls or floors. Additionally, re-caulking can improve the overall aesthetic of your bathroom by giving it a clean and polished look. It also helps to keep your sink and surrounding areas clean by preventing water and debris from getting trapped in the gaps.
How to Re-Caulk Your Bathroom Sink
 Featured Keywords:
re-caulking, bathroom sink
Re-caulking your bathroom sink is a relatively simple DIY project that can be completed in just a few steps. First, you'll need to remove the old caulk using a caulk removal tool or a razor blade. Next, thoroughly clean the area around the sink using a mild cleaner and allow it to dry completely. Then, apply a new layer of caulk using a caulk gun, making sure to fill in any gaps or cracks. Finally, use a damp cloth to smooth out the caulk and remove any excess. Allow the caulk to dry completely before using the sink again.
Featured Keywords:
re-caulking, bathroom sink
Re-caulking your bathroom sink is a relatively simple DIY project that can be completed in just a few steps. First, you'll need to remove the old caulk using a caulk removal tool or a razor blade. Next, thoroughly clean the area around the sink using a mild cleaner and allow it to dry completely. Then, apply a new layer of caulk using a caulk gun, making sure to fill in any gaps or cracks. Finally, use a damp cloth to smooth out the caulk and remove any excess. Allow the caulk to dry completely before using the sink again.
Conclusion
 In conclusion, re-caulking your bathroom sink is a necessary and straightforward task that can have a significant impact on the overall appearance and functionality of your bathroom. By following these simple steps, you can ensure that your sink remains clean, mold-free, and looking its best. Don't neglect this essential maintenance task and enjoy a beautiful and functional bathroom for years to come.