Tiling a kitchen wall is a great way to add a pop of color and texture to your kitchen, while also making it easier to clean and maintain. But before you start placing tiles, it's important to properly prepare the wall to ensure a smooth, long-lasting finish. Here are the steps you need to follow to prepare your kitchen wall for tiling.1. How to Prepare a Kitchen Wall for Tiling


1. How to Prepare a Kitchen Wall for Tiling


The first step in preparing a kitchen wall for tiling is to clean the surface thoroughly. Use a mild detergent and warm water to remove any grease, dust, or dirt that may have accumulated on the wall. Make sure to rinse the wall well and let it dry completely before proceeding to the next step. Once the wall is clean and dry, fill in any holes or cracks with a spackling compound. Use a putty knife to apply the compound, and make sure to smooth it out evenly. Let it dry completely and then sand it down to make the surface even. Next, you'll need to apply a layer of primer to the wall. This will help the tiles adhere better and prevent any discoloration of the tiles due to the color of the wall. Use a paintbrush or roller to evenly apply the primer and let it dry completely. Now it's time to measure and mark out the area where you'll be tiling. Use a pencil and a level to create a grid on the wall, making sure the lines are straight and even. This will serve as a guide for placing the tiles. Before you start tiling, it's important to lay out the tiles on the floor to determine the best layout and pattern for your kitchen wall. This will also help you calculate how many tiles you'll need for the job. Finally, it's time to start tiling! Use a trowel to spread tile adhesive on the wall, starting from the bottom and working your way up. Place the tiles on the wall, following the grid you created earlier. Make sure to use tile spacers to ensure even spacing between the tiles. Once all the tiles are in place, let them dry for at least 24 hours before grouting. Use a grout float to apply grout between the tiles, making sure to wipe off any excess with a damp sponge. Let the grout dry for a day and then wipe the tiles clean to reveal your beautifully tiled kitchen wall.2. Steps for Preparing a Kitchen Wall for Tiling

2. Steps for Preparing a Kitchen Wall for Tiling


Preparing a kitchen wall for tiling may seem like a daunting task, but with these tips, you'll be on your way to a successful tiling project: Choose the right tiles: Make sure to choose tiles that are suitable for kitchen walls, as they will be exposed to heat, moisture, and stains. Porcelain or ceramic tiles are good options for kitchen walls. Be patient: Don't rush the process of preparing the wall. Make sure to let each step dry completely before proceeding to the next, to ensure a strong and durable finish. Use the right tools: Having the right tools for the job will make the process much easier and more efficient. Make sure to have a trowel, tile spacers, a grout float, and a level on hand. Don't forget to seal: Once the tiles are in place and the grout is dry, it's important to seal the tiles to protect them from stains and water damage. Use a sealant specifically designed for kitchen tiles.3. Tips for Preparing a Kitchen Wall for Tiling


3. Tips for Preparing a Kitchen Wall for Tiling
To prepare a kitchen wall for tiling, you'll need the following materials: Cleaner: A mild detergent and warm water for cleaning the wall. Spackling compound: For filling in any holes or cracks on the wall. Primer: To create a smooth, even surface for the tiles to adhere to. Paintbrush or roller: For applying the primer. Pencil and level: For marking out the tiling area. Tiles: Make sure to choose tiles suitable for kitchen walls. Trowel: For spreading tile adhesive on the wall. Tile spacers: For ensuring even spacing between the tiles. Grout float: For applying grout between the tiles. Grout: To fill in the gaps between the tiles. Sealant: To protect the tiles from stains and water damage.4. Materials Needed for Preparing a Kitchen Wall for Tiling

4. Materials Needed for Preparing a Kitchen Wall for Tiling


If you're new to tiling, preparing a kitchen wall for tiling may seem intimidating. But with the right guidance and patience, you can achieve a professional-looking finish. Just make sure to follow the steps outlined above and don't be afraid to ask for help if needed.5. Preparing a Kitchen Wall for Tiling: A Beginner's Guide


5. Preparing a Kitchen Wall for Tiling: A Beginner's Guide
To ensure a successful tiling project, here are some do's and don'ts to keep in mind when preparing a kitchen wall for tiling: Do: Clean and repair the wall before tiling, use the right tools, and let each step dry completely. Don't: Rush the process, skip steps, or use unsuitable tiles.6. Preparing a Kitchen Wall for Tiling: Do's and Don'ts


6. Preparing a Kitchen Wall for Tiling: Do's and Don'ts


Before tiling a kitchen wall, it's important to clean and repair any imperfections on the wall to ensure a smooth and even surface for the tiles. Use a mild detergent and warm water to clean the wall, and fill in any holes or cracks with spackling compound. Let it dry completely before proceeding with the tiling process.7. How to Clean and Repair a Kitchen Wall for Tiling


7. How to Clean and Repair a Kitchen Wall for Tiling


When preparing a kitchen wall for tiling, there are some common mistakes that you should avoid to ensure a successful project: Not measuring and marking out the area: Skipping this step can result in uneven tiles and a sloppy finish. Rushing the process: Each step needs to dry completely before proceeding to the next, so be patient and don't rush the process. Using unsuitable tiles: Make sure to choose tiles that are suitable for kitchen walls, as they will be exposed to heat, moisture, and stains.8. Preparing a Kitchen Wall for Tiling: Common Mistakes to Avoid


8. Preparing a Kitchen Wall for Tiling: Common Mistakes to Avoid


Having the right tools for the job will make the process of preparing a kitchen wall for tiling much easier and more efficient. Here are the tools you'll need: Trowel: For spreading tile adhesive on the wall. Tile spacers: For ensuring even spacing between the tiles. Grout float: For applying grout between the tiles. Pencil and level: For marking out the tiling area.9. Preparing a Kitchen Wall for Tiling: Tools You'll Need


9. Preparing a Kitchen Wall for Tiling: Tools You'll Need


If you're a visual learner, here's a step-by-step tutorial on how to prepare a kitchen wall for tiling: Step 1: Clean the wall thoroughly with a mild detergent and warm water, and let it dry completely. Step 2: Fill in any holes or cracks with spackling compound and let it dry. Sand it down to create an even surface. Step 3: Apply primer to the wall and let it dry completely. Step 4: Measure and mark out the tiling area using a pencil and level. Step 5: Lay out the tiles on the floor to determine the best layout and pattern for your kitchen wall. Step 6: Spread tile adhesive on the wall using a trowel, and place the tiles according to the grid you created earlier. Step 7: Let the tiles dry for at least 24 hours before grouting. Step 8: Use a grout float to apply grout between the tiles, and then wipe off any excess with a damp sponge. Step 9: Let the grout dry for a day and then wipe the tiles clean to reveal your beautifully tiled kitchen wall. With these tips and steps in mind, you'll be able to prepare your kitchen wall for tiling like a pro. Just remember to take your time and follow each step carefully for the best results. Happy tiling!10. Preparing a Kitchen Wall for Tiling: Step-by-Step Tutorial


10. Preparing a Kitchen Wall for Tiling: Step-by-Step Tutorial

Prepping Your Kitchen Walls for Beautiful Tiles
Efficiently Prepare Your Walls for Tiling
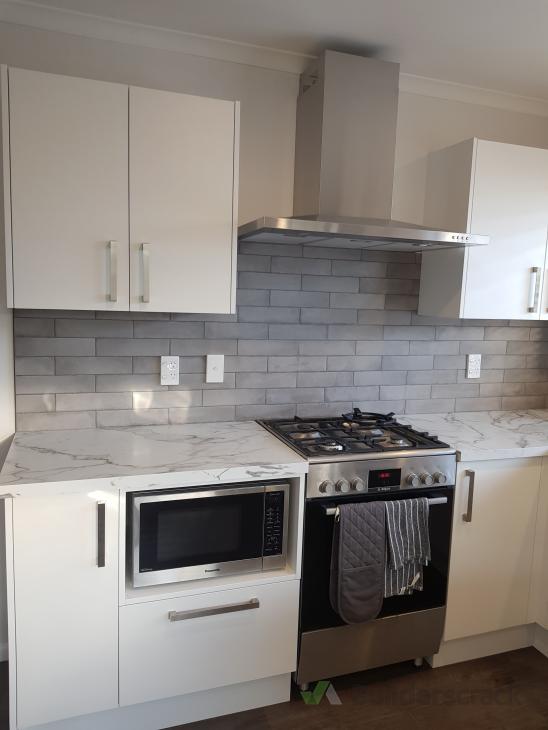
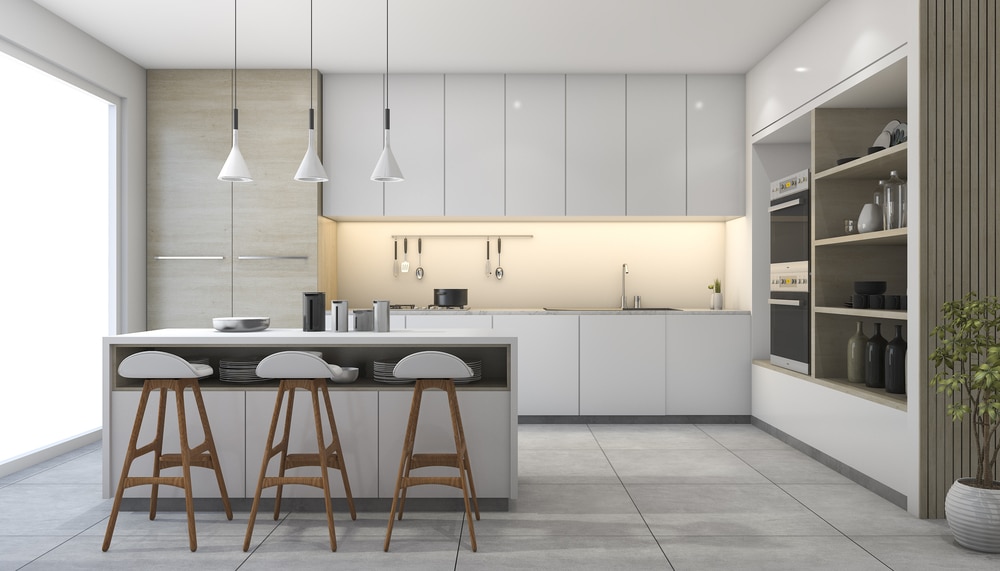
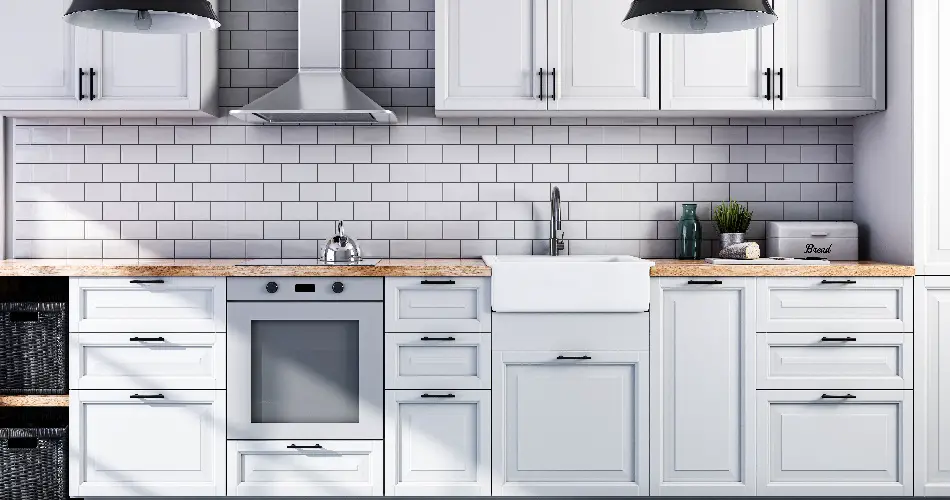
 When it comes to kitchen design,
tiling
has become an increasingly popular choice for homeowners. Not only does it add a stylish touch to the room, but it also provides a durable and easy-to-clean surface for all your cooking and meal prep needs. However, before you can start installing those gorgeous tiles, it is important to properly prepare your kitchen walls to ensure a smooth and successful tiling process. Here are some essential steps to follow to
prepare your kitchen wall for tiling
in the most efficient way possible.
When it comes to kitchen design,
tiling
has become an increasingly popular choice for homeowners. Not only does it add a stylish touch to the room, but it also provides a durable and easy-to-clean surface for all your cooking and meal prep needs. However, before you can start installing those gorgeous tiles, it is important to properly prepare your kitchen walls to ensure a smooth and successful tiling process. Here are some essential steps to follow to
prepare your kitchen wall for tiling
in the most efficient way possible.
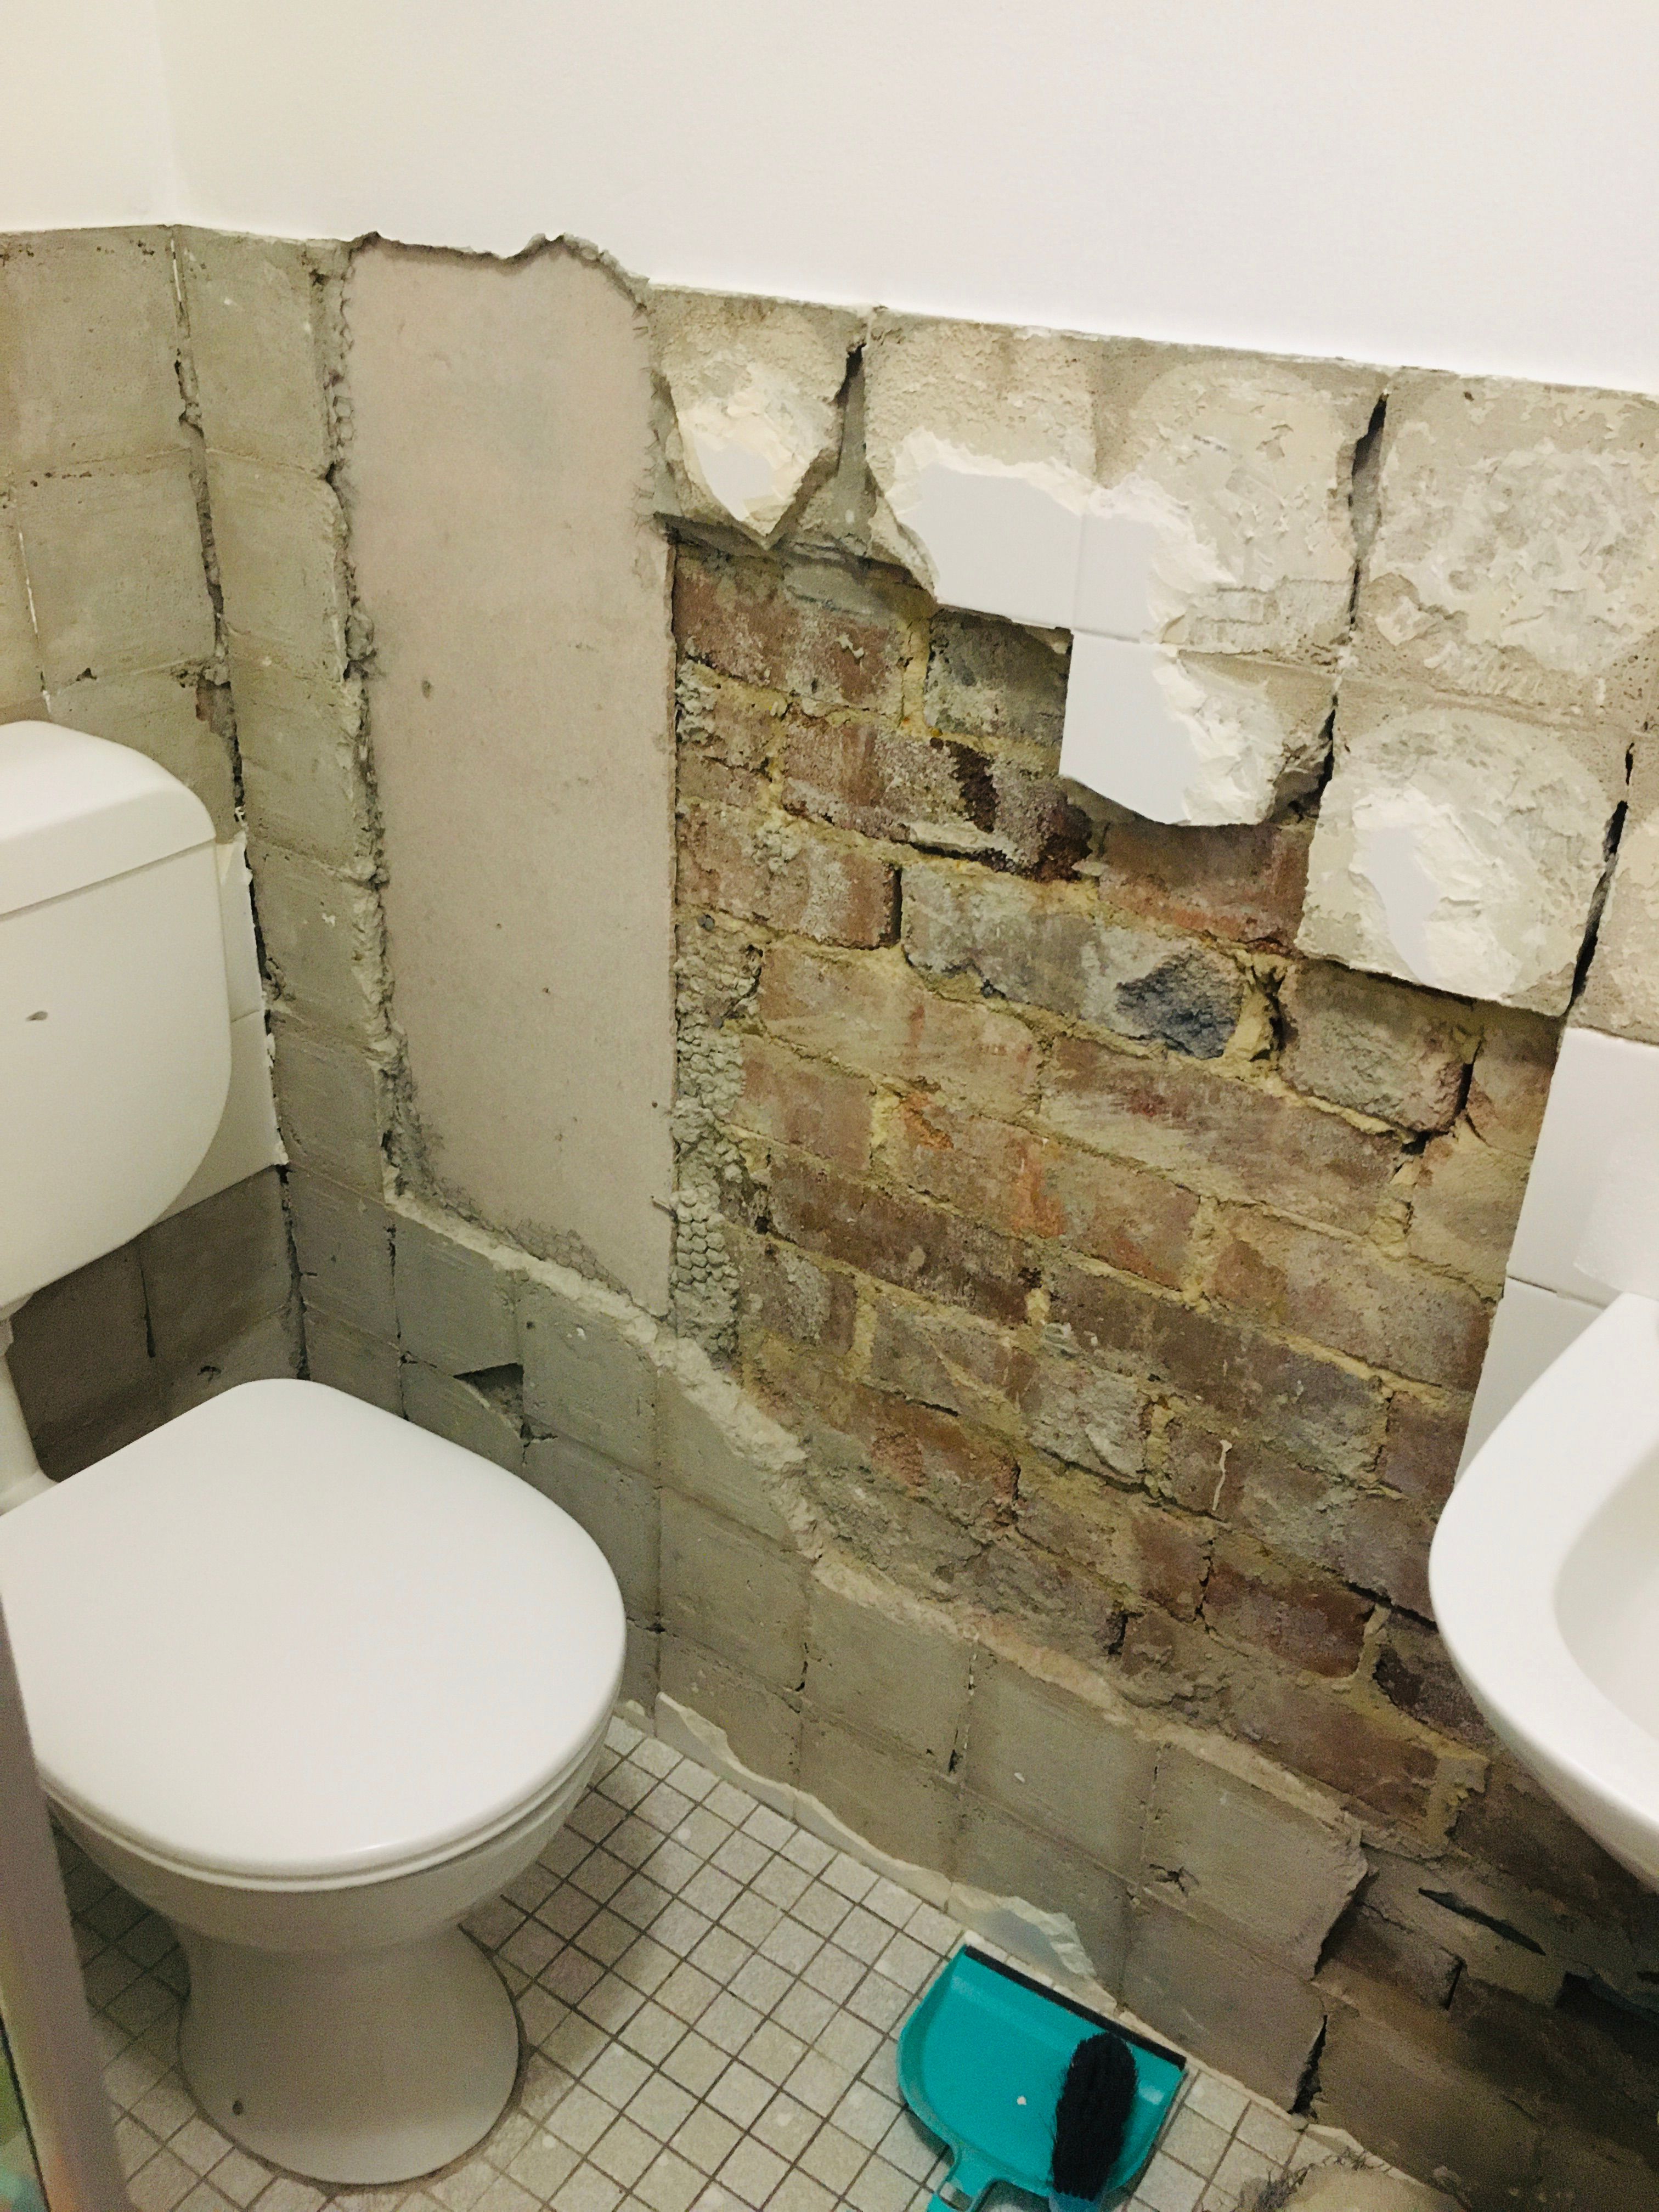
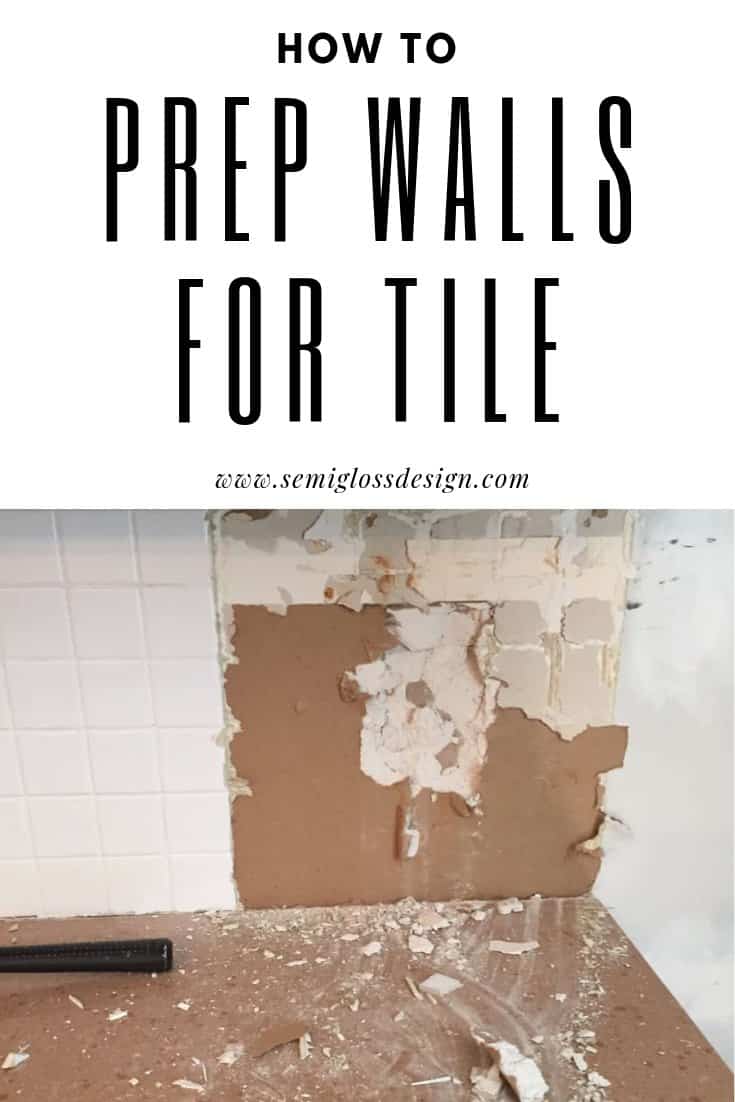
Step 1: Clean and Repair
 Before you begin any tiling work, it is crucial to have a clean and smooth surface to work with. Start by cleaning your kitchen walls thoroughly, removing any grease, dirt, or debris using a mild detergent and water.
Repair any cracks or holes
in the walls using spackling paste or joint compound and allow it to dry completely before moving on to the next step.
Before you begin any tiling work, it is crucial to have a clean and smooth surface to work with. Start by cleaning your kitchen walls thoroughly, removing any grease, dirt, or debris using a mild detergent and water.
Repair any cracks or holes
in the walls using spackling paste or joint compound and allow it to dry completely before moving on to the next step.
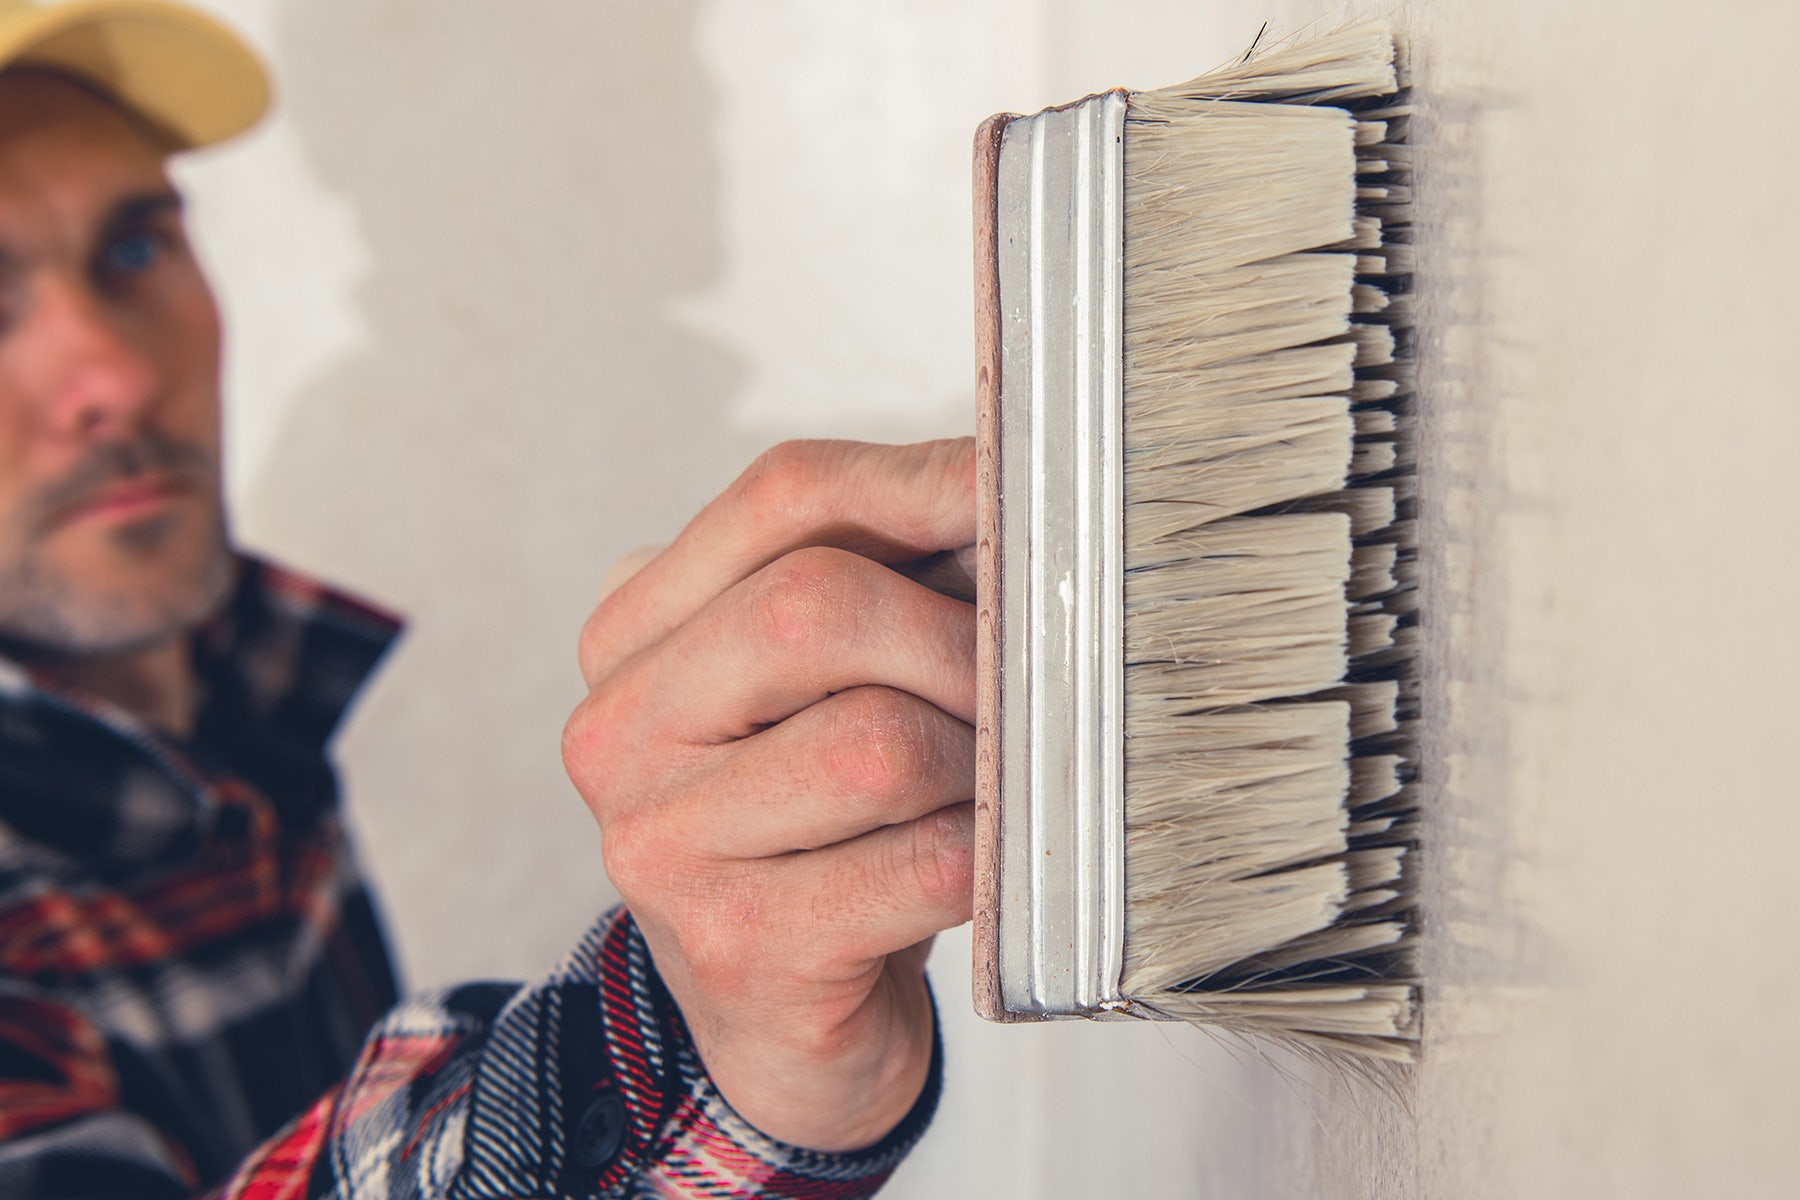
Step 2: Sand and Prime
 Using a fine-grit sandpaper, lightly sand the walls to create a smooth and even surface. This will help the
adhesive
bond better to the walls and prevent any air pockets from forming behind the tiles. Once you have sanded the walls, apply a coat of
primer
to seal the surface and ensure better adhesion. Allow the primer to dry completely before moving on to the next step.
Using a fine-grit sandpaper, lightly sand the walls to create a smooth and even surface. This will help the
adhesive
bond better to the walls and prevent any air pockets from forming behind the tiles. Once you have sanded the walls, apply a coat of
primer
to seal the surface and ensure better adhesion. Allow the primer to dry completely before moving on to the next step.
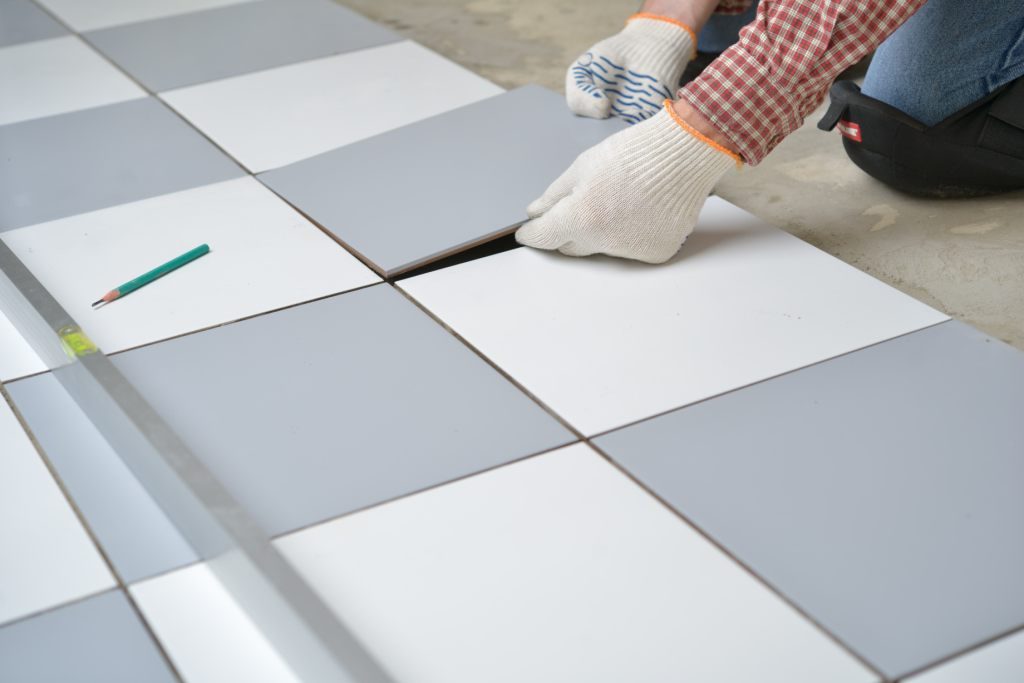
Step 3: Measure and Plan
 Before you start tiling, it is important to
measure your walls
and determine the layout of your tiles. This will help you calculate the number of tiles and the amount of
grout
needed, as well as avoid any awkward cuts or gaps. Use a level and a chalk line to mark guidelines on the walls to ensure straight and even tile placement.
Before you start tiling, it is important to
measure your walls
and determine the layout of your tiles. This will help you calculate the number of tiles and the amount of
grout
needed, as well as avoid any awkward cuts or gaps. Use a level and a chalk line to mark guidelines on the walls to ensure straight and even tile placement.
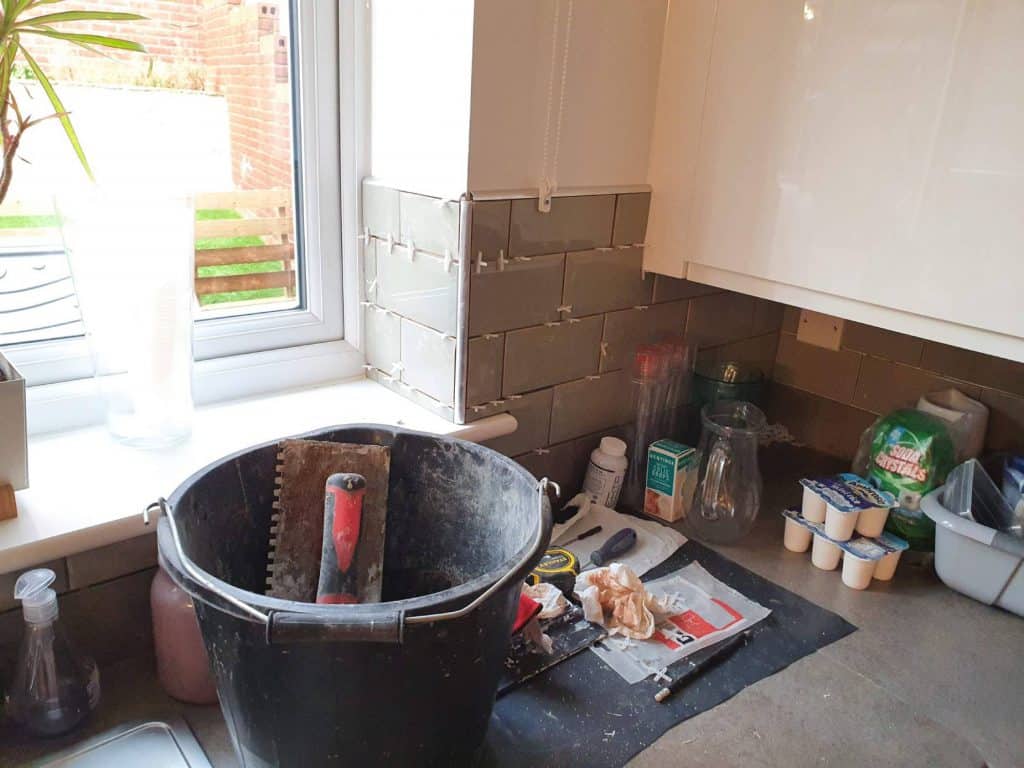
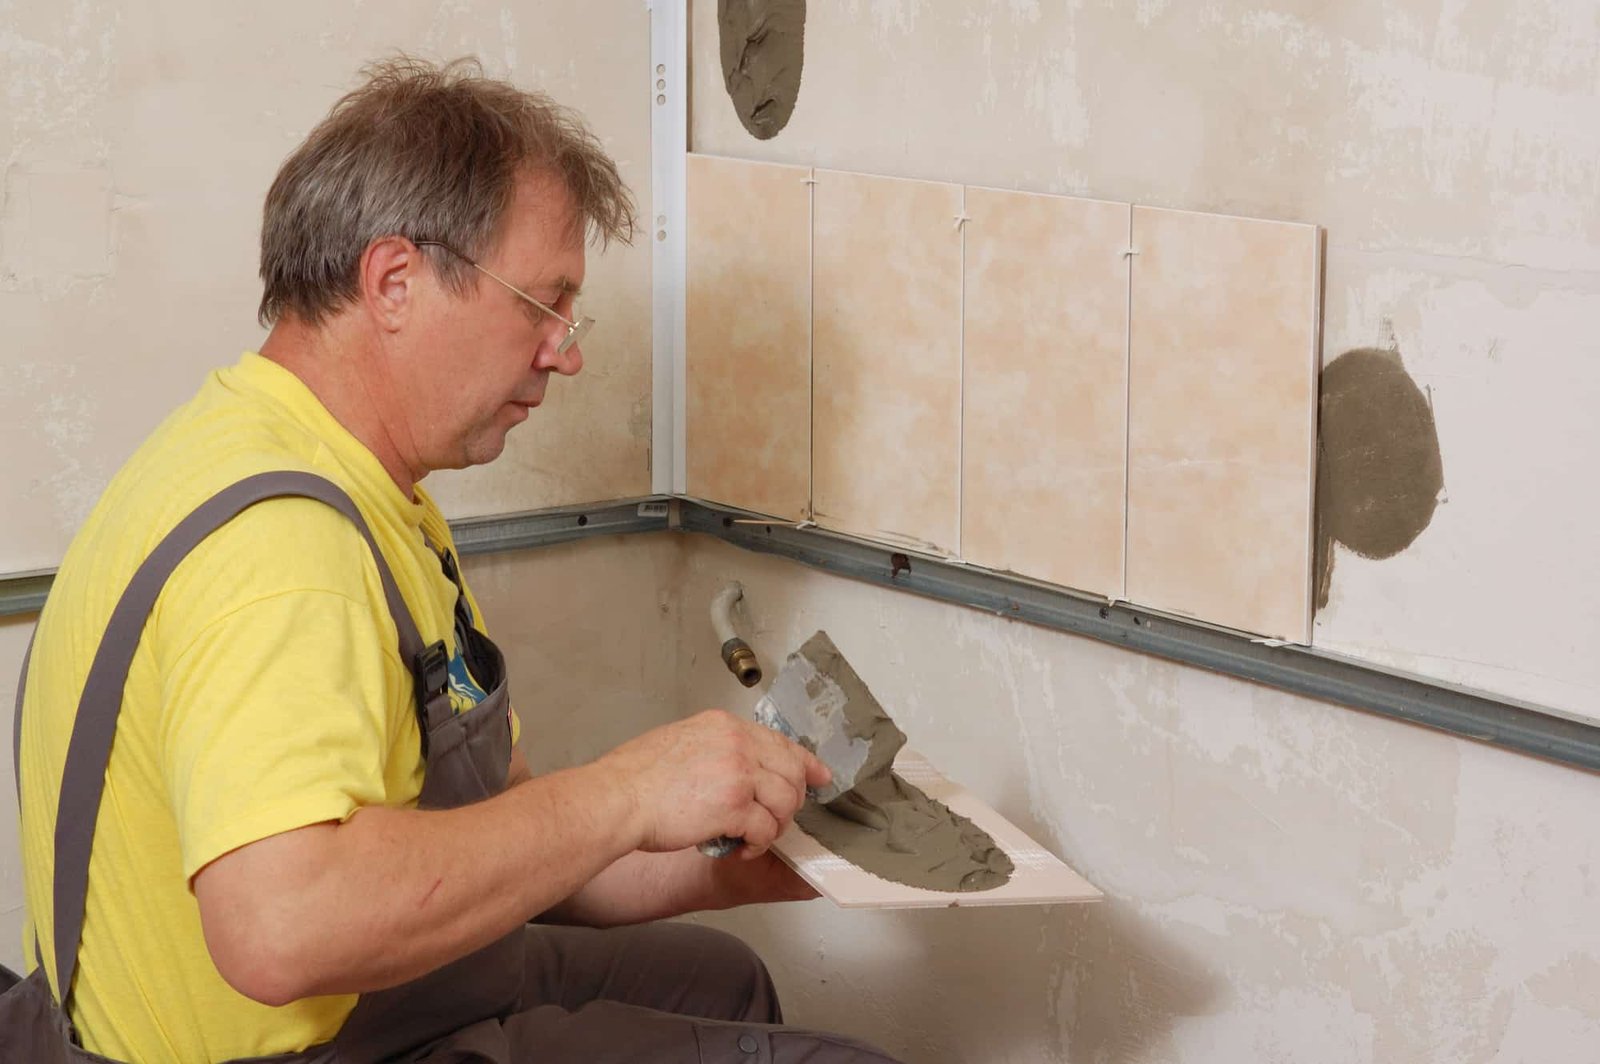
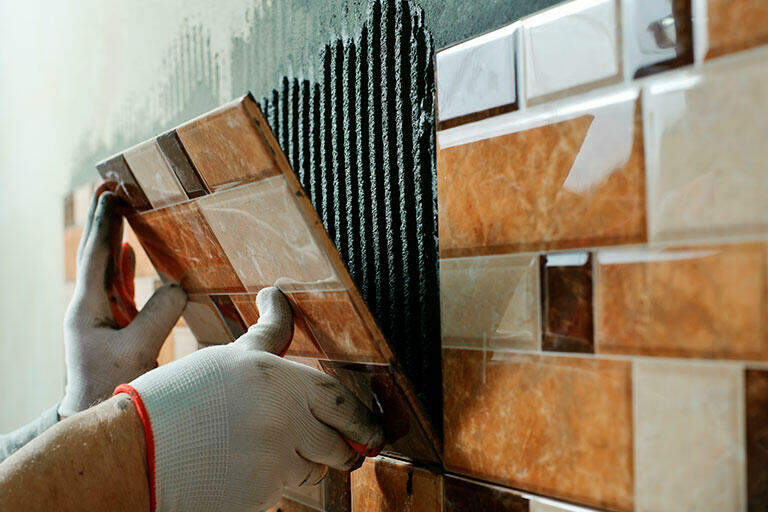
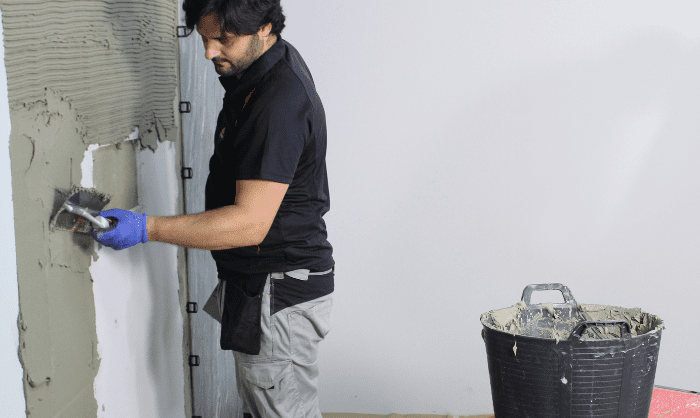
Step 4: Apply Adhesive
 Once you have your tiles and grout ready, it's time to apply the
adhesive
onto the walls. Using a notched trowel, spread the adhesive onto the wall, starting at the bottom and working your way up. Make sure to only cover a small area at a time to prevent the adhesive from drying out.
Once you have your tiles and grout ready, it's time to apply the
adhesive
onto the walls. Using a notched trowel, spread the adhesive onto the wall, starting at the bottom and working your way up. Make sure to only cover a small area at a time to prevent the adhesive from drying out.
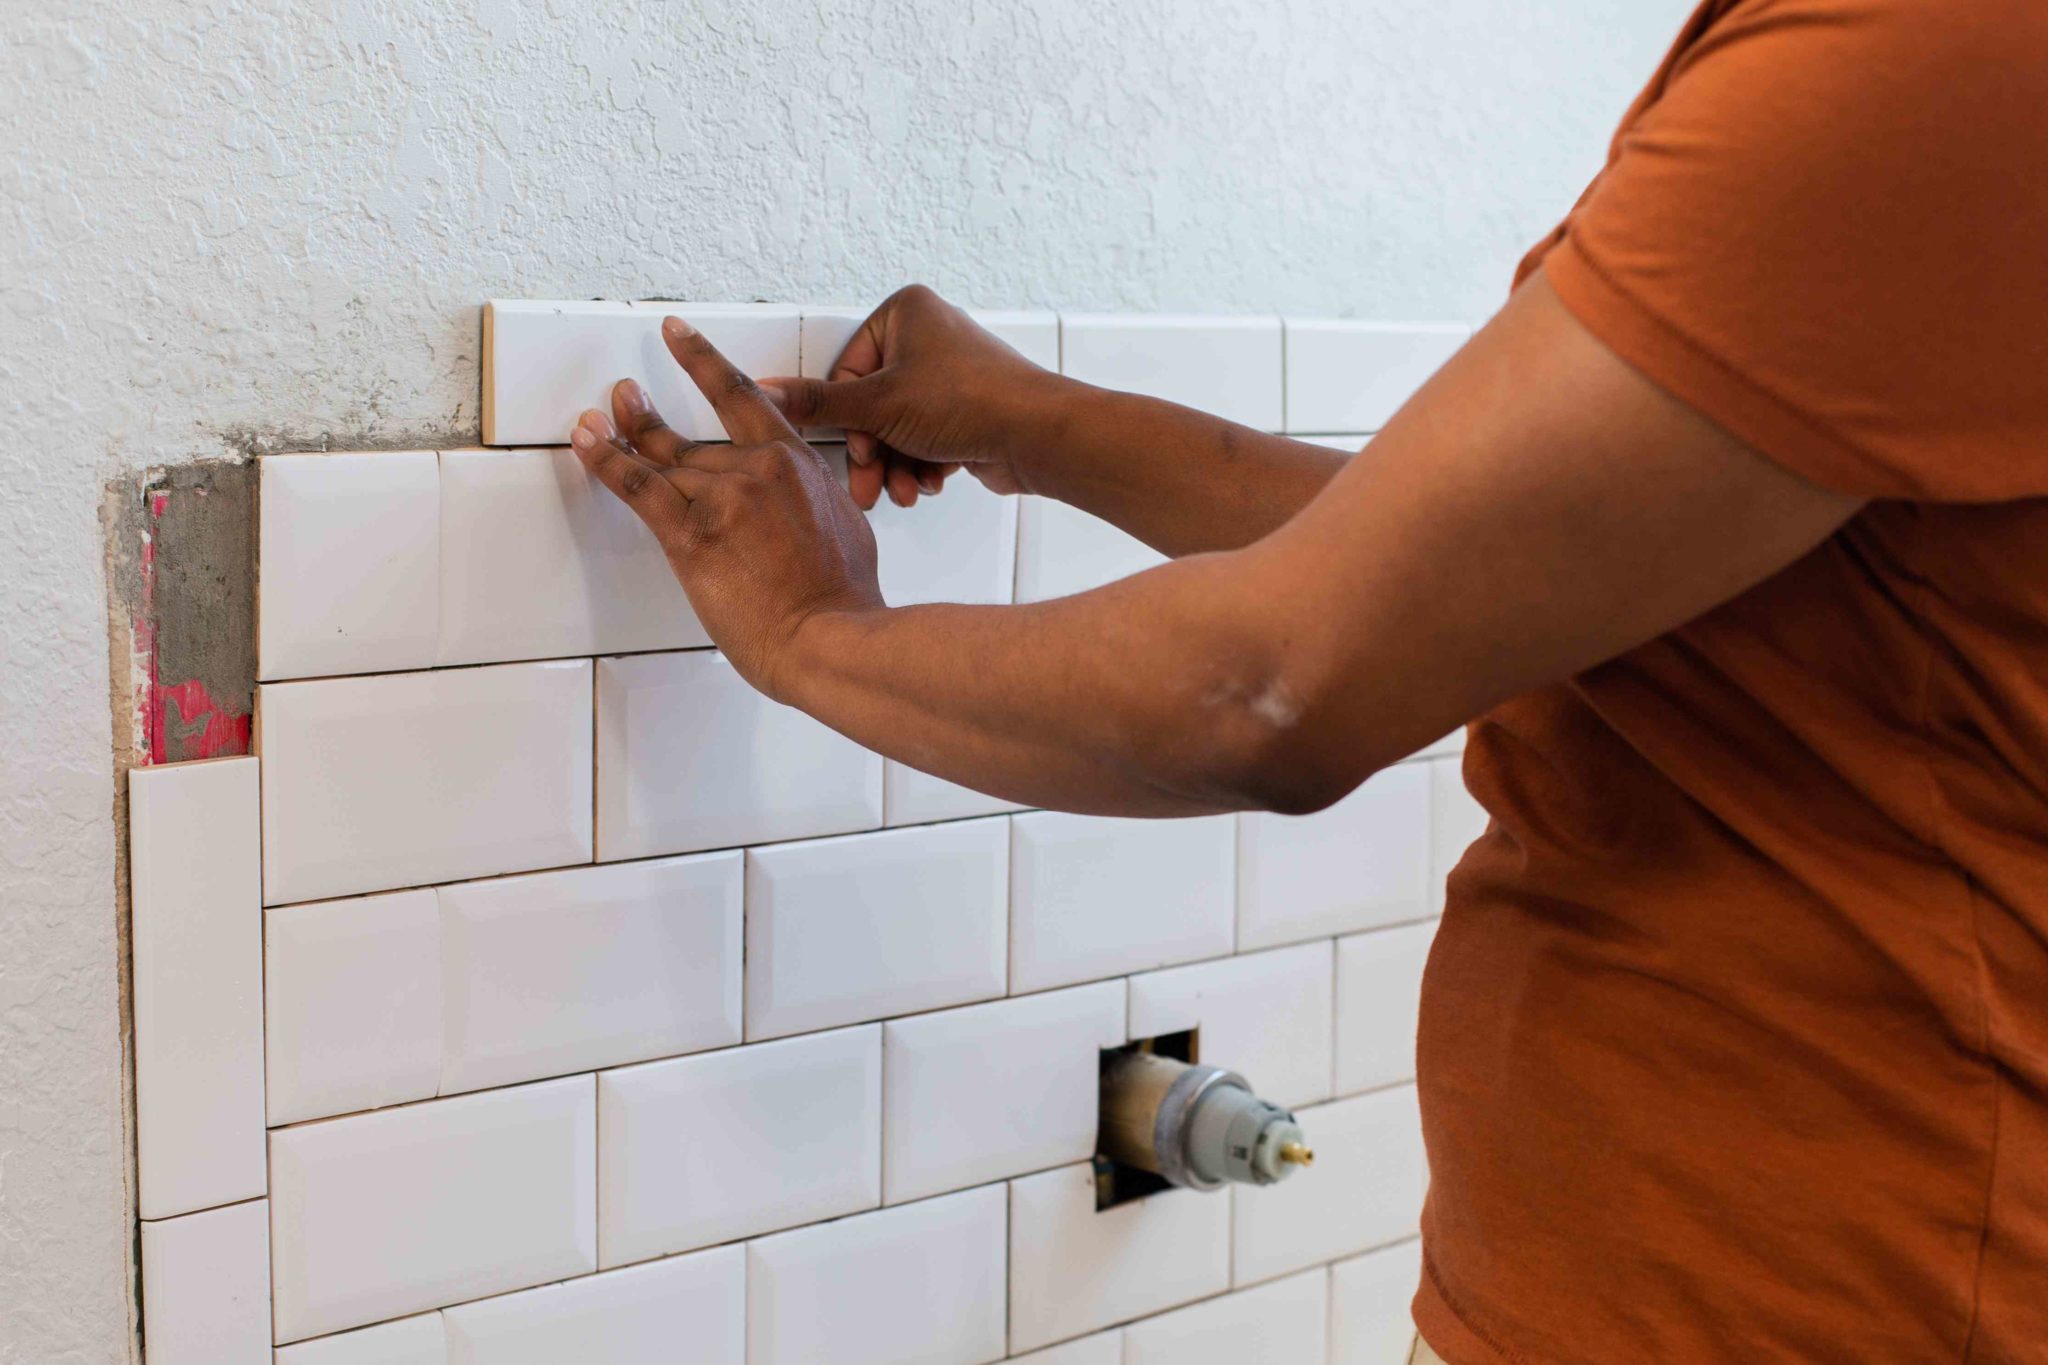
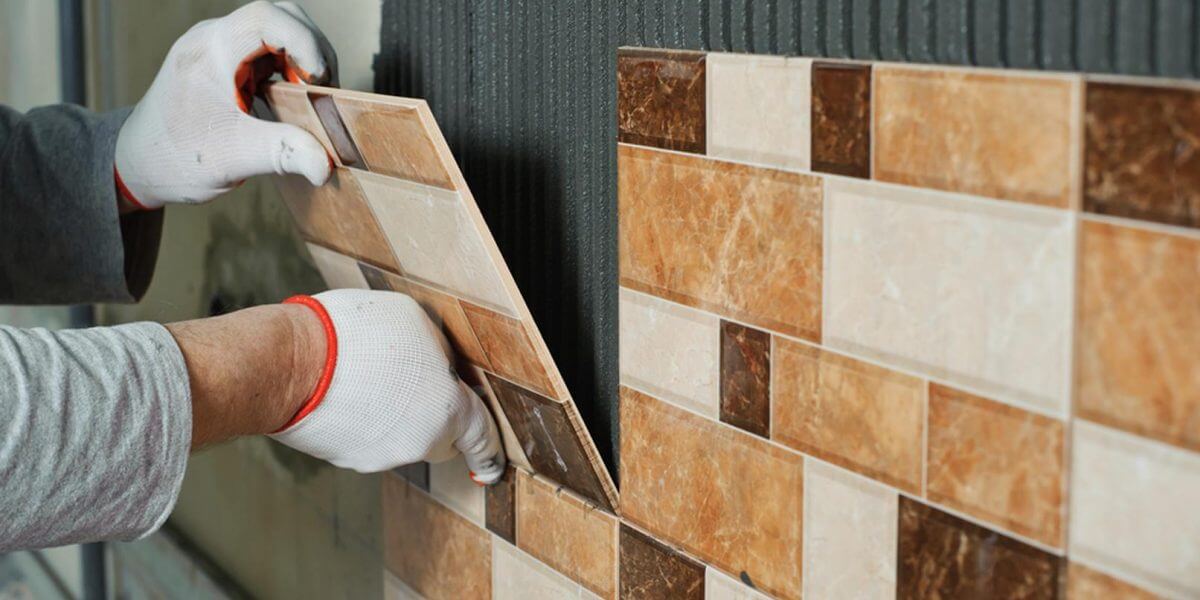
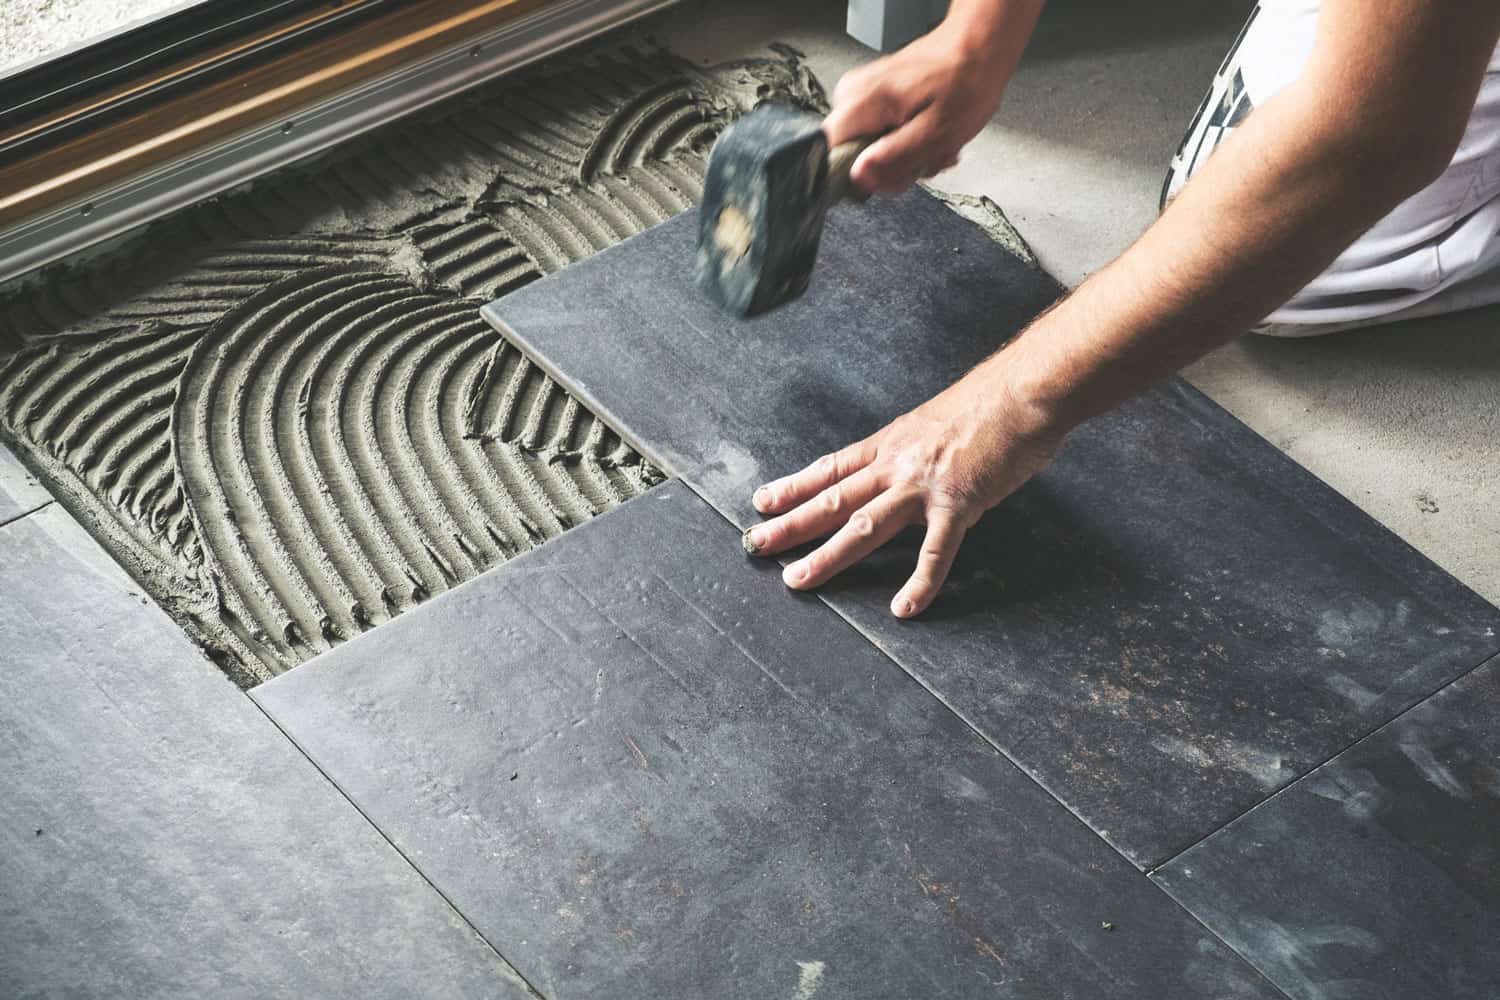
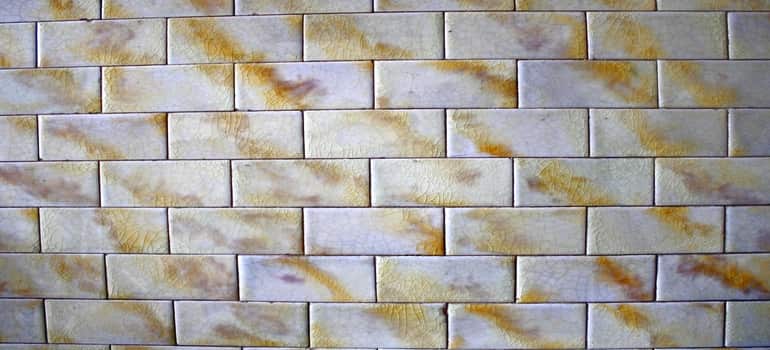
Step 5: Install Tiles
 Now it's time for the fun part – installing your tiles! Carefully place the tiles onto the adhesive, following your guidelines and using
spacers
to ensure even spacing between tiles. Use a level to make sure the tiles are straight and adjust if necessary. Once all the tiles are in place, allow them to set for 24 hours before removing the spacers.
Now it's time for the fun part – installing your tiles! Carefully place the tiles onto the adhesive, following your guidelines and using
spacers
to ensure even spacing between tiles. Use a level to make sure the tiles are straight and adjust if necessary. Once all the tiles are in place, allow them to set for 24 hours before removing the spacers.
Step 6: Grout and Seal
 Once the tiles are set, it's time to
grout
the spaces between them. Mix the grout according to the manufacturer's instructions and use a grout float to spread it over the tiles at a 45-degree angle. Wipe off any excess grout with a damp sponge and allow it to dry for 24 hours. Finally, seal the grout to prevent staining and water damage.
Following these steps will ensure that your kitchen walls are properly prepared for tiling, resulting in a beautiful and long-lasting addition to your home. Now that you know how to
prepare your kitchen wall for tiling
, you can confidently tackle this project and create a stunning kitchen that you can enjoy for years to come.
Once the tiles are set, it's time to
grout
the spaces between them. Mix the grout according to the manufacturer's instructions and use a grout float to spread it over the tiles at a 45-degree angle. Wipe off any excess grout with a damp sponge and allow it to dry for 24 hours. Finally, seal the grout to prevent staining and water damage.
Following these steps will ensure that your kitchen walls are properly prepared for tiling, resulting in a beautiful and long-lasting addition to your home. Now that you know how to
prepare your kitchen wall for tiling
, you can confidently tackle this project and create a stunning kitchen that you can enjoy for years to come.