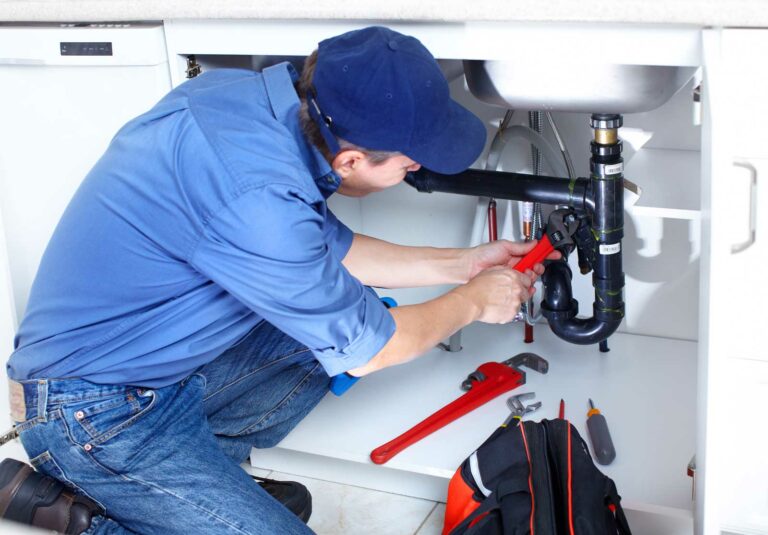
If you've noticed a foul smell coming from your kitchen sink or water pooling around the drain, you may have a problem with your sink trap. This curved pipe under your sink is designed to catch debris and prevent it from clogging your plumbing. But over time, it can become clogged itself or develop leaks. In this article, we'll walk you through the steps to replace a kitchen sink trap and get your sink back to working properly. The first step to replacing a kitchen sink trap is to turn off the water supply to your sink. You can do this by shutting off the water valves located under the sink. Next, place a bucket or towel under the trap to catch any water that may spill out during the process. Using a wrench, loosen the slip nuts on both ends of the trap and remove the trap from the sink. You may need to use pliers to loosen the nuts if they are stuck. Once the trap is removed, clean it out and check for any damage or cracks. If the trap is damaged, it will need to be replaced. Next, measure the length of the old trap and purchase a new one that is the same size. You can also purchase a flexible trap, which can be adjusted to fit any size sink. Install the new trap by placing it in between the drain pipe and the tailpiece and tightening the slip nuts with a wrench. Finally, turn the water supply back on and check for any leaks. If there are no leaks, your new kitchen sink trap is installed and your sink should be functioning properly.1. Kitchen Sink Plumbing: How to Replace a Kitchen Sink Trap


1. Kitchen Sink Plumbing: How to Replace a Kitchen Sink Trap


Installing a new kitchen sink drain can seem like a daunting task, but with the right tools and some basic knowledge, it can be done easily in just a few steps. In this section, we will guide you through the process of installing a kitchen sink drain. The first step is to start by assembling the new drain. This will include a drain basket, a rubber gasket, and a locknut. Place the rubber gasket on the bottom of the drain basket and insert it into the hole in the sink. From underneath the sink, place the locknut onto the drain basket and tighten it with pliers. Next, attach the drainage pipe to the drain basket. The pipe should be a snug fit, but if it is too loose, you can use plumber's putty to create a seal. Once the pipe is attached, tighten the slip nut with pliers to secure it in place. Now, you can install the drain pipe under the sink. Measure the distance from the bottom of the sink to the wall and cut the pipe to fit. Attach the pipe to the drain basket and the main drain line using slip nuts and tighten with pliers. Finally, turn on the water supply and check for any leaks. If there are no leaks, your new kitchen sink drain is installed and ready to use.2. How to Install a Kitchen Sink Drain


2. How to Install a Kitchen Sink Drain
:max_bytes(150000):strip_icc()/how-to-install-a-sink-drain-2718789-hero-24e898006ed94c9593a2a268b57989a3.jpg)


/how-to-install-a-sink-drain-2718789-hero-b5b99f72b5a24bb2ae8364e60539cece.jpg)


:max_bytes(150000):strip_icc()/how-to-install-a-sink-drain-2718789-04-5715d67f5b7d41429d42bf705bb70e2c.jpg)
If you're remodeling your kitchen or just looking to upgrade your sink, installing a new kitchen sink can give your space a fresh and updated look. In this section, we will guide you through the process of installing a kitchen sink. The first step is to gather all the materials you will need for the installation. This includes a new sink, sink clips, a caulk gun, plumber's putty, and a wrench. Before installing the new sink, make sure to turn off the water supply and disconnect the old sink. Next, place the sink into the hole in the countertop and secure it in place using the sink clips. These clips are typically placed around the perimeter of the sink and tightened with a wrench. Next, attach the faucet and drain to the sink. Apply plumber's putty around the edge of the drain and insert it into the drain hole. From underneath the sink, place the rubber gasket and locknut onto the drain and tighten it with pliers. Attach the faucet to the sink using the manufacturer's instructions. Finally, turn on the water supply and check for any leaks. If there are no leaks, your new kitchen sink is installed and ready to use.3. Kitchen Sink Plumbing: How to Install a Kitchen Sink


3. Kitchen Sink Plumbing: How to Install a Kitchen Sink


A leaky kitchen sink drain can be a nuisance and can lead to water damage if not fixed promptly. Luckily, fixing a leaky drain is a simple process that can be done in just a few steps. In this section, we will guide you through fixing a leaky kitchen sink drain. The first step is to determine the source of the leak. Check the drain basket, the connection between the drain and the main drain line, and the pipes underneath the sink for any cracks or damage. If you find any damage, you will need to replace the affected part. If the leak is coming from the drain basket, you can try tightening the locknut with pliers to create a tighter seal. If this does not fix the leak, you will need to replace the drain basket. To do this, follow the steps outlined in the section on how to install a kitchen sink drain. If the leak is coming from the connection between the drain and the main drain line, you may need to replace the slip nut or use plumber's putty to create a tighter seal. If the leak is coming from the pipes underneath the sink, check for any cracks or damage and replace the affected pipe. Once the leak is fixed, turn on the water supply and check for any further leaks. If there are no leaks, your kitchen sink drain is fixed and should be functioning properly.4. How to Fix a Leaky Kitchen Sink Drain


4. How to Fix a Leaky Kitchen Sink Drain


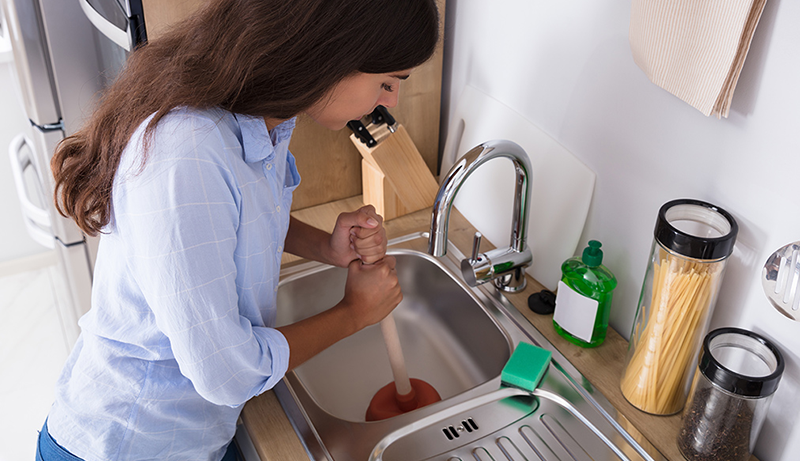
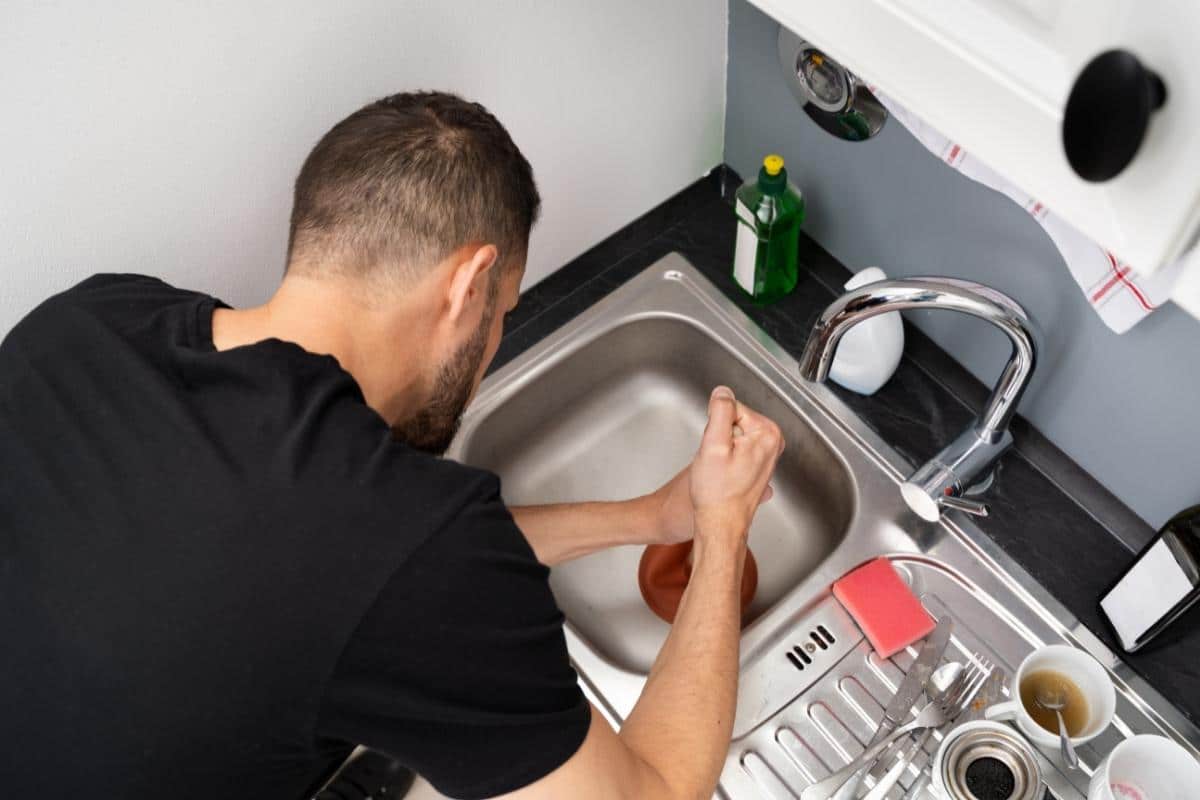
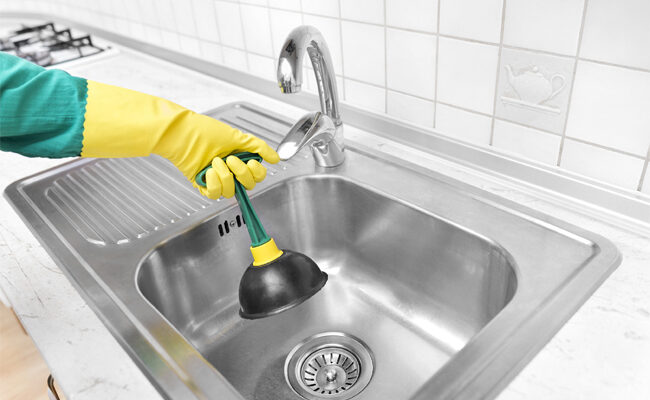
A clogged kitchen sink can be a major inconvenience and can disrupt your daily routine. But with the right tools and techniques, you can easily unclog your sink and get back to using it normally. In this section, we will guide you through unclogging a kitchen sink. The first step is to try using a plunger to remove the clog. Fill the sink with enough water to cover the plunger, place the plunger over the drain, and push up and down vigorously. This should create enough suction to dislodge the clog. If this does not work, you may need to use a drain snake to remove the clog. To use a drain snake, insert the end of the snake into the drain and turn it clockwise to push through the clog. Once you feel the snake hit the clog, turn it counterclockwise to pull out the clog. You may need to repeat this process a few times to completely remove the clog. If these methods do not work, you may need to use a chemical drain cleaner. Follow the instructions on the product carefully and make sure to wear gloves and eye protection. If the clog still cannot be removed, you may need to call a professional plumber.5. Kitchen Sink Plumbing: How to Unclog a Kitchen Sink


:max_bytes(150000):strip_icc()/plumber-unclogging-kitchen-sink-169270382-5810e7bb5f9b58564c5dd92b.jpg)
5. Kitchen Sink Plumbing: How to Unclog a Kitchen Sink
/how-to-install-a-sink-drain-2718789-hero-24e898006ed94c9593a2a268b57989a3.jpg)


:max_bytes(150000):strip_icc()/how-to-unclog-a-kitchen-sink-2718799_sketch_FINAL-8c5caa805a69493ab22dfb537c72a1b7.png)
A faulty kitchen sink sprayer can make it difficult to wash dishes and can cause water to spray in all directions. Luckily, replacing a kitchen sink sprayer is a simple process that can be done in just a few steps. In this section, we will guide you through replacing a kitchen sink sprayer. The first step is to purchase a new kitchen sink sprayer that is compatible with your existing faucet. Next, turn off the water supply to your sink and disconnect the old sprayer from the faucet. You may need to use pliers to loosen the connection. Install the new sprayer by attaching it to the faucet and tightening the connection with pliers. Next, connect the sprayer to the main water supply using the manufacturer's instructions. Turn on the water supply and test the new sprayer to make sure it is working properly. If the new sprayer is not working or if you are unsure how to install it, it may be best to call a professional plumber for assistance.6. How to Replace a Kitchen Sink Sprayer


6. How to Replace a Kitchen Sink Sprayer

:max_bytes(150000):strip_icc()/installing-a-kitchen-sink-sprayer-2718817-02-01cfd18f0299484c910d4e6a50af463e.jpg)


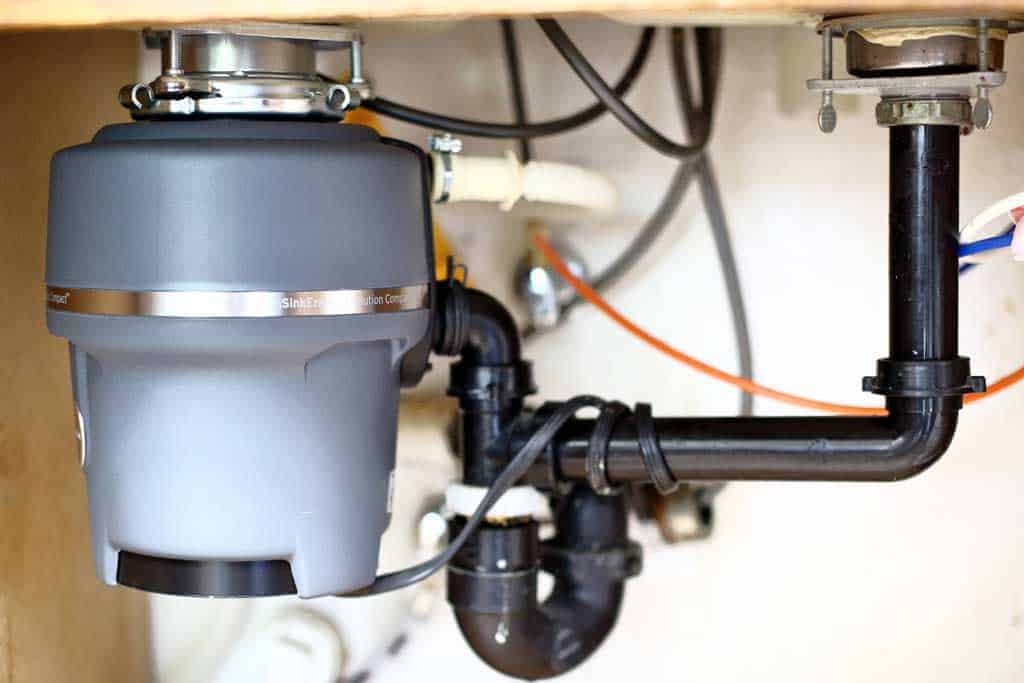
A garbage disposal is a convenient addition to any kitchen sink, allowing you to dispose of food waste easily. Installing a garbage disposal may seem like a daunting task, but with the right tools and knowledge, it can be done in just a few steps. In this section, we will guide you through installing a garbage disposal. The first step is to purchase a garbage disposal that is compatible with your sink and plumbing. Next, turn off the water supply and disconnect the drain pipe from the sink. Remove the old drain flange and clean the area around the sink hole. Next, install the new drain flange by placing plumber's putty around the edge and inserting it into the sink hole. From underneath the sink, place the gasket and mounting ring onto the flange and tighten with pliers. Attach the garbage disposal to the mounting ring and secure it in place using the manufacturer's instructions. Finally, connect the drain pipe to the garbage disposal and turn on the water supply. Test the garbage disposal to make sure it is working properly.7. Kitchen Sink Plumbing: How to Install a Garbage Disposal

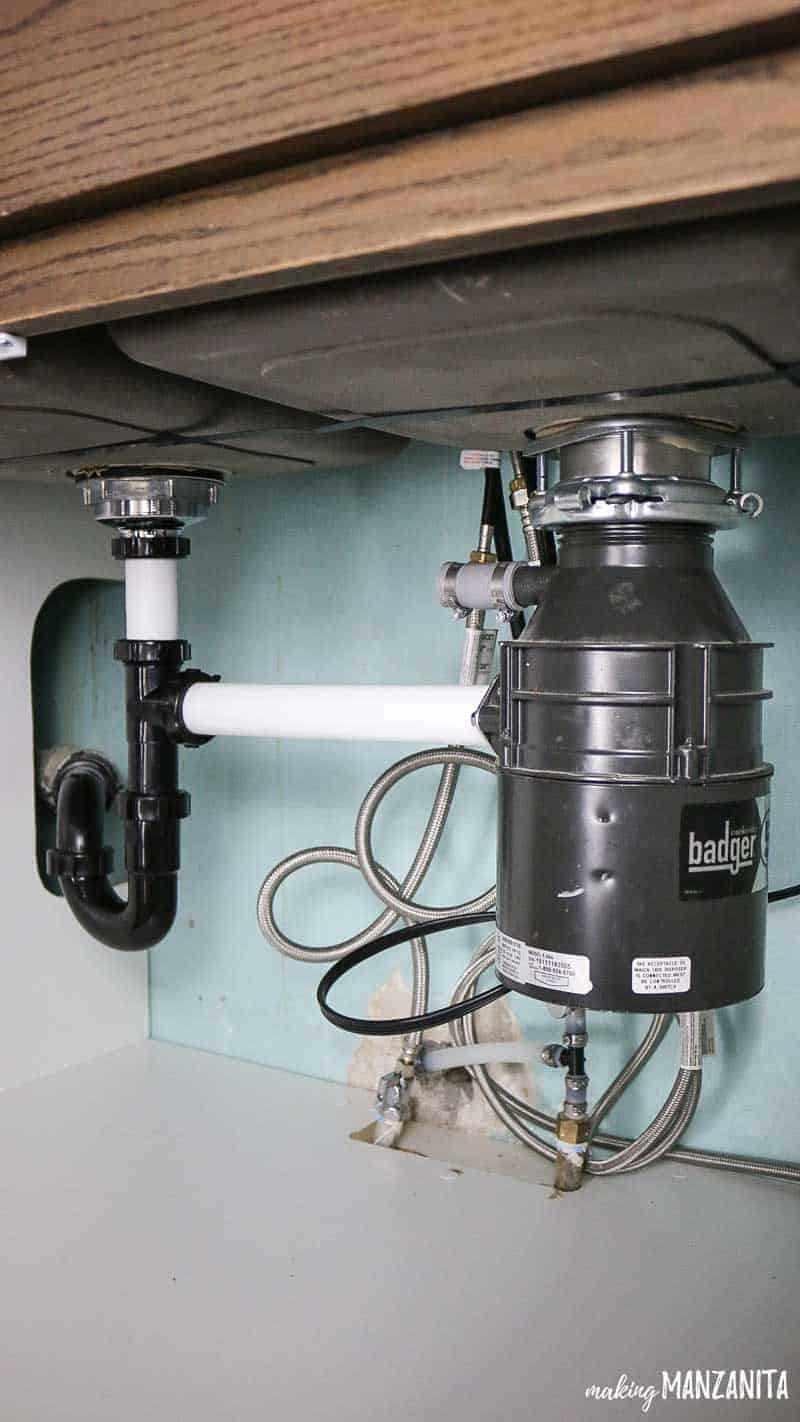

7. Kitchen Sink Plumbing: How to Install a Garbage Disposal


A clogged kitchen sink can be a major inconvenience and can disrupt your daily routine. But with the right tools and techniques, you can easily unclog your sink and get back to using it normally. In this section, we will guide you through fixing a clogged kitchen sink. If you've already tried using a plunger and a drain snake to remove the clog, you may need to use a chemical drain cleaner. Follow the instructions on the product carefully and make sure to wear gloves and eye protection. If the clog still cannot be removed, you may need to call a professional plumber. If the clog is in the main drain line, you may need to use a sewer auger to remove the clog. This tool is similar to a drain snake but is designed for larger clogs in the main drain line. If you are unsure how to use a sewer auger, it may be best to call a professional plumber for assistance.8. How to Fix a Clogged Kitchen Sink


8. How to Fix a Clogged Kitchen Sink

/how-to-unclog-a-kitchen-sink-2718799_sketch_FINAL-8c5caa805a69493ab22dfb537c72a1b7.png)


Installing a new kitchen faucet can give your sink a fresh and updated look. While it may seem like a complicated task, with the right tools and knowledge, it can be done easily in just a few steps. In this section, we will guide you through installing a kitchen faucet. The first step is to gather all the materials you will need for the installation. This includes a new faucet, plumber's putty, a wrench, and Teflon tape. Begin by turning off the water supply and disconnecting the old faucet from the sink. Next, place plumber's putty around the base of the new faucet and insert it into the sink hole. From underneath the sink, place the rubber gasket and mounting nut onto the faucet and tighten with pliers. Connect the hot and cold water supply lines to the faucet using Teflon tape and tighten with a wrench. Finally, turn on the water supply and check for any leaks. If there are no leaks, your new kitchen faucet is installed and ready to use.9. Kitchen Sink Plumbing: How to Install a Kitchen Faucet


9. Kitchen Sink Plumbing: How to Install a Kitchen Faucet


A leaky kitchen sink faucet can be a frustrating and wasteful problem. But with the right tools and some basic knowledge, you can easily repair a leaky faucet in just a few steps. In this section, we will guide you through repairing a leaky kitchen sink faucet. The first step is to determine the source of the leak. Most leaks are caused by a worn or damaged cartridge or seal. To fix this, turn off the water supply and remove the handle of the faucet. Next, remove the cartridge and replace it with a new one. You may also need to replace the O-ring or gasket if they are damaged. If the leak is coming from the base of the faucet, you may need to tighten the mounting nut with pliers or replace the gasket. Once the leak is fixed, turn on the water supply and check for any further leaks. If there are no leaks, your kitchen sink faucet is repaired and should be functioning properly.10. How to Repair a Leaky Kitchen Sink Faucet


10. How to Repair a Leaky Kitchen Sink Faucet


Why Proper Plumbing is Essential for Your Kitchen Sink
The Importance of Quality Plumbing in Kitchen Design
 When it comes to designing a kitchen, there are a lot of factors to consider. From the layout and style to the appliances and materials, every detail plays a role in creating a functional and aesthetically pleasing space. However, one aspect that is often overlooked is the
plumbing for the kitchen sink
. While it may not seem like the most exciting aspect of kitchen design, having proper plumbing is essential for the overall functionality and longevity of your kitchen.
When it comes to designing a kitchen, there are a lot of factors to consider. From the layout and style to the appliances and materials, every detail plays a role in creating a functional and aesthetically pleasing space. However, one aspect that is often overlooked is the
plumbing for the kitchen sink
. While it may not seem like the most exciting aspect of kitchen design, having proper plumbing is essential for the overall functionality and longevity of your kitchen.
Ensuring Efficient Water Flow
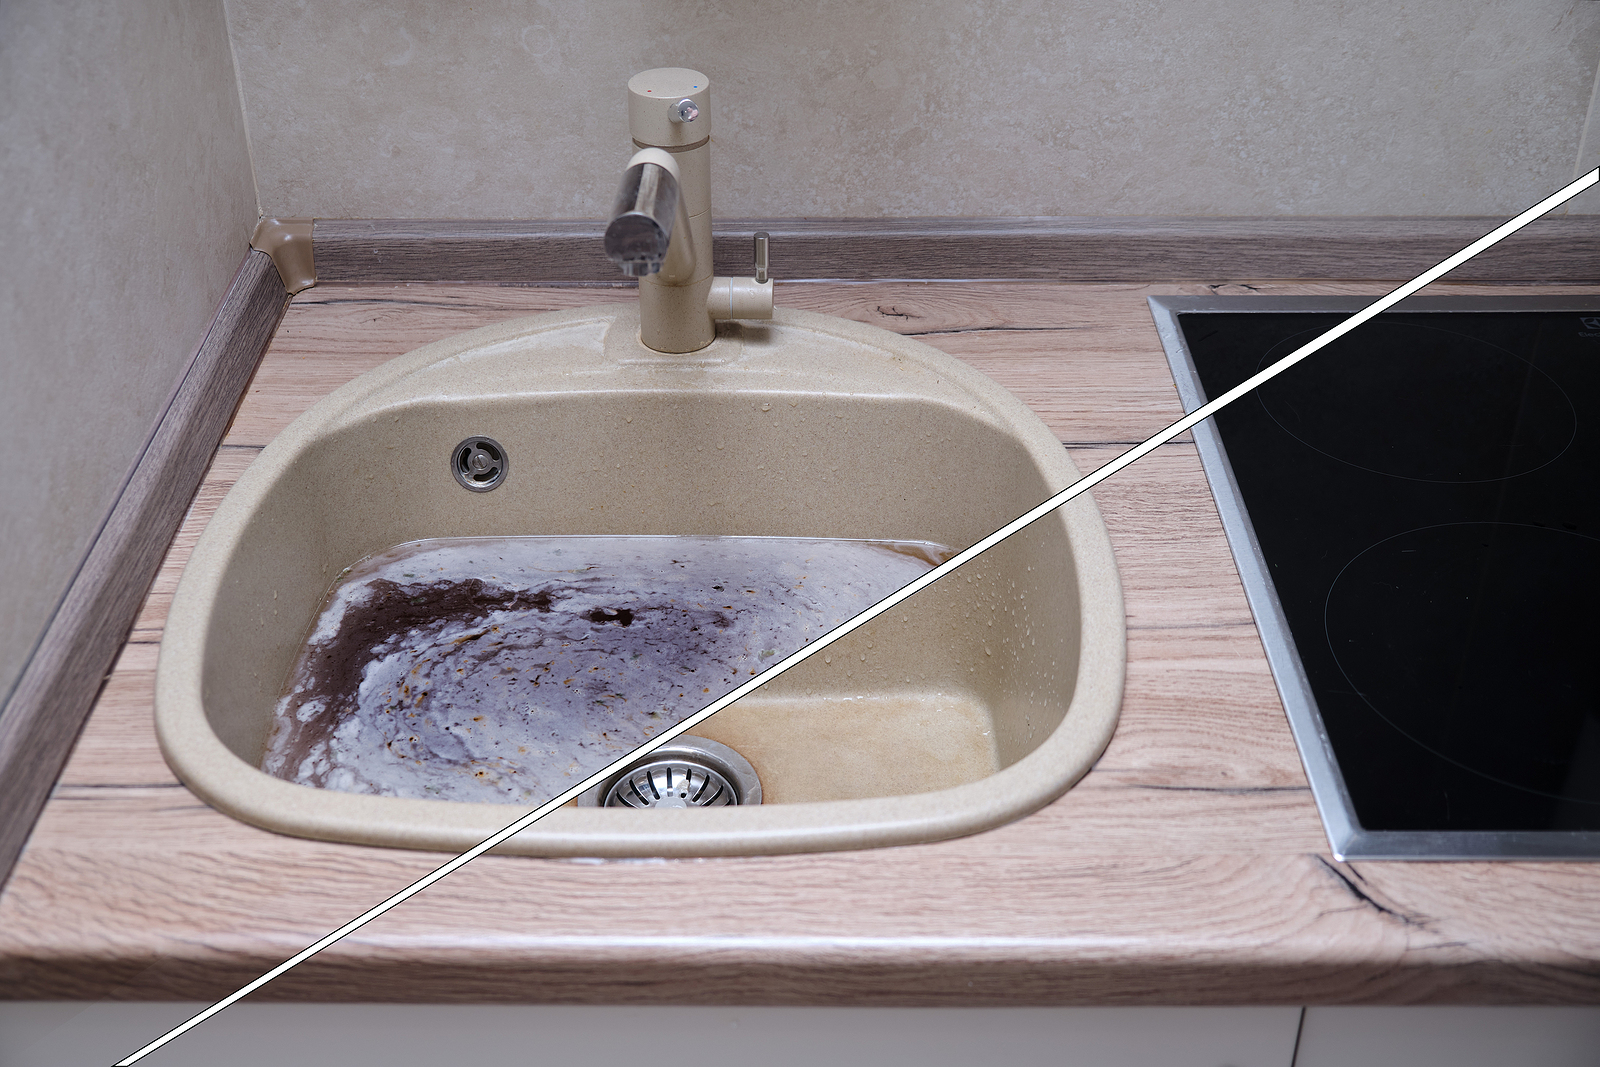
 The kitchen sink is one of the most used fixtures in a home, and as a result, it experiences a lot of wear and tear. Poorly installed or outdated plumbing can lead to issues such as slow drainage, leaks, and low water pressure. These problems not only make tasks like washing dishes and preparing food more difficult, but they can also cause water damage and mold growth. By investing in high-quality plumbing for your kitchen sink, you can ensure efficient water flow and prevent potential issues in the future.
Maximizing Space and Functionality
 Another reason why proper plumbing is crucial in kitchen design is that it can help maximize space and functionality. The location and layout of your sink can greatly impact the flow of your kitchen and how you use the space. With the right plumbing, you can design a kitchen that is both aesthetically pleasing and functional. For example, a professional plumber can help you determine the best placement for your sink to allow for more counter space and make tasks like dishwashing more convenient.
Choosing the Right Materials
 In addition to proper installation and placement, choosing the right materials for your kitchen sink plumbing is also important. Low-quality materials can lead to frequent repairs and replacements, which can be costly and time-consuming.
Quality materials
such as copper or PVC piping can provide durability and longevity, ensuring that your kitchen sink plumbing will last for years to come.
In addition to proper installation and placement, choosing the right materials for your kitchen sink plumbing is also important. Low-quality materials can lead to frequent repairs and replacements, which can be costly and time-consuming.
Quality materials
such as copper or PVC piping can provide durability and longevity, ensuring that your kitchen sink plumbing will last for years to come.
Conclusion
 In conclusion, when it comes to designing a kitchen, it's important not to overlook the plumbing for your sink. Quality plumbing is essential for efficient water flow, maximizing space and functionality, and choosing the right materials can ensure longevity and prevent future issues. By investing in professional plumbing services for your kitchen sink, you can create a space that is both beautiful and functional.