Is your kitchen tile wall looking a little worse for wear? Whether it's from wear and tear or accidental damage, a damaged tile wall can make your kitchen look worn out and outdated. But fear not, patching a tile wall in your kitchen is a relatively simple task that can make a huge difference in the overall appearance of your kitchen. Follow these steps to learn how to patch a tile wall in your kitchen and give your space a much-needed facelift.How to Patch a Tile Wall in Your Kitchen


How to Patch a Tile Wall in Your Kitchen
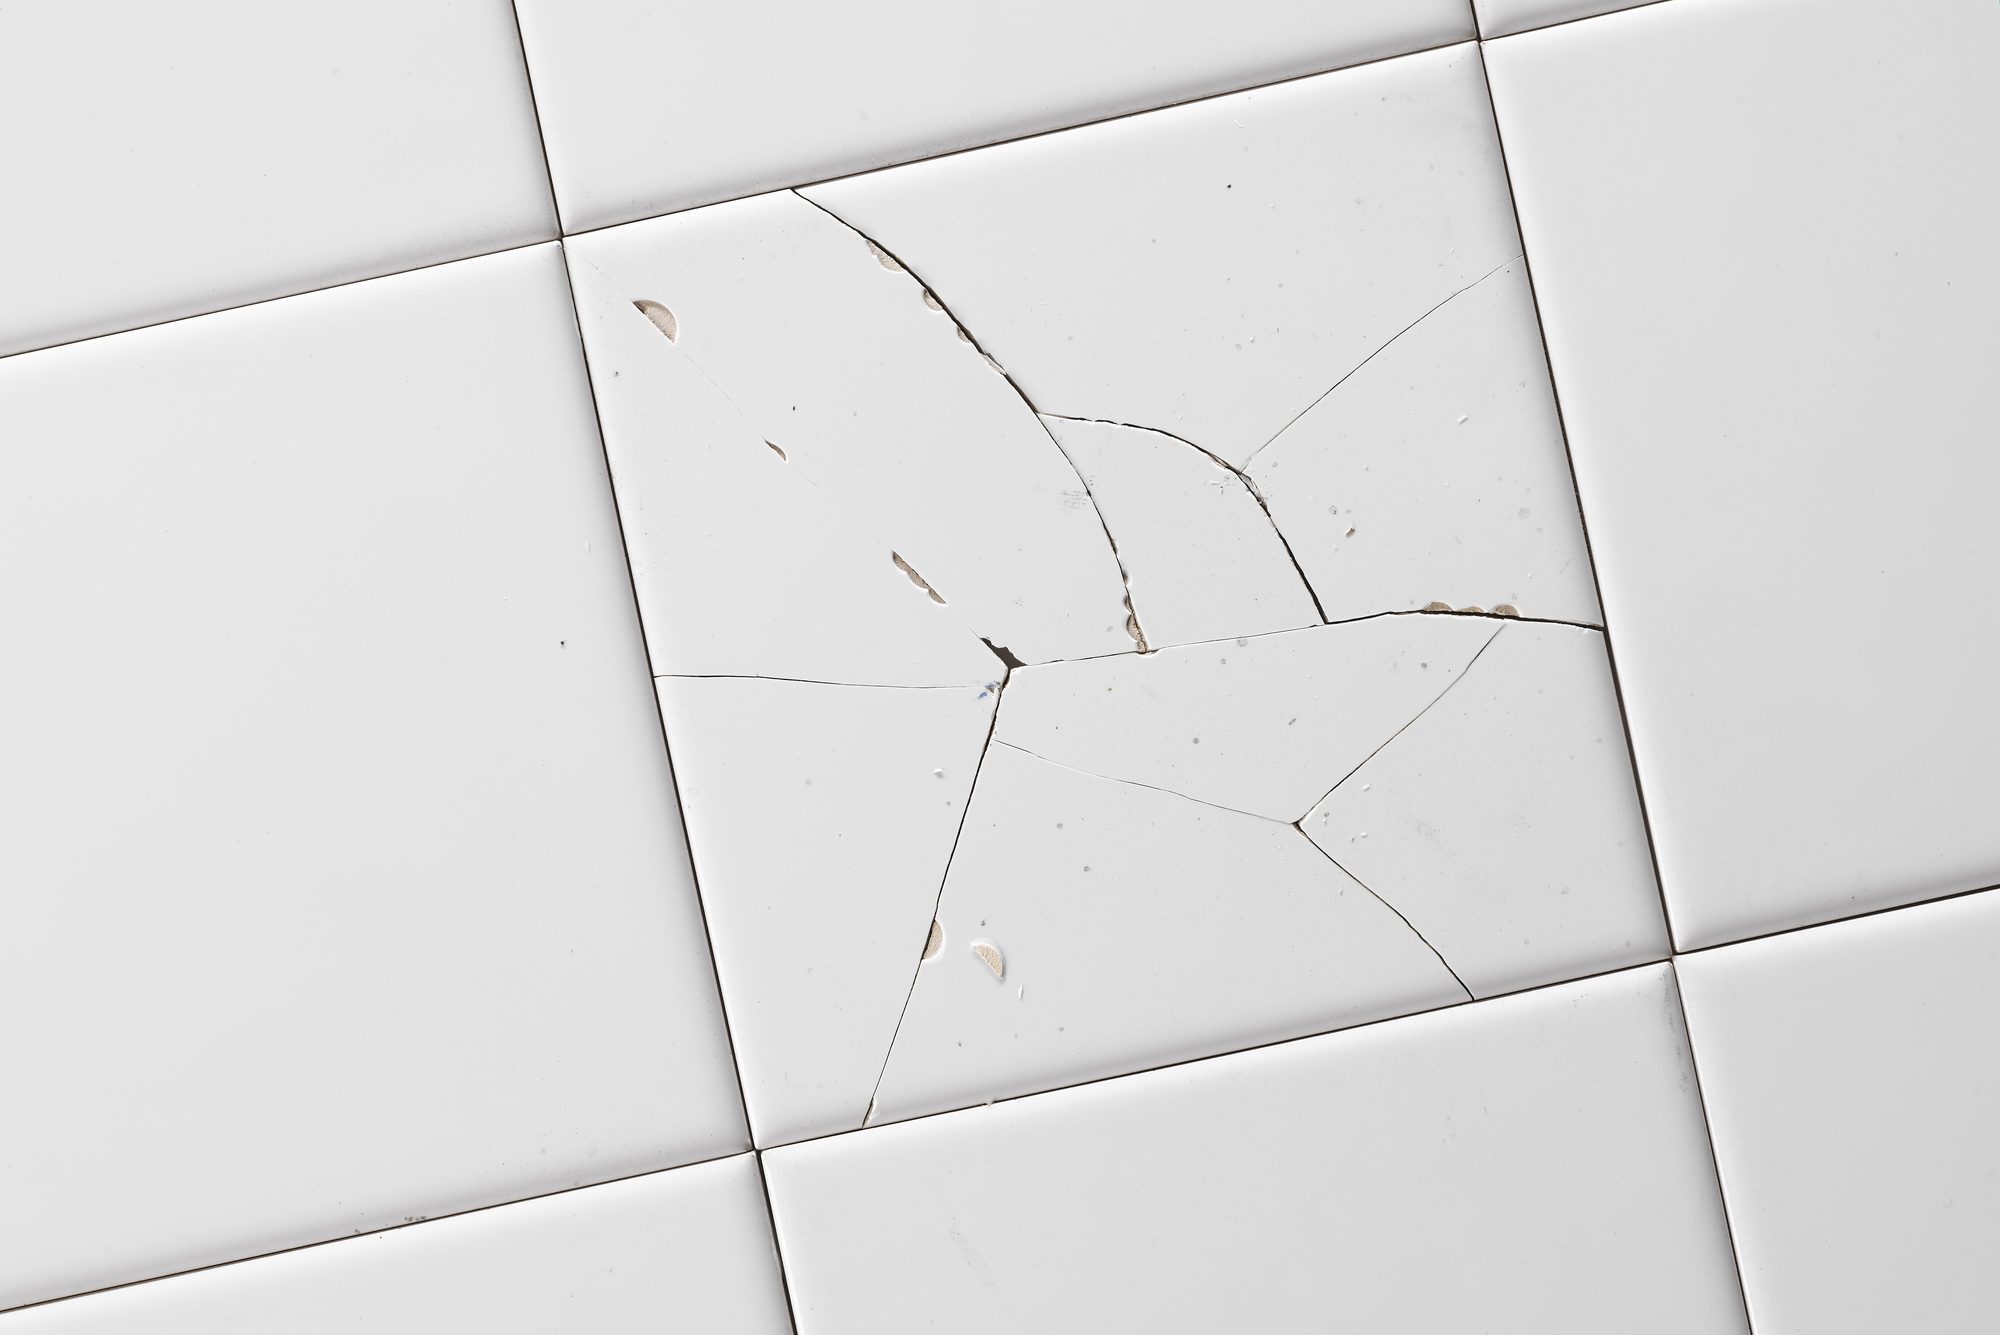


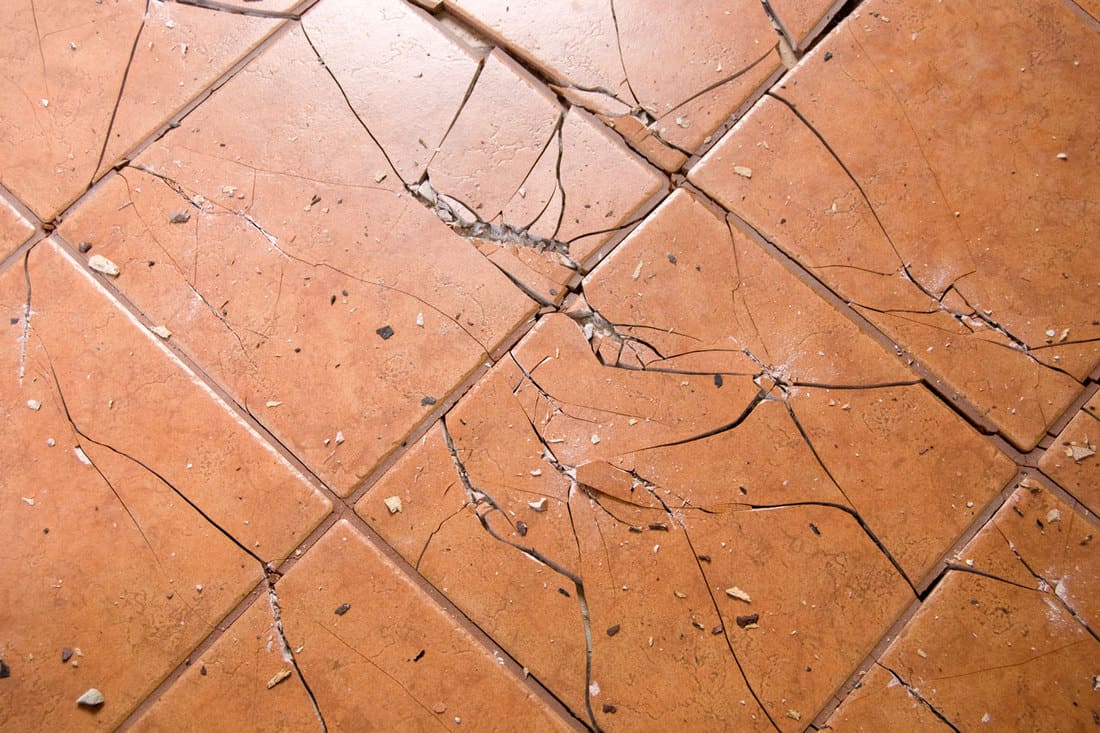
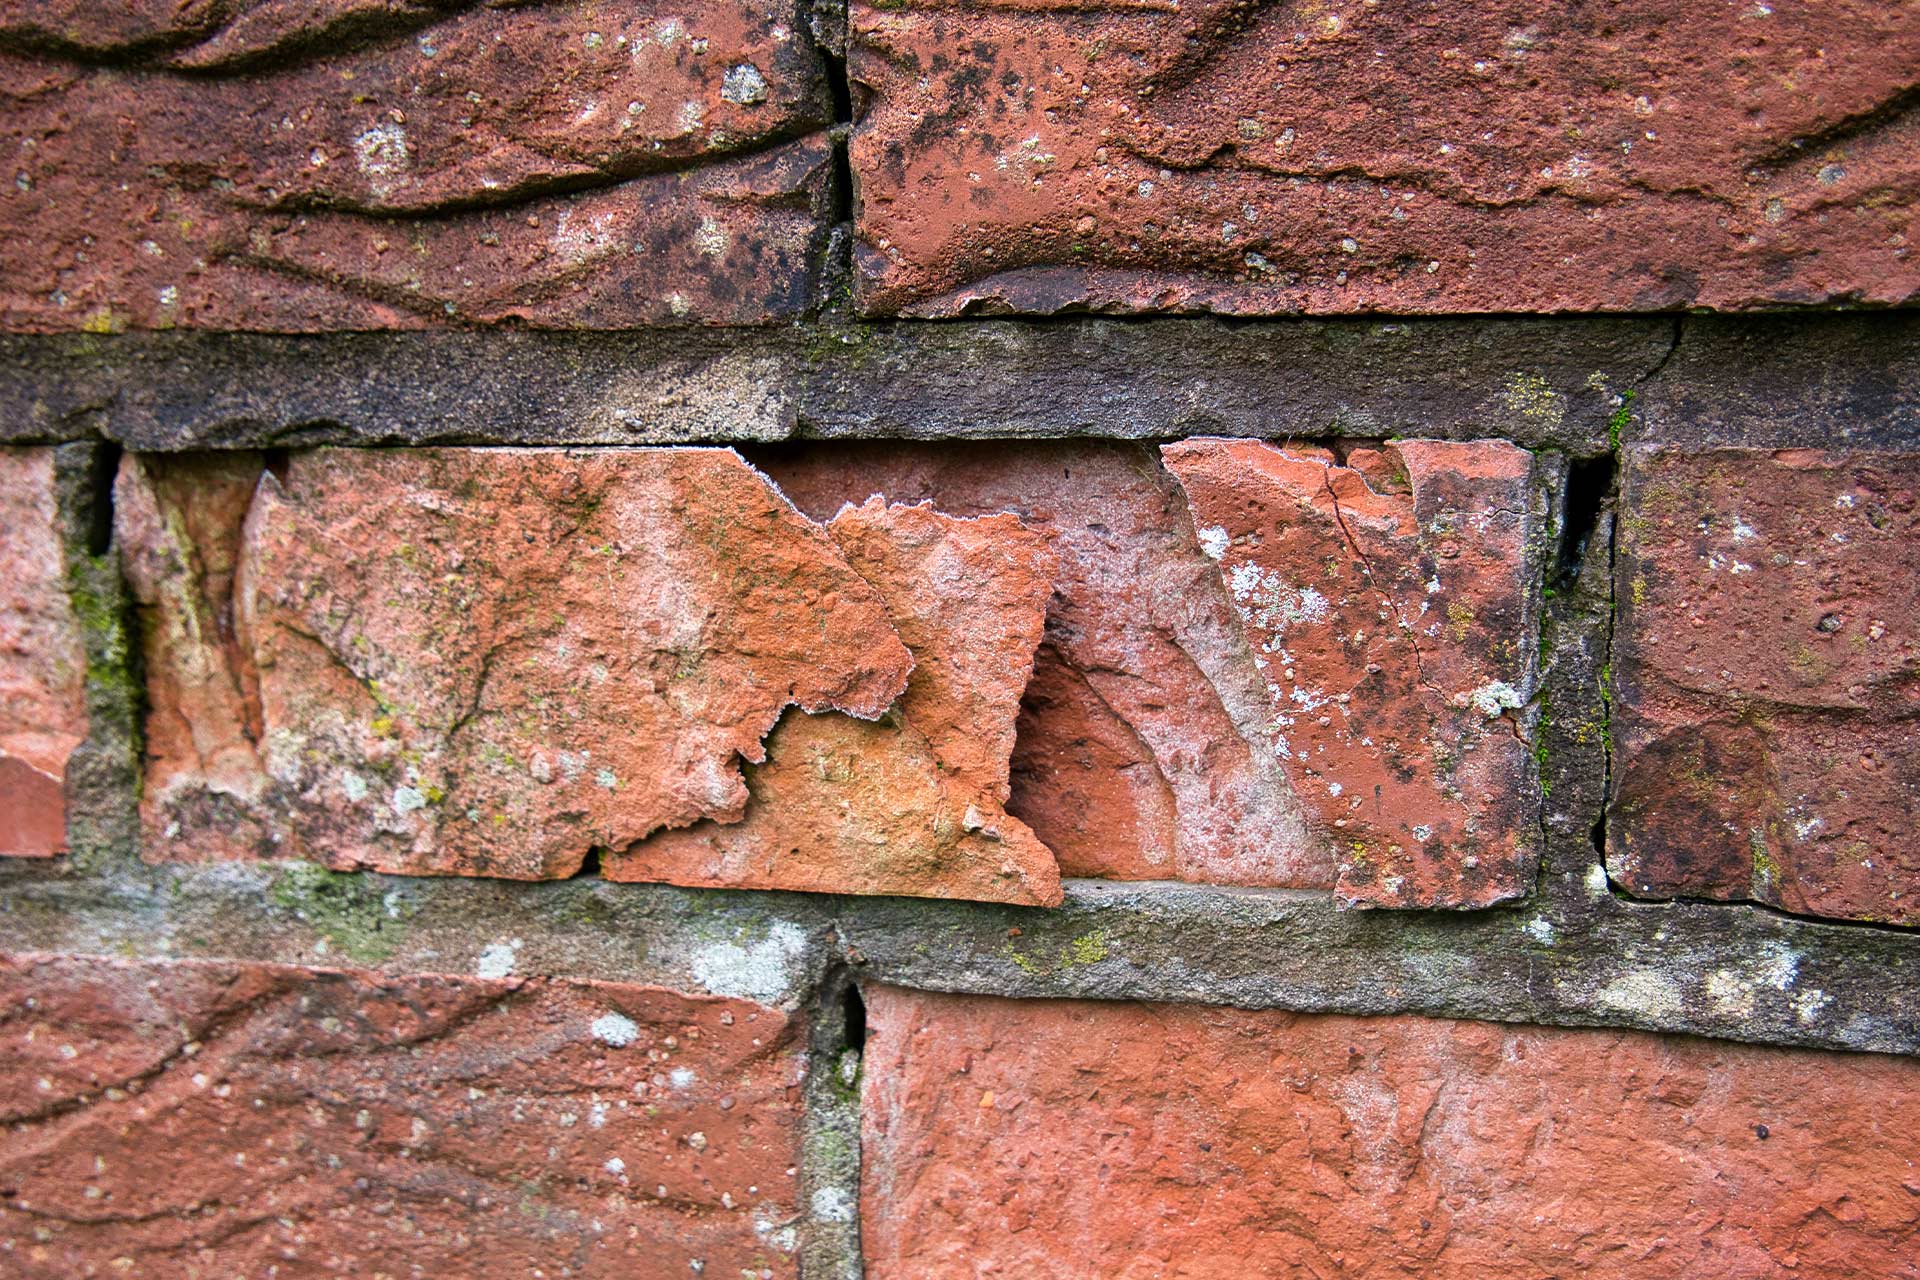
If you have a damaged tile wall in your kitchen, the first step is to assess the extent of the damage. If it's just a few cracked or chipped tiles, you can easily patch it up yourself. However, if the damage is more extensive, it may be best to call in a professional. Once you've determined that the damage is manageable, gather your tools and materials and follow these steps to repair your damaged tile wall.How to Repair a Damaged Tile Wall in Your Kitchen


How to Repair a Damaged Tile Wall in Your Kitchen


Patching a tile wall in your kitchen is a great DIY project that can save you money and give you a sense of accomplishment. To get started, you'll need a few essential tools and materials, including replacement tiles, grout, adhesive, a notched trowel, a putty knife, and a sponge. You may also want to wear gloves and protective eyewear when working with the tools and materials. Once you have everything you need, follow these steps to patch your tile wall like a pro.DIY Tile Wall Patching for Your Kitchen


DIY Tile Wall Patching for Your Kitchen
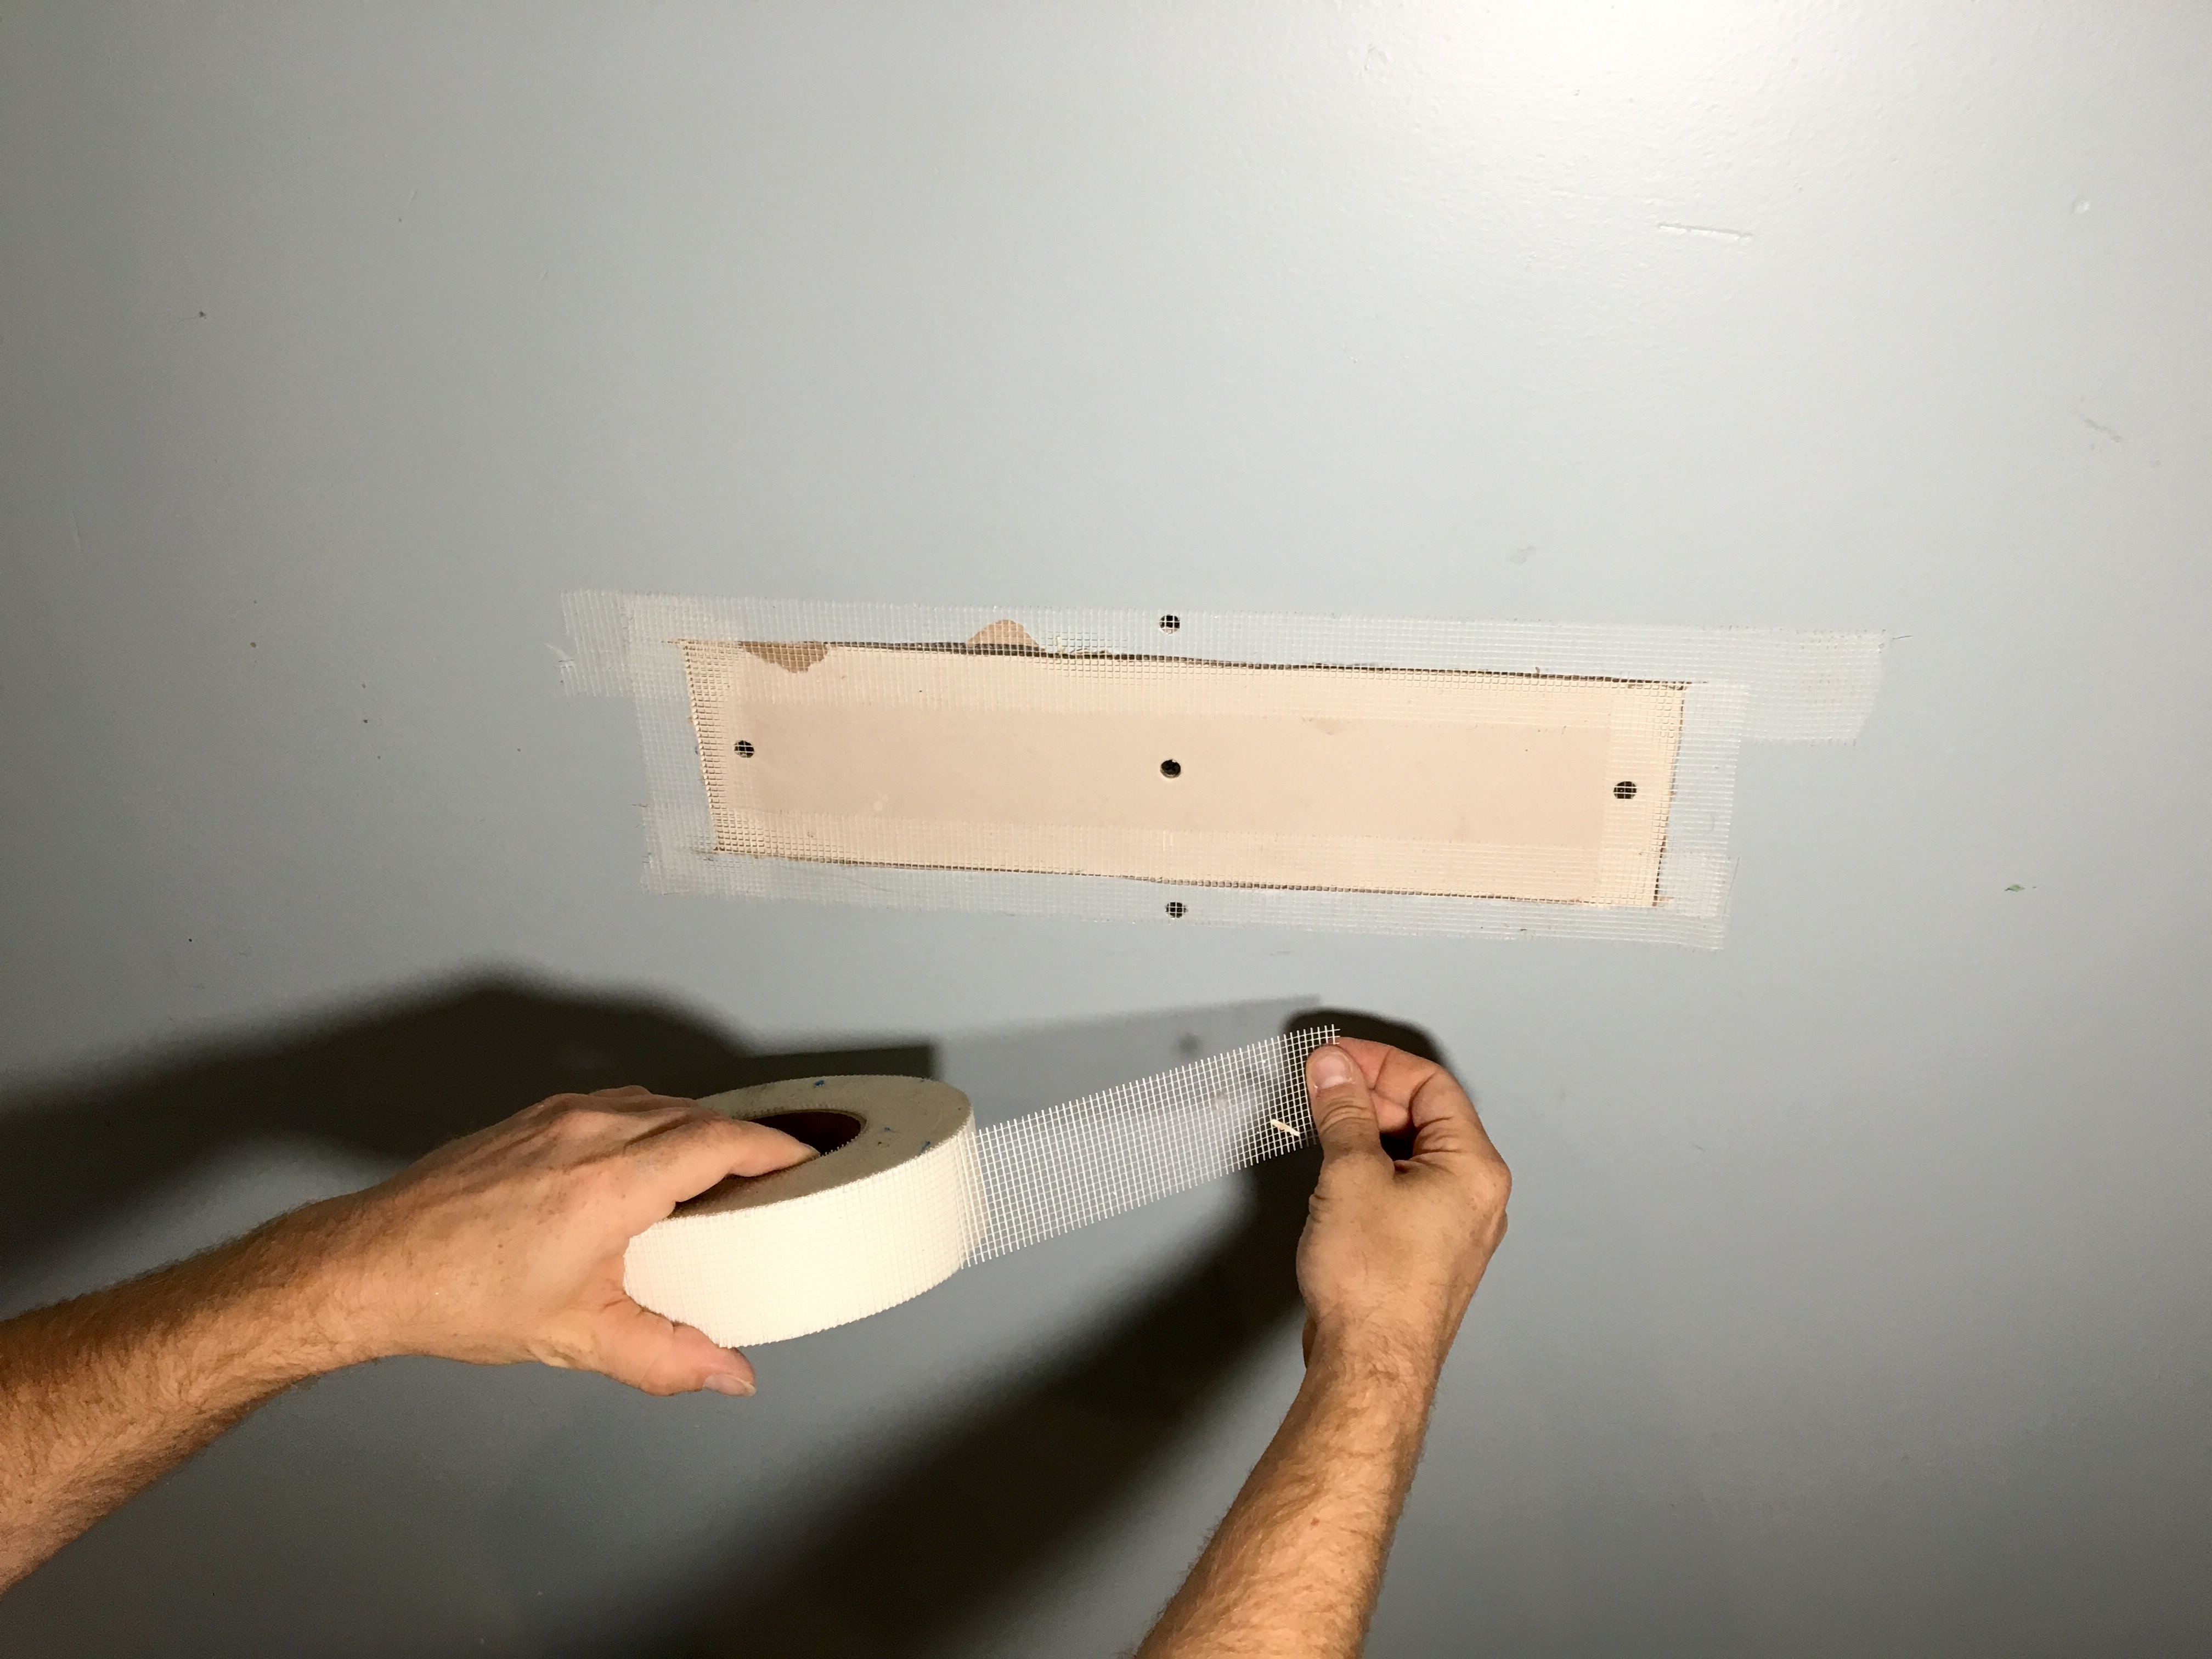


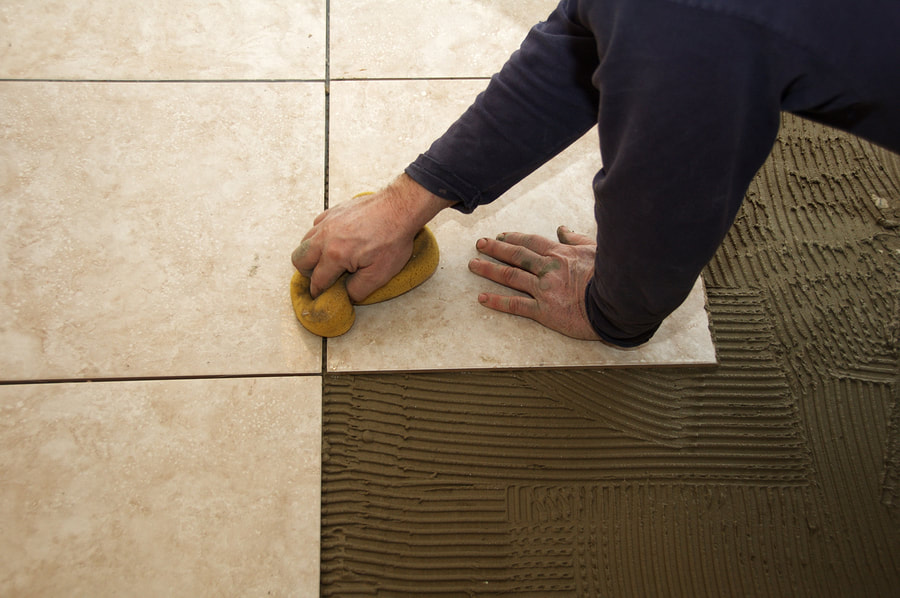
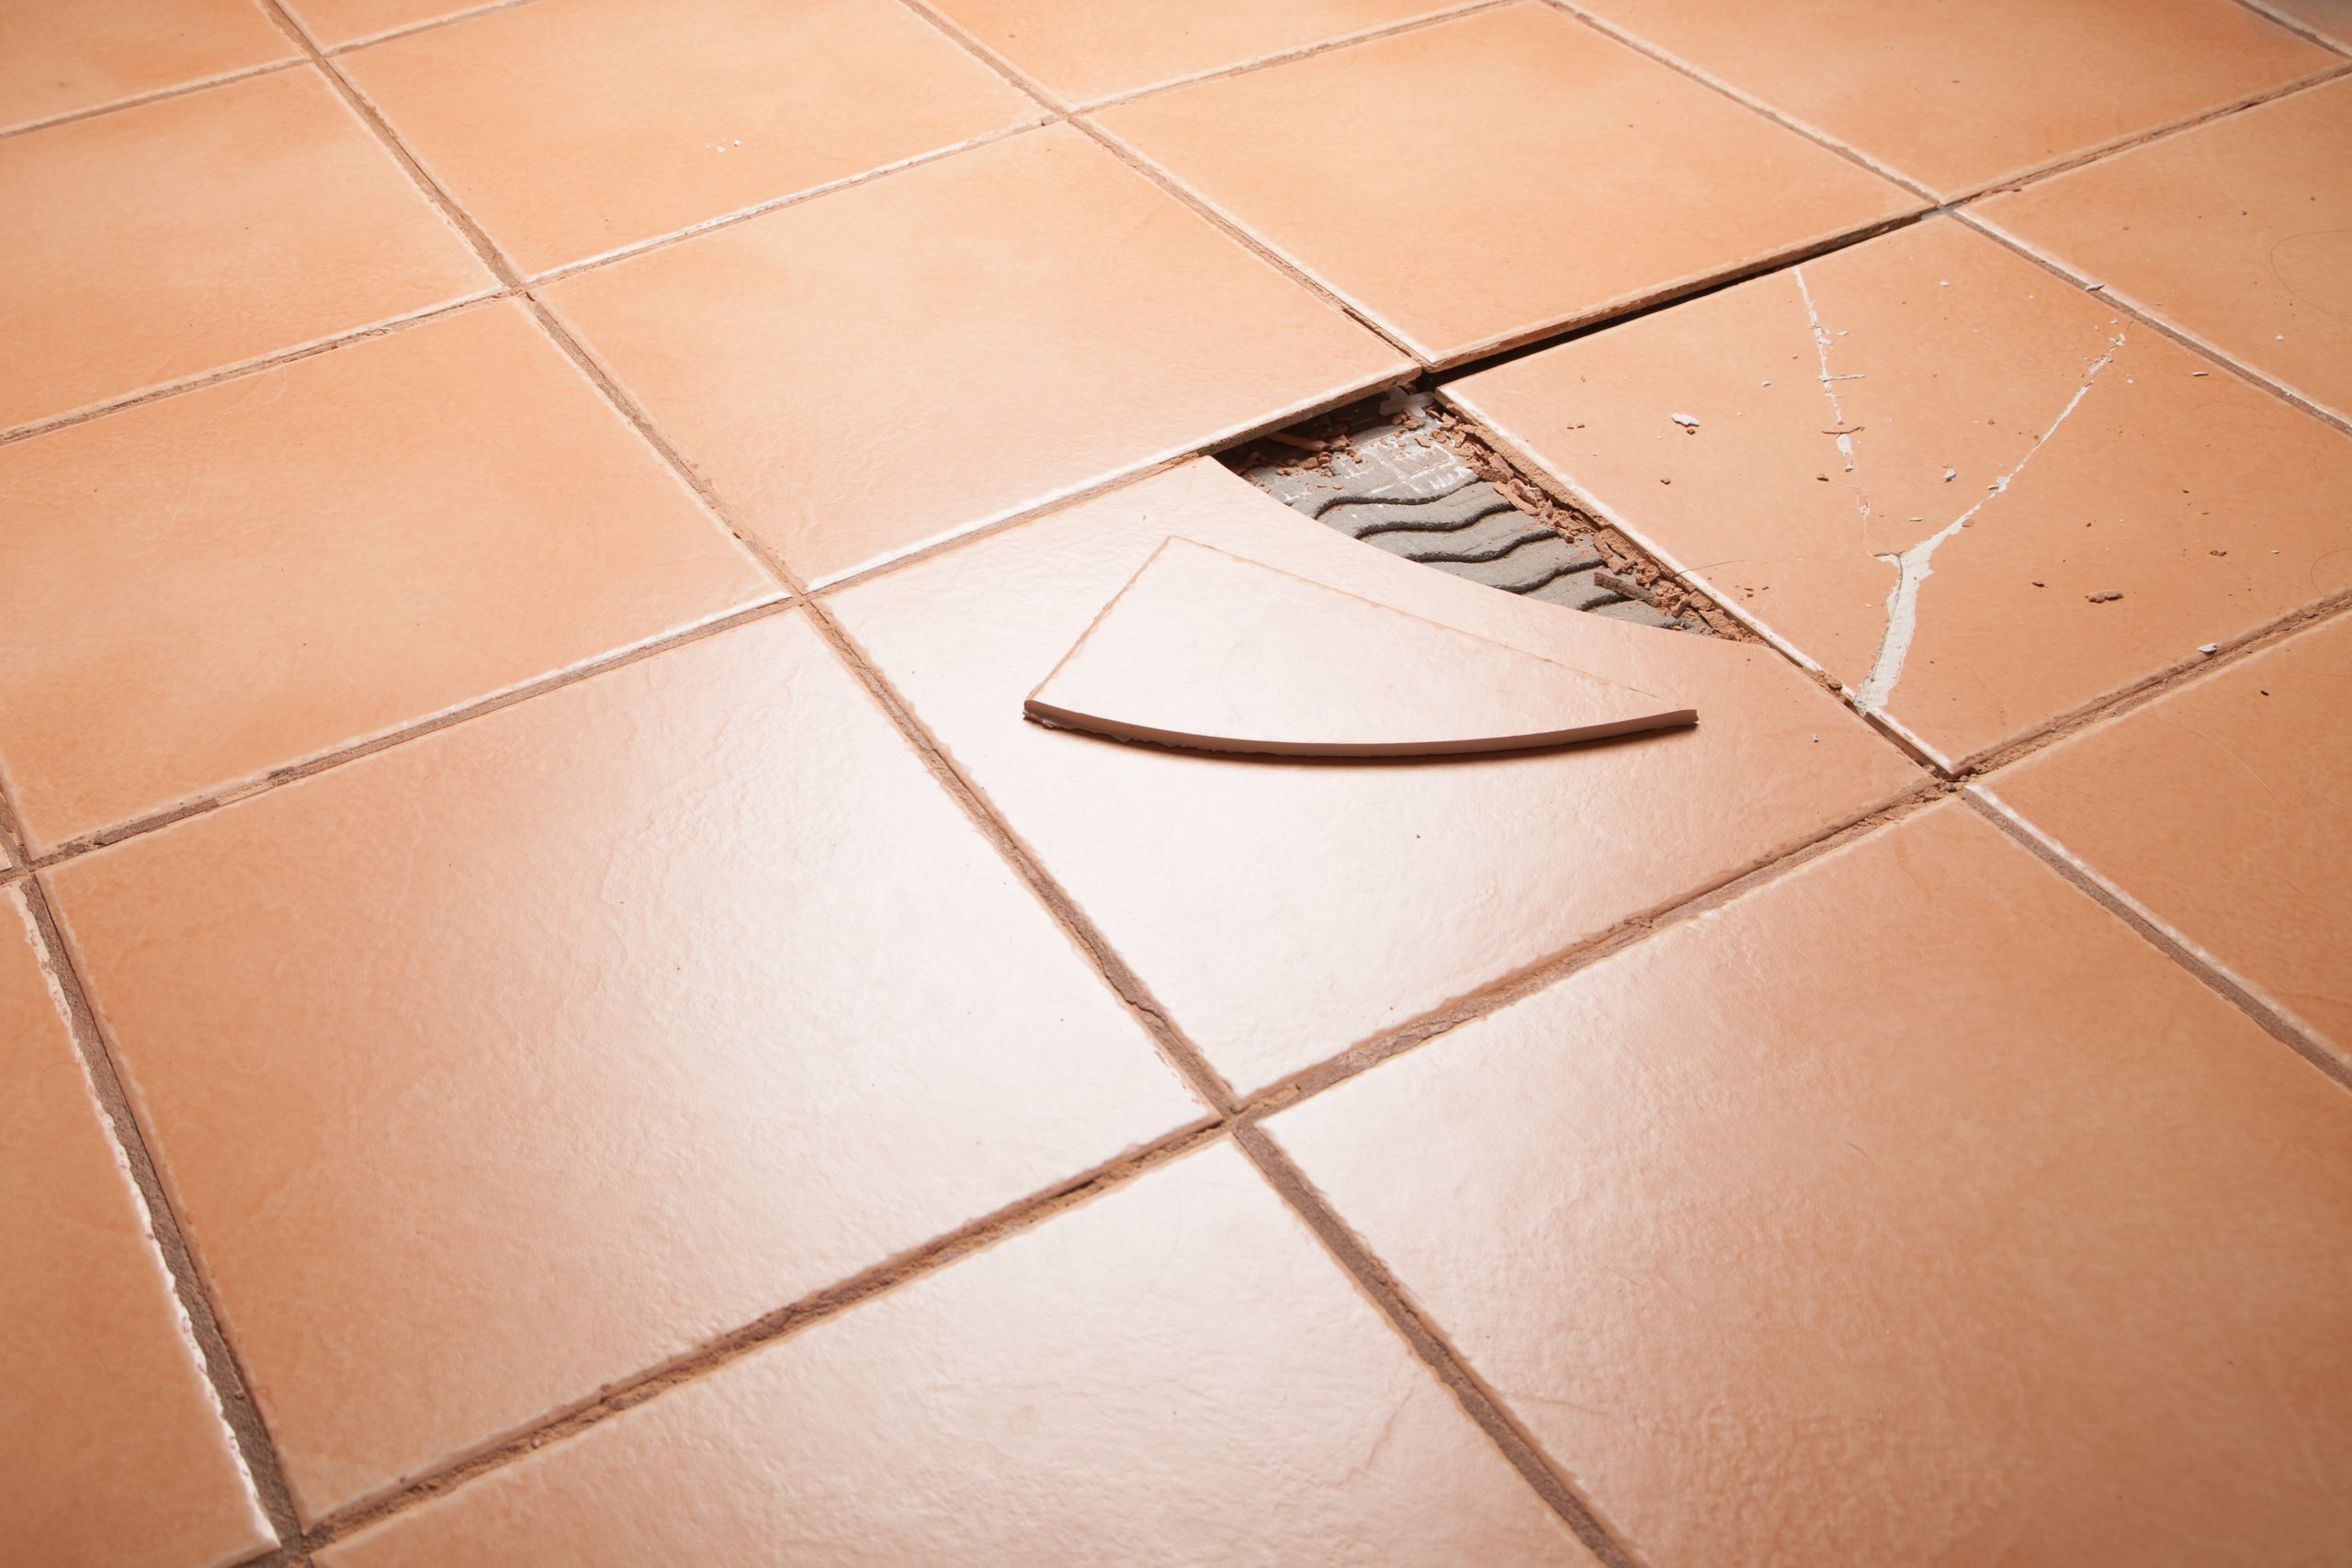
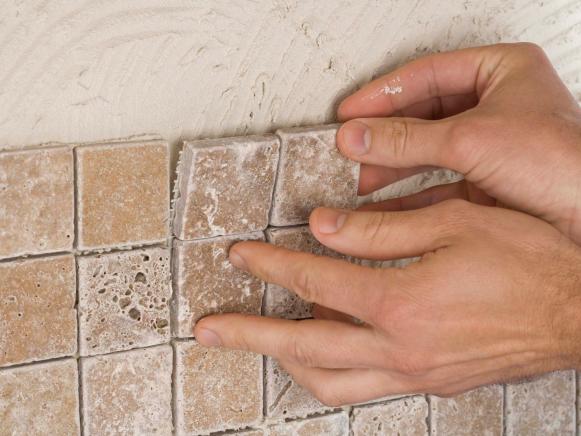
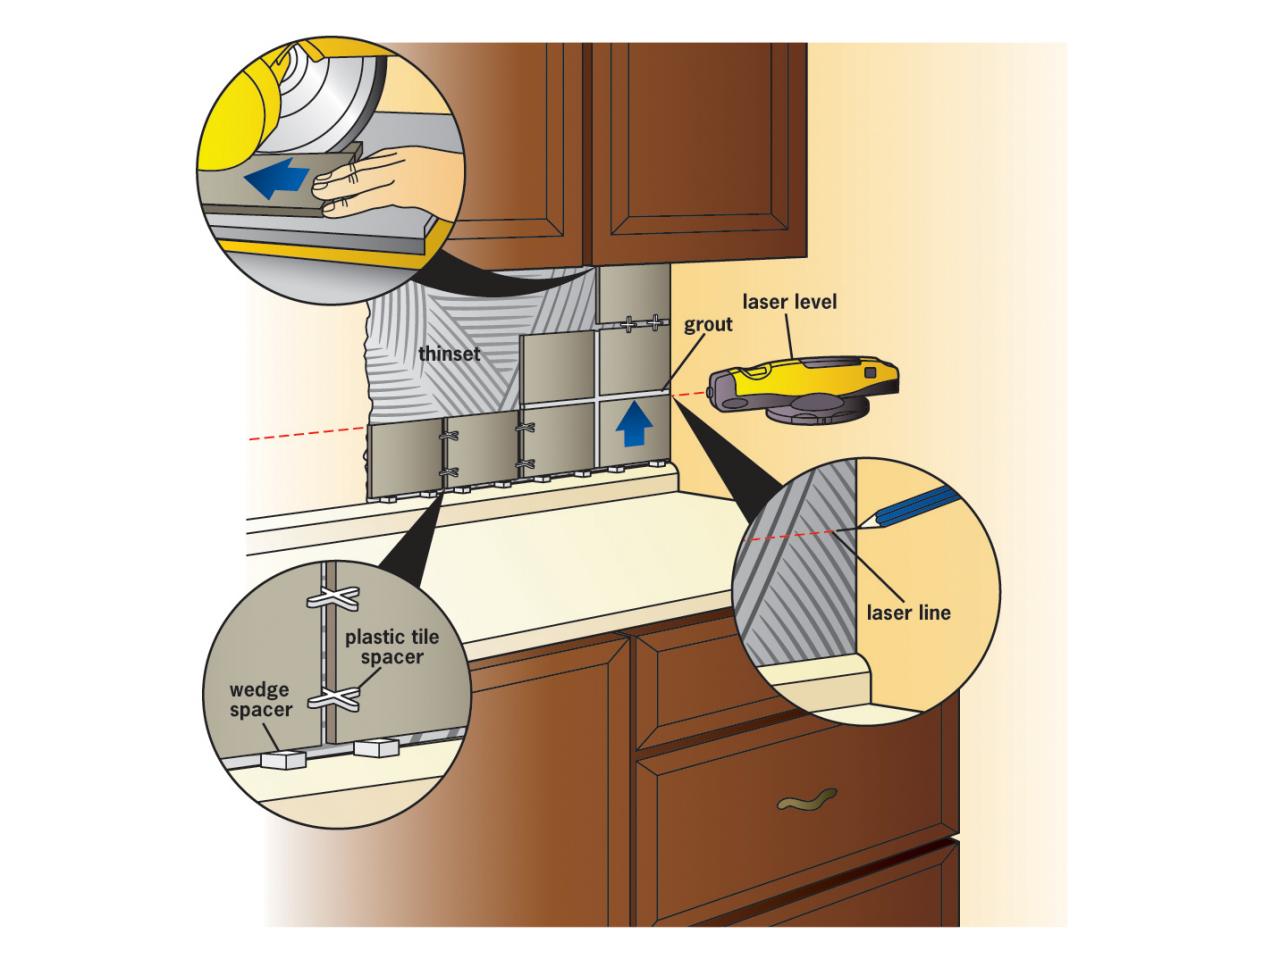
Step 1: Remove the damaged tiles - Using a putty knife, gently pry off the damaged tiles and remove any remaining adhesive or grout. Be careful not to damage the surrounding tiles. Step 2: Clean the area - Use a sponge and warm water to clean the area where the damaged tiles were removed. Make sure to remove any debris or grime that could interfere with the new tiles' adhesion. Step 3: Mix the adhesive - Follow the instructions on the adhesive package to mix it properly. Use a notched trowel to spread a layer of adhesive on the back of the replacement tile. Step 4: Place the tile - Carefully place the replacement tile in the empty space, making sure it is level and aligned with the surrounding tiles. Press it firmly into place, removing any excess adhesive that may ooze out from the sides. Step 5: Let it dry - Allow the adhesive to dry for the recommended time on the package before moving on to grouting. Step 6: Mix the grout - Mix the grout according to the instructions and use a putty knife to fill in the gaps between the tiles. Wipe off any excess grout with a damp sponge. Step 7: Let it dry - Allow the grout to dry for the recommended time on the package before wiping off any remaining haze with a clean, damp sponge.Step-by-Step Guide for Patching a Tile Wall in Your Kitchen


Step-by-Step Guide for Patching a Tile Wall in Your Kitchen


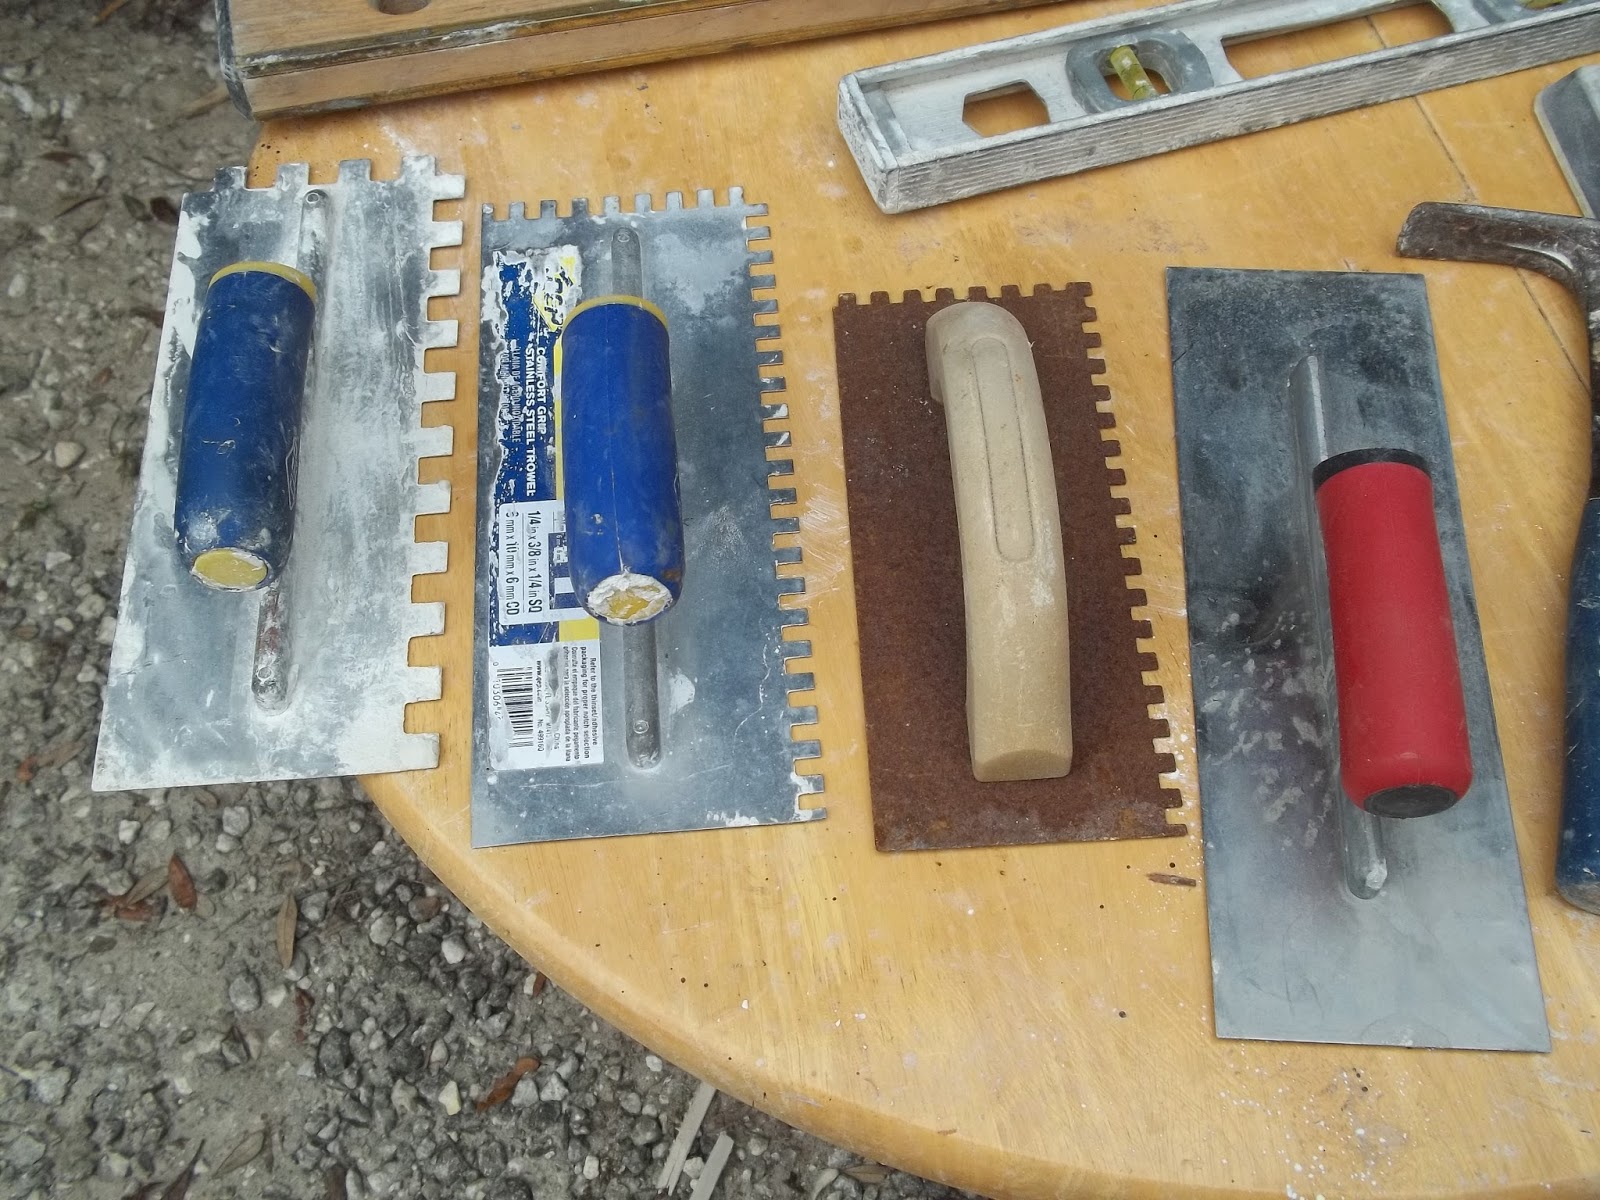
To successfully patch a tile wall in your kitchen, you'll need the following tools and materials:Tools and Materials Needed for Patching a Tile Wall in Your Kitchen


Tools and Materials Needed for Patching a Tile Wall in Your Kitchen


/construction-site-tile-floor-488952556-5887d0735f9b58bdb3846ccc.jpg)

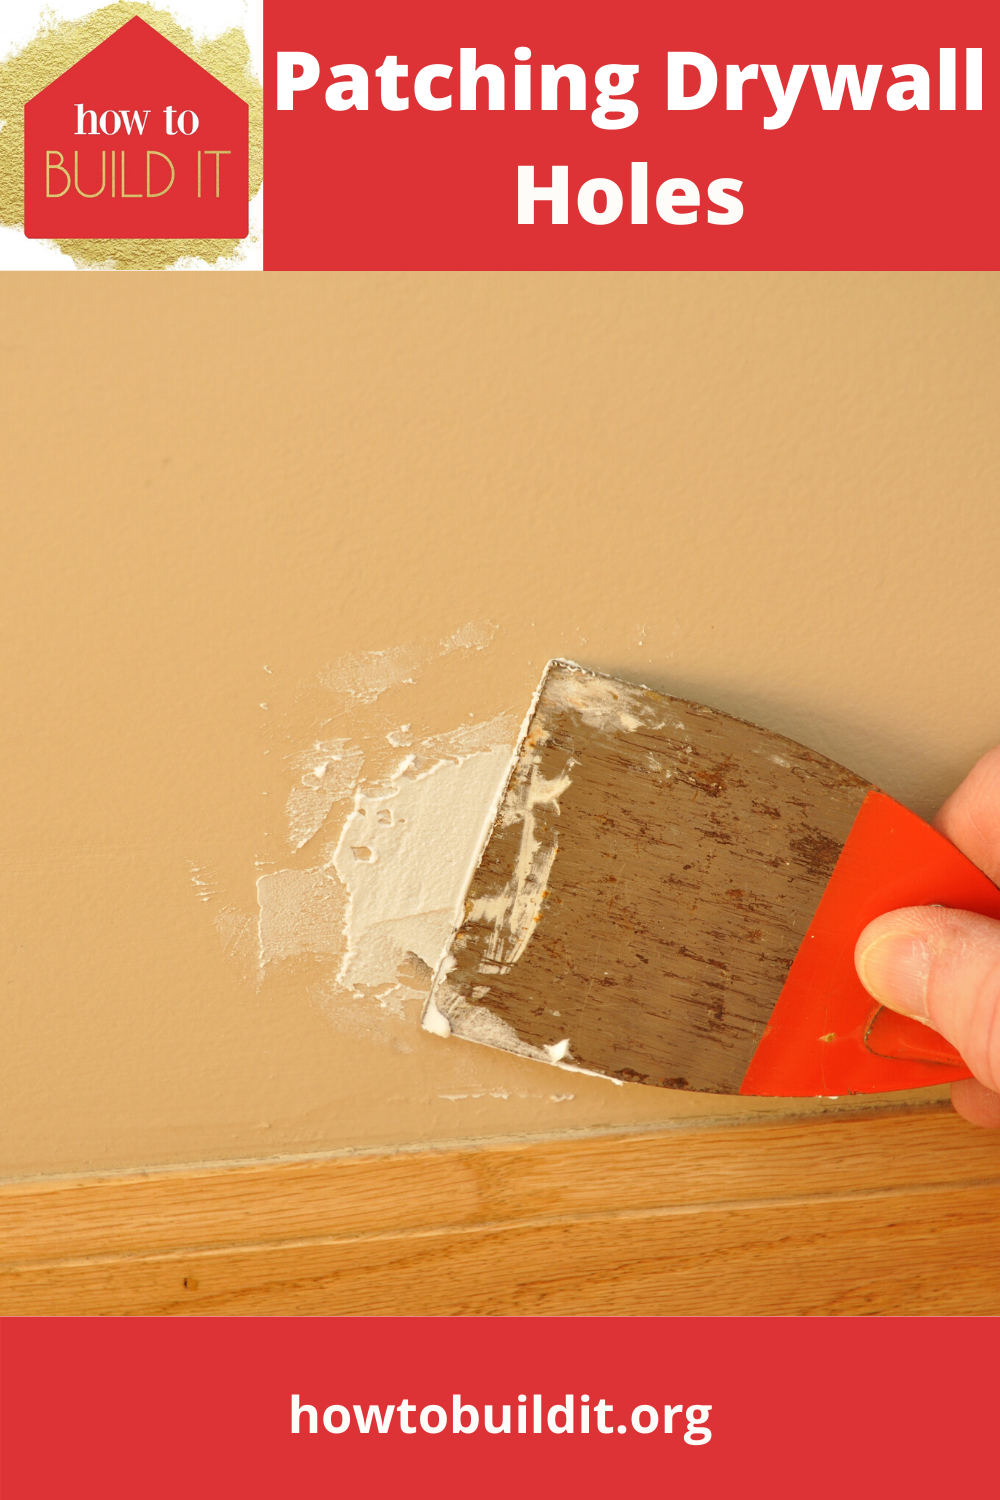
:max_bytes(150000):strip_icc()/repair-a-large-hole-in-drywall-1824831_03_install_patch_1545-68477076e16b4775b65d51fe92b17122.jpg)


Patching a tile wall in your kitchen may seem like a daunting task, but with the right tools and techniques, you can achieve professional-looking results. Here are a few tips to help you successfully patch your tile wall:Tips for Successfully Patching a Tile Wall in Your Kitchen


Tips for Successfully Patching a Tile Wall in Your Kitchen


:max_bytes(150000):strip_icc()/how-to-install-ceramic-wall-tile-1824817-10-473071b2fef94af381ad02bc4c1ba8a8.jpg)
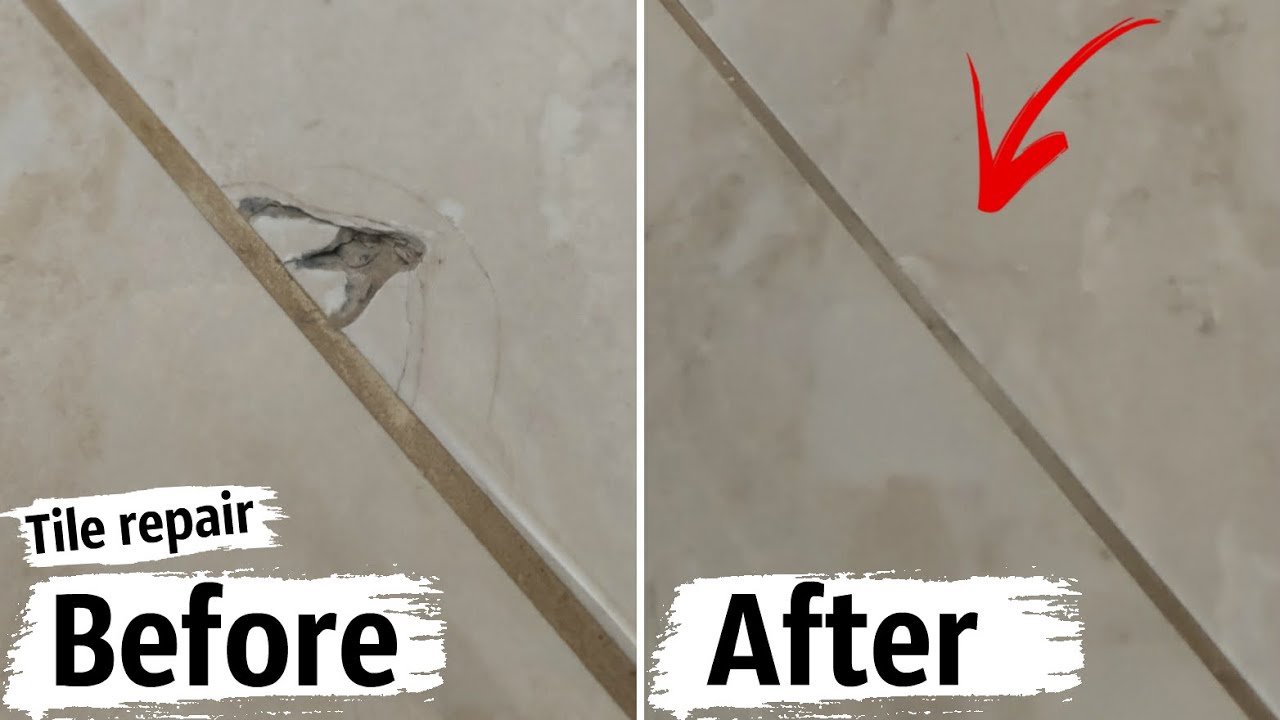
While patching a tile wall in your kitchen is a simple task, there are a few common mistakes to avoid to ensure a successful outcome:Common Mistakes to Avoid When Patching a Tile Wall in Your Kitchen


Common Mistakes to Avoid When Patching a Tile Wall in Your Kitchen


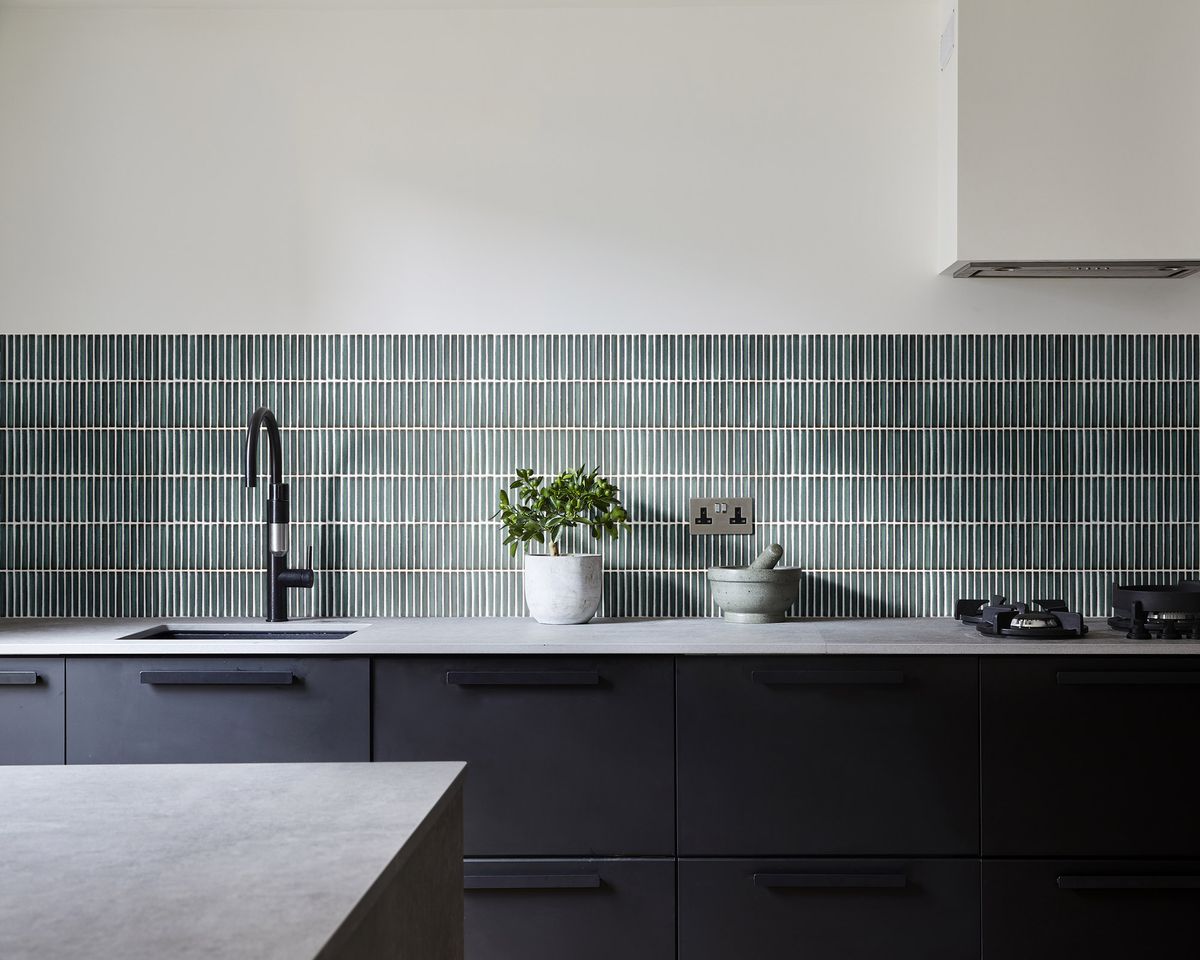
If you're patching a tile wall in your kitchen, you'll want the new tiles to match the existing ones as closely as possible. To achieve this, you can either use replacement tiles that are the same color and style as your existing tiles or try to match the grout color. If you're unable to find an exact match, consider using a slightly different shade that complements your existing tiles.How to Match Tile Colors When Patching a Tile Wall in Your Kitchen

How to Match Tile Colors When Patching a Tile Wall in Your Kitchen


While patching a tile wall in your kitchen can be a DIY project, there are times when it may be best to leave it to the professionals. If the damage is extensive or if you're not confident in your tile installation skills, it may be best to hire a professional. This will ensure a flawless finish and save you the time and effort of doing it yourself.Professional vs. DIY Tile Wall Patching for Your Kitchen


Professional vs. DIY Tile Wall Patching for Your Kitchen


:max_bytes(150000):strip_icc()/steam-cleaning-professional-vs-diy-2908776-hero-24ffd77737924bca908036dabcdcbbad.jpg)
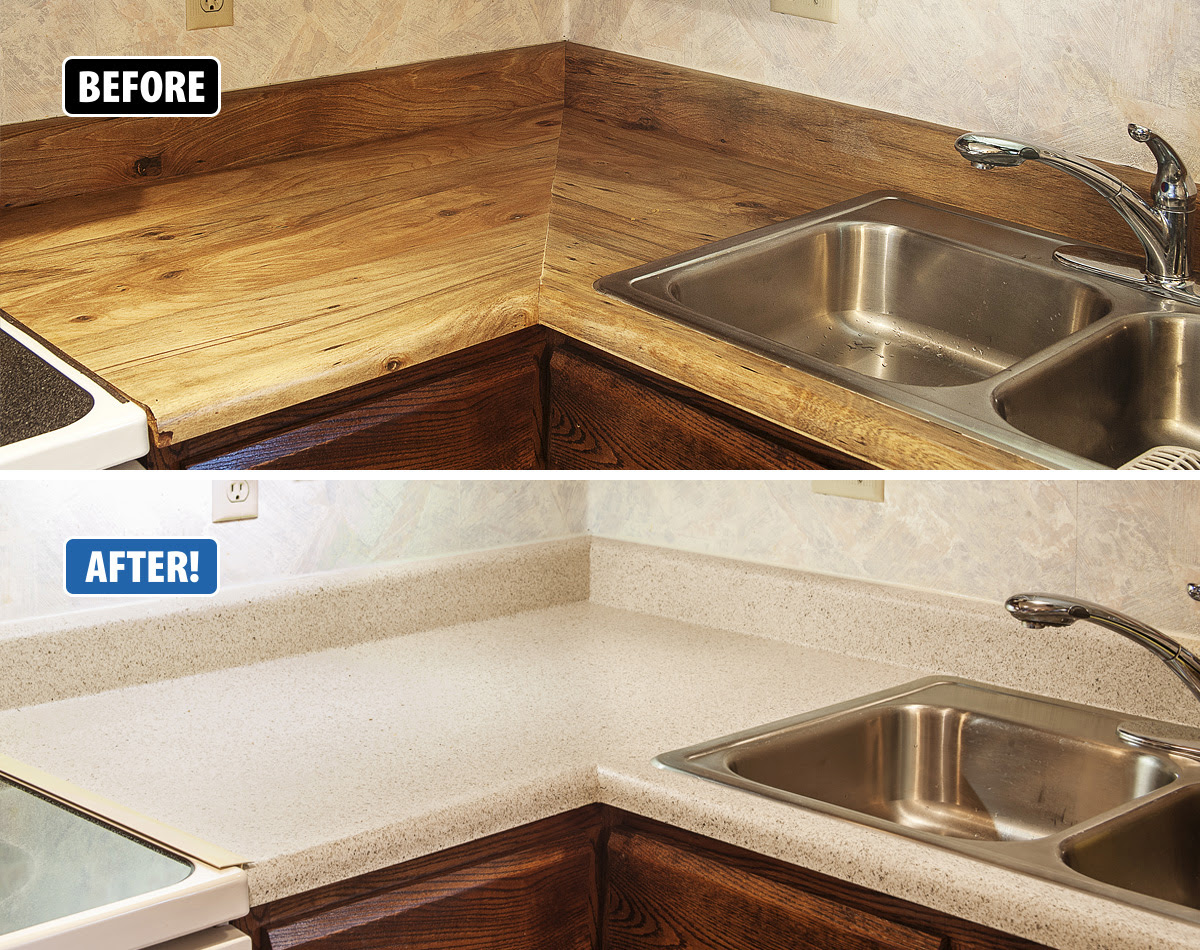
The cost and time involved in patching a tile wall in your kitchen will depend on the extent of the damage and whether you choose to DIY or hire a professional. DIY patching can cost anywhere from $50 to $200, while hiring a professional can cost $200 to $500. The time involved will also vary, but typically, a DIY project can take a few hours to a day, while hiring a professional can take a few days. Now that you know how to patch a tile wall in your kitchen, it's time to roll up your sleeves and give your kitchen a fresh new look. With the right tools, materials, and techniques, you can easily tackle this project and enjoy a beautifully patched tile wall in your kitchen.Costs and Time Involved in Patching a Tile Wall in Your Kitchen


Costs and Time Involved in Patching a Tile Wall in Your Kitchen


Patching Tile Walls in Your Kitchen: A Necessary Step in House Design

Why Patching Tile Walls is Important
 When it comes to house design, the kitchen is often considered the heart of the home. It is where families gather to cook and eat together, where memories are made, and where guests are entertained. With such an important role, it is essential to have a kitchen that is not only functional but also aesthetically pleasing. This is where patching tile walls comes into play.
Patching tile walls
involves repairing any cracks, chips, or imperfections in the
tile surfaces
of your kitchen. This may seem like a small task, but it can have a big impact on the overall look and feel of your kitchen. Not only does it improve the appearance of your walls, but it also helps to maintain the cleanliness and hygiene of your kitchen.
When it comes to house design, the kitchen is often considered the heart of the home. It is where families gather to cook and eat together, where memories are made, and where guests are entertained. With such an important role, it is essential to have a kitchen that is not only functional but also aesthetically pleasing. This is where patching tile walls comes into play.
Patching tile walls
involves repairing any cracks, chips, or imperfections in the
tile surfaces
of your kitchen. This may seem like a small task, but it can have a big impact on the overall look and feel of your kitchen. Not only does it improve the appearance of your walls, but it also helps to maintain the cleanliness and hygiene of your kitchen.
The Process of Patching Tile Walls
 The first step in patching
tile walls
is to assess the damage. Look for any cracks, chips, or areas where the grout has come loose. Once you have identified the problem areas, you will need to gather the necessary tools and supplies. This includes a grout saw, grout, and a putty knife.
Next, use the grout saw to remove any loose or damaged grout. Then, mix the grout according to the manufacturer's instructions and use the putty knife to apply it to the damaged areas. Make sure to smooth out the grout and remove any excess. Allow the grout to dry completely before moving on to the next step.
Finally, it's time to patch the tile itself. If you have any chips or cracks in the tile, use a tile repair kit to fill in the damaged areas. These kits come with everything you need, including filler, paint, and a brush. Follow the instructions carefully to ensure a seamless repair.
The first step in patching
tile walls
is to assess the damage. Look for any cracks, chips, or areas where the grout has come loose. Once you have identified the problem areas, you will need to gather the necessary tools and supplies. This includes a grout saw, grout, and a putty knife.
Next, use the grout saw to remove any loose or damaged grout. Then, mix the grout according to the manufacturer's instructions and use the putty knife to apply it to the damaged areas. Make sure to smooth out the grout and remove any excess. Allow the grout to dry completely before moving on to the next step.
Finally, it's time to patch the tile itself. If you have any chips or cracks in the tile, use a tile repair kit to fill in the damaged areas. These kits come with everything you need, including filler, paint, and a brush. Follow the instructions carefully to ensure a seamless repair.
The Benefits of Patching Tile Walls
 Not only does patching
tile walls
improve the appearance of your kitchen, but it also has several other benefits.
Properly maintained tile walls
are easier to clean and can help prevent the growth of mold and mildew. They also help to maintain the value of your home, as damaged walls can be a red flag for potential buyers.
In addition, patching tile walls is a cost-effective way to refresh the look of your kitchen without undergoing a major renovation. It is a simple and relatively quick process that can make a big difference in the overall design of your home.
In conclusion, patching tile walls is an important step in house design, especially in the kitchen. It not only improves the appearance of your walls but also has practical benefits such as easier maintenance and increased home value. So if you notice any imperfections in your kitchen tile, don't hesitate to patch them up for a beautiful and functional space.
Not only does patching
tile walls
improve the appearance of your kitchen, but it also has several other benefits.
Properly maintained tile walls
are easier to clean and can help prevent the growth of mold and mildew. They also help to maintain the value of your home, as damaged walls can be a red flag for potential buyers.
In addition, patching tile walls is a cost-effective way to refresh the look of your kitchen without undergoing a major renovation. It is a simple and relatively quick process that can make a big difference in the overall design of your home.
In conclusion, patching tile walls is an important step in house design, especially in the kitchen. It not only improves the appearance of your walls but also has practical benefits such as easier maintenance and increased home value. So if you notice any imperfections in your kitchen tile, don't hesitate to patch them up for a beautiful and functional space.