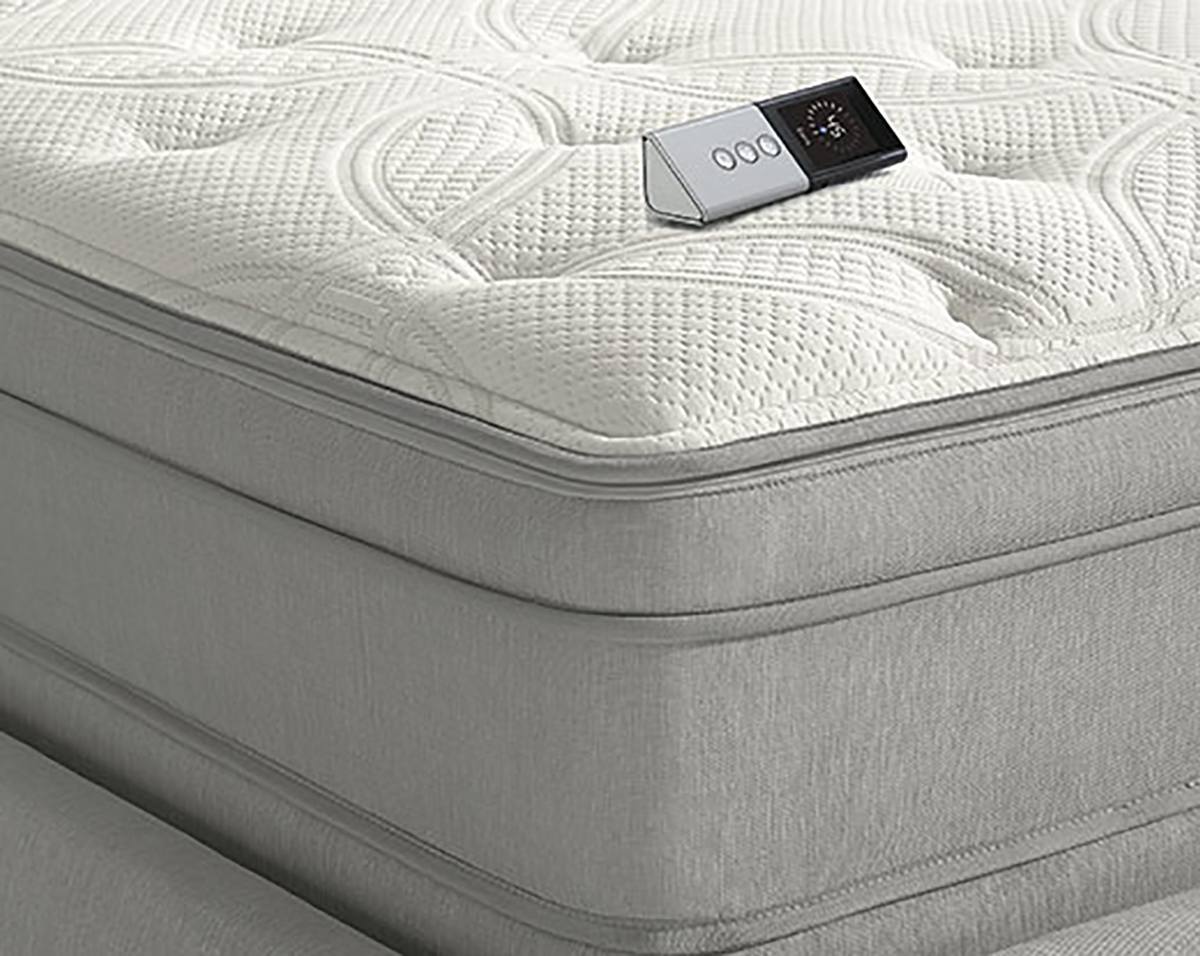
Sleep Number air mattresses are known for their adjustable firmness and comfort, making them a popular choice for a good night's sleep. However, just like any other air mattress, they are prone to punctures and leaks. If you find yourself with a deflated Sleep Number air mattress, don't worry. With the right tools and techniques, you can easily patch it up and get back to enjoying a comfortable sleep. Here are 10 steps to patching a Sleep Number air mattress.How to Patch a Sleep Number Air Mattress


How to Patch a Sleep Number Air Mattress


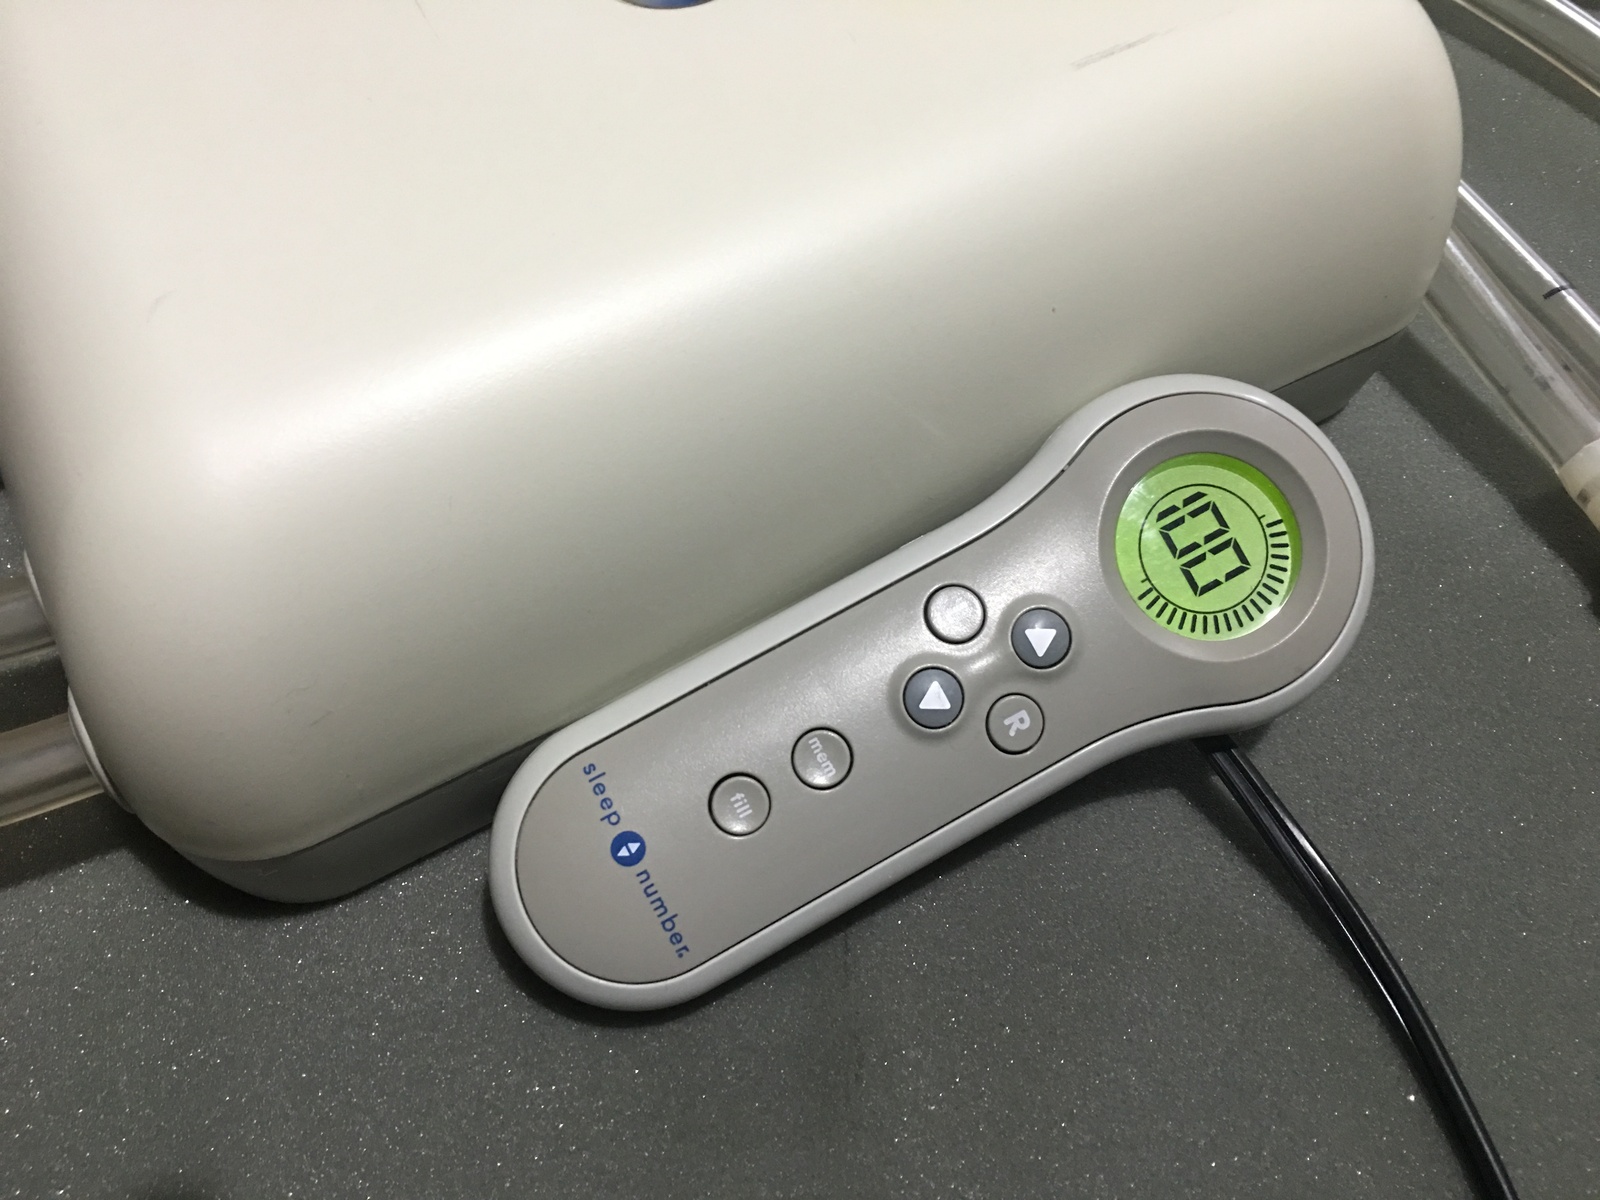
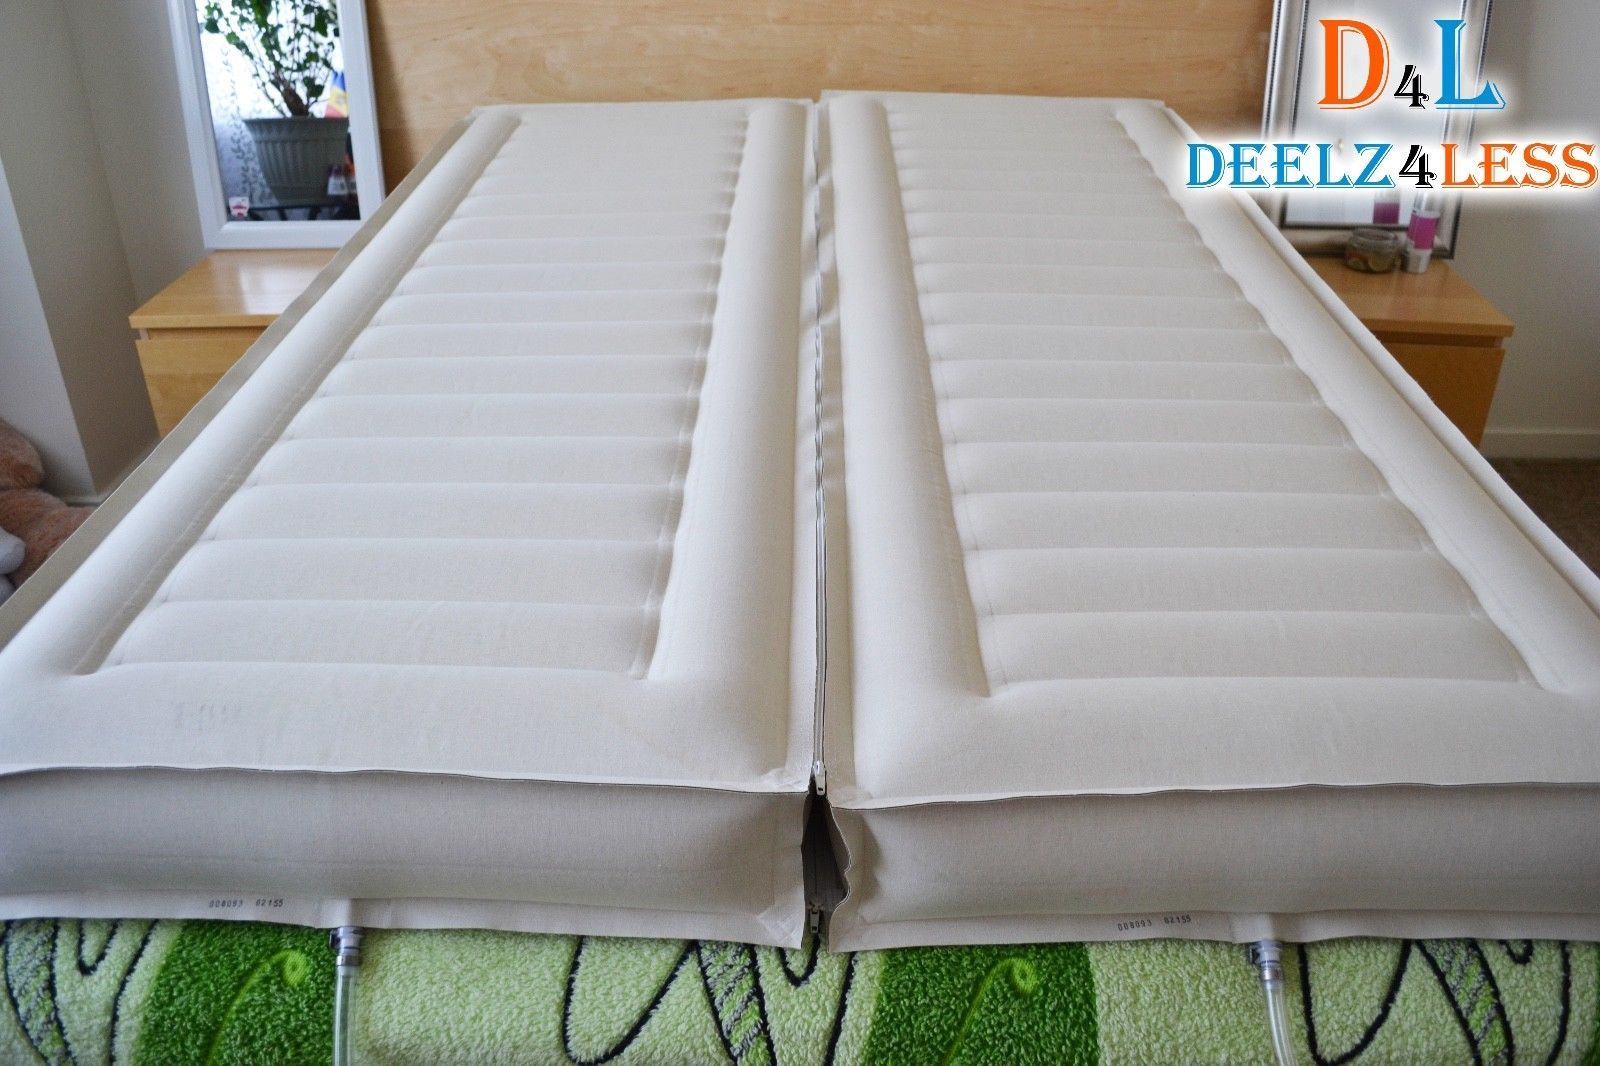
If you have a punctured or leaking Sleep Number air mattress, the first step is to identify the source of the problem. Carefully inspect the mattress for any visible holes or tears. If the puncture is small, it can be easily patched up. However, if the damage is extensive, you may need to consider replacing the mattress. Here are the steps to repairing a Sleep Number air mattress.How to Repair a Sleep Number Air Mattress


How to Repair a Sleep Number Air Mattress


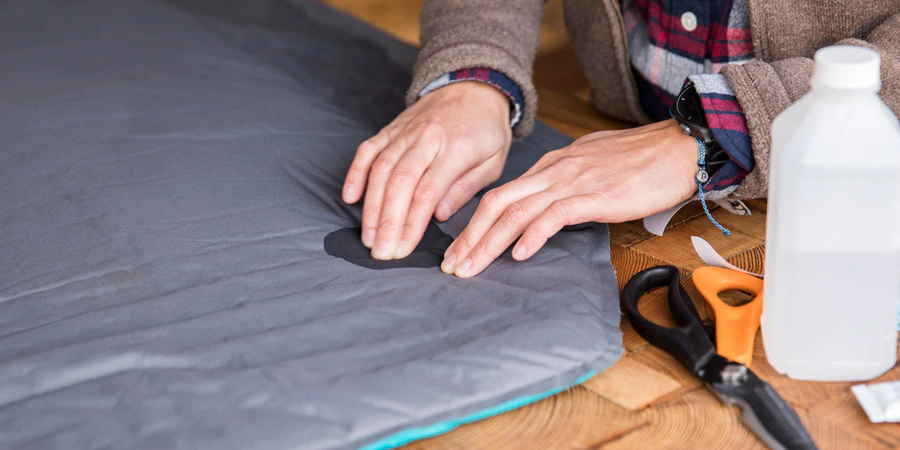
If you don't want to spend money on a repair kit, you can make your own DIY patch for your Sleep Number air mattress. All you need is some duct tape and a plastic bag. Cut a piece of duct tape that is bigger than the hole on your mattress. Place it over the hole and smooth it out. Then, cut a small piece of plastic bag and place it over the duct tape. This will provide additional protection against air leaks. Press down firmly to ensure the patch is secure.DIY Sleep Number Air Mattress Patch


DIY Sleep Number Air Mattress Patch


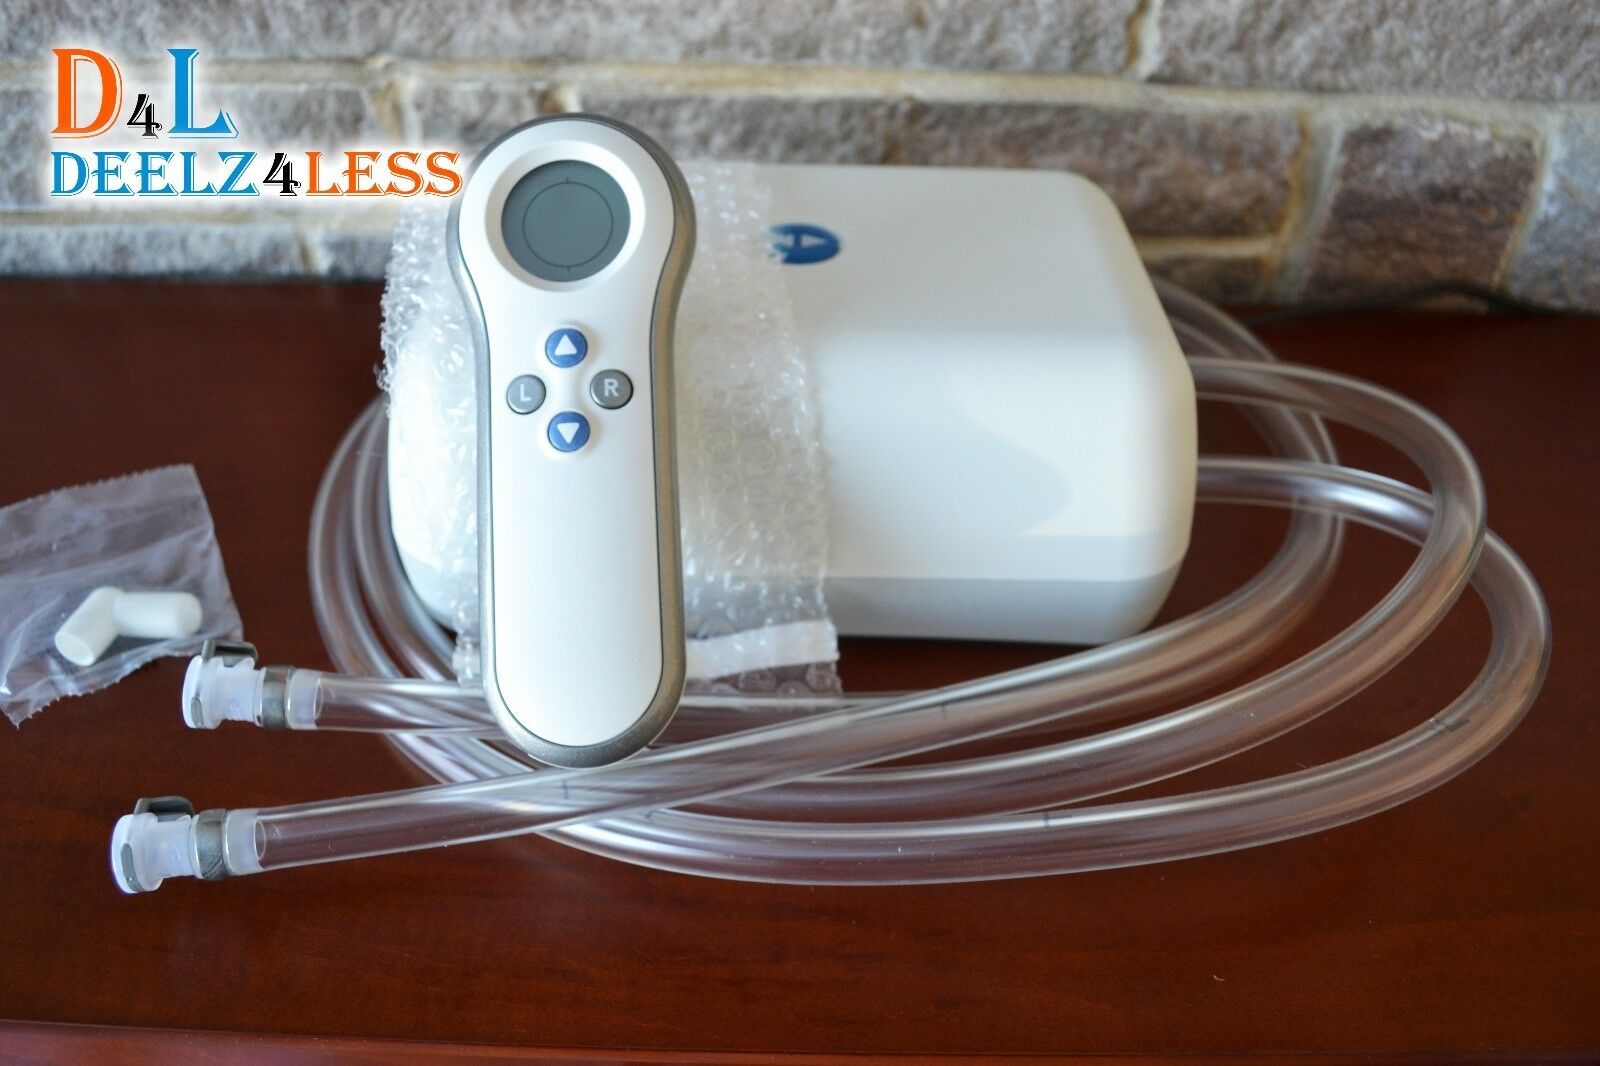
If you prefer to use a repair kit specifically designed for Sleep Number air mattresses, you can easily find them online or at your local store. These kits usually come with patches, adhesive, and instructions on how to use them. They are a convenient and reliable option for fixing a punctured Sleep Number air mattress.Sleep Number Air Mattress Repair Kit

Sleep Number Air Mattress Repair Kit

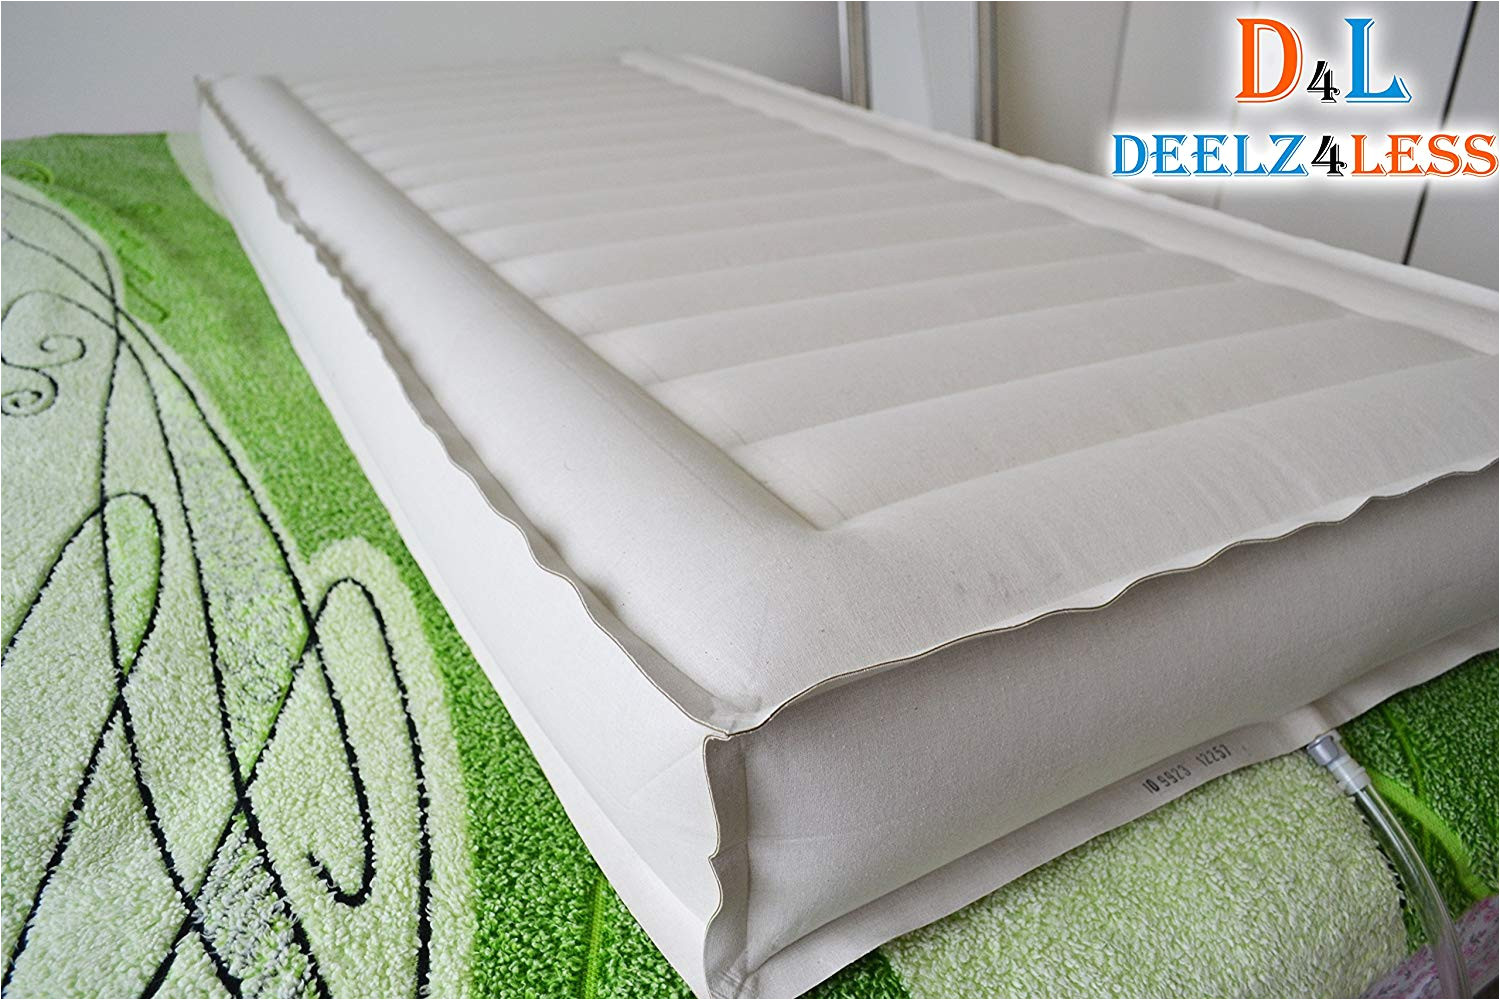
If your Sleep Number air mattress has a leak, don't panic. It can be easily fixed with the right tools and techniques. First, locate the leak by inflating the mattress and listening for the sound of air escaping. Once you have identified the source of the leak, follow the steps for patching it up. It is essential to fix a leak as soon as possible to prevent it from getting bigger.Fixing a Leak in a Sleep Number Air Mattress


Fixing a Leak in a Sleep Number Air Mattress


Step 1: Deflate the mattress completely and remove the cover. Step 2: Clean and dry the area around the puncture with a damp cloth. Step 3: Cut a patch from the repair kit or use the DIY patch method mentioned earlier. Step 4: Apply a thin layer of adhesive around the hole and on the back of the patch. Step 5: Place the patch over the hole and press down firmly to ensure it is secure. Step 6: Let the adhesive dry completely before inflating the mattress again. Step 7: Test the patch by inflating the mattress and checking for any air leaks. Step 8: If there are no leaks, replace the cover and enjoy your repaired Sleep Number air mattress!Steps for Patching a Sleep Number Air Mattress


Steps for Patching a Sleep Number Air Mattress


When it comes to choosing the best patch for your Sleep Number air mattress, it is essential to consider the size and location of the puncture. For small holes, a patch from a repair kit or the DIY patch method should suffice. However, for larger tears or multiple holes, a larger patch or multiple patches may be needed. It is always a good idea to have a repair kit on hand, so you are prepared for any unexpected leaks.Best Patch for Sleep Number Air Mattress

Best Patch for Sleep Number Air Mattress


When patching a Sleep Number air mattress, there are a few tips to keep in mind to ensure a successful repair: 1. Clean and dry the area thoroughly before applying the patch. Any dirt or moisture can prevent the patch from adhering properly. 2. Use a patch that is slightly larger than the hole. This will ensure that the entire area is covered and the patch is secure. 3. Apply pressure to the patch for a few minutes to ensure it is fully secured. This will help the adhesive bond properly. 4. Let the adhesive dry completely before inflating the mattress. If the patch is not fully dry, it may come loose and cause the leak to return.Sleep Number Air Mattress Patching Tips


Sleep Number Air Mattress Patching Tips


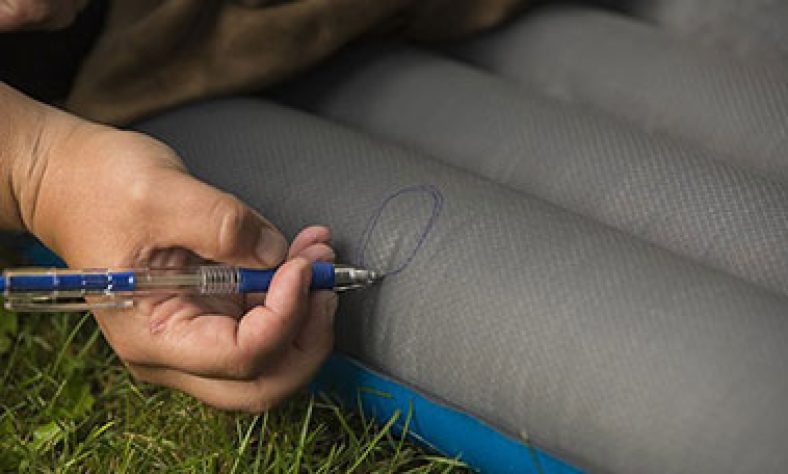
If your Sleep Number air mattress is losing air, but you are not sure where the leak is coming from, here are some tips to help you find it: 1. Inflate the mattress and listen for the sound of air escaping. This will help you pinpoint the location of the leak. 2. Use a spray bottle with soapy water to locate the leak. Spray the area around the mattress and look for bubbles, which will indicate the source of the leak. 3. Check the valves and seams for any signs of damage. These are common areas for leaks to occur.How to Find a Leak in a Sleep Number Air Mattress


How to Find a Leak in a Sleep Number Air Mattress


To successfully patch a Sleep Number air mattress, you will need the following supplies: 1. A repair kit or DIY patch materials. This can include patches, adhesive, and plastic bags. 2. Clean water and a damp cloth. This will be used to clean the area around the puncture. 3. Duct tape. This is an essential item for the DIY patch method. 4. A spray bottle with soapy water. This will help you locate the source of the leak. With these steps and tips, you should be able to easily patch your Sleep Number air mattress and continue enjoying a comfortable and restful sleep. Remember to always be prepared with a repair kit or DIY patch materials so you can quickly fix any leaks that may occur.Sleep Number Air Mattress Patching Supplies

Sleep Number Air Mattress Patching Supplies

Patching a Sleep Number Air Mattress: Tips and Tricks

Why Patching Your Sleep Number Air Mattress is Important
 A Sleep Number air mattress is a popular choice for many people, offering customizable comfort and support for a good night's sleep. However, like any other air mattress, it is prone to punctures and leaks. If you notice your mattress is losing air or has a visible hole, it's important to patch it up as soon as possible. Not only will it save you from constantly re-inflating your mattress, but it will also extend its lifespan and save you from having to purchase a new one. In this article, we will discuss the steps to effectively patching your Sleep Number air mattress.
Gather Your Materials
 Before you begin the patching process, make sure you have all the necessary materials. You will need a patch kit specifically designed for air mattresses, which can be purchased online or at most home goods stores. The kit should include a patch, adhesive, and a patch roller. You will also need rubbing alcohol, a cloth or paper towel, and scissors. Make sure you have a clean and flat surface to work on.
Locate the Leak
 The first step in patching your Sleep Number air mattress is to locate the leak. Inflate the mattress to its full capacity and listen for the sound of air escaping or feel for any escaping air with your hand. If you can't find the leak, try spraying the mattress with soapy water and look for bubbles.
Clean and Dry the Area
 Once you have located the leak, clean the surrounding area with rubbing alcohol and a cloth or paper towel. This will ensure that the adhesive will bond properly to the mattress.
Apply the Patch
 Cut the patch to a size slightly larger than the hole and round the edges. Apply a thin layer of adhesive to the patch and the surrounding area of the mattress. Place the patch over the hole and use the patch roller to firmly press it down and remove any air bubbles. Let the patch dry for at least 24 hours before using the mattress again.
Final Thoughts
 Patching a Sleep Number air mattress may seem like a daunting task, but with the right materials and technique, it can be easily done at home. Remember to regularly check your mattress for any leaks and patch them up as soon as possible to ensure a comfortable and uninterrupted night's sleep. By following these steps, you can extend the lifespan of your air mattress and continue to enjoy its customizable comfort for years to come.