How to Patch an Air Mattress Seam
If you have ever experienced the discomfort of sleeping on a deflating air mattress, you know how frustrating it can be. A small leak in the seam of the mattress can quickly turn a relaxing night of sleep into a nightmare. But fear not, with the right tools and techniques, patching an air mattress seam can be a simple and effective solution. In this article, we will discuss the best way to patch an air mattress seam, step-by-step instructions, and tips for avoiding common mistakes. Say goodbye to sleepless nights and hello to a fully functional air mattress!
Best Way to Patch an Air Mattress Seam
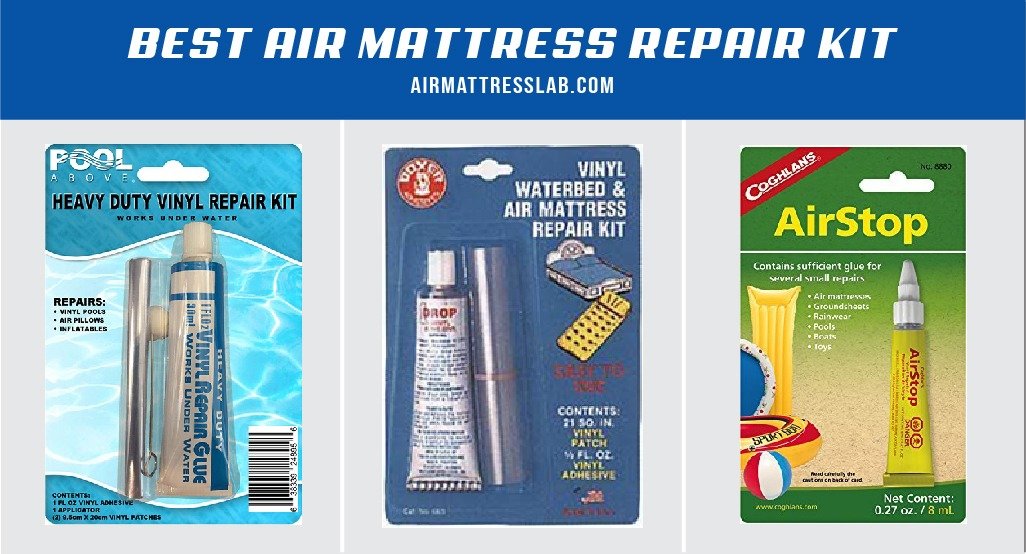
The best way to patch an air mattress seam is by using a patch kit specifically designed for air mattresses. These kits can be found at most outdoor or camping supply stores and typically include a patch, adhesive, and instructions. It is important to use a patch made specifically for air mattresses as other types of patches may not hold up against the air pressure and movement of the mattress.
DIY Air Mattress Seam Patching
If you do not have access to a patch kit, you can also patch an air mattress seam using household items. One method is to use duct tape. First, clean and dry the area around the leak. Cut a piece of duct tape slightly larger than the hole or seam. Apply the tape to the hole, pressing down firmly to ensure a secure seal. Another option is to use a piece of fabric and a strong adhesive like super glue. Simply cut a piece of fabric to fit over the hole or seam, apply a generous amount of adhesive, and press the fabric onto the mattress.
Quick and Easy Air Mattress Seam Patch
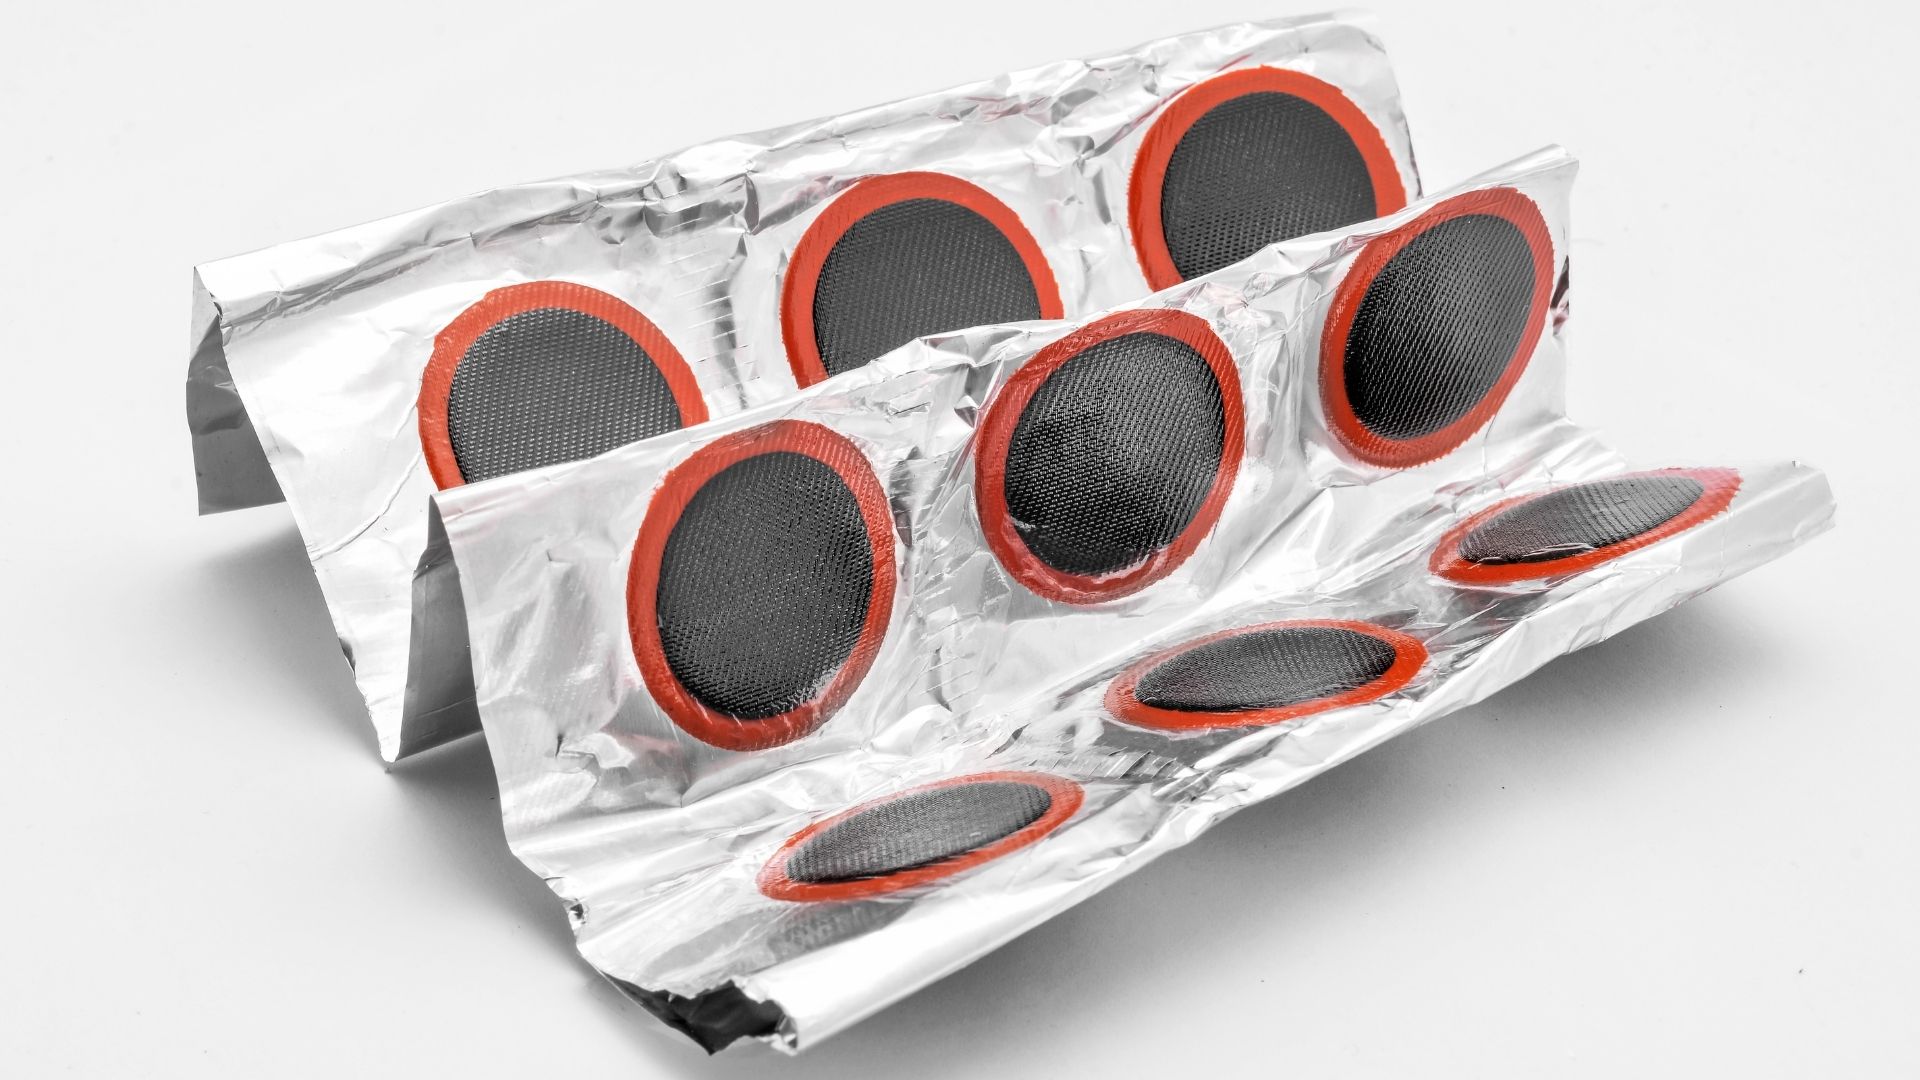
If you are in a hurry and need a quick fix for your air mattress, there are a few fast and easy methods you can try. One option is to use a hot glue gun. Simply apply a small amount of hot glue to the hole or seam and quickly press it together to create a seal. Another method is to use a rubber patch, such as those used for bicycle tire repairs. These patches are self-adhesive and can be applied directly to the leak.
Step-by-Step Guide for Patching an Air Mattress Seam
Regardless of the method you choose, there are some general guidelines to follow when patching an air mattress seam. Here is a step-by-step guide to help you through the process:
Step 1: Locate the leak. This may require filling the mattress with air and listening for a hissing sound or using a spray bottle with soapy water to find bubbles forming around the leak.
Step 2: Clean and dry the area around the leak. This will ensure a strong bond between the patch and the mattress.
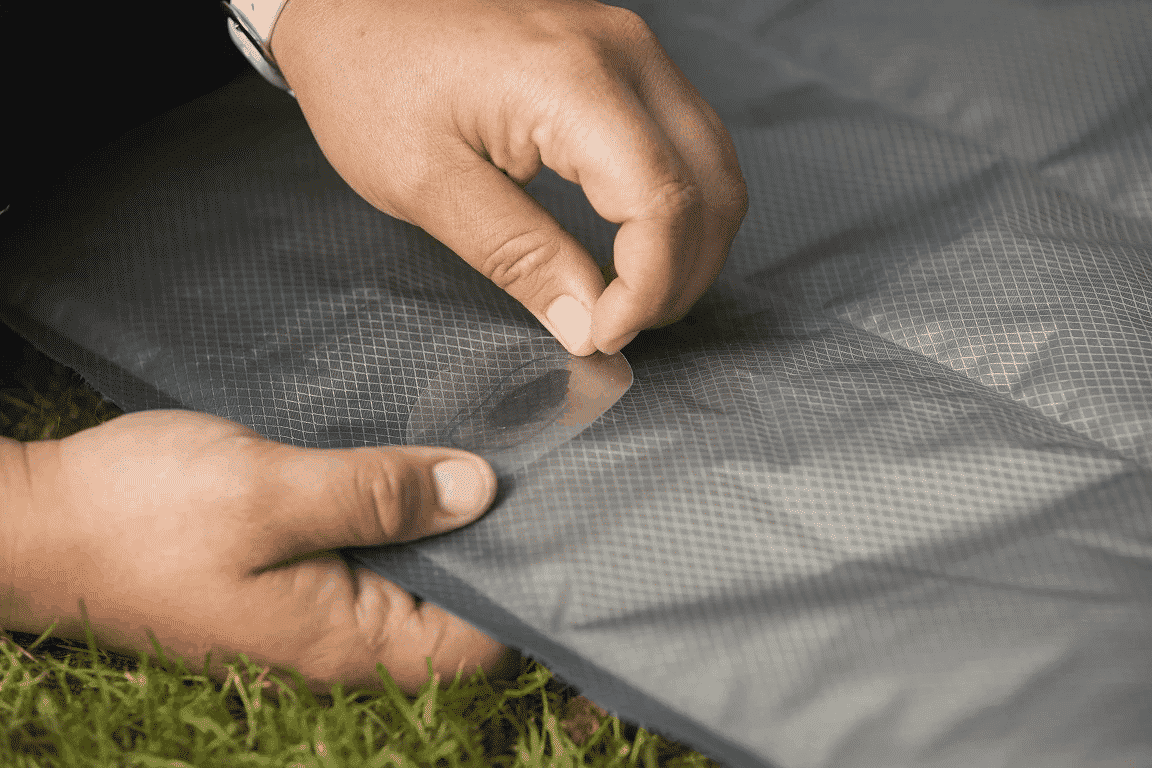
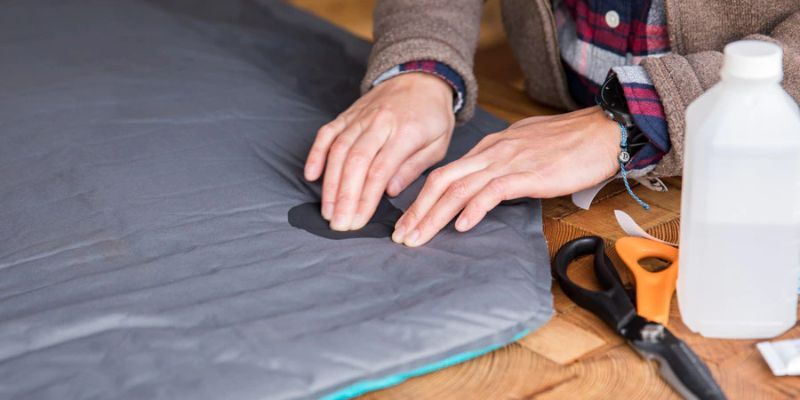
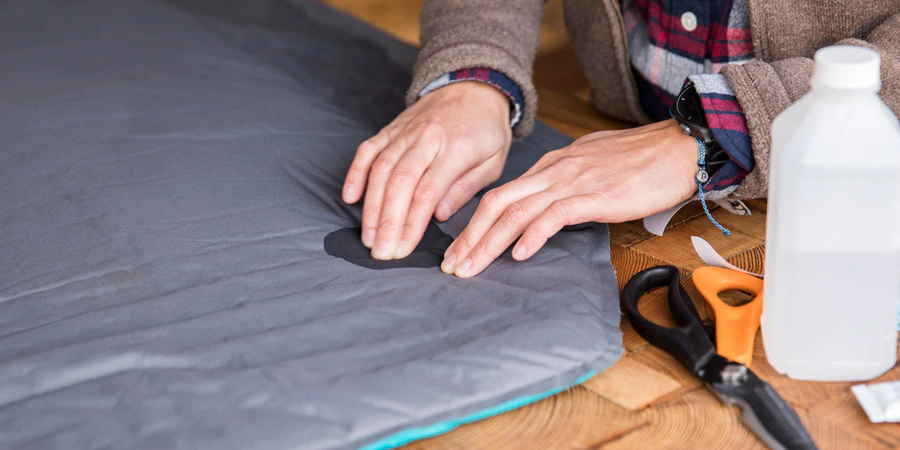
Step 3: Cut a piece of patch material to fit over the leak. If using a patch kit, follow the instructions provided.
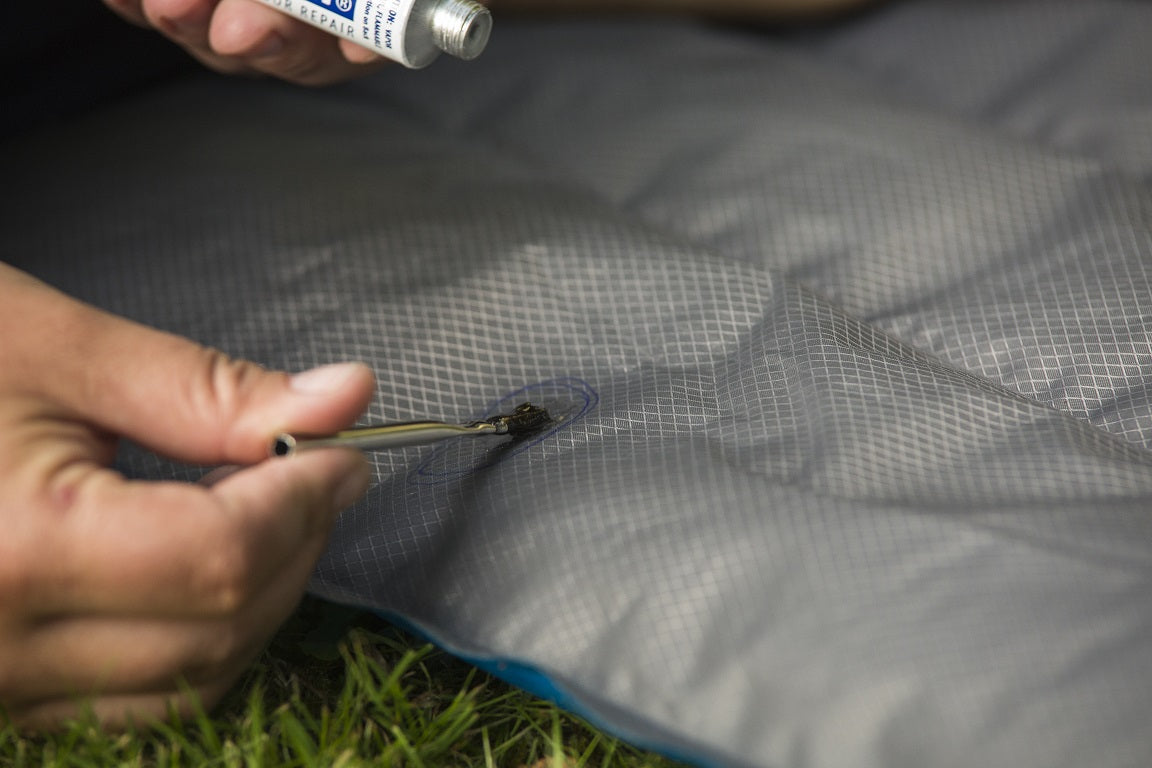
Step 4: Apply the adhesive or patch material to the leak, making sure to cover the entire area. Press down firmly to ensure a secure seal.
Step 5: Allow the adhesive to dry completely before using the air mattress again.
Materials Needed for Patching an Air Mattress Seam
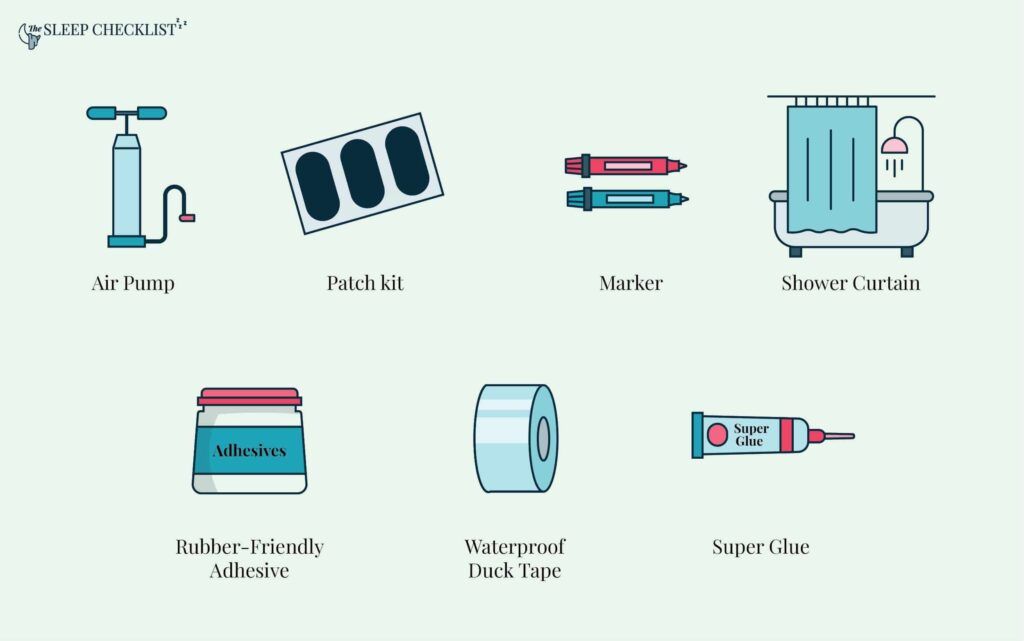
To successfully patch an air mattress seam, you will need the following materials:
• Patch kit or alternative patching materials (duct tape, fabric, hot glue, rubber patch)
• Adhesive (included in patch kit or use a strong adhesive like super glue)
• Scissors
• Spray bottle with soapy water (optional)
• Clean cloth
Tips for Successfully Patching an Air Mattress Seam
Here are some additional tips to help you successfully patch an air mattress seam:
• Follow the instructions provided with your patch kit or use the recommended method for the type of patch you are using.
• Make sure the area around the leak is completely dry before applying the patch.
• Apply the adhesive or patch material evenly and press down firmly to create a strong seal.
• Allow the adhesive to dry completely before using the air mattress again.
• For larger leaks or holes, consider using multiple patches or a larger patch to ensure a secure seal.
Common Mistakes to Avoid When Patching an Air Mattress Seam
While patching an air mattress seam may seem like a simple task, there are some common mistakes that can lead to an unsuccessful repair. Here are a few things to avoid:
• Using the wrong type of patch or adhesive. Make sure to use a patch specifically designed for air mattresses and a strong adhesive that can withstand the air pressure and movement of the mattress.
• Not cleaning or drying the area around the leak before applying the patch. This can lead to a weak bond and further leaks.
• Not allowing the adhesive to dry completely before using the air mattress again. This can cause the patch to come loose and the leak to reappear.
Alternative Methods for Patching an Air Mattress Seam
If you do not have access to a patch kit or other patching materials, there are a few alternative methods you can try to fix a leaking air mattress seam:
• Use a piece of duct tape to cover the leak. This may not be a permanent solution, but it can provide a temporary fix in a pinch.
• Use a hot glue gun to seal the leak. This method may not be as effective as using a patch, but it can provide a quick and easy solution.
• Purchase a repair kit specifically designed for air mattresses. These kits often include a patch, adhesive, and other materials needed to make a lasting repair.
How to Prevent Future Leaks in an Air Mattress Seam
Once you have successfully patched your air mattress seam, you may be wondering how to prevent future leaks. Here are some tips to help keep your air mattress in top condition:
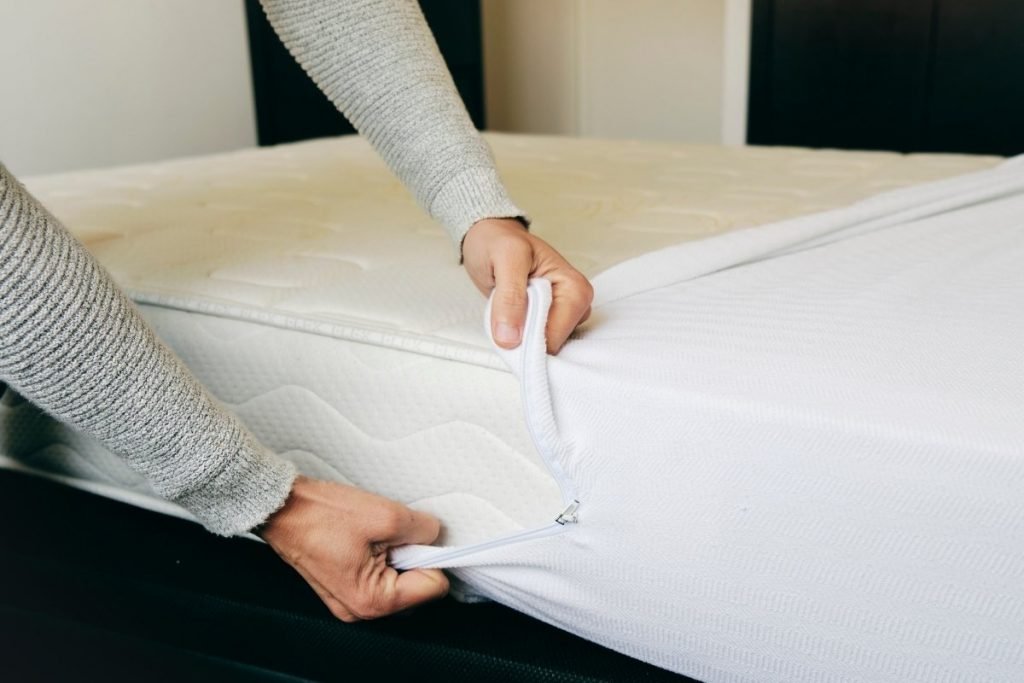
• Use a mattress protector or cover to protect the surface of the mattress from punctures or tears.
• Avoid placing sharp or heavy objects on the mattress.
• Keep the mattress away from heat sources or direct sunlight, as this can weaken the material and lead to leaks.
• Check the mattress periodically for leaks and patch them as soon as they are discovered to prevent further damage.
With these tips and techniques, you can easily and effectively patch an air mattress seam and enjoy a comfortable and restful night of sleep. Remember to follow the instructions provided with your patch kit or use the recommended method for the type of patch you are using. Happy camping (or indoor sleeping)!
Patching an Air Mattress Seam: A Simple Solution for a Common Problem

The Importance of a Good Night's Sleep
 We all know that getting a good night's sleep is essential for our physical and mental well-being. However, even the most comfortable and expensive mattresses can develop leaks and lose their firmness over time. This can lead to a restless and uncomfortable night's sleep, leaving you exhausted and unproductive the next day. One of the most common causes of a deflated air mattress is a seam leak. Luckily, patching a seam is a simple solution that can save you from the hassle and expense of buying a new mattress.
The DIY Approach to Patching an Air Mattress Seam
 Patching an air mattress seam may seem like a daunting task, but with the right tools and techniques, it can be done easily at home. The first step is to locate the leak. This can be done by inflating the mattress and using your hand or a cloth to feel for any escaping air. Once the leak is found, deflate the mattress completely and clean the area around the leak with rubbing alcohol. This will ensure that the patch adheres properly to the surface.
The Patching Process
 Now it's time to patch the leak. You will need a vinyl patch kit, which can be easily found at most hardware stores. Cut out a patch that is at least one inch larger than the size of the hole or seam. Apply a thin layer of the included adhesive to both the patch and the surface of the mattress. Carefully place the patch over the leak and press down firmly. Let it dry for at least 24 hours before inflating the mattress again.
Pro Tip:
For larger or harder to reach leaks, you can also use a hot glue gun or a vinyl repair glue. Make sure to follow the instructions on the packaging for best results.
Prevention is Key
 While patching a seam is a quick fix, it's always better to prevent leaks from happening in the first place. Be sure to check your air mattress regularly for any signs of wear and tear. Avoid placing it on rough surfaces and keep sharp objects away from it. When inflating, be careful not to over-inflate as this can put unnecessary pressure on the seams.
Conclusion
:max_bytes(150000):strip_icc()/81QHm8NXr2L._AC_SL1500_1-17bafdc326cf4922b0d8acca4d9b5639.jpg) Patching an air mattress seam is a simple and cost-effective solution to a common problem. With a few basic tools and some patience, you can have your air mattress back to its firm and comfortable state in no time. Remember to regularly check your mattress for any leaks and take preventive measures to avoid future mishaps. A good night's sleep is within reach, and with a little DIY know-how, you can save yourself from the inconvenience and expense of buying a new mattress.
Patching an air mattress seam is a simple and cost-effective solution to a common problem. With a few basic tools and some patience, you can have your air mattress back to its firm and comfortable state in no time. Remember to regularly check your mattress for any leaks and take preventive measures to avoid future mishaps. A good night's sleep is within reach, and with a little DIY know-how, you can save yourself from the inconvenience and expense of buying a new mattress.


