If you've ever woken up to a deflated air mattress, you know the struggle of trying to find and patch the pesky hole that caused it. But fear not, with a few simple steps, you can easily fix any hole in your air mattress and have it ready for use in no time. First, you'll want to locate the hole in your air mattress. This can be done by inflating the mattress and listening for any hissing sounds or by submerging it in water and looking for bubbles. Once you've found the hole, mark it with a pen or piece of tape so you can easily find it again. Next, gather your materials. You'll need a patch kit specifically designed for air mattresses, or if you don't have one, you can use a bicycle tire patch kit. You'll also need rubbing alcohol, a cloth, and scissors. Thoroughly clean the area around the hole with rubbing alcohol and a cloth. This will ensure that the patch sticks properly and creates an airtight seal. Take your patch kit and cut a piece of patch material slightly larger than the hole. Peel off the backing and place the patch over the hole, pressing down firmly to ensure it sticks. If you're using a bicycle tire patch kit, follow the instructions provided to apply the patch. Let the patch dry for at least 10-15 minutes before using the air mattress again. This will give the adhesive enough time to set and create a strong bond. And voila! Your air mattress is now patched and ready for use. Keep in mind that this is a temporary fix and may not last forever, so it's always a good idea to have a backup plan in case the patch fails.1. How to Patch a Hole in an Air Mattress


1. How to Patch a Hole in an Air Mattress


Don't let a leaky air mattress ruin your camping trip or leave your guests sleeping on a deflated bed. With these easy steps, you can quickly patch any leak and have your air mattress ready for use again. Start by finding the leak in your air mattress. You can do this by inflating the mattress and listening for any hissing sounds or by submerging it in water and looking for bubbles. Once you've located the leak, mark it with a pen or piece of tape. Next, gather your materials. You'll need a patch kit specifically designed for air mattresses, or if you don't have one, you can use a bicycle tire patch kit. You'll also need rubbing alcohol, a cloth, and scissors. Thoroughly clean the area around the leak with rubbing alcohol and a cloth. This will ensure that the patch sticks properly and creates an airtight seal. Take your patch kit and cut a piece of patch material slightly larger than the leak. Peel off the backing and place the patch over the leak, pressing down firmly to ensure it sticks. If you're using a bicycle tire patch kit, follow the instructions provided to apply the patch. Allow the patch to dry for at least 10-15 minutes before using the air mattress again. This will give the adhesive enough time to set and create a strong bond. With these simple steps, your air mattress will be as good as new. Just remember to always have a patch kit on hand for quick and easy repairs.2. Air Mattress Repair: How to Patch a Leak


2. Air Mattress Repair: How to Patch a Leak


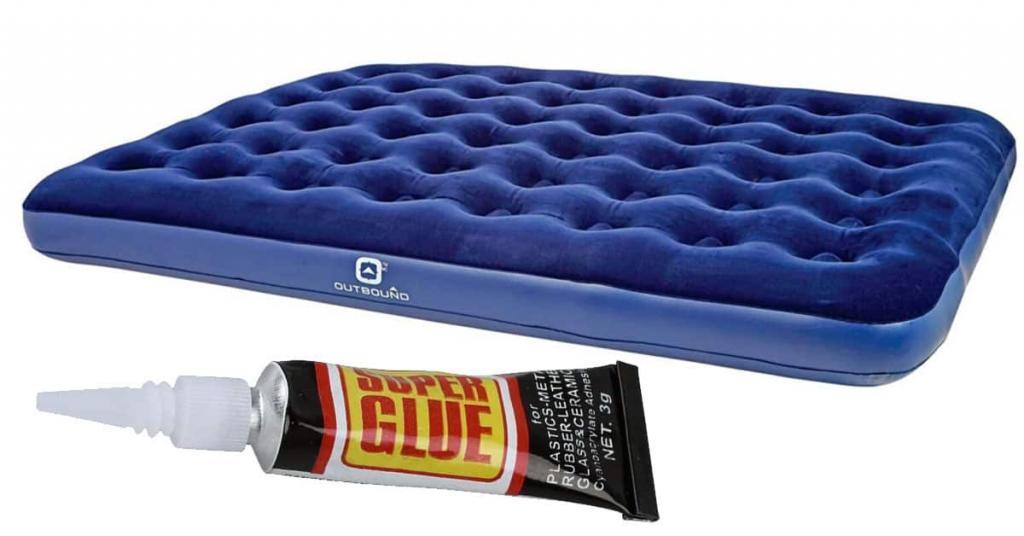
Instead of spending money on a new air mattress or patch kit, why not try fixing the hole yourself with items you probably already have at home? Follow these DIY steps to repair any hole in your air mattress without breaking the bank. Begin by locating the hole in your air mattress. You can do this by inflating the mattress and listening for any hissing sounds or by submerging it in water and looking for bubbles. Once you've found the hole, mark it with a pen or piece of tape. Next, gather your materials. You'll need a piece of duct tape, super glue or hot glue, and scissors. Cut a piece of duct tape slightly larger than the hole and place it over the hole, pressing down firmly to ensure it sticks. Then, take your super glue or hot glue and apply it around the edges of the tape to create a strong seal. Allow the glue to dry completely before using the air mattress again. This DIY method may not be as long-lasting as a patch kit, but it can save you money in a pinch. Just remember to check the repair periodically and reapply glue if needed.3. DIY: How to Fix a Hole in an Air Mattress


3. DIY: How to Fix a Hole in an Air Mattress


If you're short on time and need a quick fix for your deflated air mattress, this method is for you. With just a few household items, you can easily patch any hole and have your air mattress ready for use in minutes. Start by finding the hole in your air mattress. You can do this by inflating the mattress and listening for any hissing sounds or by submerging it in water and looking for bubbles. Once you've located the hole, mark it with a pen or piece of tape. Next, gather your materials. You'll need a piece of tape, a plastic bag, and scissors. Cut a piece of tape slightly larger than the hole and place it over the hole, pressing down firmly to ensure it sticks. Then, take your plastic bag and cut a small piece that is slightly larger than the tape. Place it over the tape and press down firmly to create a strong seal. Your air mattress is now ready for use. Just make sure to periodically check the repair and reapply tape if needed.4. Quick and Easy Air Mattress Patching


4. Quick and Easy Air Mattress Patching


If you frequently use air mattresses or have multiple leaks to fix, investing in an air mattress repair kit is a wise choice. These kits contain all the necessary materials and instructions for patching any hole in your air mattress with ease. Start by locating the holes in your air mattress. You can do this by inflating the mattress and listening for any hissing sounds or by submerging it in water and looking for bubbles. Once you've found the holes, mark them with a pen or piece of tape. Next, follow the instructions provided in your repair kit to properly clean and patch the holes. These kits usually contain adhesive patches and other materials needed for a strong and long-lasting repair. Allow the patches to dry for the recommended amount of time before using the air mattress again. An air mattress repair kit is a convenient and reliable option for patching holes in your air mattress. It's also a good idea to keep one on hand for future repairs.5. Air Mattress Repair Kit: Patching Holes Made Simple


5. Air Mattress Repair Kit: Patching Holes Made Simple


Whether you're a first-time air mattress owner or a seasoned camper, knowing how to properly patch a hole is a valuable skill. Follow this step-by-step guide for a foolproof way to repair any hole in your air mattress. Start by locating the hole in your air mattress. You can do this by inflating the mattress and listening for any hissing sounds or by submerging it in water and looking for bubbles. Once you've found the hole, mark it with a pen or piece of tape. Next, gather your materials. You'll need a patch kit specifically designed for air mattresses, or if you don't have one, you can use a bicycle tire patch kit. You'll also need rubbing alcohol, a cloth, and scissors. Thoroughly clean the area around the hole with rubbing alcohol and a cloth. This will ensure that the patch sticks properly and creates an airtight seal. Take your patch kit and cut a piece of patch material slightly larger than the hole. Peel off the backing and place the patch over the hole, pressing down firmly to ensure it sticks. If you're using a bicycle tire patch kit, follow the instructions provided to apply the patch. Let the patch dry for at least 10-15 minutes before using the air mattress again. This will give the adhesive enough time to set and create a strong bond. With these simple steps, your air mattress will be as good as new. Just remember to always have a patch kit on hand for quick and easy repairs.6. Patching an Air Mattress: Step-by-Step Guide


6. Patching an Air Mattress: Step-by-Step Guide


If you're in a pinch and don't have a patch kit or other materials on hand, duct tape can be a temporary solution for fixing a hole in your air mattress. Follow these steps to quickly patch the hole and have your air mattress ready for use. Begin by locating the hole in your air mattress. You can do this by inflating the mattress and listening for any hissing sounds or by submerging it in water and looking for bubbles. Once you've found the hole, mark it with a pen or piece of tape. Next, gather your materials. You'll need a piece of duct tape and scissors. Cut a piece of duct tape slightly larger than the hole and place it over the hole, pressing down firmly to ensure it sticks. You can also double up the tape for added strength. Your air mattress is now ready for use. Just remember that this is a temporary fix and may not last as long as a proper patch using a repair kit.7. How to Fix a Hole in an Air Mattress with Duct Tape

7. How to Fix a Hole in an Air Mattress with Duct Tape


Fixing a hole in your air mattress can be a simple task, but there are a few tips and tricks that can make the process even easier and more effective. When locating the hole, be sure to check the entire surface of the mattress as there may be more than one leak. Mark each hole with a pen or tape so you can easily find them again. Before applying the patch, make sure the area around the hole is clean and dry. This will ensure that the patch sticks properly and creates an airtight seal. If you're using a patch kit, be sure to follow the instructions provided for the best results. Different kits may have slightly different methods, so it's important to read and follow them carefully. If using a DIY method, such as duct tape, be sure to periodically check the repair and reapply if necessary. Following these tips and tricks can help ensure a successful air mattress hole repair and save you from future headaches.8. Air Mattress Hole Repair: Tips and Tricks


8. Air Mattress Hole Repair: Tips and Tricks


If you don't have a specific air mattress repair kit on hand, a bicycle tire patch kit can also do the trick. Follow these steps to easily patch any hole in your air mattress using a bicycle tire patch kit. Begin by locating the hole in your air mattress. You can do this by inflating the mattress and listening for any hissing sounds or by submerging it in water and looking for bubbles. Once you've found the hole, mark it with a pen or piece of tape. Next, gather your materials. You'll need a bicycle tire patch kit, rubbing alcohol, a cloth, and scissors. Thoroughly clean the area around the hole with rubbing alcohol and a cloth. This will ensure that the patch sticks properly and creates an airtight seal. Follow the instructions provided in the patch kit to properly apply the patch over the hole. Let it dry for the recommended amount of time before using the air mattress again. A bicycle tire patch kit can be a handy alternative for fixing a hole in your air mattress. Just be sure to follow the instructions carefully for the best results.9. Patching a Hole in an Air Mattress with a Bicycle Tire Patch Kit


9. Patching a Hole in an Air Mattress with a Bicycle Tire Patch Kit


While patching a hole in your air mattress may seem like a simple task, there are a few mistakes that can lead to a failed repair and a deflated mattress once again. Here are some common mistakes to avoid when patching a hole in your air mattress. Not properly locating the hole can result in a failed repair. Be sure to thoroughly check the entire surface of the mattress and mark each hole for easy identification. Not cleaning the area around the hole can also lead to a failed repair. Make sure to use rubbing alcohol or another cleaner to ensure the patch sticks properly and creates an airtight seal. Not following the instructions provided with your patch kit can also result in a failed repair. Different kits may have different methods, so it's important to read and follow the instructions carefully. By avoiding these common mistakes, you can ensure a successful air mattress repair and have your bed ready for use in no time.10. Air Mattress Repair: Common Mistakes to Avoid


10. Air Mattress Repair: Common Mistakes to Avoid


Patching Up a Hole in an Air Mattress: A Quick and Easy Fix for a Good Night's Sleep

The Importance of a Good Mattress
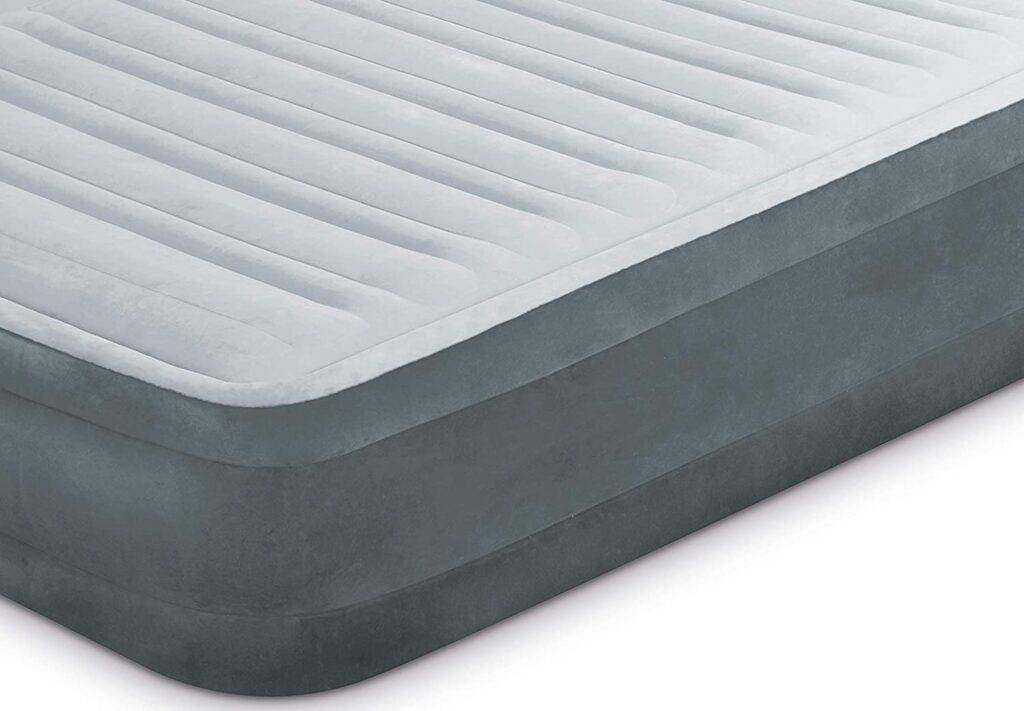
 A good night's sleep is essential for our overall health and well-being. And one of the key factors that contribute to a good night's sleep is a comfortable and supportive mattress. It's no surprise that many people invest a significant amount of time and money in finding the perfect mattress for their needs.
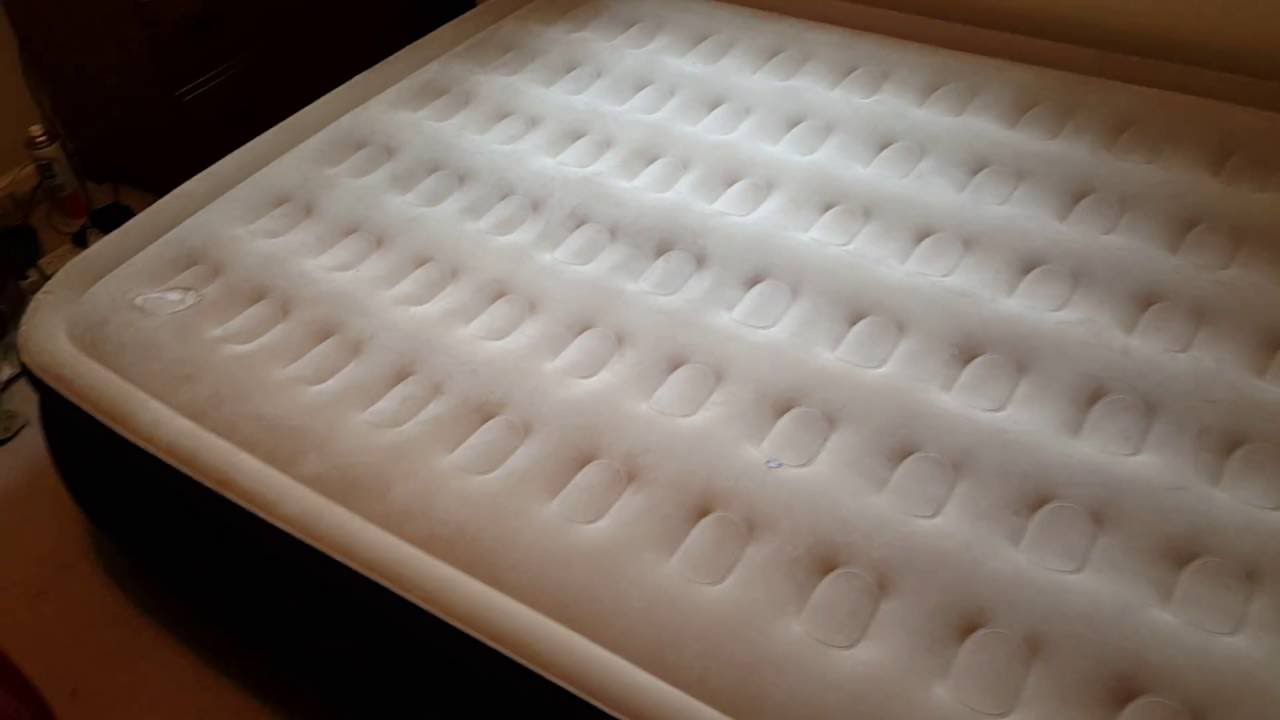
However, no matter how careful we are, accidents can happen, and our beloved mattresses can get damaged. One common issue is a hole in an air mattress. Whether it's caused by a sharp object or wear and tear, a hole can leave us tossing and turning all night, trying to find a comfortable position.
A good night's sleep is essential for our overall health and well-being. And one of the key factors that contribute to a good night's sleep is a comfortable and supportive mattress. It's no surprise that many people invest a significant amount of time and money in finding the perfect mattress for their needs.
However, no matter how careful we are, accidents can happen, and our beloved mattresses can get damaged. One common issue is a hole in an air mattress. Whether it's caused by a sharp object or wear and tear, a hole can leave us tossing and turning all night, trying to find a comfortable position.
The Dilemma of Replacing vs. Repairing
 When faced with a hole in an air mattress, many people's first instinct is to throw it away and buy a new one. After all, how can a damaged mattress provide the same level of comfort and support as a brand new one? But before you rush to the store, consider the cost and hassle of replacing your mattress. Not to mention the environmental impact of adding more waste to landfills.
Fortunately, there is a cost-effective and eco-friendly solution – patching up the hole in your air mattress.
When faced with a hole in an air mattress, many people's first instinct is to throw it away and buy a new one. After all, how can a damaged mattress provide the same level of comfort and support as a brand new one? But before you rush to the store, consider the cost and hassle of replacing your mattress. Not to mention the environmental impact of adding more waste to landfills.
Fortunately, there is a cost-effective and eco-friendly solution – patching up the hole in your air mattress.
The Quick and Easy Patching Process
 Patching up a hole in an air mattress may seem like a daunting task, but it's actually quite simple.
The key is to act fast and address the issue as soon as you notice it to prevent the hole from getting bigger.
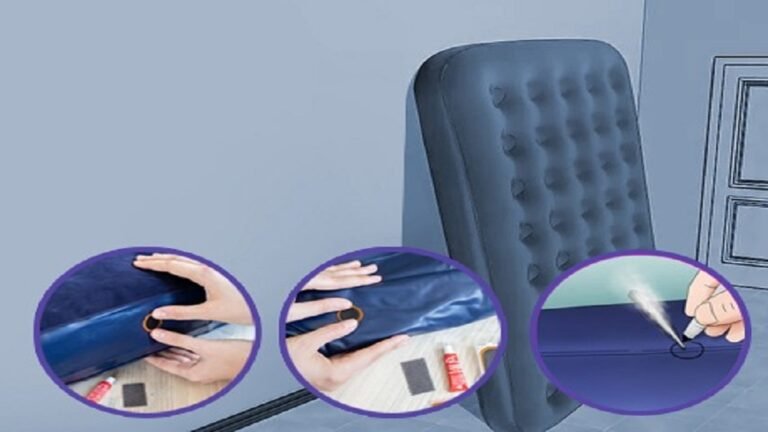
Here's a step-by-step guide to patching up a hole in your air mattress:
Step 1:
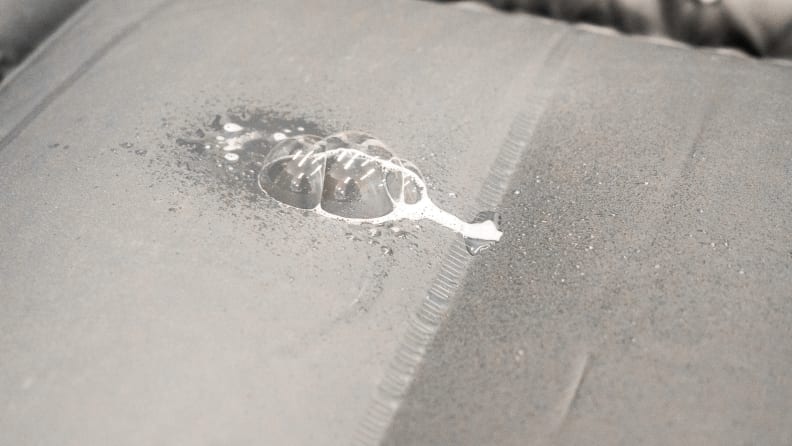
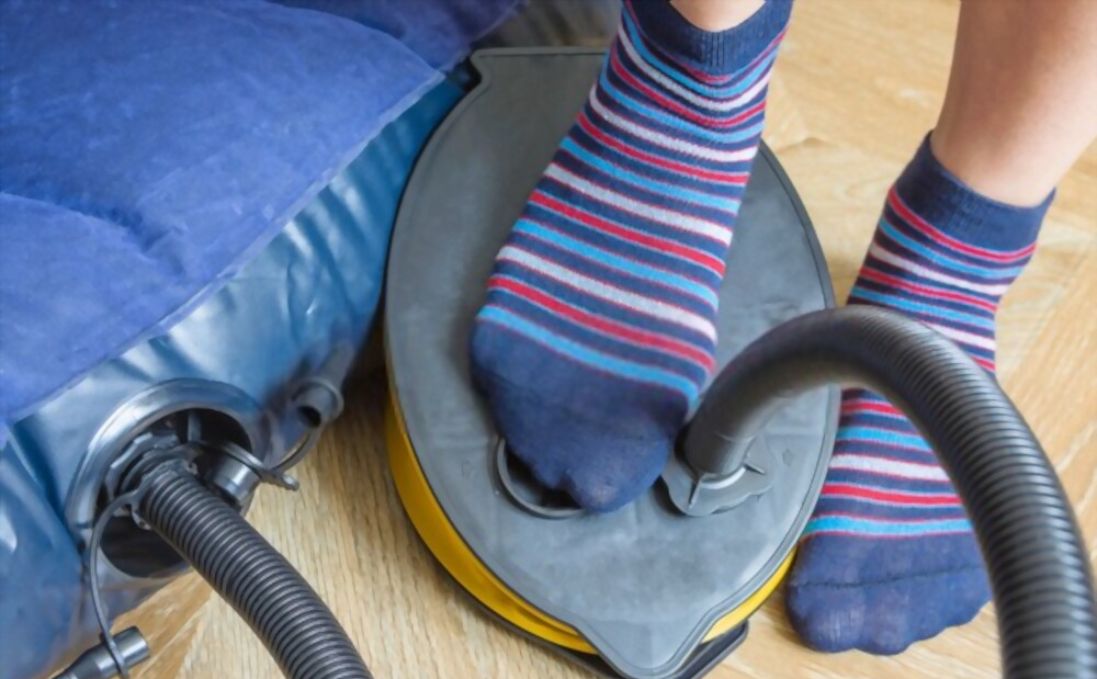
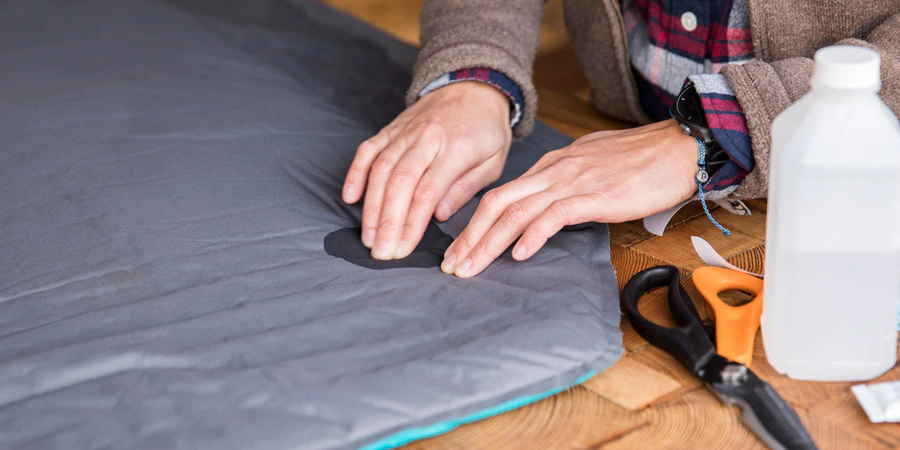
Locate the hole by inflating the mattress and listening for the sound of escaping air or running your hand over the surface to feel for any bumps or tears.
Step 2:
Clean and dry the area around the hole. Use a mild soap and warm water to remove any dirt, and then let it dry completely.
Step 3:
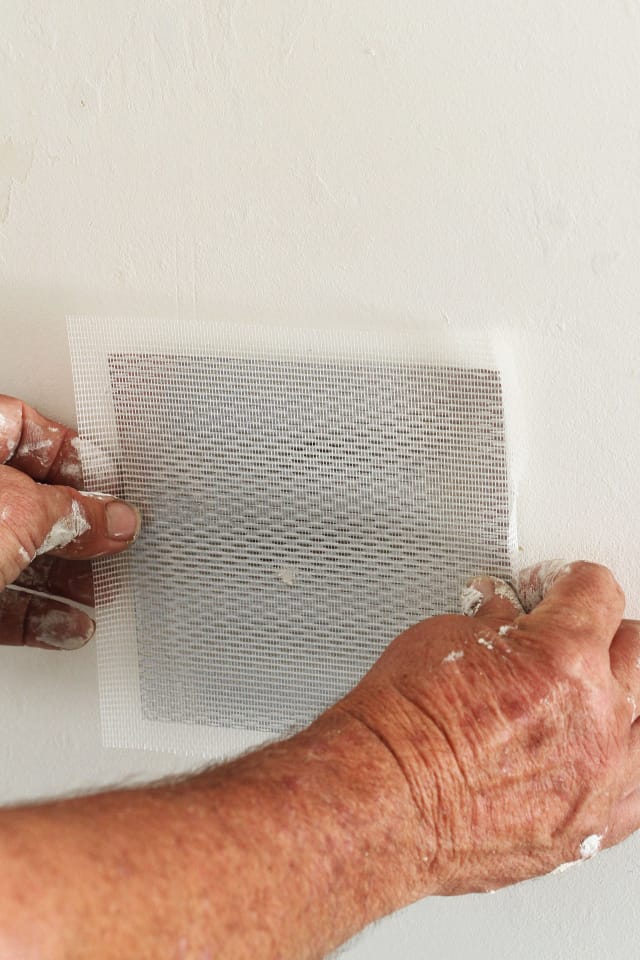
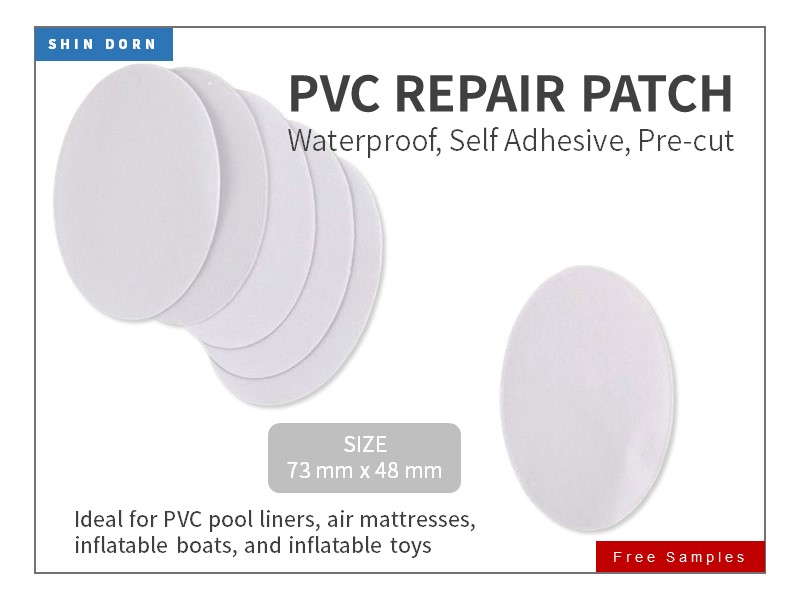
Identify the type of patch you need based on the material of your air mattress.
For PVC or vinyl mattresses, use a vinyl patch. For fabric or rubber mattresses, use a fabric patch.
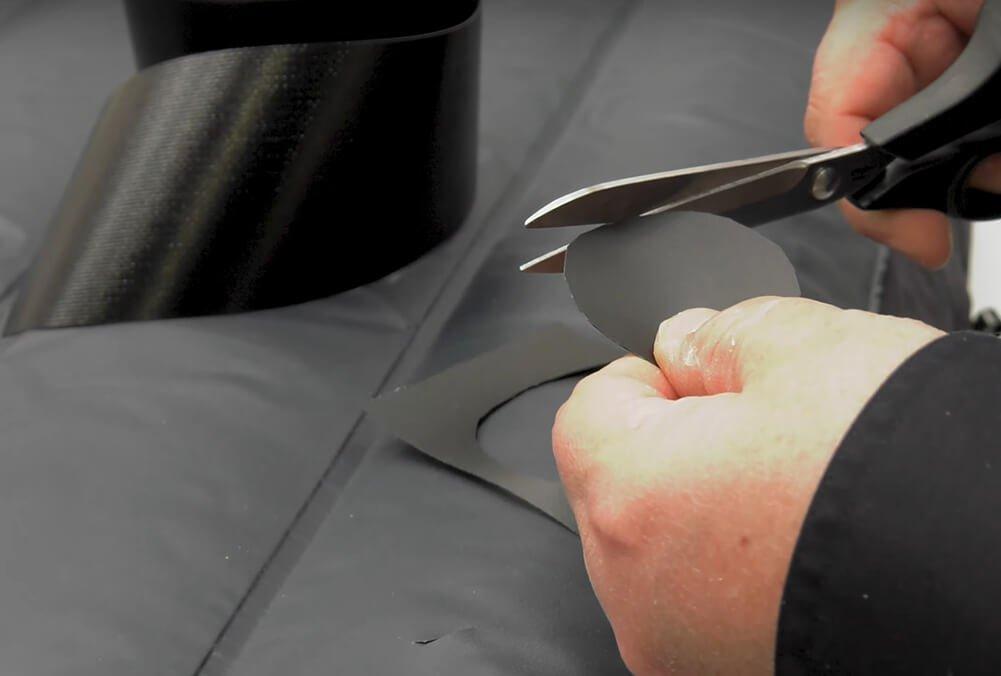
Step 4:
Cut the patch to a size that is slightly larger than the hole.
Step 5:
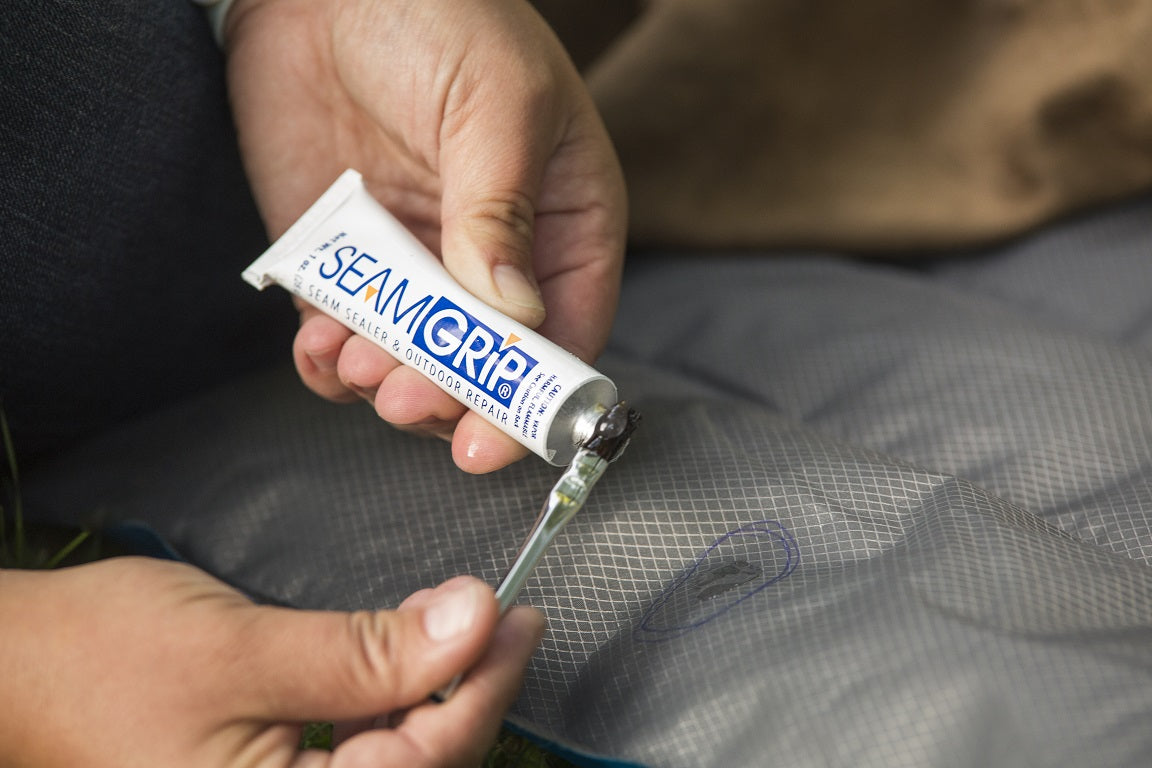
Apply a thin layer of adhesive on the patch and around the hole.
Step 6:
Place the patch over the hole and press firmly to ensure it adheres properly.
Step 7:
Let the adhesive dry completely before inflating the mattress again.
Patching up a hole in an air mattress may seem like a daunting task, but it's actually quite simple.
The key is to act fast and address the issue as soon as you notice it to prevent the hole from getting bigger.
Here's a step-by-step guide to patching up a hole in your air mattress:
Step 1:
Locate the hole by inflating the mattress and listening for the sound of escaping air or running your hand over the surface to feel for any bumps or tears.
Step 2:
Clean and dry the area around the hole. Use a mild soap and warm water to remove any dirt, and then let it dry completely.
Step 3:
Identify the type of patch you need based on the material of your air mattress.
For PVC or vinyl mattresses, use a vinyl patch. For fabric or rubber mattresses, use a fabric patch.
Step 4:
Cut the patch to a size that is slightly larger than the hole.
Step 5:
Apply a thin layer of adhesive on the patch and around the hole.
Step 6:
Place the patch over the hole and press firmly to ensure it adheres properly.
Step 7:
Let the adhesive dry completely before inflating the mattress again.
Avoiding Future Holes
 To prevent holes from forming in your air mattress,
always use a protective cover or sheet when using the mattress, and avoid placing it on rough or sharp surfaces.
If the mattress is being used outdoors, make sure to clear the area of any debris or sharp objects before setting it up.
To prevent holes from forming in your air mattress,
always use a protective cover or sheet when using the mattress, and avoid placing it on rough or sharp surfaces.
If the mattress is being used outdoors, make sure to clear the area of any debris or sharp objects before setting it up.
Get a Good Night's Sleep Again
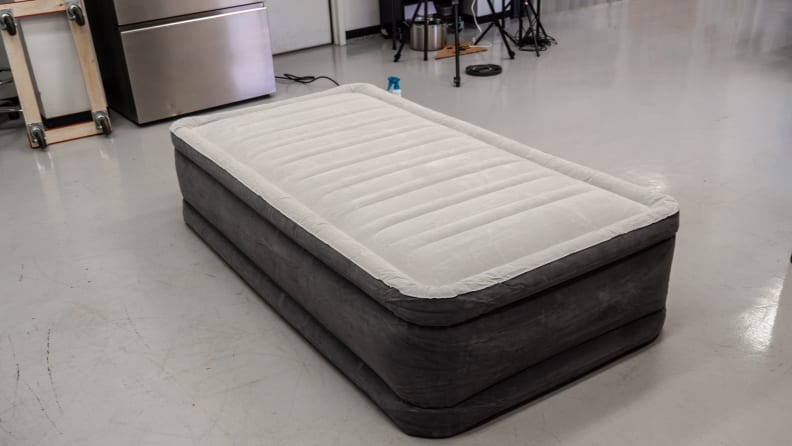
 With these simple steps, you can easily patch up a hole in your air mattress and get back to enjoying a comfortable and restful sleep.
Remember to act fast and use the right materials for the best results.
So the next time your air mattress springs a leak, don't rush to replace it – patch it up and save yourself time, money, and the environment.
With these simple steps, you can easily patch up a hole in your air mattress and get back to enjoying a comfortable and restful sleep.
Remember to act fast and use the right materials for the best results.
So the next time your air mattress springs a leak, don't rush to replace it – patch it up and save yourself time, money, and the environment.