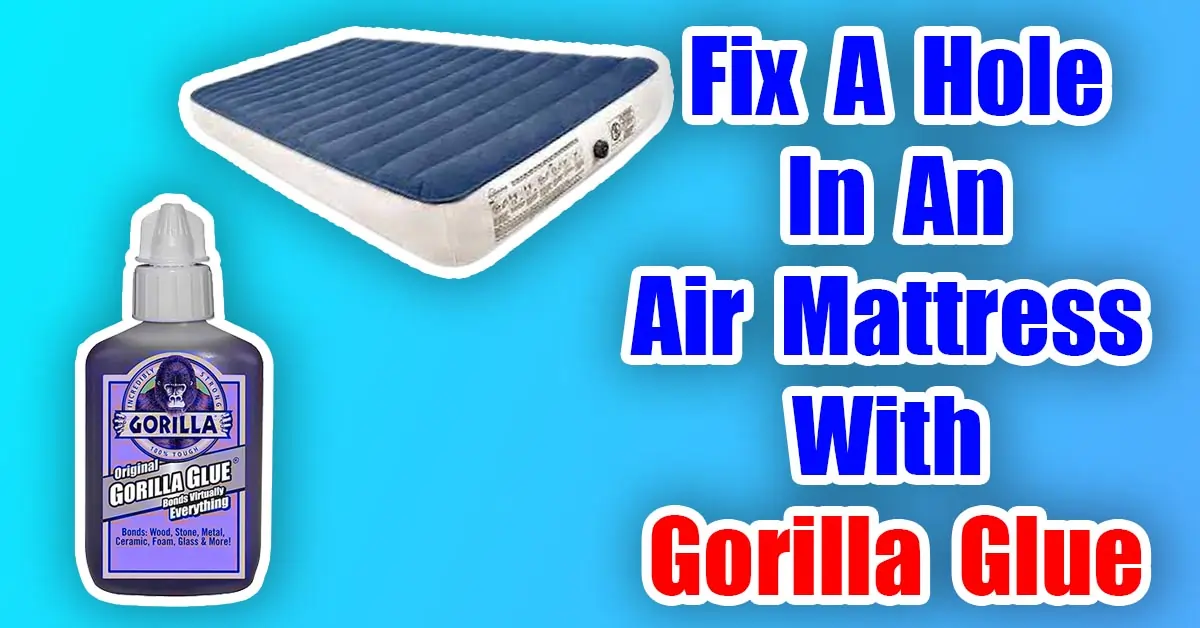
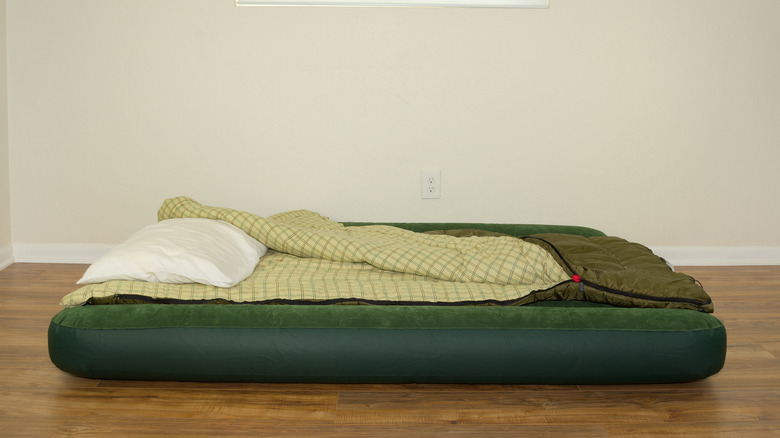
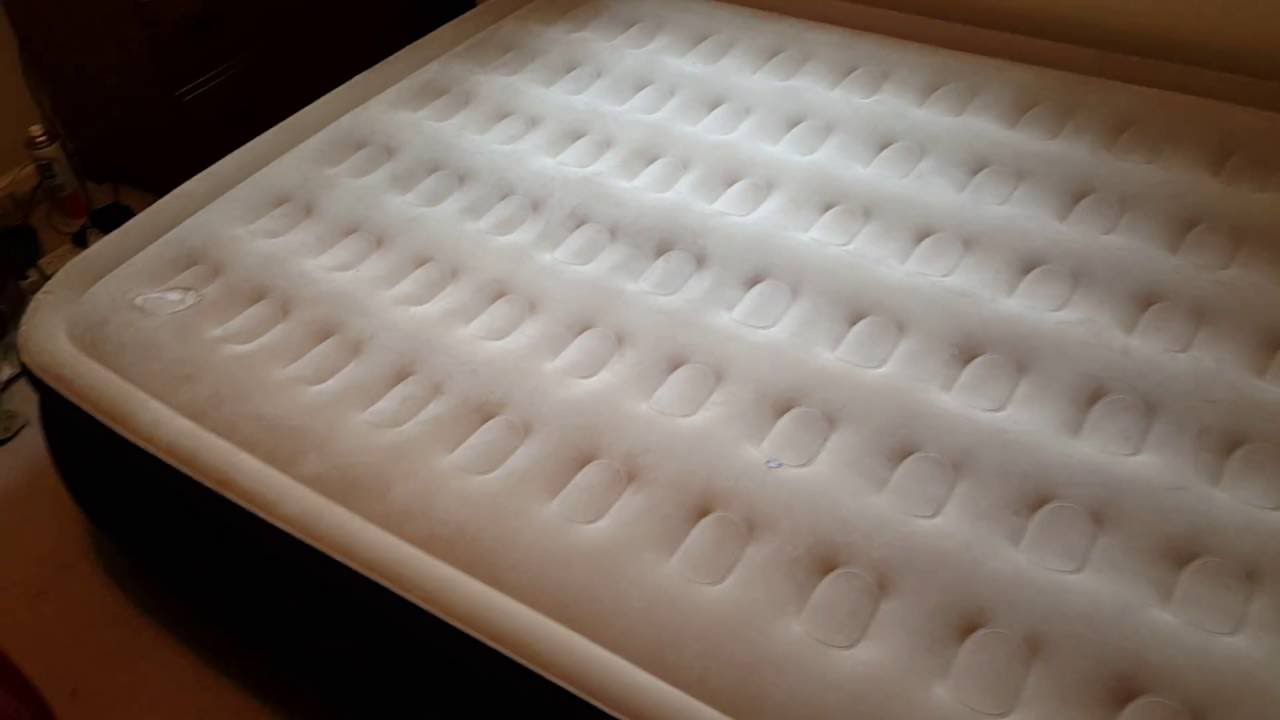
An air mattress can be a lifesaver for unexpected guests or a comfortable sleeping option for camping trips. However, when it gets a hole or tear, it can quickly become a frustrating and uncomfortable situation. But fear not, because with the help of Gorilla Glue, you can easily patch up your air mattress and have it ready for use again in no time. Follow these simple steps for a successful repair using Gorilla Glue.How to Patch an Air Mattress Using Gorilla Glue
Step 1: Identify the Location of the Leak The first step in any air mattress repair is to locate the source of the leak. Inflate the mattress and listen for any hissing sounds or feel for any air escaping. You can also mix some water with dish soap and apply it to the mattress, and look for bubbles forming where the leak is located. Step 2: Clean and Dry the Area Before applying any glue, it is important to clean and dry the area around the leak. Use a mild soap and water to clean the surface, and then dry it completely with a towel. This will ensure that the Gorilla Glue adheres properly and creates a strong bond. Step 3: Prepare the Gorilla Glue Next, prepare the Gorilla Glue by squeezing a small amount onto a disposable surface, such as a piece of cardboard. Use a toothpick or small brush to apply the glue to the damaged area. Be sure to spread the glue evenly and cover the entire leak. Step 4: Apply Pressure Once the glue is applied, place a heavy object on top of the repaired area to apply pressure. This will help the glue bond to the mattress and create a strong seal. Leave the object in place for at least an hour or until the glue has fully dried. Step 5: Test the Repair After the glue has dried, test the repair by reinflating the air mattress. If there are no more leaks, then your repair was successful. If you still notice air escaping, repeat the process and apply more Gorilla Glue to the area.Steps for Repairing an Air Mattress with Gorilla Glue
While Gorilla Glue is a strong and reliable option for repairing an air mattress, there are a few things to keep in mind to ensure a successful fix. Tip 1: Use the Right Amount of Glue It's important to use the right amount of Gorilla Glue to achieve a strong bond. Too little glue may not be enough to seal the leak, while too much can create a messy and uneven repair. Use a small amount and apply it evenly to the damaged area. Tip 2: Allow Enough Drying Time Gorilla Glue requires at least an hour to dry, but for a stronger bond, it is recommended to leave the glue to dry overnight. This will ensure that the repair is secure and can withstand the pressure of being inflated and deflated. Tip 3: Avoid Overinflating the Mattress While it may be tempting to fully inflate the mattress and test the repair, it is important to avoid overinflating it. This can put too much pressure on the repaired area and cause the glue to weaken or break. Inflate the mattress to a comfortable level, and avoid using it for at least 24 hours after the repair to allow the glue to fully cure.Fixing an Air Mattress with Gorilla Glue
Gorilla Glue can also be used for DIY air mattress repair, without the need for a patch. If the leak is small and can be easily covered by the glue, then you can follow these steps for a quick and easy fix. Step 1: Clean and Dry the Area As with patching a leak, it is important to clean and dry the area around the damage. This will help the glue bond properly and create a strong seal. Step 2: Apply the Gorilla Glue Squeeze a small amount of Gorilla Glue onto the damaged area and spread it evenly with a toothpick or small brush. Make sure to cover the entire leak with the glue. Step 3: Let it Dry Leave the glue to dry for at least an hour, or overnight for a stronger bond. Once the glue has dried, test the repair by inflating the mattress. If there are no more leaks, then you have successfully repaired your air mattress with Gorilla Glue.DIY Air Mattress Repair with Gorilla Glue
Gorilla Glue is a popular choice for air mattress patching due to its strong and durable bond. It can be used on a variety of materials, including vinyl and rubber, making it suitable for most air mattresses. Plus, it is water-resistant and can withstand the pressure of being inflated and deflated. When using Gorilla Glue for air mattress patching, remember to use a small amount and apply it evenly to the damaged area. Allow enough drying time and avoid overinflating the mattress to ensure a successful repair.Gorilla Glue for Air Mattress Patching
When you need a quick and easy fix for your air mattress, Gorilla Glue is the way to go. It can be easily applied and dries quickly, allowing you to get back to using your air mattress in no time. Follow the simple steps outlined above for a successful and long-lasting repair.Quick and Easy Air Mattress Patch with Gorilla Glue
Leaky air mattresses can be a nuisance, but with Gorilla Glue, you can easily fix the problem and have your mattress ready for use again. Whether you choose to patch the leak or apply the glue directly to the damaged area, Gorilla Glue provides a strong and reliable solution for fixing a leaky air mattress.Using Gorilla Glue to Fix a Leaky Air Mattress
When it comes to patching an air mattress with Gorilla Glue, the best method is to clean and dry the area, apply a small amount of glue, and leave it to dry for at least an hour. This will create a strong and secure bond that can withstand the pressure of being inflated and deflated. Remember to avoid overinflating the mattress and allow enough drying time for the best results.Best Method for Patching an Air Mattress with Gorilla Glue
With its strong and durable bond, Gorilla Glue is the ultimate solution for air mattress repair. It can fix leaks and tears quickly and easily, allowing you to enjoy a comfortable and stress-free sleep. Keep a bottle of Gorilla Glue on hand for any unexpected air mattress mishaps.Gorilla Glue: The Ultimate Solution for Air Mattress Repair
To summarize, here is a step-by-step guide for patching an air mattress using Gorilla Glue: Step 1: Identify the location of the leak. Step 2: Clean and dry the area around the leak. Step 3: Prepare the Gorilla Glue. Step 4: Apply the glue to the damaged area and place a heavy object on top. Step 5: Allow enough drying time and test the repair. Step 6: Avoid overinflating the mattress and allow enough time for the glue to fully cure. With these simple steps and the help of Gorilla Glue, you can easily patch up an air mattress and have it ready for use again in no time. Remember to follow the tips and best practices for a successful and long-lasting repair. Happy sleeping!Step-by-Step Guide for Patching an Air Mattress Using Gorilla Glue
Patch an Air Mattress Using Gorilla Glue: A Simple and Effective Solution

The Importance of a Good Night's Sleep
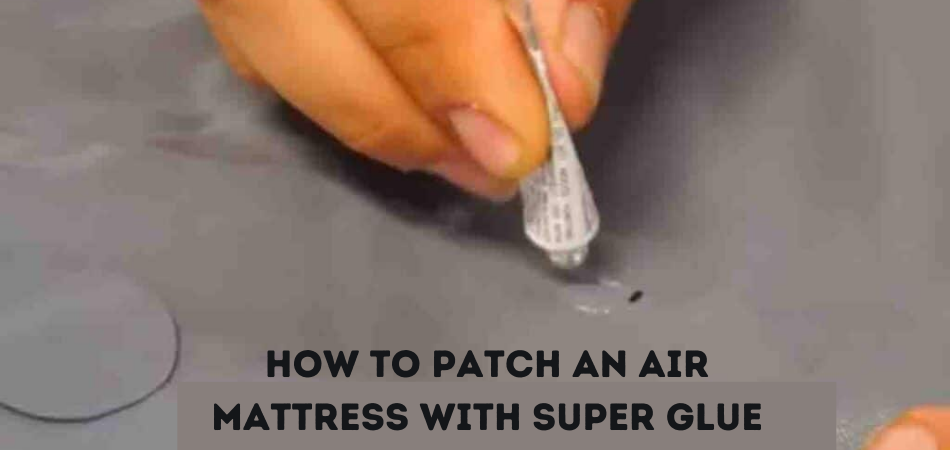 We all know the importance of a good night's sleep. It not only helps us feel refreshed and energized the next day, but it also plays a critical role in maintaining our overall health and well-being. However, a lumpy and uncomfortable air mattress can disrupt our sleep and leave us feeling exhausted and achy in the morning. If you have an air mattress that needs to be patched up, don't worry! There's a simple and effective solution that will have your air mattress as good as new in no time –
using Gorilla Glue.
Gorilla Glue: The Ultimate Solution for Patching an Air Mattress
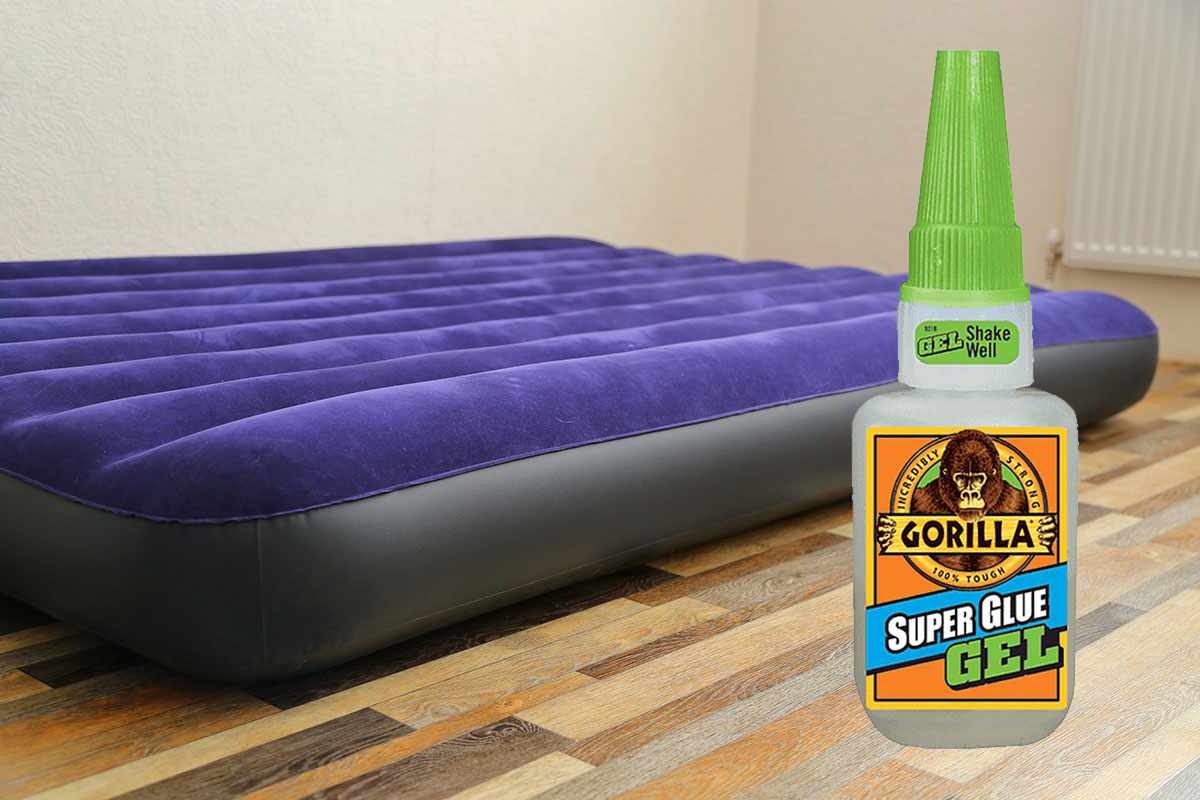
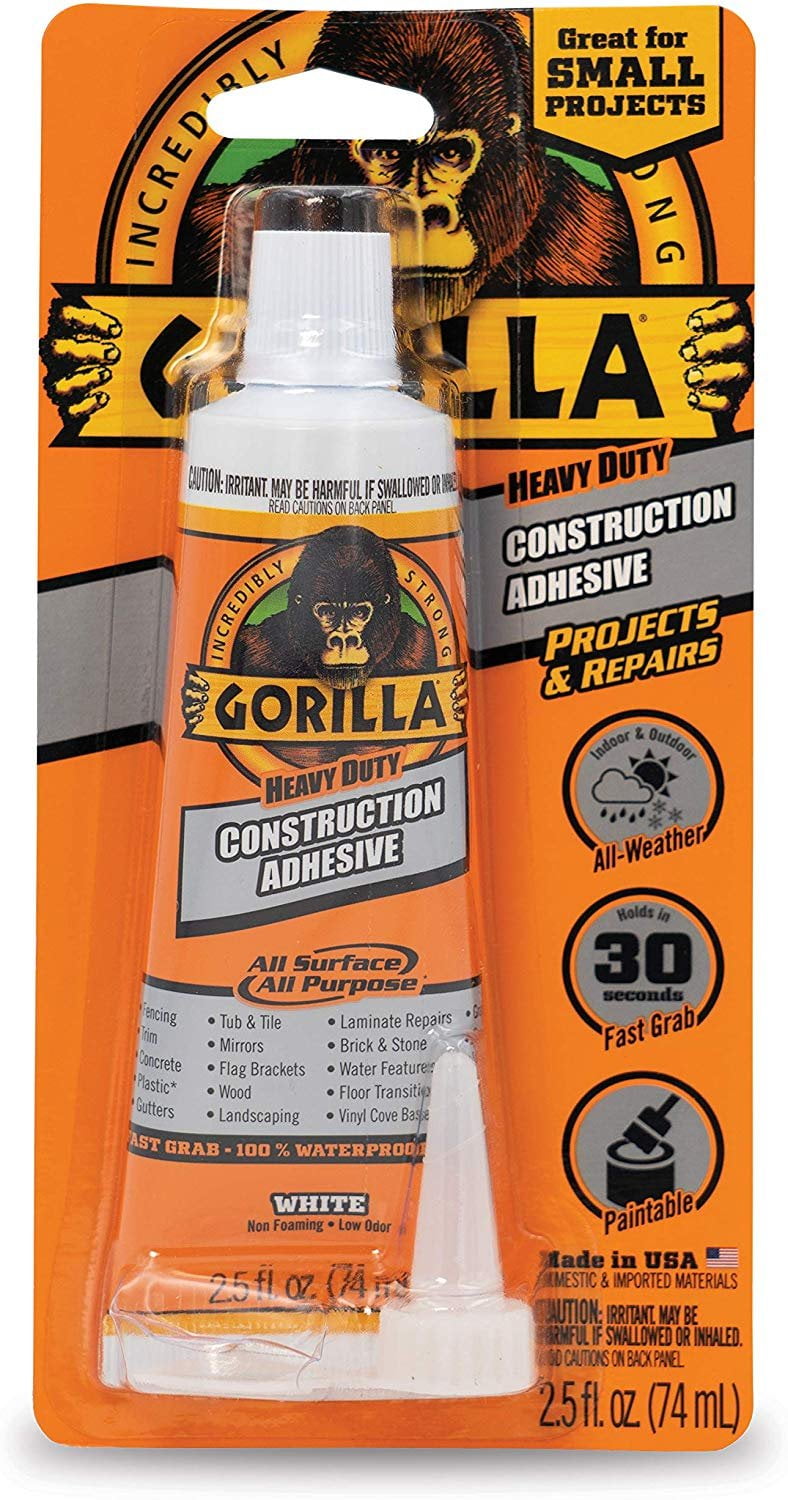
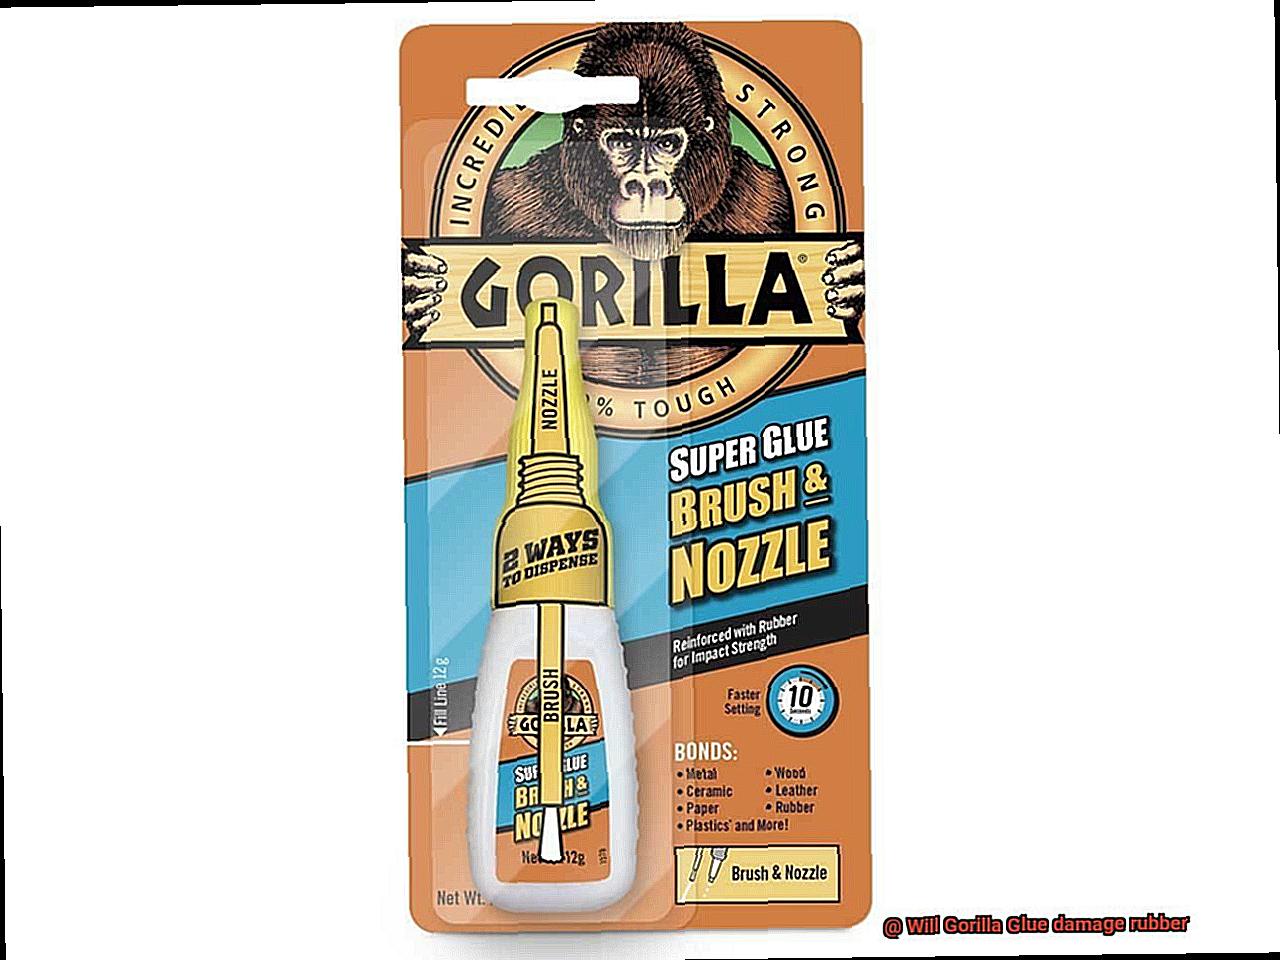
 Gorilla Glue is a popular and highly recommended adhesive for a variety of DIY projects. Its strong and durable formula makes it the perfect solution for repairing an air mattress. Not only is it waterproof, but it also dries clear, making it virtually invisible once applied. Plus, it can bond to almost any material, making it suitable for patching up a wide range of air mattresses.
Step-by-Step Guide on Patching an Air Mattress Using Gorilla Glue
 Step 1:
Start by deflating your air mattress completely and removing any bedding or covers.
Step 2:
Identify the location of the hole or tear on your air mattress.
Step 3:
Clean and dry
the area around the hole or tear, making sure there is no dust, dirt, or debris present. This will ensure that the Gorilla Glue can bond properly.
Step 4:
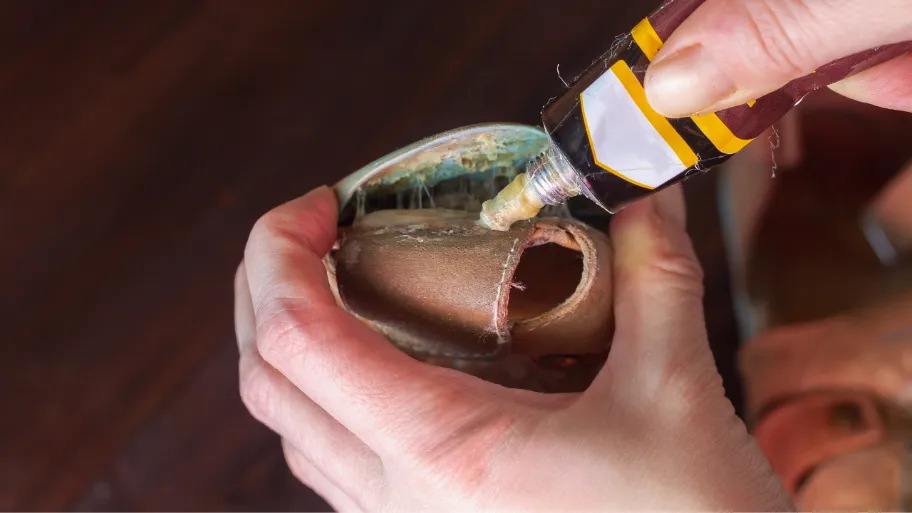
Apply a small amount of Gorilla Glue
directly onto the hole or tear
and spread it evenly using a flat surface such as a Popsicle stick or a small paintbrush.
Step 5:
Hold the edges of the hole or tear together
and press them firmly onto the glue. Hold for a few minutes to allow the glue to bond.
Step 6:
Let the glue dry completely
before inflating the air mattress again. This may take anywhere from 1-2 hours depending on the size of the hole or tear.
Step 7:
Once the glue has dried,
check for any remaining gaps or holes
and apply more glue if needed.
Additional Tips for Effective Patching
 -
Use a patch
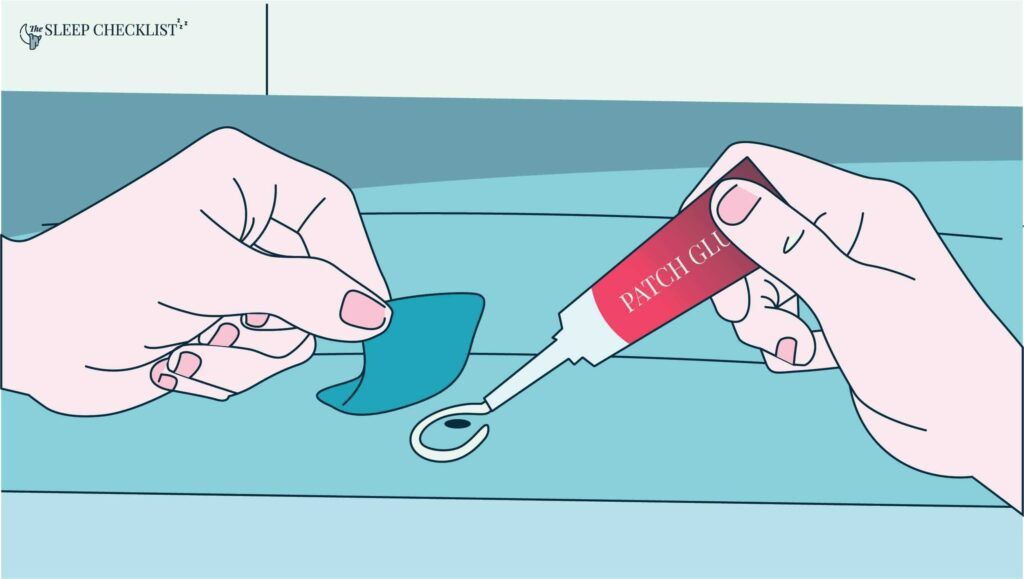
: If your air mattress has a larger hole or tear, you can use a patch made of the same material as the air mattress or a piece of fabric. Simply apply glue to the edges of the patch and press it onto the hole or tear, holding it in place until the glue dries.
-
Allow for proper ventilation
: When using Gorilla Glue, make sure to work in a well-ventilated area to avoid inhaling any fumes.
-
Use a sealant
: For added durability, you can apply a sealant such as clear silicone over the patched area once the glue has dried.
-
Let the glue cure
: While the glue may dry in a few hours, it is recommended to let it cure for 24 hours before using the air mattress again.
-
Use a patch
: If your air mattress has a larger hole or tear, you can use a patch made of the same material as the air mattress or a piece of fabric. Simply apply glue to the edges of the patch and press it onto the hole or tear, holding it in place until the glue dries.
-
Allow for proper ventilation
: When using Gorilla Glue, make sure to work in a well-ventilated area to avoid inhaling any fumes.
-
Use a sealant
: For added durability, you can apply a sealant such as clear silicone over the patched area once the glue has dried.
-
Let the glue cure
: While the glue may dry in a few hours, it is recommended to let it cure for 24 hours before using the air mattress again.
Conclusion
 Patching an air mattress using Gorilla Glue is a simple and effective solution that can save you from having to buy a new air mattress. With its strong and durable formula, Gorilla Glue can bond to almost any material and provide a long-lasting patch. So, the next time your air mattress springs a leak, don't panic – just grab some Gorilla Glue and follow these easy steps for a quick and hassle-free fix.
































:max_bytes(150000):strip_icc()/ArticleTimberCharmeSofa-50ba085ff1484014a6dcac2bb9fc822e.jpg)

