If you're looking to spruce up your kitchen, one area that often gets overlooked is the space under the sink. But with a little bit of paint, you can transform this often dingy and forgotten area into a clean and stylish storage space. Here's how to paint under a kitchen sink in a few simple steps.1. How to Paint Under a Kitchen Sink


1. How to Paint Under a Kitchen Sink


Before you get started, there are a few things you should keep in mind for a successful painting project. First, make sure to thoroughly clean and dry the area before painting. This will ensure that the paint adheres properly and lasts longer. Also, consider using a paint with a built-in primer to save time and effort. And don't forget to protect the surrounding areas with drop cloths or newspaper to prevent any accidental spills or drips.2. Tips for Painting Under a Kitchen Sink


2. Tips for Painting Under a Kitchen Sink

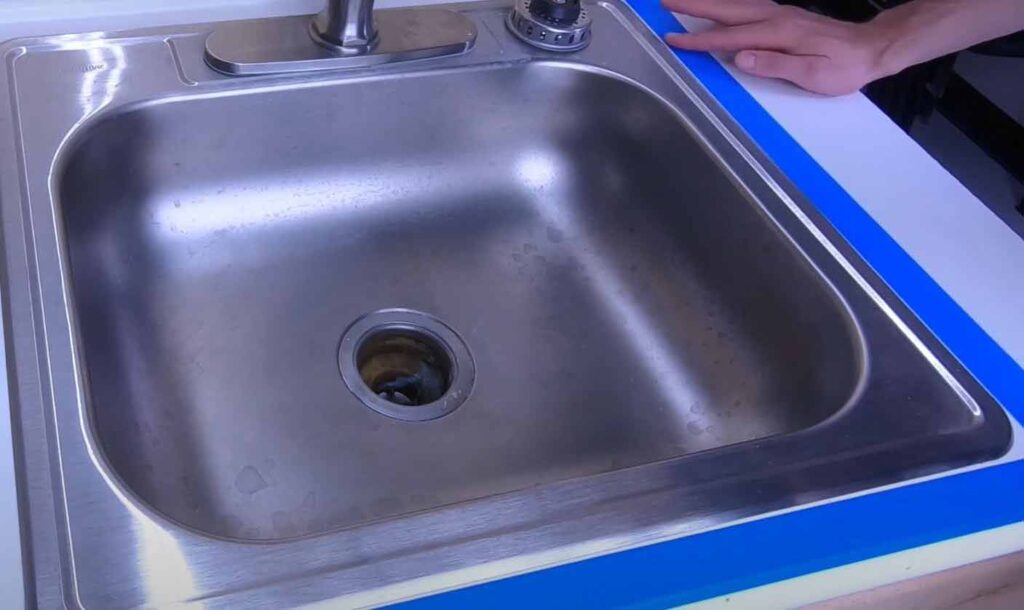
/how-to-install-a-sink-drain-2718789-hero-24e898006ed94c9593a2a268b57989a3.jpg)


When it comes to choosing the right paint for under your kitchen sink, you'll want to look for one that is durable and water-resistant. After all, this area is prone to moisture and spills. Opt for a semi-gloss or high-gloss paint, as these are easier to clean and more resistant to water. Additionally, consider using a mold and mildew-resistant paint to prevent any future growth in this damp environment.3. Best Paint for Under Kitchen Sink


3. Best Paint for Under Kitchen Sink


If you're on a budget or just enjoy a good DIY project, painting under your kitchen sink is a great way to give your kitchen a fresh look without breaking the bank. With some basic tools and materials, you can easily complete this project yourself. Just be sure to follow the proper steps and take your time for the best results.4. DIY Kitchen Sink Painting


4. DIY Kitchen Sink Painting


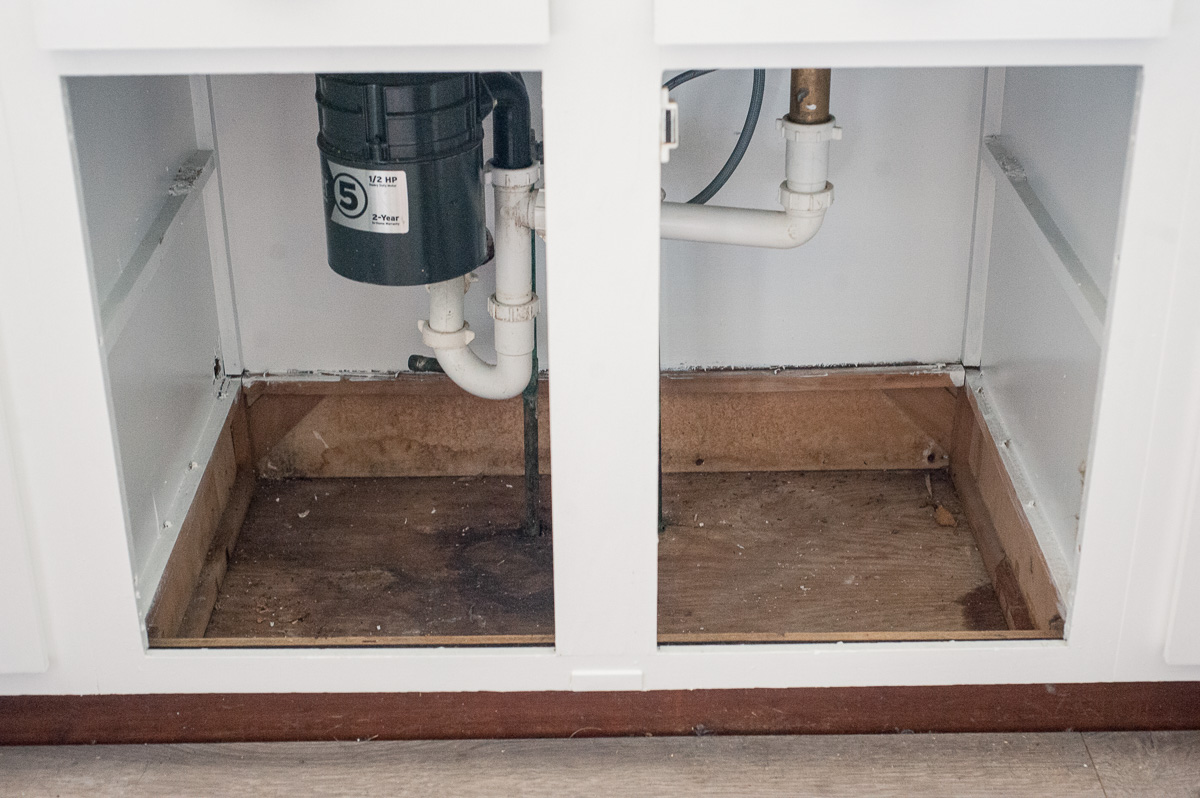
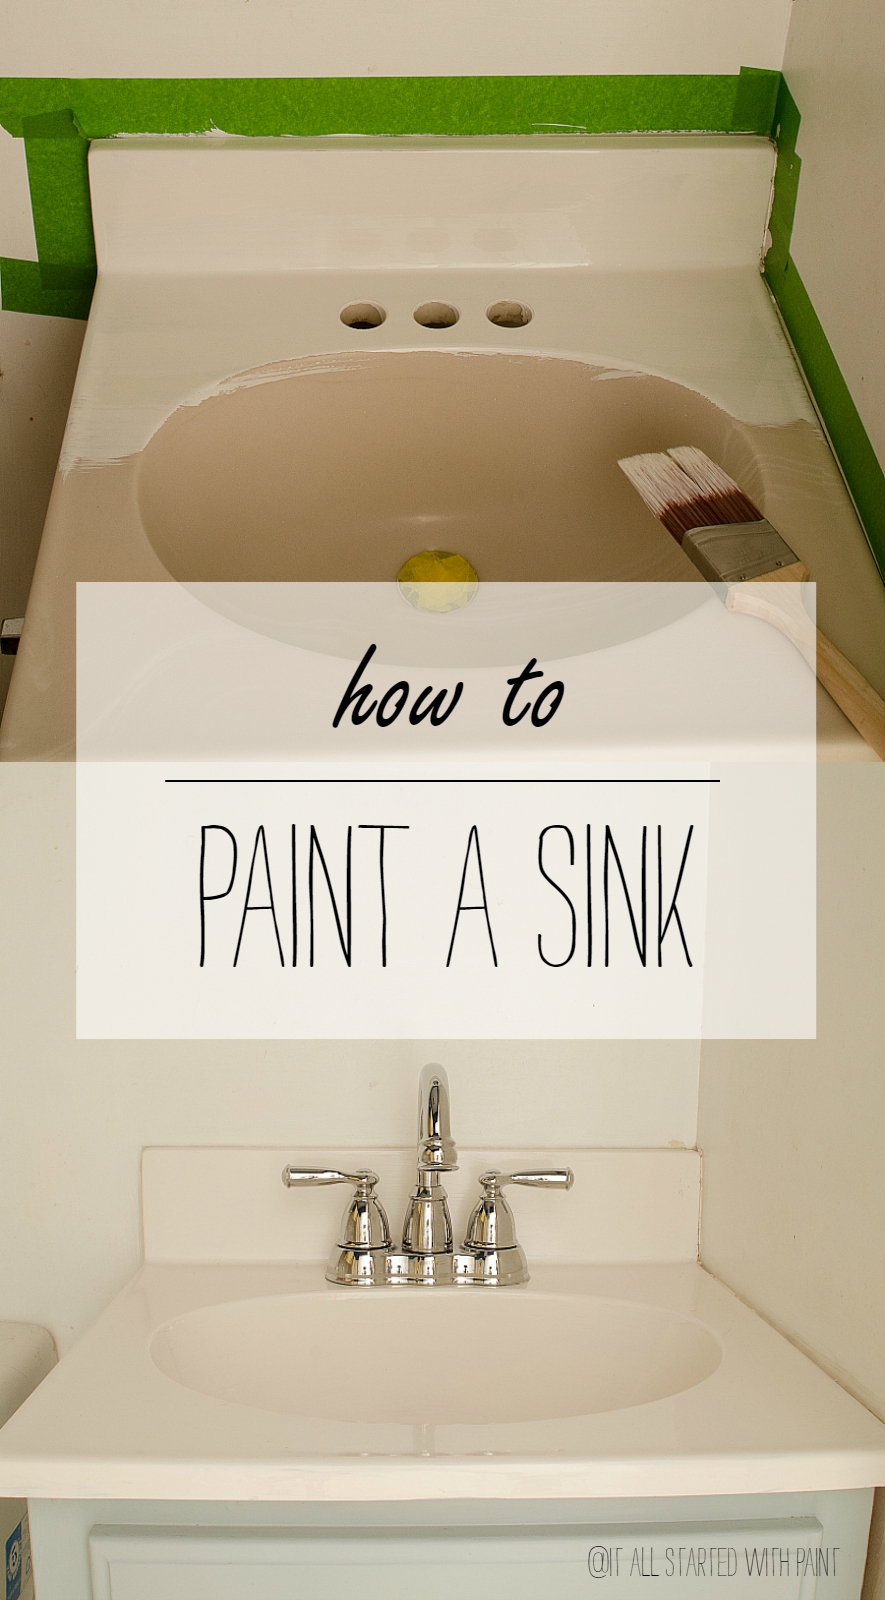
Before you begin painting, make sure to remove everything from under the sink and clean the area thoroughly. Next, sand the surface lightly to create a smooth and even base for the paint. Then, use a primer to help the paint adhere better and cover any stains or discoloration. Once the primer is dry, you can apply your chosen paint with a brush or roller, making sure to get into all the nooks and crannies. Finally, let the paint dry completely before putting everything back under the sink.5. Painting Under a Kitchen Sink: Step-by-Step Guide


5. Painting Under a Kitchen Sink: Step-by-Step Guide

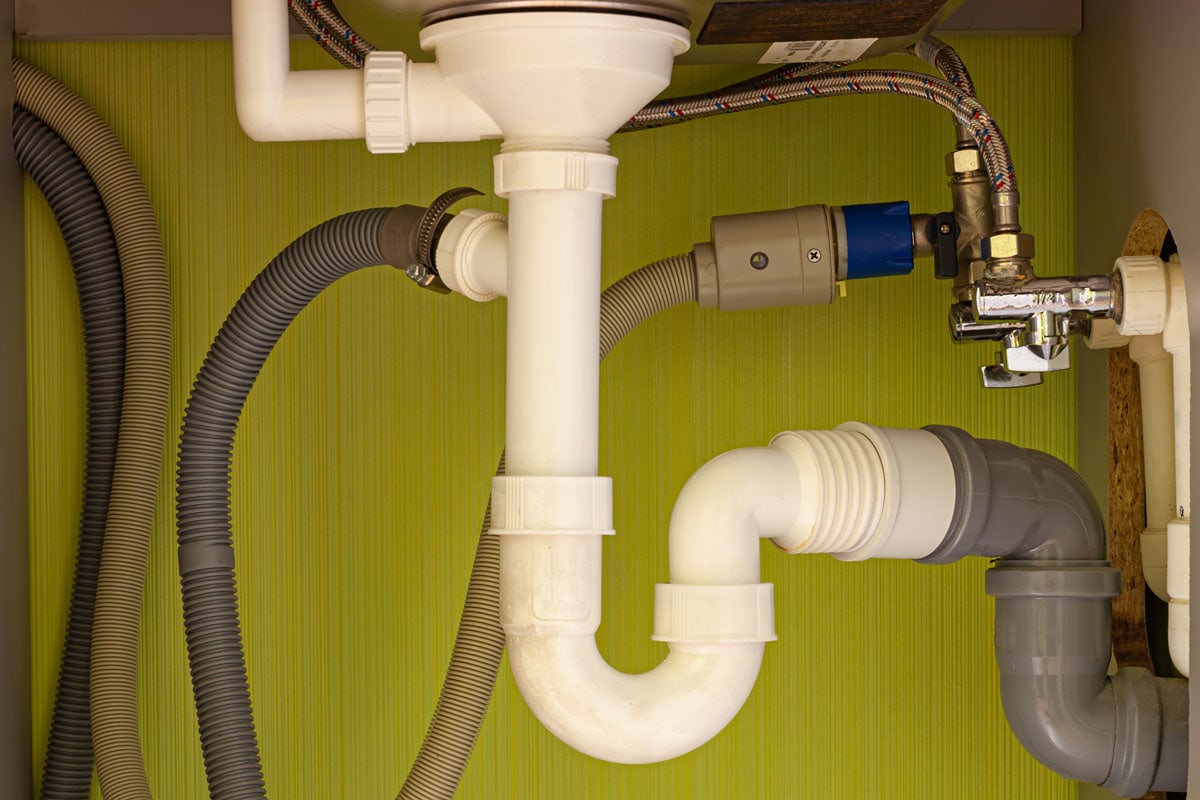

Before you start painting, there are a few things you should know to ensure a successful project. First, make sure the area is well-ventilated to avoid inhaling any fumes. Also, be mindful of any pipes or plumbing under the sink and take care not to get paint on them. If necessary, you may need to use a small brush or sponge to carefully paint around these obstacles.6. What You Need to Know Before Painting Under a Kitchen Sink


6. What You Need to Know Before Painting Under a Kitchen Sink

:strip_icc()/goldalamode-kitchen-reveal-before-2f179d741f694971820d09de0ba8adc3.jpg)


While painting under a kitchen sink may seem like a simple task, there are some common mistakes that can easily be avoided. One of the most common mistakes is not properly preparing the surface before painting. This can result in the paint not adhering well and causing peeling or chipping. Another mistake is not using the right type of paint, which can lead to poor coverage and durability. And finally, rushing the process can also result in a sloppy finish, so be sure to take your time and follow the proper steps.7. Painting Under a Kitchen Sink: Common Mistakes to Avoid

7. Painting Under a Kitchen Sink: Common Mistakes to Avoid


Proper preparation and priming are key to a successful painting project under your kitchen sink. As mentioned before, be sure to thoroughly clean and dry the area before painting. If there are any stains or discoloration, you may need to use a stain-blocking primer to ensure they don't show through the paint. Additionally, use a brush or roller to apply the primer evenly and let it dry completely before moving on to the paint.8. How to Prep and Prime for Painting Under a Kitchen Sink

8. How to Prep and Prime for Painting Under a Kitchen Sink


Before you begin your project, make sure you have all the necessary tools and materials. This will save you time and frustration later on. Some must-haves include sandpaper, drop cloths or newspaper, a paintbrush or roller, a primer, and your chosen paint. You may also want to have a small brush or sponge on hand for painting around any pipes or plumbing.9. Painting Under a Kitchen Sink: Tools and Materials You'll Need


9. Painting Under a Kitchen Sink: Tools and Materials You'll Need


To achieve a professional finish, the key is in the details. Take your time and use a steady hand when painting around any obstacles. Also, be sure to use multiple thin coats of paint instead of one thick coat to prevent drips and achieve a smooth finish. And finally, use a small brush or sponge to carefully paint around the edges and corners for a clean and polished look.10. How to Achieve a Professional Finish When Painting Under a Kitchen Sink
10. How to Achieve a Professional Finish When Painting Under a Kitchen Sink


How Painting Under the Kitchen Sink Can Enhance Your House Design

Why is Painting Under the Kitchen Sink Important?
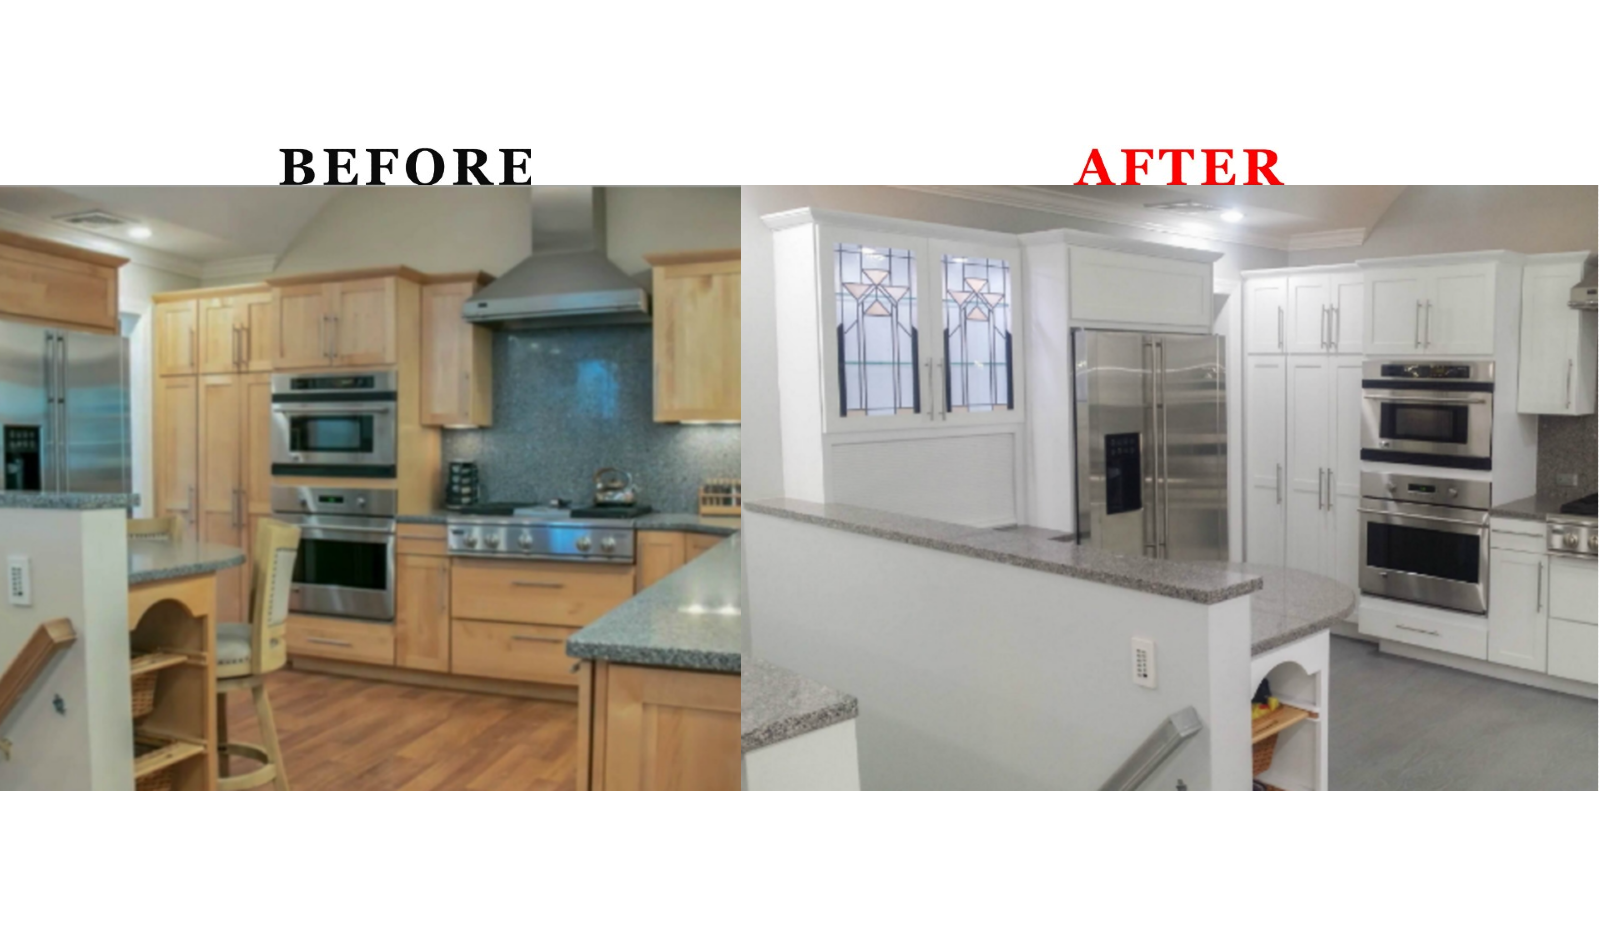
 When it comes to house design, the kitchen is often considered the heart of the home. It is where meals are prepared, memories are made, and families gather to spend quality time together. With such an important role in the house, it's no wonder that homeowners are constantly looking for ways to enhance their kitchen's design. One often overlooked space in the kitchen is the area under the sink. While it may seem like a small and insignificant area, painting under the kitchen sink can actually make a big impact on the overall design of your kitchen.
The Benefits of Painting Under the Kitchen Sink
 The main benefit of painting under the kitchen sink is that it adds a touch of style and personality to your kitchen. This often neglected area can become a focal point and tie the entire design of your kitchen together. Additionally, painting under the kitchen sink can also help protect the space from moisture, mold, and mildew. This is especially important in kitchens where water is constantly present.
Featured Keywords: house design, kitchen, painting, enhance, neglected, moisture, mold, mildew
The main benefit of painting under the kitchen sink is that it adds a touch of style and personality to your kitchen. This often neglected area can become a focal point and tie the entire design of your kitchen together. Additionally, painting under the kitchen sink can also help protect the space from moisture, mold, and mildew. This is especially important in kitchens where water is constantly present.
Featured Keywords: house design, kitchen, painting, enhance, neglected, moisture, mold, mildew
Choosing the Right Color
 When it comes to painting under the kitchen sink, there are endless color options to choose from. However, it's important to choose a color that complements the rest of your kitchen's design. If your kitchen has neutral tones, a pop of color under the sink can add a fun and unexpected element. On the other hand, if your kitchen is already vibrant, a neutral color can help balance out the overall design. Another important factor to consider is the type of paint. Make sure to choose a moisture-resistant and mold-resistant paint for this area.
Featured Keywords: color, complement, neutral tones, vibrant, moisture-resistant, mold-resistant
When it comes to painting under the kitchen sink, there are endless color options to choose from. However, it's important to choose a color that complements the rest of your kitchen's design. If your kitchen has neutral tones, a pop of color under the sink can add a fun and unexpected element. On the other hand, if your kitchen is already vibrant, a neutral color can help balance out the overall design. Another important factor to consider is the type of paint. Make sure to choose a moisture-resistant and mold-resistant paint for this area.
Featured Keywords: color, complement, neutral tones, vibrant, moisture-resistant, mold-resistant
DIY or Hire a Professional?
 Painting under the kitchen sink can be a DIY project or you can hire a professional for a more polished finish. If you choose to DIY, make sure to properly prep the area by cleaning and sanding any rough surfaces. It's also important to use a high-quality paint and proper tools for the best results. Hiring a professional can save you time and ensure a flawless finish, but it may come at a higher cost.
Featured Keywords: DIY, professional, prep, high-quality paint, proper tools, flawless finish, cost
Painting under the kitchen sink can be a DIY project or you can hire a professional for a more polished finish. If you choose to DIY, make sure to properly prep the area by cleaning and sanding any rough surfaces. It's also important to use a high-quality paint and proper tools for the best results. Hiring a professional can save you time and ensure a flawless finish, but it may come at a higher cost.
Featured Keywords: DIY, professional, prep, high-quality paint, proper tools, flawless finish, cost
Final Thoughts
 Don't overlook the potential of the space under your kitchen sink. With a fresh coat of paint, this often neglected area can become a standout feature in your kitchen's design. Whether you choose to DIY or hire a professional, painting under the kitchen sink is a simple and affordable way to enhance your house design and add a personal touch to your kitchen.
Featured Keywords: potential, neglected, standout feature, simple, affordable, personal touch
Don't overlook the potential of the space under your kitchen sink. With a fresh coat of paint, this often neglected area can become a standout feature in your kitchen's design. Whether you choose to DIY or hire a professional, painting under the kitchen sink is a simple and affordable way to enhance your house design and add a personal touch to your kitchen.
Featured Keywords: potential, neglected, standout feature, simple, affordable, personal touch