Painting a living room ceiling may seem like a daunting task, but with the right tips and tricks, it can be a simple and rewarding project. A fresh coat of paint on the ceiling can completely transform the look and feel of a room, making it feel brighter, larger, and more modern. Below are our top 10 tips for painting a living room ceiling like a pro.Painting a Living Room Ceiling: Tips and Tricks
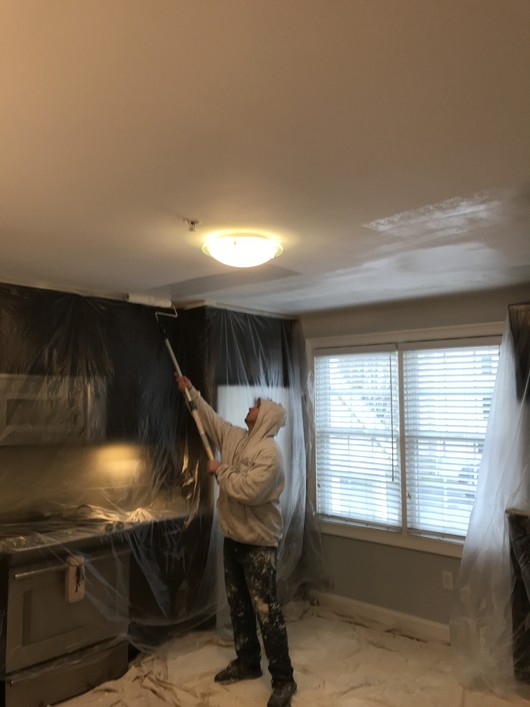
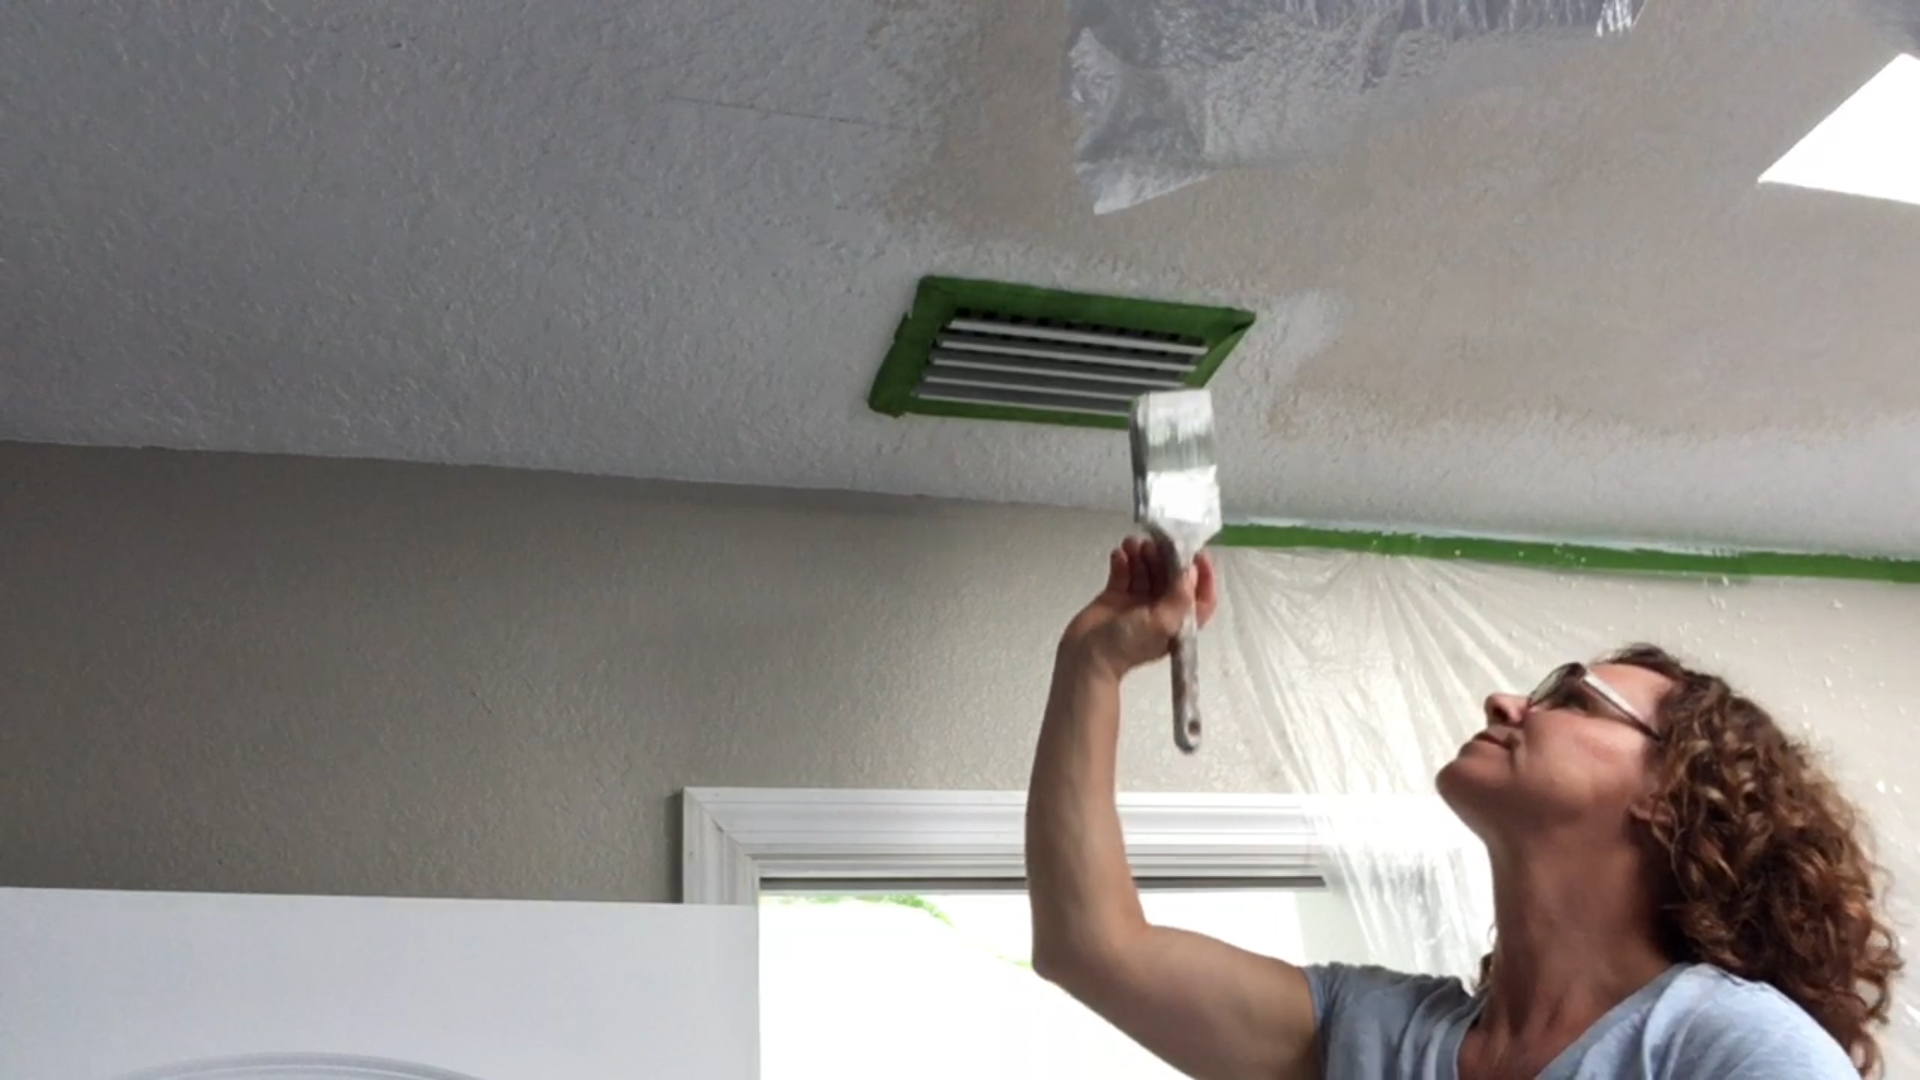
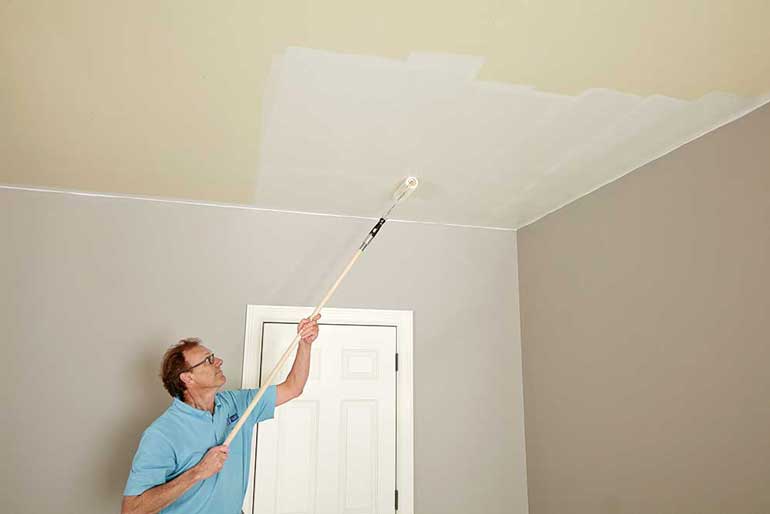
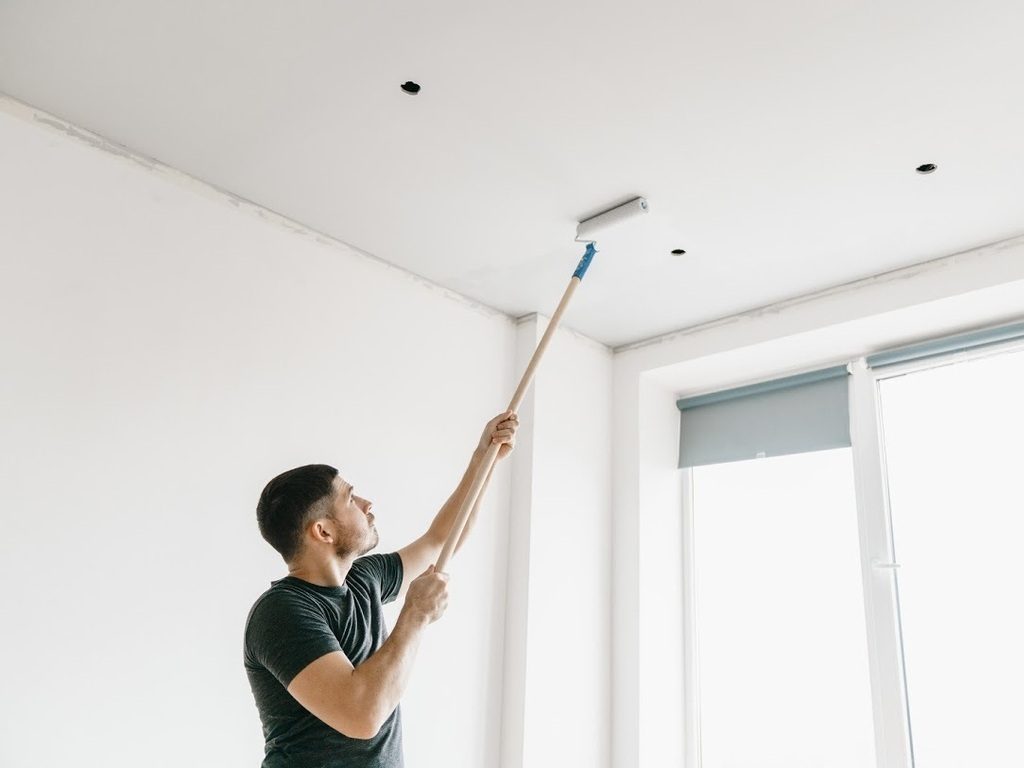
Painting a ceiling requires a bit of skill and technique to achieve a smooth and even finish. Here are some tips to help you achieve professional-looking results: 1. Prepare the room: Before starting to paint, make sure to remove all furniture and cover the floors and any remaining items with drop cloths. This will protect them from any paint splatters or spills. 2. Clean the ceiling: It's important to have a clean surface before painting. Use a mild detergent and warm water to remove any dirt, dust, or grime from the ceiling. Rinse with clean water and let it dry completely before painting. 3. Use the right tools: For painting a ceiling, you'll need a sturdy ladder, a roller with an extension pole, and a paint tray. A paint sprayer can also make the job easier and faster, but it's not necessary. 4. Choose the right paint: When it comes to painting a living room ceiling, a flat or matte finish is the best choice. It will hide any imperfections and give the ceiling a smooth and uniform appearance. Avoid using glossy or semi-gloss paint, as it can create a glare and highlight any flaws. 5. Start with the edges: Use a small brush to cut in around the edges of the ceiling, where it meets the walls and any light fixtures. This will make it easier to paint the rest of the ceiling without worrying about getting paint on the walls. 6. Roll in one direction: When using a roller, make sure to roll in one direction only to avoid creating roller marks. Start in a corner and roll towards the opposite end of the room in a straight line. Overlap each stroke for even coverage. 7. Paint in sections: Break the ceiling into smaller sections and focus on one section at a time. This will help to avoid getting paint on other areas and ensure that the paint doesn't dry too quickly. 8. Use a light touch: When painting with a roller, use a light touch and let the weight of the roller do the work. Pressing too hard can cause the roller to leave marks on the ceiling. 9. Apply a second coat: Once the first coat is completely dry, apply a second coat for a more even and consistent finish. This will also help to cover any missed spots or roller marks from the first coat. 10. Clean up: After painting, make sure to clean up any spills or drips immediately to avoid them drying and becoming more difficult to clean later on. Remove any drop cloths and put the furniture back in place once the paint is completely dry.How to Paint a Living Room Ceiling Like a Pro
When it comes to choosing the right paint color for your living room ceiling, it's best to stick with a neutral color that coordinates with the walls and overall color scheme of the room. White is always a safe and classic choice, but if you want to add a bit of personality, consider a light shade of grey, beige, or even a soft pastel color. Pro tip: If you have a room with low ceilings, painting the ceiling a slightly lighter shade than the walls can help to create the illusion of more height.Best Paint Colors for Living Room Ceilings
Here is a step-by-step guide to painting a living room ceiling: Step 1: Prepare the room by removing furniture and covering floors with drop cloths. Step 2: Clean the ceiling with mild detergent and warm water, then let it dry completely. Step 3: Cut in around the edges of the ceiling with a small brush. Step 4: Use a roller or paint sprayer to paint the rest of the ceiling in small sections. Step 5: Let the first coat dry completely, then apply a second coat if needed. Step 6: Clean up any spills or drips and put furniture back in place once the paint is completely dry.Step-by-Step Guide to Painting a Living Room Ceiling
If you're feeling up for a DIY project, painting a living room ceiling is a great place to start. It may seem intimidating at first, but with the right tools and techniques, it can be a fun and rewarding experience. Just make sure to take your time, follow the steps above, and don't be afraid to ask for help if needed.DIY: Painting a Living Room Ceiling
As mentioned before, a flat or matte finish is the best choice for a living room ceiling. However, there are other options you may want to consider depending on the look and feel you want to achieve: Satin: A satin finish has a slight sheen and is more durable than flat paint. It can be a good choice for high-traffic areas, but it may also highlight any imperfections on the ceiling. Eggshell: An eggshell finish is similar to satin but has a bit more sheen. It's also more washable and can be a good choice for a living room ceiling that may need to be cleaned more often. Gloss: A gloss finish has the highest sheen and is the most durable. It reflects more light, making the ceiling appear brighter, but it can also show more imperfections.Choosing the Right Paint Finish for Your Living Room Ceiling
Proper preparation is key when it comes to painting a living room ceiling. Here are some steps to follow before starting to paint: Step 1: Remove all furniture and cover floors and any remaining items with drop cloths. Step 2: Clean the ceiling with mild detergent and warm water, then let it dry completely. Step 3: Repair any cracks, holes, or imperfections with spackling compound and sand them smooth once dry. Step 4: Remove any light fixtures or cover them with painter's tape. Step 5: Apply a coat of primer to help the paint adhere better and to cover any stains or discoloration on the ceiling.How to Prep Your Living Room Ceiling for Painting
To paint a living room ceiling like a pro, you'll need the following tools and supplies: Ladder: A sturdy ladder is essential for painting a ceiling, as it allows you to reach the entire surface without stretching or straining. Roller: A roller with an extension pole will make it easier to reach high areas and cover the ceiling more quickly. A paint sprayer can also be used but is not necessary. Paint tray: A paint tray will hold the paint and make it easier to load the roller. Drops cloths: These will protect floors and furniture from any paint splatters or spills. Painter's tape: Use painter's tape to protect light fixtures, trim, and walls from getting paint on them. Drop cloth: This will protect floors and furniture from any paint splatters or spills. Primer: A coat of primer will help the paint adhere better and cover any stains or discoloration on the ceiling. Paint: Choose a flat or matte finish paint in the color of your choice.Top Tools and Supplies for Painting a Living Room Ceiling
Here are some common mistakes to avoid when painting a living room ceiling: Skipping the prep work: Properly preparing the room and the ceiling before painting can make a huge difference in the end result. Don't skip this step! Using the wrong tools: Make sure to use a ladder, roller, and other tools specifically designed for painting a ceiling to achieve the best results. Not using enough paint: It's important to apply enough paint to cover the ceiling evenly. Use a light touch and let the weight of the roller do the work. Not using a drop cloth: Protecting floors and furniture with drop cloths is essential to avoid any paint splatters or spills. Not applying a second coat: A second coat of paint can make a big difference in achieving a smooth and even finish, so don't skip it.Common Mistakes to Avoid When Painting a Living Room Ceiling
Painting a living room ceiling may seem like a daunting task, but with the right tips and tricks, it can be a simple and rewarding project. By following the steps and using the right tools and supplies, you can transform your living room into a bright, modern, and inviting space. So go ahead and give your living room ceiling a fresh coat of paint and see the amazing difference it makes!Transform Your Living Room with a Freshly Painted Ceiling
The Importance of Painting Your Living Room Ceiling

Enhances the Aesthetic Appeal
 When it comes to house design, the living room is often considered the heart of the home. It is where we spend most of our time with family and friends, making it a space that should be both comfortable and visually appealing. A freshly painted ceiling can do wonders in enhancing the overall look and feel of your living room.
Painting your living room ceiling
can bring a new sense of energy and vibrancy to the space, making it more inviting and welcoming.
Makes the Room Feel Bigger
 A common misconception is that painting the ceiling a dark color can make a room feel smaller. However, the opposite is actually true.
Painting your living room ceiling
a light or neutral color can create the illusion of a higher ceiling, making the room feel more spacious and airy. This is especially beneficial for smaller living rooms, as it can make them feel less cramped and more open.
Hide Imperfections and Add Dimension
 Over time, ceilings can develop cracks, stains, and other imperfections.
Painting your living room ceiling
is a simple and effective way to hide these flaws and give the room a fresh and clean look. Furthermore, using different colors and finishes on the ceiling can add dimension and depth to the room, making it more visually interesting.
Protects and Preserves
 Aside from the aesthetic benefits,
painting your living room ceiling
also serves a functional purpose. It helps protect the ceiling from wear and tear, such as water damage and discoloration. This is especially important for older homes, where the ceiling may have been neglected for years. A fresh coat of paint can help preserve the integrity of the ceiling and prevent any further damage.
Final Thoughts
 In conclusion,
painting your living room ceiling
is a simple and cost-effective way to transform the look and feel of your home. It not only enhances the aesthetic appeal but also has functional benefits such as protecting and preserving the ceiling. So, if you're looking to give your living room a fresh new look, don't forget to include the ceiling in your painting plans.

