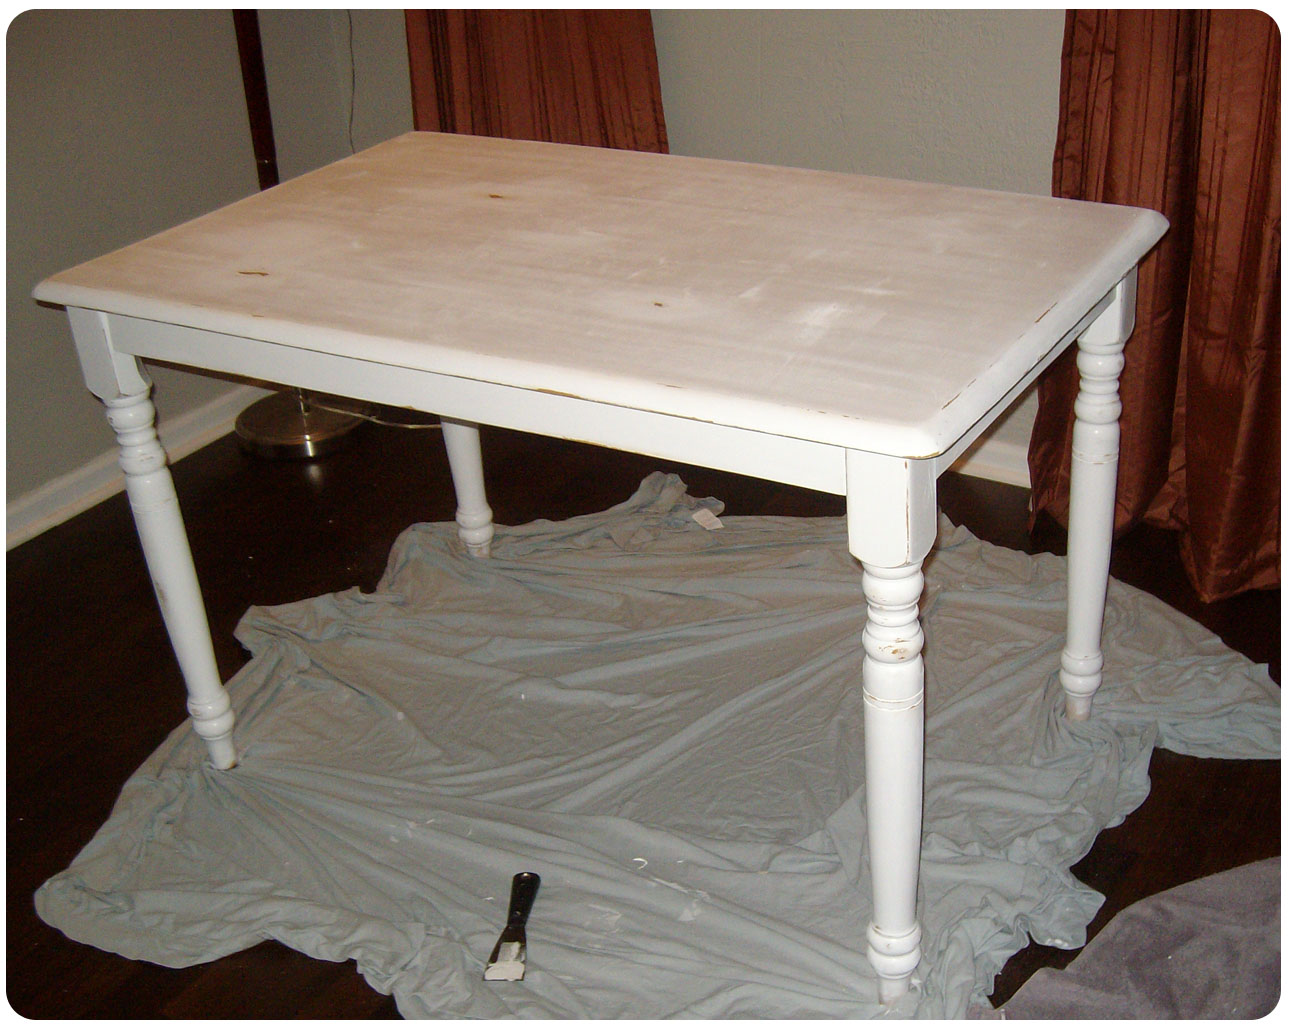
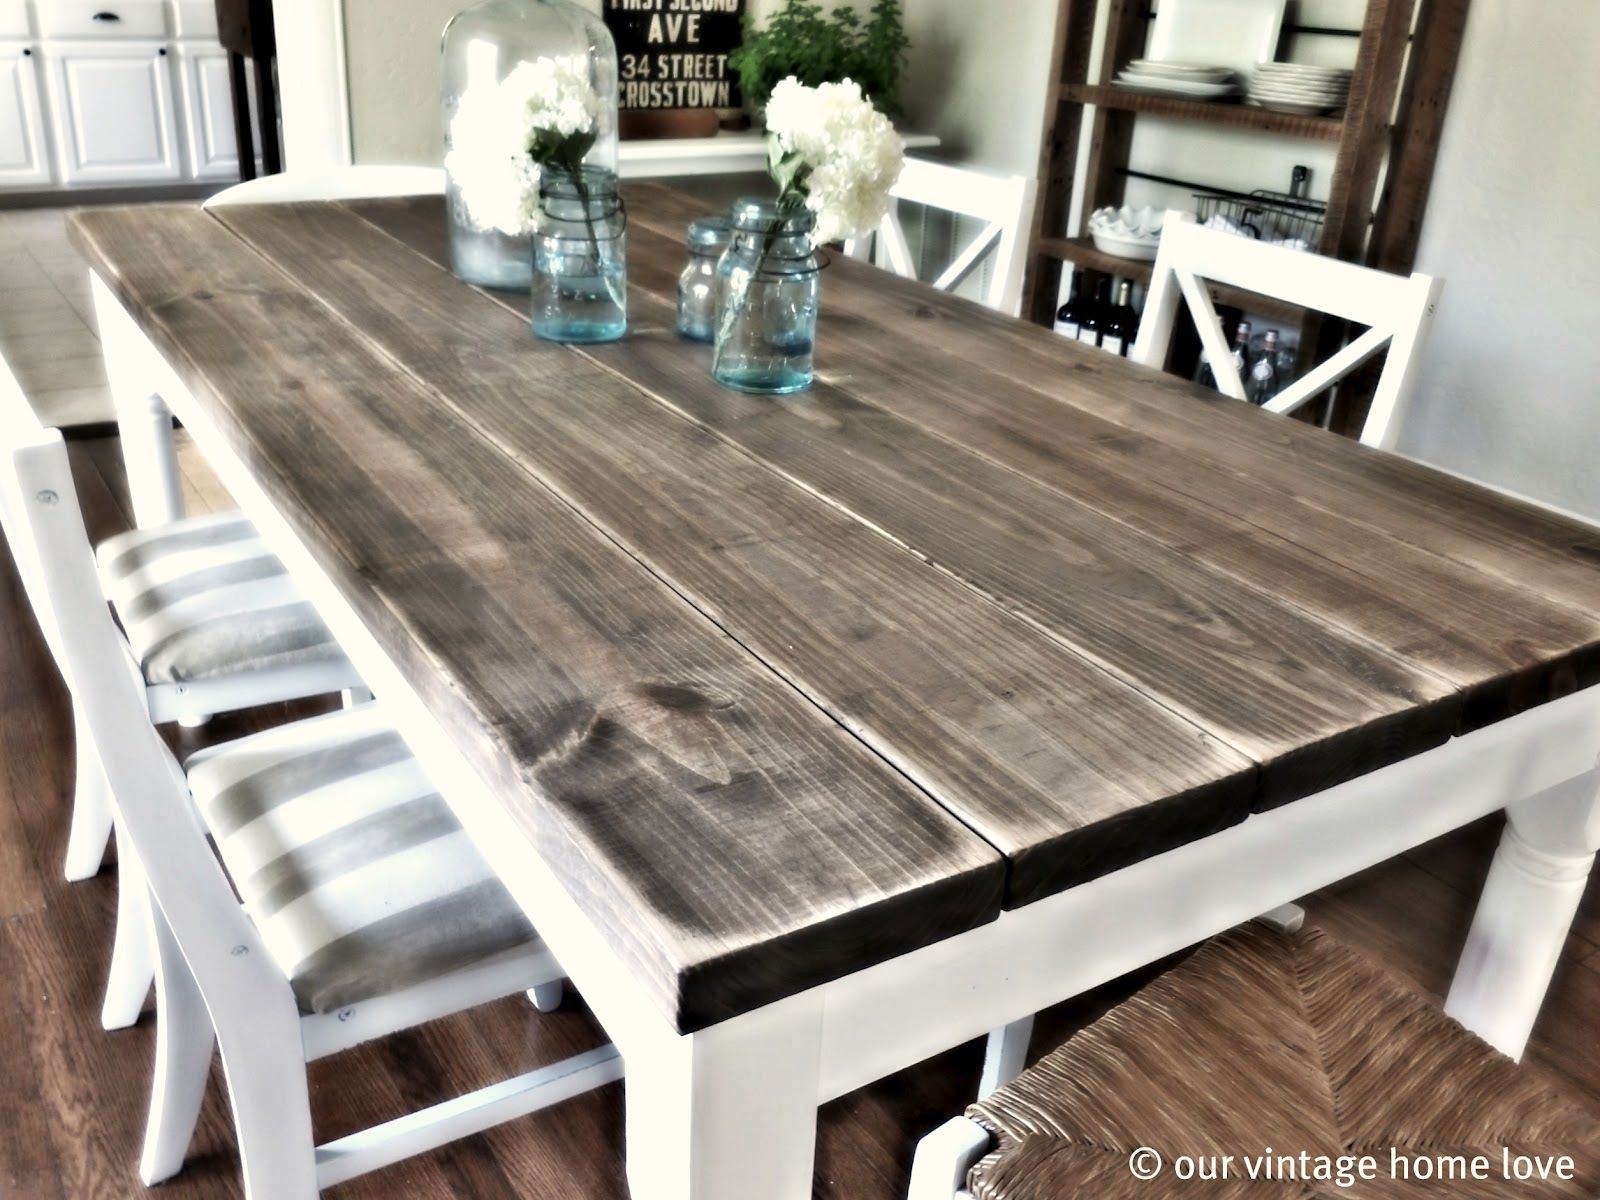
Before you can start painting your large kitchen table with chalk paint, you need to properly prepare the surface. This will help ensure that the paint adheres well and lasts for a long time. Begin by removing any loose or flaking paint using a scraper or sandpaper. Next, give the table a good wipe down with a damp cloth to remove any dust, grime, or grease. If your table has any deep scratches or gouges, fill them in with wood filler and sand them smooth.Prepping the Table


Prepping the Table


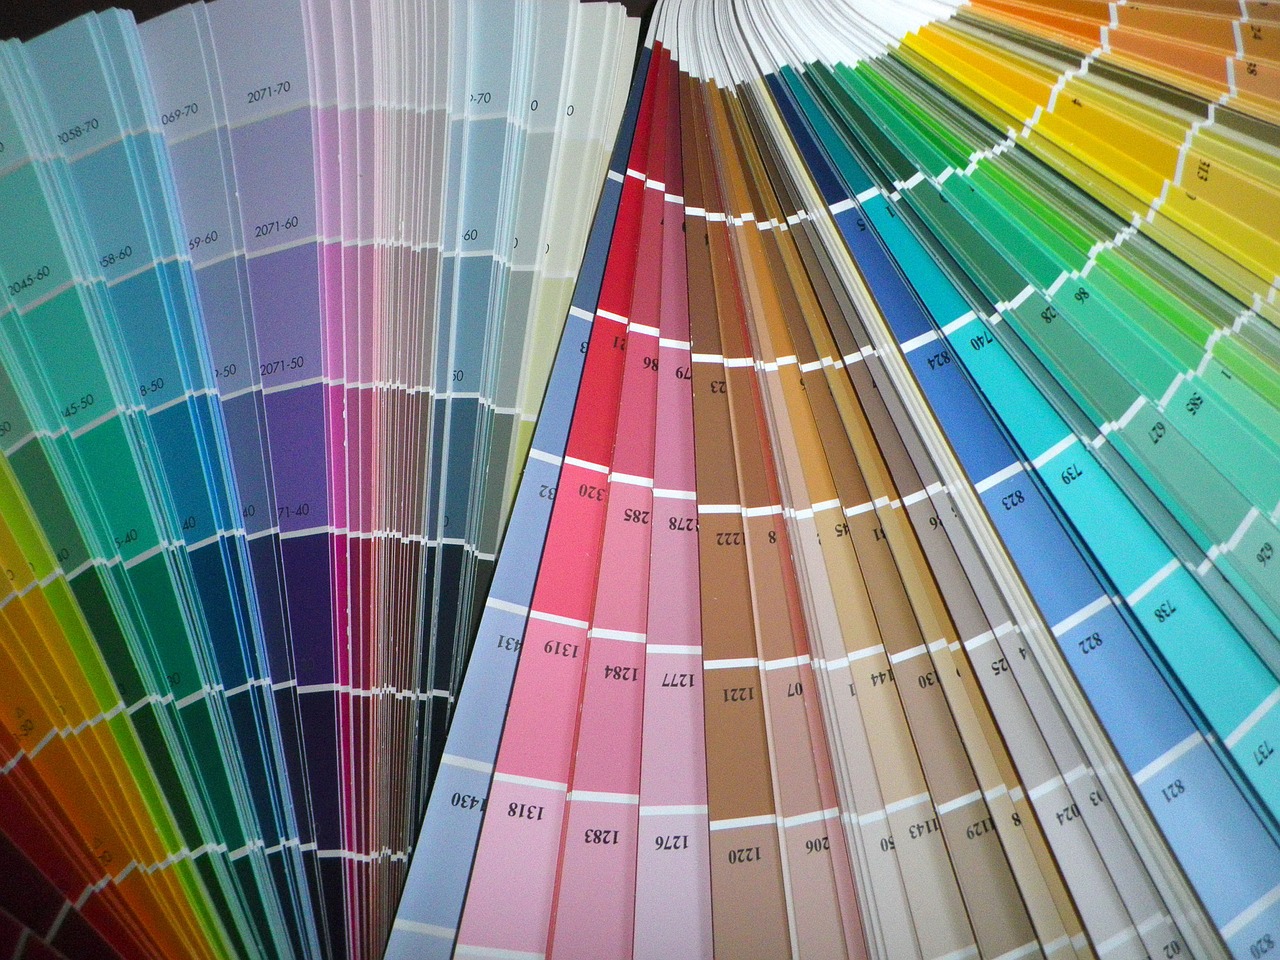
When it comes to painting a large kitchen table, using the right type of paint is crucial. Chalk paint is a popular choice as it provides a smooth, matte finish and requires minimal prep work. Look for a high-quality brand, such as Annie Sloan or Rust-Oleum, for the best results. You can also opt for a chalk-style paint which is a more budget-friendly alternative.Choosing the Right Paint

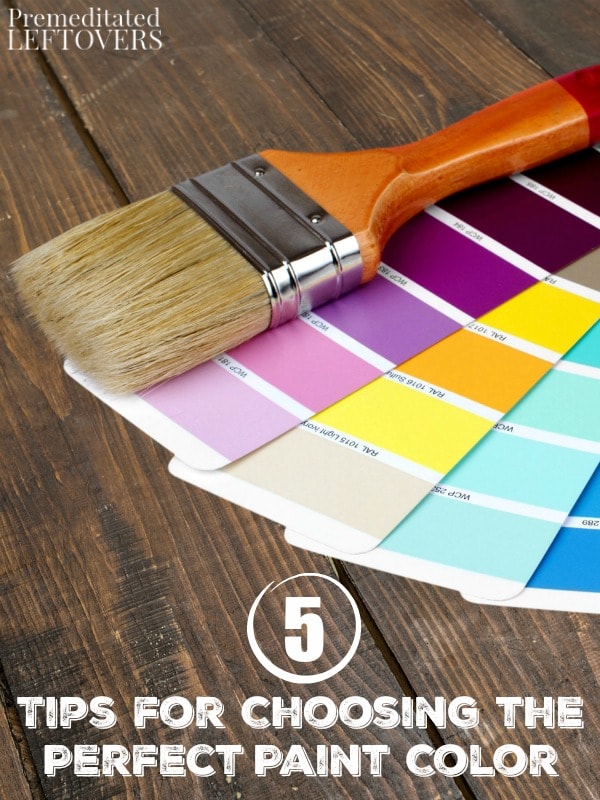
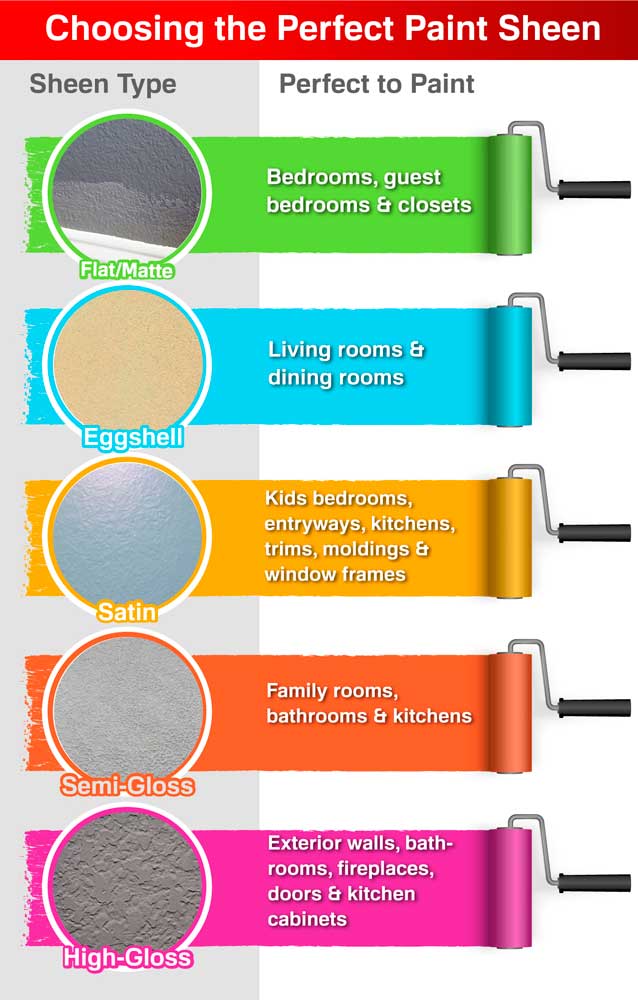
Choosing the Right Paint


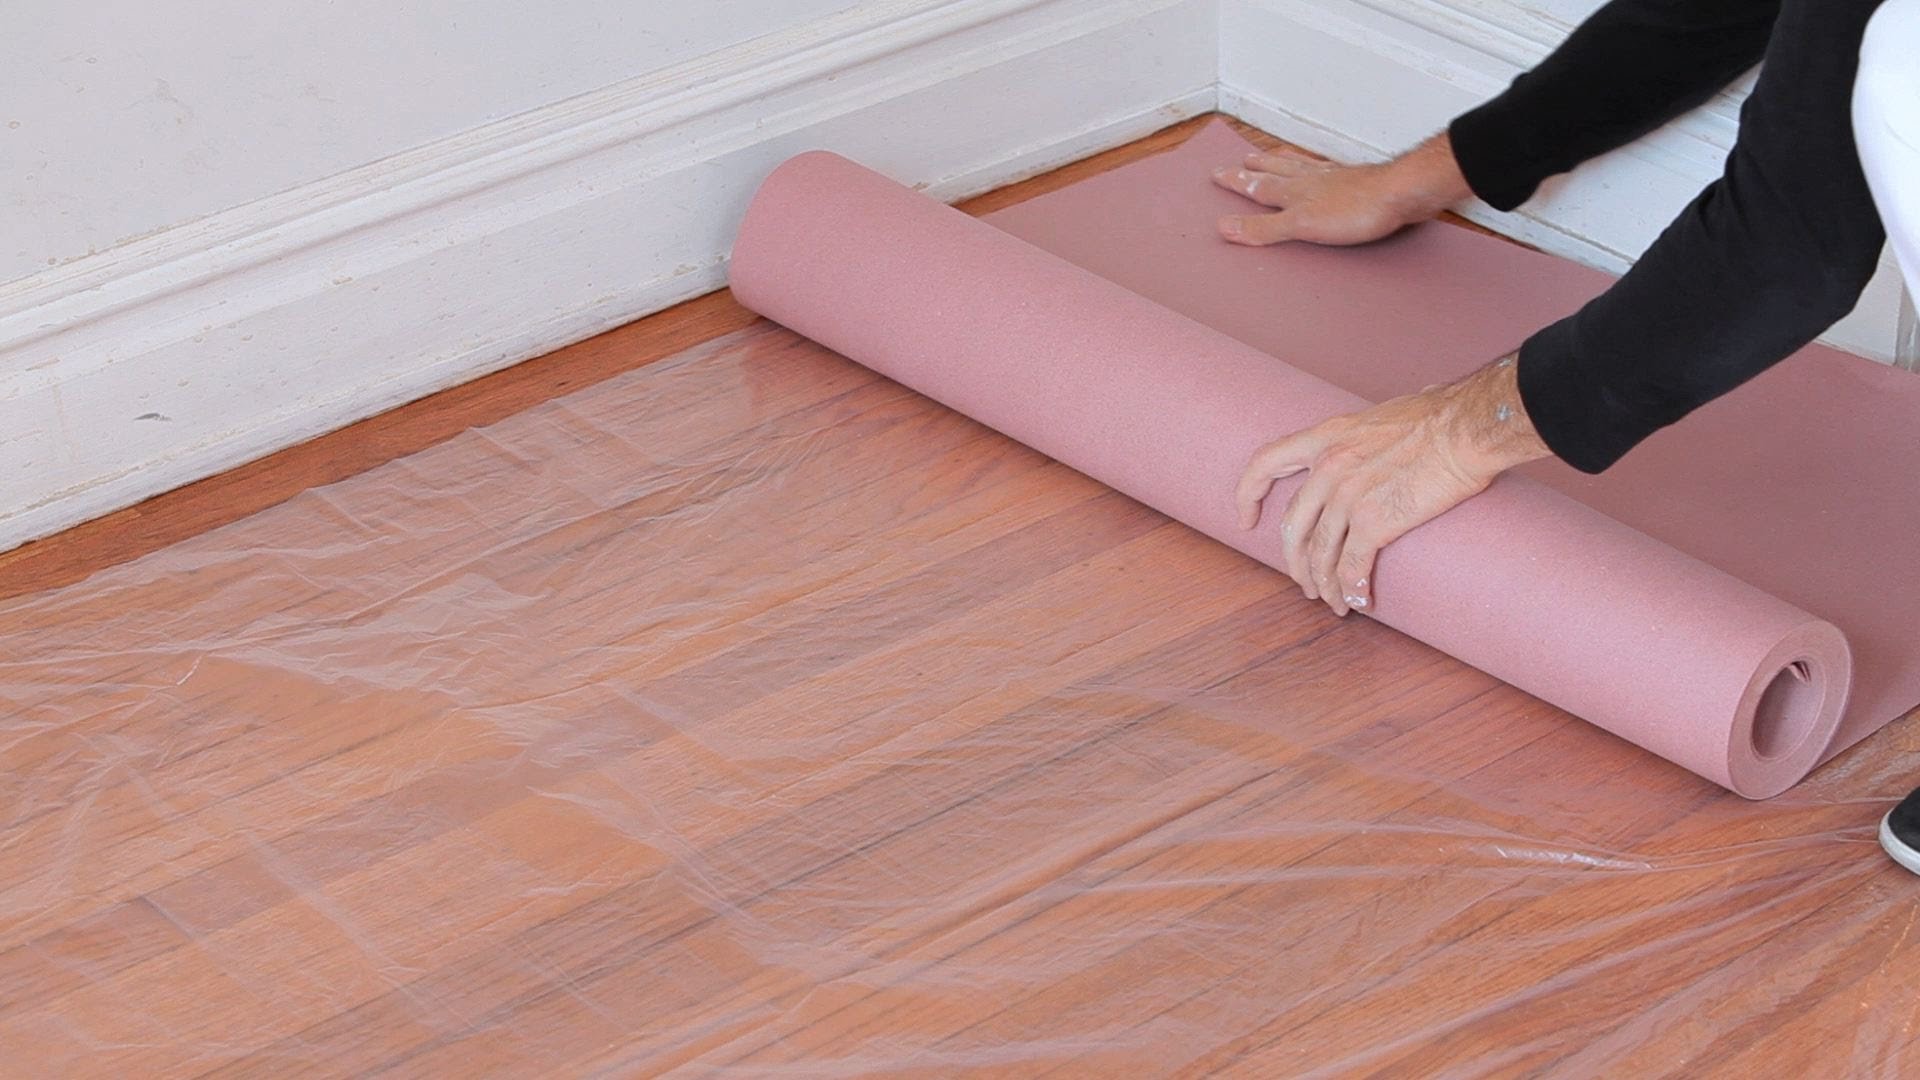
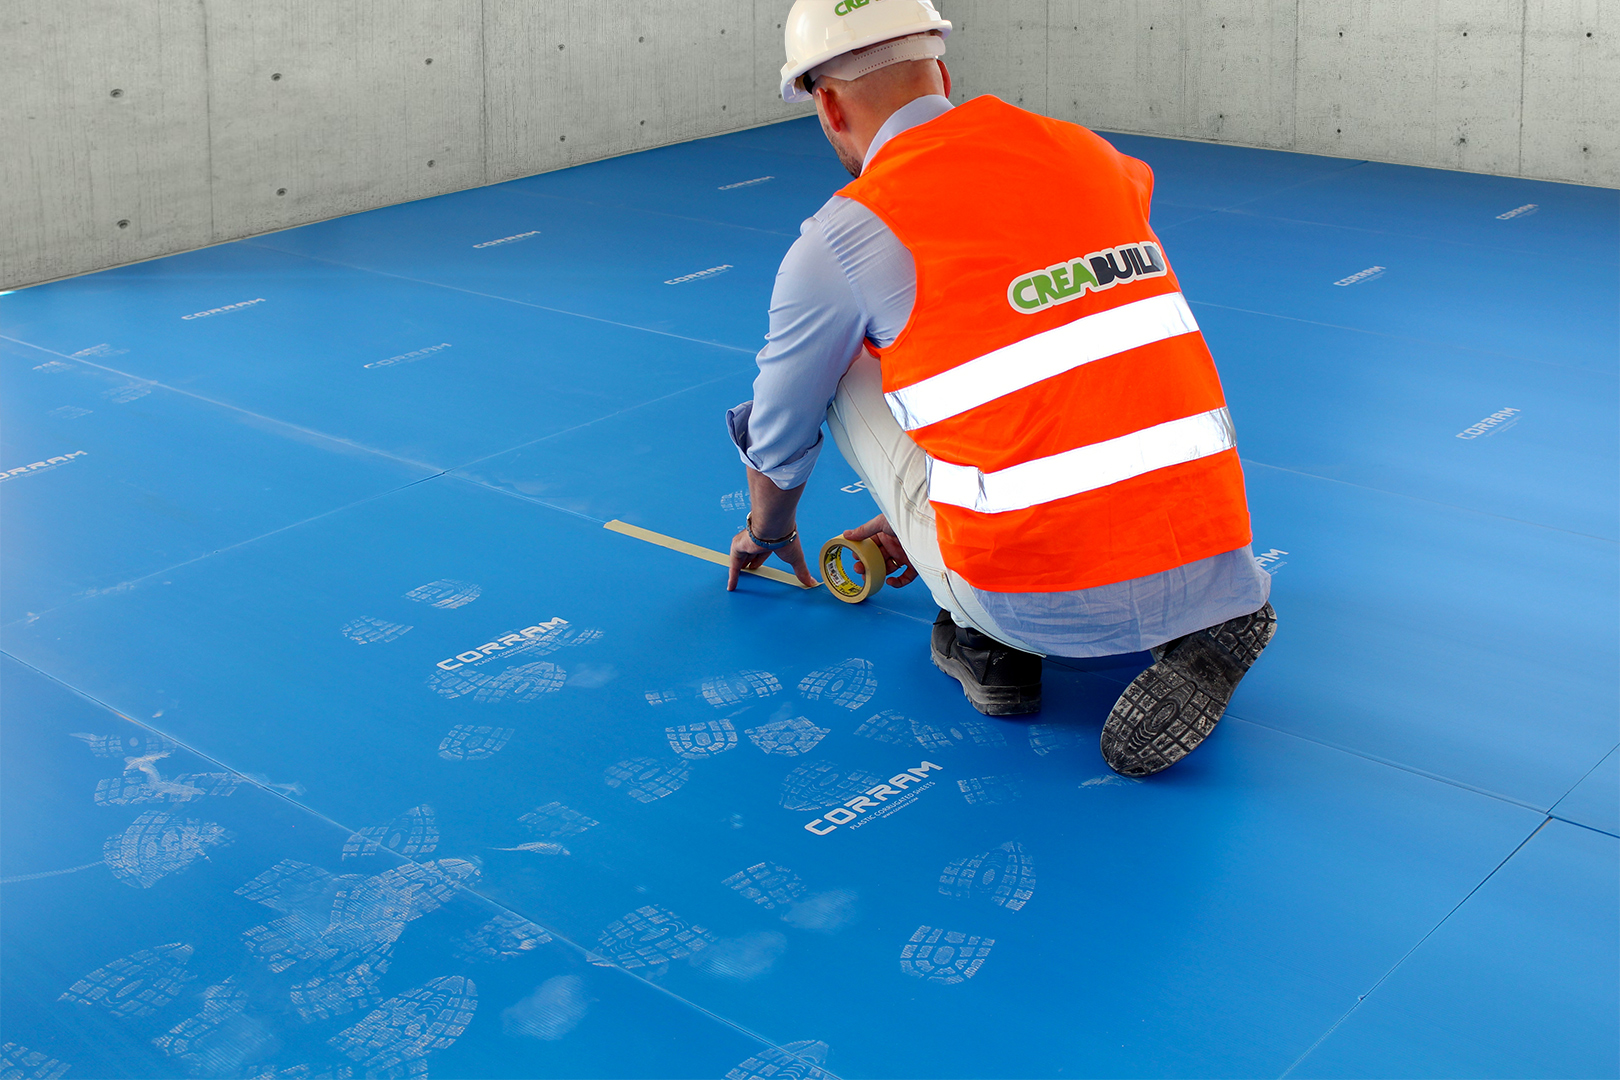
Painting a large kitchen table can get a bit messy, so it's important to protect your floor from any spills or drips. Lay down a drop cloth or plastic sheeting to catch any paint that may fall. It's also a good idea to tape off the edges of the table to prevent paint from getting on the legs or any other areas you don't want to be painted.Protecting the Floor


Protecting the Floor

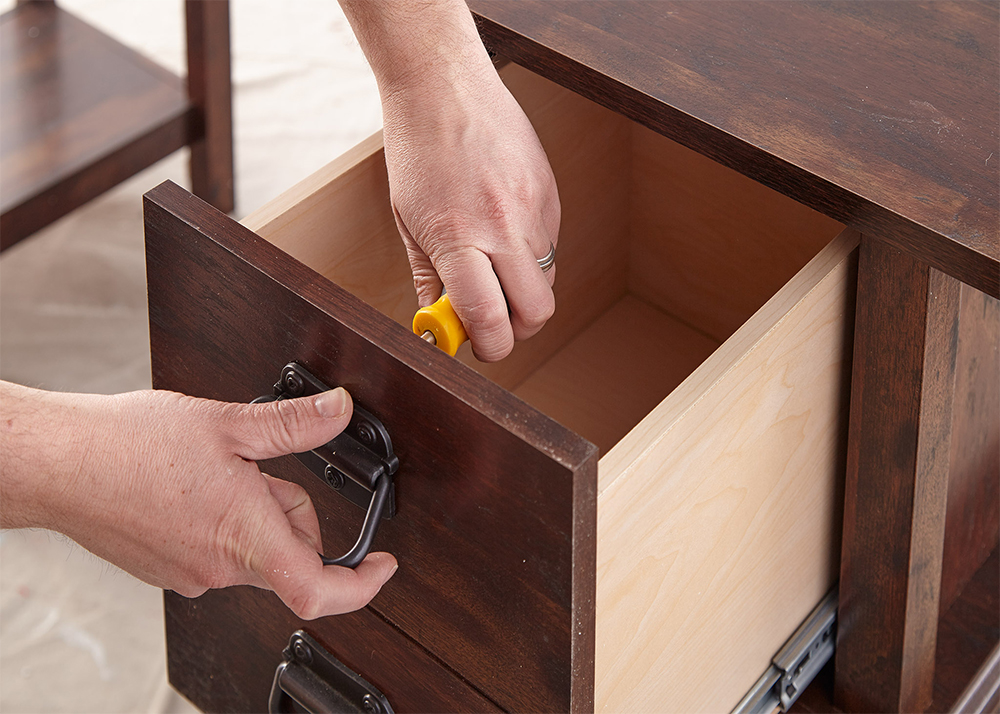
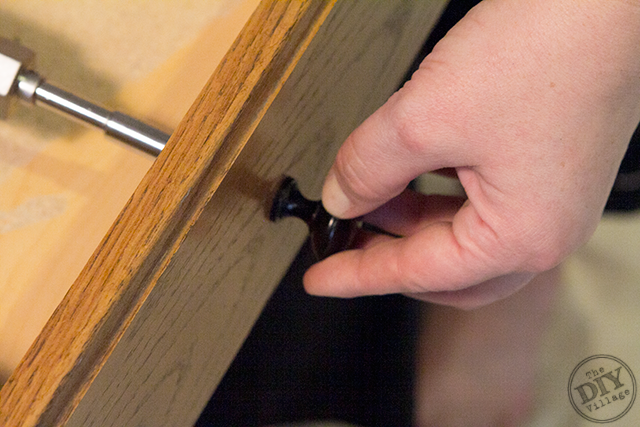
If your kitchen table has any hardware, such as handles or knobs, it's best to remove them before painting. This will not only make the painting process easier, but it will also prevent the hardware from getting damaged or covered in paint. If you can't remove the hardware, cover it with painter's tape to protect it.Removing Hardware


Removing Hardware
:max_bytes(150000):strip_icc()/73477529-56a6d9c85f9b58b7d0e51c08.jpg)


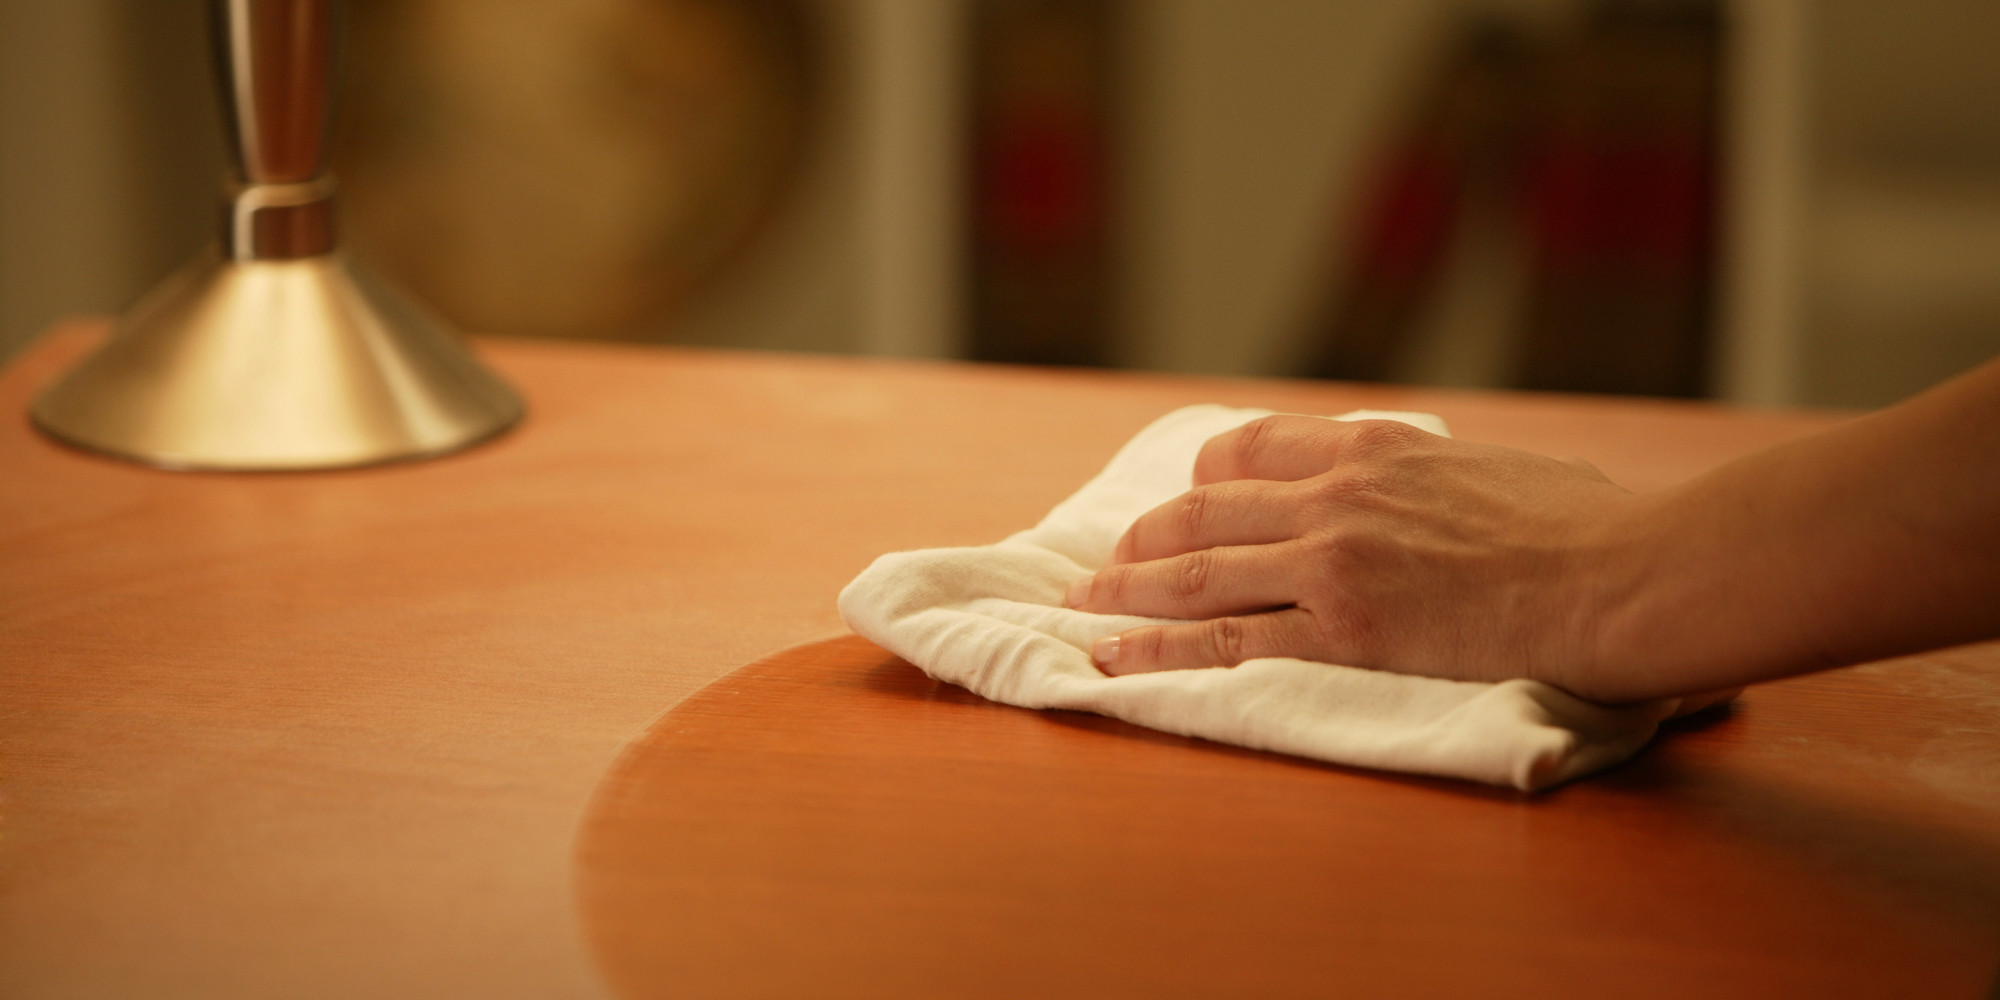
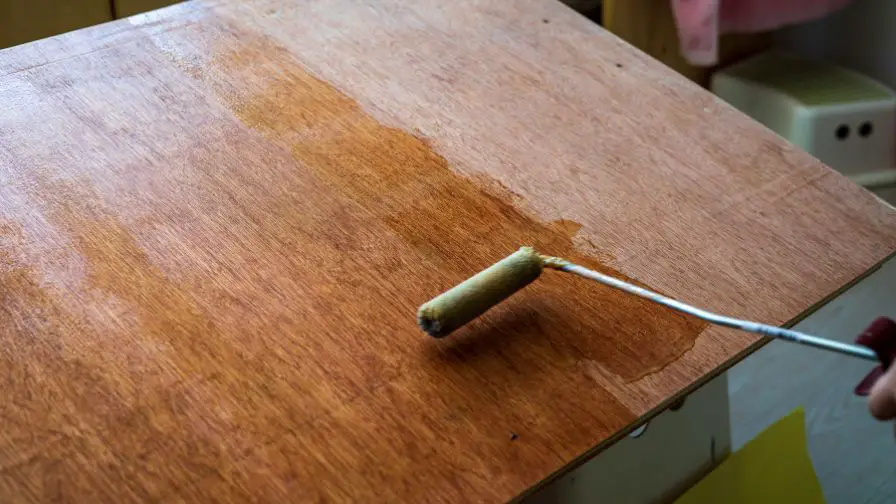
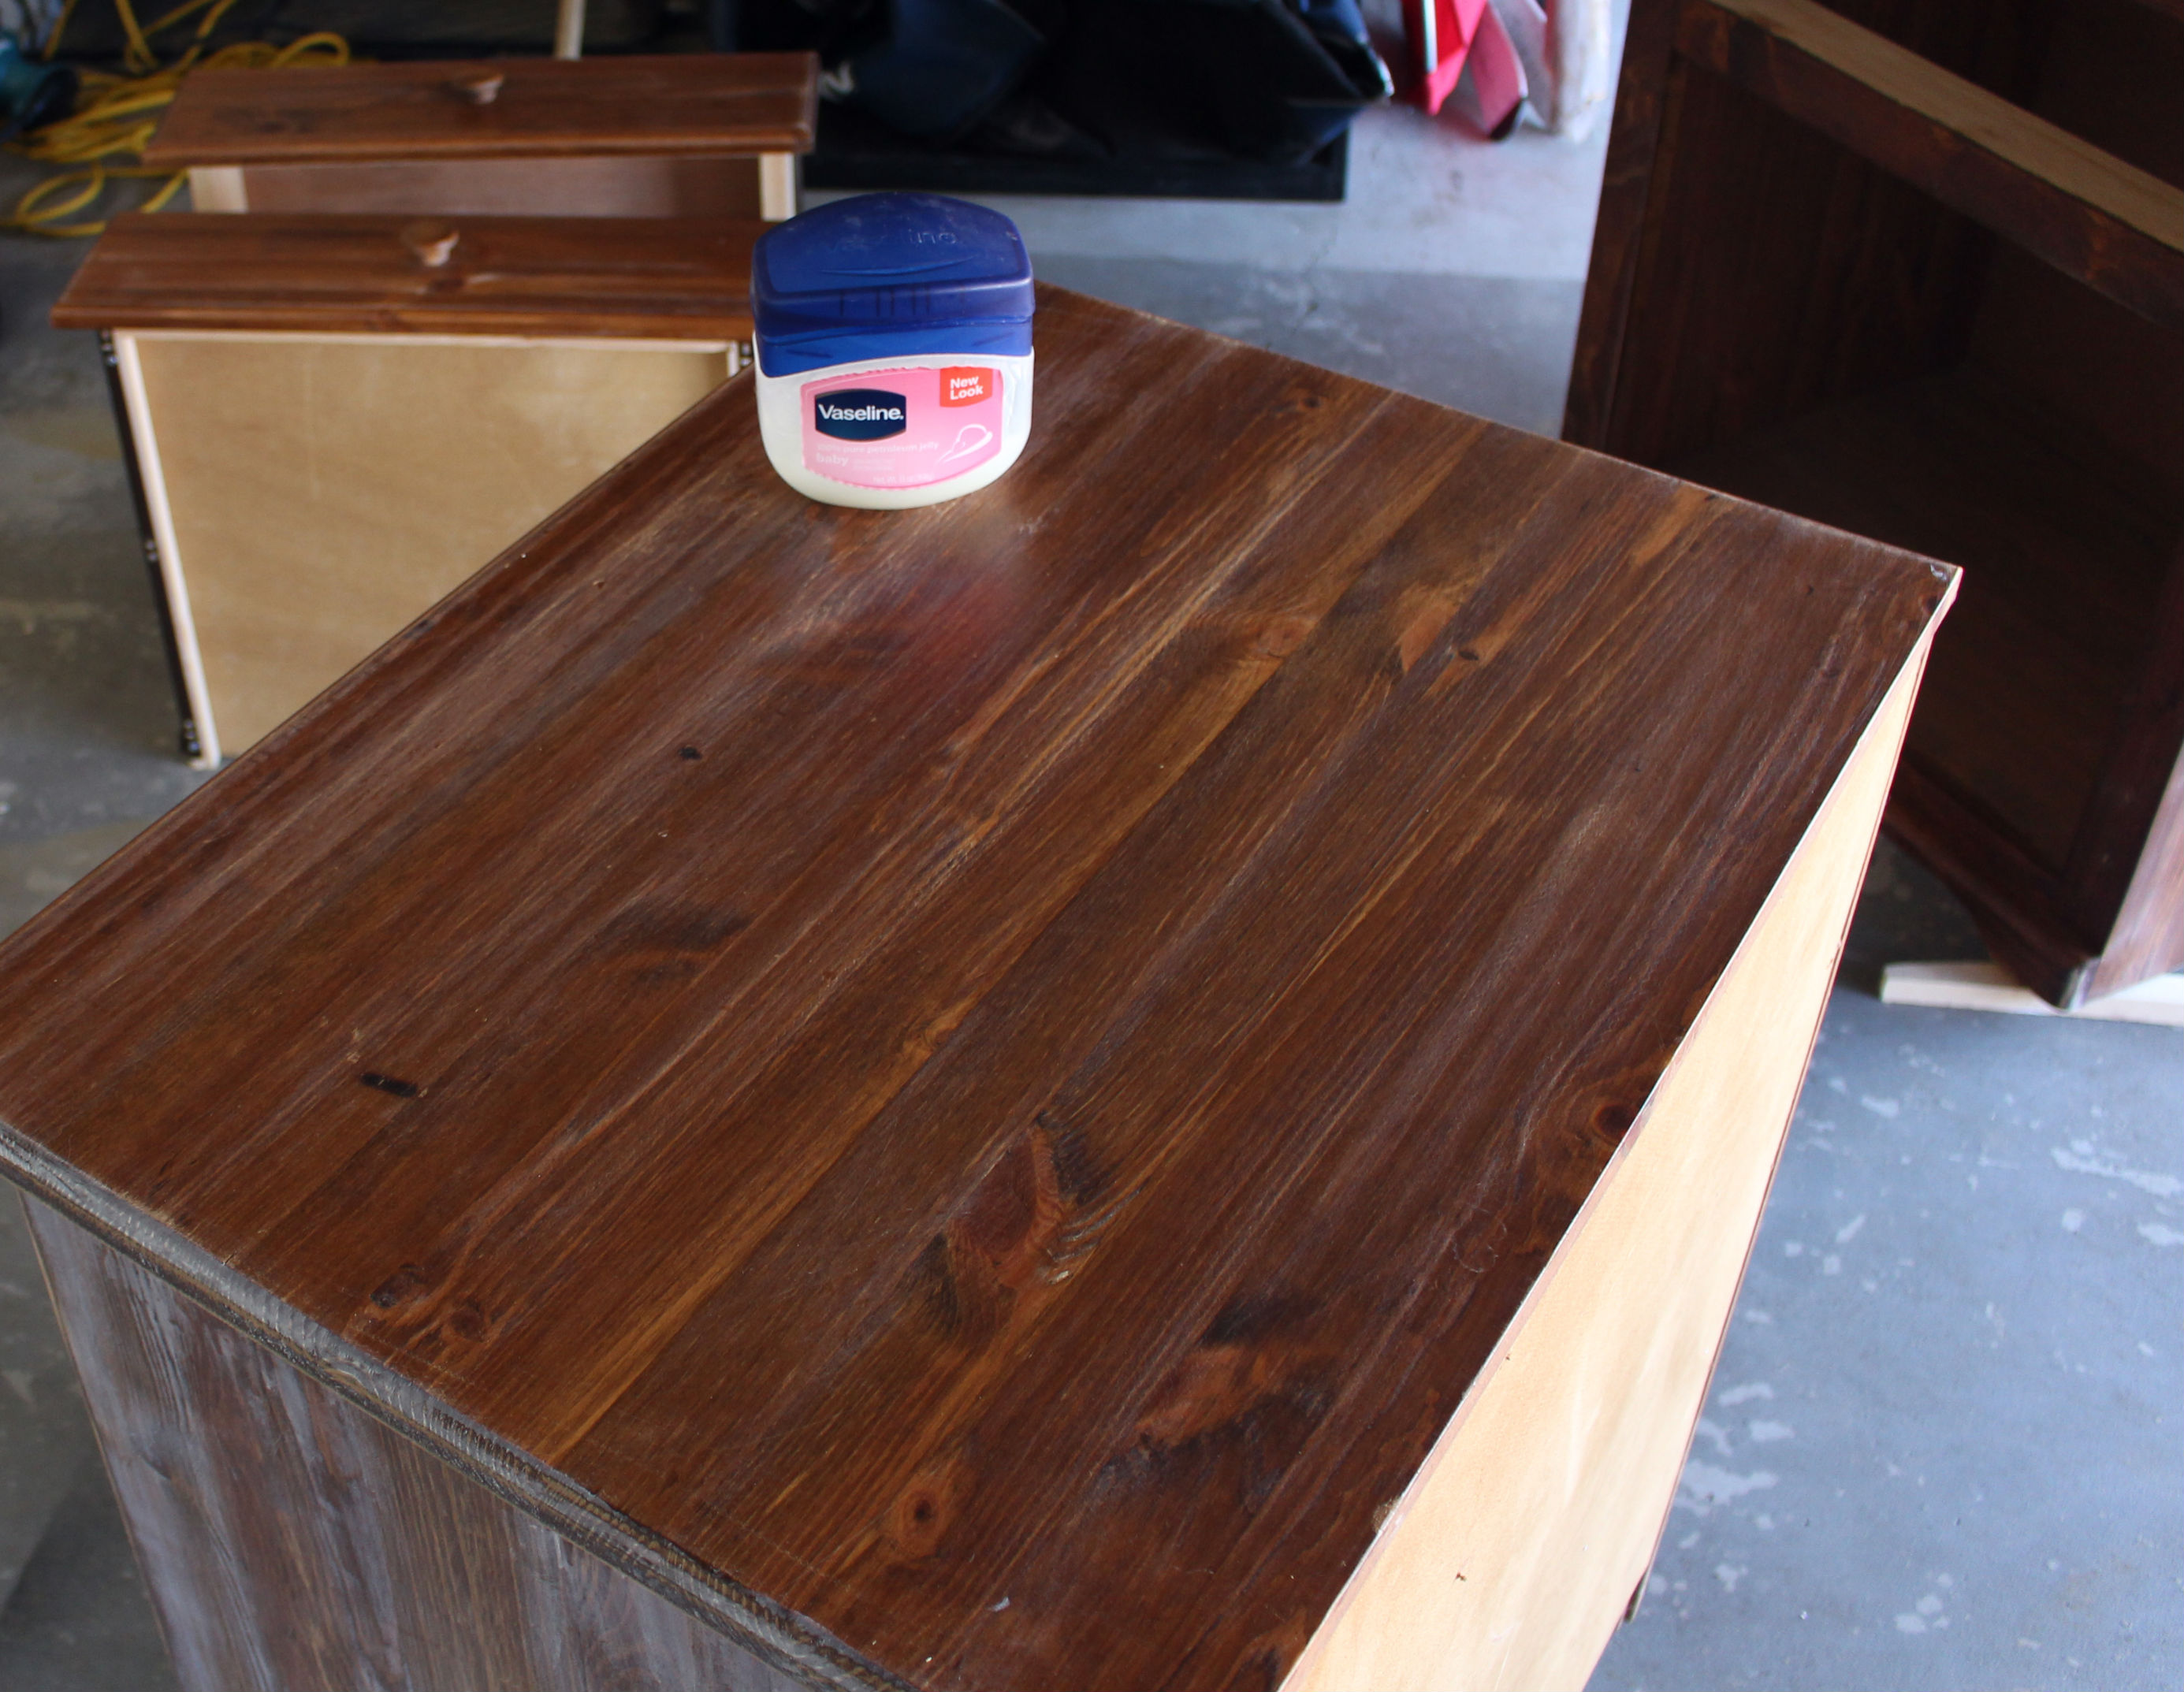
Sanding the table will help create a smooth and even surface for the paint to adhere to. Use a fine-grit sandpaper to lightly sand the entire table, including the edges and any intricate details. This will also help remove any remaining residue or rough spots. After sanding, wipe down the table again with a damp cloth to remove any dust.Sanding the Table


Sanding the Table


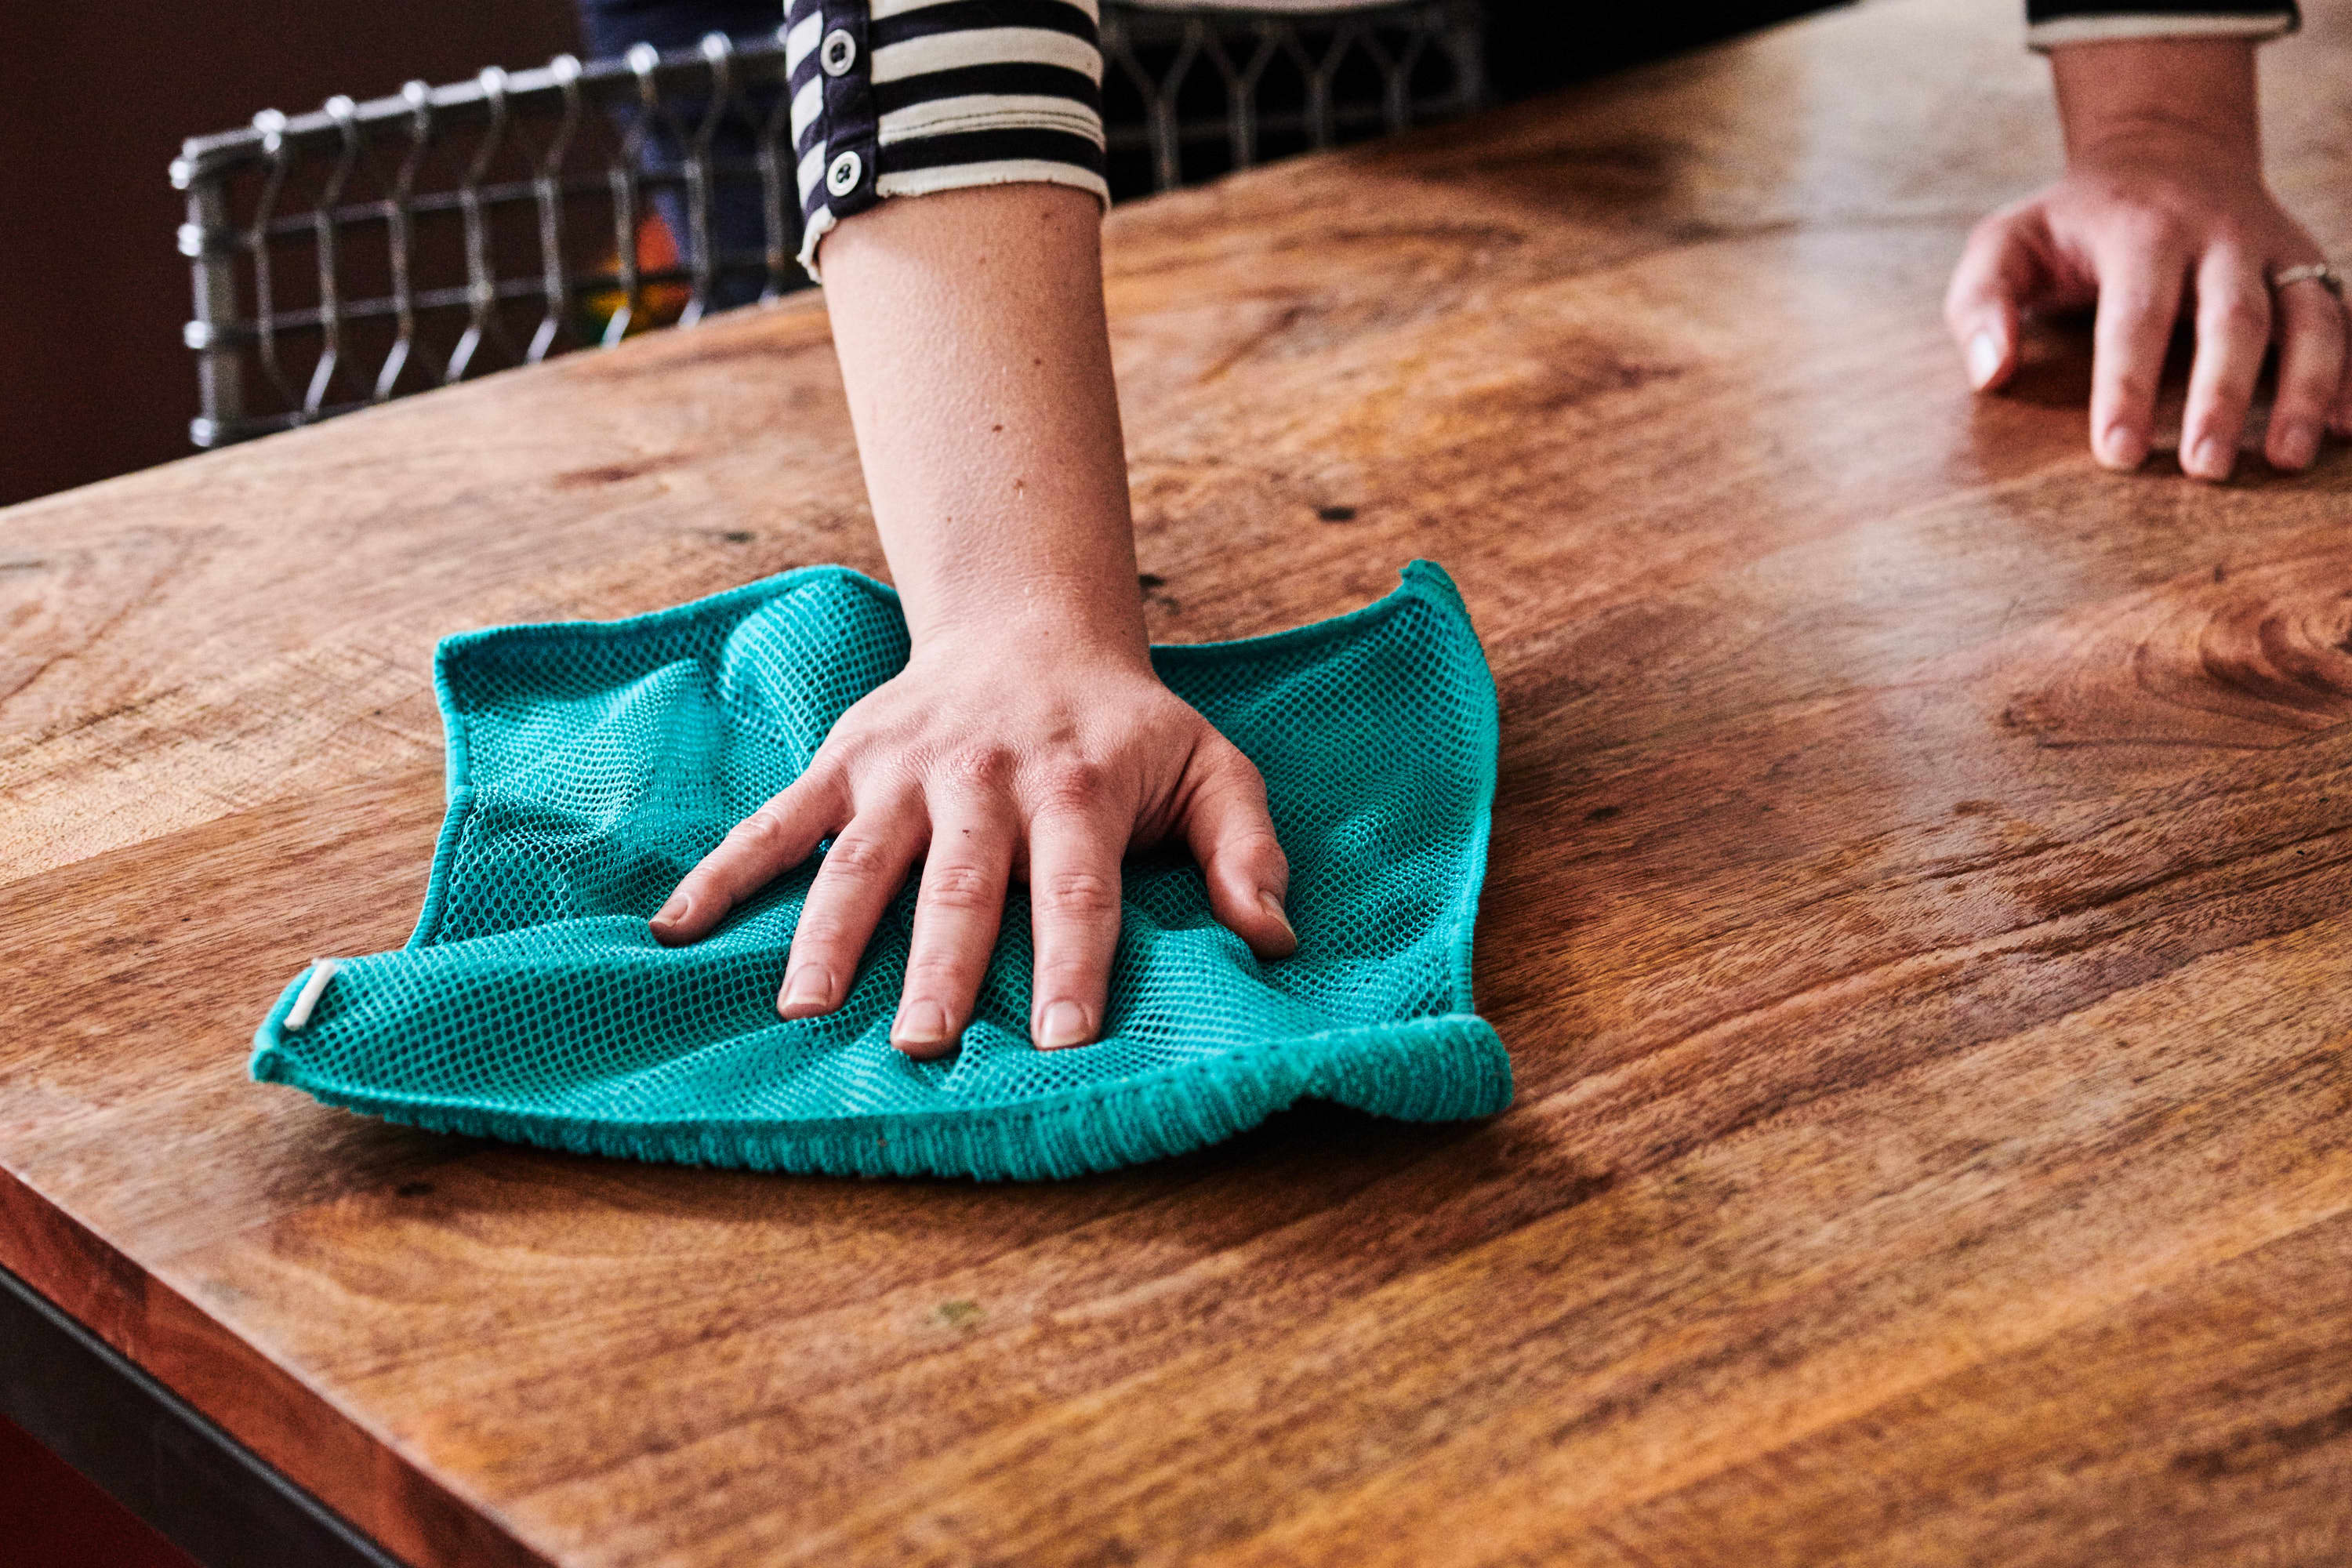
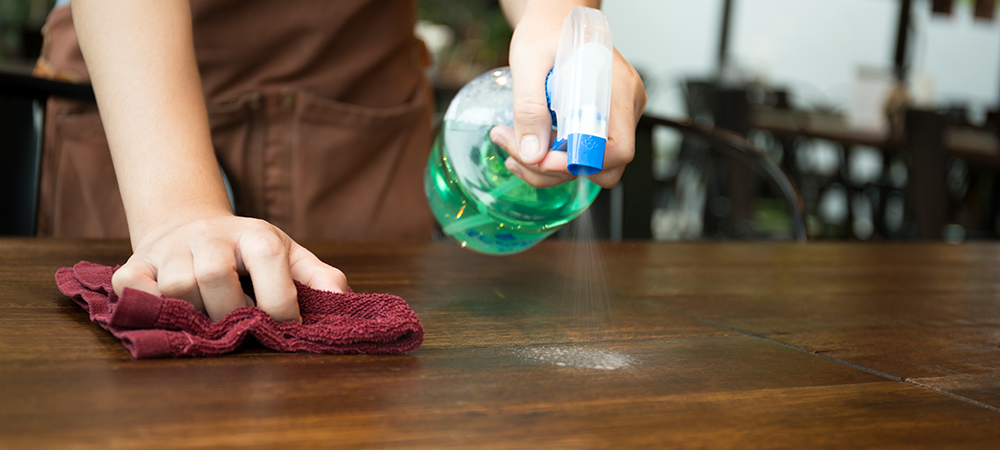
Before you start painting, it's important to make sure the table is clean and free of any dust or debris. Use a cleaner specifically designed for pre-painting prep, such as TSP or Simple Green, to thoroughly clean the table. This will help remove any remaining dirt, grease, or wax that may prevent the paint from adhering.Cleaning the Table


Cleaning the Table


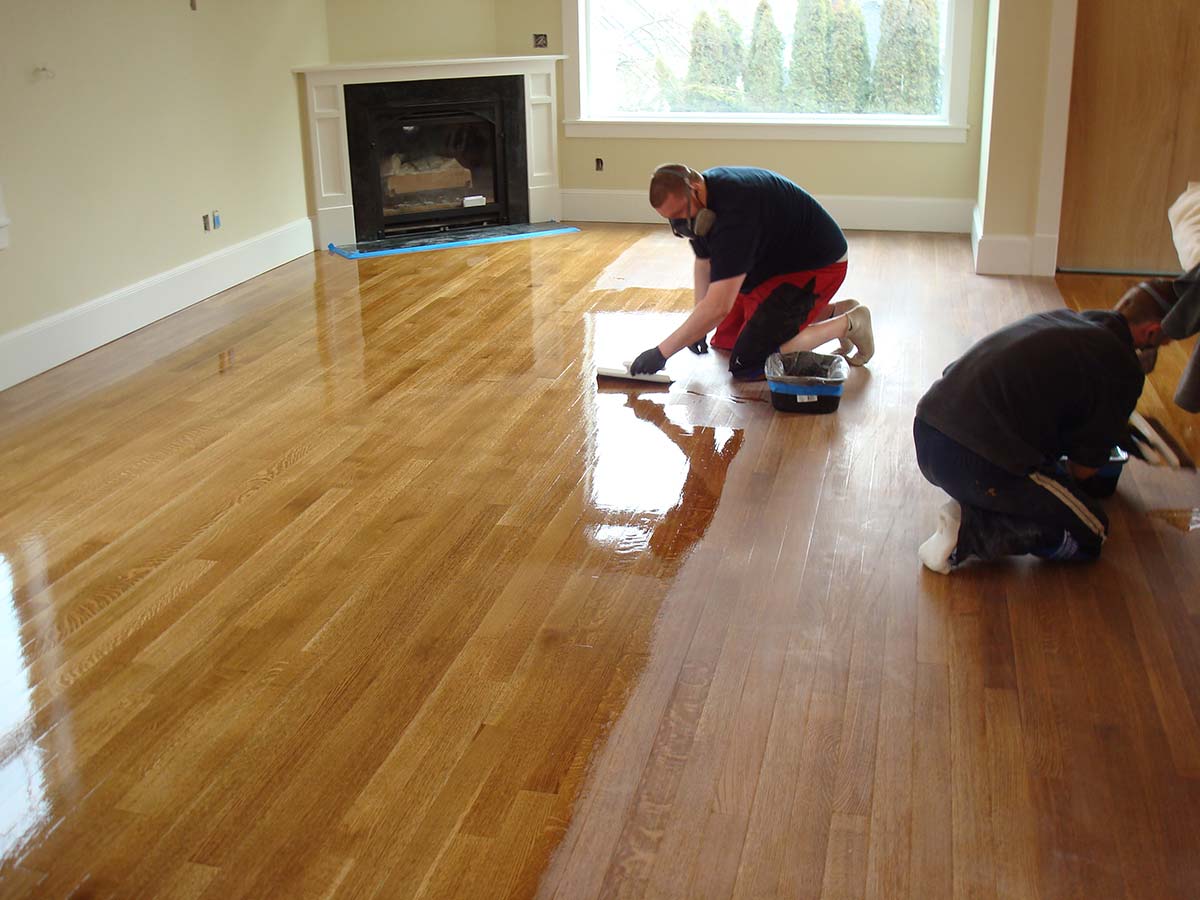
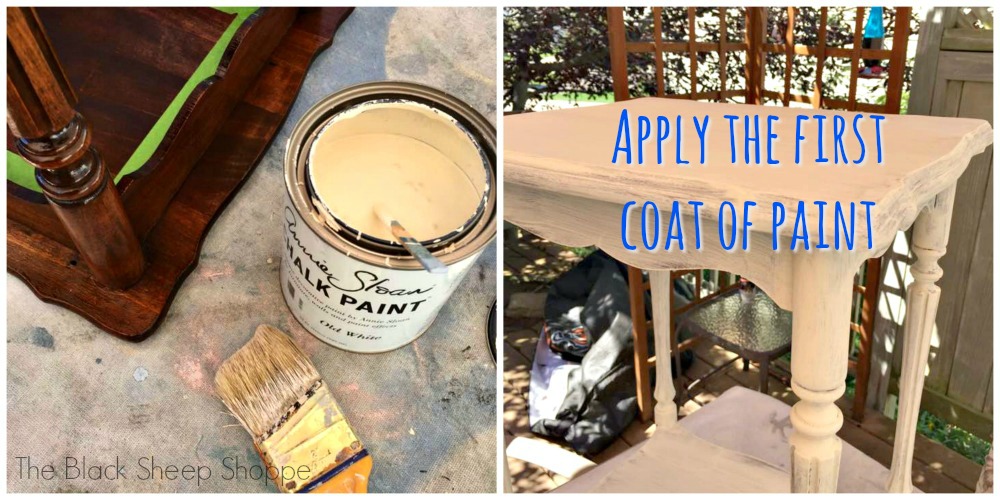
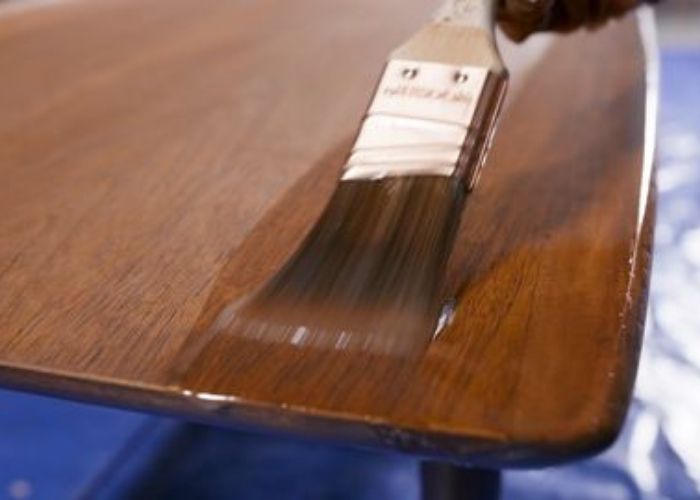
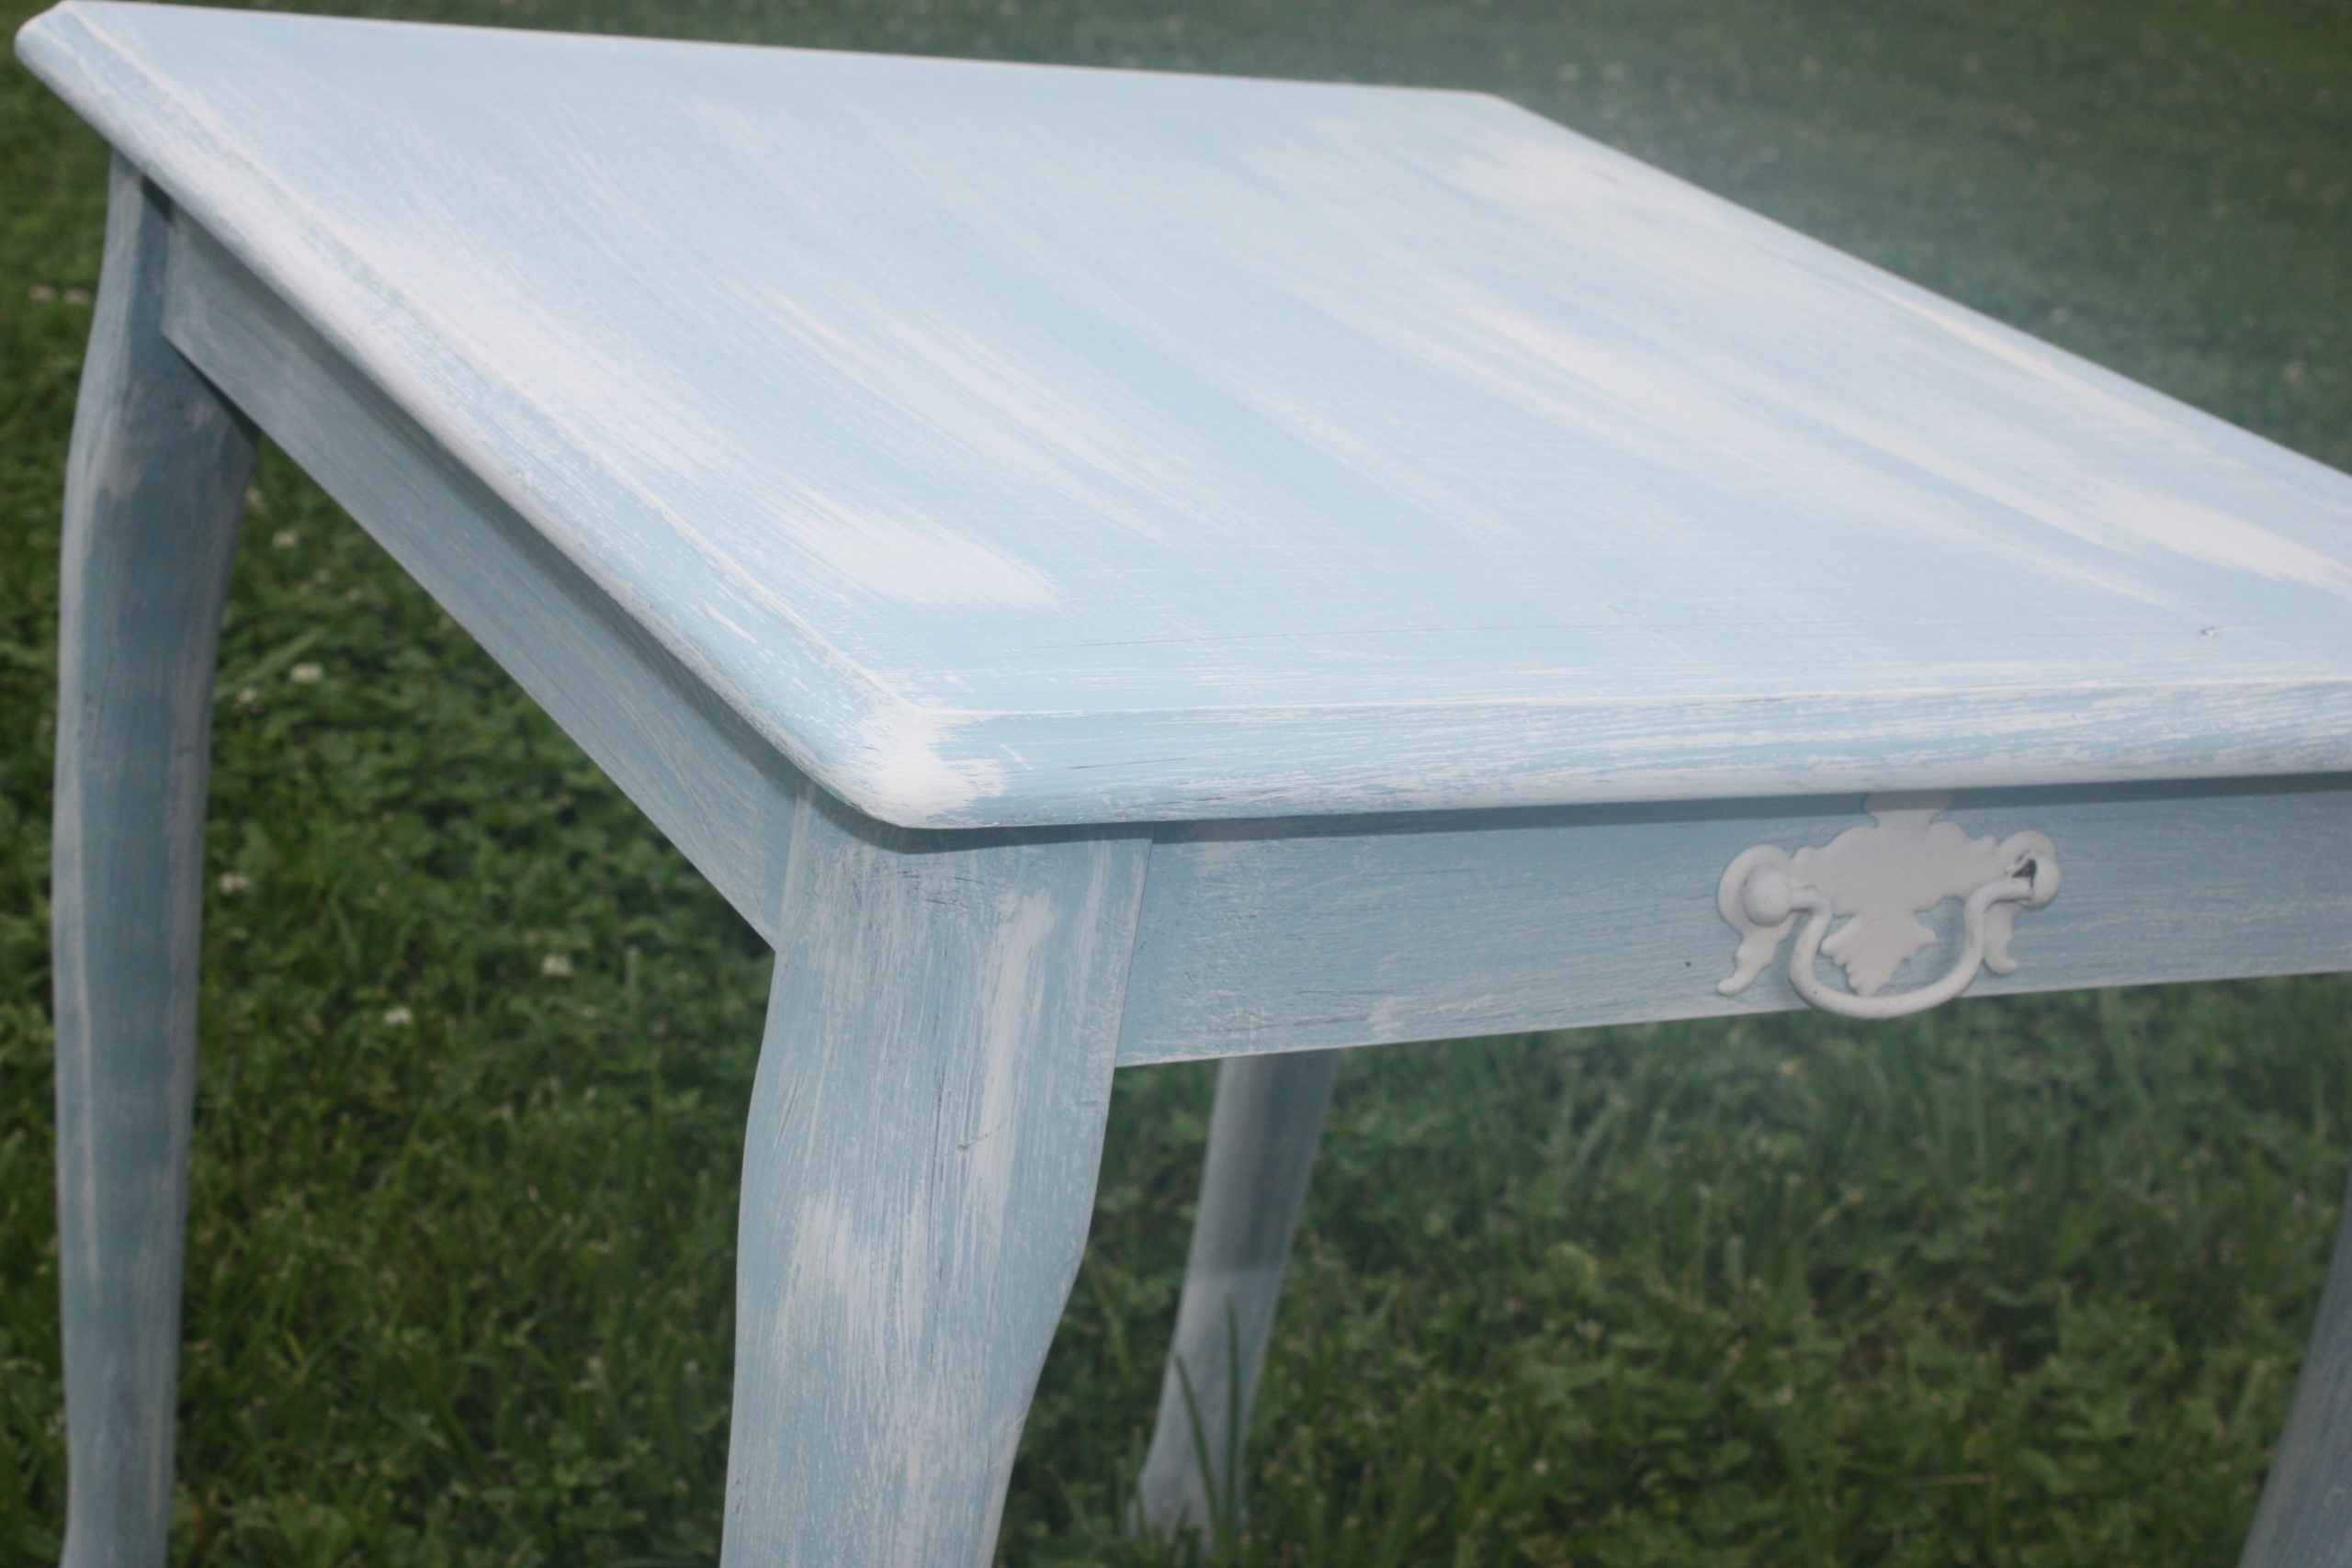
Now it's time to start painting! Begin by using a high-quality brush or foam roller to apply the first coat of chalk paint to the table. Start at one end and work your way across, making sure to cover the entire surface. Don't worry about getting full coverage on the first coat, as you will be applying a second coat later. Let the first coat dry completely before moving on to the next step.Applying the First Coat


Applying the First Coat


:max_bytes(150000):strip_icc()/priming-the-wall-white-590104098-57caf4eb3df78c71b6488458.jpg)


After the first coat has dried, it's time to apply the second coat of paint. This will help ensure a smooth and even finish. Use the same technique as before, starting at one end and working your way across. You should notice that the second coat provides better coverage and creates a more opaque finish. Let the second coat dry completely before moving on to the next step.Applying the Second Coat


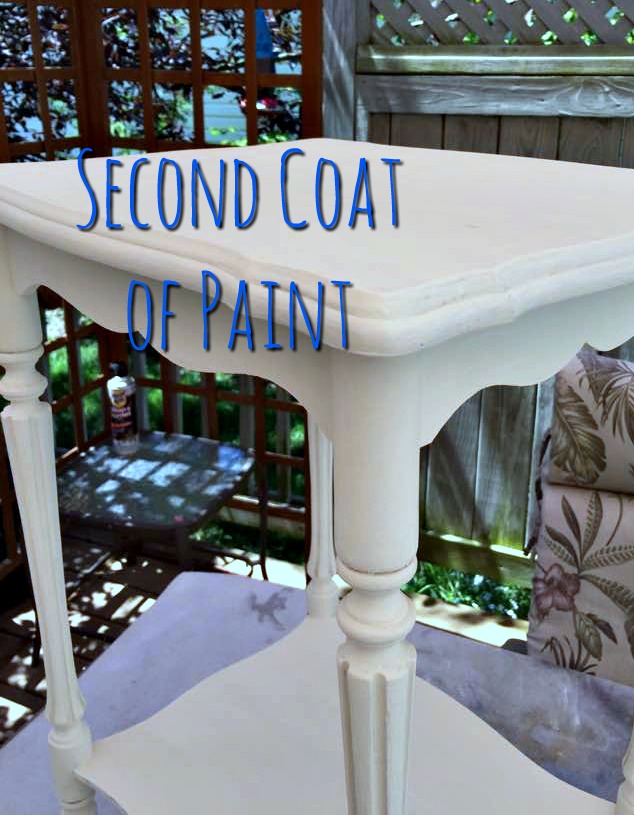
Applying the Second Coat


For a more rustic or shabby chic look, you can choose to distress your kitchen table after the paint has dried. This involves sanding down certain areas of the table, such as the edges and corners, to reveal some of the wood underneath. Use a fine-grit sandpaper and lightly sand in a back and forth motion until you achieve the desired look.Distressing the Table


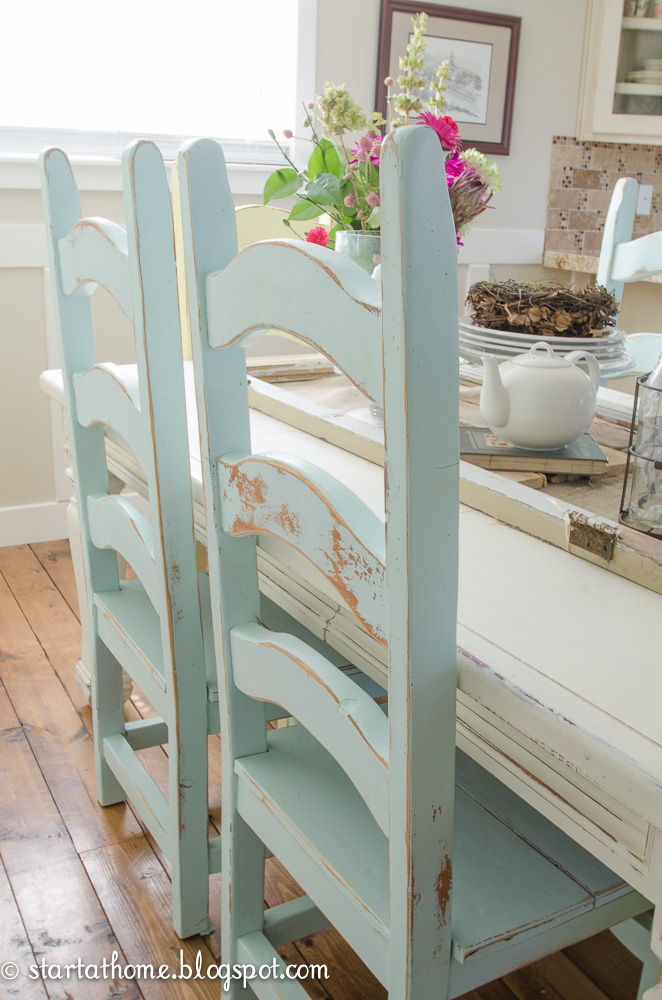
Distressing the Table
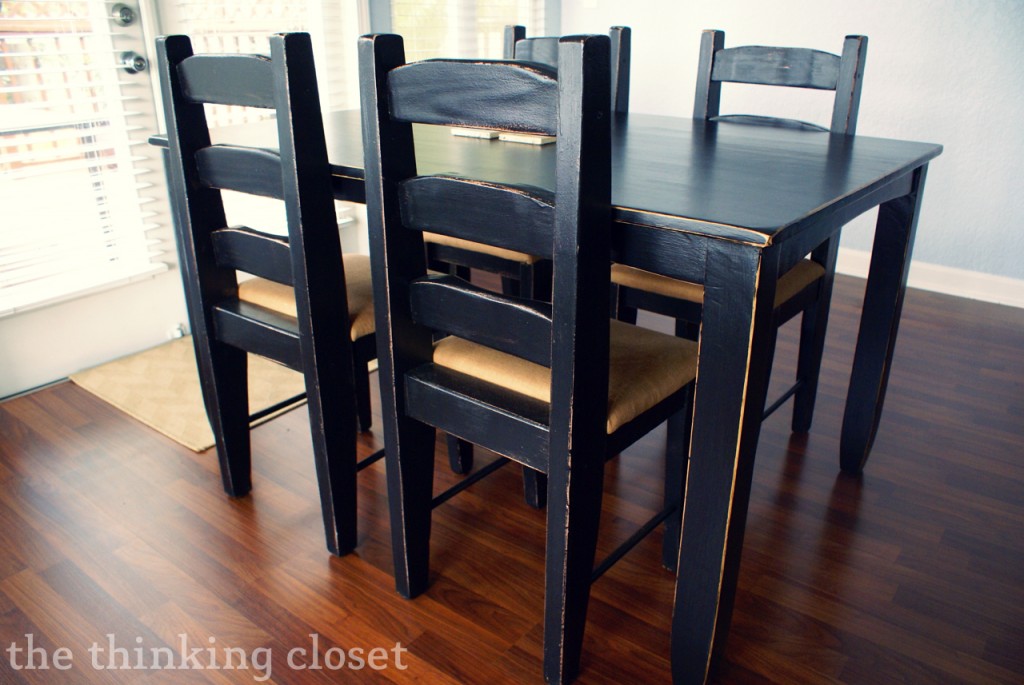


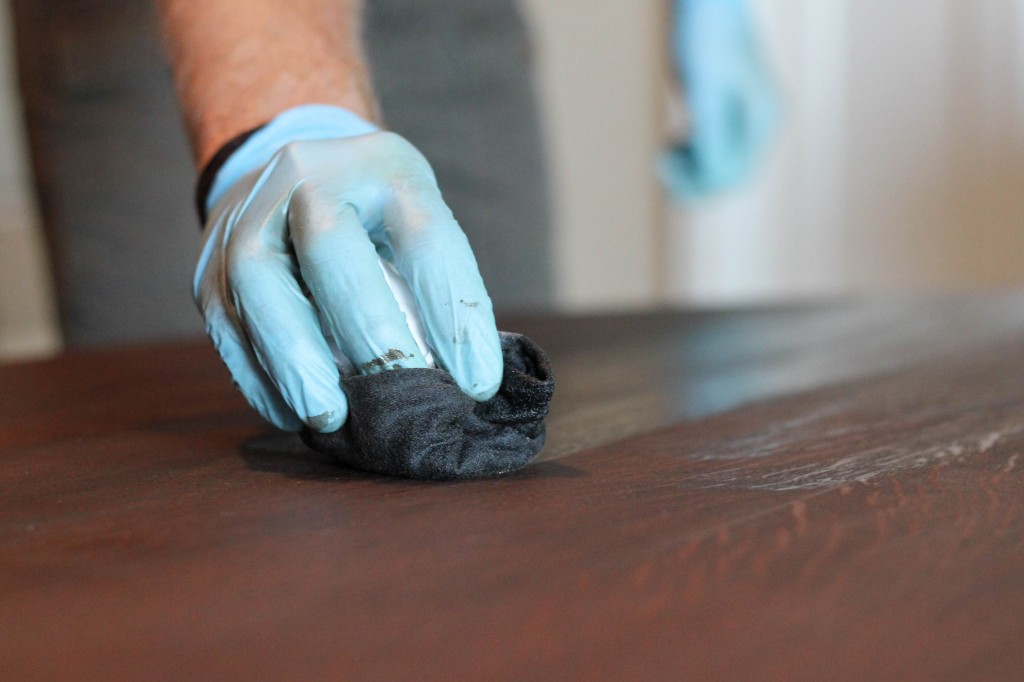
Once the paint has fully dried and you are happy with the overall look of your kitchen table, it's time to seal it to protect the paint from wear and tear. You can use a clear wax or a polyurethane sealer to seal the table. Apply a thin coat using a clean cloth or brush, making sure to cover the entire surface. Let the sealer dry completely before using the table.Sealing the Table


Sealing the Table


Why Choose Chalk Paint for Your Kitchen Table?

Benefits of Using Chalk Paint for Kitchen Tables
 When it comes to painting a large kitchen table, there are many options to choose from. However, one of the most popular and versatile choices is using chalk paint. This type of paint has gained popularity in recent years due to its unique properties and numerous benefits.
Easy Application:
Chalk paint is known for its easy application process, making it a great choice for DIY projects. Unlike traditional paint, there is no need for sanding or priming before applying chalk paint. This saves time and effort, especially when painting a large surface like a kitchen table.
Excellent Coverage:
Chalk paint has excellent coverage, which means fewer coats are needed to achieve a smooth and even finish. This is especially helpful when painting a large kitchen table, as it can be a tedious and time-consuming task. With chalk paint, you can achieve a professional look with just one or two coats.
Wide Range of Colors:
Chalk paint comes in a wide range of colors, allowing you to choose the perfect shade for your kitchen table. Whether you want a bold and vibrant look or a more subtle and neutral tone, there is a chalk paint color to suit every style and taste.
Durable and Long-Lasting:
One of the main reasons why chalk paint is a popular choice for furniture is its durability. Once it has cured, chalk paint creates a hard and durable finish that can withstand everyday wear and tear. This is especially important for a kitchen table, which is used frequently and experiences a lot of spills and scratches.
When it comes to painting a large kitchen table, there are many options to choose from. However, one of the most popular and versatile choices is using chalk paint. This type of paint has gained popularity in recent years due to its unique properties and numerous benefits.
Easy Application:
Chalk paint is known for its easy application process, making it a great choice for DIY projects. Unlike traditional paint, there is no need for sanding or priming before applying chalk paint. This saves time and effort, especially when painting a large surface like a kitchen table.
Excellent Coverage:
Chalk paint has excellent coverage, which means fewer coats are needed to achieve a smooth and even finish. This is especially helpful when painting a large kitchen table, as it can be a tedious and time-consuming task. With chalk paint, you can achieve a professional look with just one or two coats.
Wide Range of Colors:
Chalk paint comes in a wide range of colors, allowing you to choose the perfect shade for your kitchen table. Whether you want a bold and vibrant look or a more subtle and neutral tone, there is a chalk paint color to suit every style and taste.
Durable and Long-Lasting:
One of the main reasons why chalk paint is a popular choice for furniture is its durability. Once it has cured, chalk paint creates a hard and durable finish that can withstand everyday wear and tear. This is especially important for a kitchen table, which is used frequently and experiences a lot of spills and scratches.
How to Paint a Large Kitchen Table with Chalk Paint
 Now that you know the benefits of using chalk paint for your kitchen table, here are some simple steps to guide you through the process:
Step 1:
Prepare the surface by cleaning and wiping down the table with a damp cloth. Make sure to remove any dirt, dust, or grease that may affect the paint's adhesion.
Step 2:
Remove any hardware or accessories from the table, such as knobs or handles.
Step 3:
Give the chalk paint a good stir to ensure the color is evenly distributed.
Step 4:
Using a paintbrush or roller, apply the first coat of chalk paint in long, even strokes. Make sure to cover the entire surface, including the edges and legs.
Step 5:
Let the first coat dry completely, then apply a second coat for better coverage and durability.
Step 6:
Once the second coat has dried, you can distress the table if desired by lightly sanding the edges and corners with sandpaper.
Step 7:
Optional: Seal the paint with a clear wax or polyurethane for added protection and a smoother finish.
With these simple steps, you can transform your old and worn kitchen table into a beautiful and durable piece of furniture using chalk paint. So why wait? Give your kitchen a fresh new look and enjoy the many benefits of using chalk paint for your large kitchen table.
Now that you know the benefits of using chalk paint for your kitchen table, here are some simple steps to guide you through the process:
Step 1:
Prepare the surface by cleaning and wiping down the table with a damp cloth. Make sure to remove any dirt, dust, or grease that may affect the paint's adhesion.
Step 2:
Remove any hardware or accessories from the table, such as knobs or handles.
Step 3:
Give the chalk paint a good stir to ensure the color is evenly distributed.
Step 4:
Using a paintbrush or roller, apply the first coat of chalk paint in long, even strokes. Make sure to cover the entire surface, including the edges and legs.
Step 5:
Let the first coat dry completely, then apply a second coat for better coverage and durability.
Step 6:
Once the second coat has dried, you can distress the table if desired by lightly sanding the edges and corners with sandpaper.
Step 7:
Optional: Seal the paint with a clear wax or polyurethane for added protection and a smoother finish.
With these simple steps, you can transform your old and worn kitchen table into a beautiful and durable piece of furniture using chalk paint. So why wait? Give your kitchen a fresh new look and enjoy the many benefits of using chalk paint for your large kitchen table.