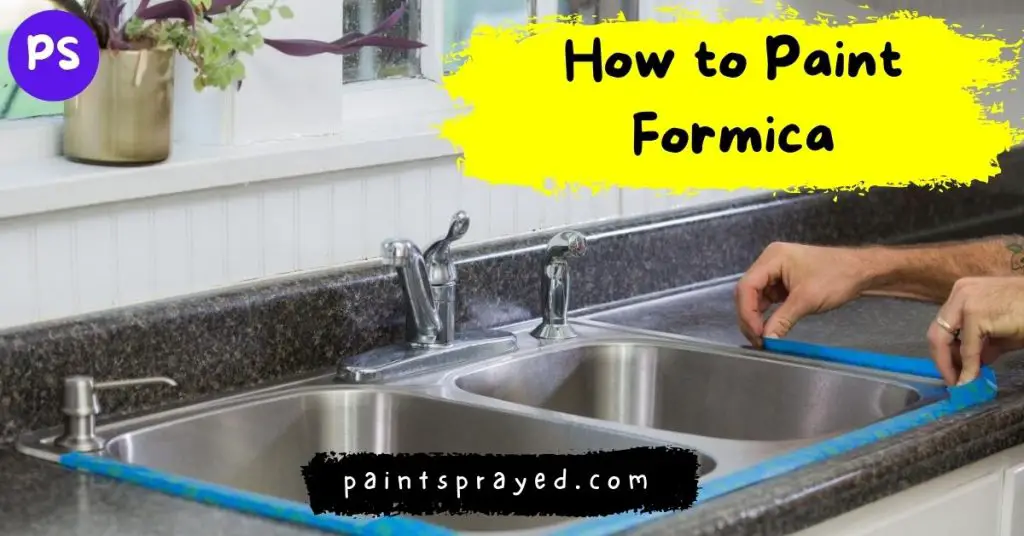
1. Preparing the Table
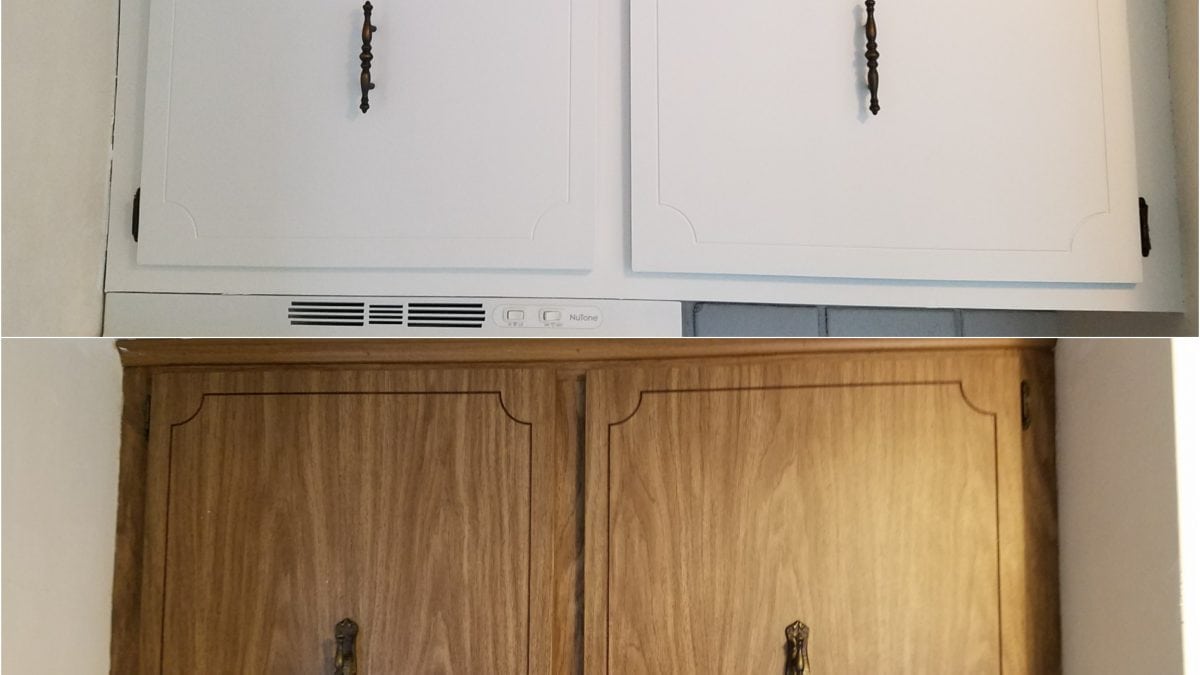
Before you begin painting your kitchen table, it's important to properly prepare the surface. This includes removing any items from the table and clearing the surrounding area for easy access. Use a drop cloth or old newspapers to protect your floors from any potential spills or drips.
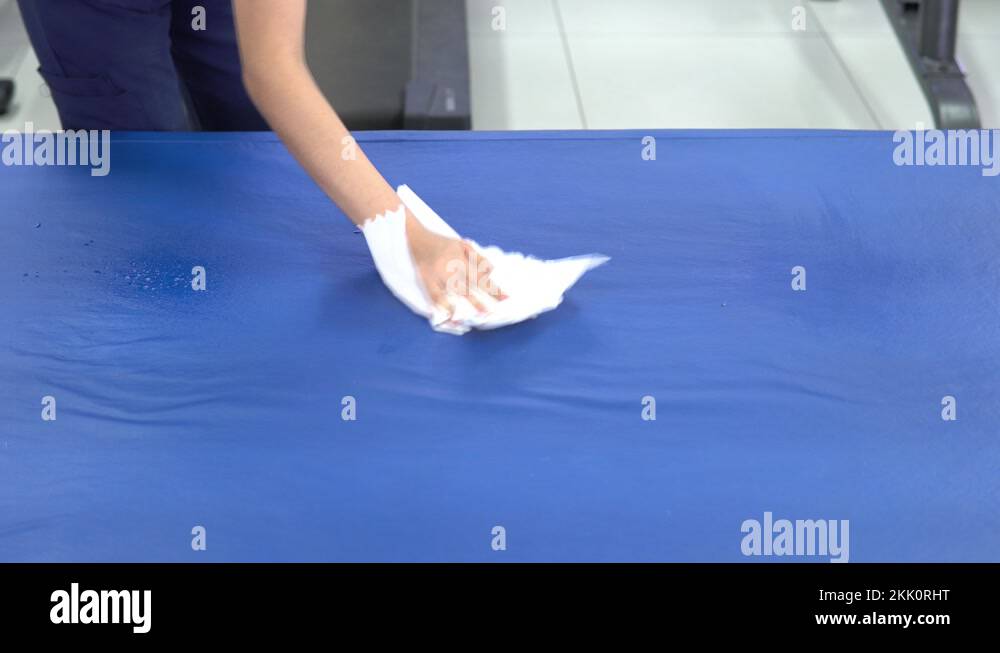
Next, make sure to thoroughly clean the table to remove any dirt, grease, or food residue. This will ensure that the paint adheres properly to the surface. You can use a mild cleaner or a mixture of water and vinegar to wipe down the table.


1. Preparing the Table


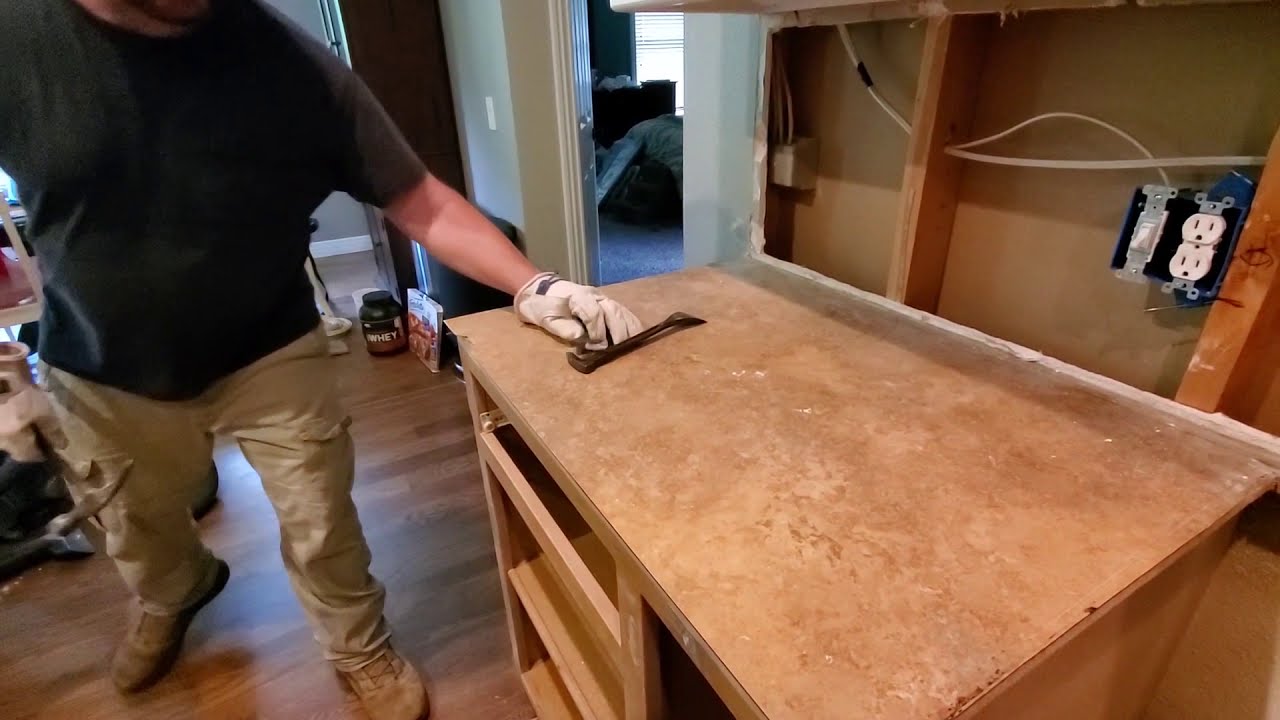
2. Sanding the Formica Surface
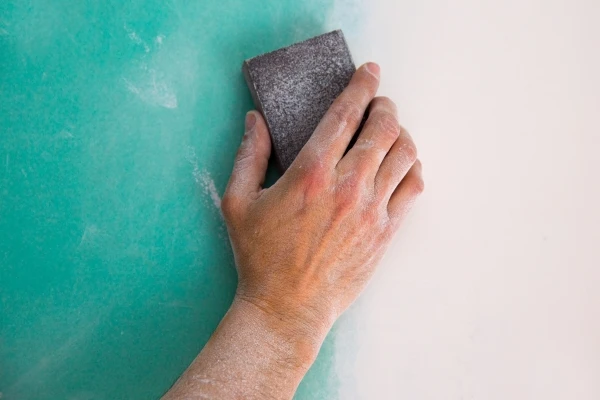
Formica is a smooth, durable material that can be difficult for paint to adhere to. To create a rougher surface for the paint to stick to, you will need to sand the table. Use a fine-grit sandpaper and gently sand the entire surface of the table. This will help the primer and paint to bond better with the Formica.
After sanding, be sure to wipe down the table again to remove any dust or debris. This will ensure a smooth and even finish.


2. Sanding the Formica Surface


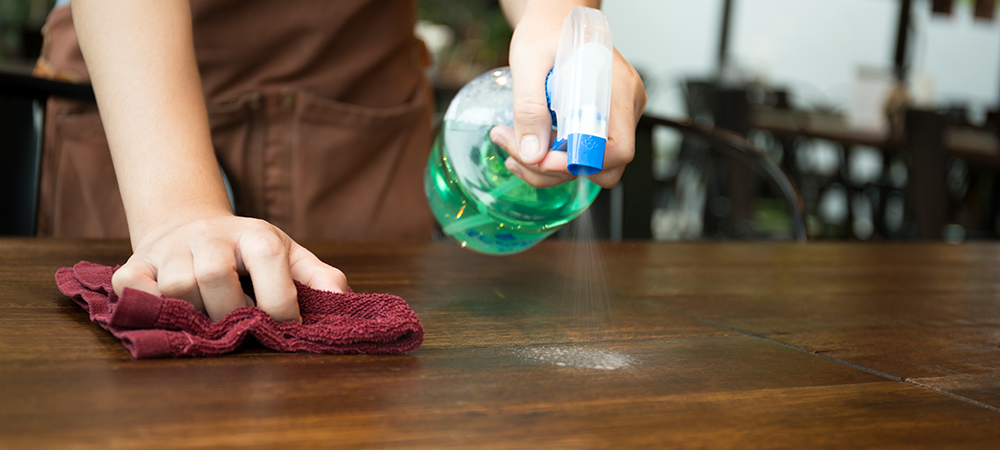
3. Cleaning the Table
Now that the table has been sanded, it's important to clean it once again before moving on to the next step. This will ensure that the surface is completely free of any dust or residue that could affect the paint's finish. Use a damp cloth to wipe down the entire table and let it dry completely before moving on.


3. Cleaning the Table


4. Priming the Table
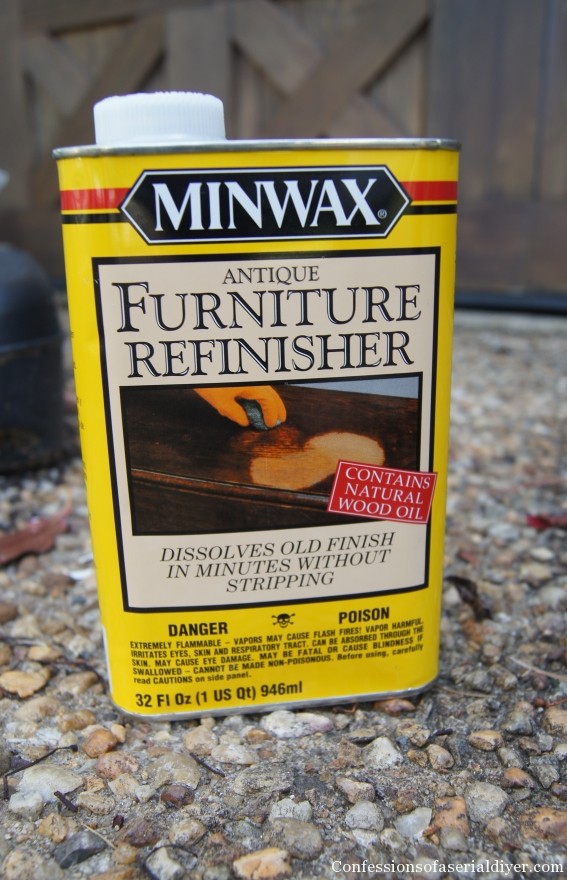
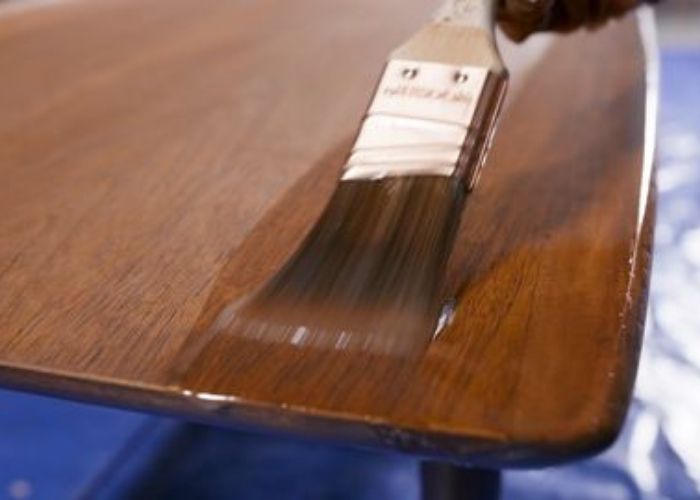
Priming is an essential step when painting a kitchen table with a Formica top. It helps the paint to adhere better to the surface and also provides a smoother finish. Use a high-quality primer that is specifically designed for use on slick surfaces like Formica.
Apply the primer evenly with a brush or roller, following the manufacturer's instructions. Let the primer dry completely before moving on to the next step.


4. Priming the Table


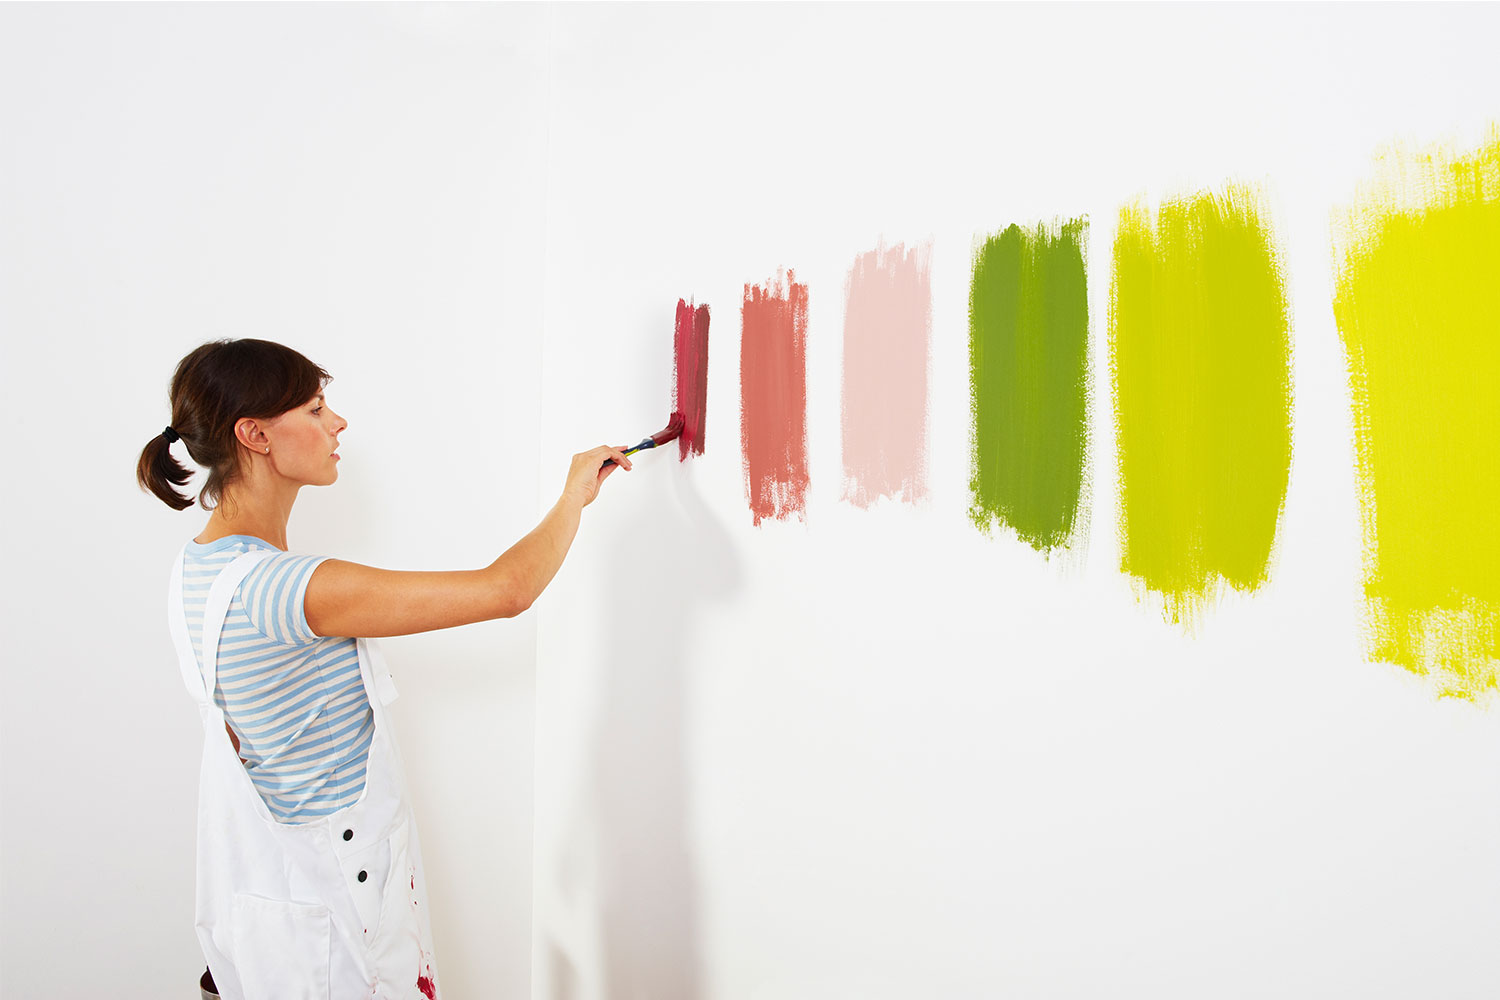
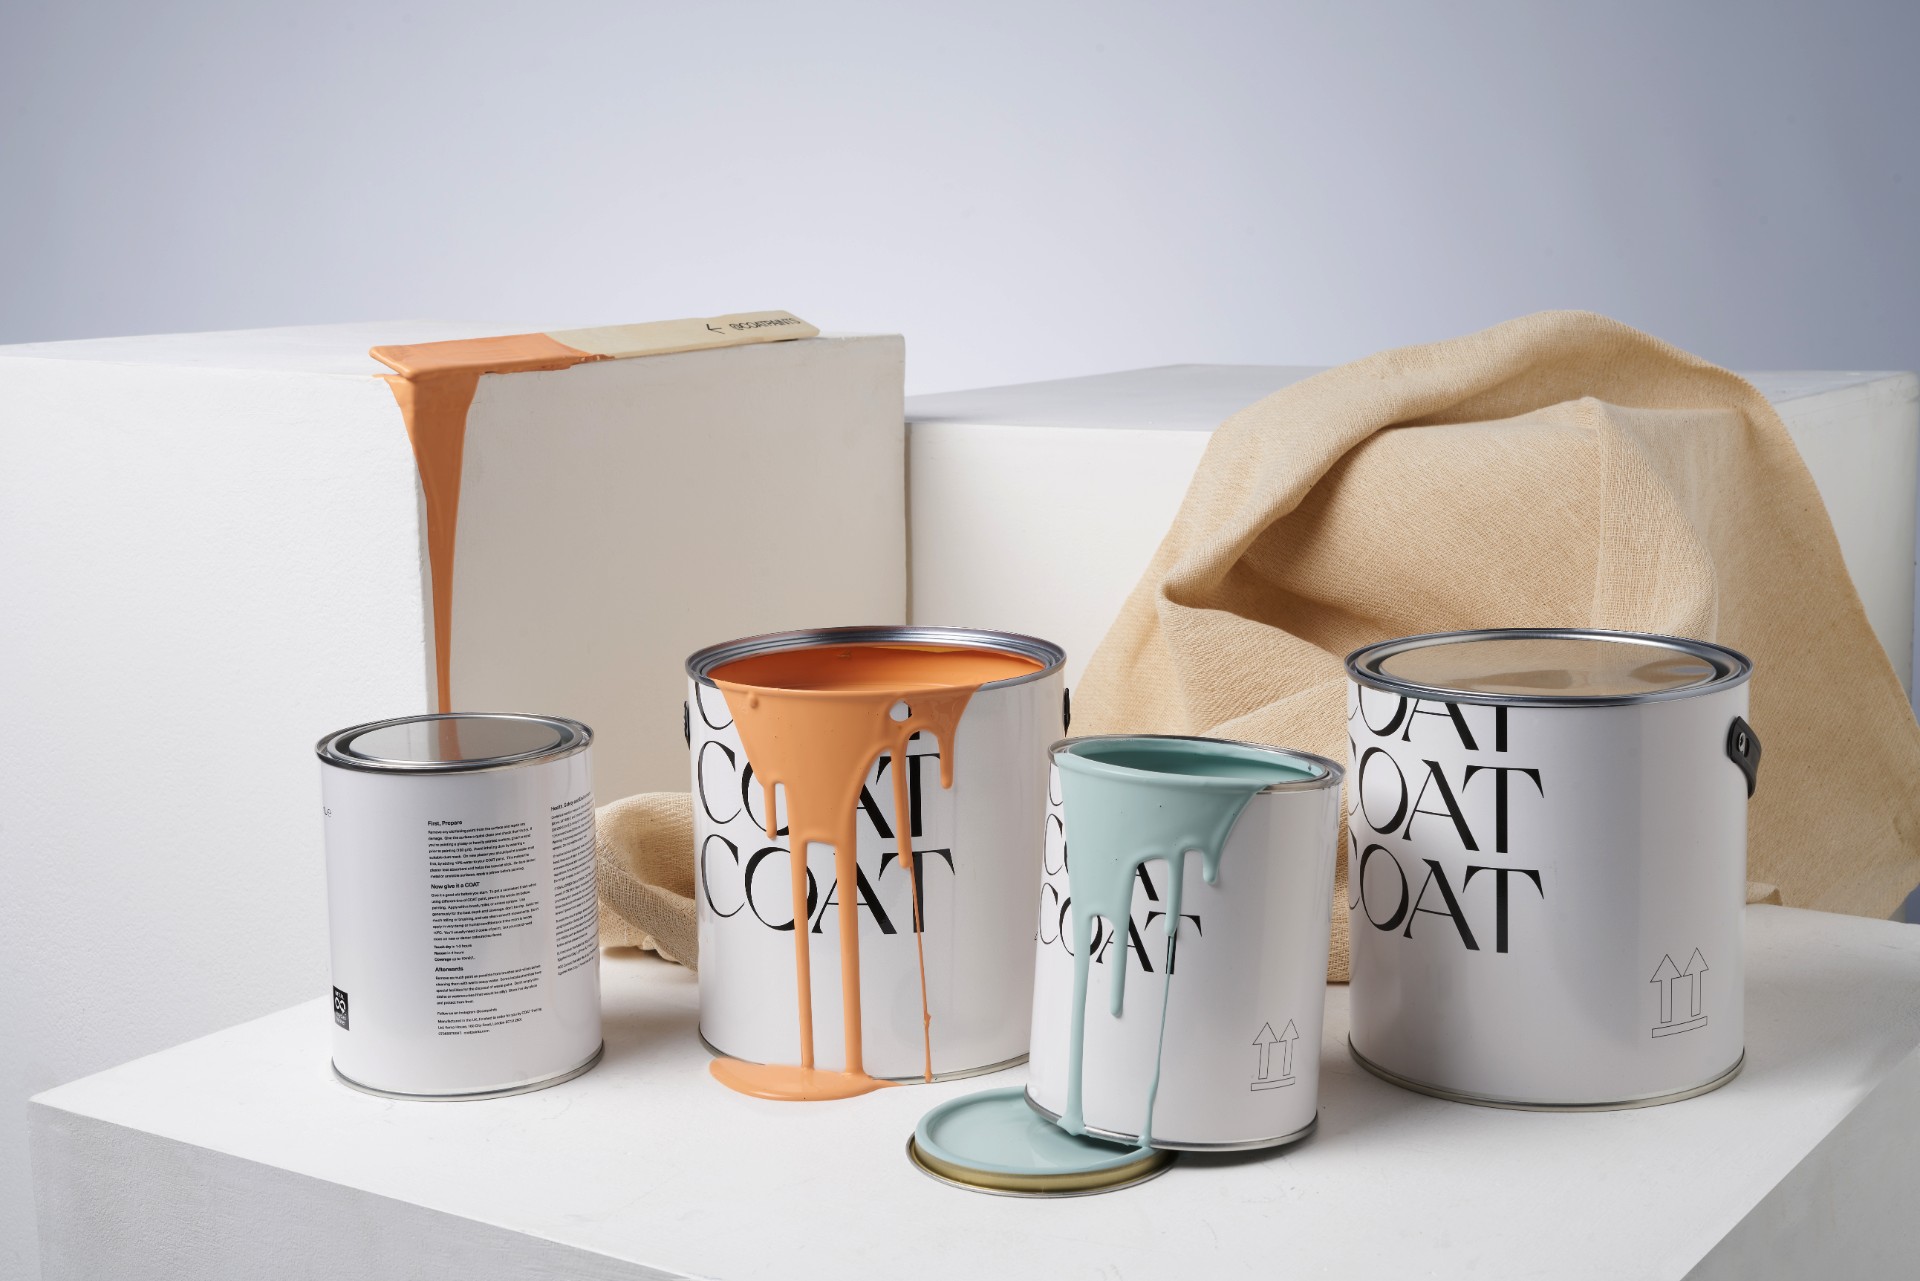
5. Choosing the Right Paint
When it comes to painting a kitchen table with a Formica top, it's important to choose the right type of paint. Look for a high-quality, latex-based paint that is specifically designed for use on surfaces like Formica. This type of paint is durable and will provide a long-lasting finish.
You can also choose to use a chalk or milk paint for a more rustic or shabby chic look. Just be sure to follow the manufacturer's instructions for the best results.


5. Choosing the Right Paint


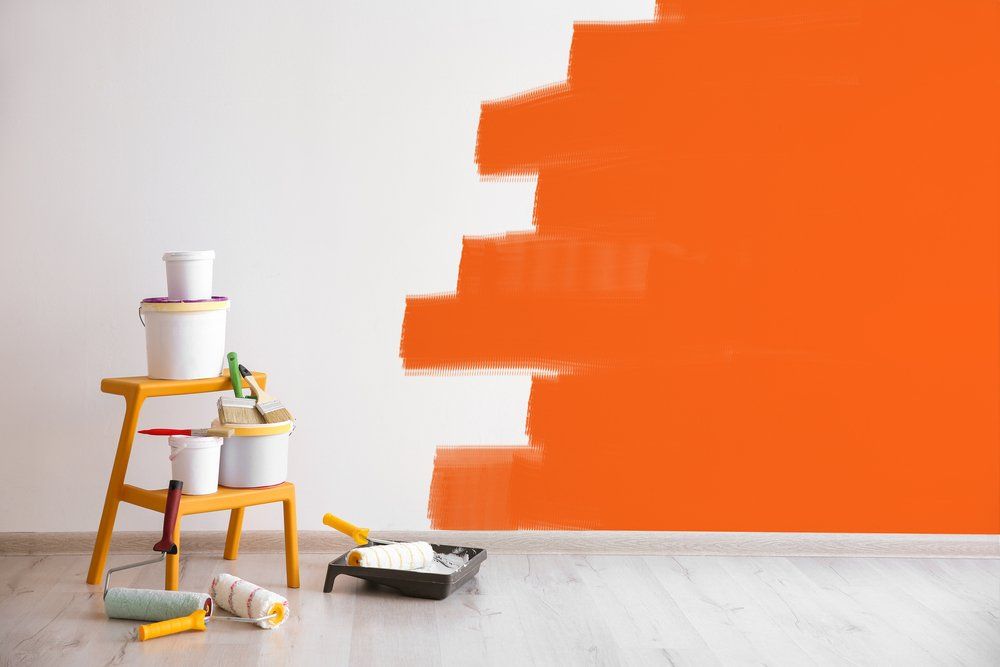


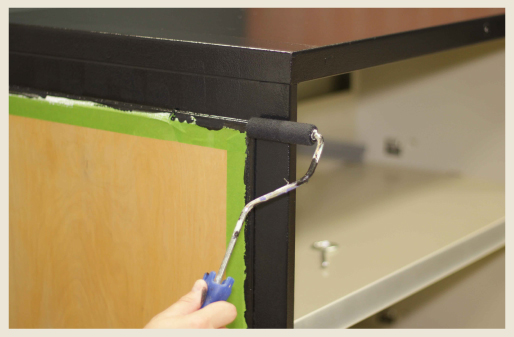
6. Applying the First Coat of Paint
Now it's time to start painting! Use a high-quality brush or roller to apply the first coat of paint evenly over the entire surface of the table. Be sure to follow the grain of the wood for a smooth finish.
If you're using a brush, you may need to go over the painted surface with a foam brush to smooth out any brush strokes. Let the first coat of paint dry completely before moving on to the next step.


6. Applying the First Coat of Paint


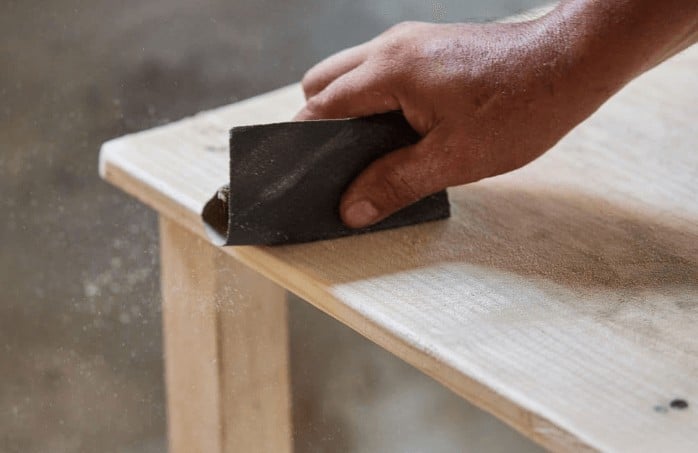
7. Sanding Between Coats
After the first coat of paint has dried, it's a good idea to lightly sand the surface with a fine-grit sandpaper. This will help to create a smoother finish and also ensure that the second coat of paint adheres properly.
Be sure to wipe down the table again after sanding to remove any dust or debris. This will ensure a clean surface for the second coat of paint.


7. Sanding Between Coats


8. Applying a Second Coat of Paint
Once the table has been sanded and wiped down, you can apply the second coat of paint. This will help to create a more even and opaque finish. Apply the paint in the same manner as the first coat, following the grain of the wood and using a foam brush to smooth out any brush strokes.
Let the second coat of paint dry completely before moving on to the next step.


8. Applying a Second Coat of Paint


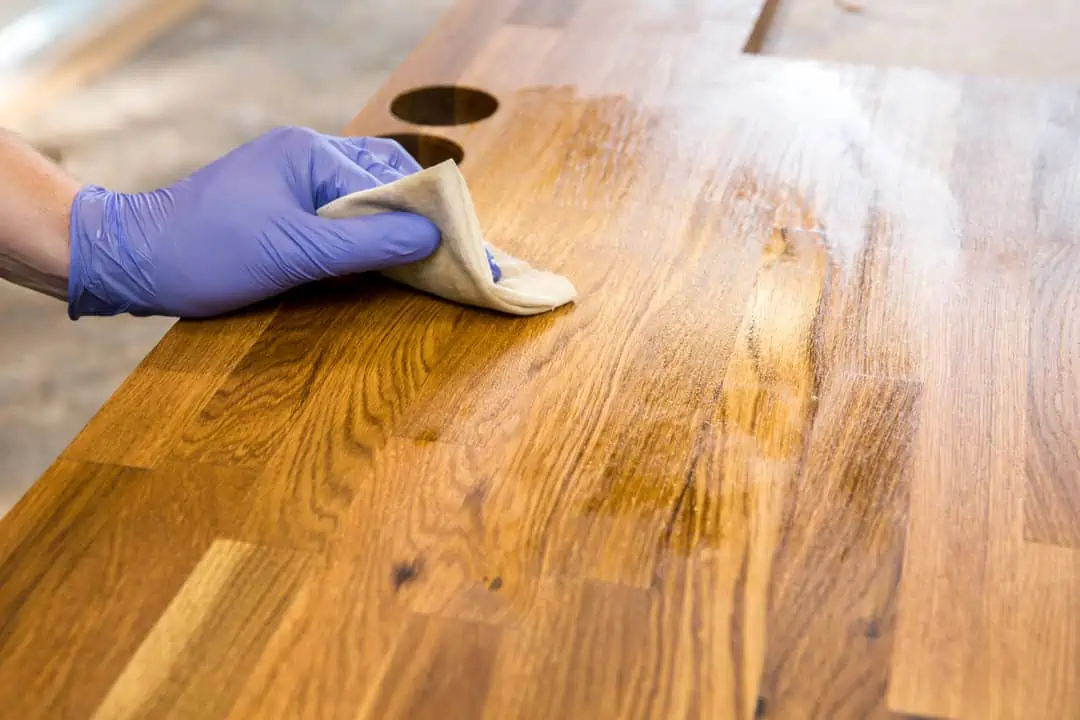
9. Adding a Protective Finish
To protect your newly painted kitchen table and give it a polished look, you can add a protective finish. This can be done with a clear polyurethane or wax. Apply the protective finish according to the manufacturer's instructions, using a brush or cloth to evenly spread it over the entire surface of the table.
Be sure to let the protective finish dry completely before using the table.


9. Adding a Protective Finish


10. Letting the Table Dry and Cure
After all of the painting and finishing is complete, it's important to let your table dry and cure properly before using it. This can take anywhere from 24 to 48 hours, depending on the type of paint and protective finish used.
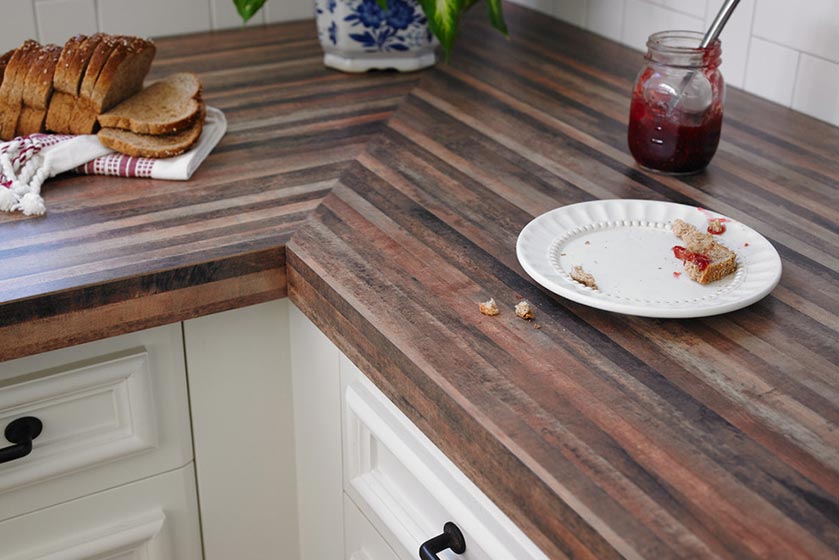
Once the table is completely dry, you can enjoy your newly painted kitchen table with a Formica top! It will not only look beautiful, but it will also be durable and easy to clean.


10. Letting the Table Dry and Cure


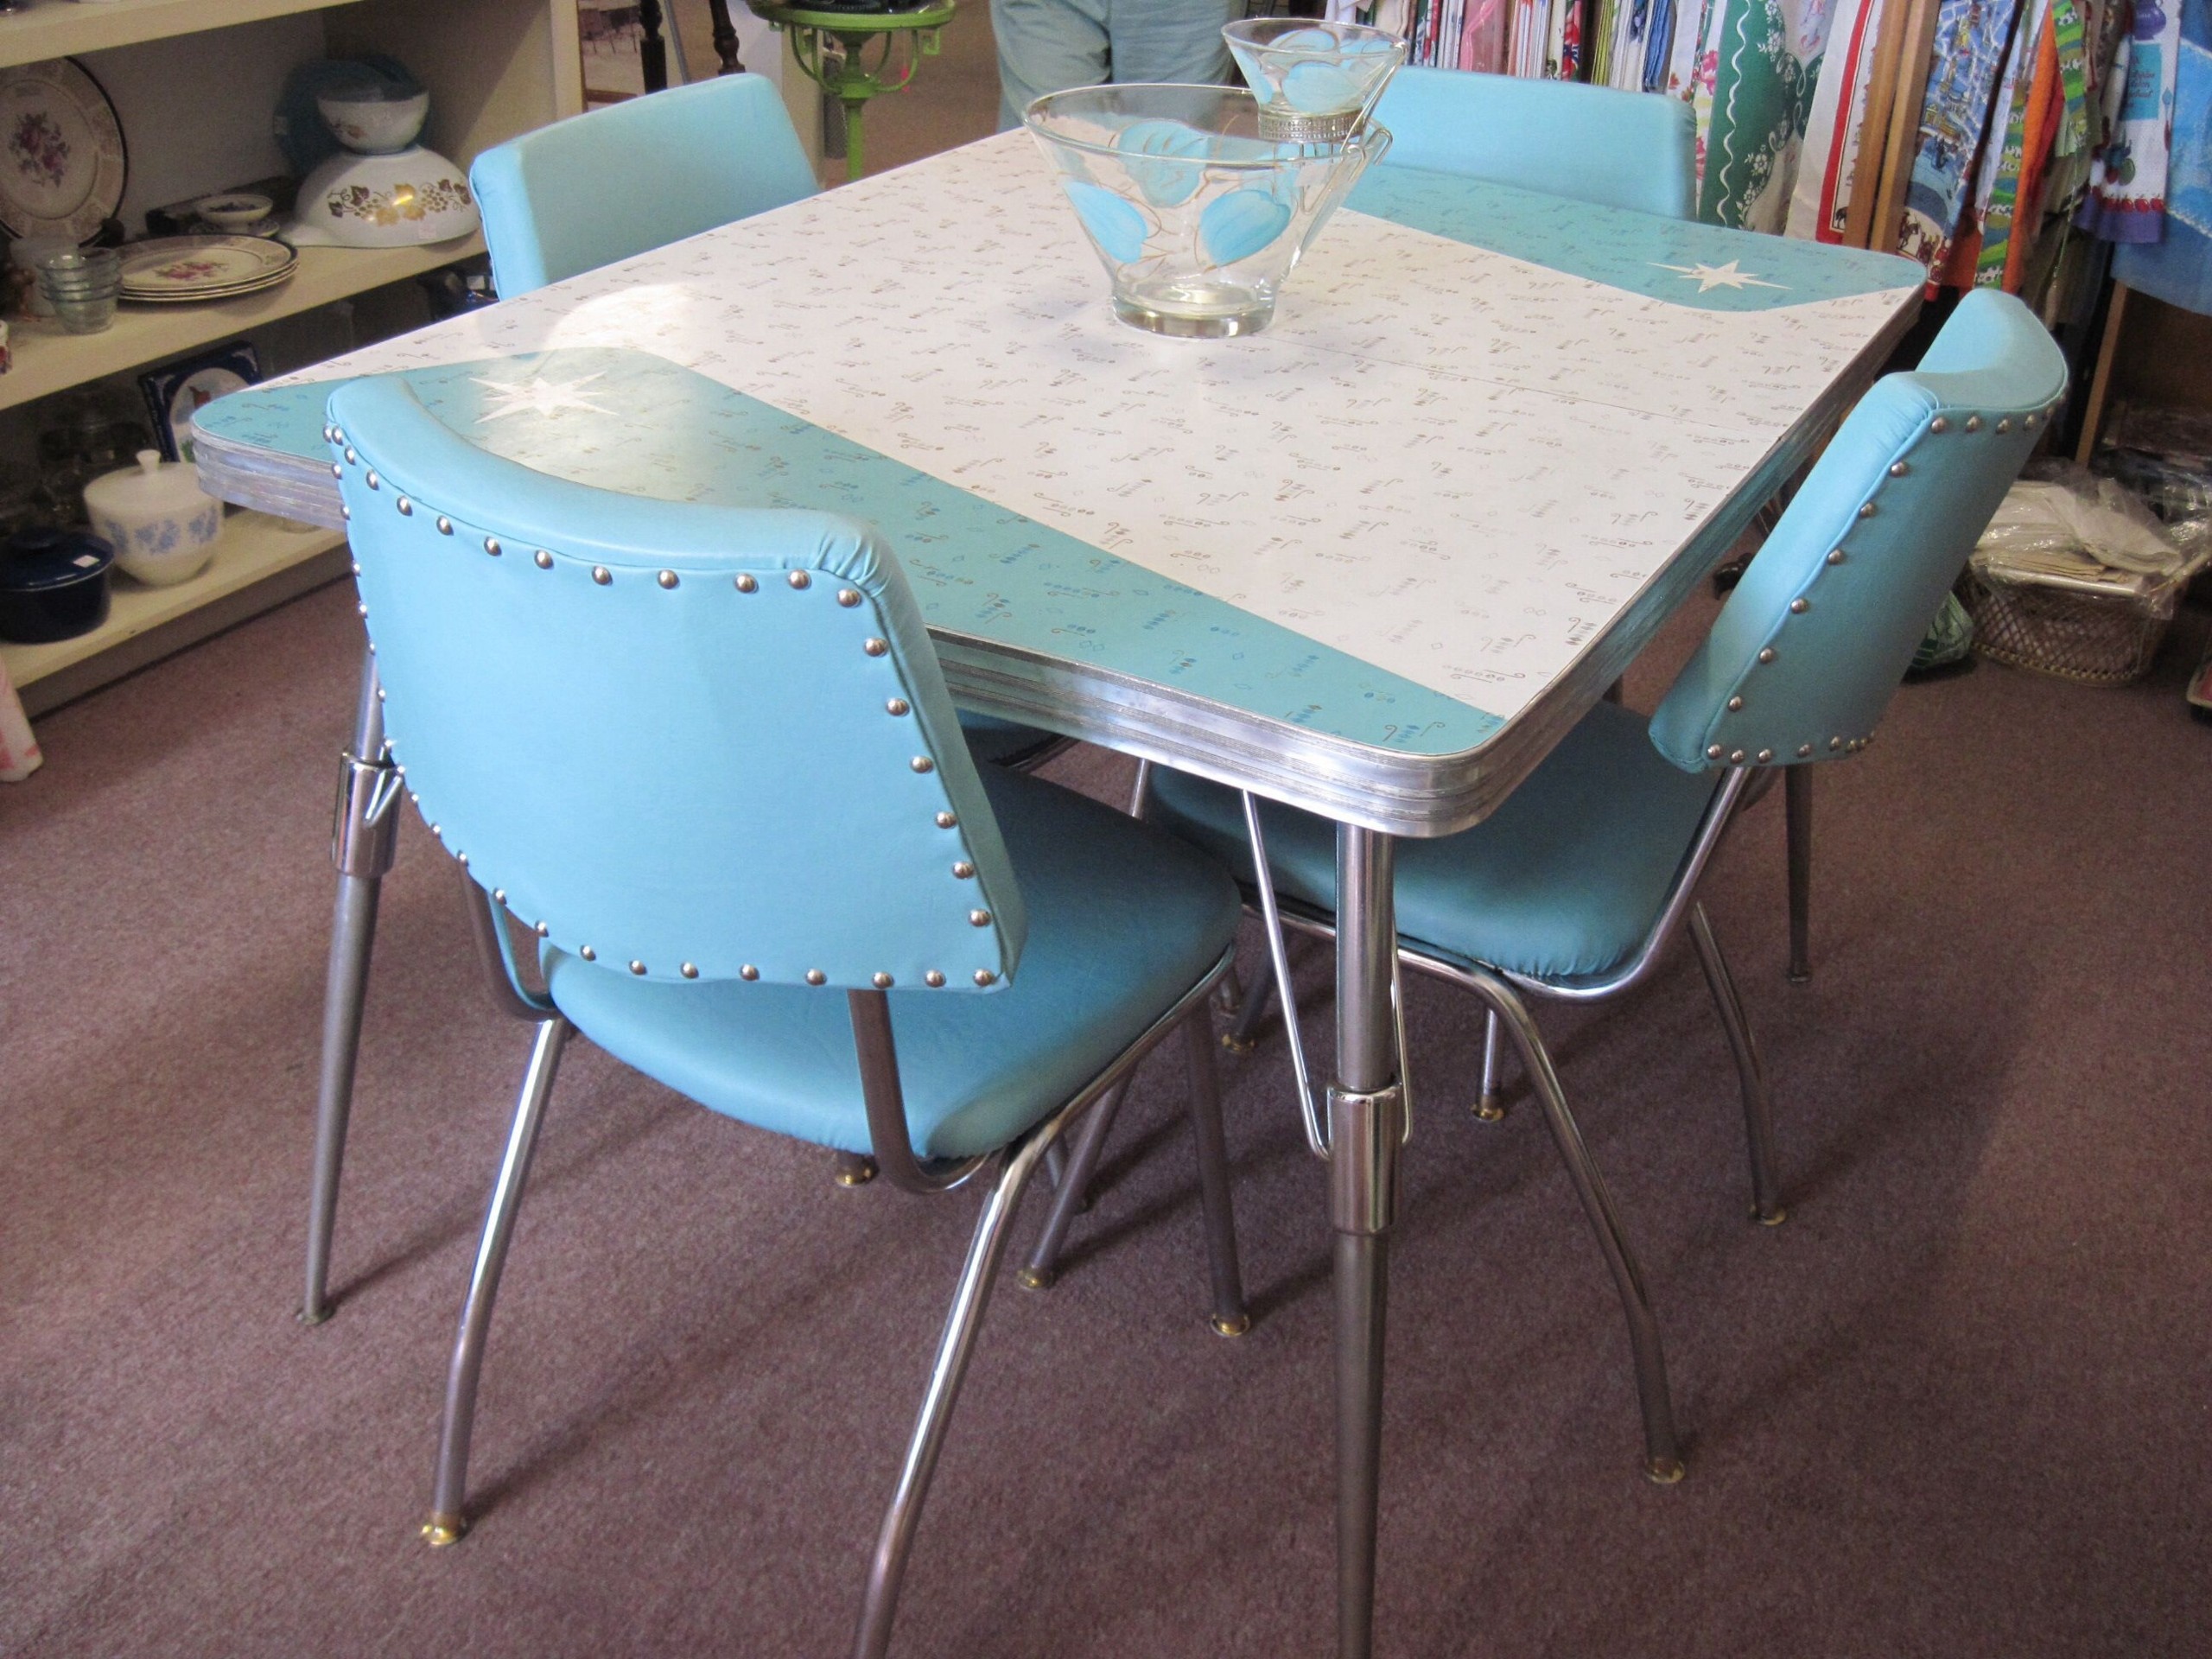
Choosing the Right Paint and Primer

Prepping the Surface
 When painting a kitchen table with a Formica top, it is crucial to choose the right paint and primer for the job. Formica is a laminate material that is notoriously difficult to paint, as it is nonporous and slick. Therefore, it is essential to use a quality primer that is specifically formulated for nonporous surfaces. Look for a primer that is oil-based or specifically labeled for use on laminate or Formica surfaces. Additionally, make sure to choose a paint that is durable and can adhere to slick surfaces. Acrylic or oil-based paints are ideal for this type of project, as they are less likely to chip or peel.
Preparing the Table
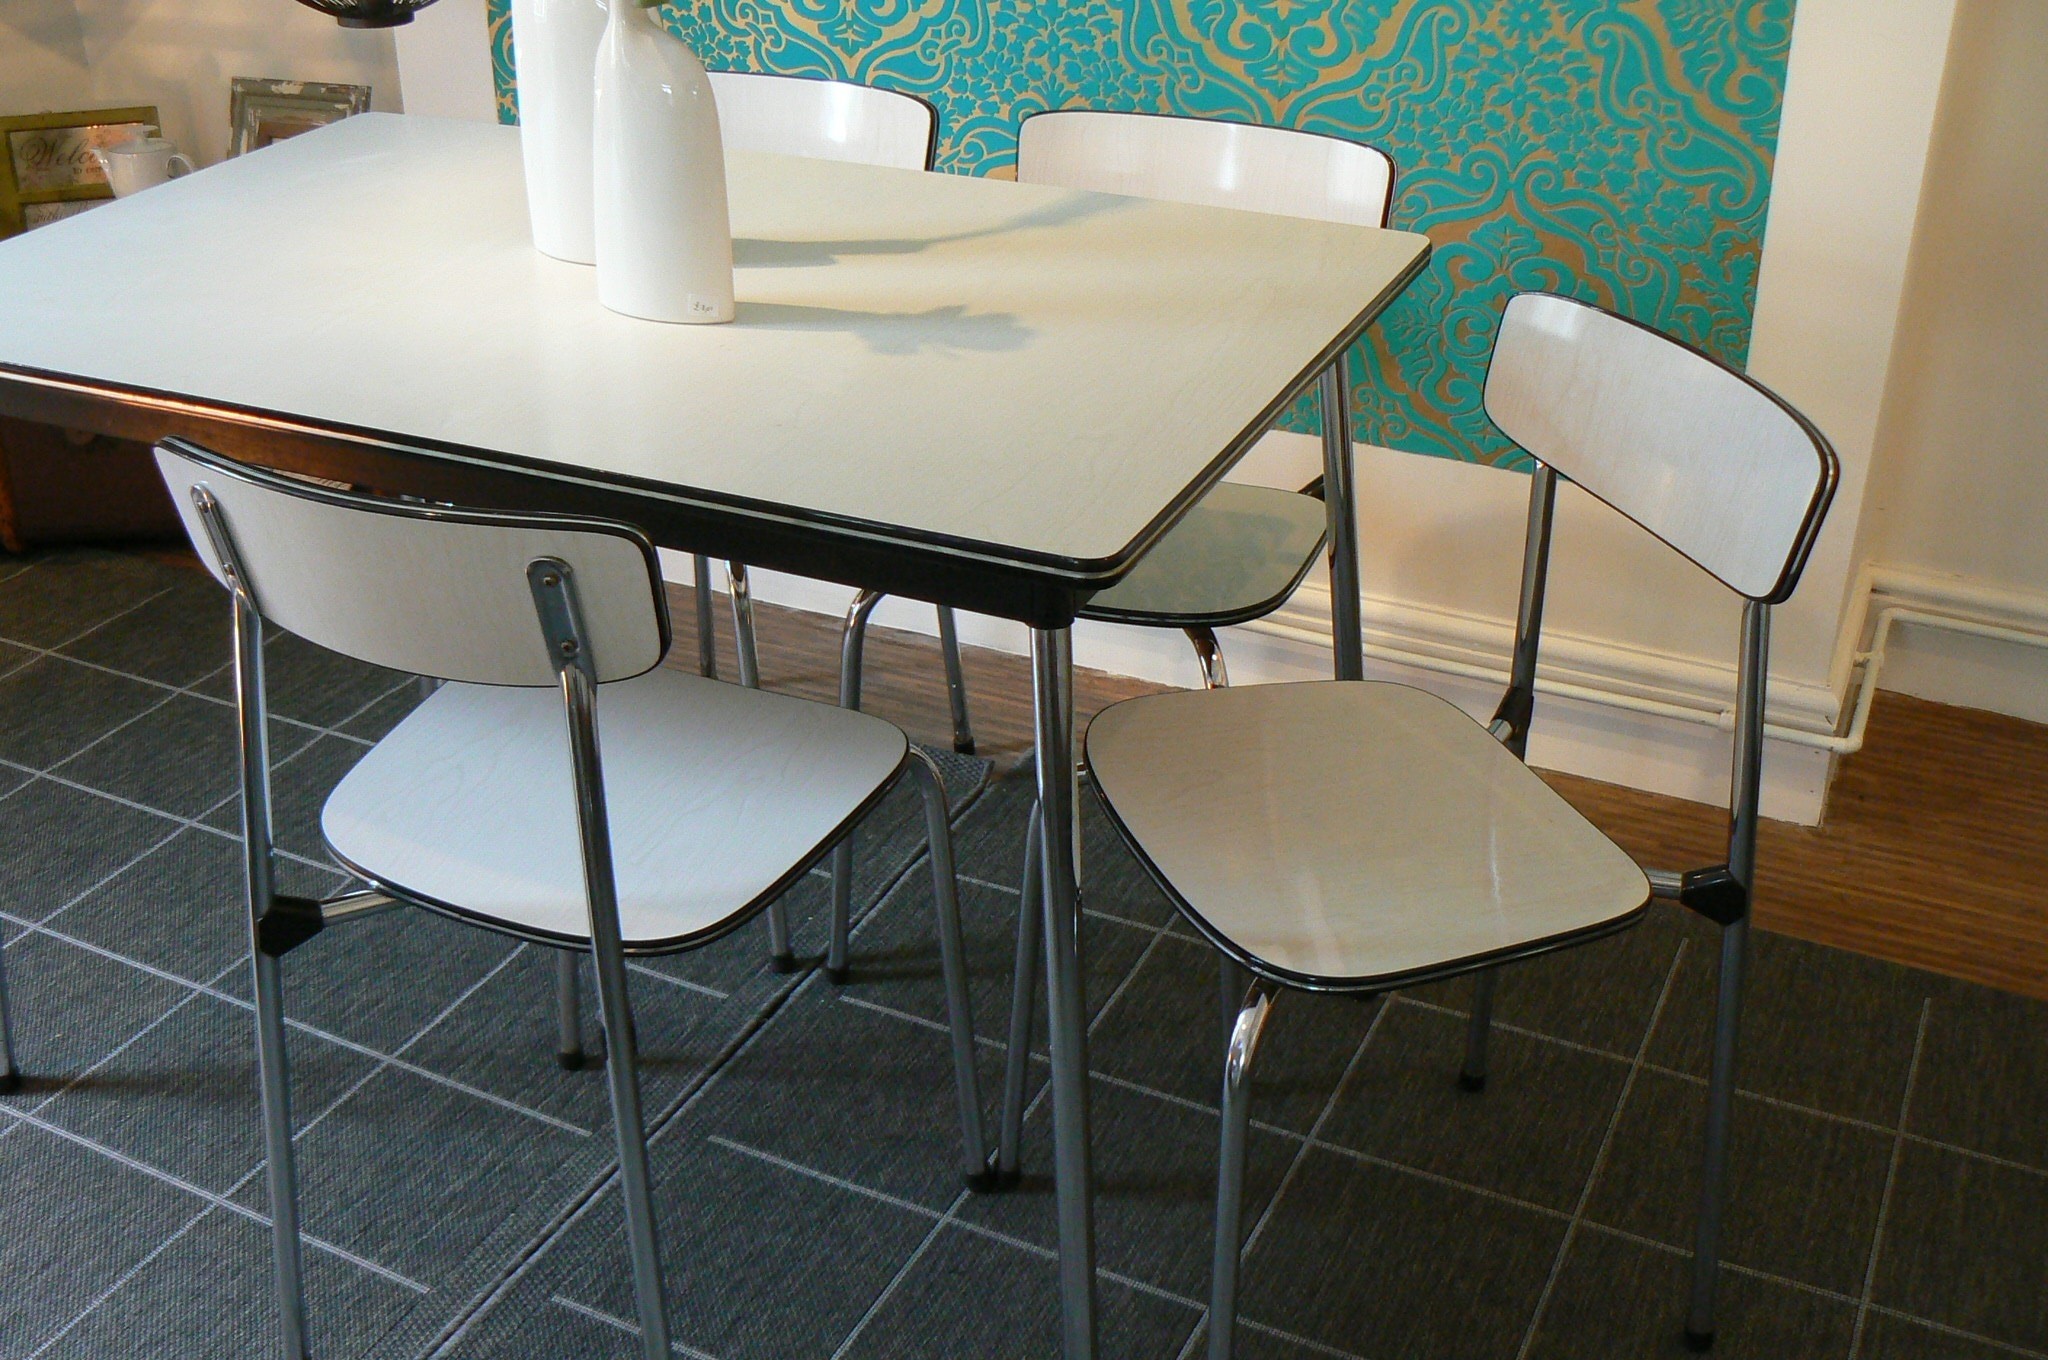 Before beginning the painting process, it is crucial to properly prepare the table. Start by thoroughly cleaning the table with a mild detergent and warm water. This will remove any dirt, grime, or grease that may prevent the paint from adhering properly. Once the table is dry, lightly sand the surface with fine-grit sandpaper. This will create a rough surface for the primer to adhere to and help the paint bond better. After sanding, wipe down the table again to remove any dust or debris.
Applying the Primer and Paint
 Now that the table is prepped and ready, it's time to start painting. Begin by applying a thin coat of primer, using a high-quality brush or roller. Make sure to follow the manufacturer's instructions and allow the primer to dry completely before moving on to the next step. Once the primer is dry, it's time to apply the paint. Using a high-quality brush or foam roller, apply a thin coat of paint in even strokes. It may be necessary to apply two or three coats of paint to achieve the desired coverage. Allow each coat to dry completely before adding another.
Finishing Touches
 After the final coat of paint is dry, you can add some finishing touches to your newly painted kitchen table. If desired, you can add a layer of clear topcoat to protect the paint from scratches and stains. You can also add some decorative stenciling or designs to give your table a unique and personalized touch.
Conclusion
 In conclusion, painting a kitchen table with a Formica top may seem like a daunting task, but with the right tools and preparation, it can be a fun and rewarding project. By choosing the right paint and primer, properly prepping the surface, and applying the paint with care, you can transform your old and worn kitchen table into a beautiful and durable piece of furniture. So, roll up your sleeves and get ready to give your kitchen table a fresh new look!