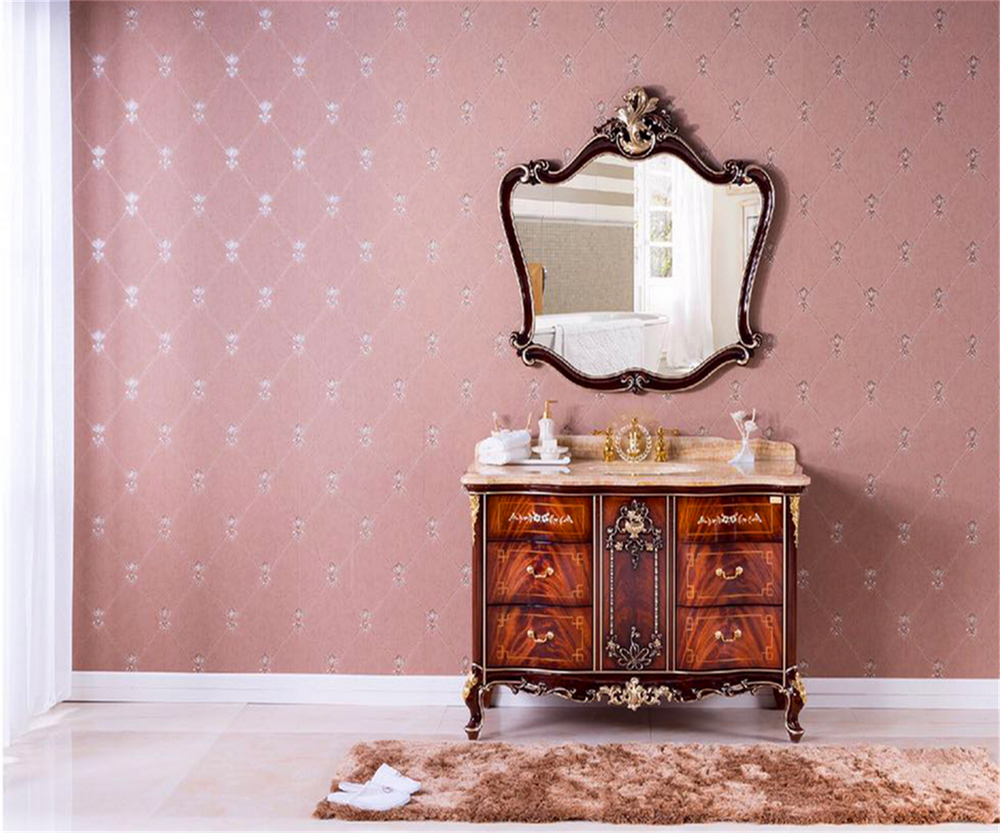
Are you tired of the outdated look of your 90's bathroom vanity? Don't worry, you're not alone. Many homeowners are looking for ways to update their bathroom without breaking the bank. One simple and budget-friendly solution is to paint your 90's bathroom vanity. With a fresh coat of paint, you can transform your outdated vanity into a modern and stylish piece. Keep reading to learn how to paint a 90's bathroom vanity and give your bathroom a much-needed update.Painting a 90's Bathroom Vanity


Painting a 90's Bathroom Vanity


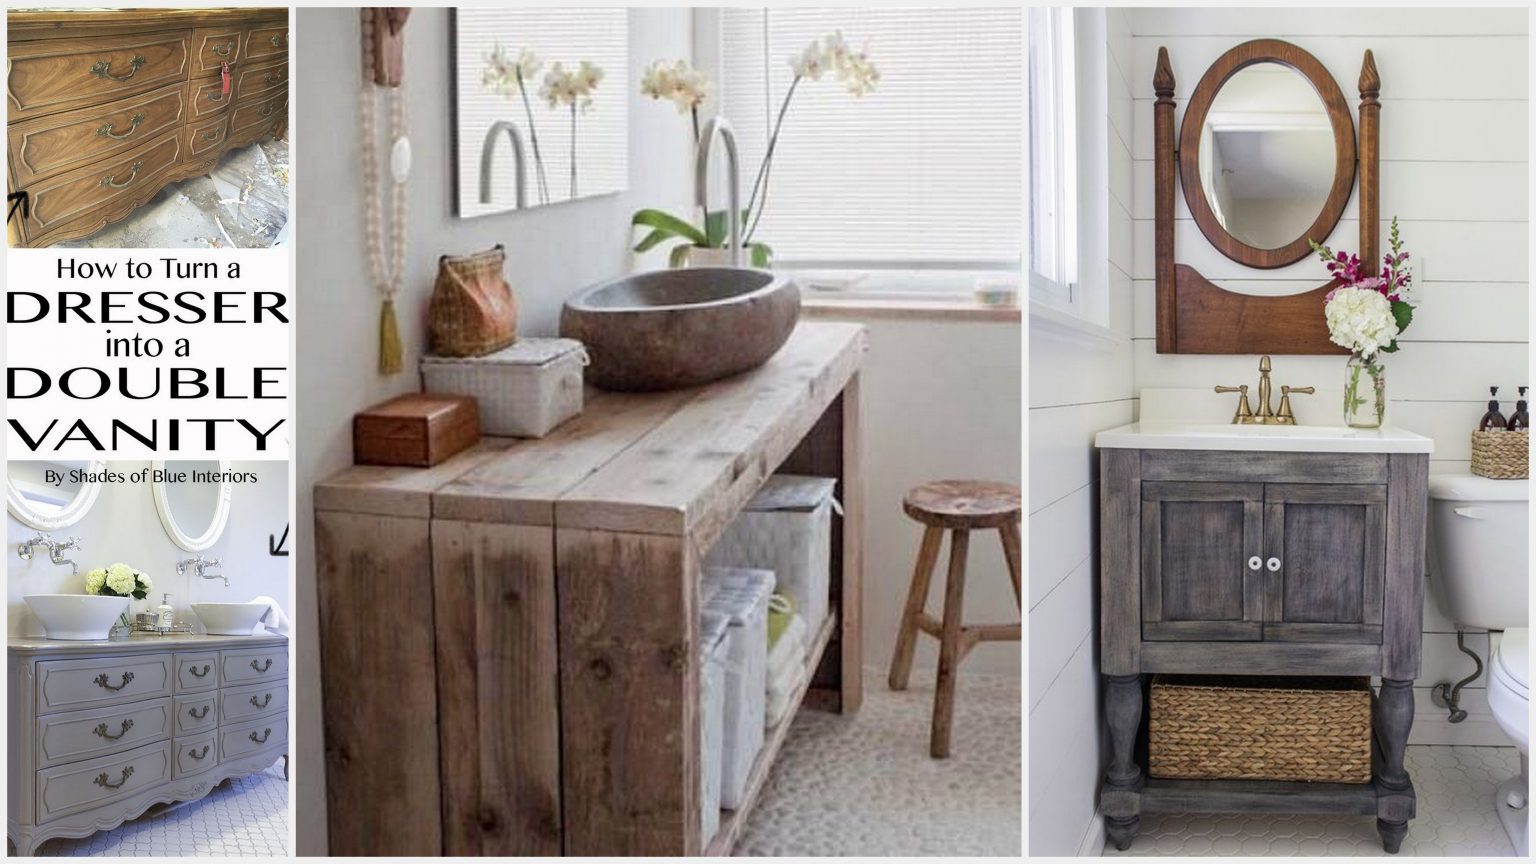
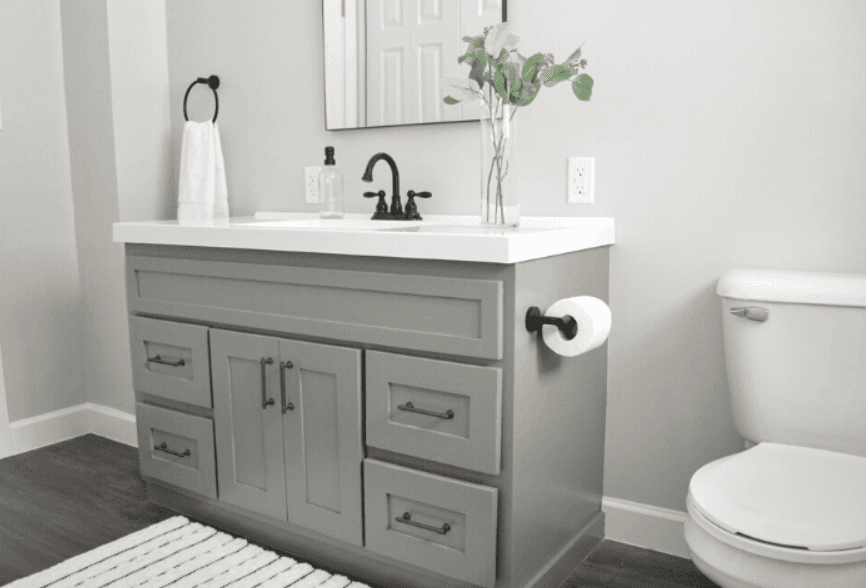
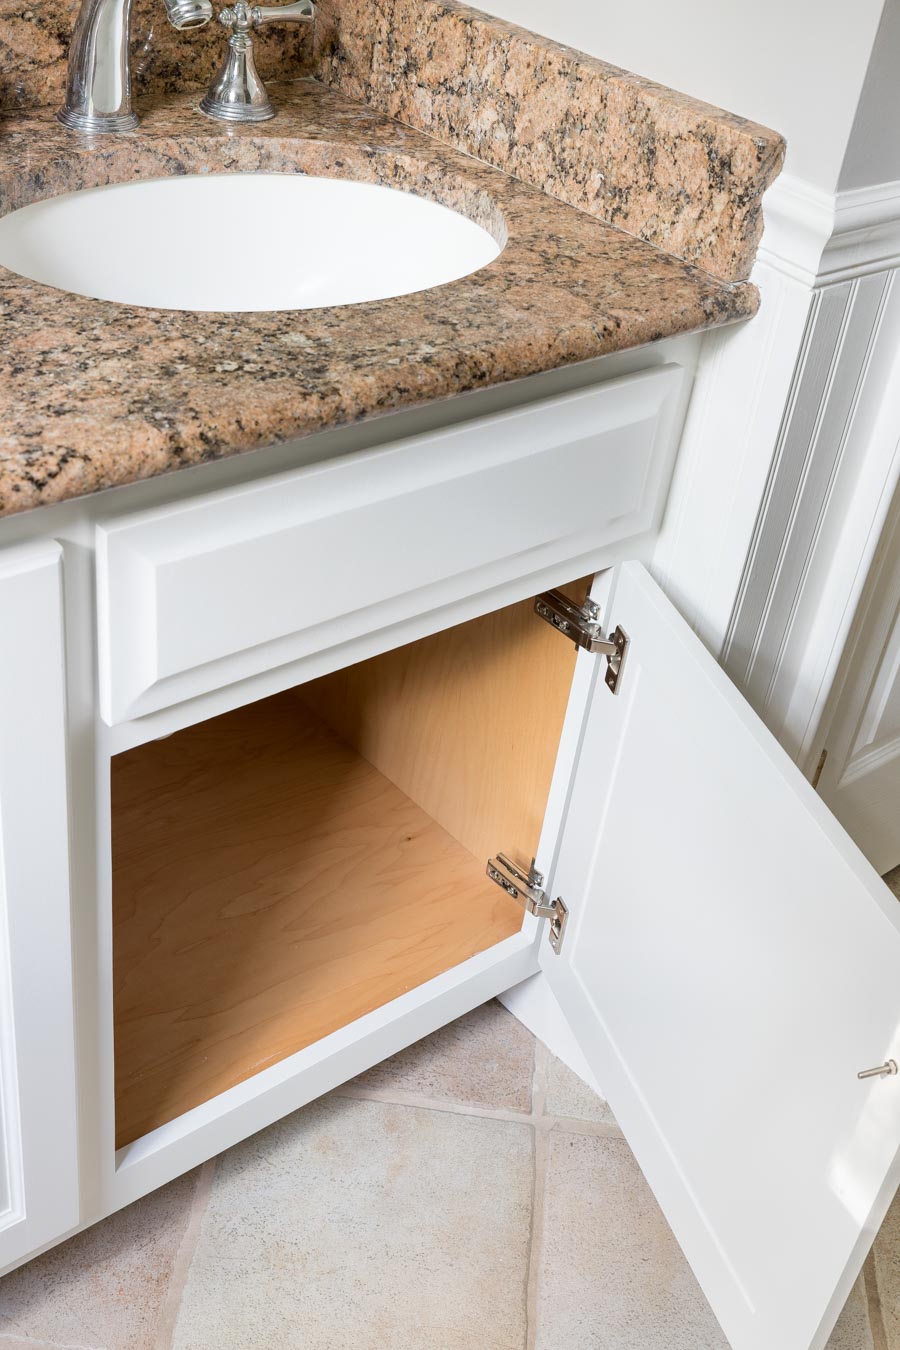
Before you start painting, you need to properly prepare your vanity. Begin by removing all hardware and drawers from the vanity. Clean the surface with a mild soap and water solution to remove any dirt or grime. Then, lightly sand the vanity with fine-grit sandpaper to create a smooth surface for the paint to adhere to. Next, it's time to prime. Use a high-quality primer, preferably one that is specifically designed for bathroom cabinets. This will ensure that the paint adheres well and provides a long-lasting finish. Apply the primer in thin, even coats and allow it to dry completely before moving on to the next step. Now comes the fun part - painting! Choose a high-quality paint that is specifically designed for bathroom cabinets. Semi-gloss or satin finishes work best for a bathroom vanity as they are durable and easy to clean. You can use a brush, roller, or sprayer to apply the paint, depending on your preference. Apply 2-3 coats, allowing each coat to dry completely before adding the next one.How to Paint a 90's Bathroom Vanity
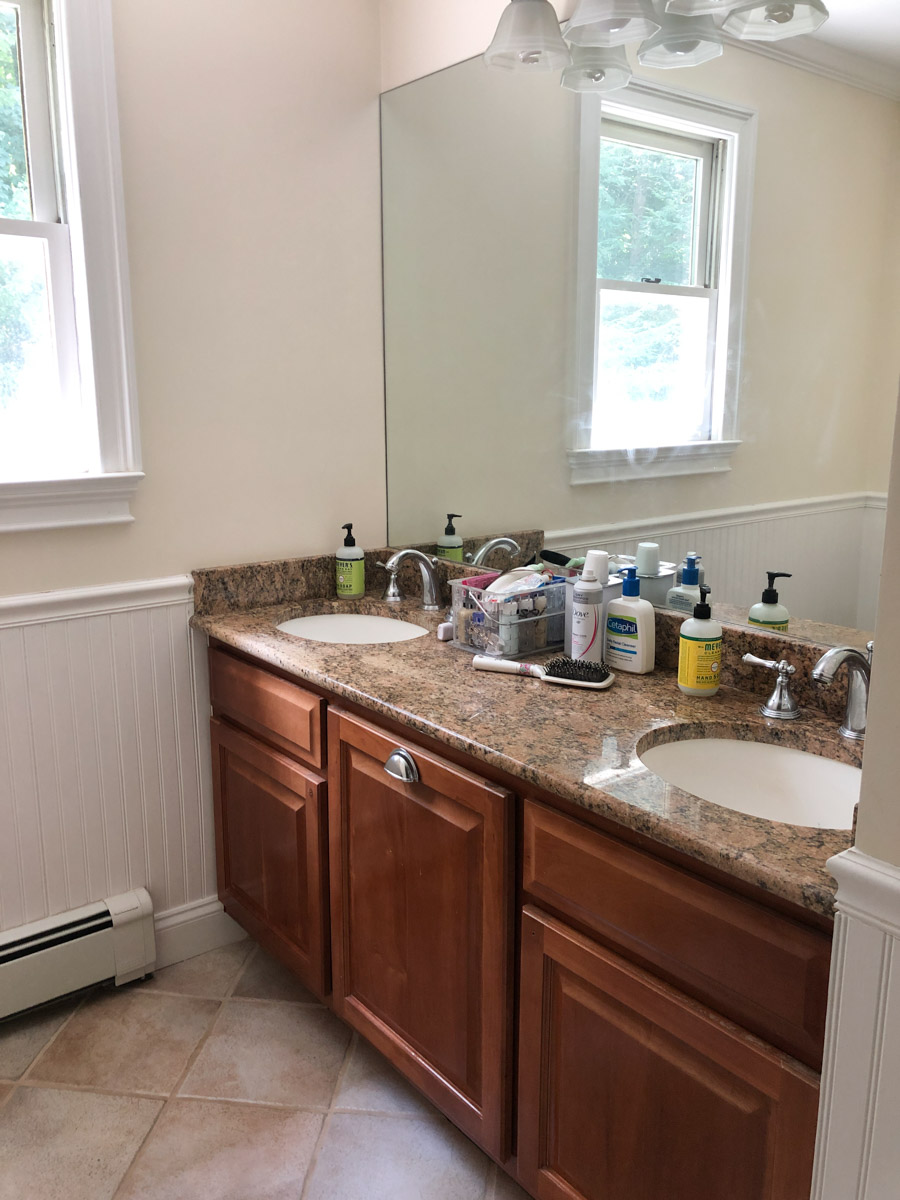

How to Paint a 90's Bathroom Vanity

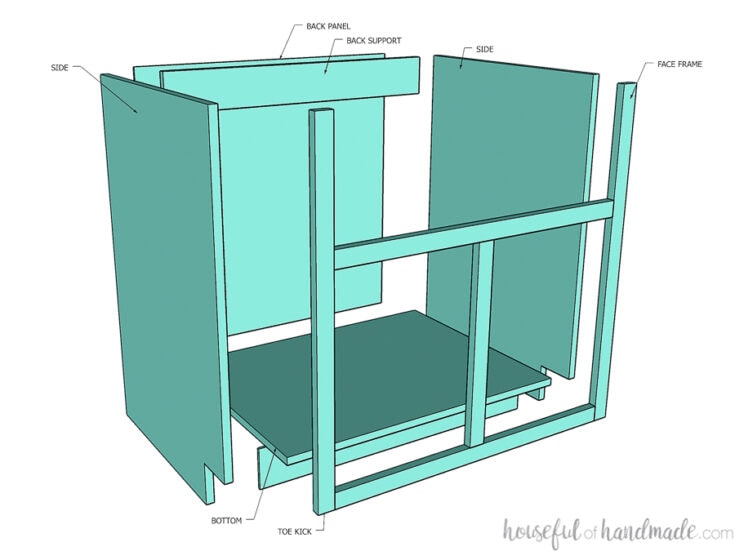
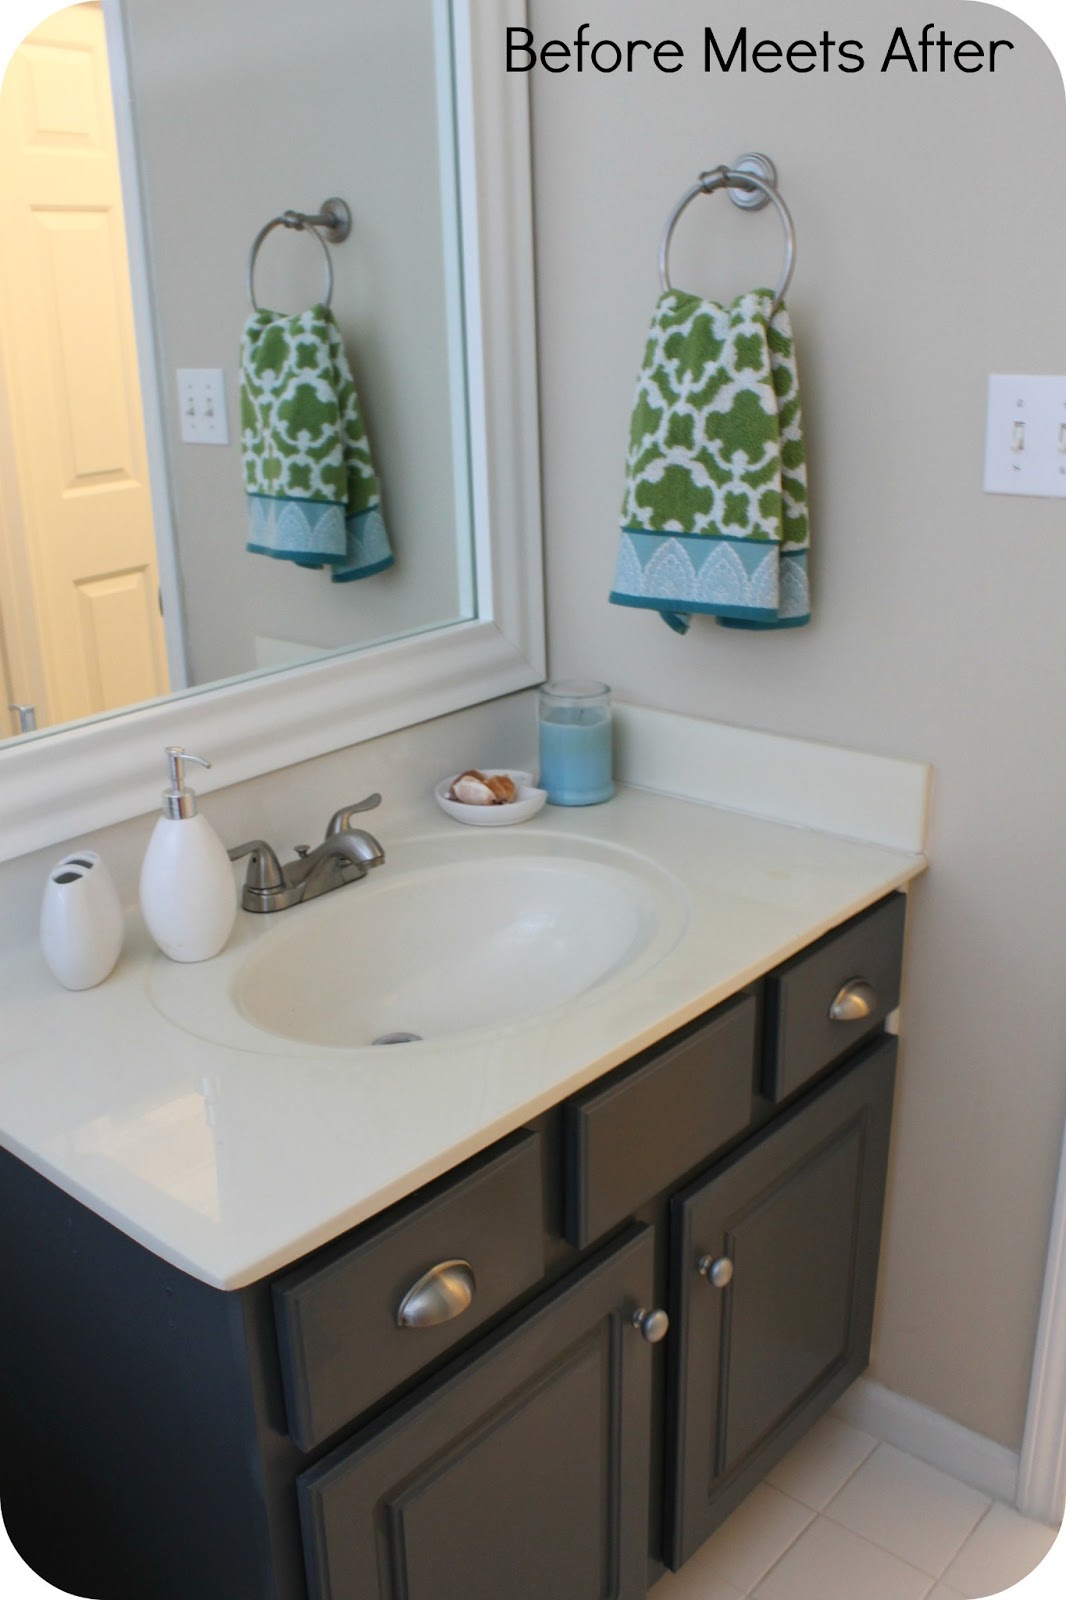
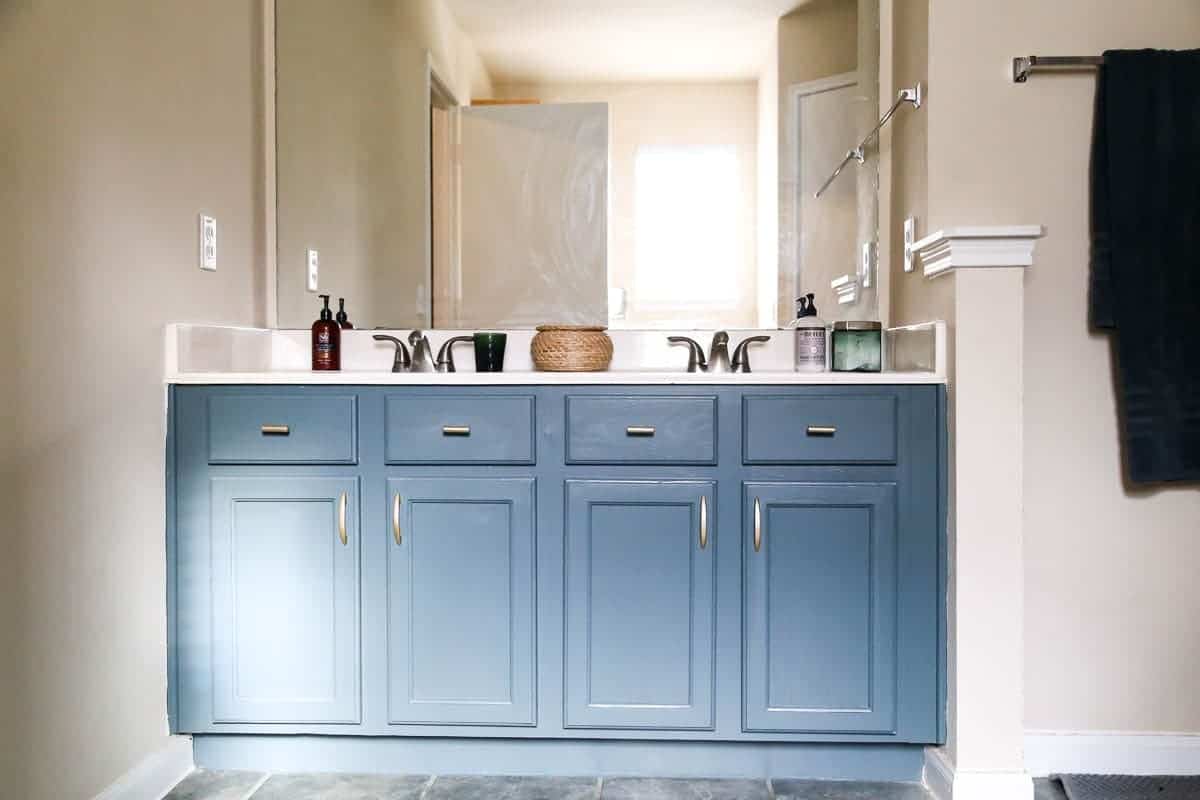
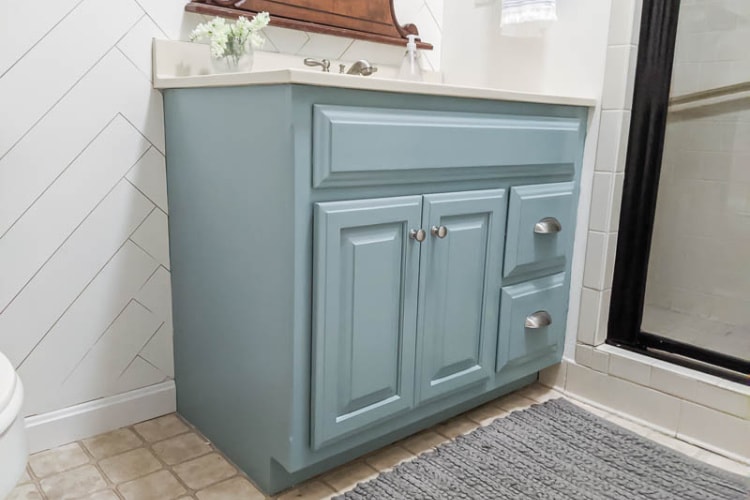
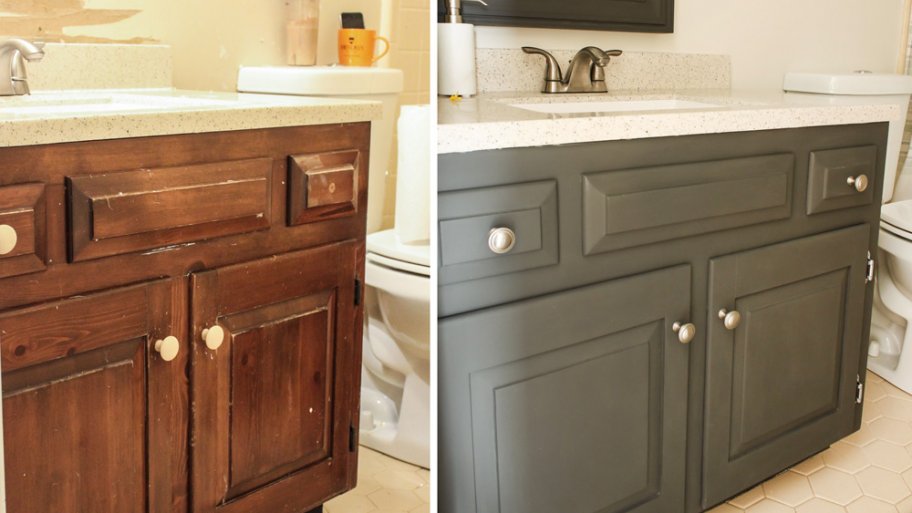
If you're feeling adventurous and want to save some money, you can opt for a DIY approach to painting your 90's bathroom vanity. This involves using chalk paint, which is a popular choice for furniture and cabinets as it requires minimal prep work and dries quickly. Chalk paint also gives a distressed, vintage look that is perfect for a 90's vanity. However, keep in mind that it may not be as durable as regular paint, so make sure to add a protective topcoat.DIY Painted 90's Bathroom Vanity


DIY Painted 90's Bathroom Vanity
:max_bytes(150000):strip_icc()/build-something-diy-vanity-594402125f9b58d58ae21158.jpg)
/cherry-diy-bathroom-vanity-594414da5f9b58d58a099a36.jpg)
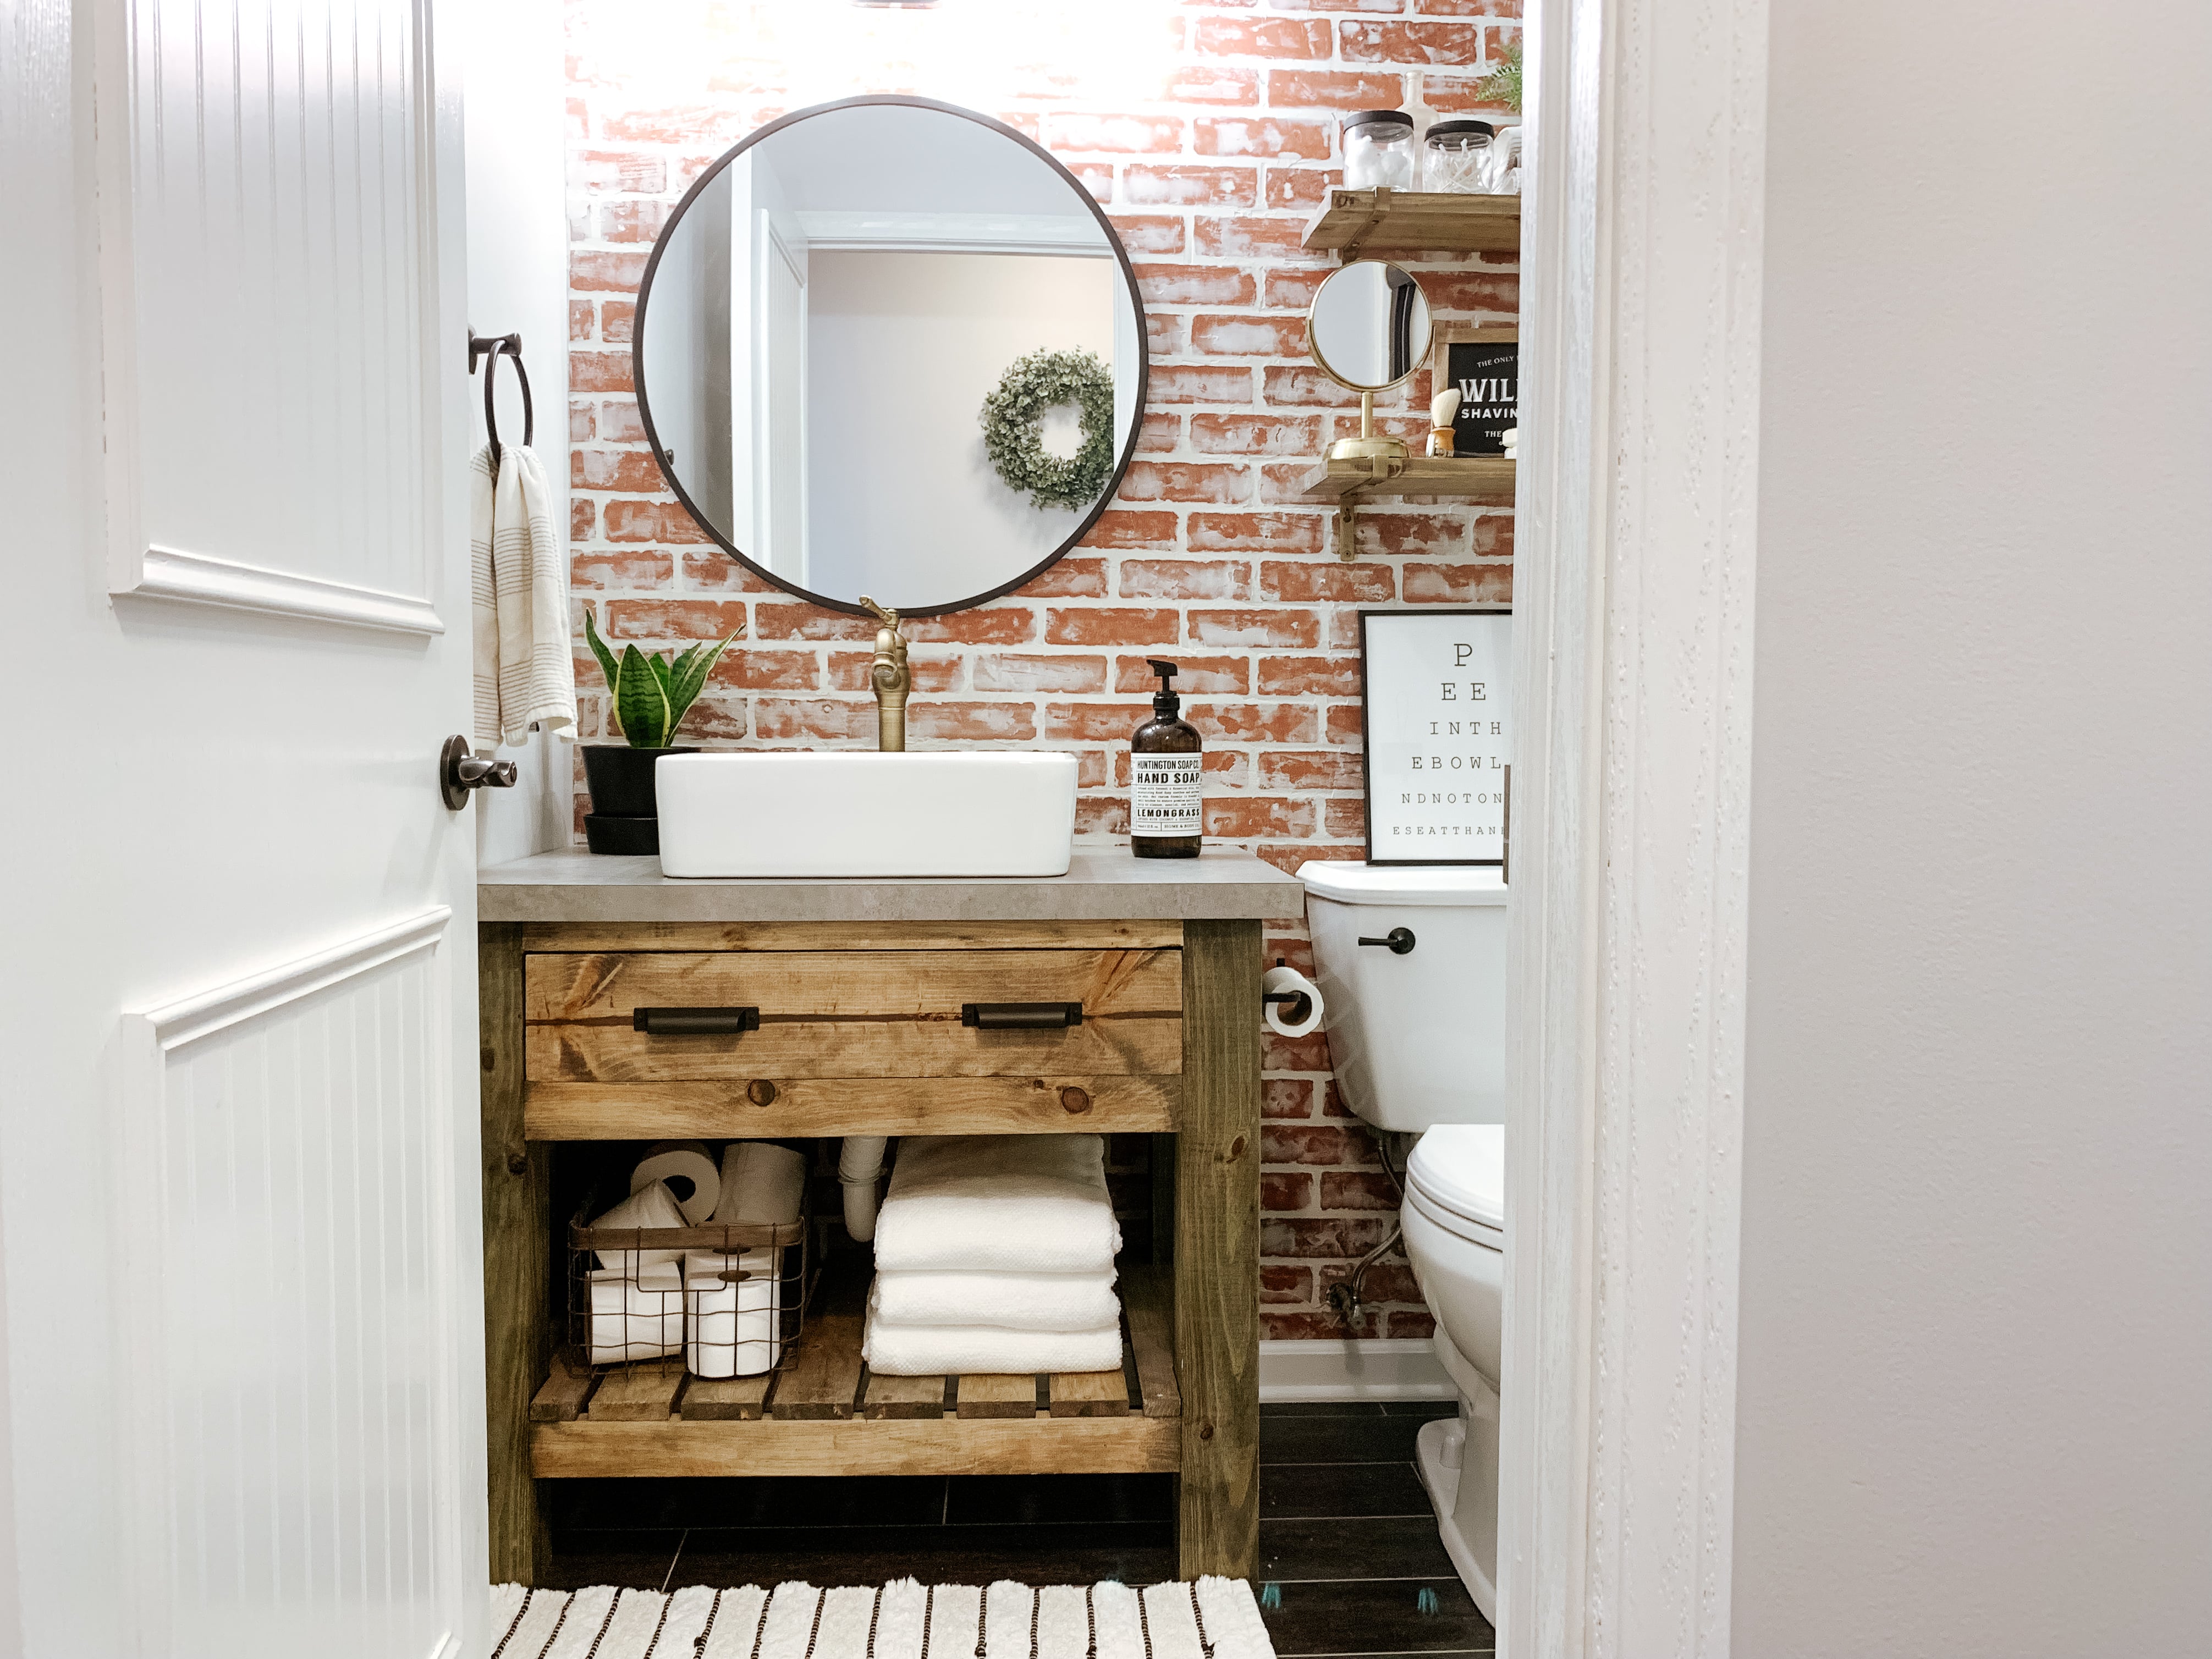

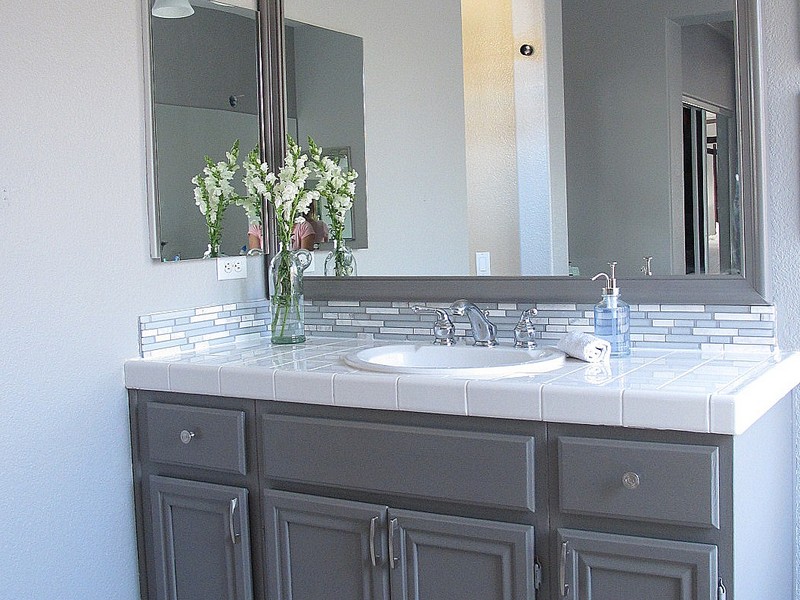

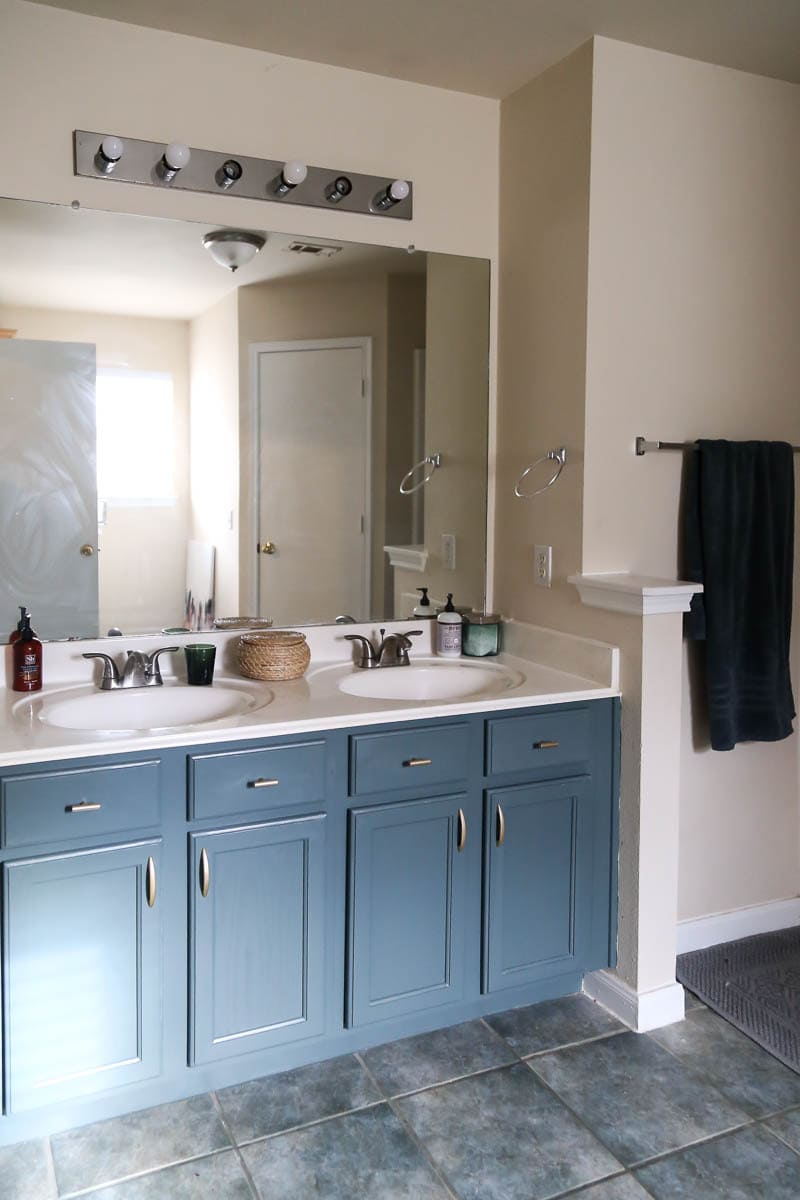
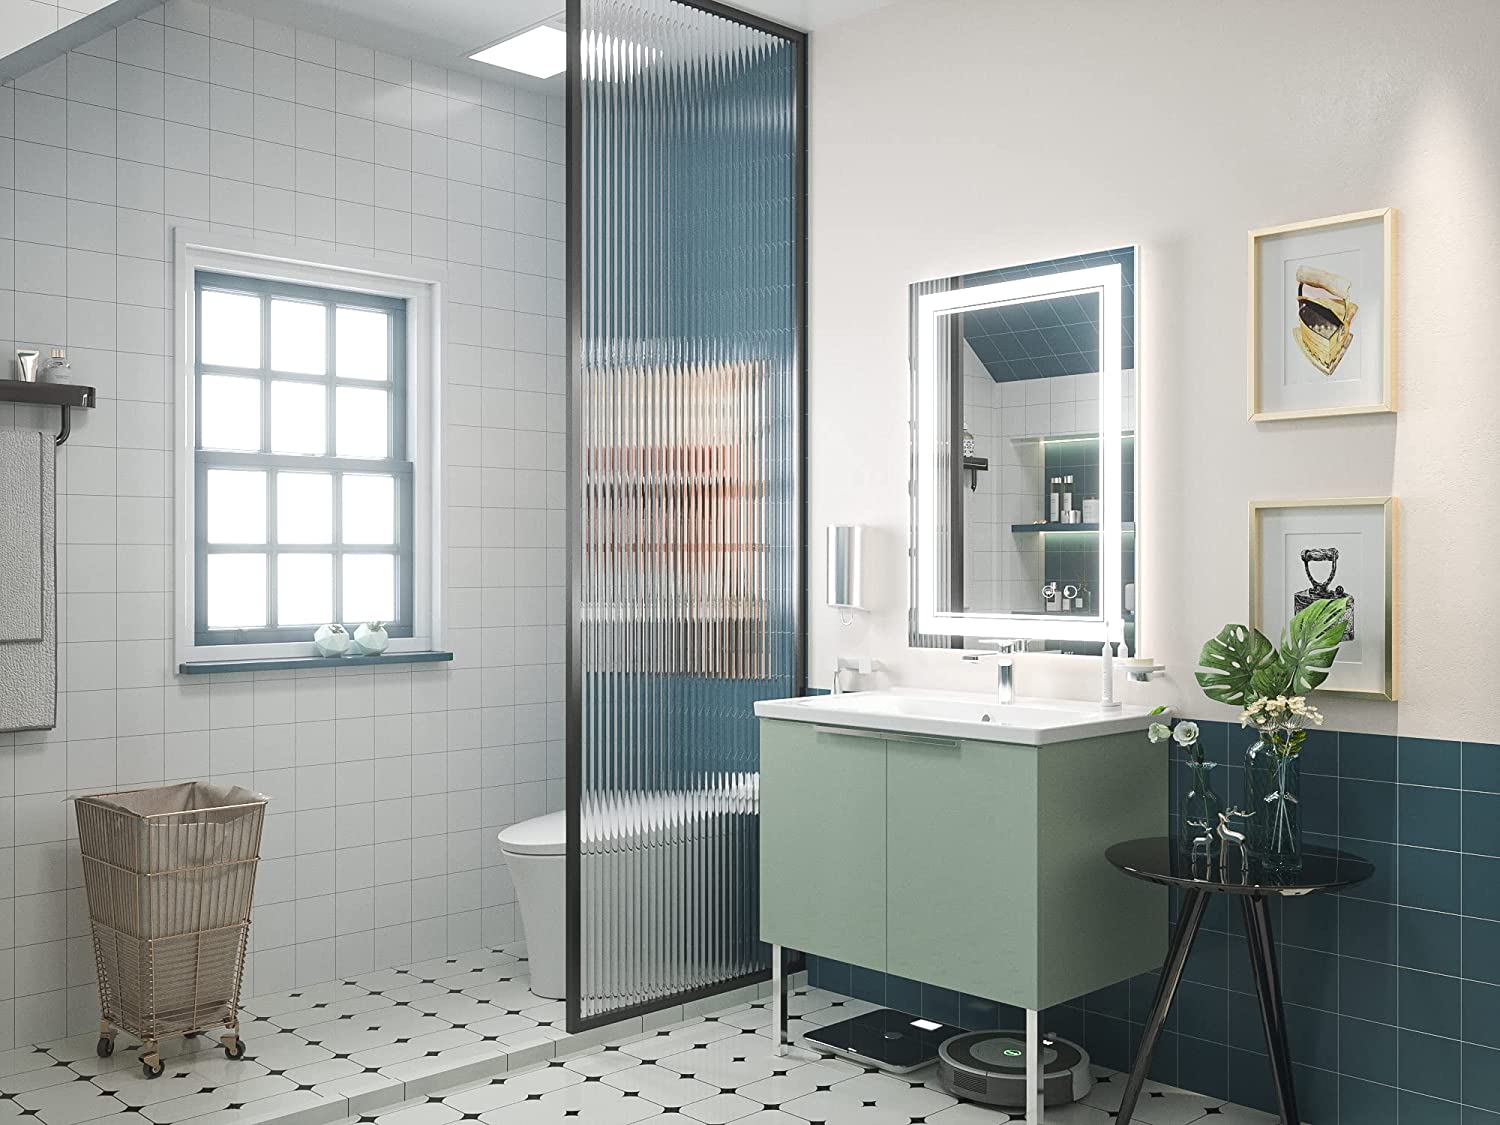
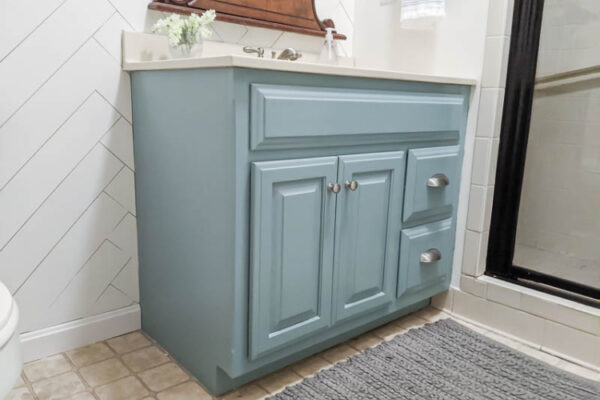
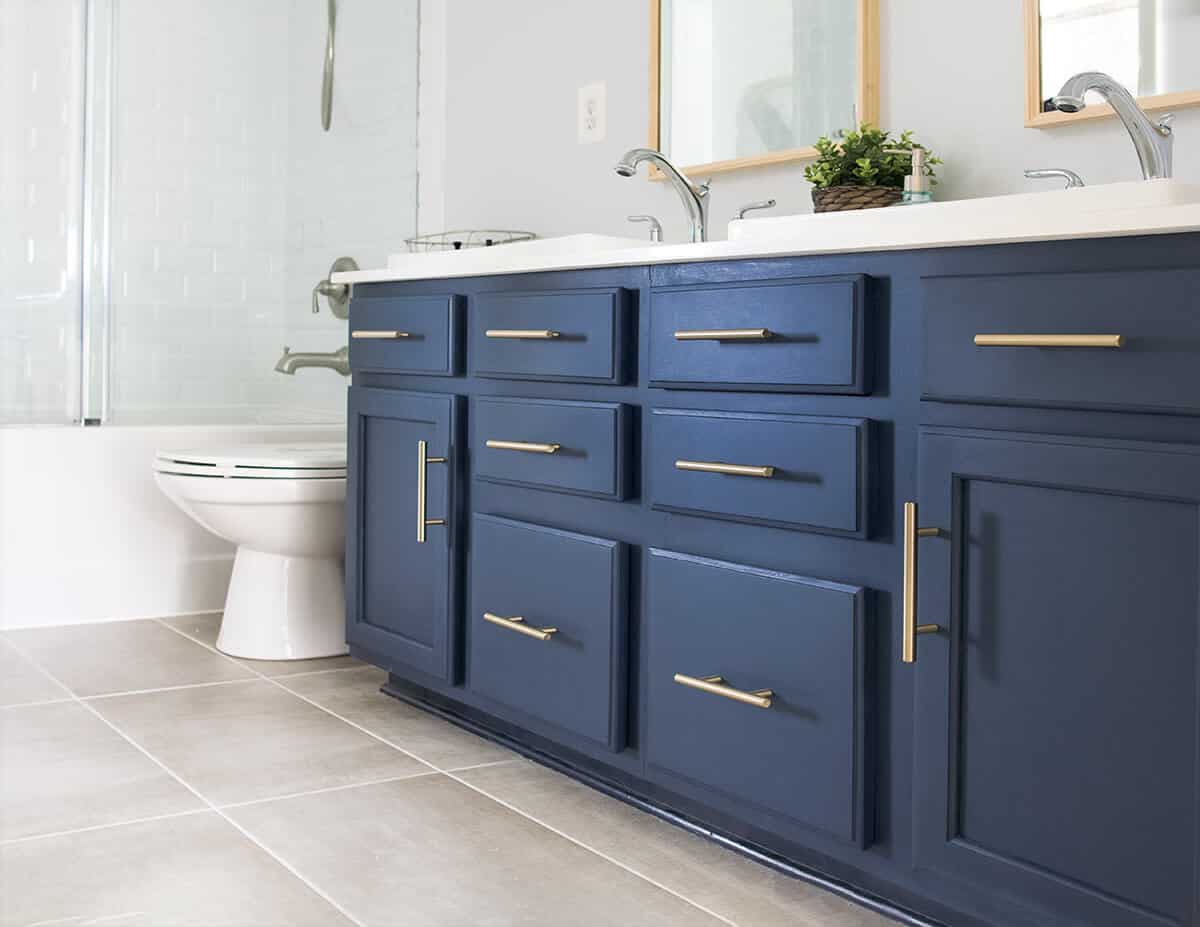
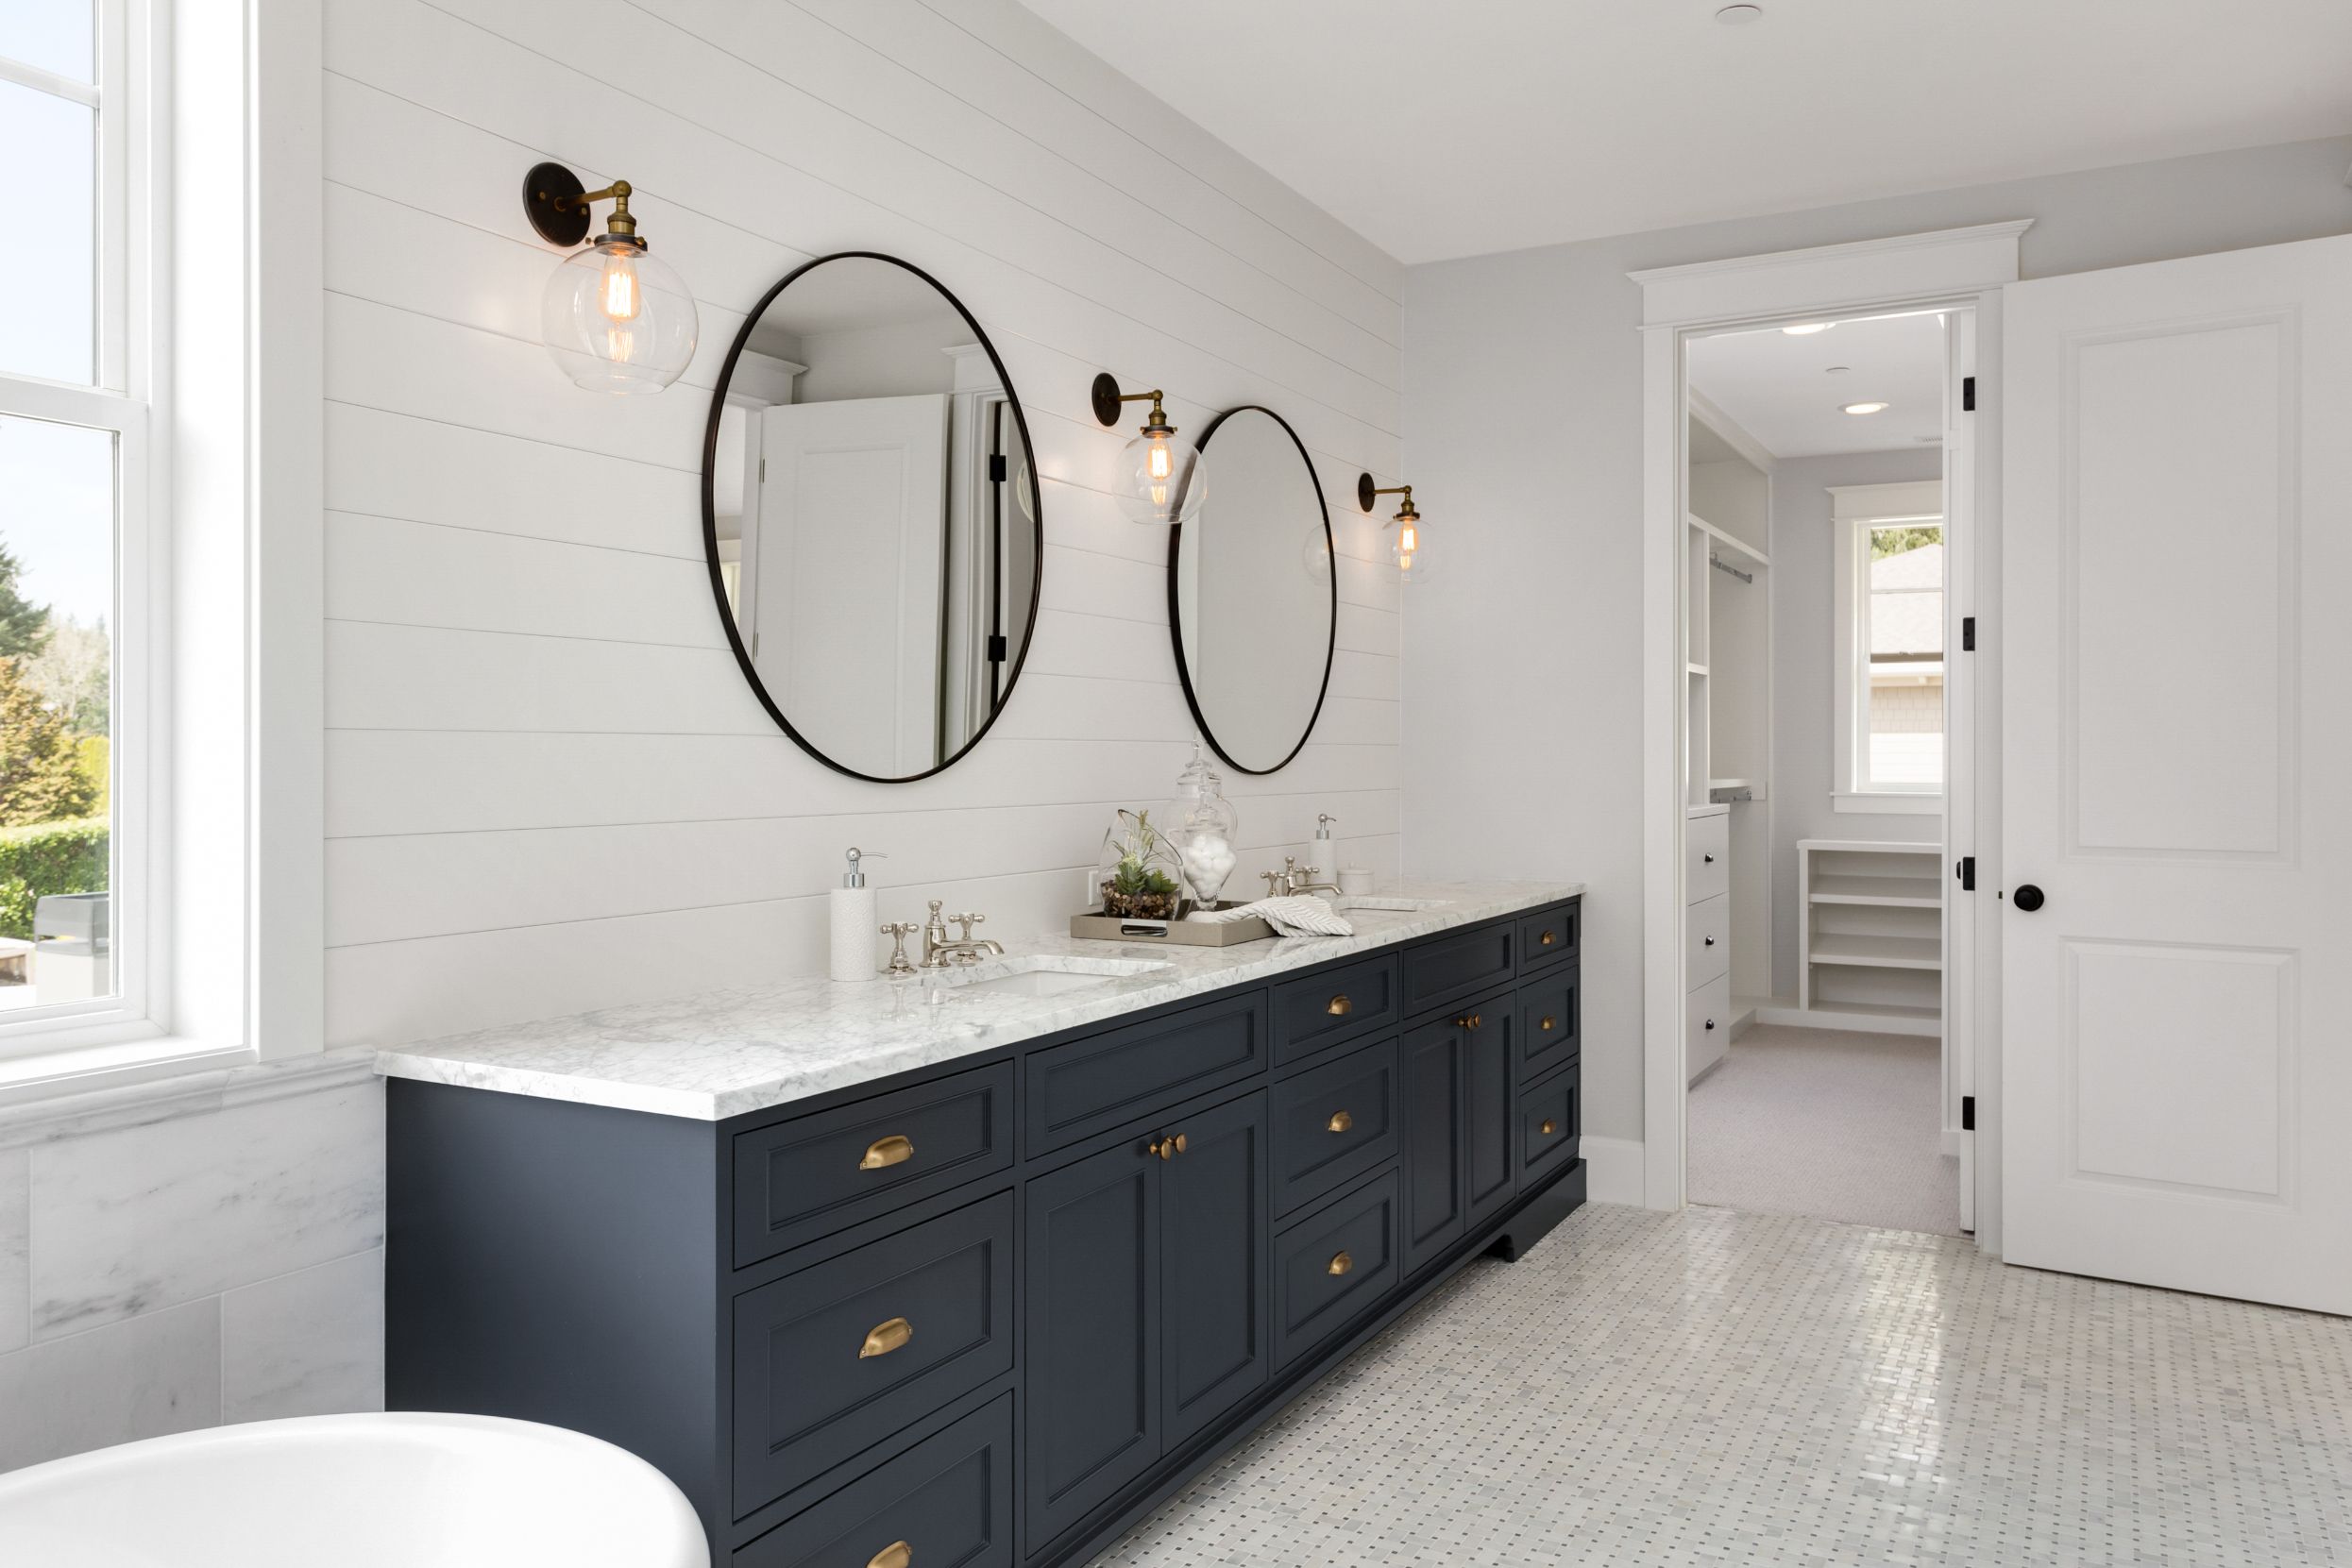
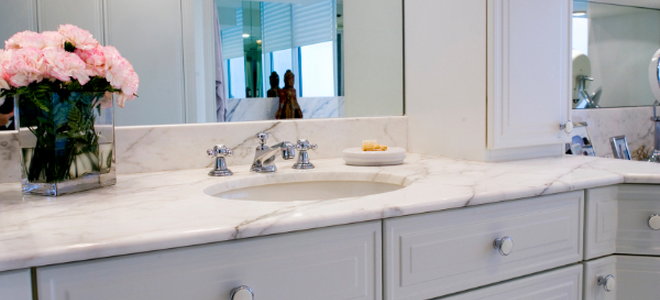
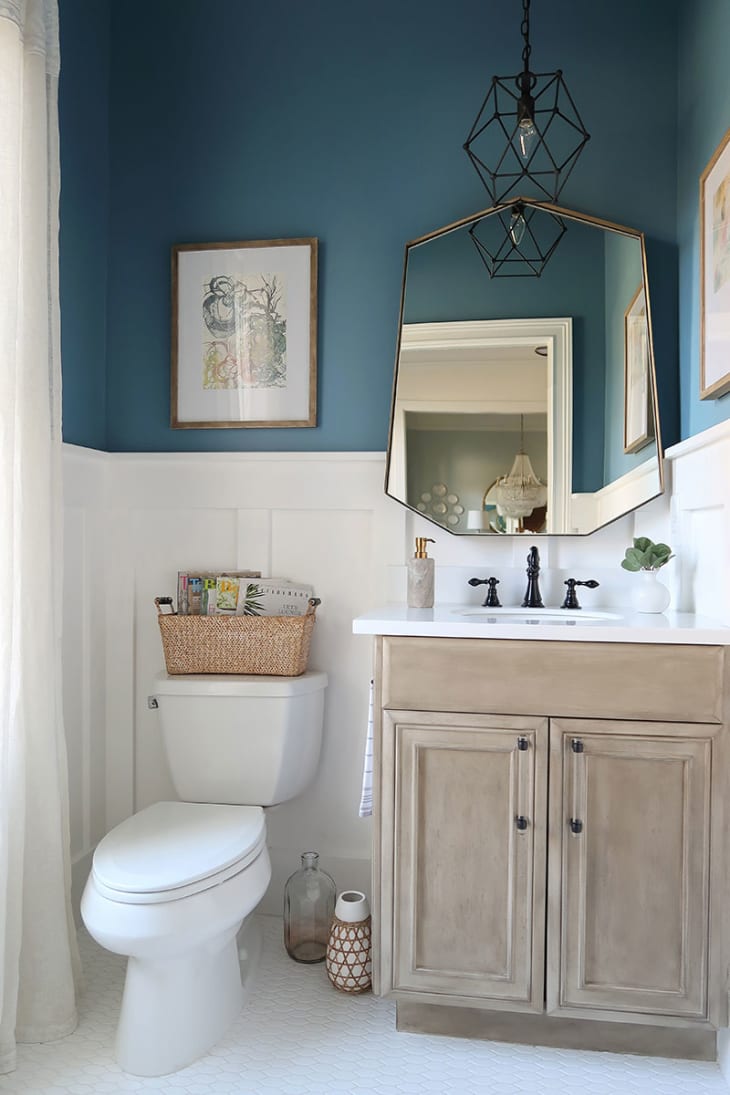
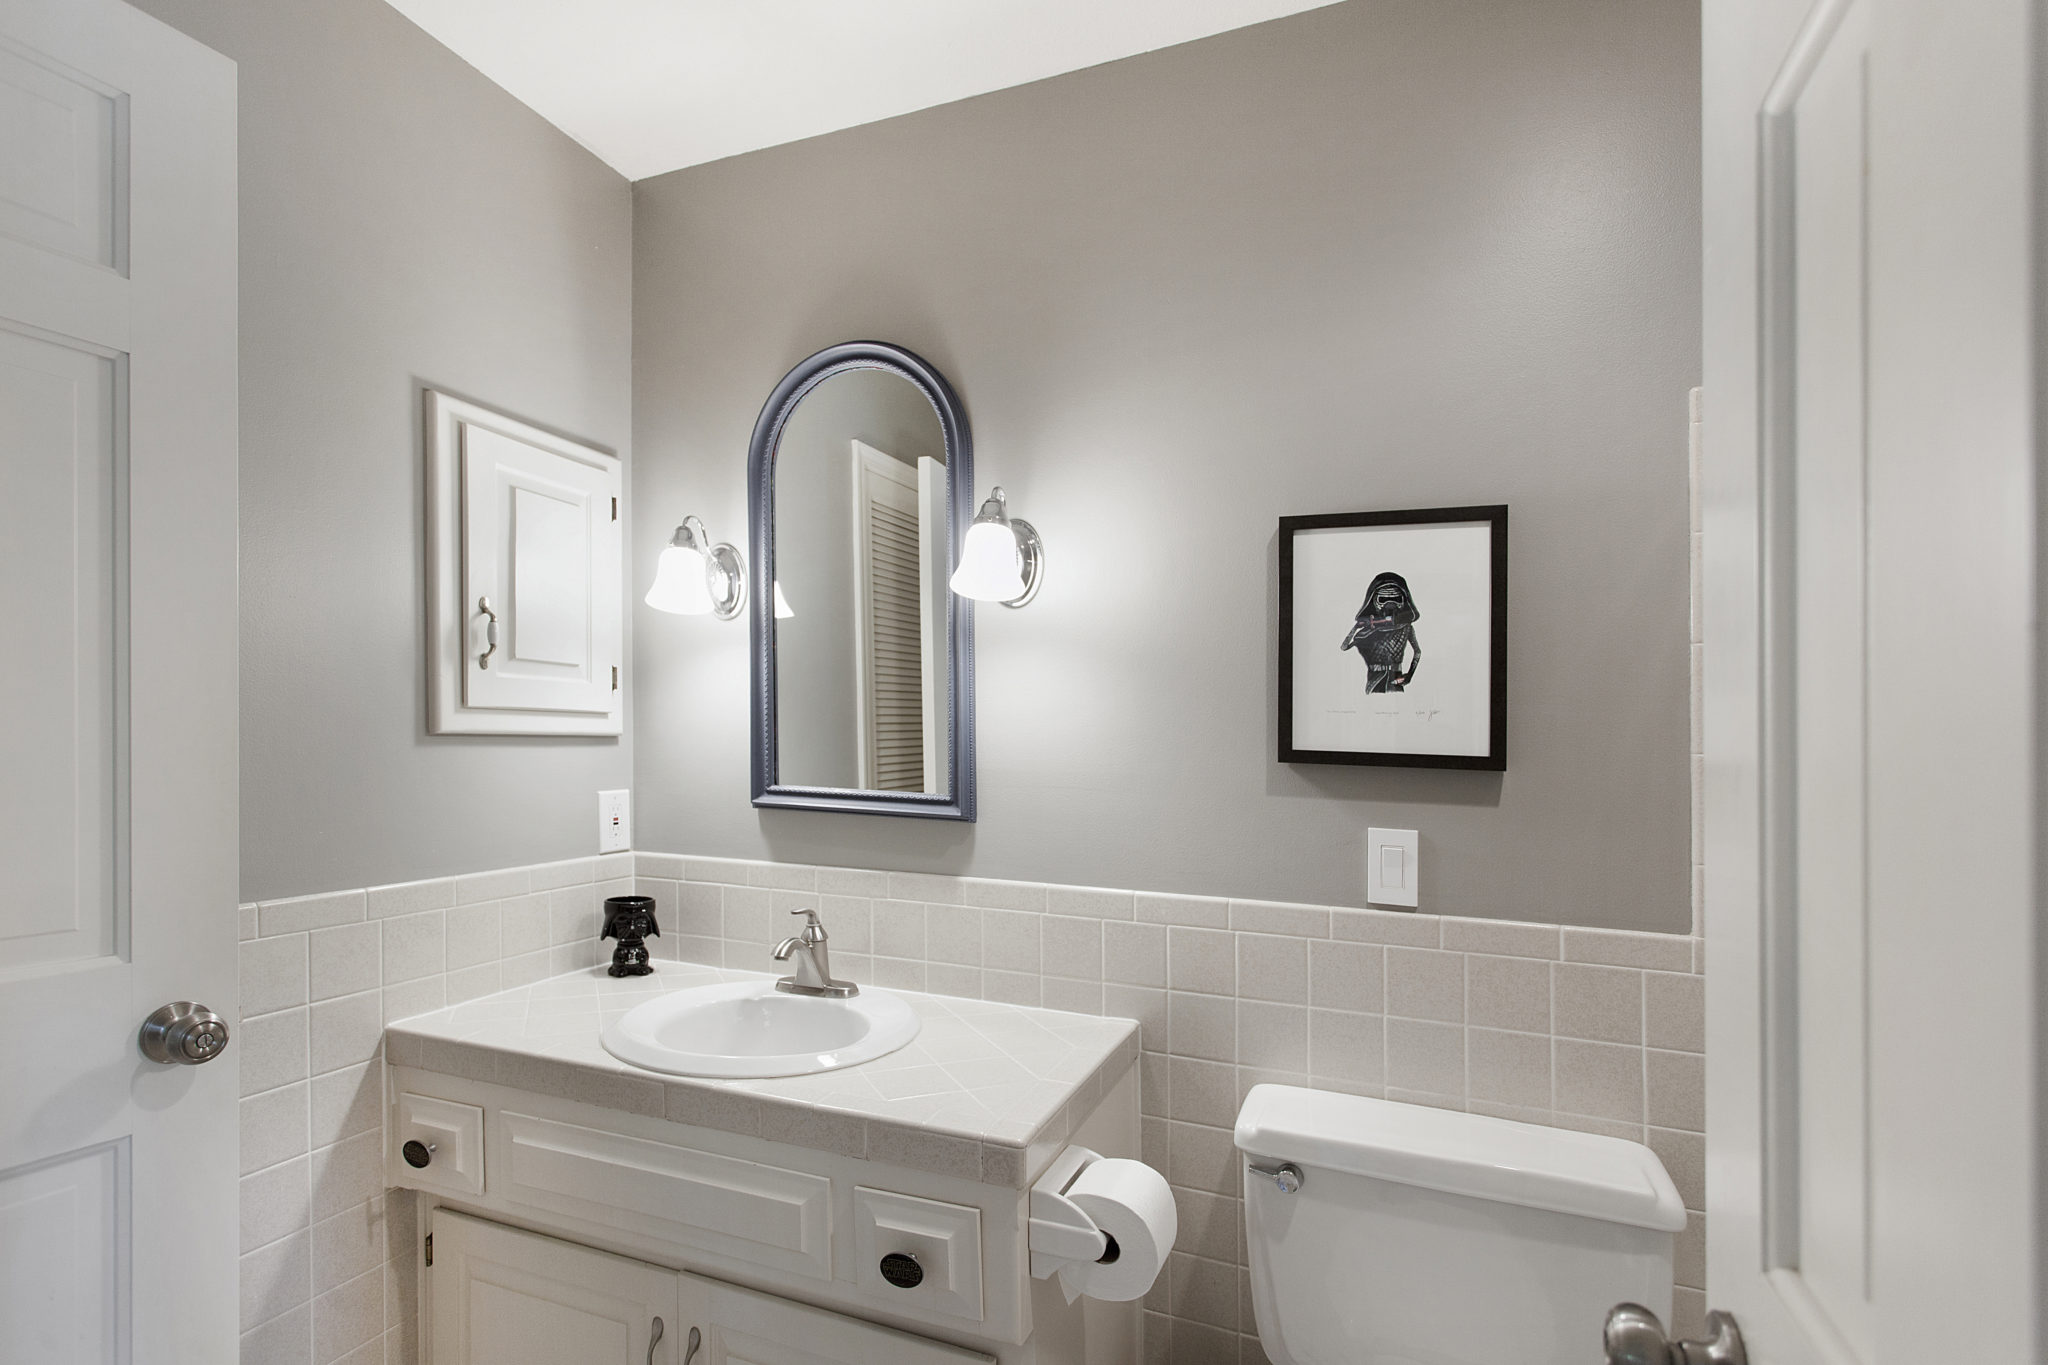
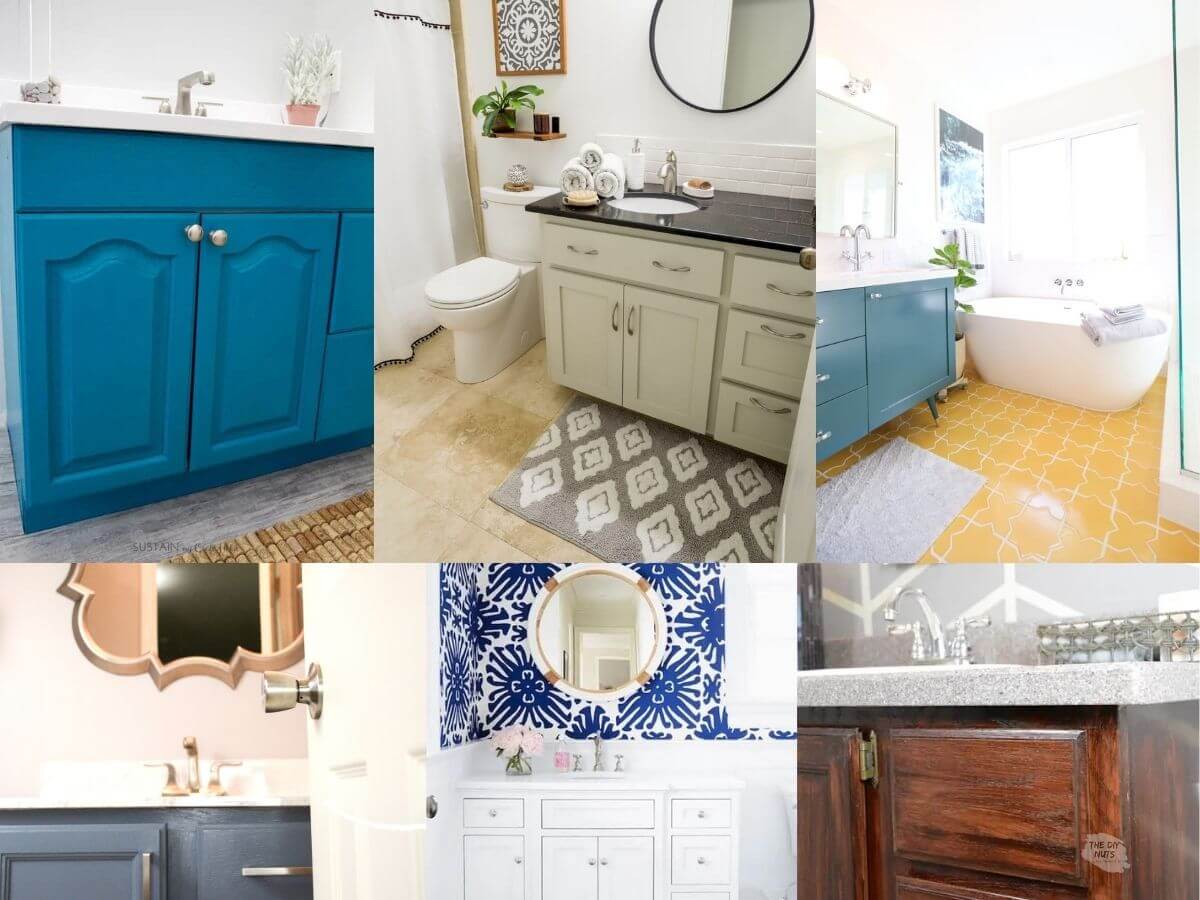
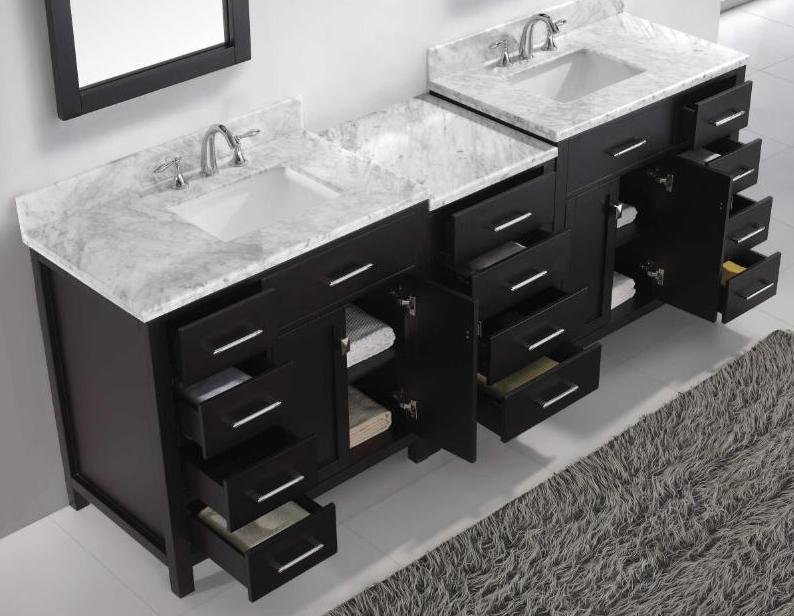
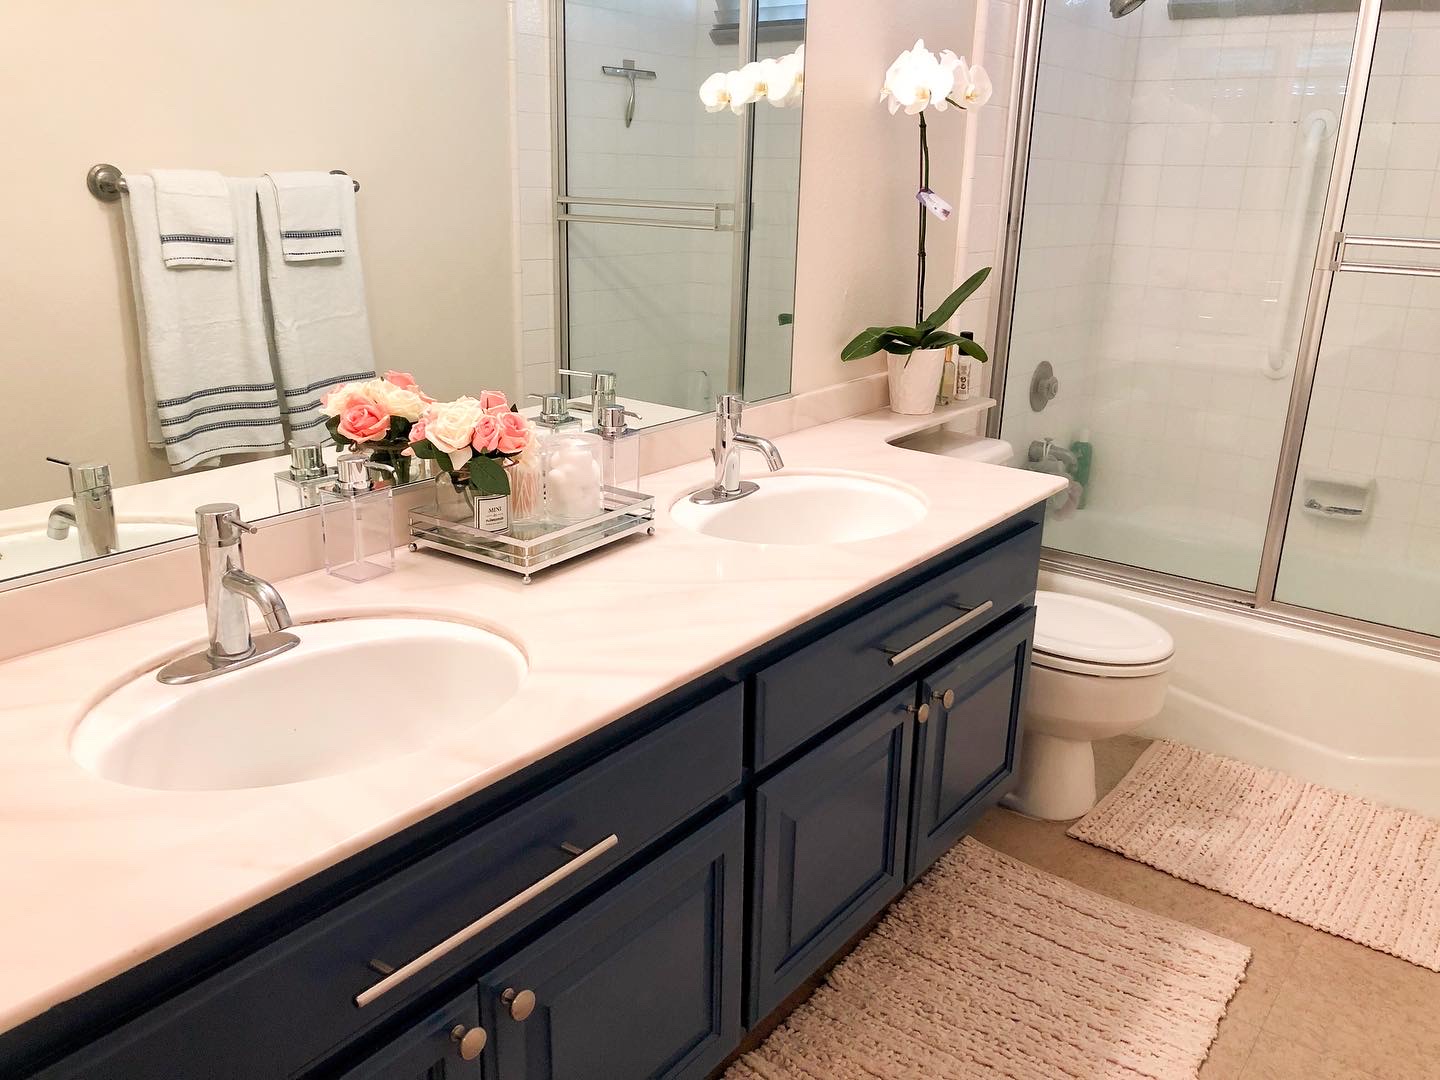
Painting your 90's bathroom vanity is a simple and cost-effective way to update its look. You can choose from a wide range of paint colors to match your bathroom's overall aesthetic. For a modern and sophisticated look, opt for neutral shades like white, gray, or black. If you want to make a statement, consider bold colors like navy blue, emerald green, or even a soft pink. Another way to update your 90's bathroom vanity is by using two different colors. You can paint the base in one color and the doors and drawers in a contrasting color. This will give your vanity a unique and eye-catching look.Updating a 90's Bathroom Vanity with Paint

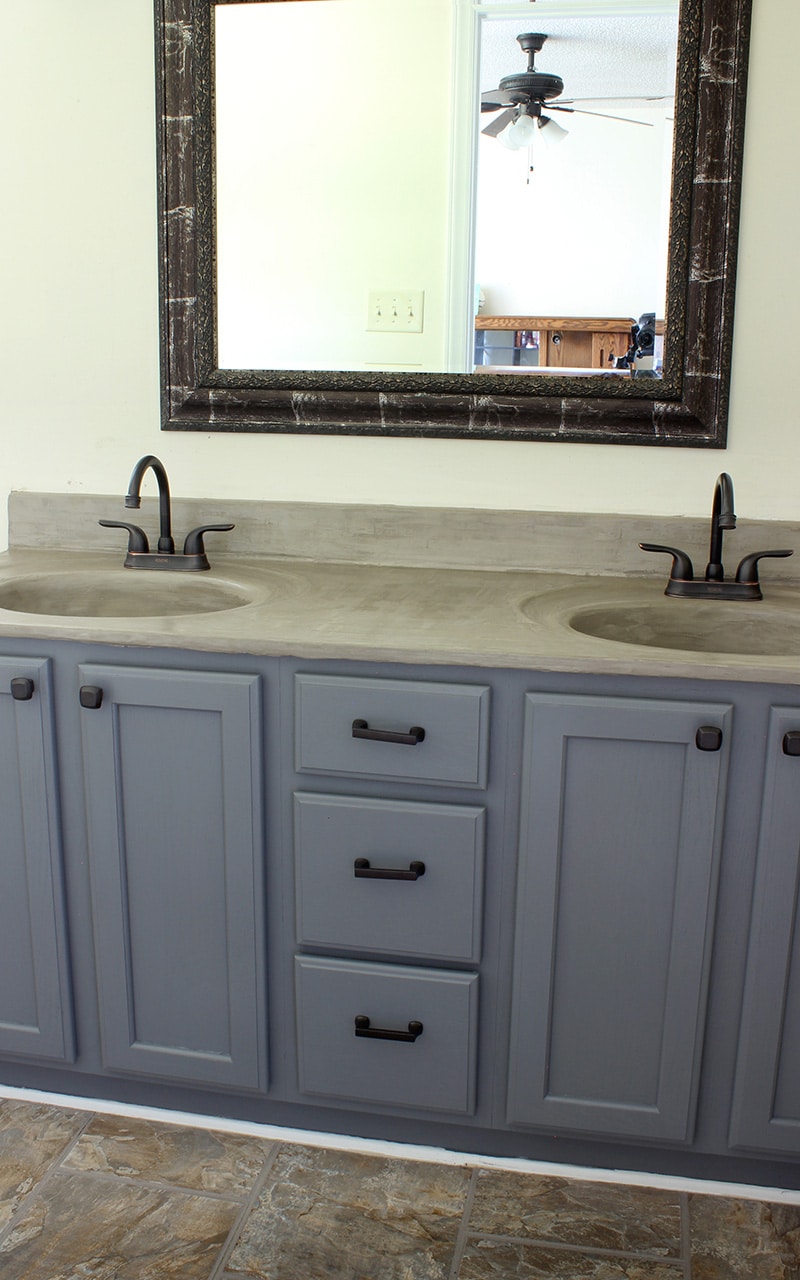

Updating a 90's Bathroom Vanity with Paint


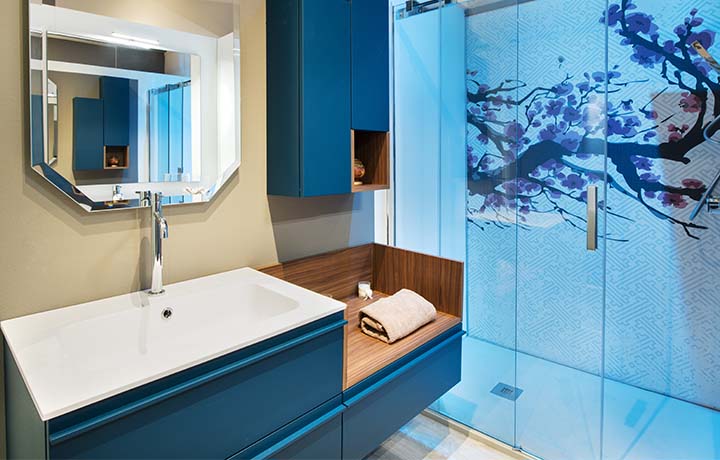
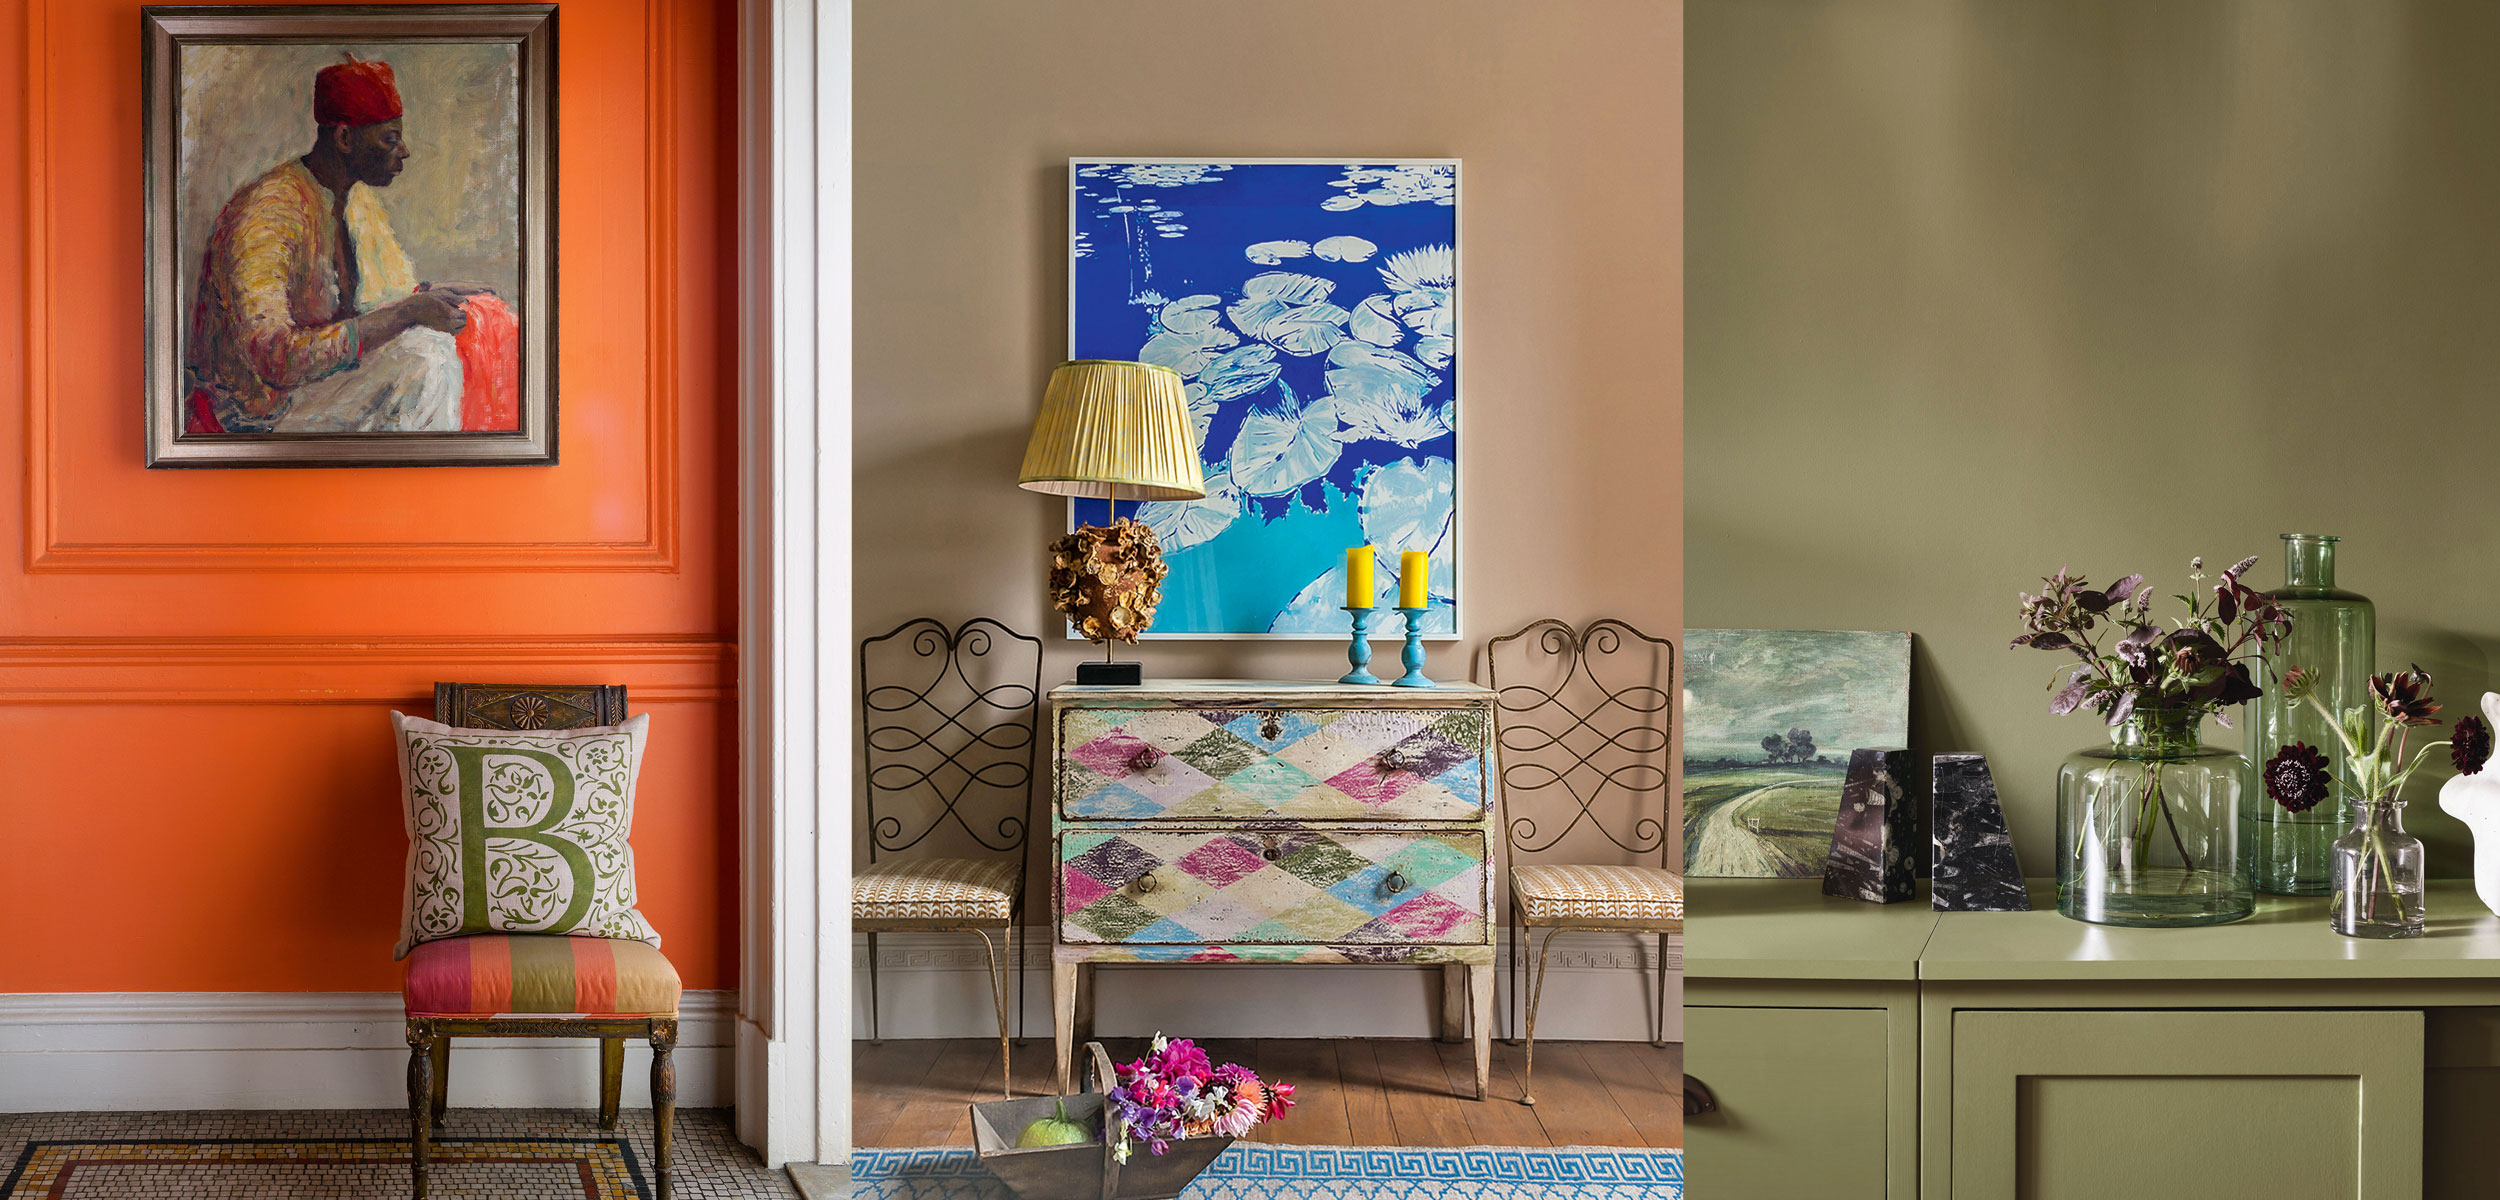
As mentioned before, there are many paint colors to choose from when painting your 90's bathroom vanity. But if you're unsure which color will work best, here are a few suggestions. White: A classic and timeless choice, white can brighten up a dark bathroom and give a clean and fresh look. Gray: A popular neutral, gray can add a touch of sophistication to your 90's bathroom vanity. Black: For a bold and dramatic look, consider painting your vanity black. This color works well with both modern and traditional styles. Blue: Shades of blue, such as navy or royal blue, can add a pop of color to your bathroom and create a spa-like atmosphere. Green: If you want to bring some nature into your bathroom, consider shades of green like sage or mint for a calming and refreshing vibe.Best Paint Colors for a 90's Bathroom Vanity
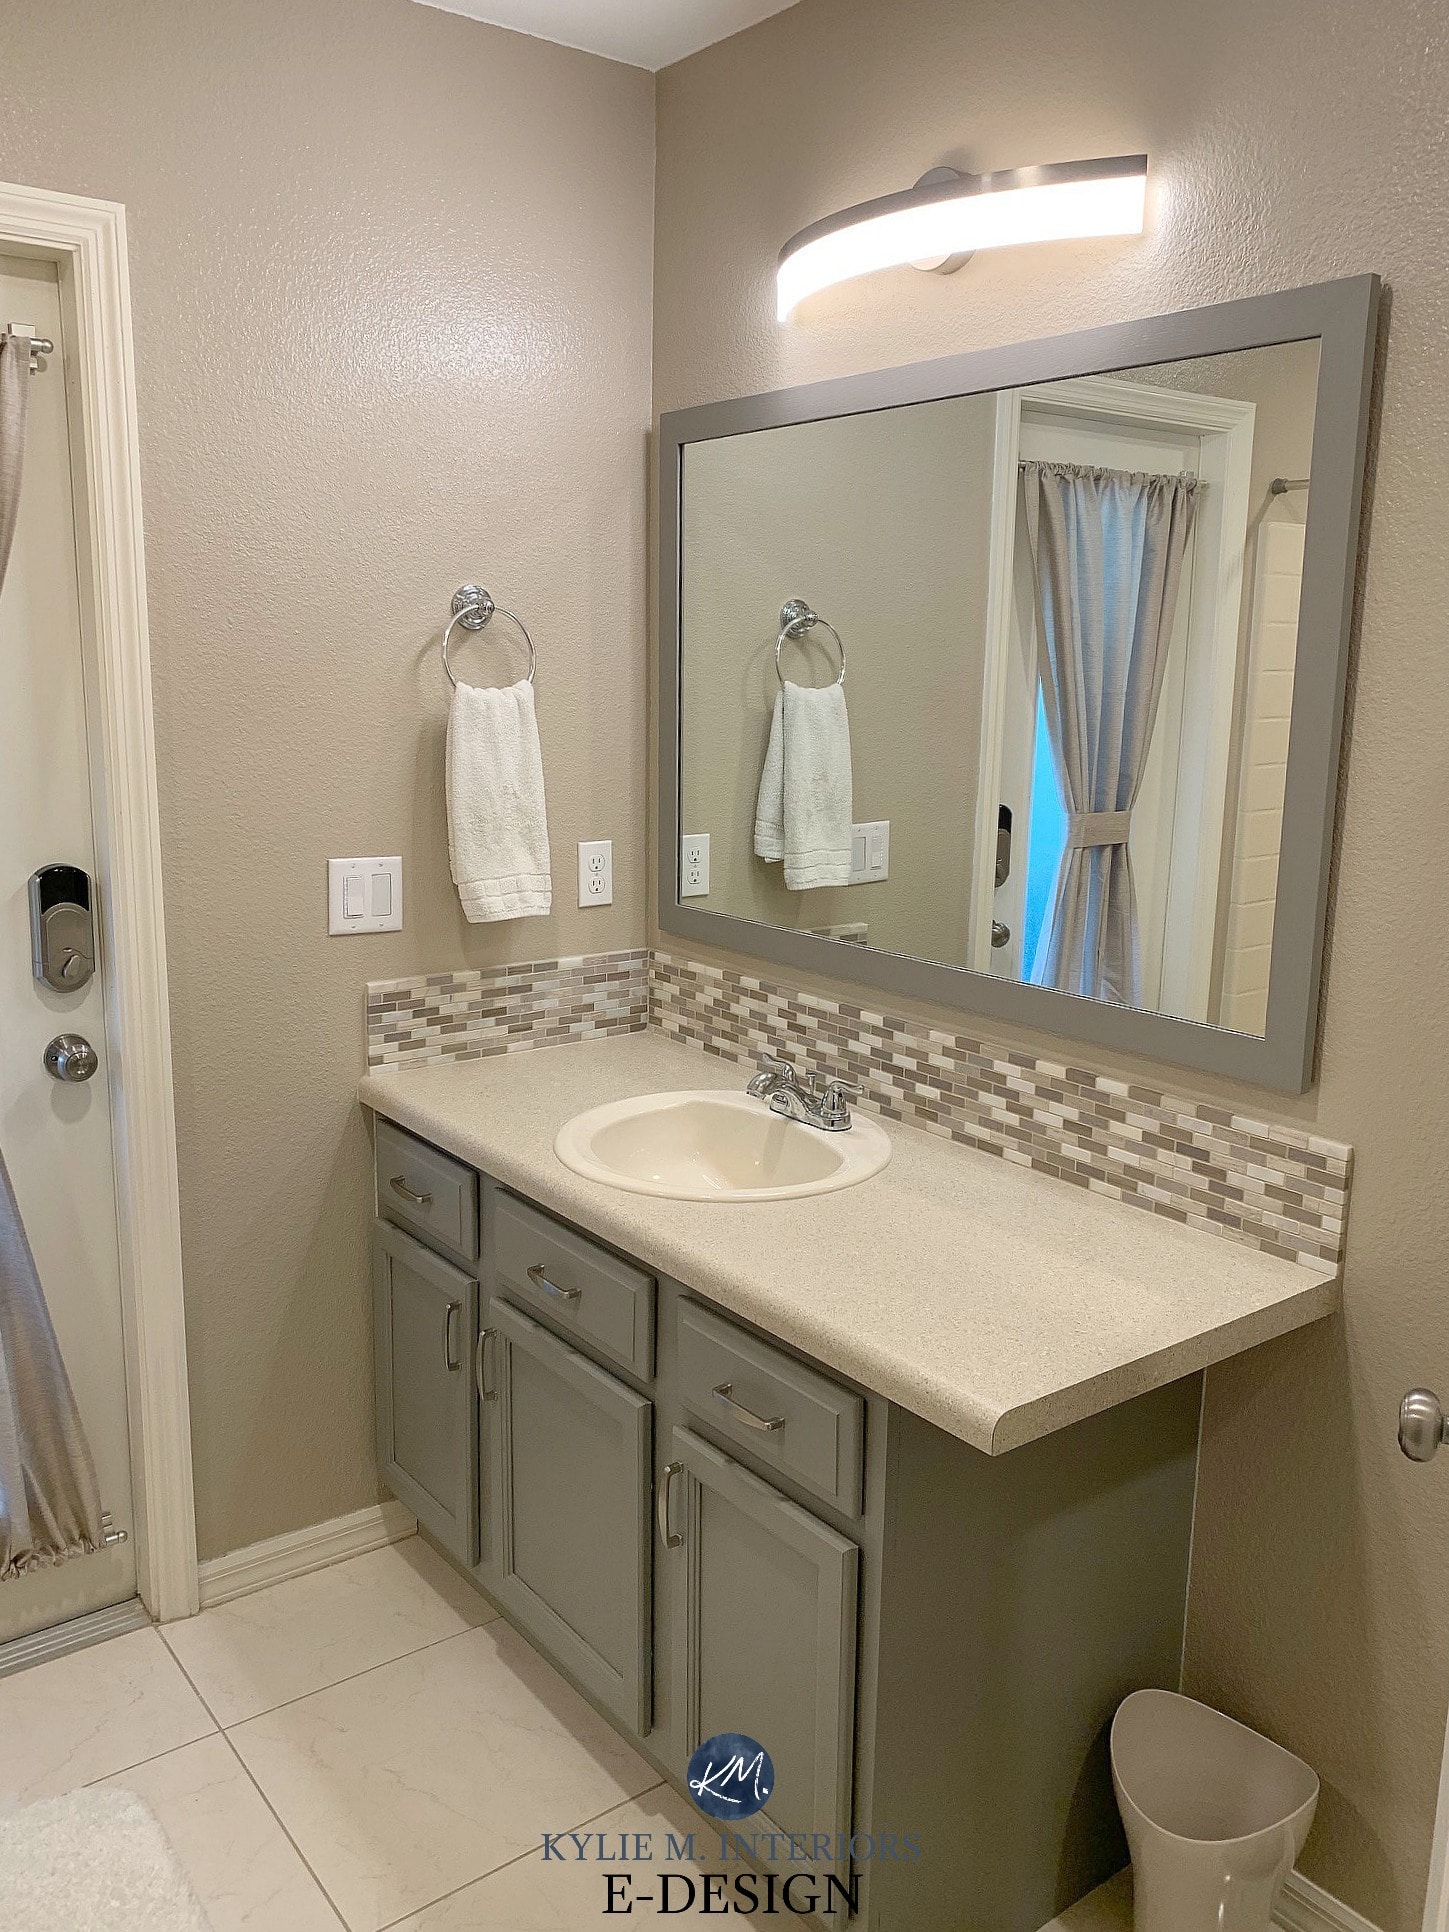

Best Paint Colors for a 90's Bathroom Vanity


:max_bytes(150000):strip_icc()/paint-colors-3d46345ad06b47c5b61883916c6a06ea.gif)
A fresh coat of paint can completely transform the look of your 90's bathroom vanity. It can make it look like a brand new piece of furniture and give your bathroom a modern and updated feel. So, don't be afraid to experiment with different colors and techniques to find the perfect look for your vanity.Transforming a 90's Bathroom Vanity with Paint


Transforming a 90's Bathroom Vanity with Paint


To summarize, here's a step-by-step guide to painting your 90's bathroom vanity: 1. Remove all hardware and drawers from the vanity. 2. Clean the surface with mild soap and water. 3. Lightly sand the vanity to create a smooth surface. 4. Apply a high-quality primer designed for bathroom cabinets. 5. Allow the primer to dry completely. 6. Choose a high-quality paint and apply 2-3 coats, allowing each coat to dry completely. 7. Consider adding a protective topcoat for durability. 8. Reattach hardware and drawers.Step-by-Step Guide to Painting a 90's Bathroom Vanity

Step-by-Step Guide to Painting a 90's Bathroom Vanity


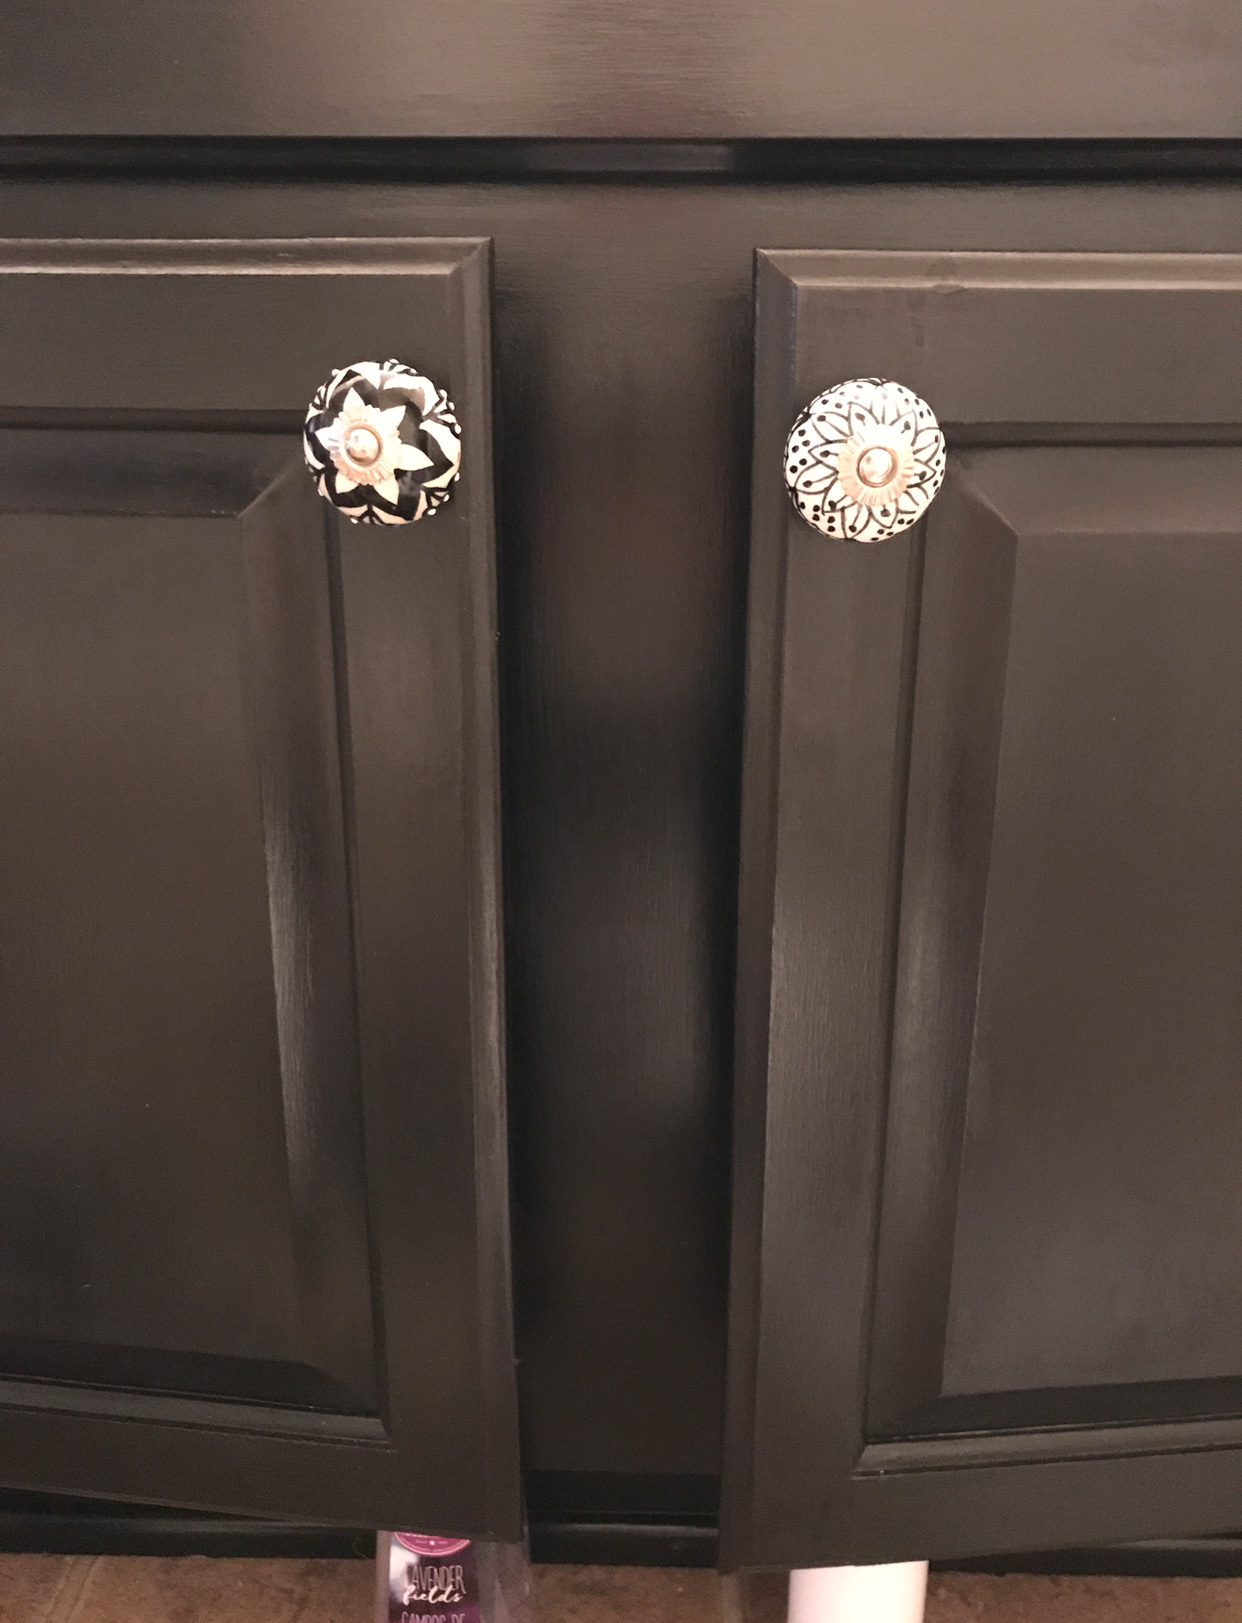
Here are a few tips to keep in mind when painting your 90's bathroom vanity: Choose the right paint: Make sure to use a high-quality paint that is specifically designed for bathroom cabinets to ensure durability and longevity. Properly prepare the surface: Cleaning and sanding the surface before painting will ensure that the paint adheres well and provides a smooth finish. Allow enough drying time: Don't rush the process. Allow each coat of paint to dry completely before adding the next one. Consider the hardware: If you're happy with the current hardware, make sure to remove it before painting and reattach it once the paint is dry. If you want to update the hardware, consider spray painting it to match your new vanity color.Tips for Painting a 90's Bathroom Vanity
Tips for Painting a 90's Bathroom Vanity

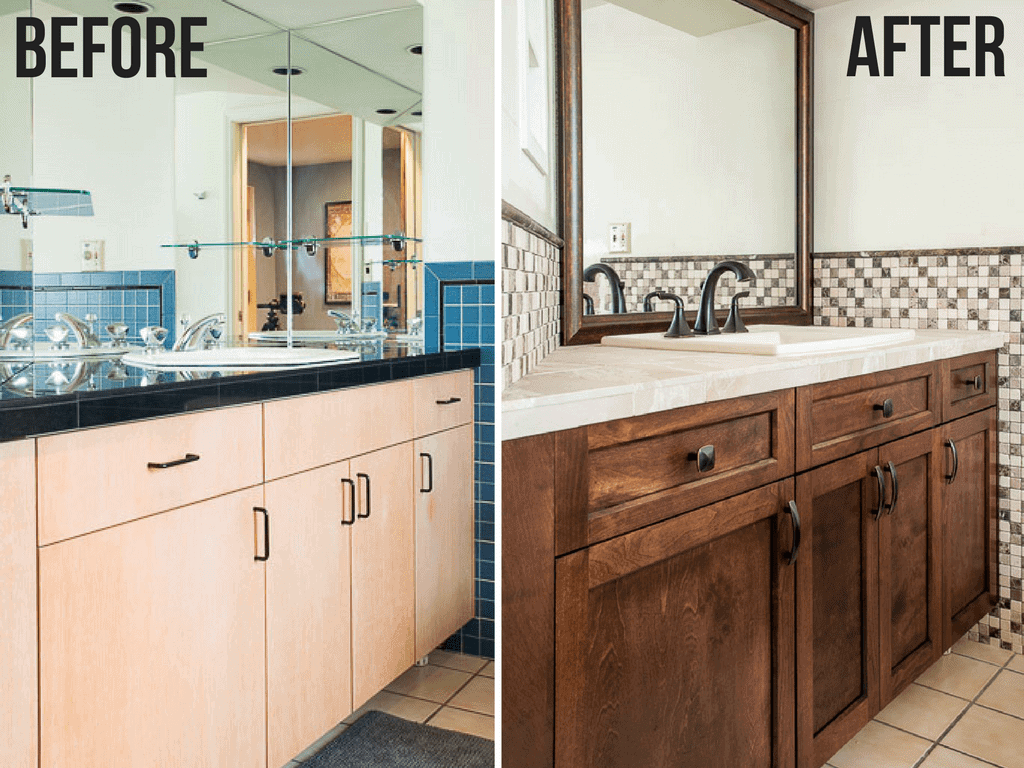
To truly appreciate the impact of painting your 90's bathroom vanity, take a before and after photo. You'll be amazed at the difference it can make.Before and After: Painted 90's Bathroom Vanity

Before and After: Painted 90's Bathroom Vanity


In conclusion, painting your 90's bathroom vanity is a simple and budget-friendly way to give your bathroom a much-needed update. With a little bit of effort and the right paint, you can transform your outdated vanity into a stylish and modern piece that will elevate the look of your entire bathroom. So, don't wait any longer, grab your painting supplies and get to work!Revamp Your 90's Bathroom Vanity with Paint


Revamp Your 90's Bathroom Vanity with Paint


Why Paint Your 90's Bathroom Vanity?

Revamp Your Outdated Bathroom with a Fresh Coat of Paint
 Are you tired of your outdated 90's bathroom vanity? Do you want to give your bathroom a new and modern look without breaking the bank? Look no further than a simple coat of paint to transform your bathroom and bring it into the 21st century.
Painting your 90's bathroom vanity is a cost-effective and efficient way to update your bathroom. Instead of spending thousands of dollars on a complete renovation, a simple paint job can give your bathroom a fresh, new look in just a few hours. Not only will it save you money, but it also allows you to customize the color and style to your personal taste.
Transform Your Vanity into a Focal Point
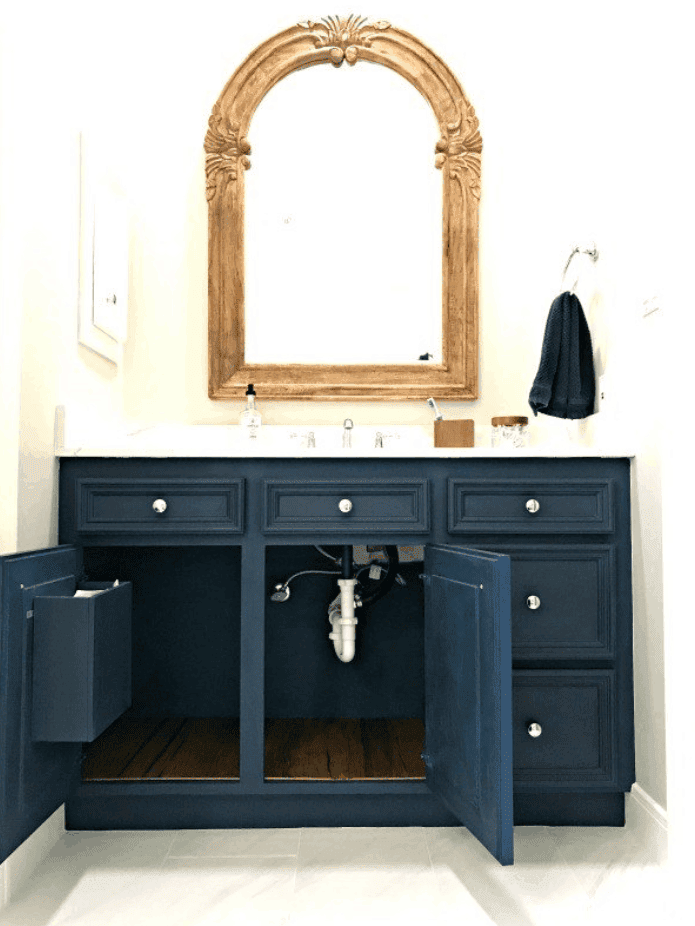
By painting your 90's bathroom vanity, you can turn it into a focal point in your bathroom. Choose a bold and vibrant color to make a statement or opt for a neutral color to create a more subtle look. You can even add a pop of color by painting just the cabinet doors or drawers, leaving the rest of the vanity white or a neutral color. This will not only add interest to your bathroom but also create a unique and personalized touch.
Protect Your Vanity and Extend Its Lifespan
Over time, the finish on your 90's bathroom vanity may start to wear off and become damaged. By painting it, you can protect the wood and extend its lifespan. This is especially important for bathrooms that are prone to high levels of moisture, which can cause the wood to expand and contract, leading to cracks and warping. A fresh coat of paint will seal the wood and prevent any future damage, saving you money in the long run.
Add Value to Your Home
If you're thinking of selling your home in the future, a fresh coat of paint on your 90's bathroom vanity can add value to your property. Potential buyers will appreciate the updated look and feel of your bathroom without the added cost of a full renovation. It will also make your home stand out in a competitive market, potentially increasing your chances of a quicker sale.
In conclusion, painting your 90's bathroom vanity is a simple yet effective way to update your bathroom and bring it into the 21st century. It is cost-effective, customizable, and can add value to your home. So why wait? Grab your paintbrush and transform your outdated bathroom into a modern and stylish space that you'll love.
Are you tired of your outdated 90's bathroom vanity? Do you want to give your bathroom a new and modern look without breaking the bank? Look no further than a simple coat of paint to transform your bathroom and bring it into the 21st century.
Painting your 90's bathroom vanity is a cost-effective and efficient way to update your bathroom. Instead of spending thousands of dollars on a complete renovation, a simple paint job can give your bathroom a fresh, new look in just a few hours. Not only will it save you money, but it also allows you to customize the color and style to your personal taste.
Transform Your Vanity into a Focal Point
By painting your 90's bathroom vanity, you can turn it into a focal point in your bathroom. Choose a bold and vibrant color to make a statement or opt for a neutral color to create a more subtle look. You can even add a pop of color by painting just the cabinet doors or drawers, leaving the rest of the vanity white or a neutral color. This will not only add interest to your bathroom but also create a unique and personalized touch.
Protect Your Vanity and Extend Its Lifespan
Over time, the finish on your 90's bathroom vanity may start to wear off and become damaged. By painting it, you can protect the wood and extend its lifespan. This is especially important for bathrooms that are prone to high levels of moisture, which can cause the wood to expand and contract, leading to cracks and warping. A fresh coat of paint will seal the wood and prevent any future damage, saving you money in the long run.
Add Value to Your Home
If you're thinking of selling your home in the future, a fresh coat of paint on your 90's bathroom vanity can add value to your property. Potential buyers will appreciate the updated look and feel of your bathroom without the added cost of a full renovation. It will also make your home stand out in a competitive market, potentially increasing your chances of a quicker sale.
In conclusion, painting your 90's bathroom vanity is a simple yet effective way to update your bathroom and bring it into the 21st century. It is cost-effective, customizable, and can add value to your home. So why wait? Grab your paintbrush and transform your outdated bathroom into a modern and stylish space that you'll love.