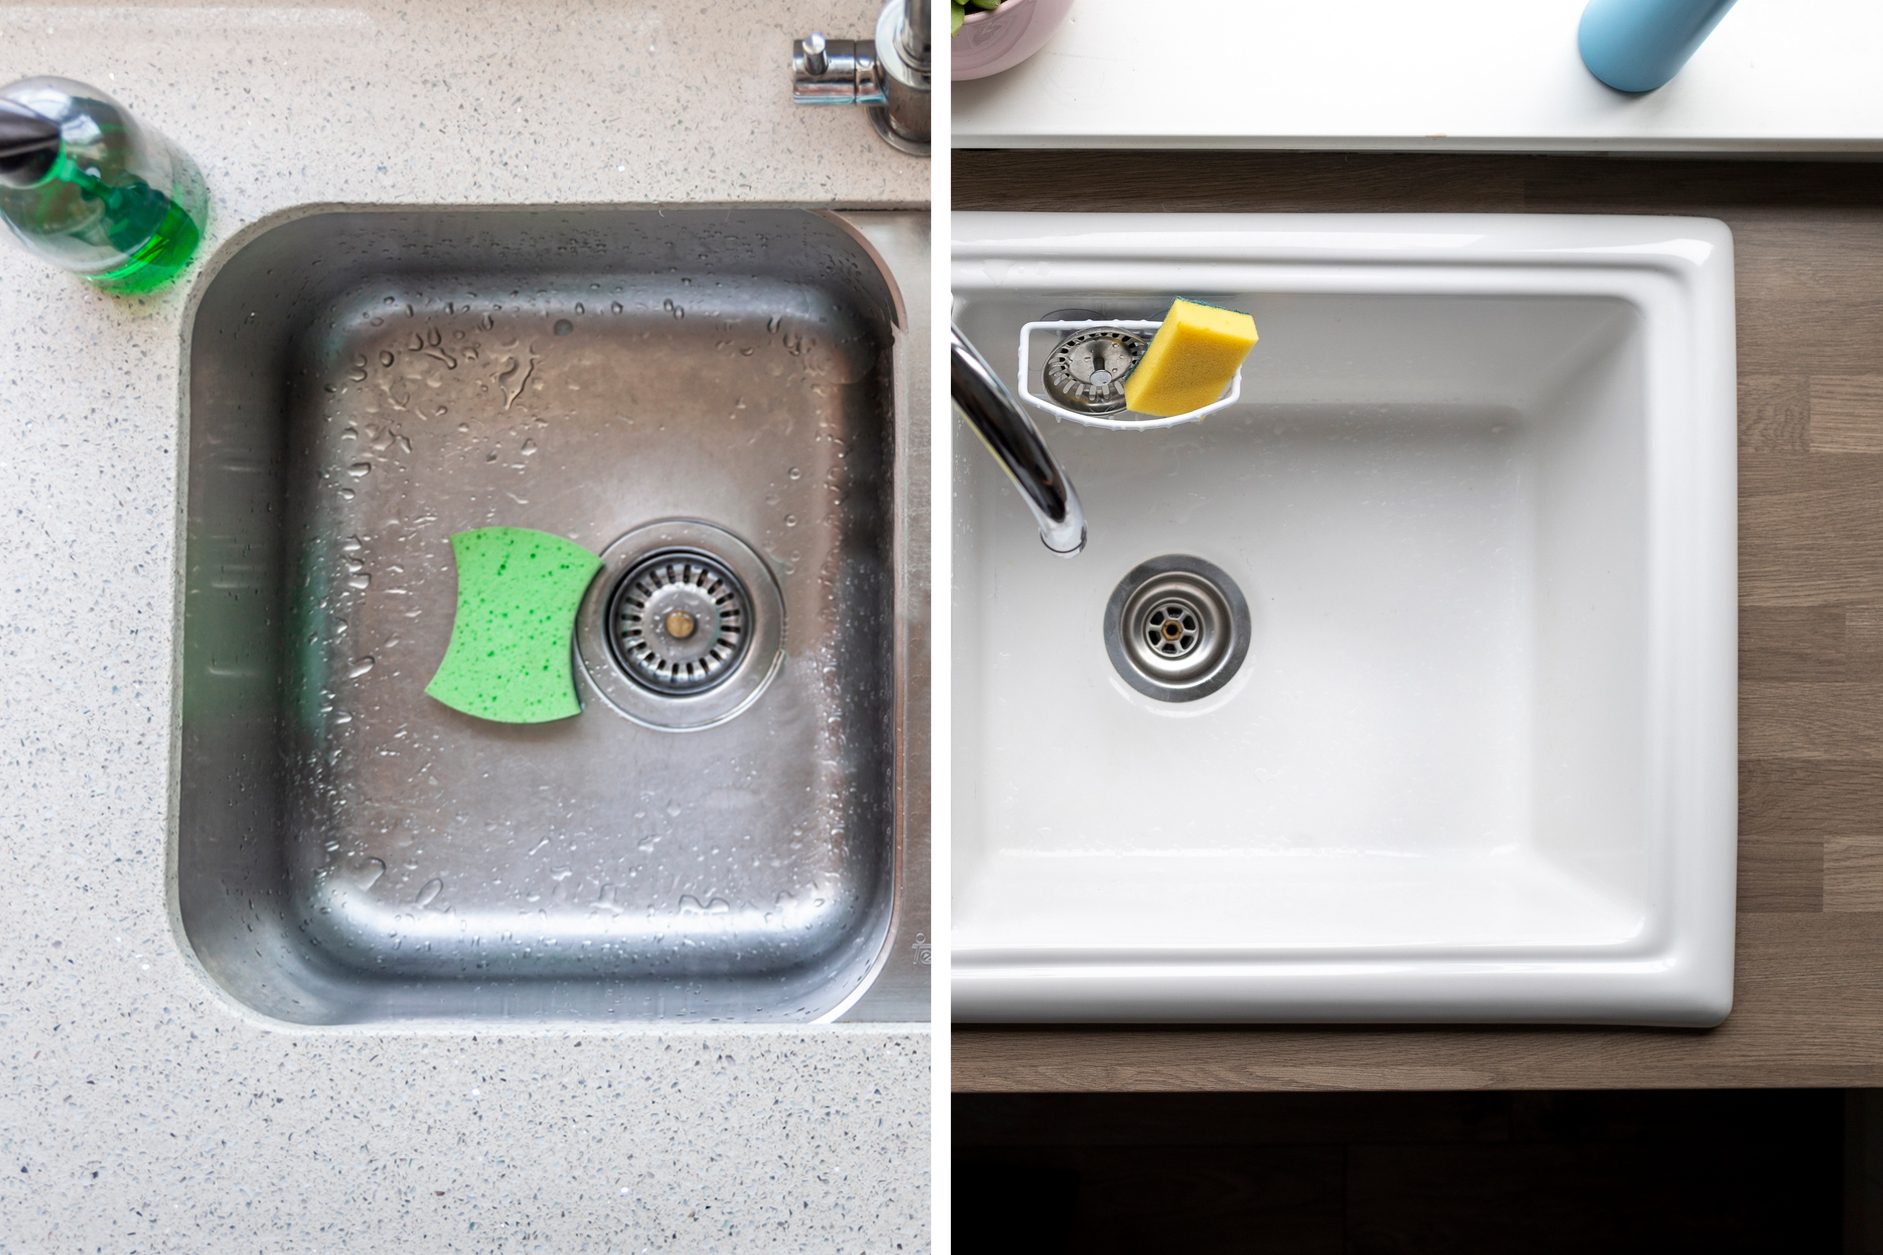
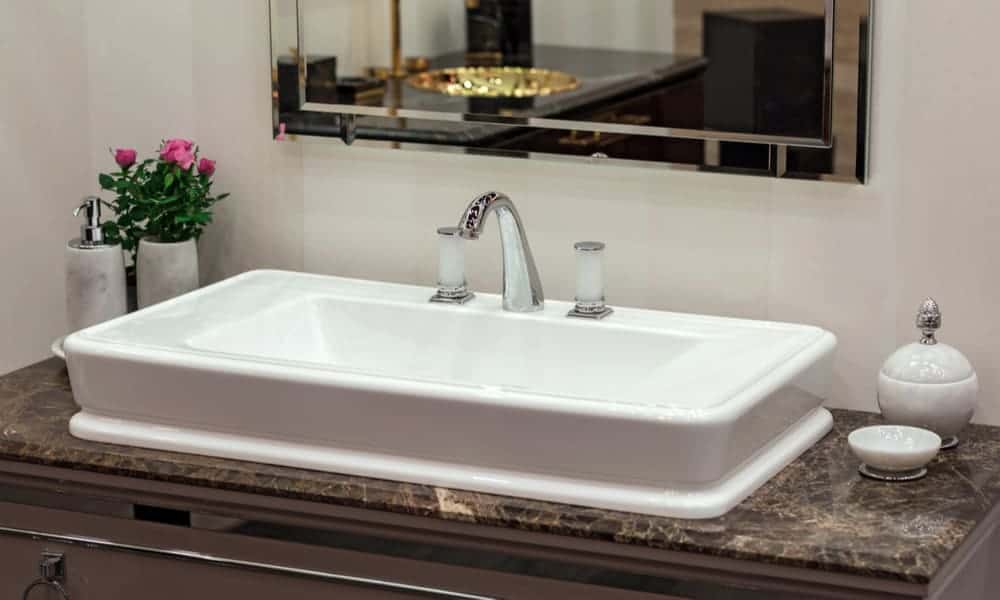
When it comes to bathroom sinks, there are two main installation methods: overmounting and undermounting. Overmounting involves placing the sink on top of the counter, while undermounting involves attaching the sink underneath the counter. Both methods have their own advantages and disadvantages, and it's important to understand the differences before deciding which one is right for your bathroom.Overmounting vs Undermounting: What's the Difference?
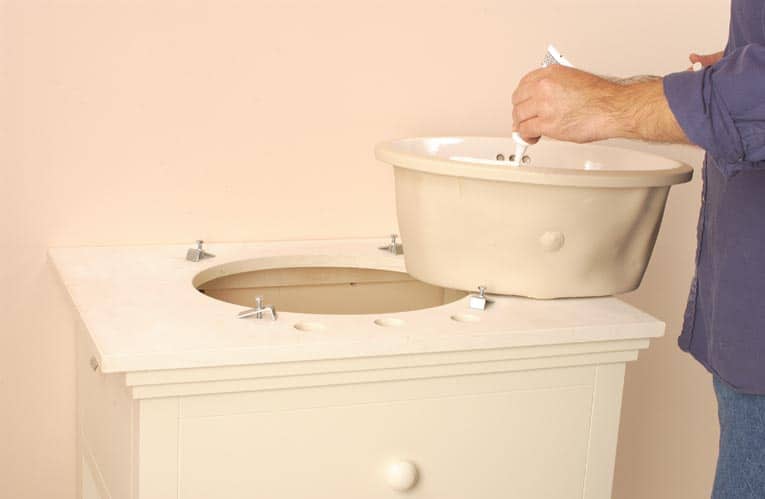
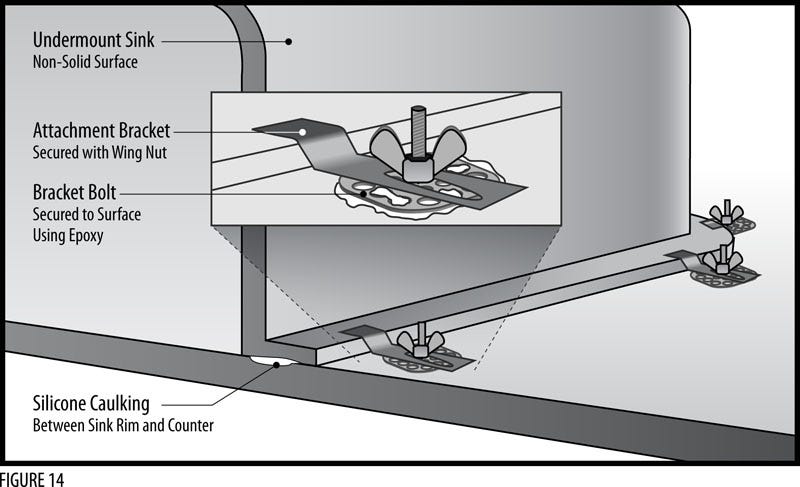
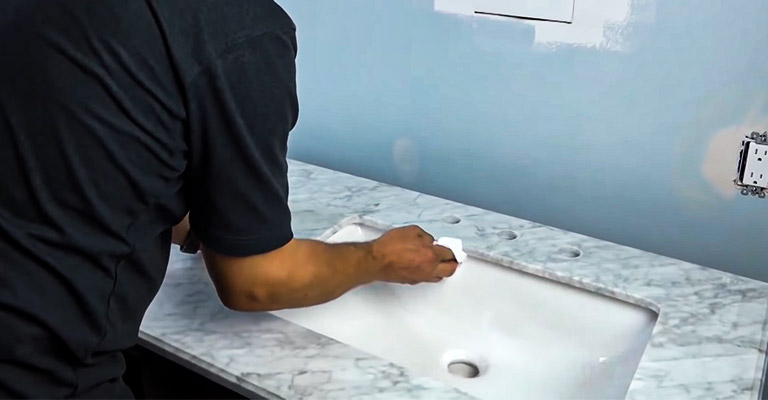
An undermount bathroom sink can add a sleek and modern touch to any bathroom. If you're considering installing one, here's a step-by-step guide on how to do it: Step 1: Measure your counter Before purchasing an undermount sink, you need to make sure it will fit in your bathroom counter. Measure the length and width of the opening in your counter, and make sure it matches the dimensions of the sink you want to install. Step 2: Prepare the sink Place the sink upside down on a flat surface and apply a bead of silicone caulk around the edge of the sink. This will create a watertight seal when the sink is installed. Step 3: Install the sink Place the sink into the opening in the counter and press down firmly. Wipe away any excess caulk that may have squeezed out from the edges. Step 4: Secure the sink Once the sink is in place, secure it from underneath with metal clips. These clips will hold the sink in place and prevent it from shifting. Step 5: Connect plumbing Finally, connect the plumbing to the sink and turn on the water to make sure there are no leaks. If everything looks good, you're all set!How to Install an Undermount Bathroom Sink
Both overmounting and undermounting have their own set of advantages and disadvantages. Here's a breakdown of the pros and cons of each method: Overmounting Pros:Pros and Cons of Overmounting and Undermounting Bathroom Sinks
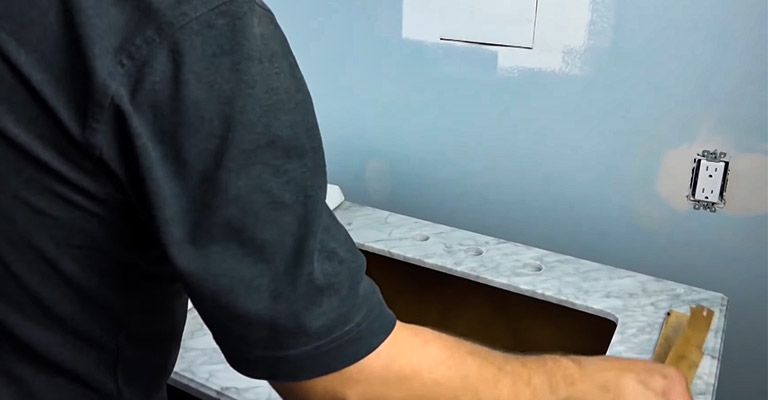
If you already have an undermount bathroom sink and want to change it to an overmount sink, here's a step-by-step guide on how to do it: Step 1: Remove the sink Remove the undermount sink by disconnecting the plumbing and unscrewing the clips holding it in place. Step 2: Check the counter Check for any damage to the counter and repair it if necessary. If the counter is in good condition, you can move on to the next step. Step 3: Measure and mark Measure the dimensions of the overmount sink and mark the spot where it will be placed on the counter. Step 4: Cut the opening Using a jigsaw, carefully cut out the opening for the sink following the marked dimensions. Step 5: Install the sink Place the sink into the opening and secure it with silicone caulk and metal clips, just like you would with an undermount sink. Step 6: Reconnect plumbing Reconnect the plumbing and turn on the water to make sure there are no leaks. Your overmount sink is now ready to use!Step-by-Step Guide to Overmounting an Undermount Bathroom Sink
If you're in the market for an undermount bathroom sink, here are ten top-rated options to consider: 1. Kohler Caxton Undermount Bathroom Sink 2. American Standard Studio Undermount Sink 3. Kraus Elavo Rectangular Undermount Sink 4. Ruvati Oval Undermount Bathroom Sink 5. Nantucket Sinks Rectangle Undermount Sink 6. MR Direct Porcelain Undermount Sink 7. VCCUCINE Rectangular Undermount Sink 8. Nantucket Sinks Large Rectangle Undermount Sink 9. KOHLER Verticyl Undermount Bathroom Sink 10. Rohl Shaws Lancaster Fireclay Undermount SinkTop 10 Undermount Bathroom Sinks for Your Renovation
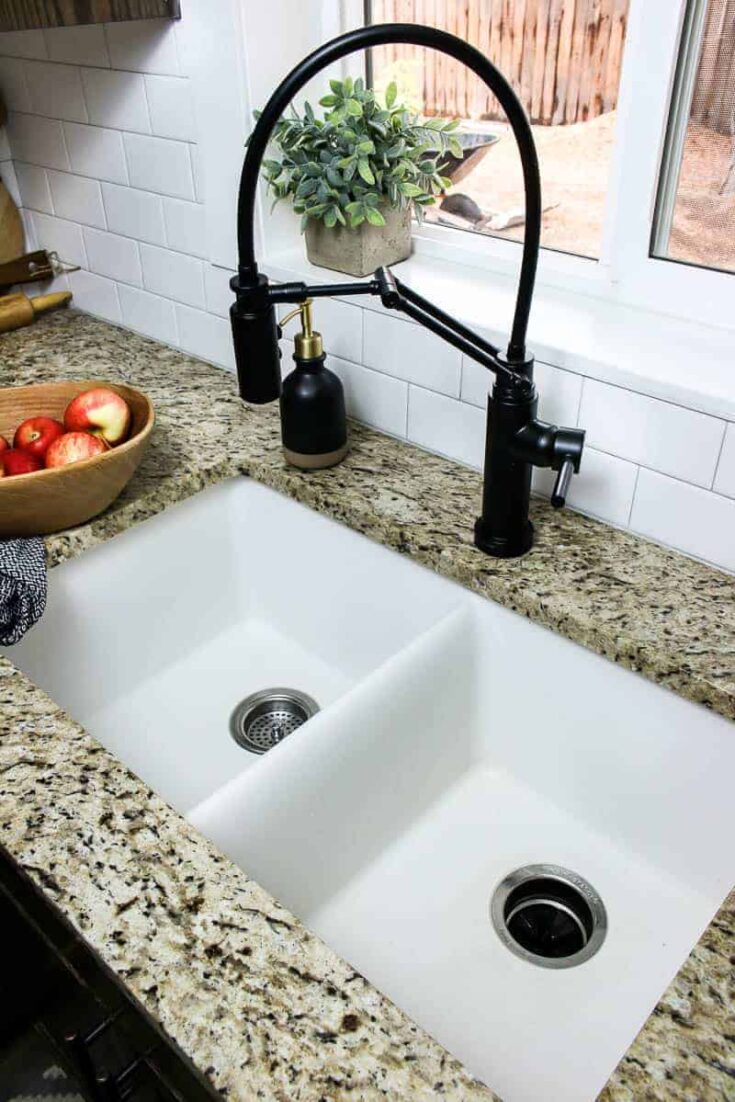
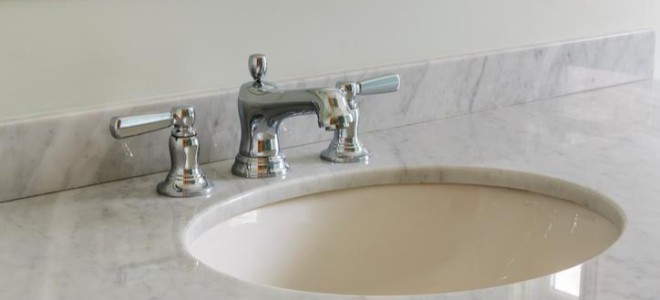
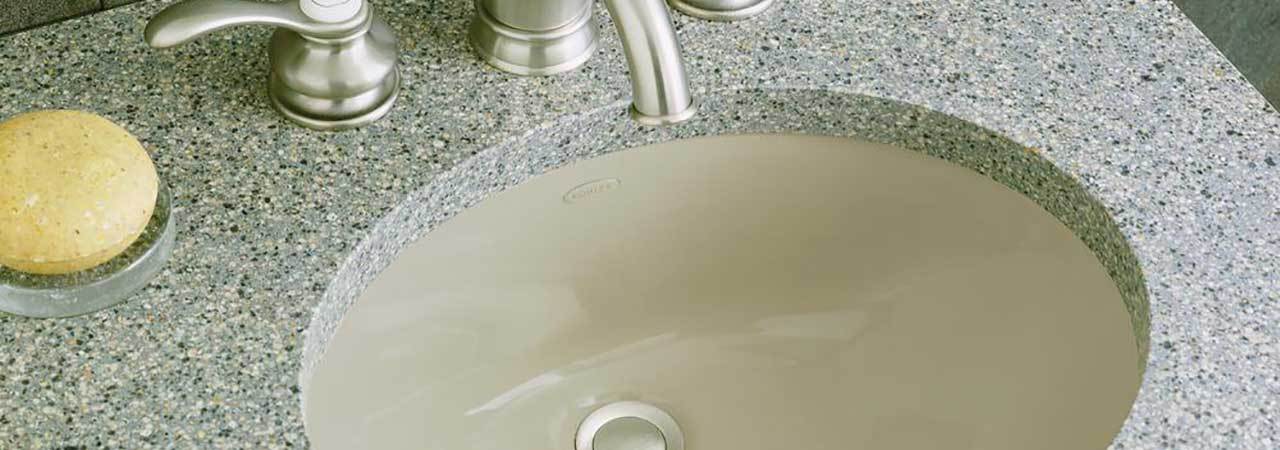
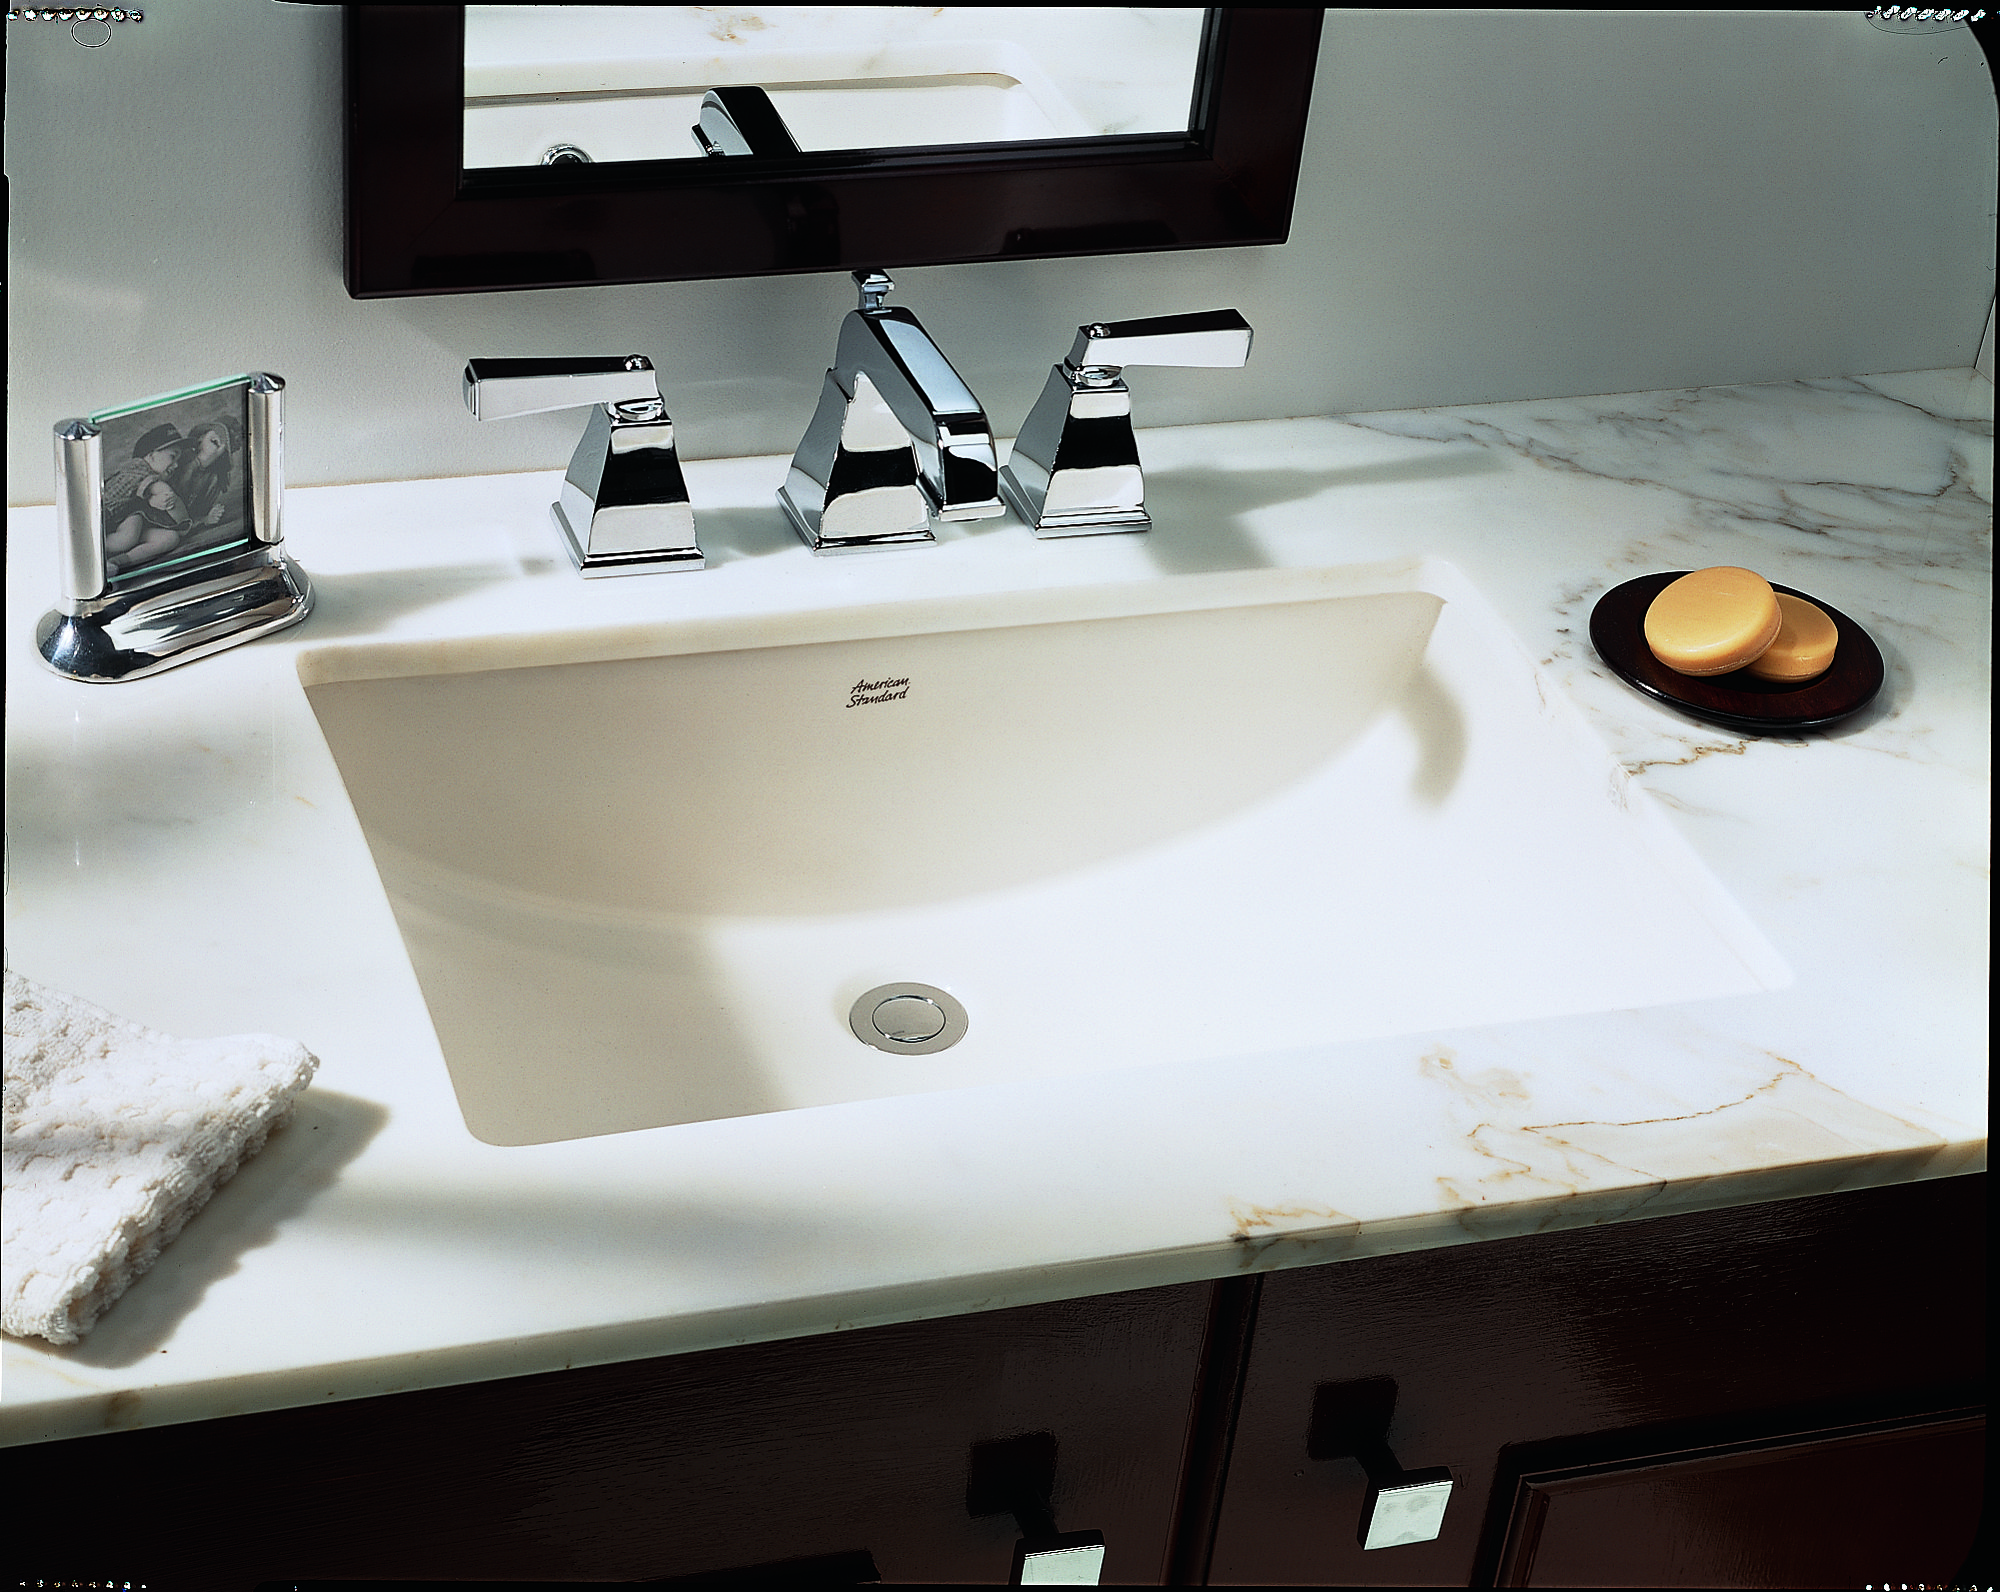
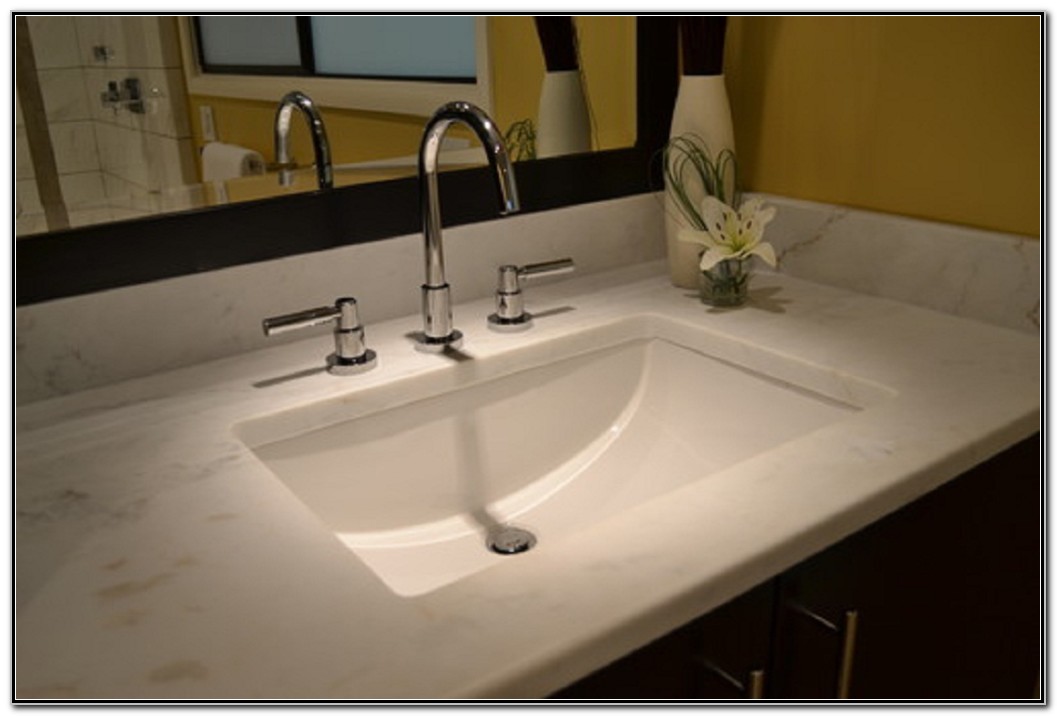
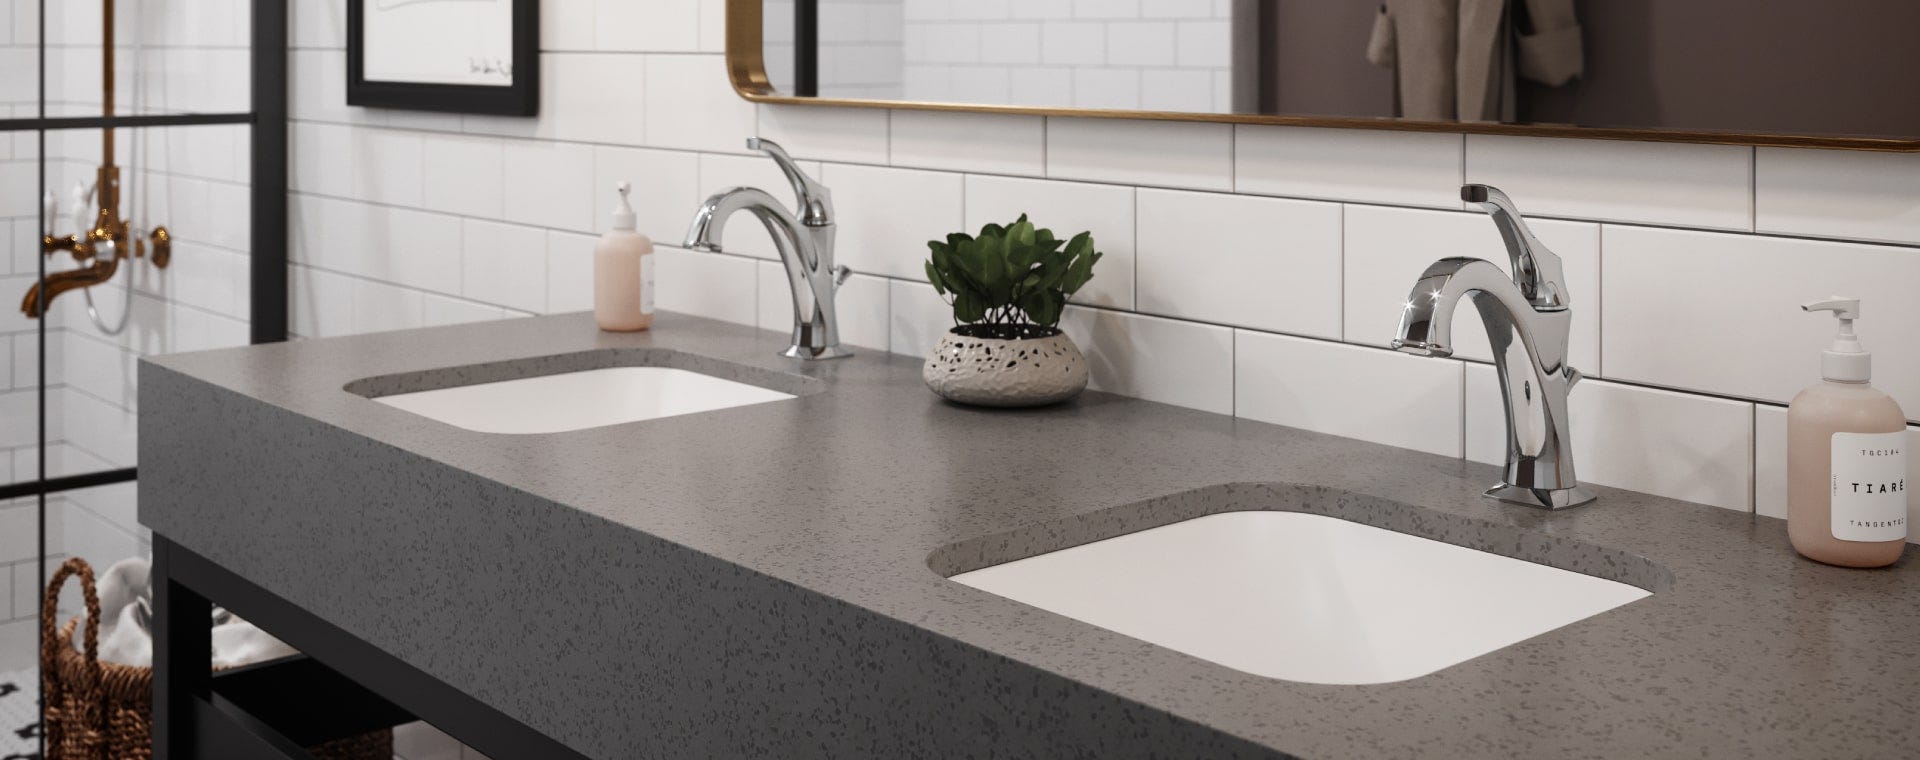
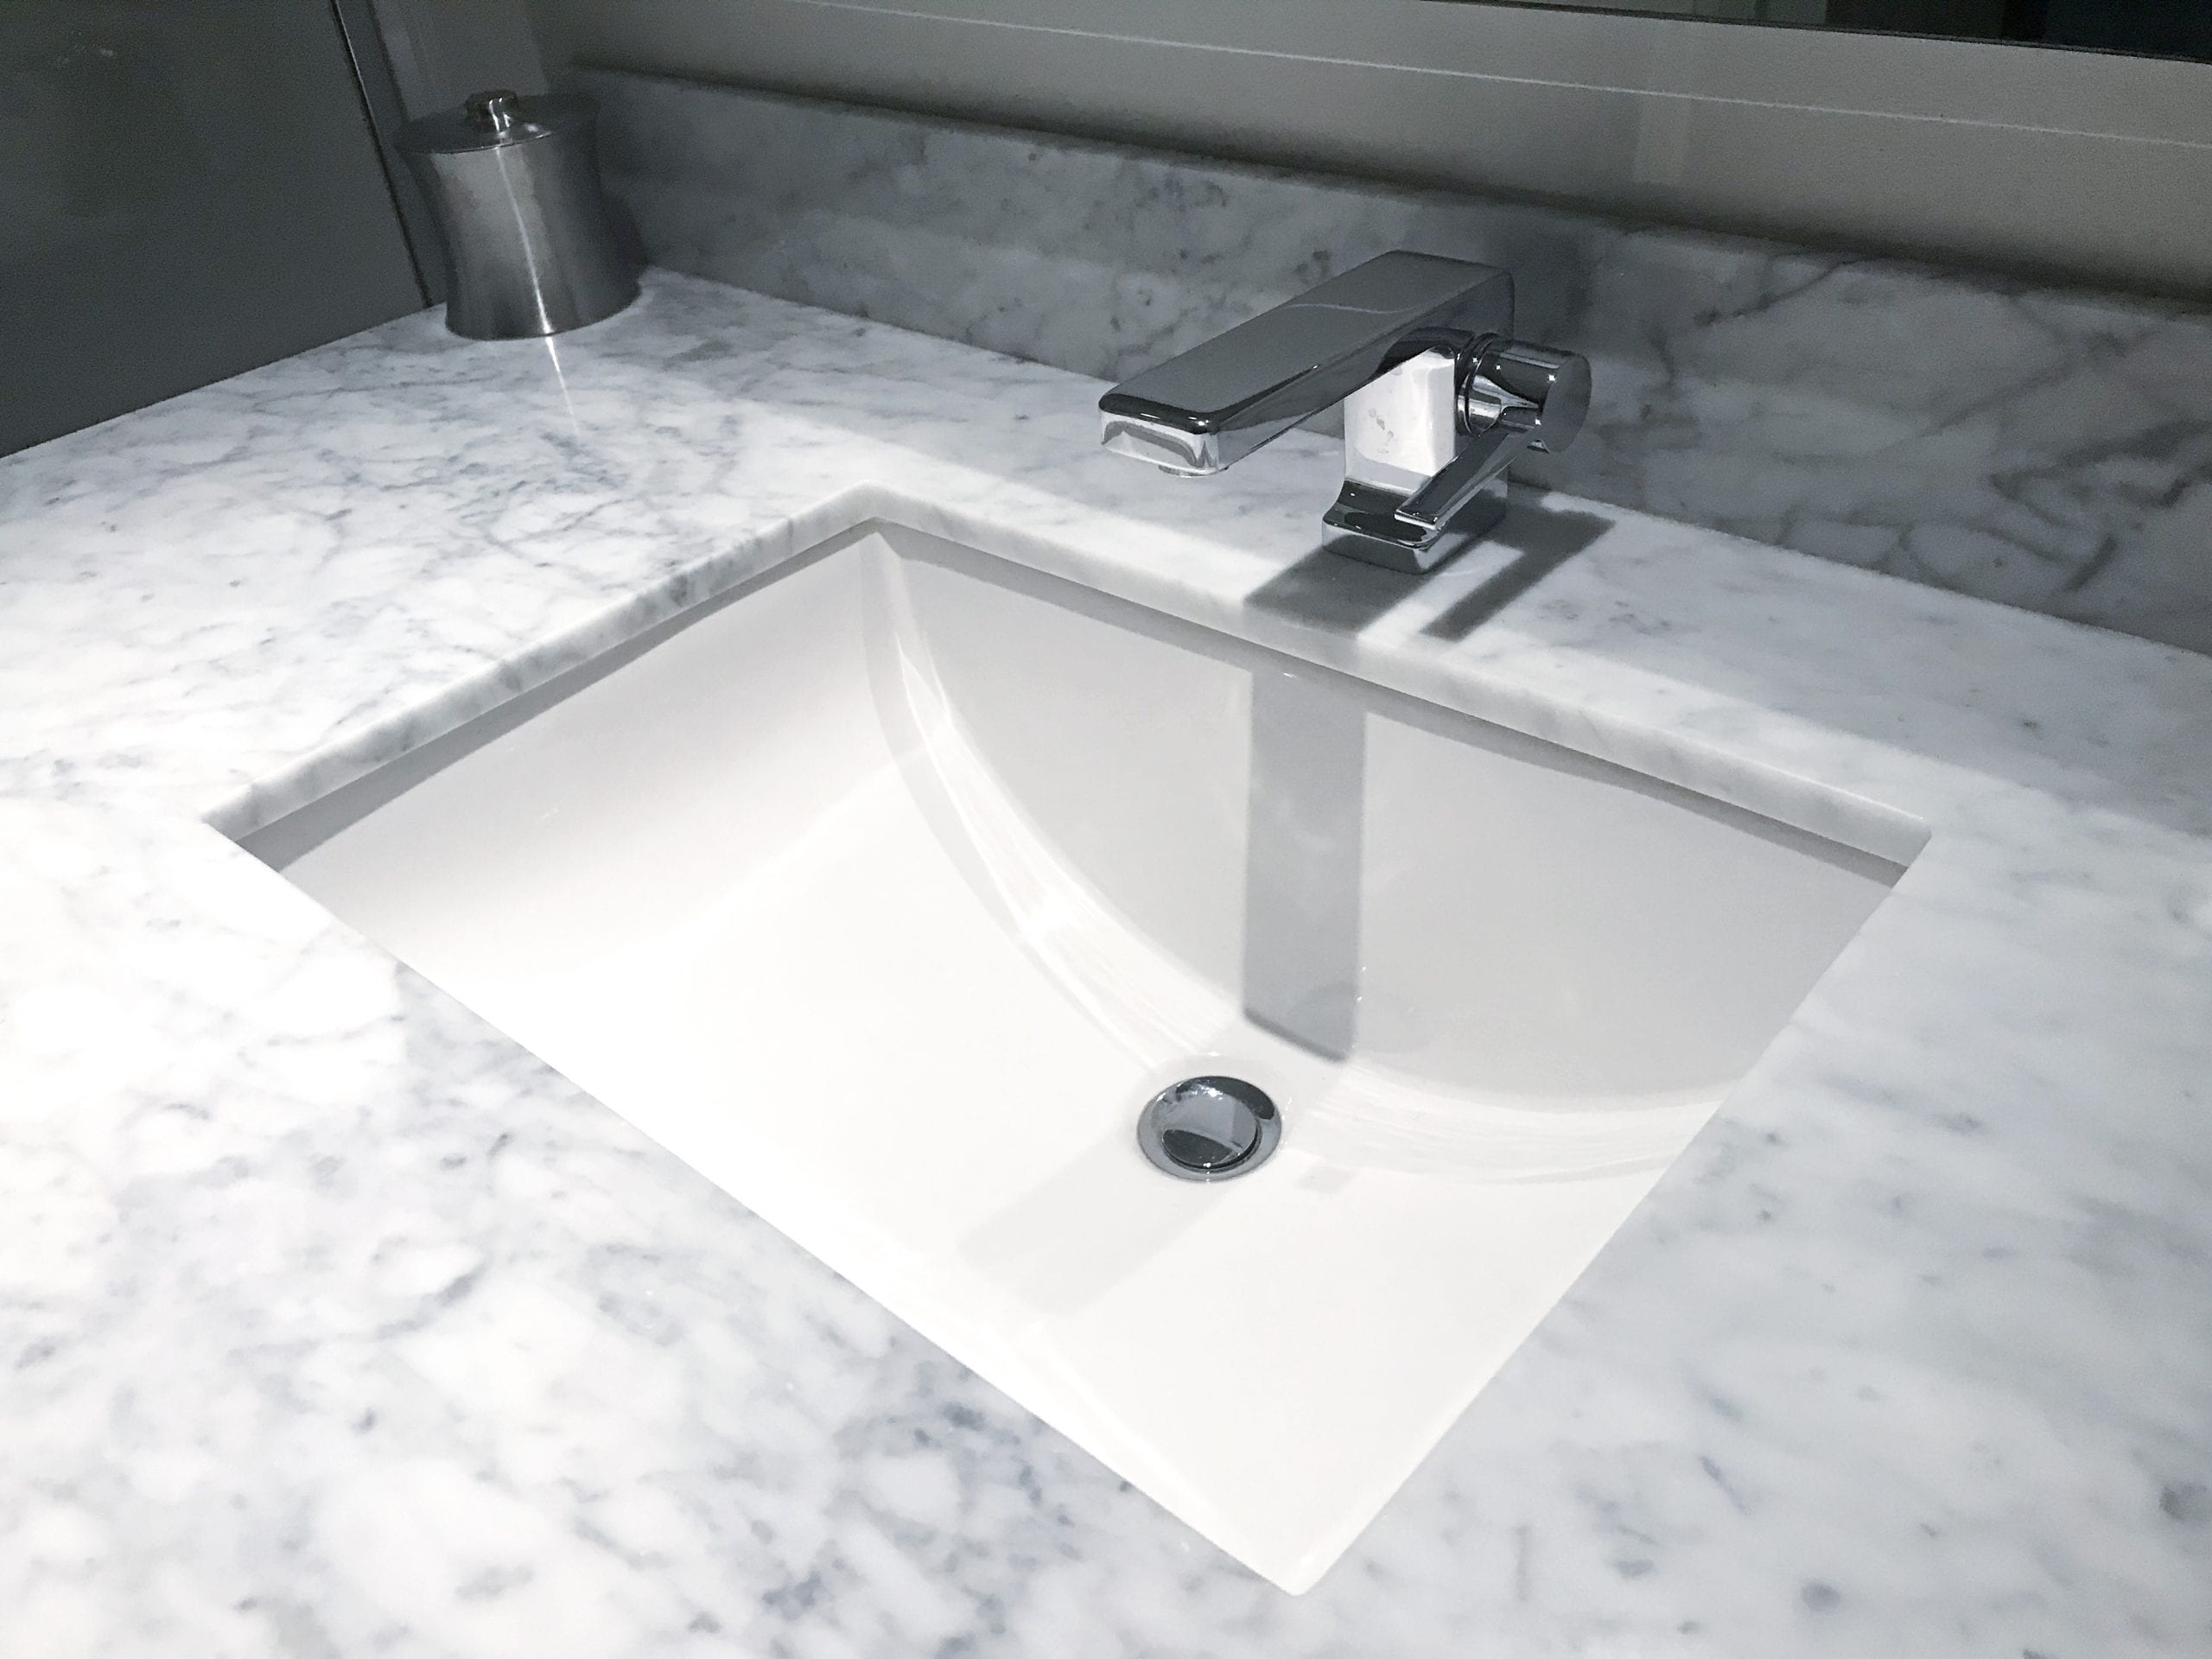
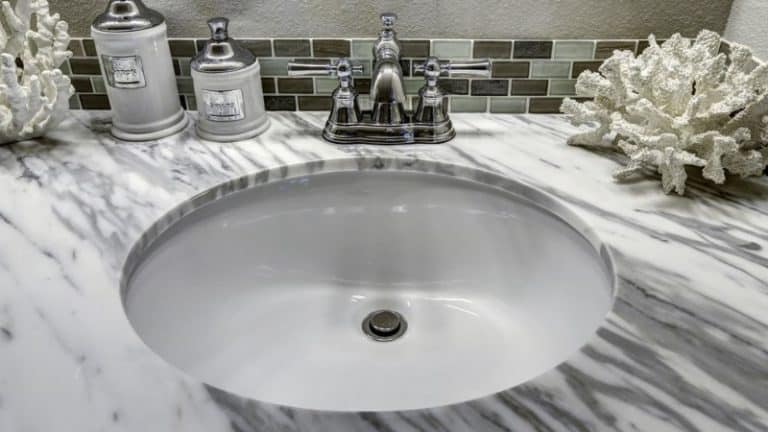
Undermount bathroom sinks are becoming increasingly popular, and for good reason. Not only do they add a modern touch to any bathroom, but they also provide a more seamless and clean look. They also make it easier to clean around the sink, as there are no edges for dirt and grime to collect. Plus, with a wide variety of styles and materials available, there's an undermount sink to fit any bathroom design.Why Undermount Bathroom Sinks are Gaining Popularity
The size of your undermount bathroom sink will depend on the size of your bathroom and your personal preferences. However, there are a few things to keep in mind when choosing the right size: Consider the counter space: If you have a small bathroom with limited counter space, a smaller sink may be a better option to maximize the usable space. Think about your daily routine: If you tend to use your sink for multiple tasks, such as washing your face and brushing your teeth, a larger sink may be more practical. Take measurements: Before purchasing a sink, make sure to measure the opening in your counter to ensure the sink will fit properly. Consider the style: The size of your sink can also impact the overall look and feel of your bathroom. A larger sink can make a statement and add a touch of luxury, while a smaller sink may blend in more seamlessly.How to Choose the Right Size Undermount Bathroom Sink
Installing an overmount sink may seem simple, but there are a few common mistakes to avoid: Not measuring correctly: As with any home improvement project, accurate measurements are crucial. Make sure to measure multiple times and double-check your measurements before cutting any openings. Using the wrong tools: To properly install an overmount sink, you will need a jigsaw and a drill. Using the wrong tools can result in a messy and uneven installation. Not securing the sink properly: Neglecting to secure the sink with silicone caulk and metal clips can result in a sink that shifts and moves, leading to potential leaks and damage to your counter.Common Mistakes to Avoid When Overmounting an Undermount Bathroom Sink
While installing an overmount sink may seem like a simple DIY project, it's important to consider your own skills and the potential risks involved. Hiring a professional to install your sink can ensure that it's done correctly and minimize the risk of damage to your counter or plumbing. Ultimately, it's up to you to decide whether DIY or professional installation is the best option for your specific situation.DIY vs Professional Installation: Which is Better for Overmounting an Undermount Bathroom Sink?
If you're still on the fence about whether to choose an overmount or undermount sink, here are a few before and after examples to inspire you: Before: A dated bathroom with a small, overmount sink sitting on top of a crowded counter. After: A modern and spacious bathroom with a sleek undermount sink that maximizes counter space and adds a touch of luxury. Before: A cluttered and difficult to clean bathroom with an overmount sink that has visible edges. After: A clean and streamlined bathroom with an undermount sink that makes cleaning a breeze and adds a touch of elegance. Before: A small and cramped bathroom with minimal counter space and a dated overmount sink. After: A spacious and stylish bathroom with a larger undermount sink that adds functionality and a modern touch.Transform Your Bathroom with an Undermount Sink: Before and After Examples
The Benefits of Choosing an Undermount Bathroom Sink
Maximizing Space and Style
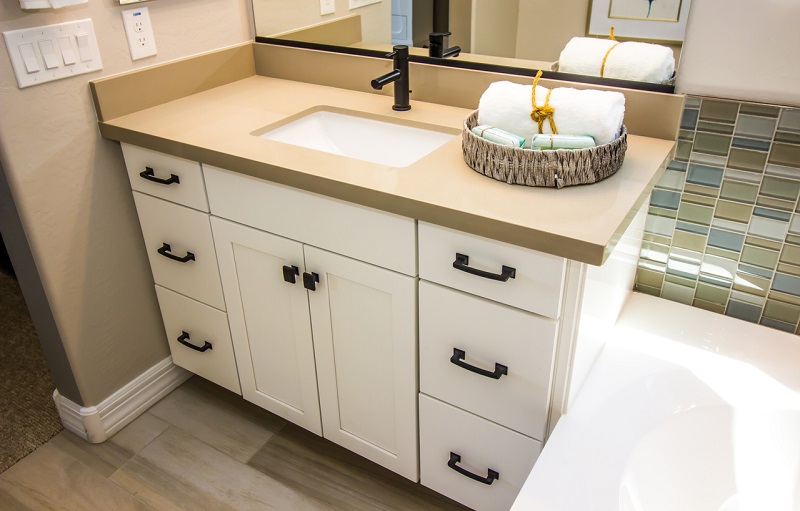
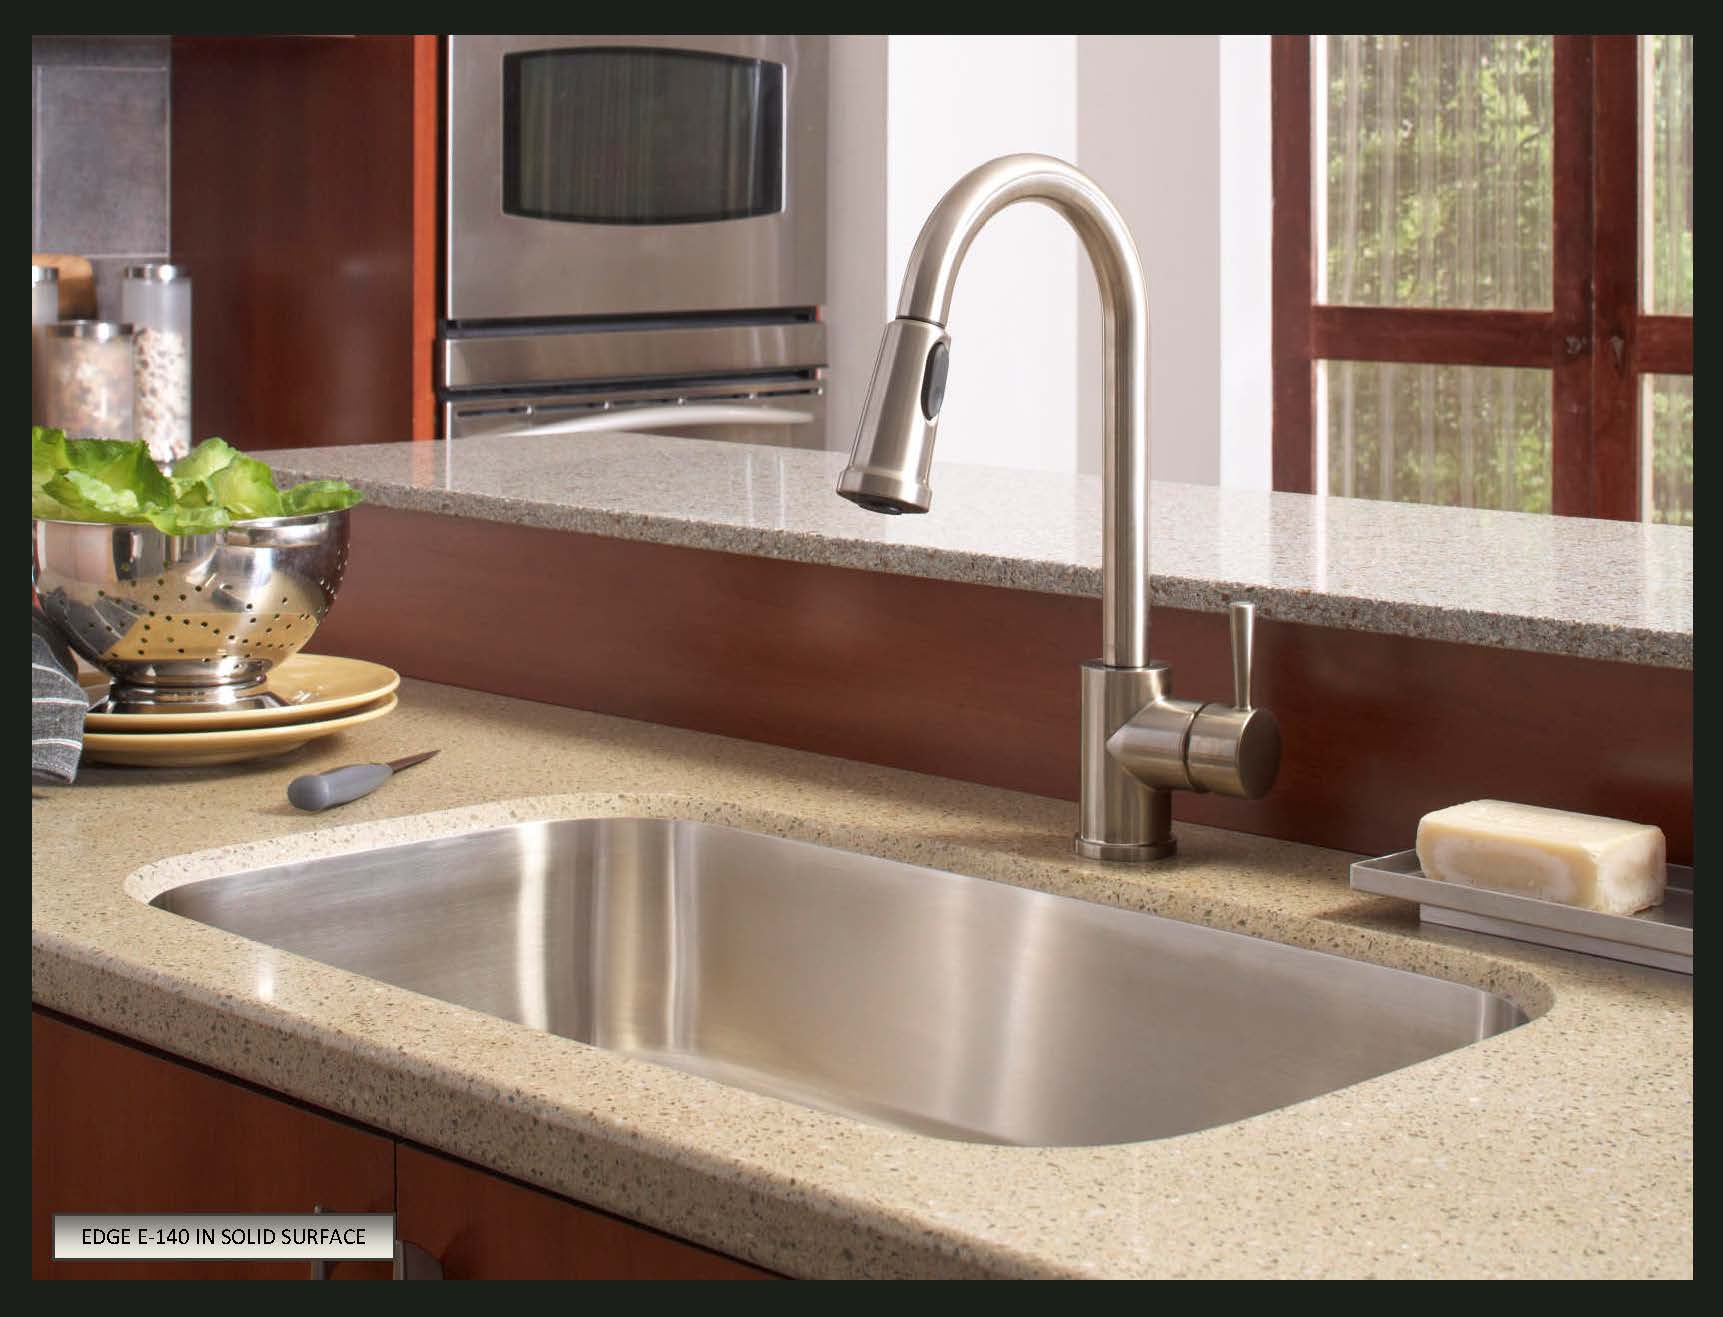
 When designing a bathroom, one of the key factors to consider is space. A cluttered and cramped bathroom can be a major source of frustration, especially for those who share it. This is where an undermount bathroom sink comes in. By being mounted underneath the countertop, it frees up valuable space on the surface, making the bathroom look more spacious and organized. Not only does it save space, but it also adds a touch of elegance and modernity to the overall design of the bathroom.
Easy to Clean and Maintain
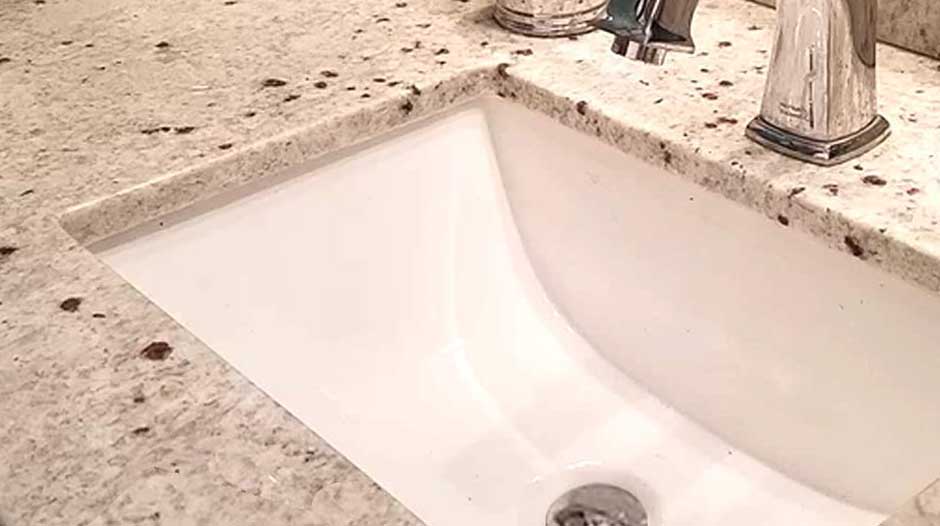
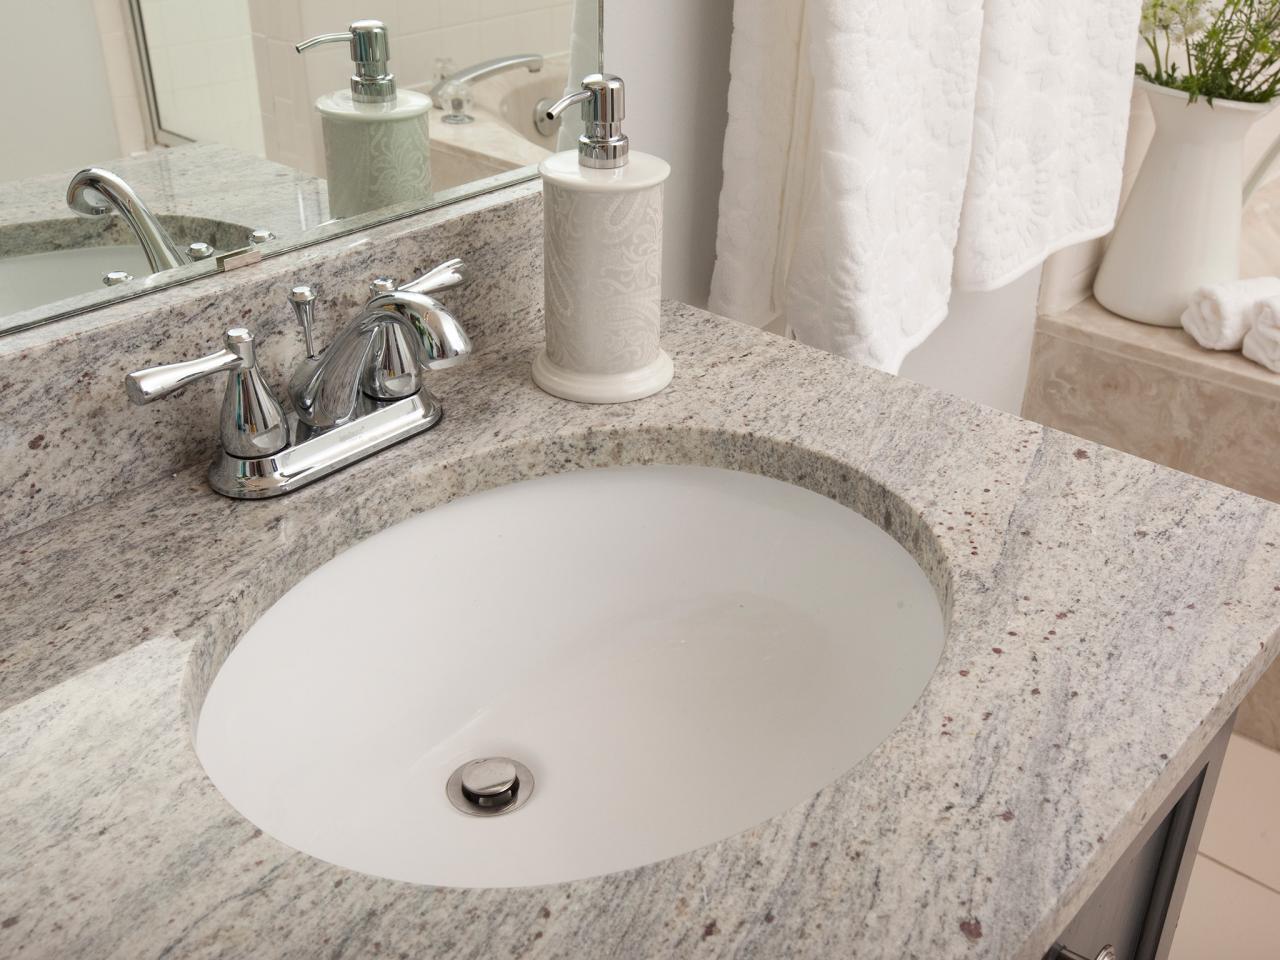 One of the biggest advantages of an undermount bathroom sink is its easy maintenance. Unlike traditional top-mounted sinks, undermount sinks have no crevices or edges where dirt and grime can accumulate. This makes cleaning a breeze, as all you need is a simple wipe down with a cloth and some cleaning solution. It also eliminates the need for cumbersome caulking, which can easily become discolored and moldy over time.
Seamless Integration with Countertops
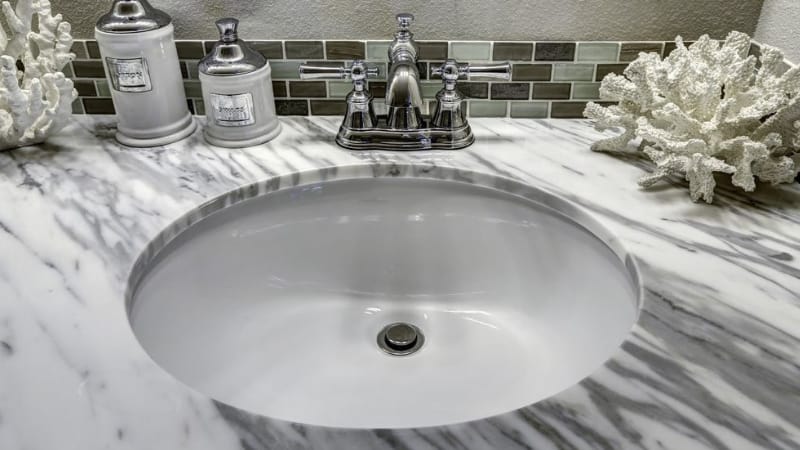
 Another key benefit of an undermount bathroom sink is its seamless integration with the countertop. Since it sits underneath, it creates a smooth and seamless flow between the sink and the countertop, giving a sleek and sophisticated look. This also allows for more flexibility in terms of countertop materials, as undermount sinks can be installed on various surfaces such as granite, quartz, or marble.
Durable and Long-Lasting
 Undermount bathroom sinks are made from high-quality materials such as porcelain, ceramic, or stainless steel, making them incredibly durable and long-lasting. They can withstand daily wear and tear, and are resistant to chipping, scratching, and fading. This means that investing in an undermount sink will not only enhance the aesthetic appeal of your bathroom, but it will also save you from the hassle and expense of frequent replacements.
A Perfect Fit for Modern Design
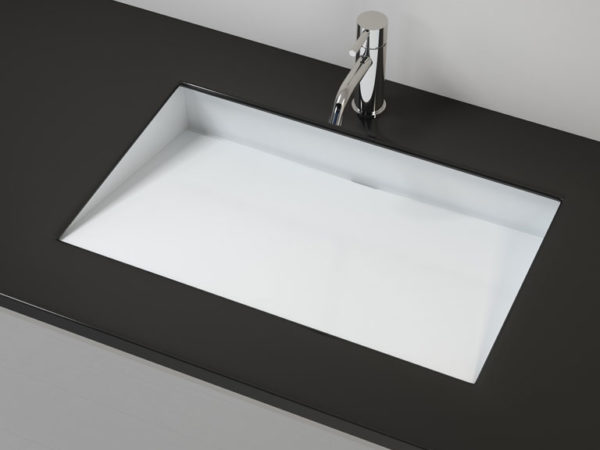
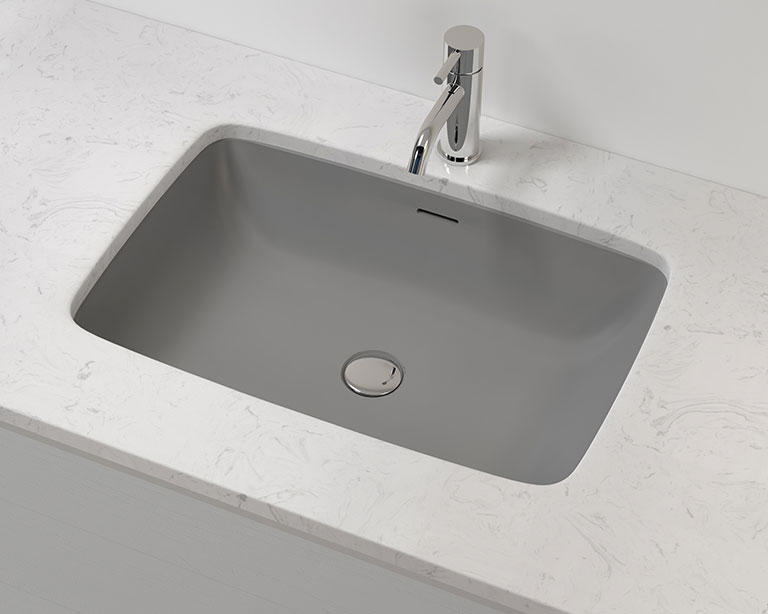 In recent years, there has been a growing trend towards minimalist and modern bathroom designs. Undermount sinks perfectly complement this style, with their clean lines and sleek design. They add a touch of elegance and sophistication that can elevate the overall look and feel of your bathroom. Plus, with the wide variety of styles, sizes, and shapes available, you can easily find the perfect undermount sink to suit your specific design preferences.
In conclusion, opting for an undermount bathroom sink over a traditional top-mounted one has numerous benefits. Not only does it save space and add a touch of style, but it also offers easy maintenance, seamless integration with countertops, durability, and a perfect fit for modern designs. So, if you're in the process of designing or renovating your bathroom, consider the many advantages of an undermount sink and make it a standout feature in your space.


