If you're experiencing issues with your Moen bathroom sink stopper, you may be wondering how to remove it. Whether it's clogged with hair and debris or simply stuck in place, a stuck sink stopper can be a frustrating problem to deal with. Fortunately, removing a Moen bathroom sink stopper is a relatively simple process. In this guide, we'll walk you through the steps to easily remove your Moen bathroom sink stopper without causing any damage to your sink. How to Remove a Moen Bathroom Sink Stopper


How to Remove a Moen Bathroom Sink Stopper


If you're ready to tackle removing your Moen bathroom sink stopper, follow these simple steps:Removing a Moen Bathroom Sink Stopper: Step-by-Step Guide


Removing a Moen Bathroom Sink Stopper: Step-by-Step Guide


If you're a fan of DIY projects, removing a Moen bathroom sink stopper is a task you can easily tackle on your own. With just a few simple tools and a little bit of patience, you can have your sink stopper removed in no time. Just be sure to follow the steps outlined in this guide to avoid any potential mistakes or damage to your sink.DIY: Removing a Moen Bathroom Sink Stopper


DIY: Removing a Moen Bathroom Sink Stopper


Not everyone has the time or patience for DIY projects. If you're looking for a quick and easy method for removing a Moen bathroom sink stopper, we've got you covered. Follow the steps outlined in this guide and you'll have your sink stopper removed in just a few minutes. No special tools or skills required!Quick and Easy Method for Removing a Moen Bathroom Sink Stopper

Quick and Easy Method for Removing a Moen Bathroom Sink Stopper


Removing a Moen bathroom sink stopper can be a tricky task, especially if you've never done it before. To make the process easier, here are a few tips and tricks to keep in mind:Removing a Moen Bathroom Sink Stopper: Tips and Tricks


Removing a Moen Bathroom Sink Stopper: Tips and Tricks

If you prefer a more detailed guide, here is a step-by-step breakdown of how to remove a Moen bathroom sink stopper:Step-by-Step Guide for Removing a Moen Bathroom Sink Stopper


Step-by-Step Guide for Removing a Moen Bathroom Sink Stopper


While removing a Moen bathroom sink stopper is a relatively simple process, there are a few common mistakes that people make. To avoid these mistakes, make sure to follow the steps outlined in this guide and take your time. Rushing the process can lead to potential damage to your sink or the stopper assembly.Removing a Moen Bathroom Sink Stopper: Common Mistakes to Avoid

Removing a Moen Bathroom Sink Stopper: Common Mistakes to Avoid
If you're worried about damaging your sink while trying to remove a Moen bathroom sink stopper, don't worry. By following the steps outlined in this guide and being gentle, you can easily remove the stopper without causing any damage to your sink. Just make sure to use the right tools and take your time.How to Remove a Moen Bathroom Sink Stopper Without Damaging Your Sink


How to Remove a Moen Bathroom Sink Stopper Without Damaging Your Sink


To make the process of removing a Moen bathroom sink stopper easier, here are the tools you'll need:Removing a Moen Bathroom Sink Stopper: Tools You'll Need

Removing a Moen Bathroom Sink Stopper: Tools You'll Need

If you're a visual learner, here is a step-by-step guide for removing a Moen bathroom sink stopper with pictures:Step-by-Step Guide for Removing a Moen Bathroom Sink Stopper with Pictures


Step-by-Step Guide for Removing a Moen Bathroom Sink Stopper with Pictures

How to Properly Remove a Moen Bathroom Sink Stopper

Removing a Moen Bathroom Sink Stopper for Cleaning or Replacement
 When it comes to maintaining a clean and functional bathroom, it's important to pay attention to even the smallest details. One such detail is the sink stopper, which plays a crucial role in preventing water from flowing out of the sink. Over time, sink stoppers may become dirty or damaged, making it necessary to remove and clean or replace them. In this article, we will guide you through the process of removing a Moen bathroom sink stopper, so you can keep your bathroom looking and functioning at its best.
Gather the Necessary Tools
 Before you begin, make sure you have all the necessary tools on hand. For this task, you will need a pair of pliers, a towel or cloth, and a bucket or container to catch any excess water that may spill out.
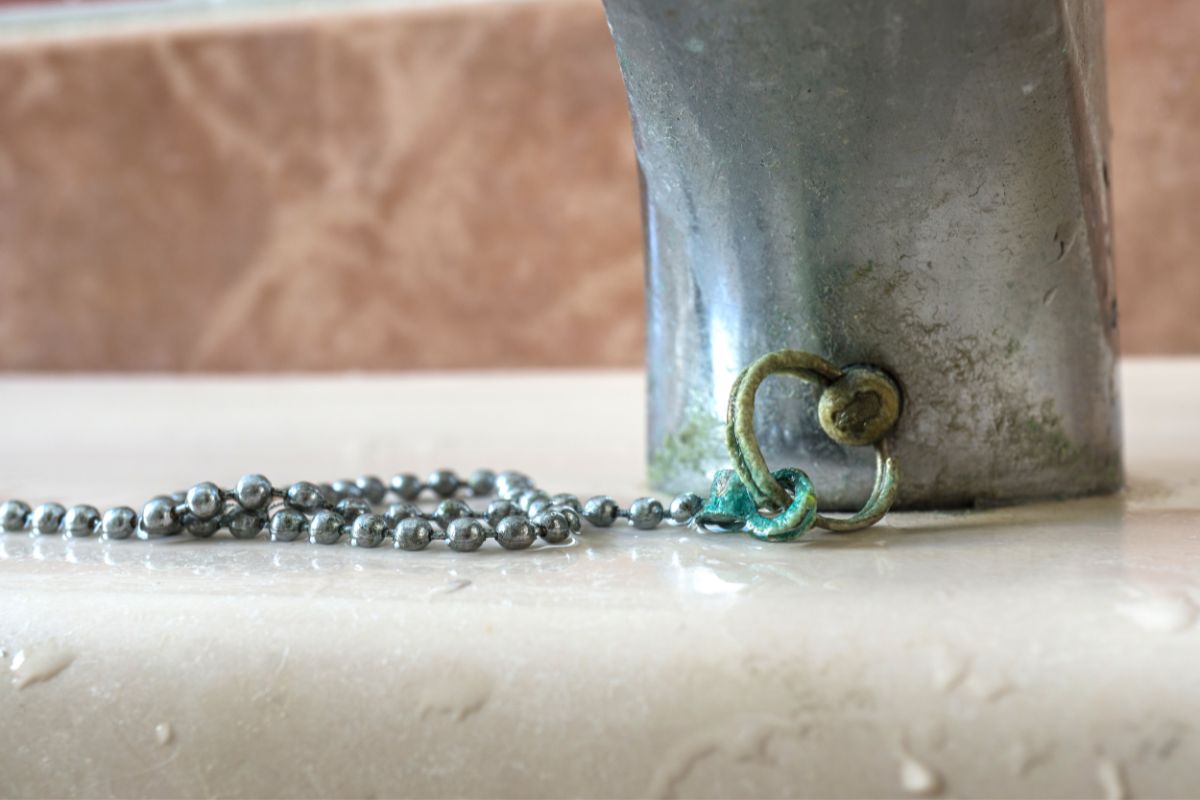
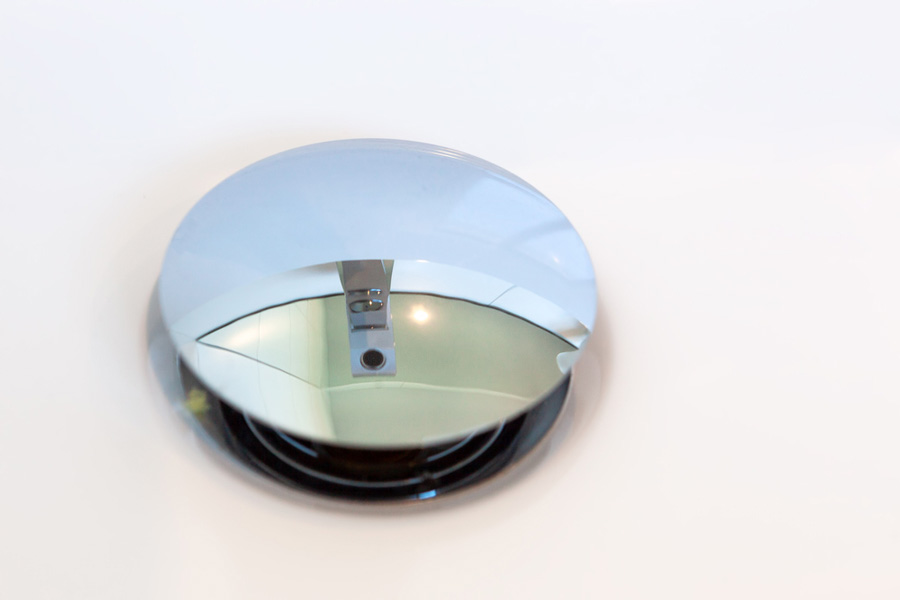
Remove the Drain Plug
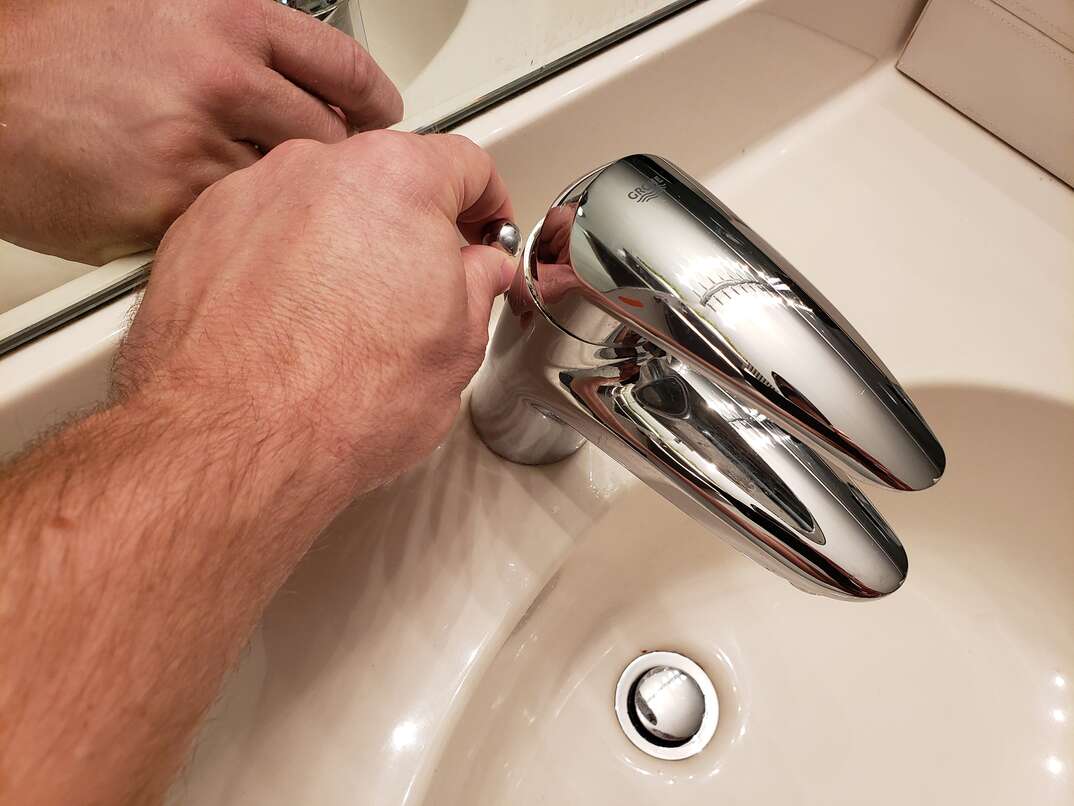 First, locate the drain plug at the base of the sink and unscrew it counterclockwise with your fingers. If it's difficult to loosen, use the pliers to gently grip and turn it. Once the drain plug is loosened, pull it out and set it aside.
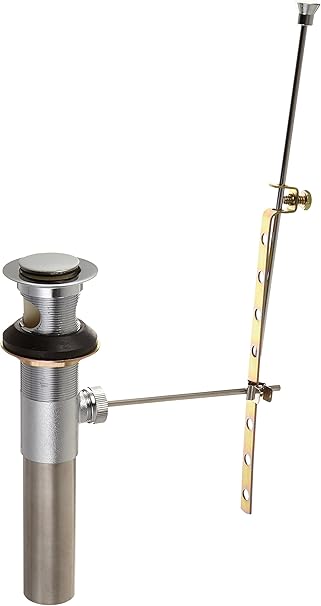
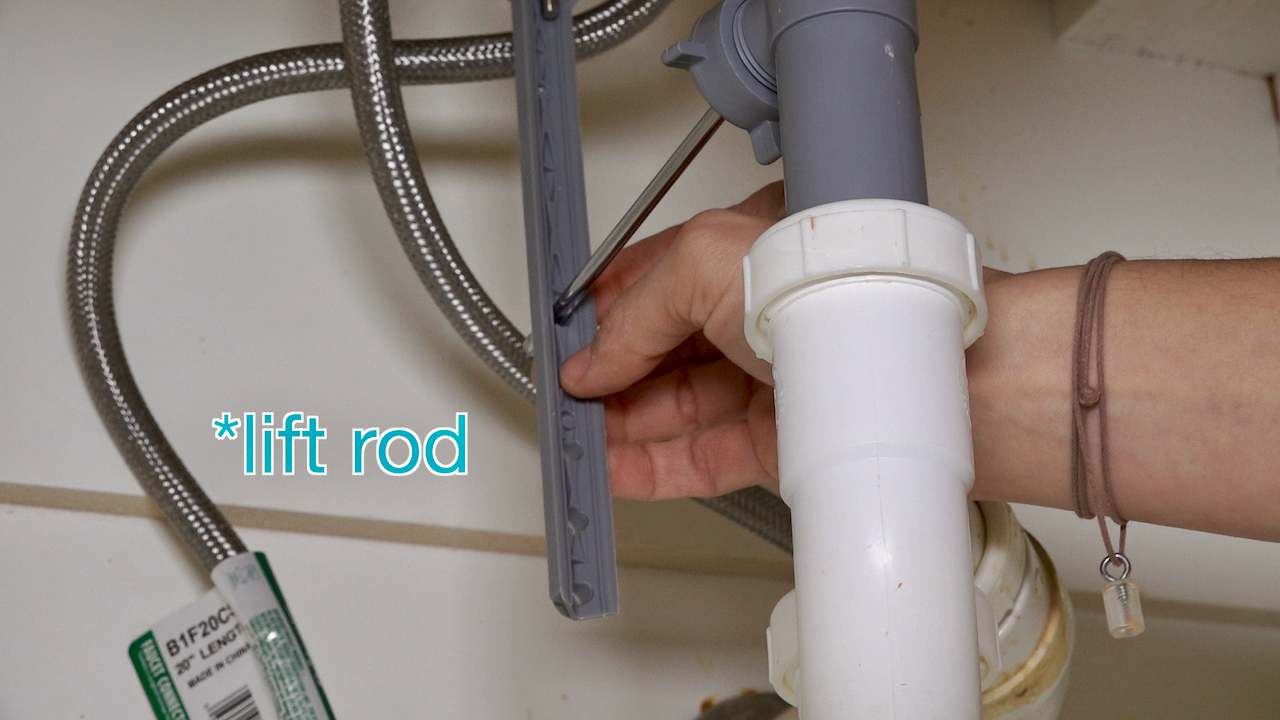
Remove the Retaining Nut
 Next, you will see a retaining nut that holds the sink stopper in place. Use the pliers to loosen the nut by turning it counterclockwise. Once the nut is loose, you should be able to remove it by hand. Be sure to place it in a safe spot so it doesn't get lost.
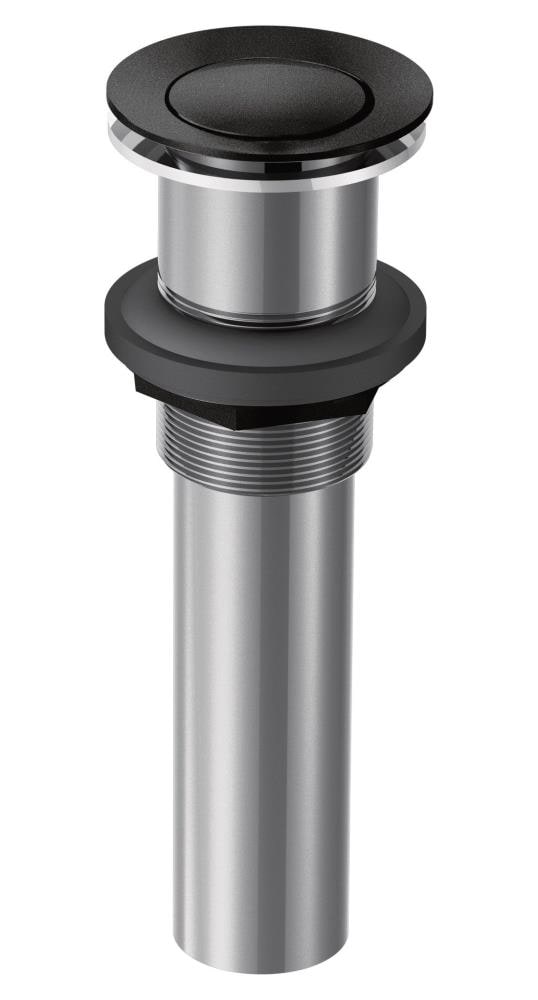
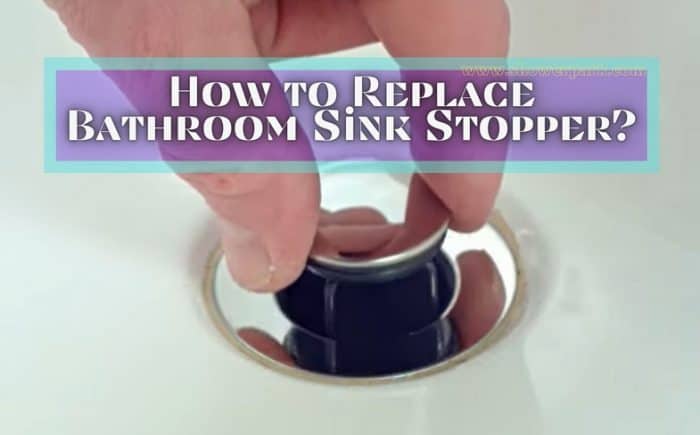
Remove the Sink Stopper
 With the retaining nut removed, you can now pull out the sink stopper. If you encounter any resistance, gently wiggle it back and forth until it comes out. Once the sink stopper is removed, you can clean it thoroughly or replace it with a new one, if needed.
Reassemble and Test
 After cleaning or replacing the sink stopper, reassemble it in the reverse order. First, insert the sink stopper into the drain opening, followed by the retaining nut. Use the pliers to tighten the nut, but be careful not to overtighten it. Finally, screw the drain plug back into place.
Conclusion
Removing a Moen bathroom sink stopper may seem like a daunting task, but with the right tools and method, it can be done easily and efficiently. By following these simple steps, you can keep your bathroom sink stopper clean and functioning properly, ensuring a comfortable and hygienic bathroom experience for you and your guests.
After cleaning or replacing the sink stopper, reassemble it in the reverse order. First, insert the sink stopper into the drain opening, followed by the retaining nut. Use the pliers to tighten the nut, but be careful not to overtighten it. Finally, screw the drain plug back into place.
Conclusion
Removing a Moen bathroom sink stopper may seem like a daunting task, but with the right tools and method, it can be done easily and efficiently. By following these simple steps, you can keep your bathroom sink stopper clean and functioning properly, ensuring a comfortable and hygienic bathroom experience for you and your guests.