Moen Bathroom Sink Installation Guide
Installing a Moen bathroom sink can be a great way to update the look and functionality of your bathroom. However, if you've never done it before, it can seem like a daunting task. But don't worry, with the right tools and knowledge, you can easily install a Moen bathroom sink yourself. In this guide, we'll take you through the step-by-step process to help you successfully install your new Moen bathroom sink.


Moen Bathroom Sink Installation Guide
:no_upscale()/cdn.vox-cdn.com/uploads/chorus_asset/file/19495086/drain_0.jpg)


How to Install a Moen Bathroom Sink
Before we dive into the installation process, it's important to note that Moen bathroom sinks come in various styles and designs, so the installation process may vary slightly depending on the specific sink you have. However, the general steps will remain the same. Make sure to read the manufacturer's instructions that come with your sink before beginning the installation.


How to Install a Moen Bathroom Sink


Step-by-Step Moen Bathroom Sink Installation
Step 1: Gather your tools
Before starting the installation, make sure you have all the necessary tools. This includes a wrench, screwdriver, pliers, putty knife, and caulking gun. You may also need a drill and hole saw if your sink does not come with pre-drilled faucet holes.
Step 2: Shut off water supply
Before removing your old sink, make sure to turn off the water supply to avoid any potential flooding. You can usually find the shut-off valves under the sink.
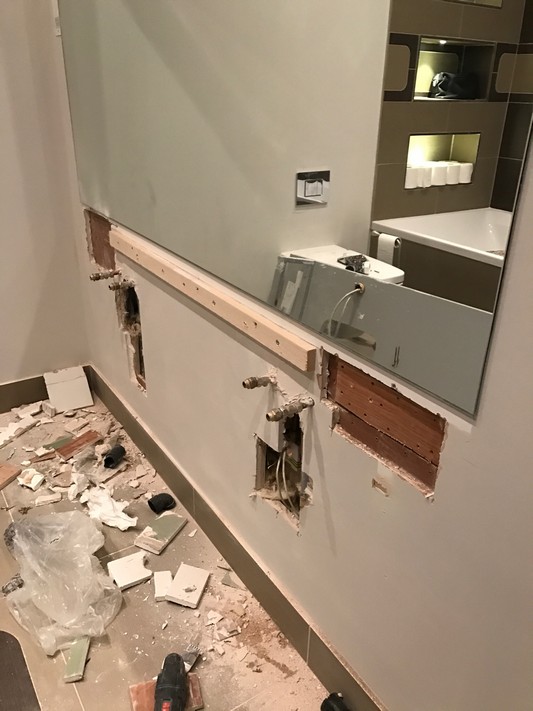
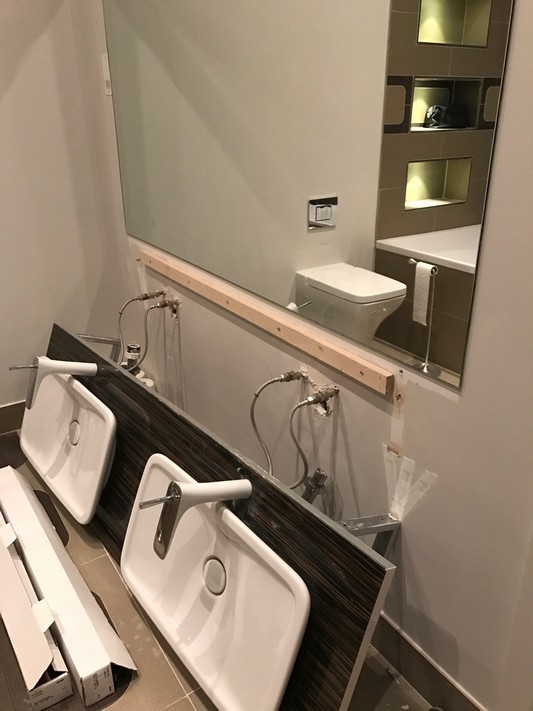
Step 3: Remove old sink
Use your wrench to loosen the nuts and disconnect the water supply lines and drain pipes from the old sink. Then, use a putty knife to remove any old caulking or adhesive around the edges of the sink. Carefully lift the sink and remove it from the countertop.
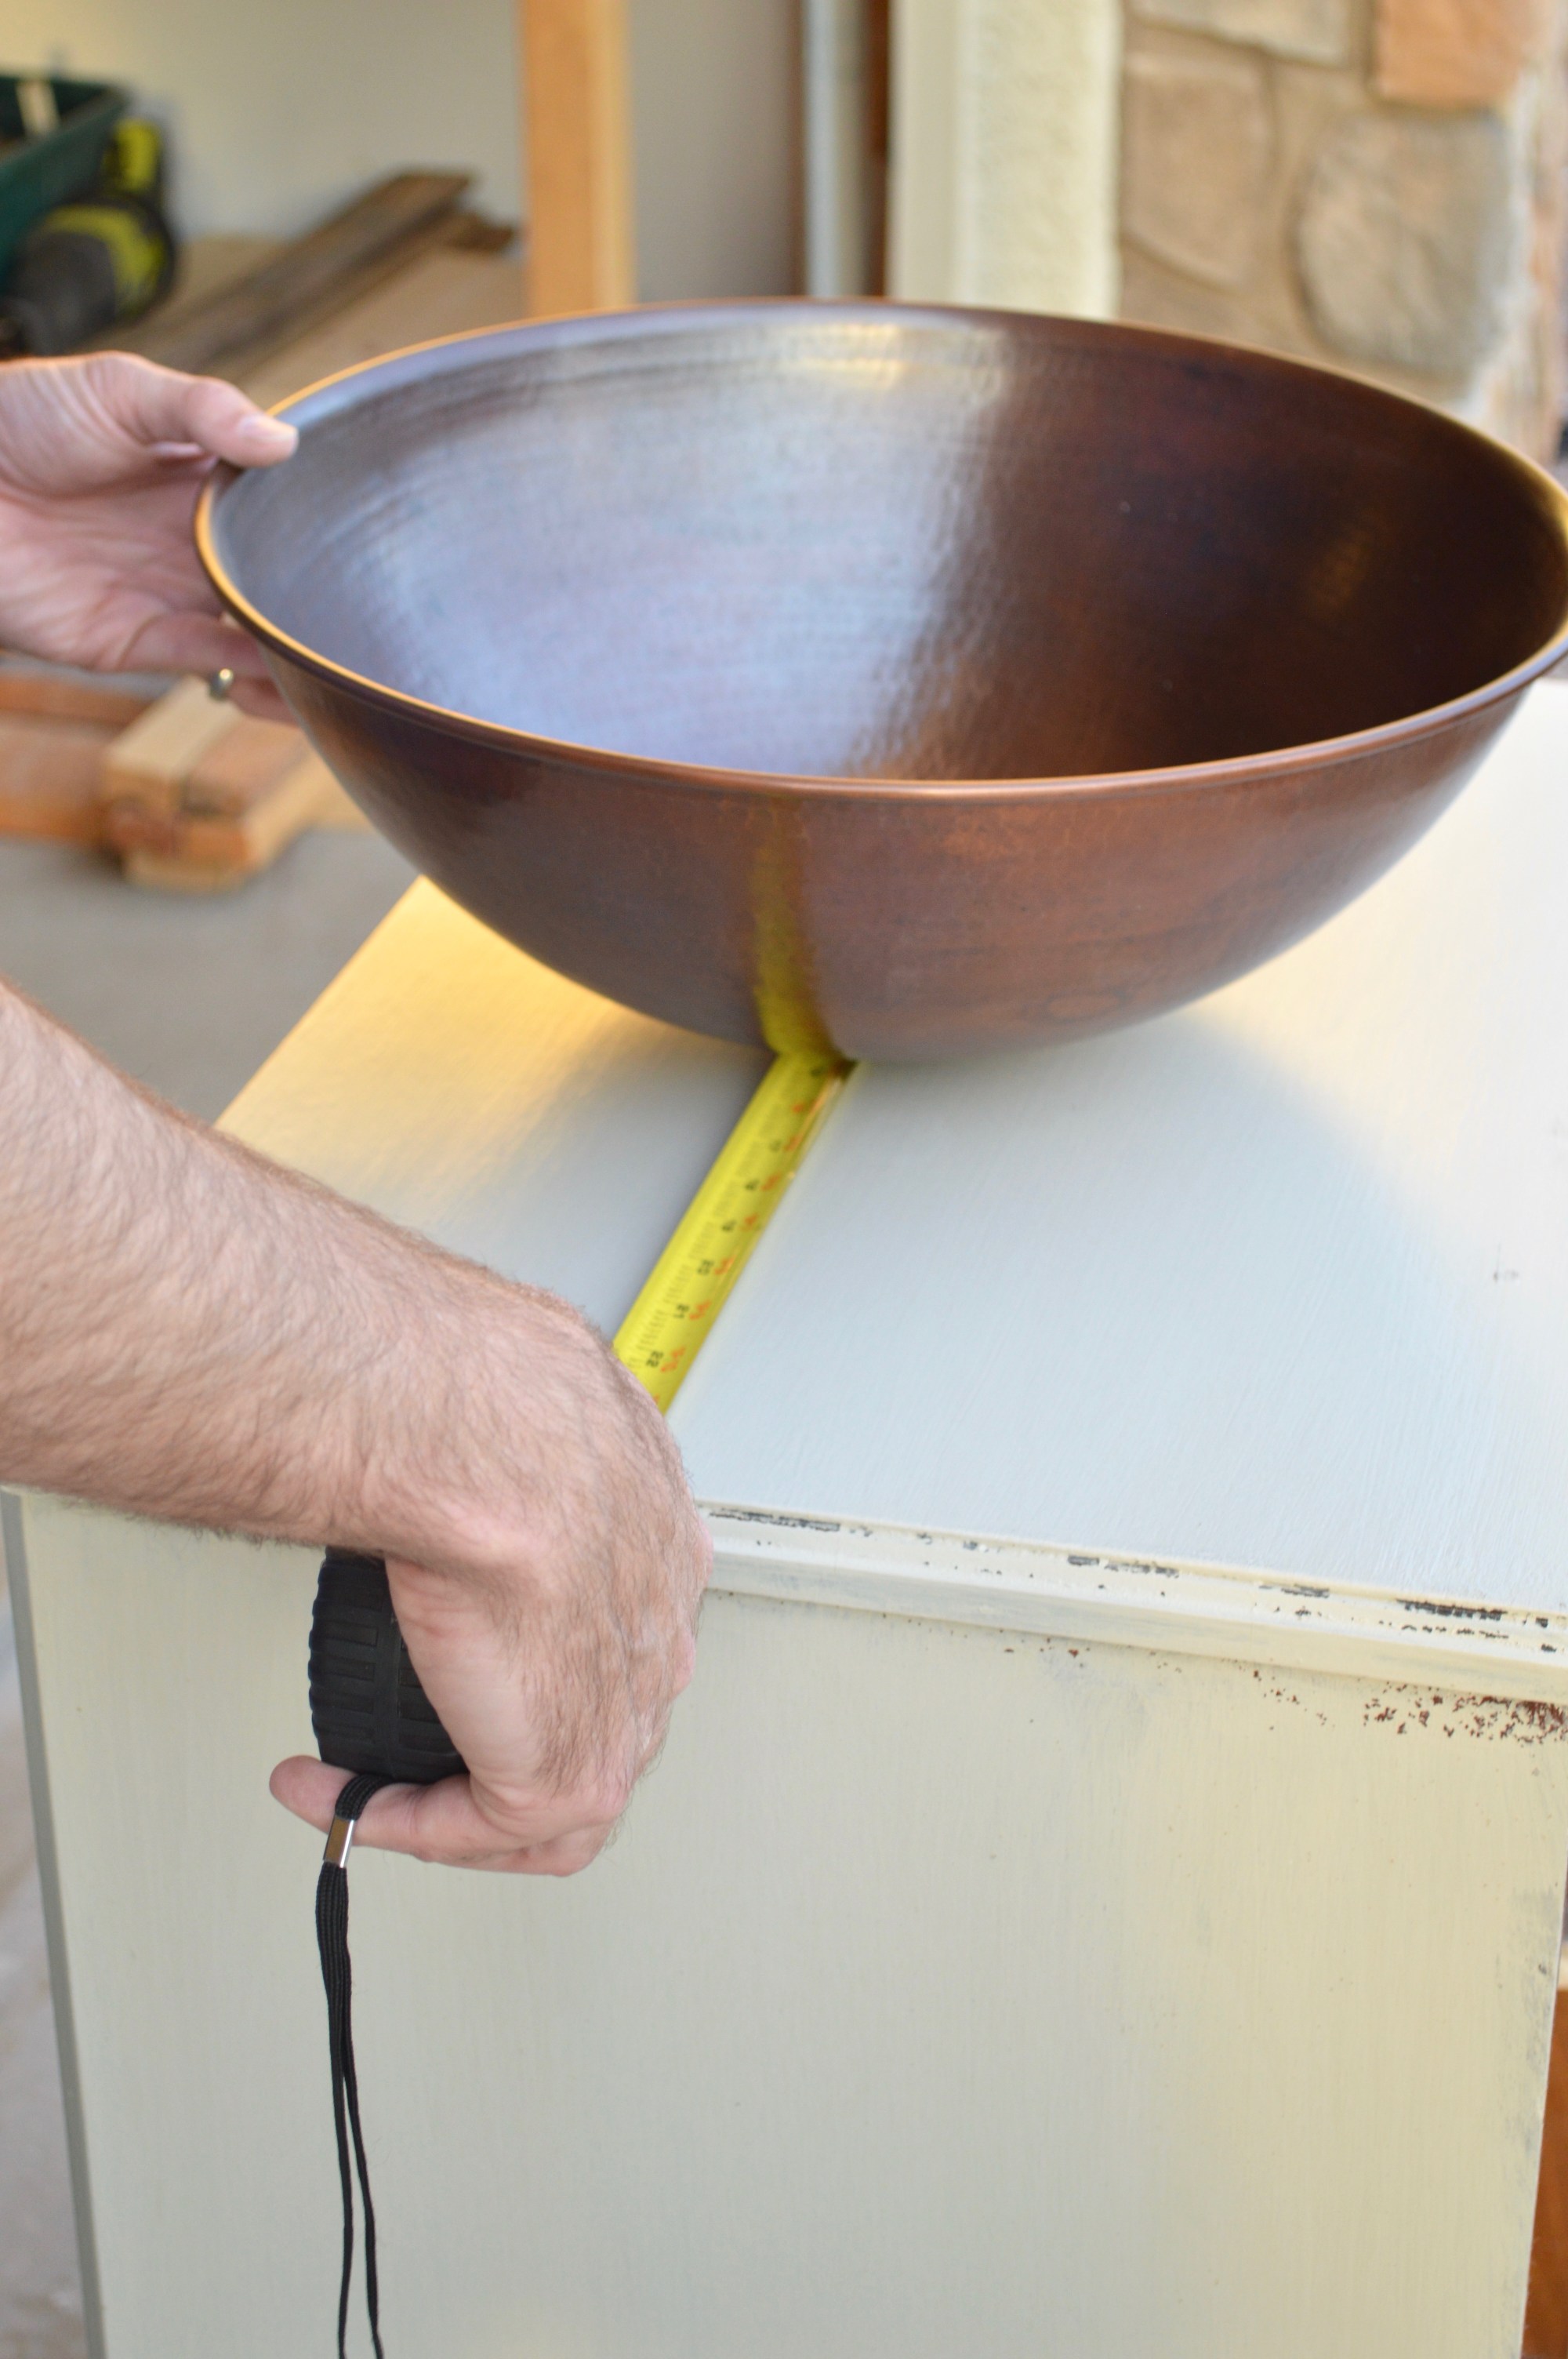
Step 4: Prepare the new sink
If your new sink does not come with pre-drilled faucet holes, you will need to do this now using a drill and hole saw. Make sure to follow the manufacturer's instructions for the placement and size of the holes. Also, apply a thin layer of plumber's putty around the edges of the sink.
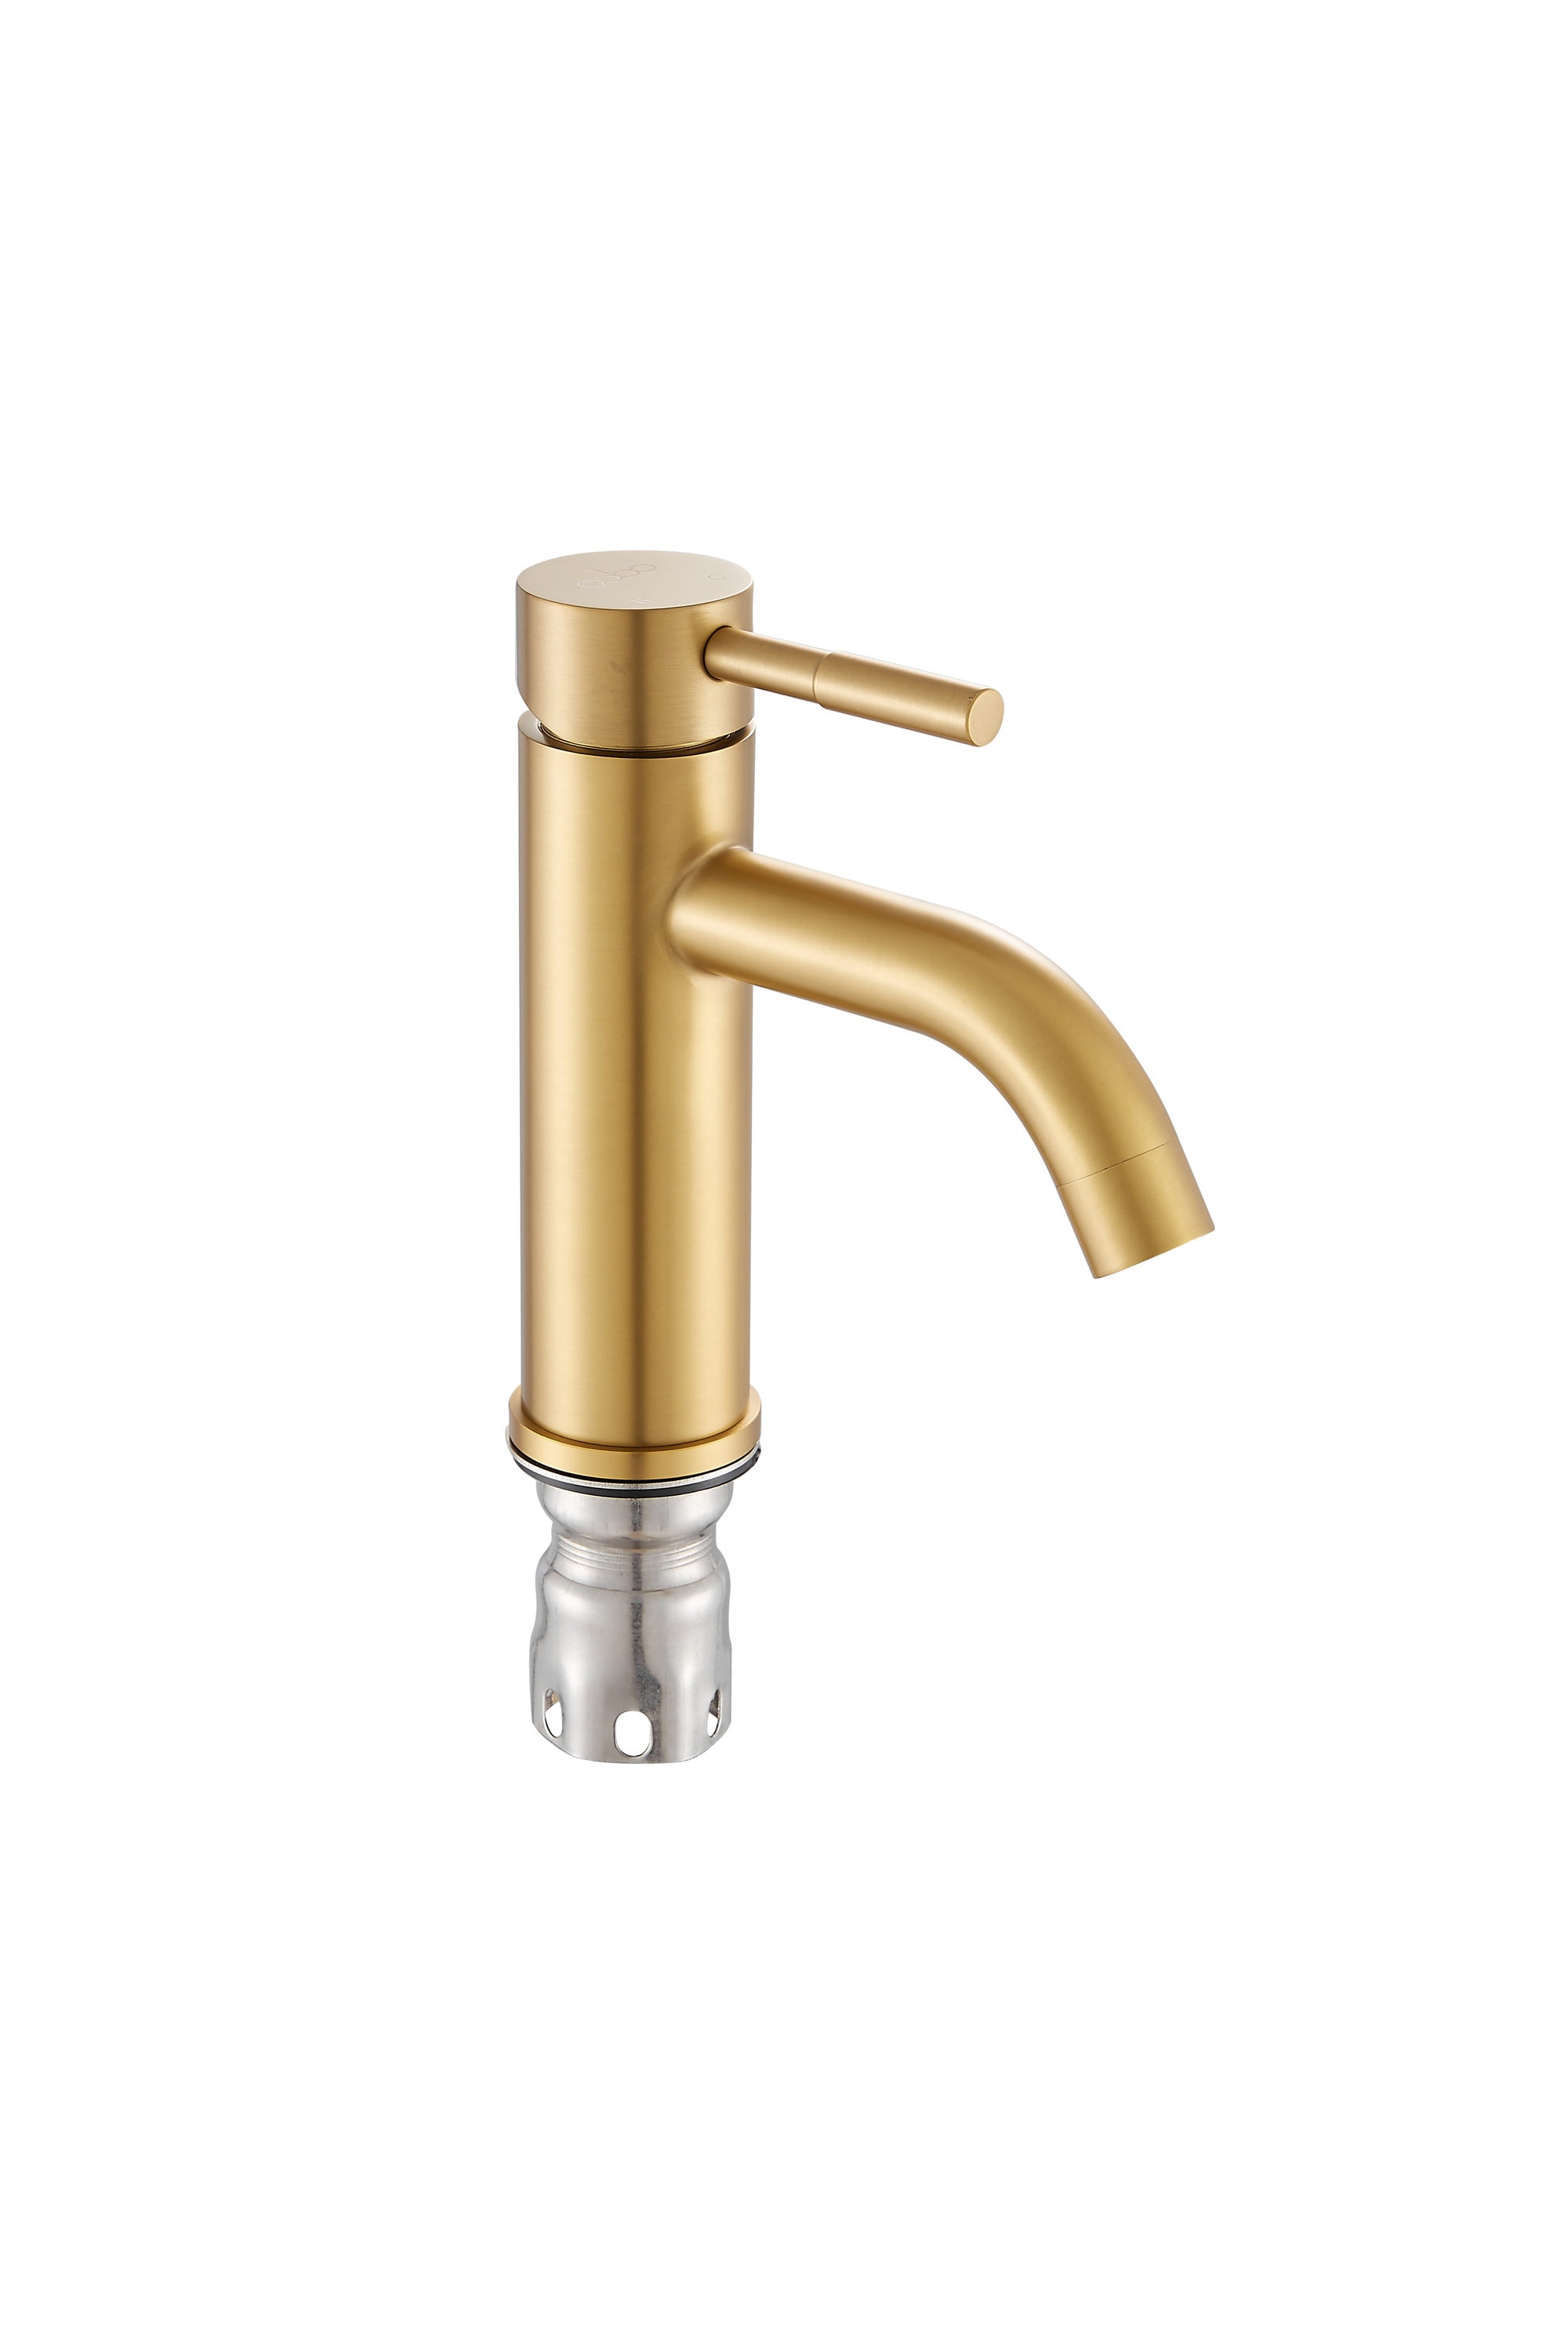
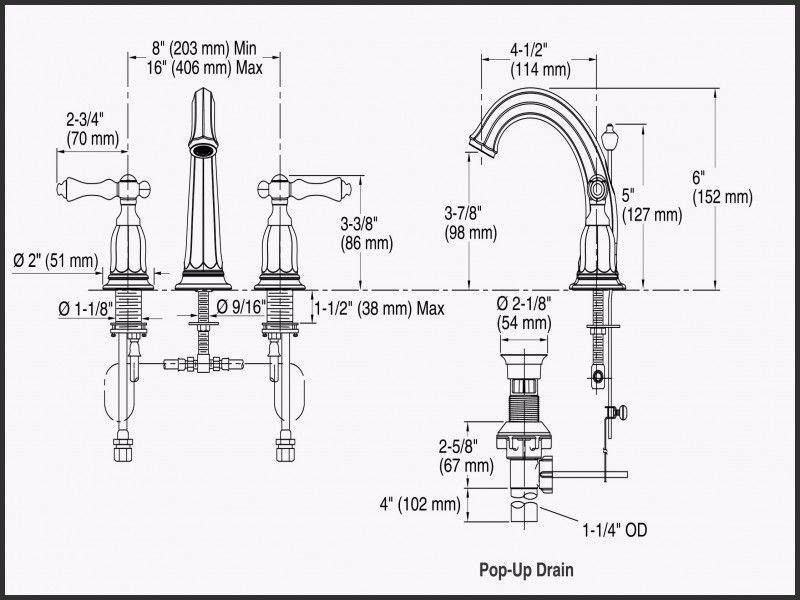
Step 5: Install faucet and drain
Follow the manufacturer's instructions to install the faucet and drain onto the sink. Make sure everything is securely tightened.
Step 6: Place the sink
Carefully place the sink into the countertop, making sure it is centered and level. You may need someone to help you with this step.
Step 7: Connect water supply lines and drain
Reconnect the water supply lines and drain pipes to the new sink. Make sure everything is securely tightened.
Step 8: Secure the sink
Using a wrench, tighten the mounting clips or brackets underneath the sink to secure it to the countertop. If your sink does not come with mounting hardware, you can use silicone adhesive to secure it.
Step 9: Apply caulking
Using a caulking gun, apply a bead of silicone caulking around the edges of the sink to create a watertight seal.
Step 10: Turn on water supply
Turn the water supply back on and check for any leaks. If everything looks good, you're all done!

Step-by-Step Moen Bathroom Sink Installation


DIY Moen Bathroom Sink Installation
Installing a Moen bathroom sink yourself can save you money and give you a sense of accomplishment. However, if you're not confident in your DIY skills, it's always best to hire a professional to ensure the job is done correctly.


DIY Moen Bathroom Sink Installation


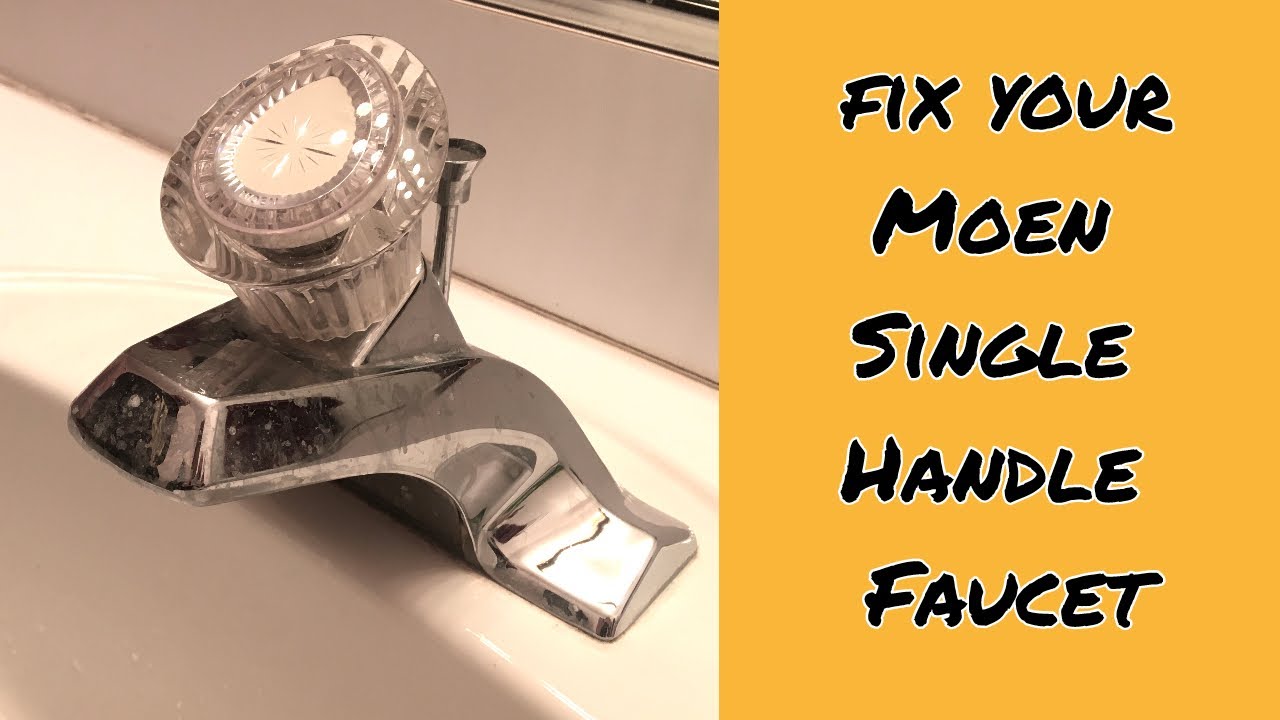
Moen Bathroom Sink Installation Video Tutorial
If you're a visual learner, there are many helpful video tutorials available online that can guide you through the installation process. Make sure to follow the steps carefully and pause the video when needed to ensure you don't miss any important details.
Moen Bathroom Sink Installation Video Tutorial


Moen Bathroom Sink Installation Tips and Tricks
Tip 1: Before installing the sink, make sure to clean the countertop surface thoroughly to ensure a proper seal with the sink.
Tip 2: Use a level to make sure the sink is perfectly level before securing it.
Tip 3: Don't over-tighten any bolts or nuts, as this can cause damage to the sink or countertop.
Tip 4: If your sink comes with a pop-up drain, make sure to test it before finishing the installation to ensure it opens and closes properly.


Moen Bathroom Sink Installation Tips and Tricks


Common Mistakes to Avoid When Installing a Moen Bathroom Sink
Mistake 1: Not turning off the water supply before starting the installation, which can lead to flooding.
Mistake 2: Not reading the manufacturer's instructions, which can result in improper installation.
Mistake 3: Forgetting to apply plumber's putty or silicone caulking, which can result in leaks.


Common Mistakes to Avoid When Installing a Moen Bathroom Sink


Tools Needed for Moen Bathroom Sink Installation
Wrench - for removing and tightening nuts and bolts
Screwdriver - for removing and installing screws
Pliers - for gripping and tightening small nuts and bolts
Putty knife - for removing old caulking or adhesive
Caulking gun - for applying silicone caulking
Drill and hole saw - for creating faucet holes if not pre-drilled
Tools Needed for Moen Bathroom Sink Installation


Moen Bathroom Sink Installation Cost
The cost of installing a Moen bathroom sink can vary depending on the complexity of the installation and your location. On average, you can expect to pay around $200-$500 for professional installation services. If you choose to DIY, you will only need to cover the cost of materials, which can range from $100-$300.
Moen Bathroom Sink Installation Cost


Professional Moen Bathroom Sink Installation Services
If you're not confident in your DIY skills or simply don't have the time to install a Moen bathroom sink yourself, hiring a professional can ensure the job is done correctly and efficiently. Many plumbing companies offer installation services for a reasonable cost, and you can also ask for references or read reviews to ensure you're hiring a reputable company.
With this guide, you now have all the necessary information to successfully install a Moen bathroom sink. Whether you choose to DIY or hire a professional, a new Moen sink can add both style and functionality to your bathroom. Happy installing!
Professional Moen Bathroom Sink Installation Services


Why Choose Moen for Your Bathroom Sink Installation?
Quality and Durability
 Moen is a reputable brand known for its high-quality and durable bathroom fixtures, including sinks. When it comes to bathroom sink installation, you want a product that can withstand daily use and last for years to come. With Moen, you can trust that you are getting a top-quality sink that is built to last. Their sinks are made from high-grade materials such as stainless steel, ceramic, and granite, ensuring they can withstand the test of time.
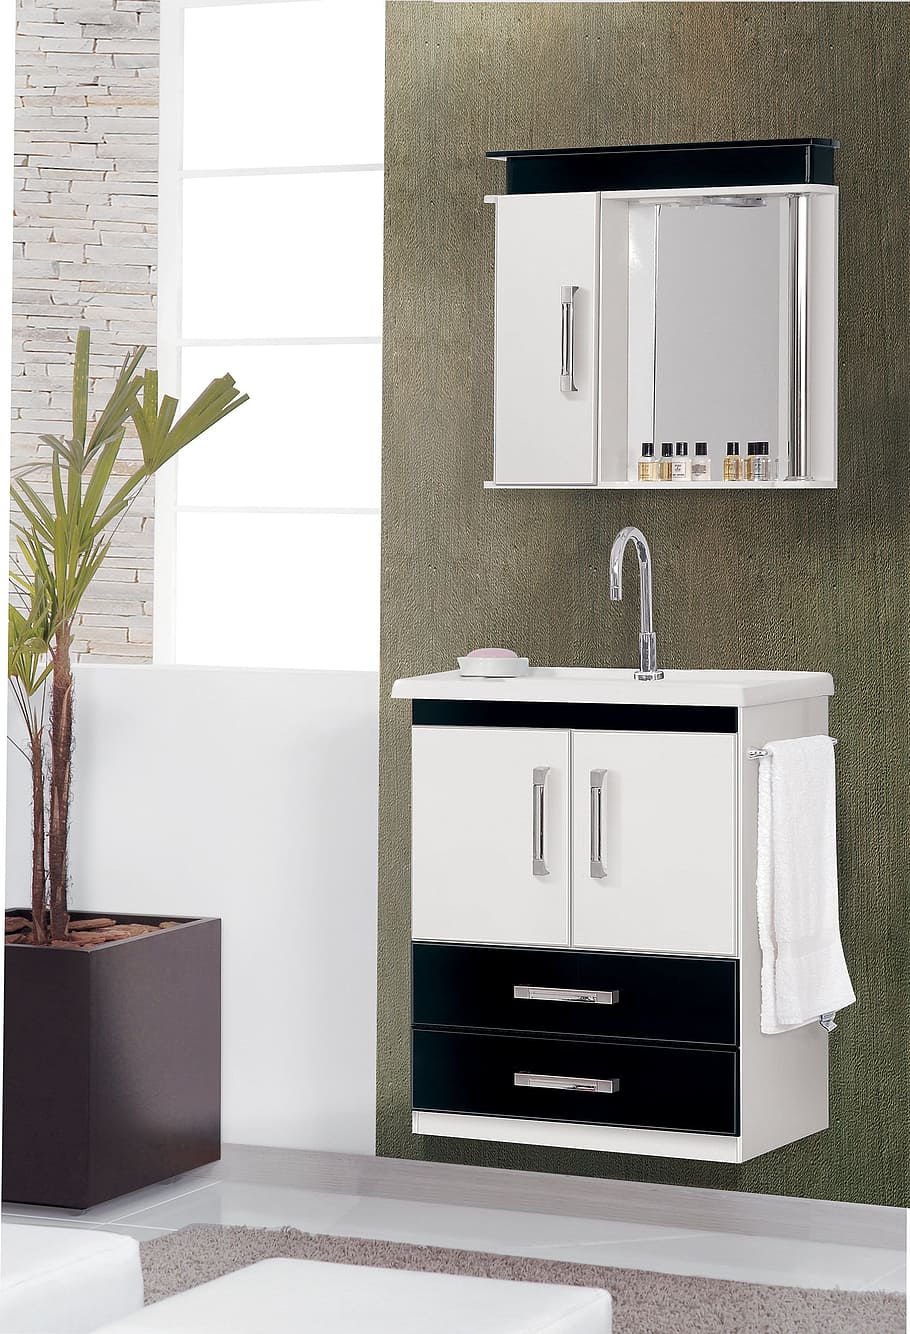
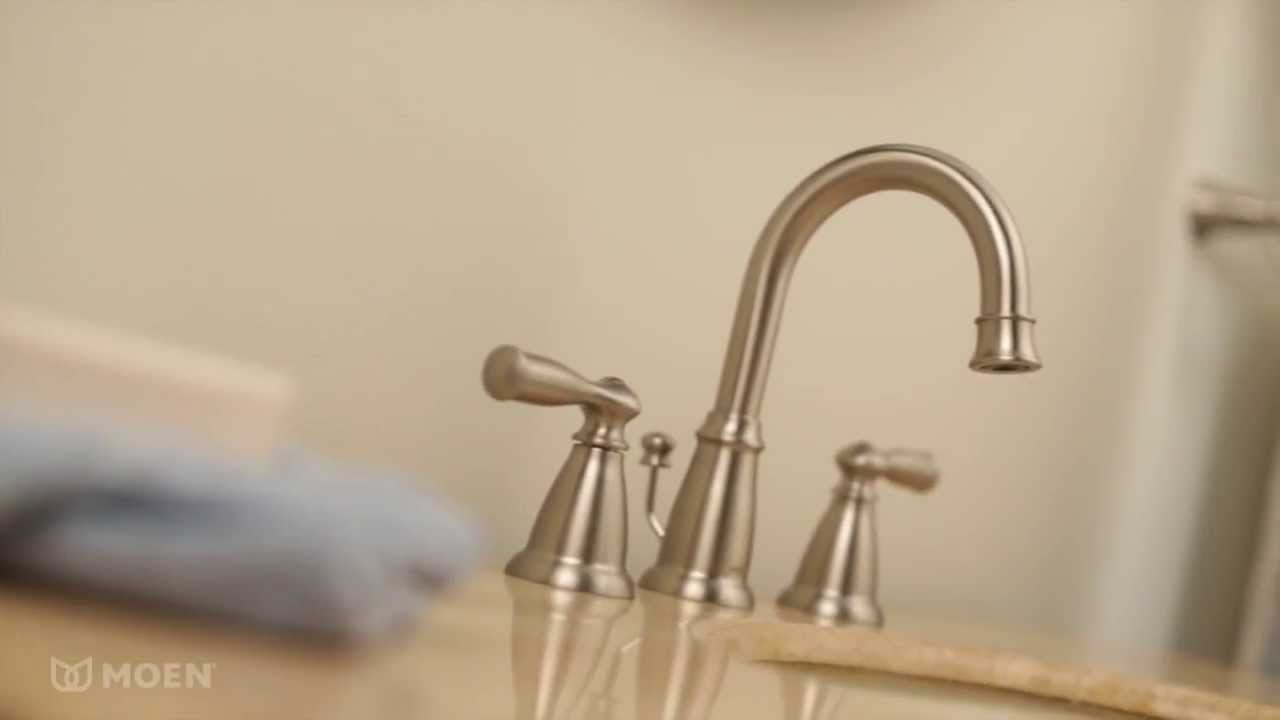
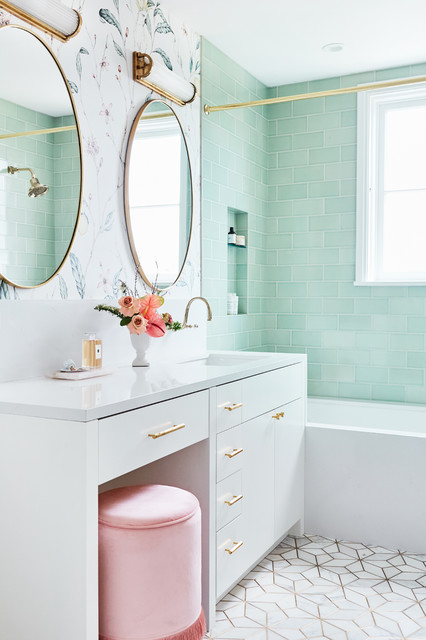
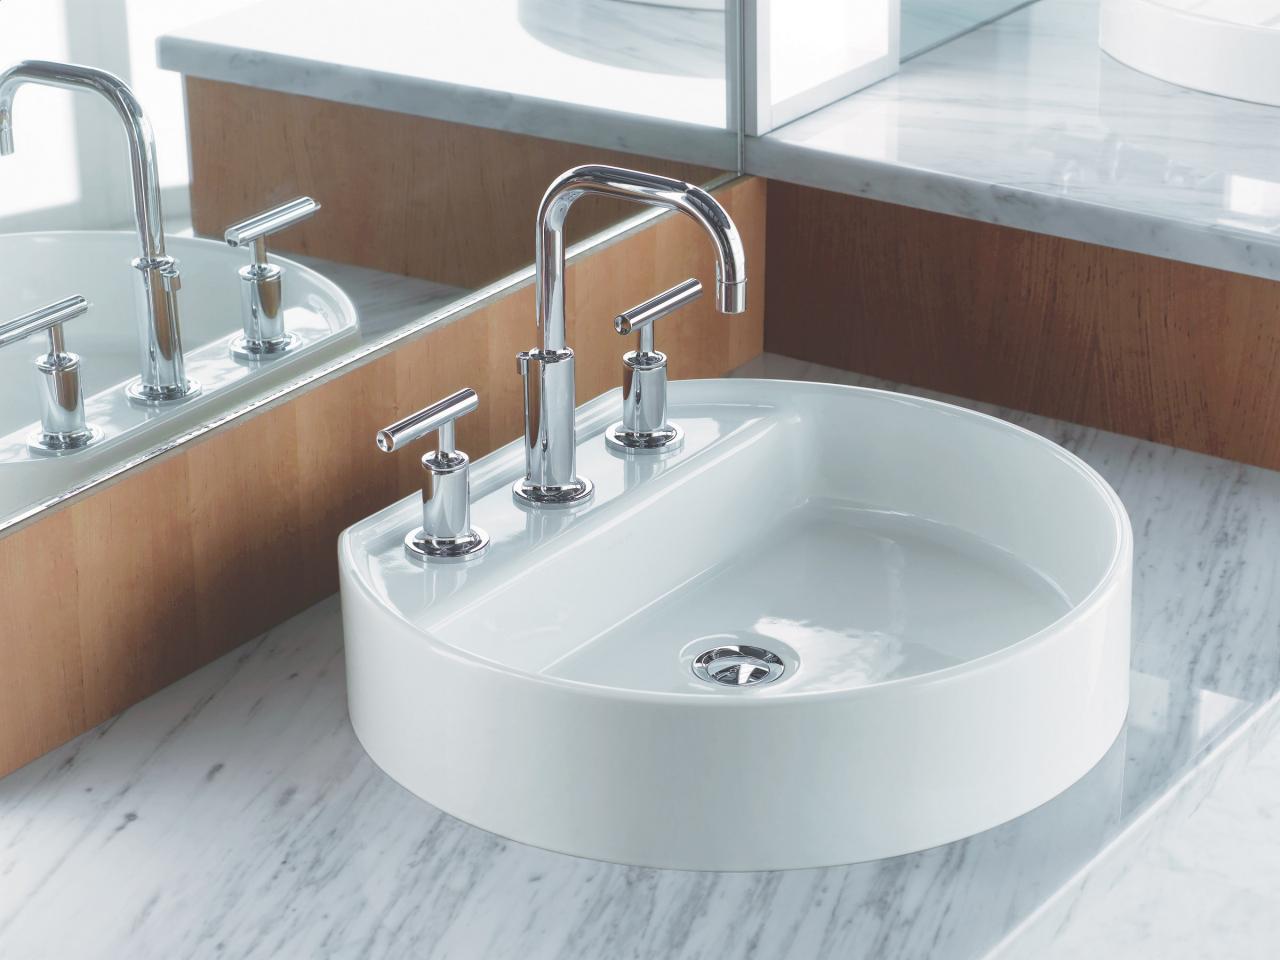
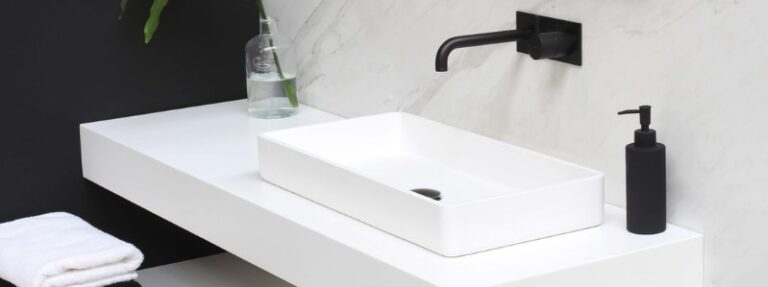
Wide Range of Styles and Designs
 Not only does Moen offer quality and durability, but they also have a wide range of styles and designs to choose from. Whether you prefer a modern, sleek look or a more traditional and elegant design, Moen has something for every taste and bathroom style. They also offer a variety of sizes and shapes, making it easier to find the perfect fit for your bathroom space.
Easy Installation Process
 Installing a new bathroom sink can be a daunting task, but with Moen, the process is made easier. Their sinks come with detailed installation instructions and all the necessary hardware, making it easier for both DIY enthusiasts and professional plumbers to install. This can save you time and money on hiring a professional to do the job.
Innovative Features
 Moen is constantly pushing the boundaries of bathroom design and functionality. Their sinks come with innovative features such as touchless faucets, water-saving technology, and antimicrobial surfaces. These features not only add convenience to your daily routine but also promote a cleaner and more hygienic bathroom environment.
Excellent Customer Service
 Moen's commitment to customer satisfaction extends beyond just their products. They have a team of knowledgeable customer service representatives ready to assist with any questions or concerns you may have about your sink installation. They also offer a limited lifetime warranty on their products, giving you peace of mind knowing that you are covered in case of any issues.
In conclusion, when it comes to bathroom sink installation, Moen is a top choice for its quality, variety, easy installation process, innovative features, and excellent customer service. By choosing Moen, you can elevate the design of your bathroom and create a functional and stylish space that will last for years to come. Don't settle for anything less than the best, choose Moen for your bathroom sink installation needs.
Moen's commitment to customer satisfaction extends beyond just their products. They have a team of knowledgeable customer service representatives ready to assist with any questions or concerns you may have about your sink installation. They also offer a limited lifetime warranty on their products, giving you peace of mind knowing that you are covered in case of any issues.
In conclusion, when it comes to bathroom sink installation, Moen is a top choice for its quality, variety, easy installation process, innovative features, and excellent customer service. By choosing Moen, you can elevate the design of your bathroom and create a functional and stylish space that will last for years to come. Don't settle for anything less than the best, choose Moen for your bathroom sink installation needs.