Cornice boxes are a great way to add a touch of elegance and style to your kitchen, and they are especially perfect for dressing up the space above your sink. Not only do they add visual interest, but they also serve as a functional way to hide any unsightly hardware or window treatments. In this article, we will show you how to make your own custom cornice box over the kitchen sink in just a few simple steps.How to Make a Cornice Box Over the Kitchen Sink


How to Make a Cornice Box Over the Kitchen Sink


If you're feeling crafty and want to save some money, making your own cornice box is a great option. With just a few supplies and some basic tools, you can create a beautiful and unique cornice box that perfectly fits your kitchen window. Follow these steps to get started: Step 1: Measure and gather your supplies. Before you begin, you'll need to measure the width of your window to determine how large your cornice box should be. Then, gather your supplies, which may include plywood, foam board, fabric, batting, staple gun, screws, and a saw. Step 2: Cut the plywood and foam board. Using your window measurements, cut the plywood and foam board to the appropriate size. The plywood will serve as the base of the cornice box, while the foam board will create the curved shape. Step 3: Assemble the frame. Using screws, attach the foam board to the plywood base, creating a frame for your cornice box. Step 4: Cover with fabric. Cut your fabric to fit the frame, leaving a few extra inches on each side. Lay the fabric over the frame and wrap it around the edges, stapling it in place. Trim off any excess fabric. Step 5: Add batting. For a more plush and professional look, you can add batting between the fabric and foam board. Simply cut the batting to fit the frame and staple it in place before adding the fabric. Step 6: Install the cornice box. Finally, use screws or a strong adhesive to attach the cornice box above your kitchen sink. You can also use L-brackets for added support.DIY Cornice Box Tutorial for Kitchen Windows


DIY Cornice Box Tutorial for Kitchen Windows


If you're not feeling confident in your DIY skills, you can also purchase a pre-made cornice box kit or hire a professional to build one for you. However, if you're up for the challenge, here's a step-by-step guide to building a cornice box for your kitchen: Step 1: Measure and plan. Determine the size and style of your cornice box, and measure the space above your kitchen sink. Consider the height and depth of the box to ensure it doesn't interfere with any cabinets or shelves. Step 2: Purchase materials. Based on your measurements and design, purchase wood, foam board, fabric, and any other necessary supplies. Step 3: Cut the wood and foam board. Using a saw, cut the wood and foam board to the appropriate size. The wood will serve as the base, while the foam board will create the curved shape. Step 4: Assemble the frame. Attach the foam board to the wood base using screws or a strong adhesive to create a sturdy frame. Step 5: Cover with fabric. Lay your chosen fabric over the frame, and wrap it around the edges, securing it with a staple gun. Trim off any excess fabric. Step 6: Install the cornice box. Use L-brackets or a strong adhesive to attach the cornice box above your kitchen sink. Make sure it is level and secure before adding any decorative elements.Step-by-Step Guide to Building a Cornice Box for Your Kitchen


Step-by-Step Guide to Building a Cornice Box for Your Kitchen


There are endless possibilities when it comes to designing a cornice box for your kitchen sink. Here are a few easy and creative ideas to get you started: 1. Painted wood. For a simple and classic look, paint a wooden cornice box to match your kitchen's color scheme. 2. Fabric-covered. Use a bold or patterned fabric to add a pop of color and personality to your kitchen. 3. Upholstered. For a more luxurious feel, use an upholstered fabric, such as velvet, to create a soft and cozy look. 4. Decorative trim. Add decorative trim, such as piping or tassels, to give your cornice box a unique and stylish touch. 5. Stenciled design. Use stencils and paint to create a custom design on your cornice box, such as a floral pattern or geometric shapes.Easy Cornice Box Ideas for Above the Kitchen Sink


Easy Cornice Box Ideas for Above the Kitchen Sink


A cornice box is not only a functional and stylish addition above your kitchen sink, but it can also serve as a decorative element. Here are a few creative ways to dress up your kitchen sink with a cornice box: 1. Add string lights. For a cozy and whimsical touch, hang string lights along the bottom of your cornice box. 2. Display plants. Use your cornice box as a shelf to display small potted plants or herbs above your kitchen sink. 3. Hang a curtain. Use your cornice box as a base for a small curtain that can be pulled closed for added privacy or opened to let in natural light. 4. Install a small shelf. If your cornice box is deep enough, you can install a small shelf inside to hold kitchen essentials, such as spices or cooking oils. 5. Hang a mirror. For a more open and spacious feel, hang a small mirror on the front of your cornice box to reflect light and make the space appear larger.Creative Ways to Dress Up Your Kitchen Sink with a Cornice Box


Creative Ways to Dress Up Your Kitchen Sink with a Cornice Box


If you're on a tight budget but still want to add a cornice box above your kitchen sink, there are plenty of cost-effective options available. Here are a few ideas to consider: 1. Use a tension rod. Instead of building or purchasing a cornice box, you can simply hang a tension rod above your kitchen sink and drape fabric over it for a similar look. 2. Repurpose an old window. If you have an old window lying around, you can transform it into a unique and rustic cornice box by adding fabric or paint. 3. Use a shower curtain. Shower curtains come in a variety of colors and patterns and can easily be hung above your kitchen sink for a budget-friendly cornice box alternative. 4. Look for sales. Keep an eye out for sales and discounts at home decor stores to find a pre-made cornice box at a lower price. 5. DIY with repurposed materials. Get creative and repurpose materials from around your home, such as old shutters or pallet wood, to make your own unique cornice box for free.Budget-Friendly Cornice Box Options for Kitchen Windows


Budget-Friendly Cornice Box Options for Kitchen Windows


A cornice box above your kitchen sink can truly transform the look and feel of your entire kitchen. Not only does it add style and charm, but it also serves as a functional way to hide any unsightly hardware or window treatments. By customizing your own cornice box or hiring a professional to build one for you, you can create a one-of-a-kind feature that will make your kitchen feel more inviting and complete.Transform Your Kitchen with a Custom Cornice Box Above the Sink


Transform Your Kitchen with a Custom Cornice Box Above the Sink


Installing a cornice box over your kitchen sink may seem intimidating, but with the right tools and instructions, it can be a simple and straightforward process. Here are the basic steps to follow: Step 1: Gather your tools. You will need a drill, screws or adhesive, L-brackets, and a level to properly install your cornice box. Step 2: Measure and mark the placement. Use a measuring tape and level to determine the exact placement of your cornice box above the sink. Mark the spots where you will need to attach the L-brackets. Step 3: Attach the L-brackets. Use your drill and screws to attach the L-brackets to the wall at the marked spots. Step 4: Install the cornice box. Place the cornice box on top of the L-brackets and screw or glue it into place. Make sure it is level and secure before adding any decorative elements. Step 5: Add finishing touches. Once the cornice box is installed, you can add any desired finishing touches, such as curtains or decorative trim.How to Install a Cornice Box Over Your Kitchen Sink


How to Install a Cornice Box Over Your Kitchen Sink


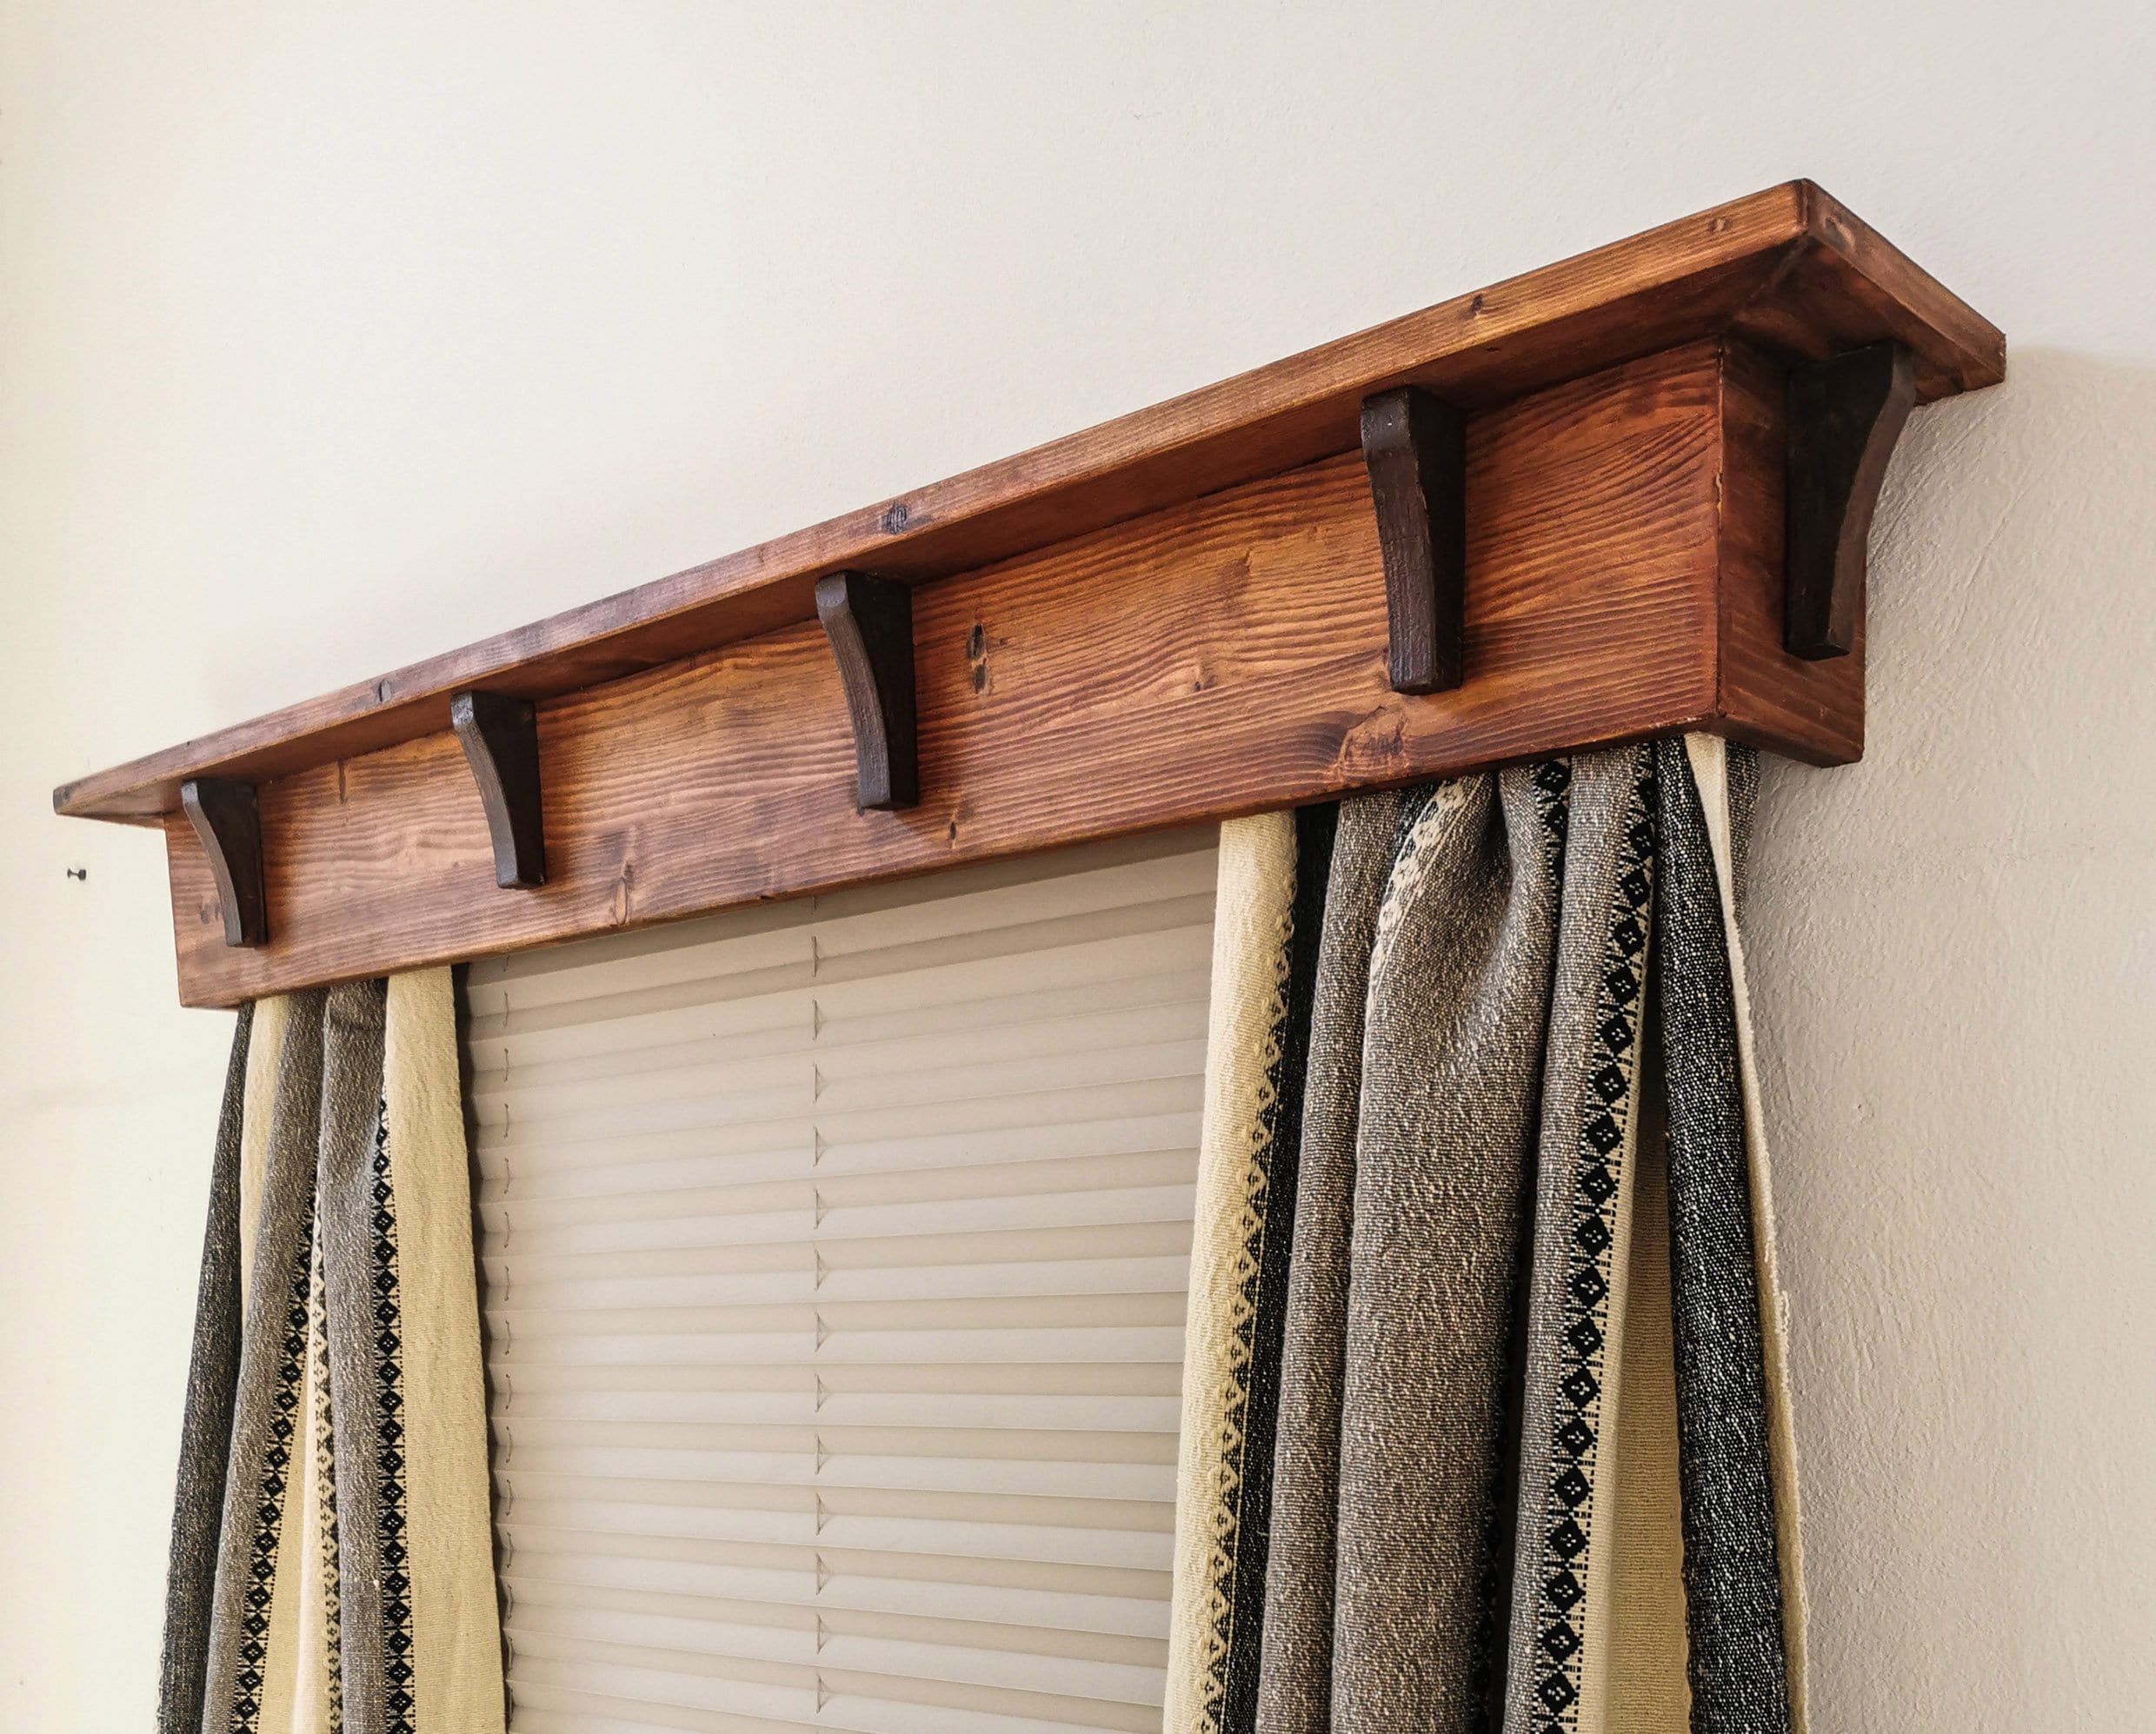
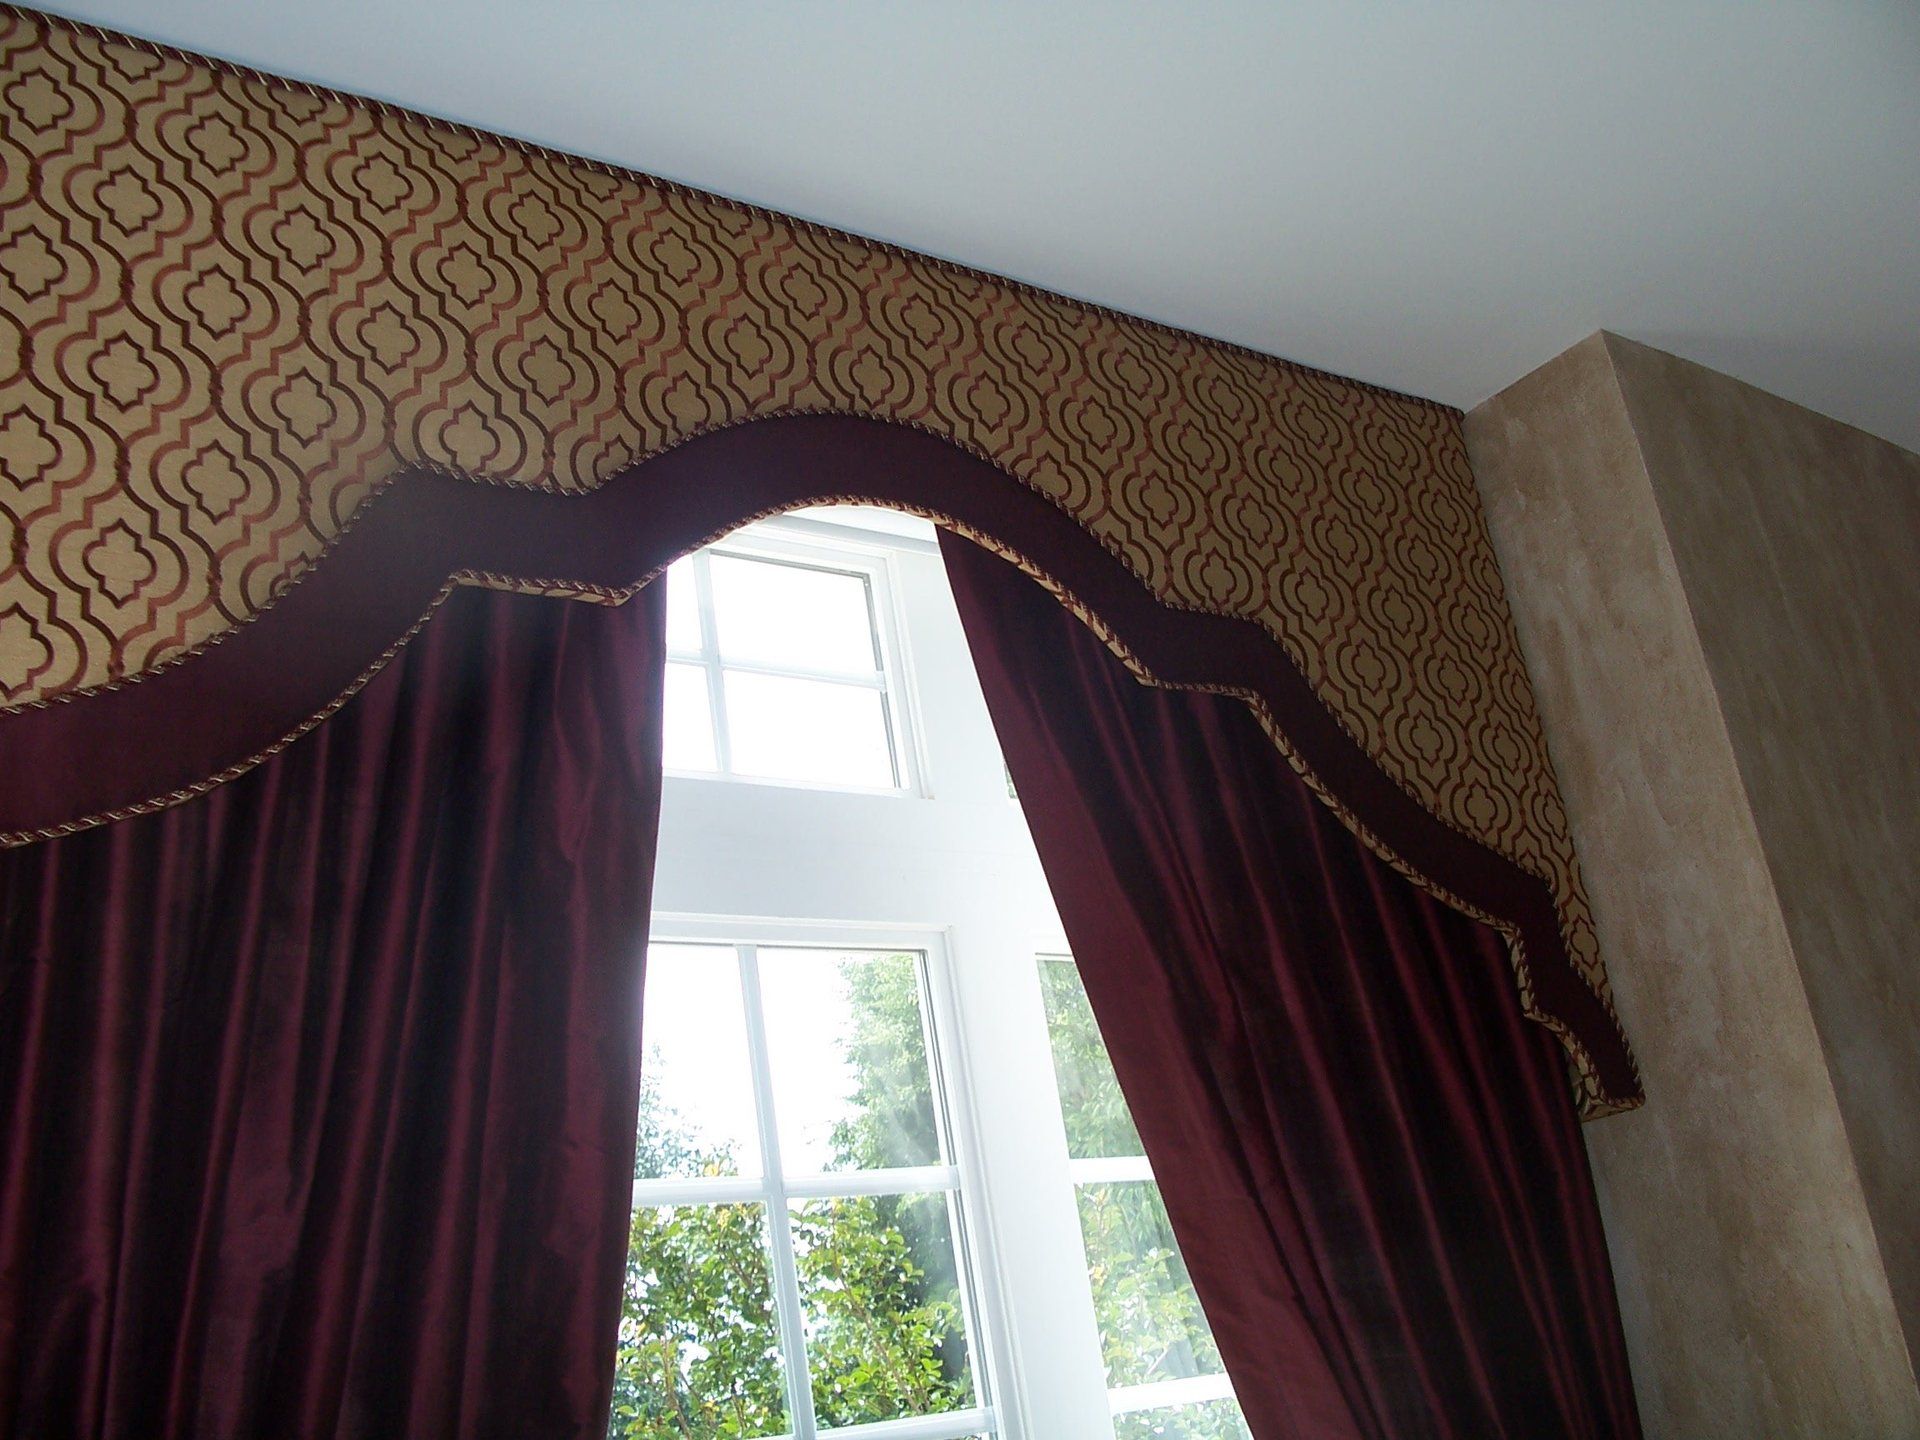
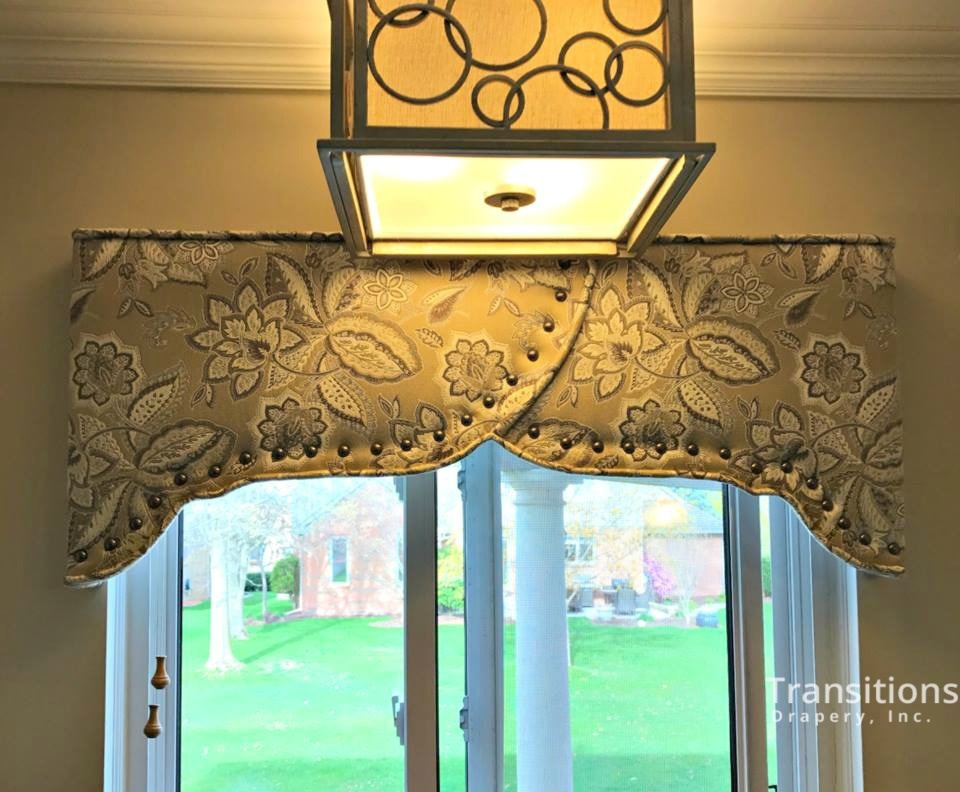
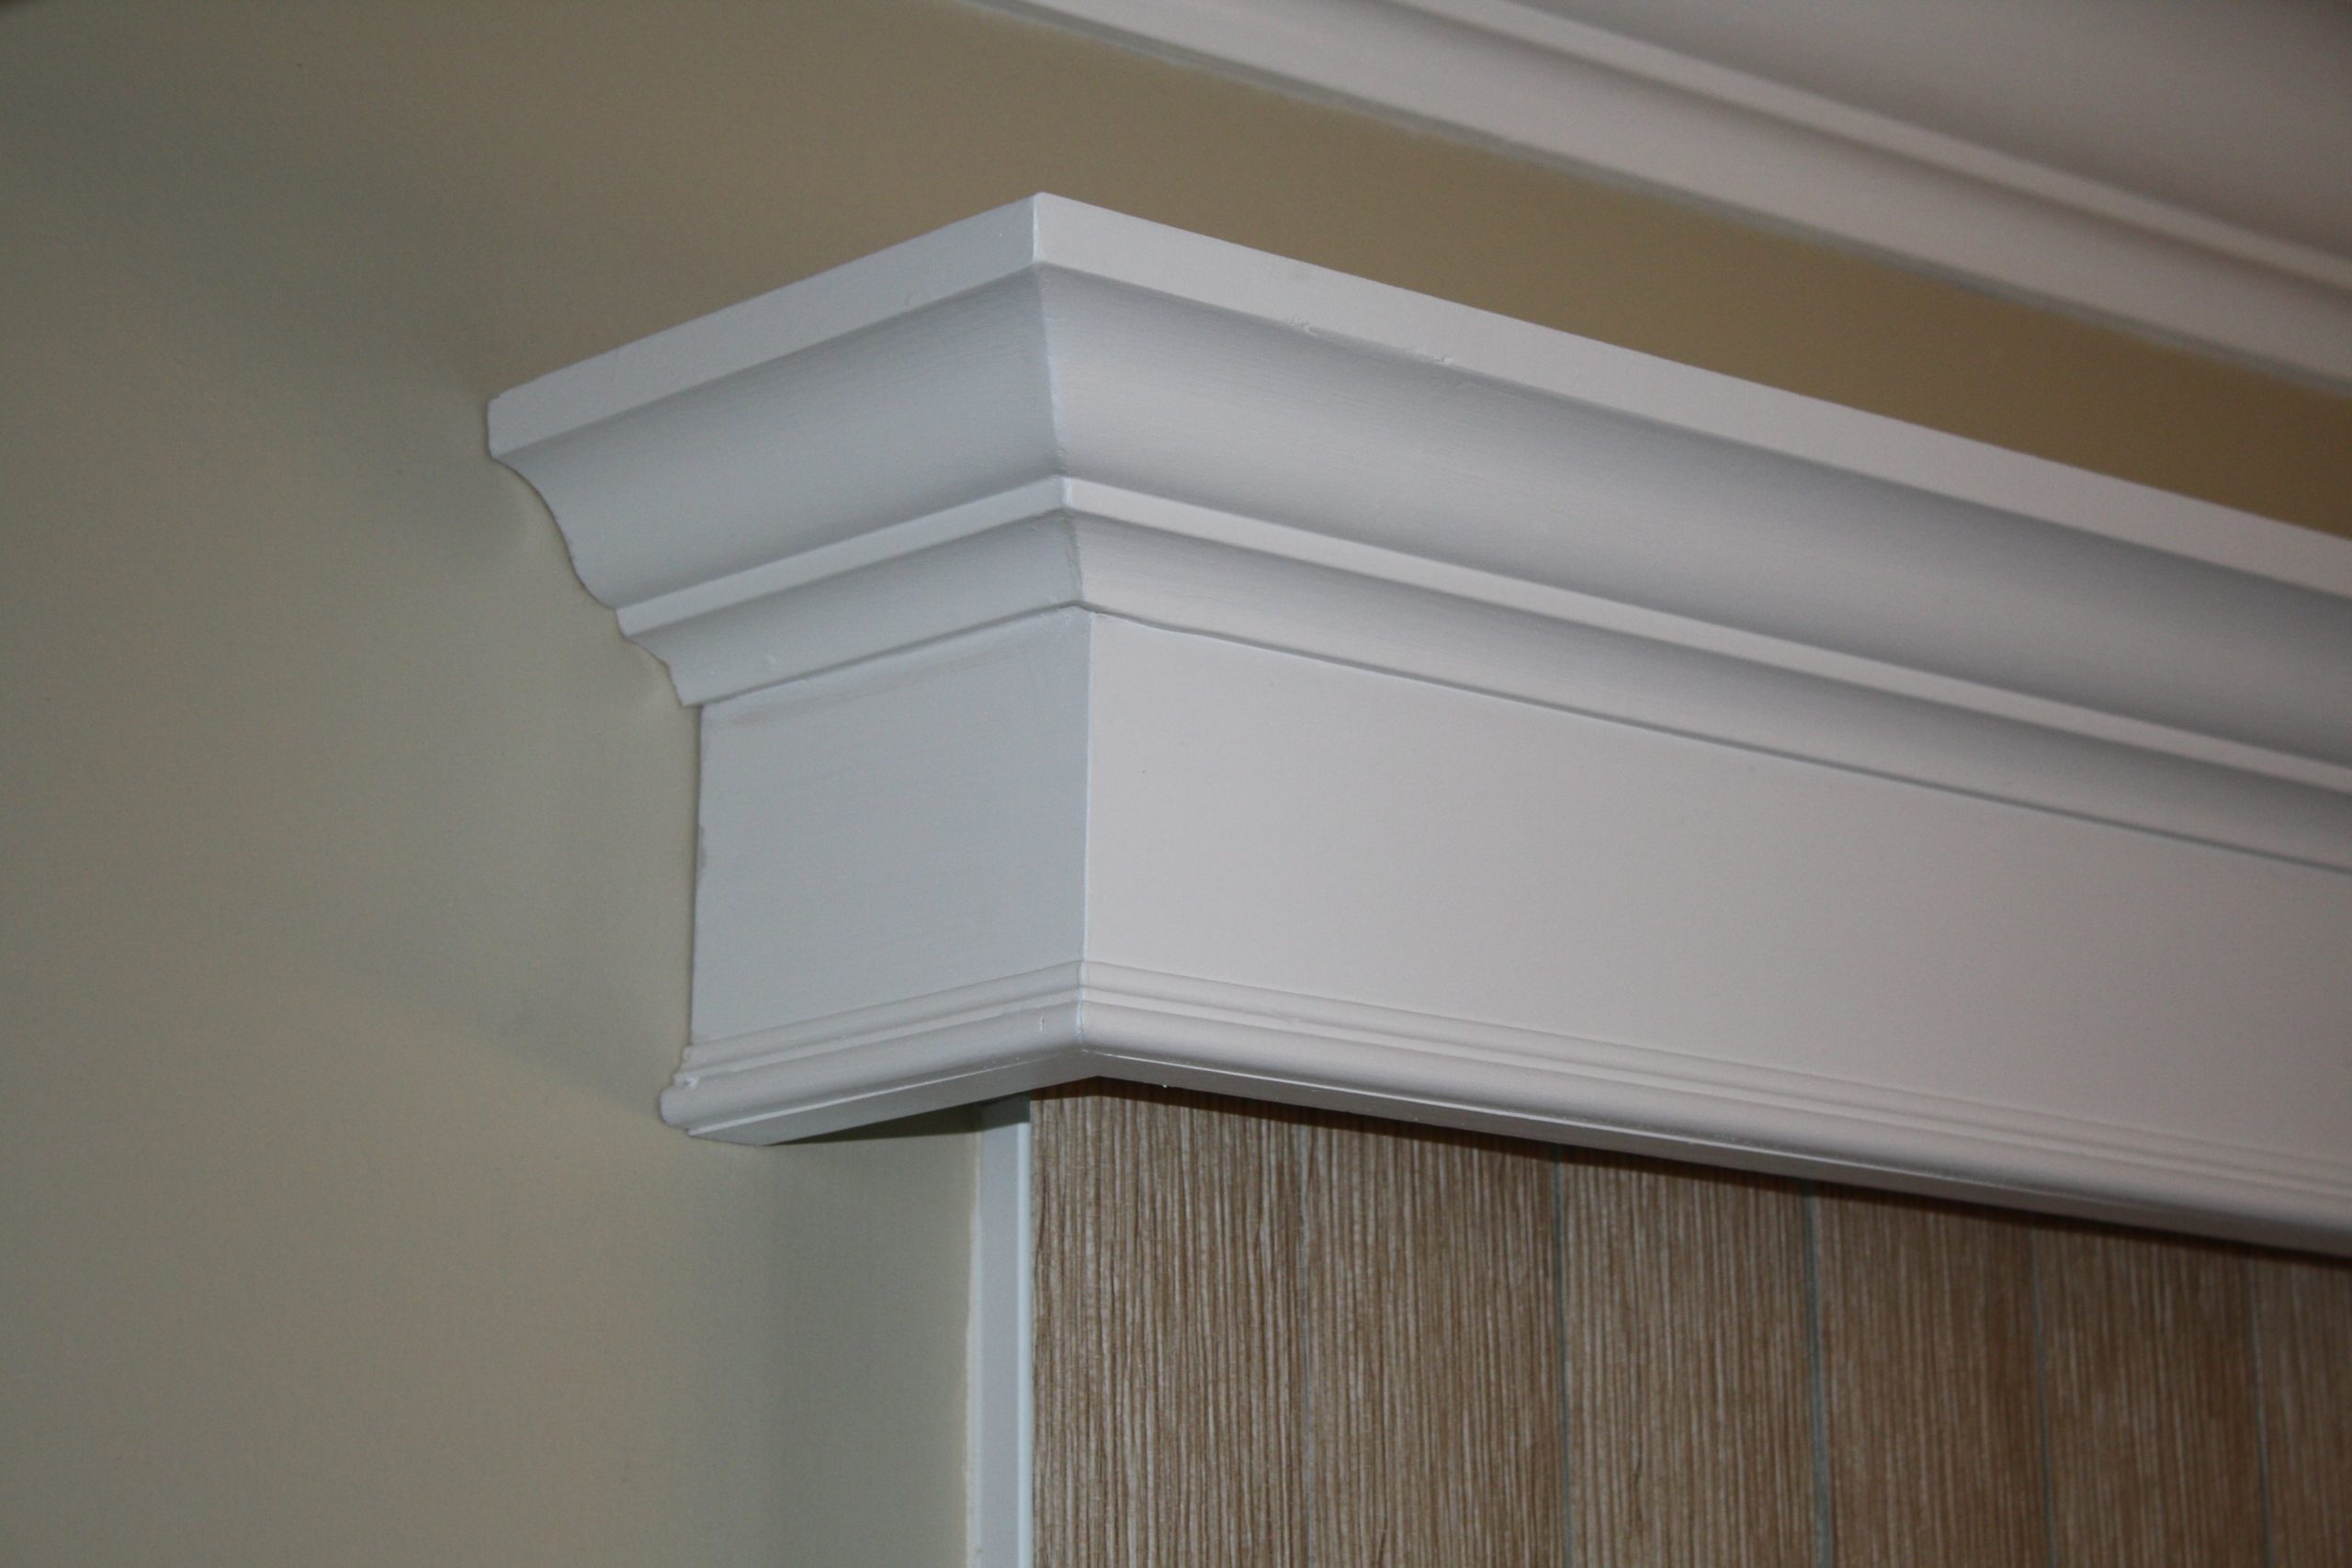
When it comes to choosing a design for your cornice box above the kitchen sink, the options are endless. Here are a few stylish and popular designs to consider: 1. Curved. Create a soft and elegant look with a curved cornice box that mimics the shape of your window. 2. Straight with angled sides. For a modern and unique design, opt for a straight cornice box with angled sides. 3. Scalloped. Add a touch of whimsy and charm with a scalloped cornice box that features a scalloped edge along the bottom. 4. Box pleat. Give your cornice box a tailored and sophisticated look with a box pleat design. 5. Layered. For a more dramatic and dimensional look, layer different fabrics or add trim to your cornice box.Stylish Cornice Box Designs for Above the Kitchen Sink


Stylish Cornice Box Designs for Above the Kitchen Sink


One of the greatest benefits of a cornice box above your kitchen sink is the way it can maximize natural light in the space. By installing a cornice box, you can eliminate the need for curtains or blinds that may block out natural light. This not only makes your kitchen feel brighter and more spacious, but it also allows you to enjoy the view outside while washing dishes or preparing meals. In conclusion, a cornice box above the kitchen sink is a simple and stylish way to add character and functionality to your kitchen. Whether you choose to DIY or hire a professional, a custom cornice box is sure to make a statement and elevate the overall look of your kitchen. So why not give it a try and see the transformation for yourself?Maximize Natural Light in Your Kitchen with a Cornice Box Above the Sink


Maximize Natural Light in Your Kitchen with a Cornice Box Above the Sink


Making a Cornice Box Over the Kitchen Sink: A Simple and Stylish Addition to Your Kitchen Design

What is a Cornice Box?
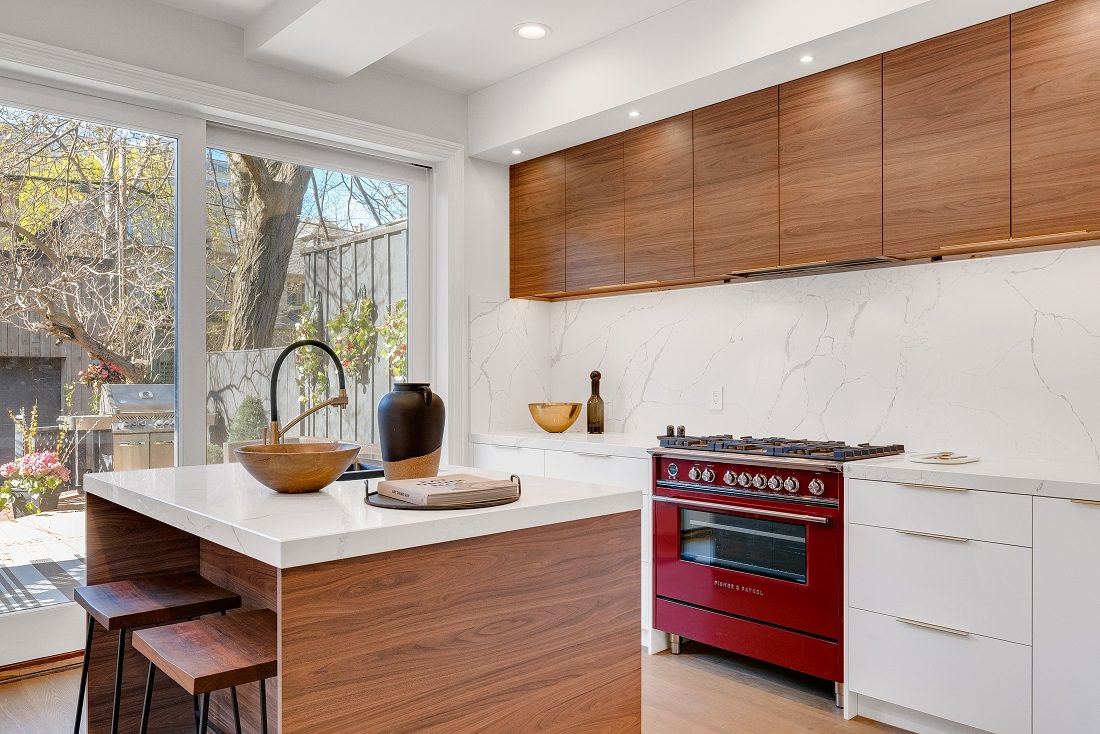
 A cornice box is a decorative and functional addition to any kitchen, particularly over the sink area. It is a wooden or fabric-covered box that is mounted on the wall above the sink, creating a frame around the window and adding a touch of elegance to the space.
The Benefits of Adding a Cornice Box
 There are several benefits to adding a cornice box over your kitchen sink. Not only does it enhance the overall design of your kitchen, but it also serves practical purposes. A cornice box can provide additional storage space, as well as hide any unsightly wires or pipes above the sink. It also helps to frame the window and draw attention to a beautiful view outside.
Choosing the Right Material
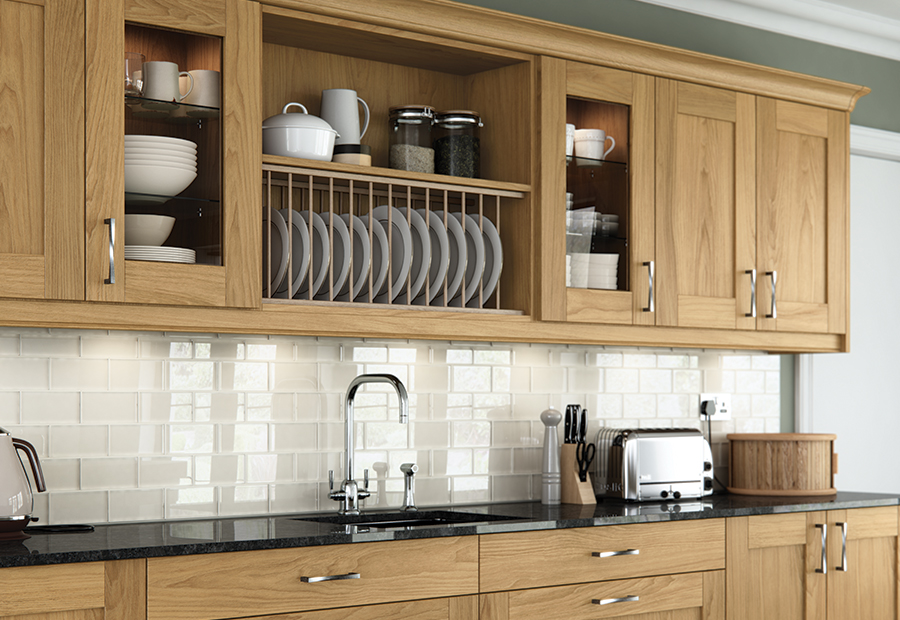
 When it comes to making a cornice box, the material options are endless. You can choose from a variety of woods, such as oak, cherry, or mahogany, to create a traditional and timeless look. For a more modern and contemporary feel, you could opt for a sleek and smooth metal material. Alternatively, you could use fabric to cover the box, adding a pop of color or pattern to your kitchen design.
DIY or Hiring a Professional?
 If you are feeling handy and have some experience with woodworking, you could attempt to make a cornice box yourself. However, it is essential to note that this project requires precise measurements and precise cutting skills. Any mistakes could result in an uneven or ill-fitting box, which could detract from the overall look of your kitchen. Hiring a professional to create and install a cornice box may be a more practical and stress-free option.
Personalization and Customization
 One of the best things about adding a cornice box to your kitchen design is the ability to personalize and customize it to your liking. You can choose the material, size, and design of the box to complement your existing decor. You could also add decorative features, such as trim or molding, to make it truly unique.
The Final Touch to Your Kitchen Design
 A cornice box is the perfect finishing touch to your kitchen design. It adds a touch of sophistication and elegance to the space, as well as providing practical benefits. Whether you choose to make one yourself or hire a professional, a cornice box over the kitchen sink is a simple yet stylish addition that will enhance the overall look and feel of your kitchen.
:max_bytes(150000):strip_icc()/ButterflyHouseRemodelLivingRoom-5b2a86f73de42300368509d6.jpg)