Are you tired of the generic, mass-produced table legs available at furniture stores? Do you want to add a personal touch to your kitchen table? Look no further - making your own kitchen table legs is easier than you think! Not only is building your own table legs a fun and creative project, it also allows you to customize your table to fit your personal style and needs. Plus, it can save you money in the long run. So roll up your sleeves and let's get started!DIY Kitchen Table Legs: How to Make Your Own


DIY Kitchen Table Legs: How to Make Your Own


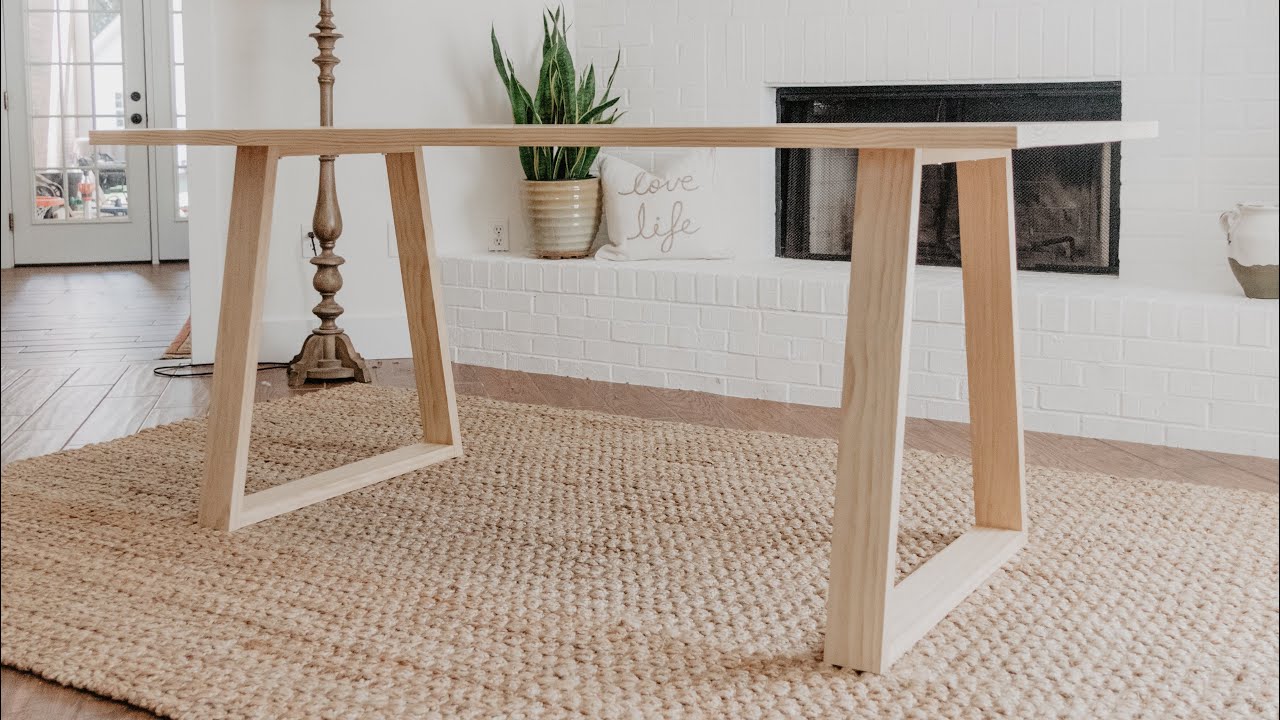


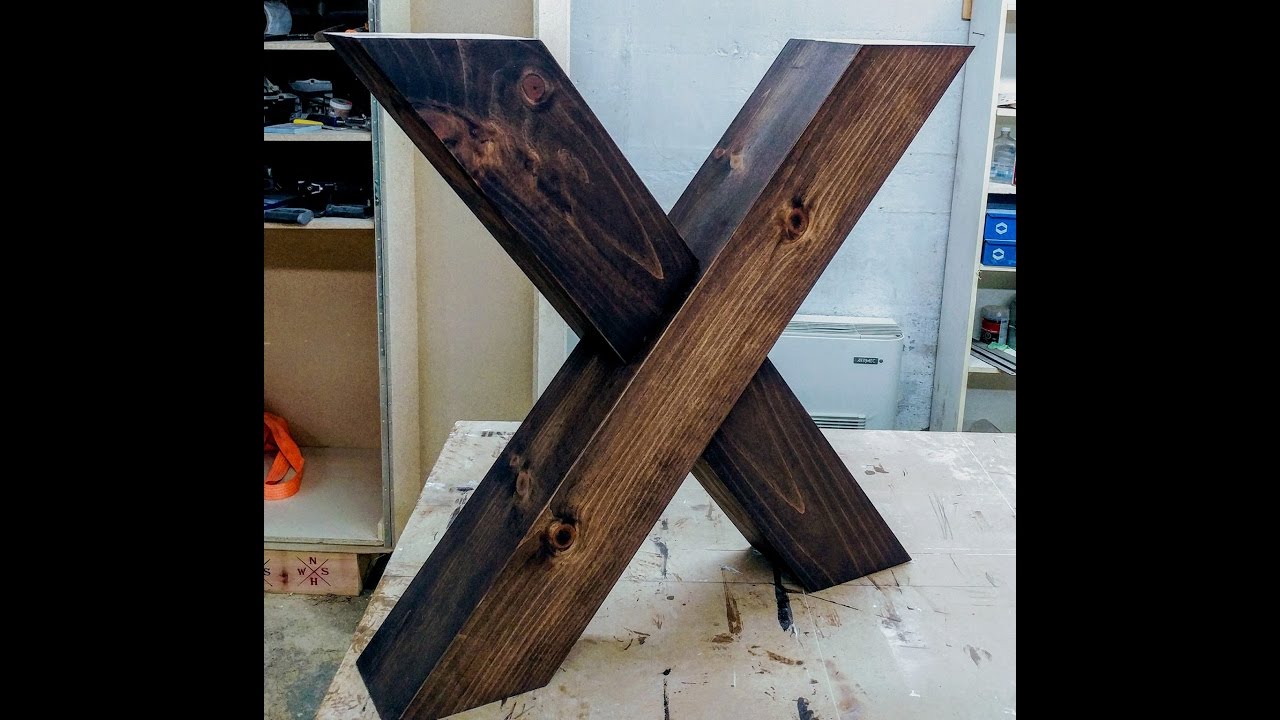
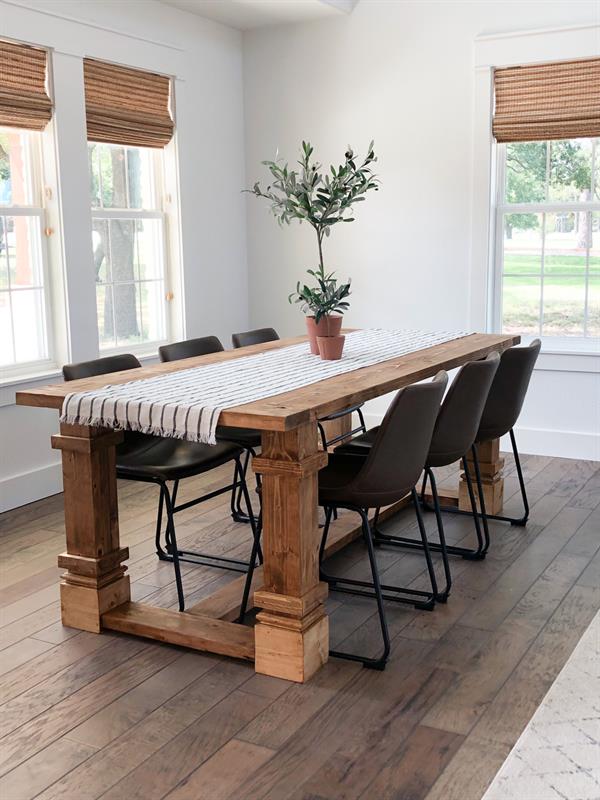
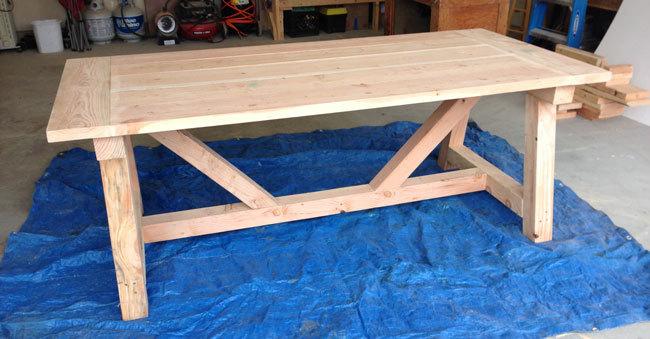
Before we dive into the specifics of making your own kitchen table legs, let's explore some popular DIY table designs: Farmhouse Table: This classic design features a sturdy, rustic look with a wide top and turned legs. Metal and Wood Combination: For a modern industrial look, consider using metal pipes or rods for the legs and a wooden top. Rustic Farmhouse Table: Similar to the classic farmhouse table, this design incorporates more natural elements such as reclaimed wood and distressed finish. Hairpin Legs: These sleek, minimalistic legs are a popular choice for a modern and chic look. Dining Table from Salvaged Lumber: Reusing old materials not only adds character to your table, it also helps reduce waste. Industrial Pipe Legs: Another option for an industrial-style table, these legs can be adjusted for a unique and customizable design. Concrete Table: For a durable and modern look, consider using concrete for your table top and legs. Butcher Block Table: This design features a thick, sturdy top made of butcher block and can be paired with simple wooden legs. Trestle Table: With its criss-crossed legs, this design adds a touch of elegance and sophistication to any dining room. Mid-Century Modern Table: A popular design from the 1950s and 1960s, this style incorporates clean lines and tapered legs. Live Edge Table: This unique design showcases the natural beauty of the wood, with its unfinished edges and irregular shape. Pedestal Table: Perfect for smaller spaces, this design features a single central column for support instead of traditional legs.How to Build a Table: 12 DIY Designs


How to Build a Table: 12 DIY Designs


:max_bytes(150000):strip_icc()/diy-diva-free-picnic-table-plans-57f3cea43df78c690f522c28-5bfd90ea46e0fb00264270b5.jpg)


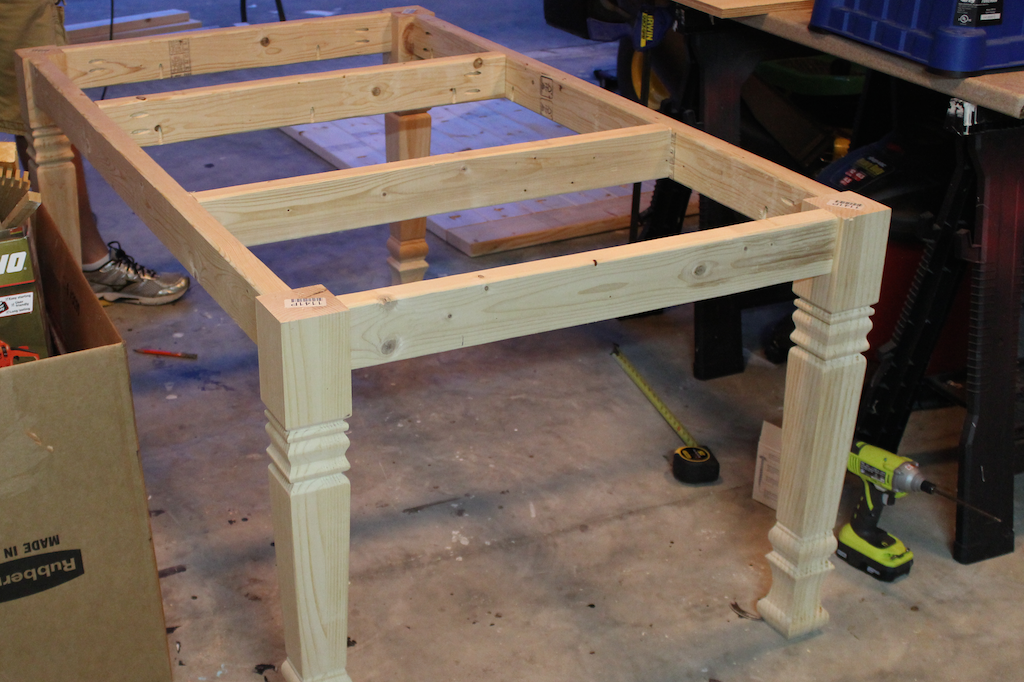
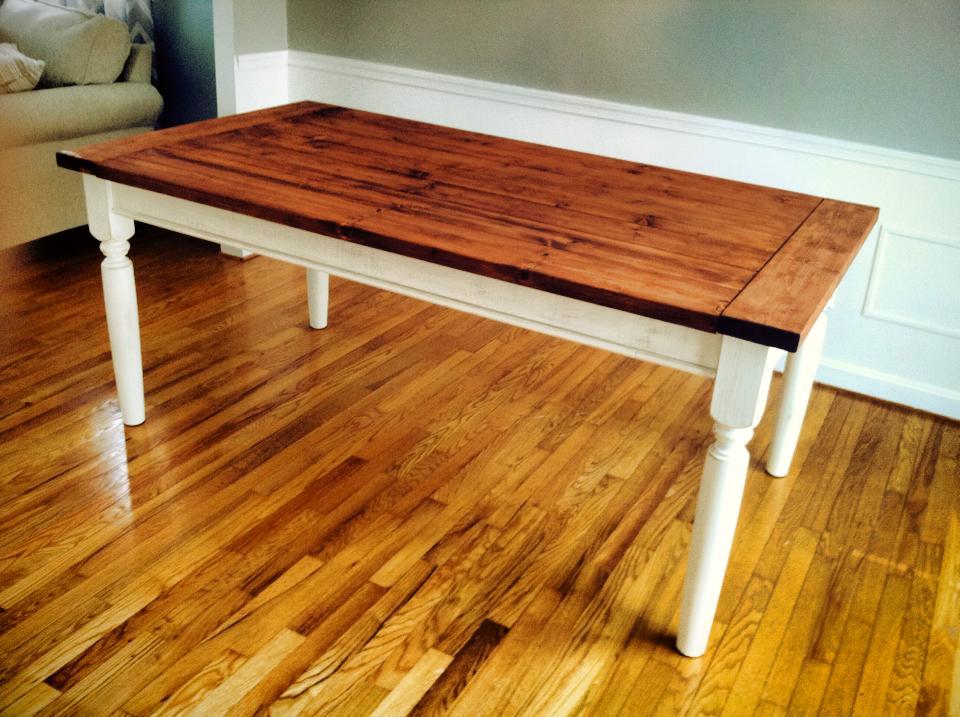
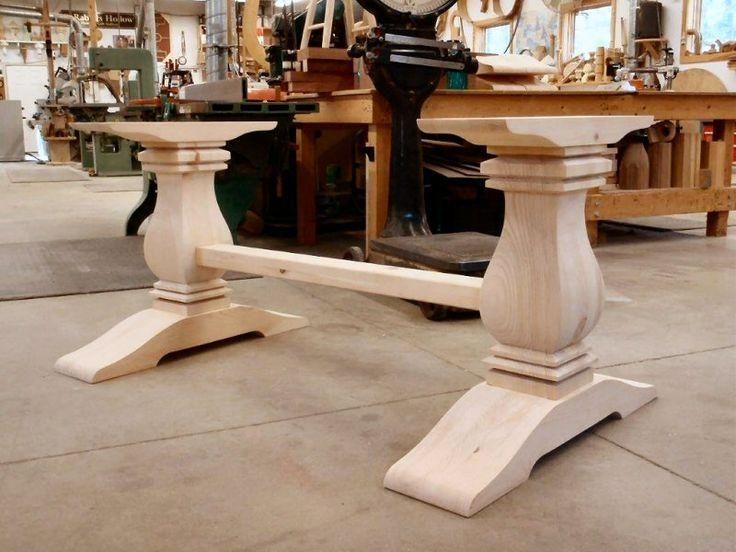
If you've decided on a classic farmhouse or trestle table design, turned wood legs are a great option. They add a traditional and elegant touch to your table. To make your own turned wood legs, you will need a lathe, which is a machine used for shaping wood. You can purchase one or rent one from a local hardware store. You will also need a piece of wood for each leg, preferably a hardwood such as oak or maple. Step 1: Cut the wood into the desired length for your legs. This will depend on the height of your table and the length of the aprons (the pieces that connect the legs to the table top). Step 2: Next, mark the center of each piece of wood and place it on the lathe. Use a roughing gouge to shape the wood into a cylinder. Step 3: Once you have a rough shape, use a skew chisel to create the desired design. You can choose from various patterns such as straight, fluted, or spiral. Step 4: Sand the legs using sandpaper with progressively finer grits until they are smooth. Step 5: Finally, attach the legs to the aprons using dowels or screws, and then attach the aprons to the table top.DIY Table Legs: Turned Wood Legs for Tables and Kitchen Islands


DIY Table Legs: Turned Wood Legs for Tables and Kitchen Islands


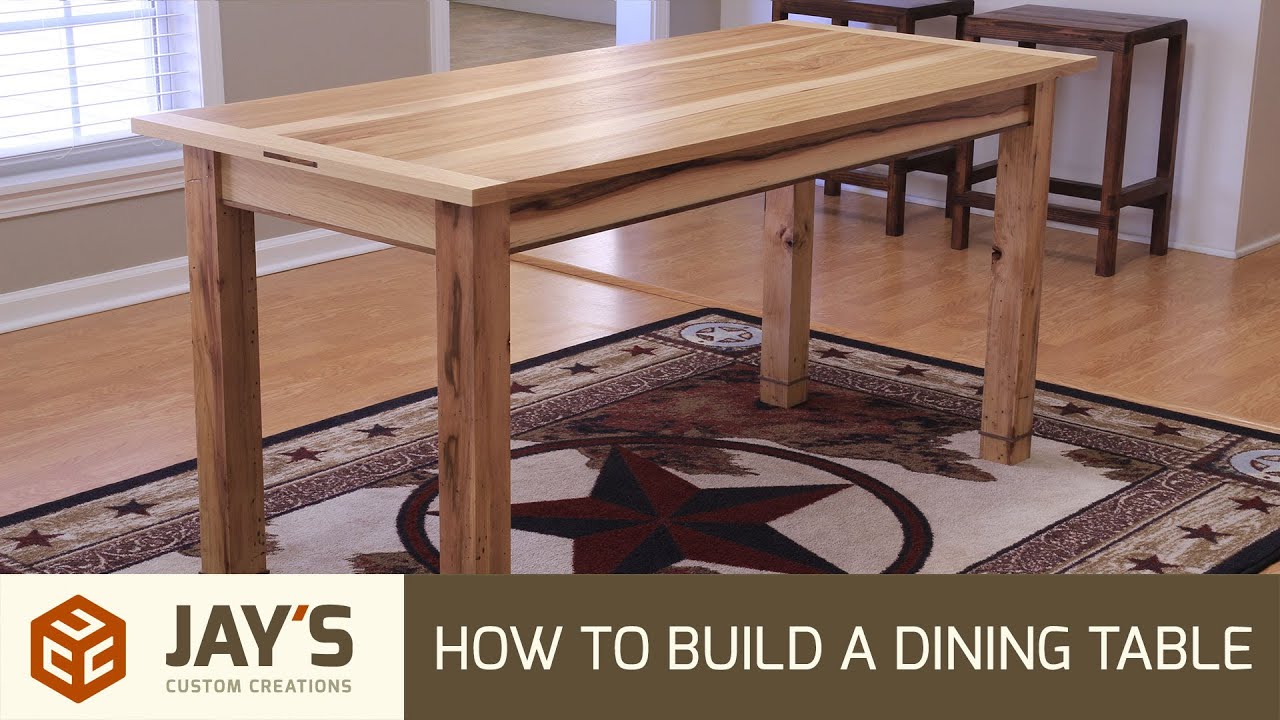
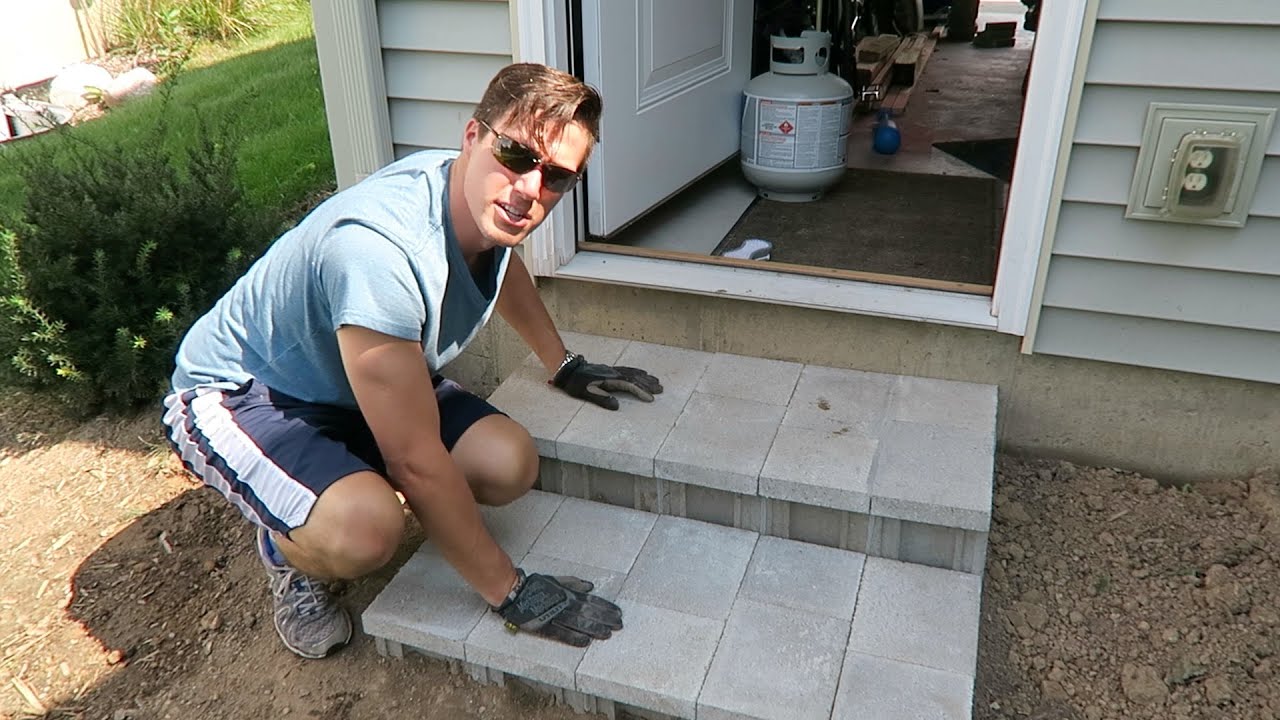
If you've never built a table before, it can be intimidating to tackle a project like a farmhouse table. But fear not, there are plenty of resources available to guide you through the process. One of the most comprehensive tutorials can be found on YouTube, where DIY expert Mark Rober shares his step-by-step process for building a beautiful farmhouse table. From selecting the right wood to sanding and staining, this video covers everything you need to know to build your own farmhouse table.How to Build a Farmhouse Table: The Most Complete Video Online

How to Build a Farmhouse Table: The Most Complete Video Online


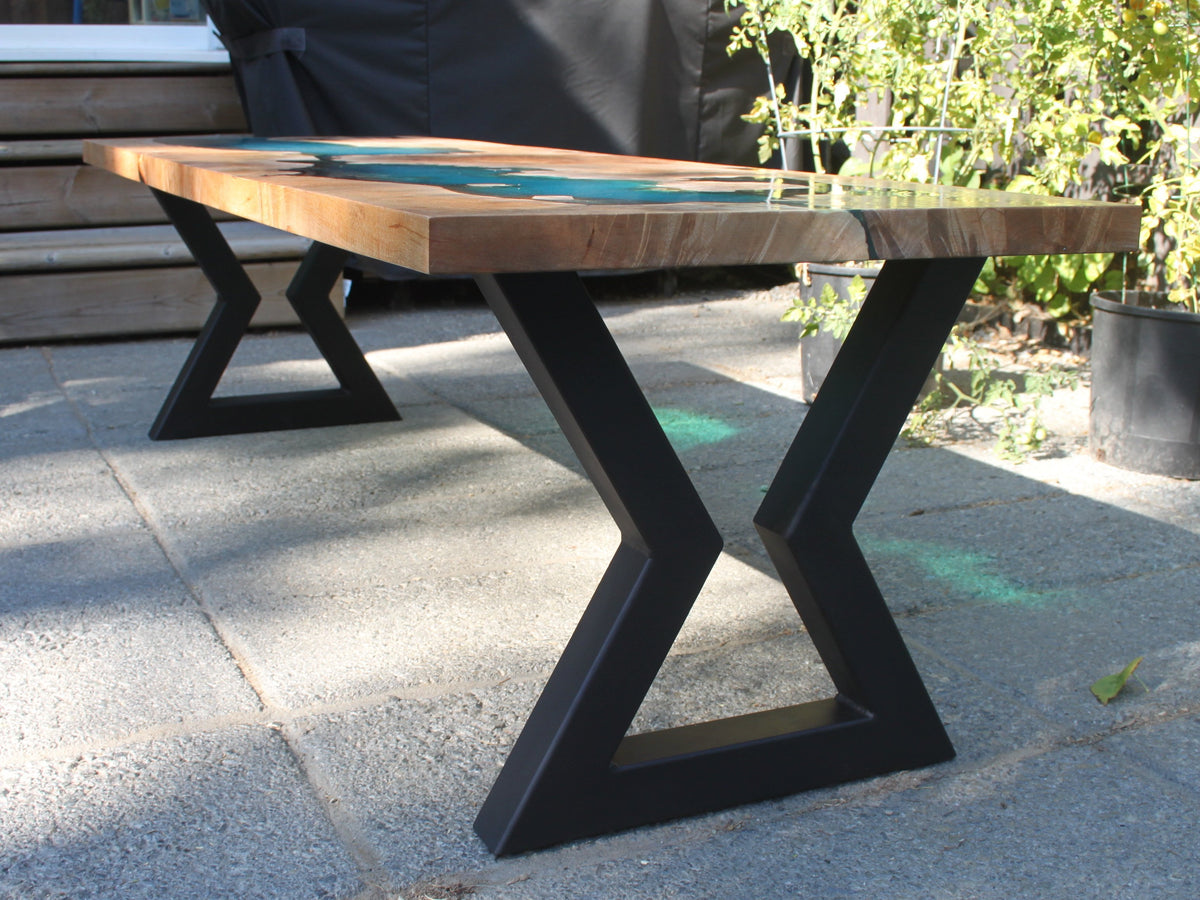
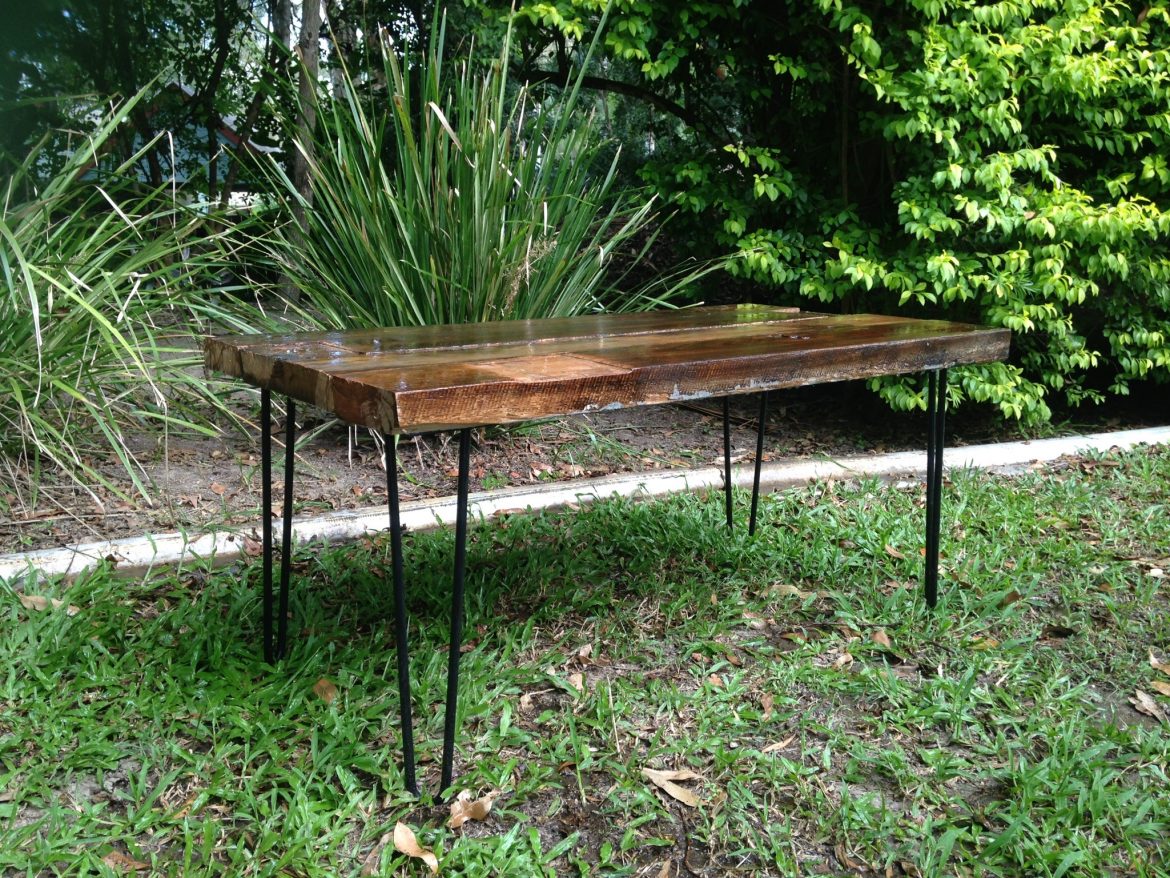
Metal and wood combination table legs are a popular choice for those looking for a modern and industrial look. They are also a great option for those who don't have access to a lathe or are not comfortable using one. For this design, you will need metal pipes or rods, wooden boards for the top, and screws or brackets to attach the legs to the top. Step 1: Cut the metal pipes or rods to the desired length for your legs. You can choose to leave them in their natural color or paint them for a pop of color. Step 2: Next, cut the wooden boards to the desired size for your table top. You can use one solid piece or several smaller boards joined together. Step 3: Attach the metal legs to the wooden top using screws or brackets. Make sure to secure them firmly for stability. Step 4: Sand and finish the wooden top to your liking. You can choose to stain, paint, or leave it natural.DIY Table Legs: Metal and Wood Combination


DIY Table Legs: Metal and Wood Combination


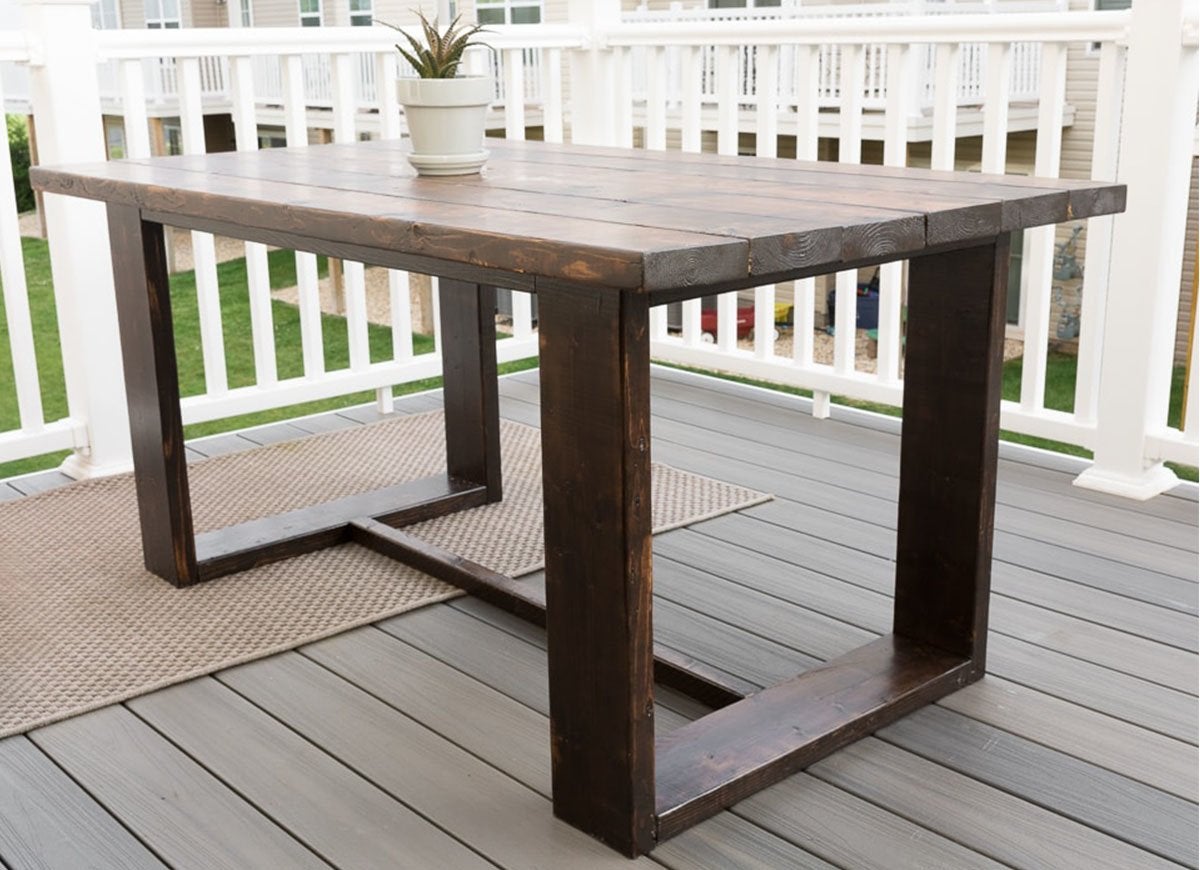
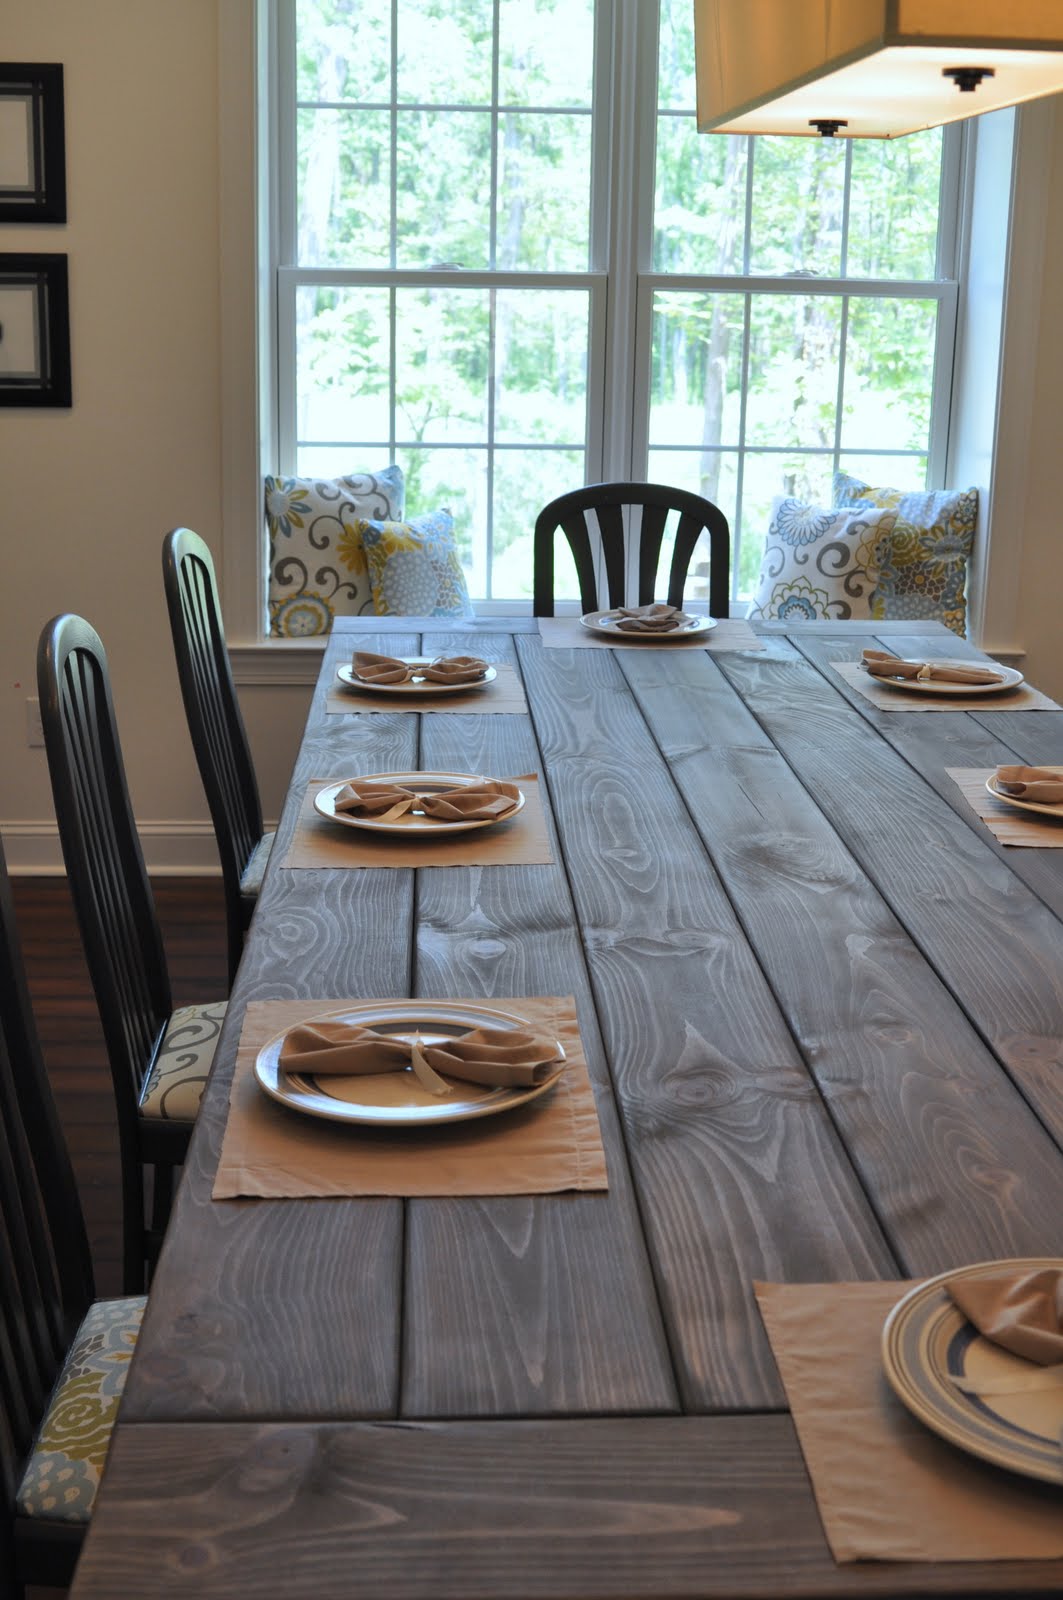
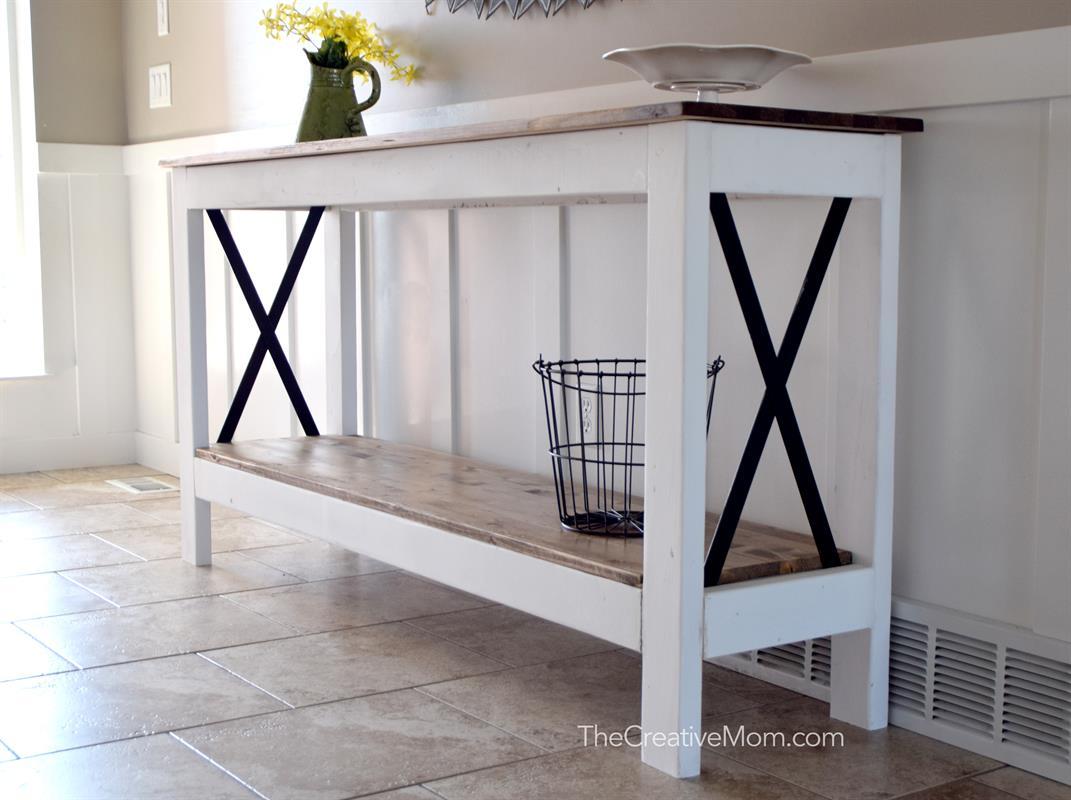
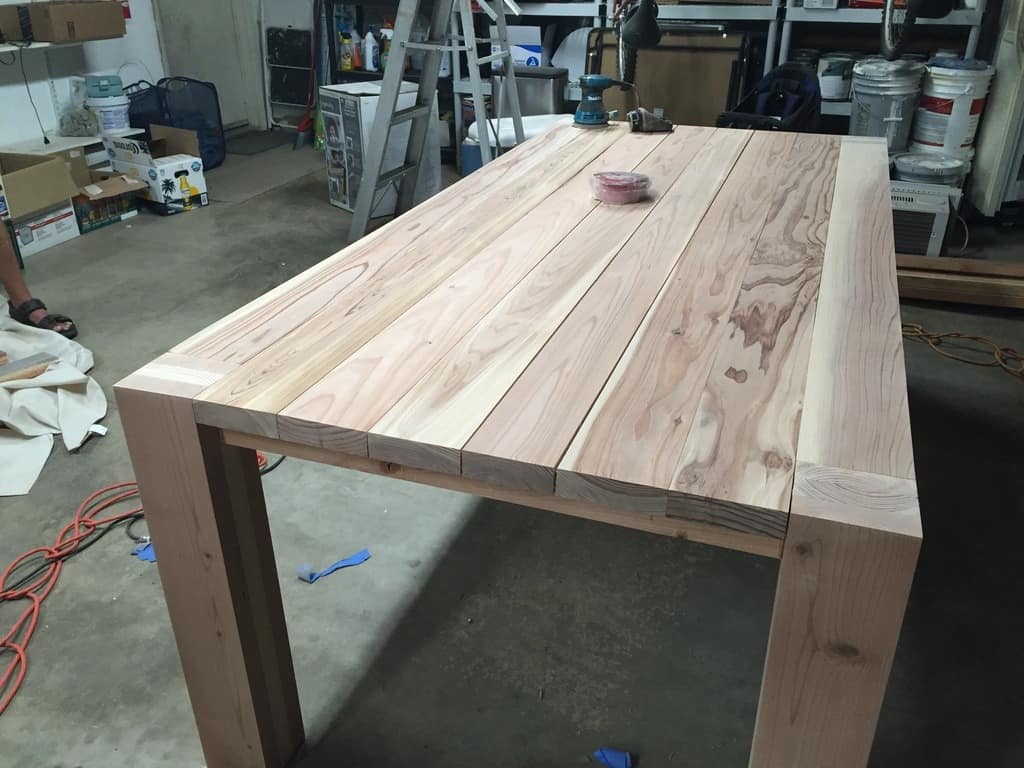
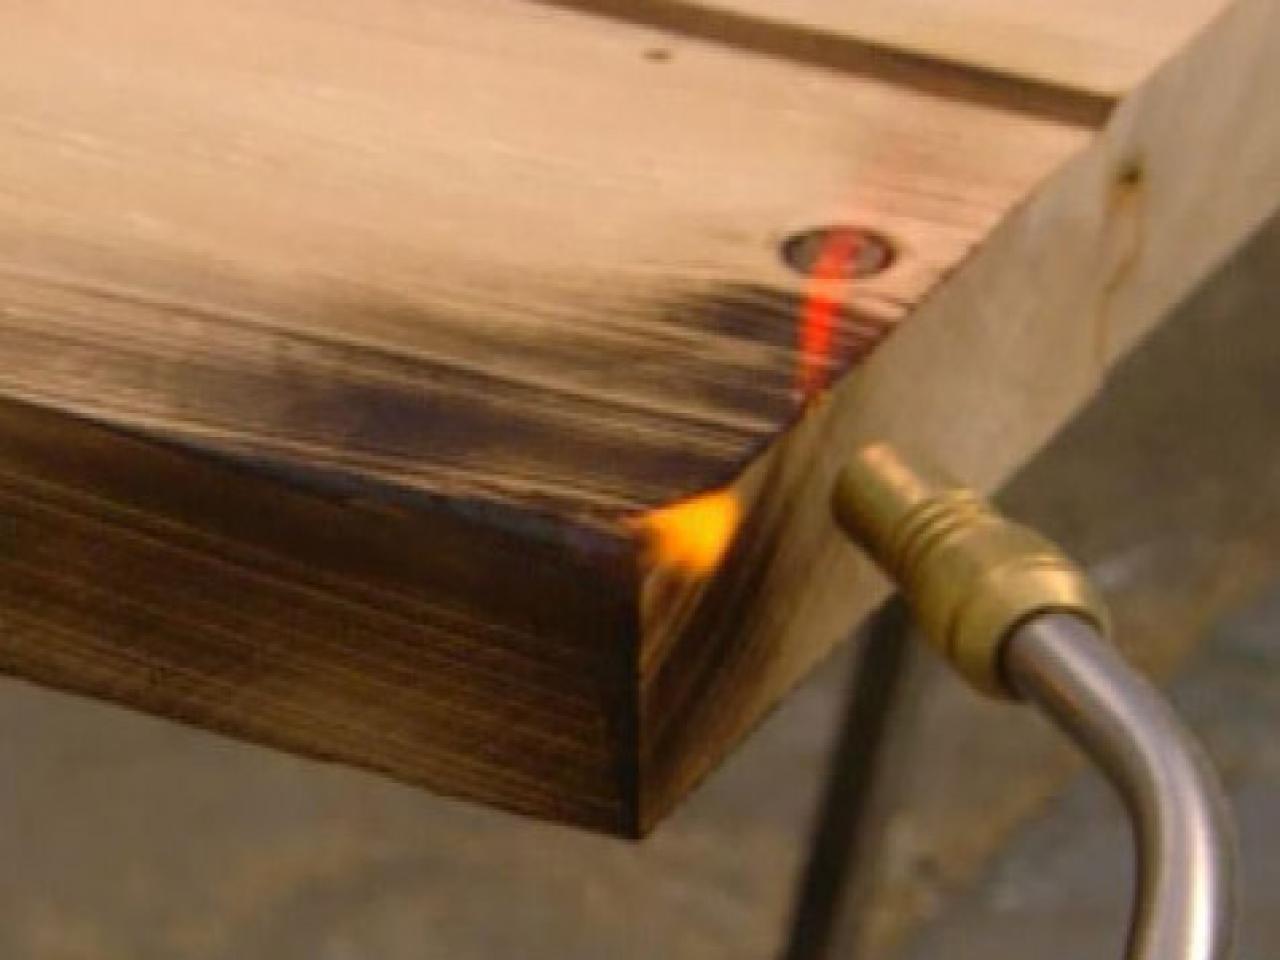
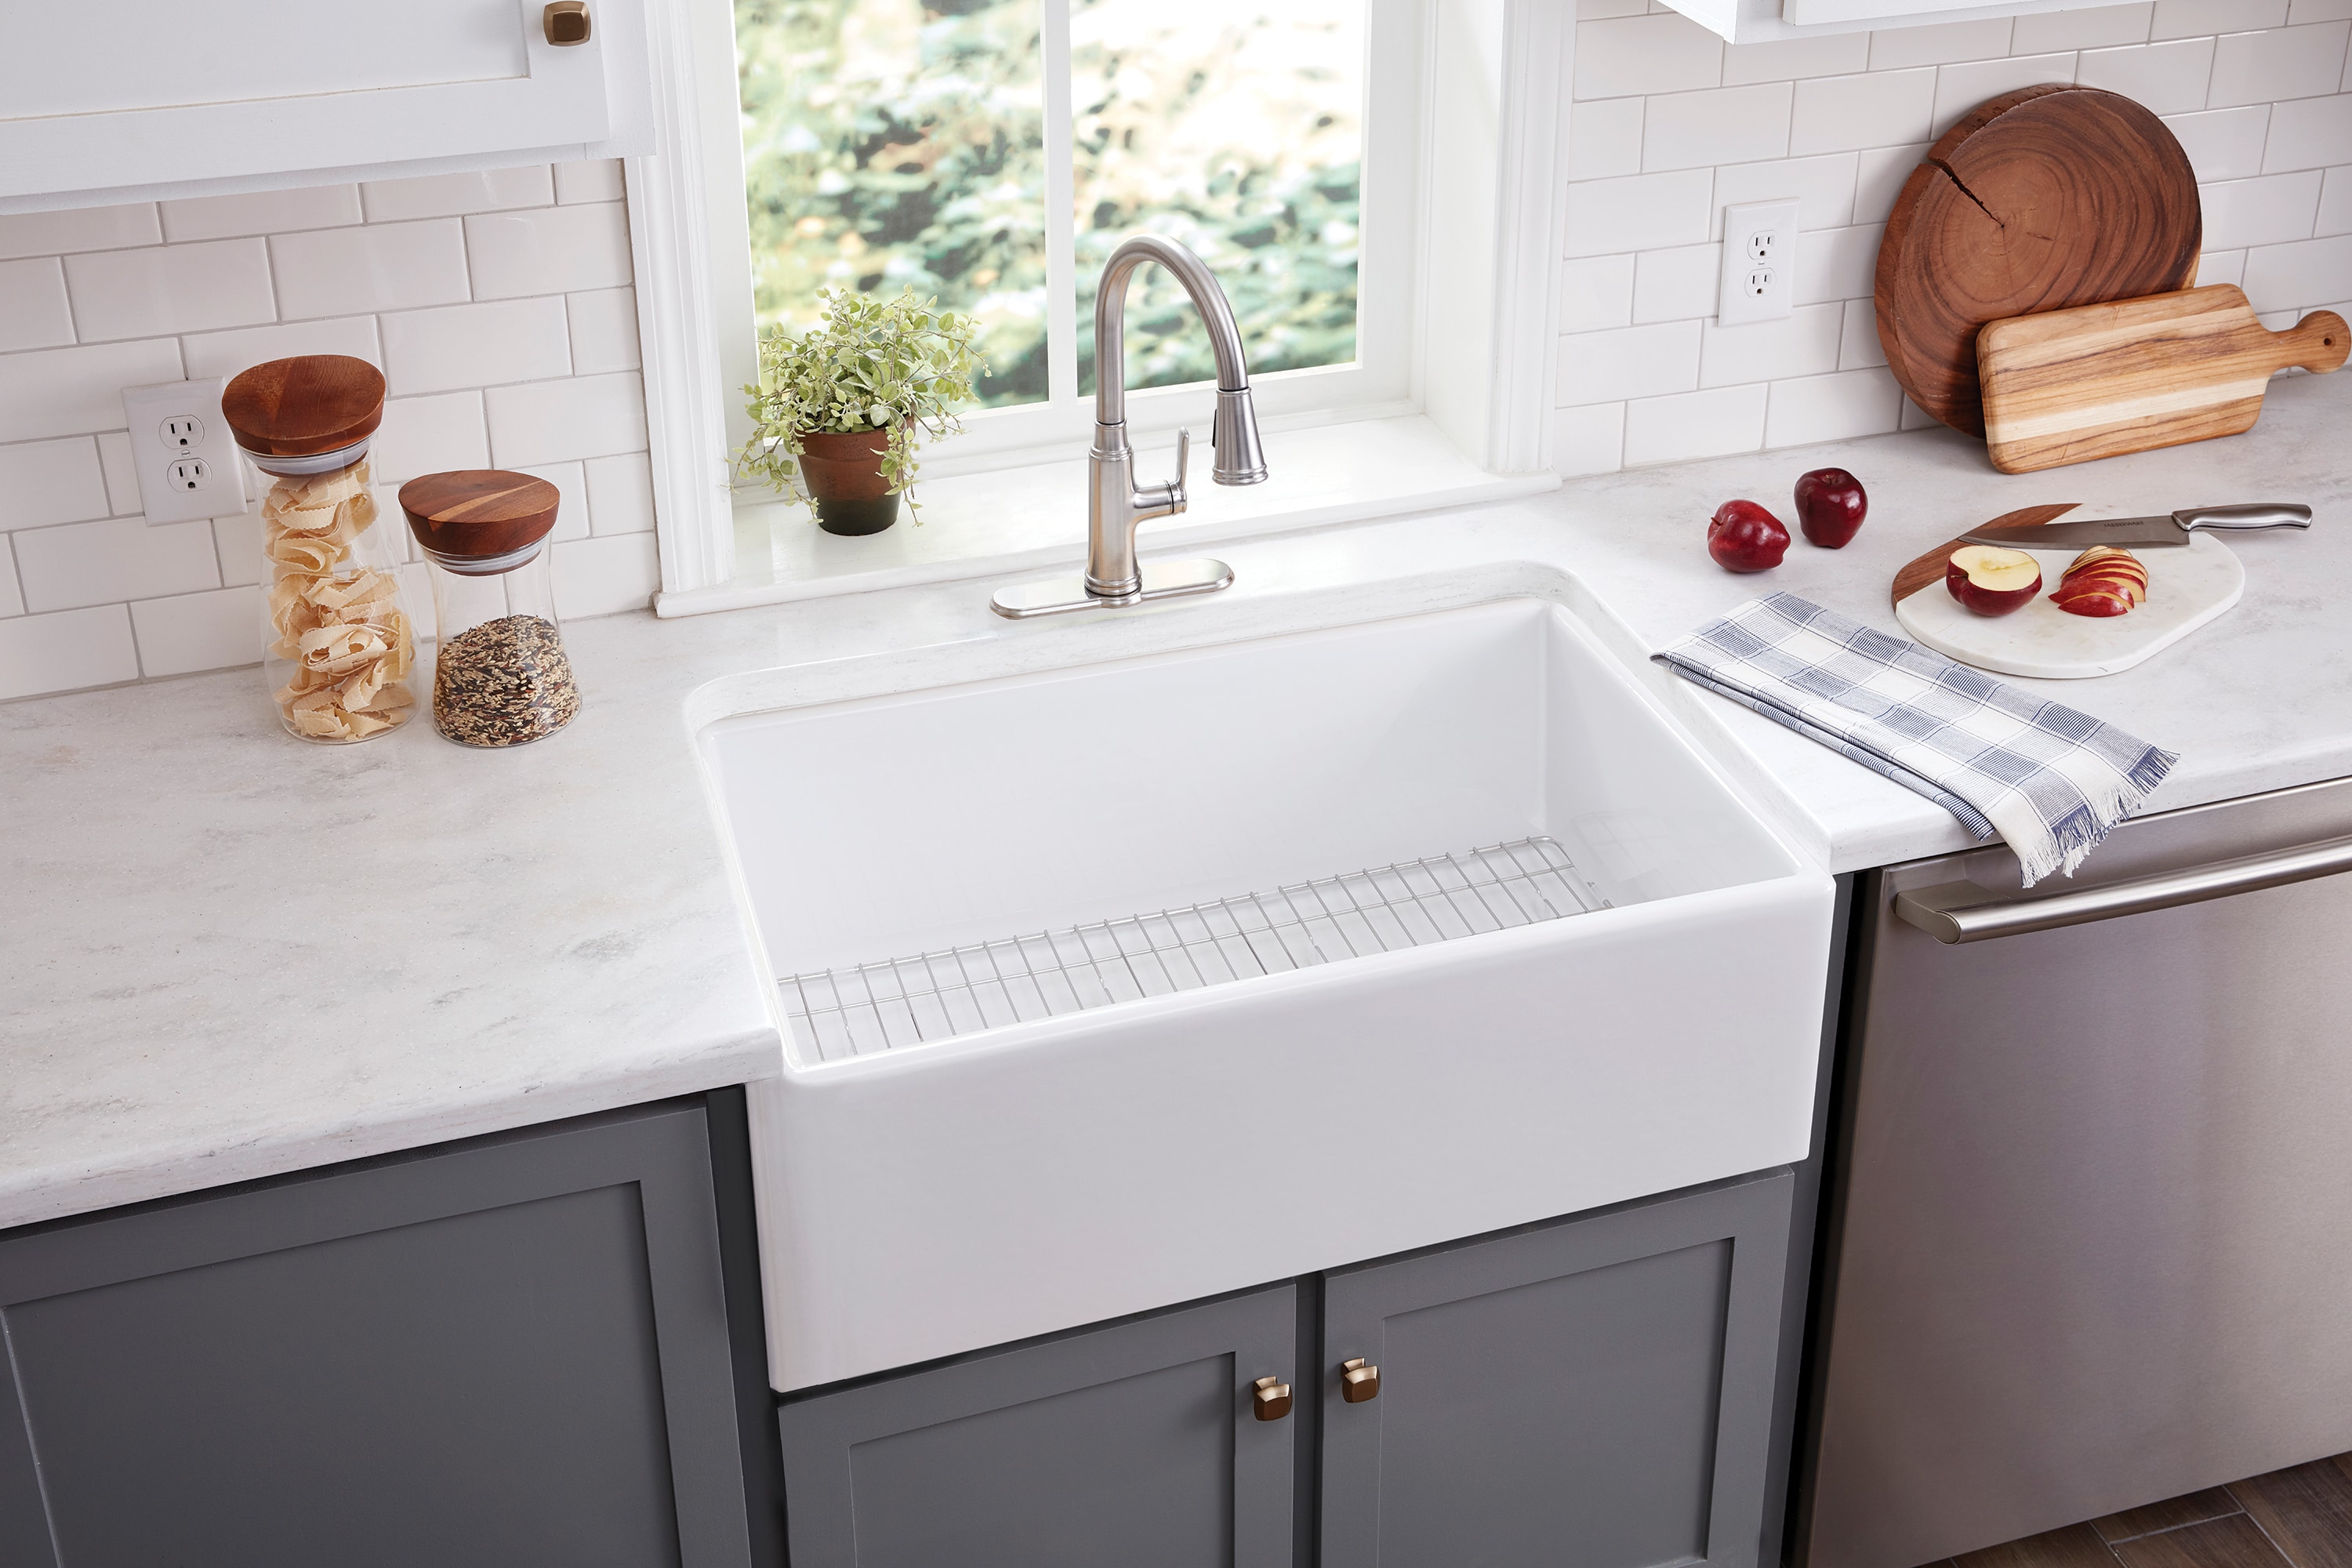
If you're looking for a more rustic and natural look for your kitchen table, a farmhouse table made with reclaimed wood is the way to go. Not only is it environmentally friendly, it also adds character and charm to your home. Step 1: Gather reclaimed wood from old barns, pallets, or salvage yards. Make sure to choose wood that is sturdy and free of rot or pests. Step 2: Cut the wood to the desired length for your table top and legs. You can choose to leave the edges rough or smooth them out with a sander. Step 3: Next, assemble the table top by attaching the boards together using dowels or screws. You can also add decorative elements such as metal brackets or corner pieces. Step 4: Attach the legs to the table top using screws or brackets. You can choose to use turned wood legs or metal legs for a more industrial look. Step 5: Finally, sand and finish the table to your liking. You can choose to add a distressed finish for a more rustic look.How to Build a Rustic Farmhouse Table


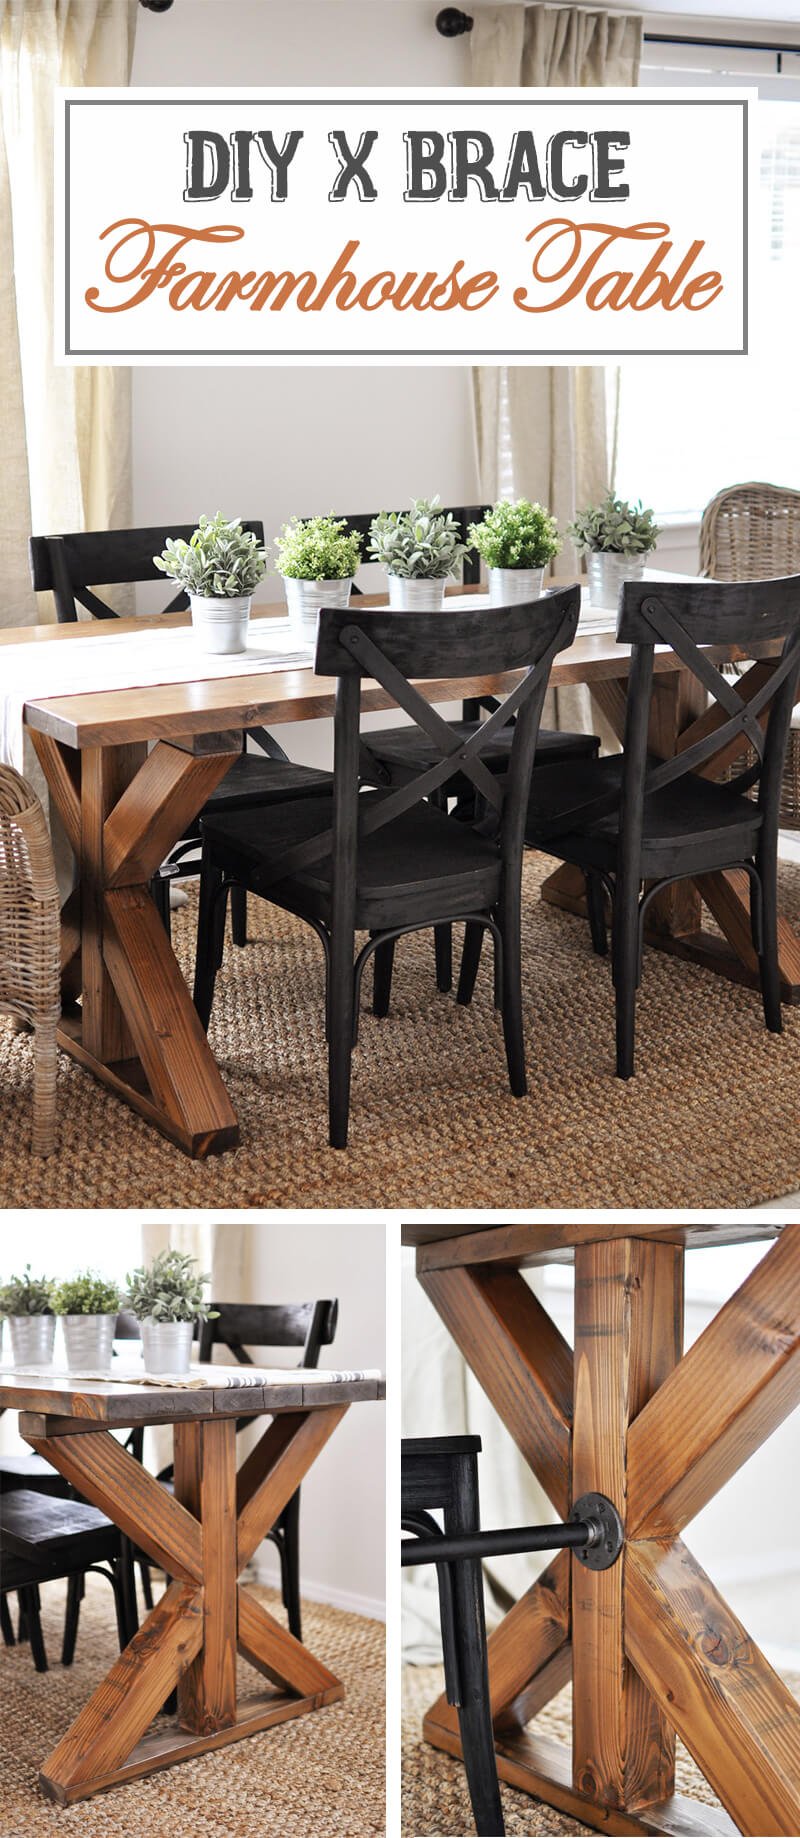
How to Build a Rustic Farmhouse Table

/free-farmhouse-table-plans-1357122_FINAL-fa4241b35fa341d19c117ec6f46b696a.png)


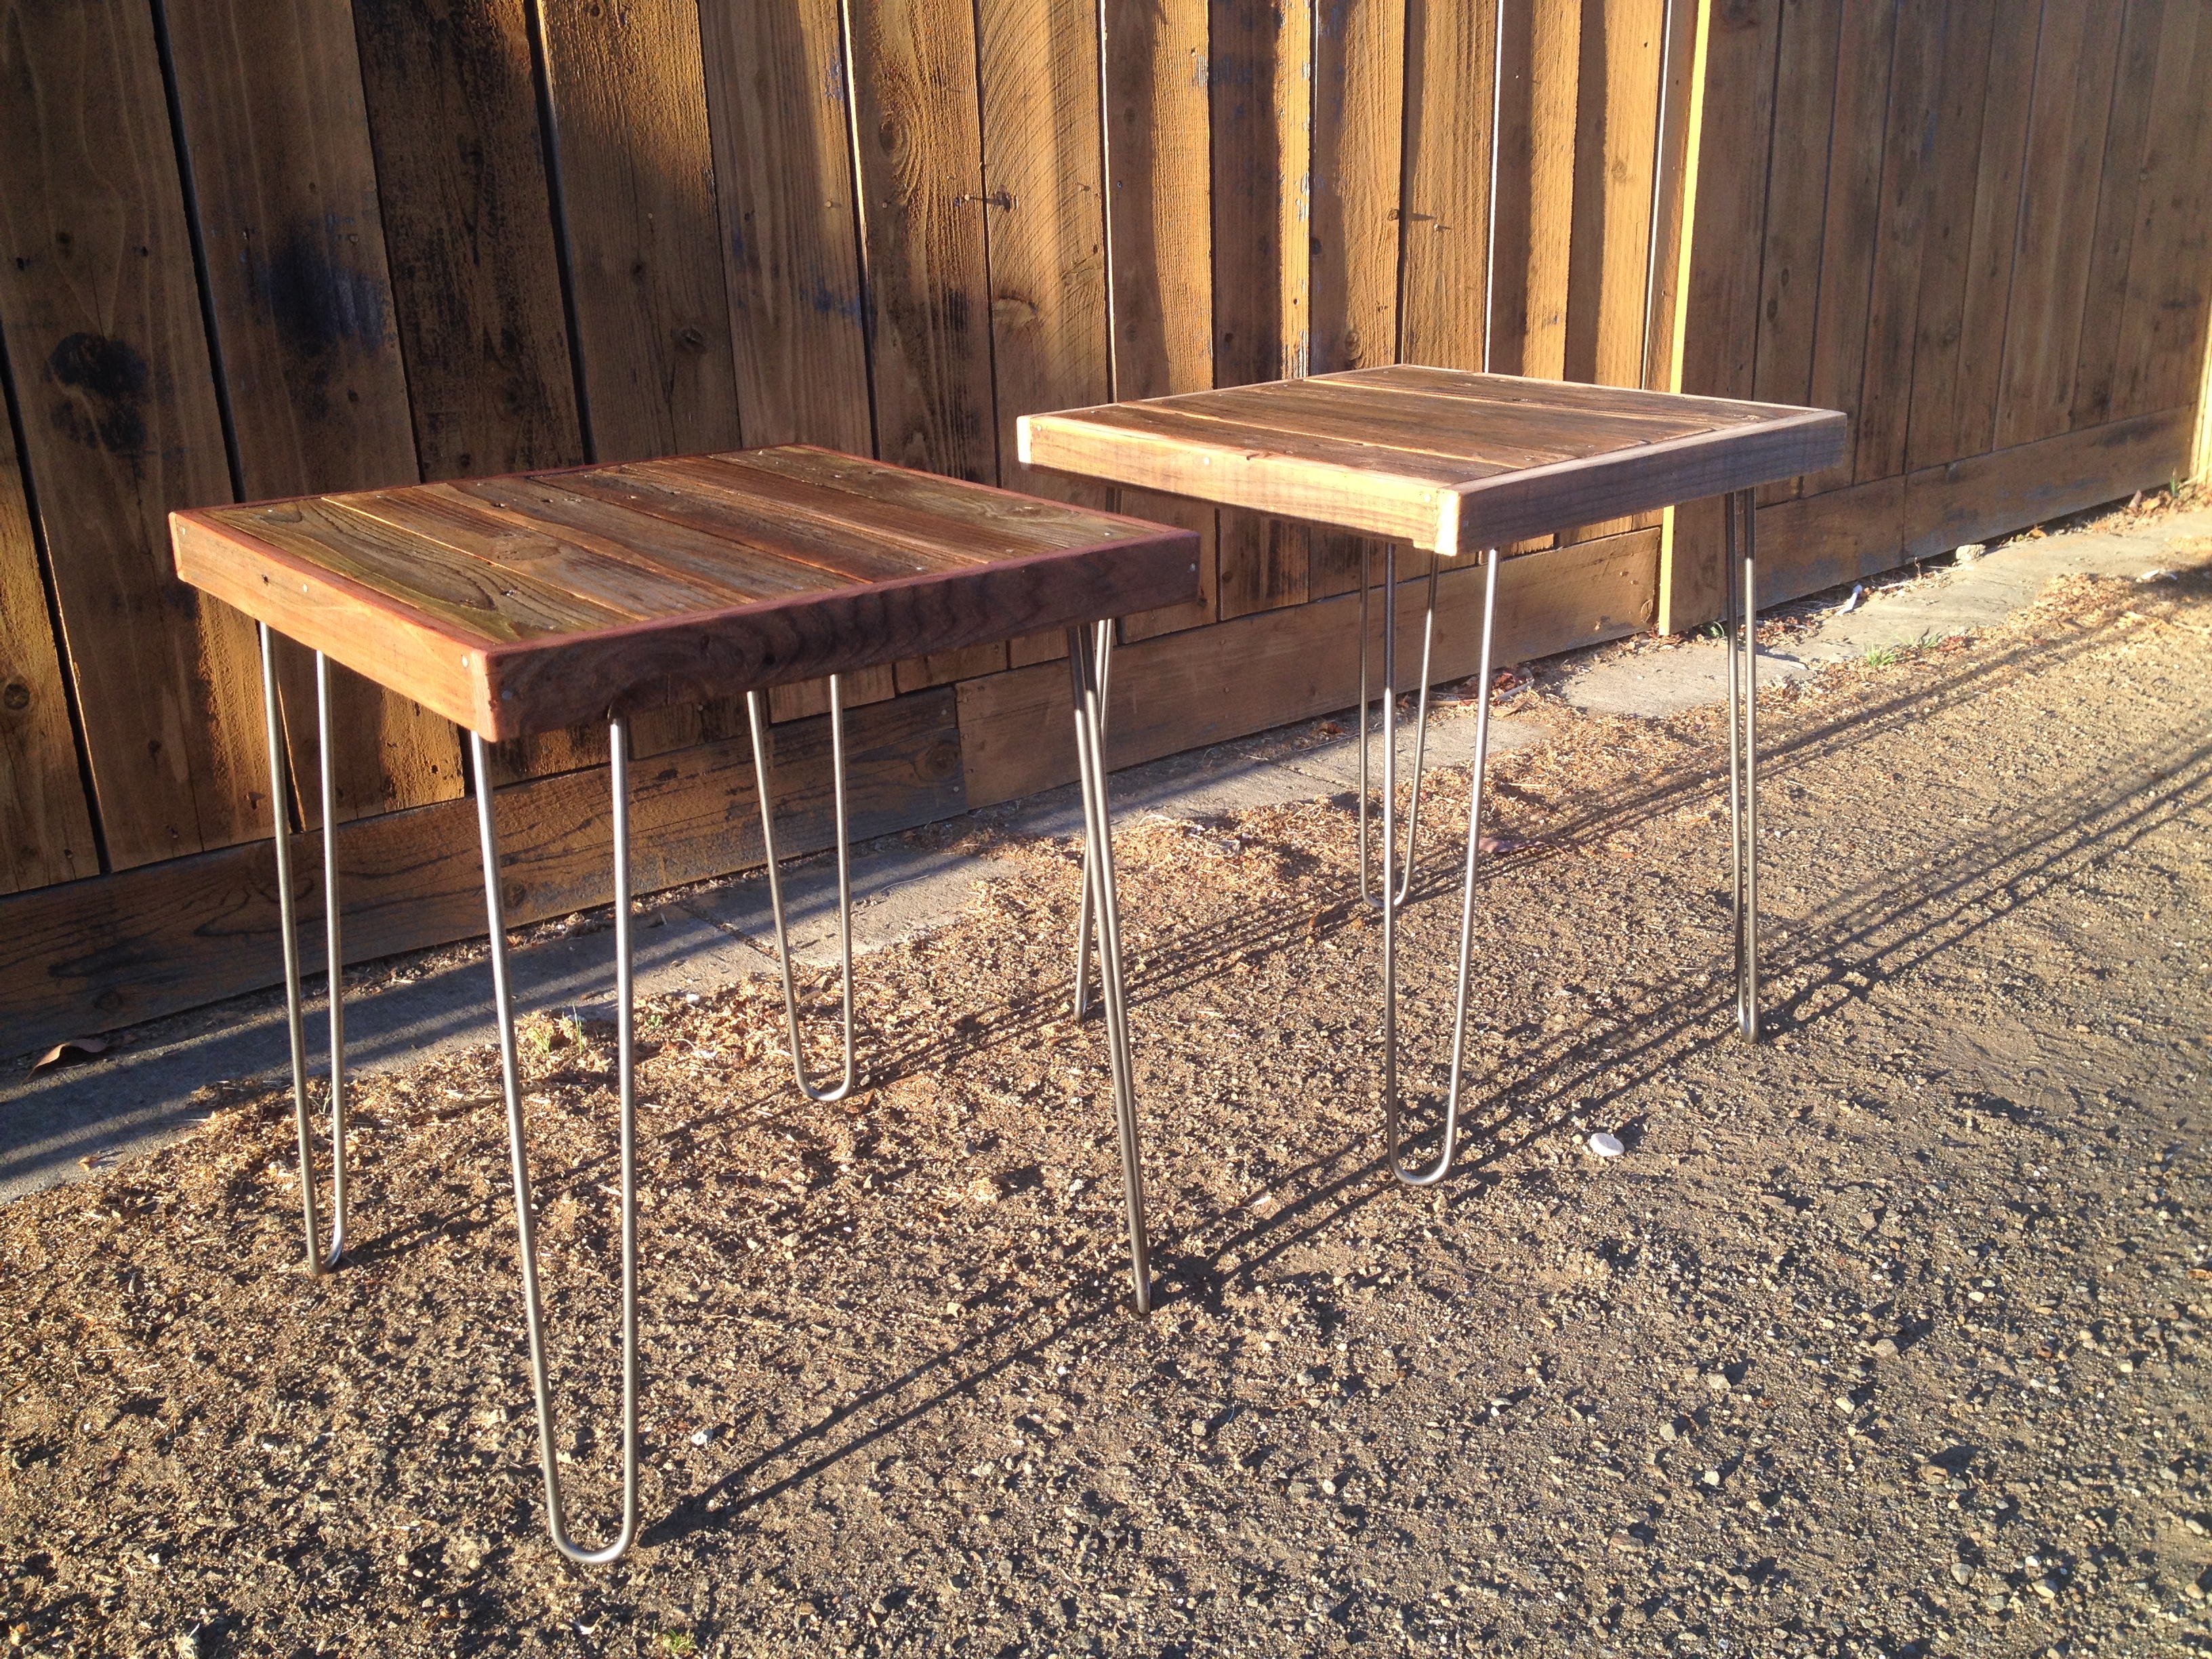
Hairpin legs are a popular choice for a modern and sleek table design. They are also easy to install, making them a great option for beginners. Step 1: Purchase hairpin legs in the desired size and color. They are available in various heights and can be found online or at local hardware stores. Step 2: Mark the placement of the legs on the underside of the table top. You can use a ruler or measuring tape to ensure they are evenly spaced. Step 3: Attach the legs to the table top using screws or brackets. Make sure they are securely attached for stability. Step 4: Flip the table over and voila - your hairpin leg table is complete!DIY Table Legs: Hairpin Legs for a Modern Look

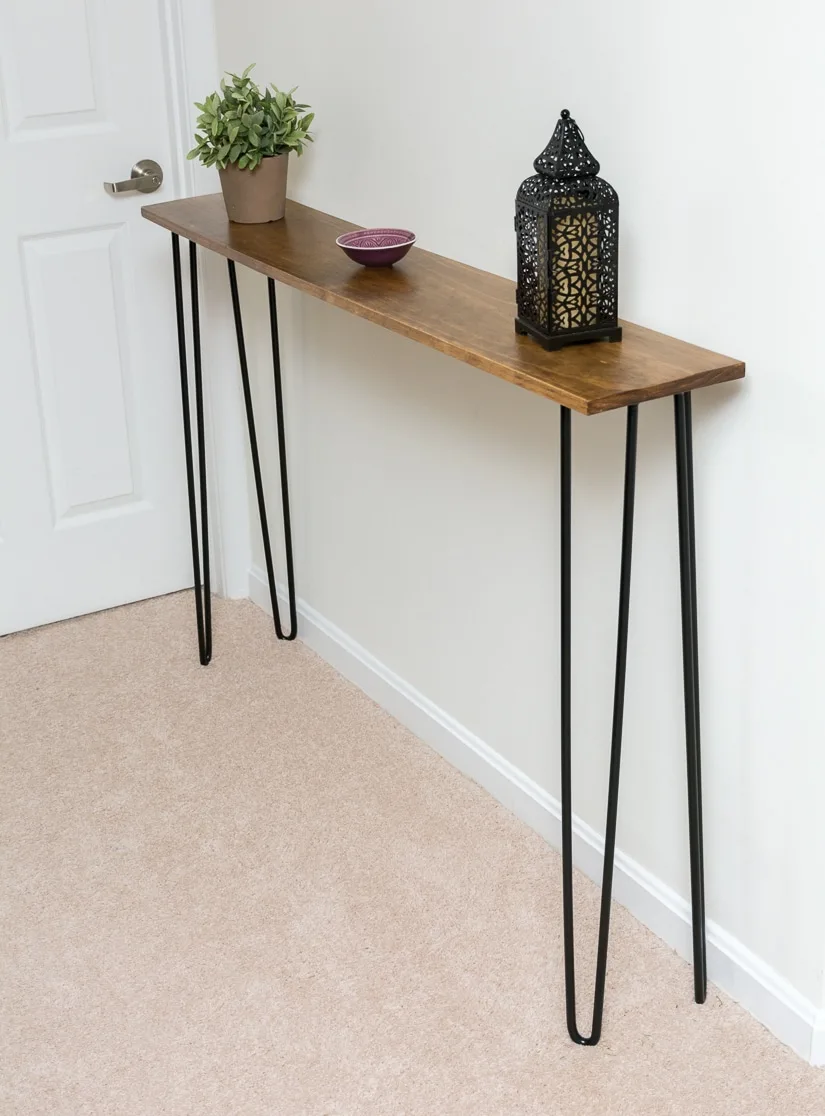
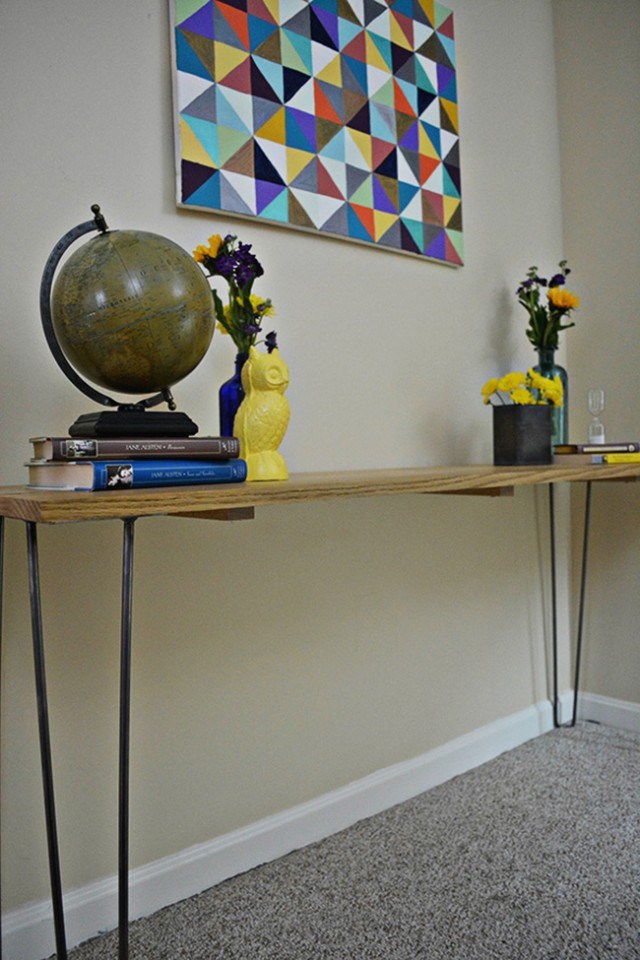
DIY Table Legs: Hairpin Legs for a Modern Look
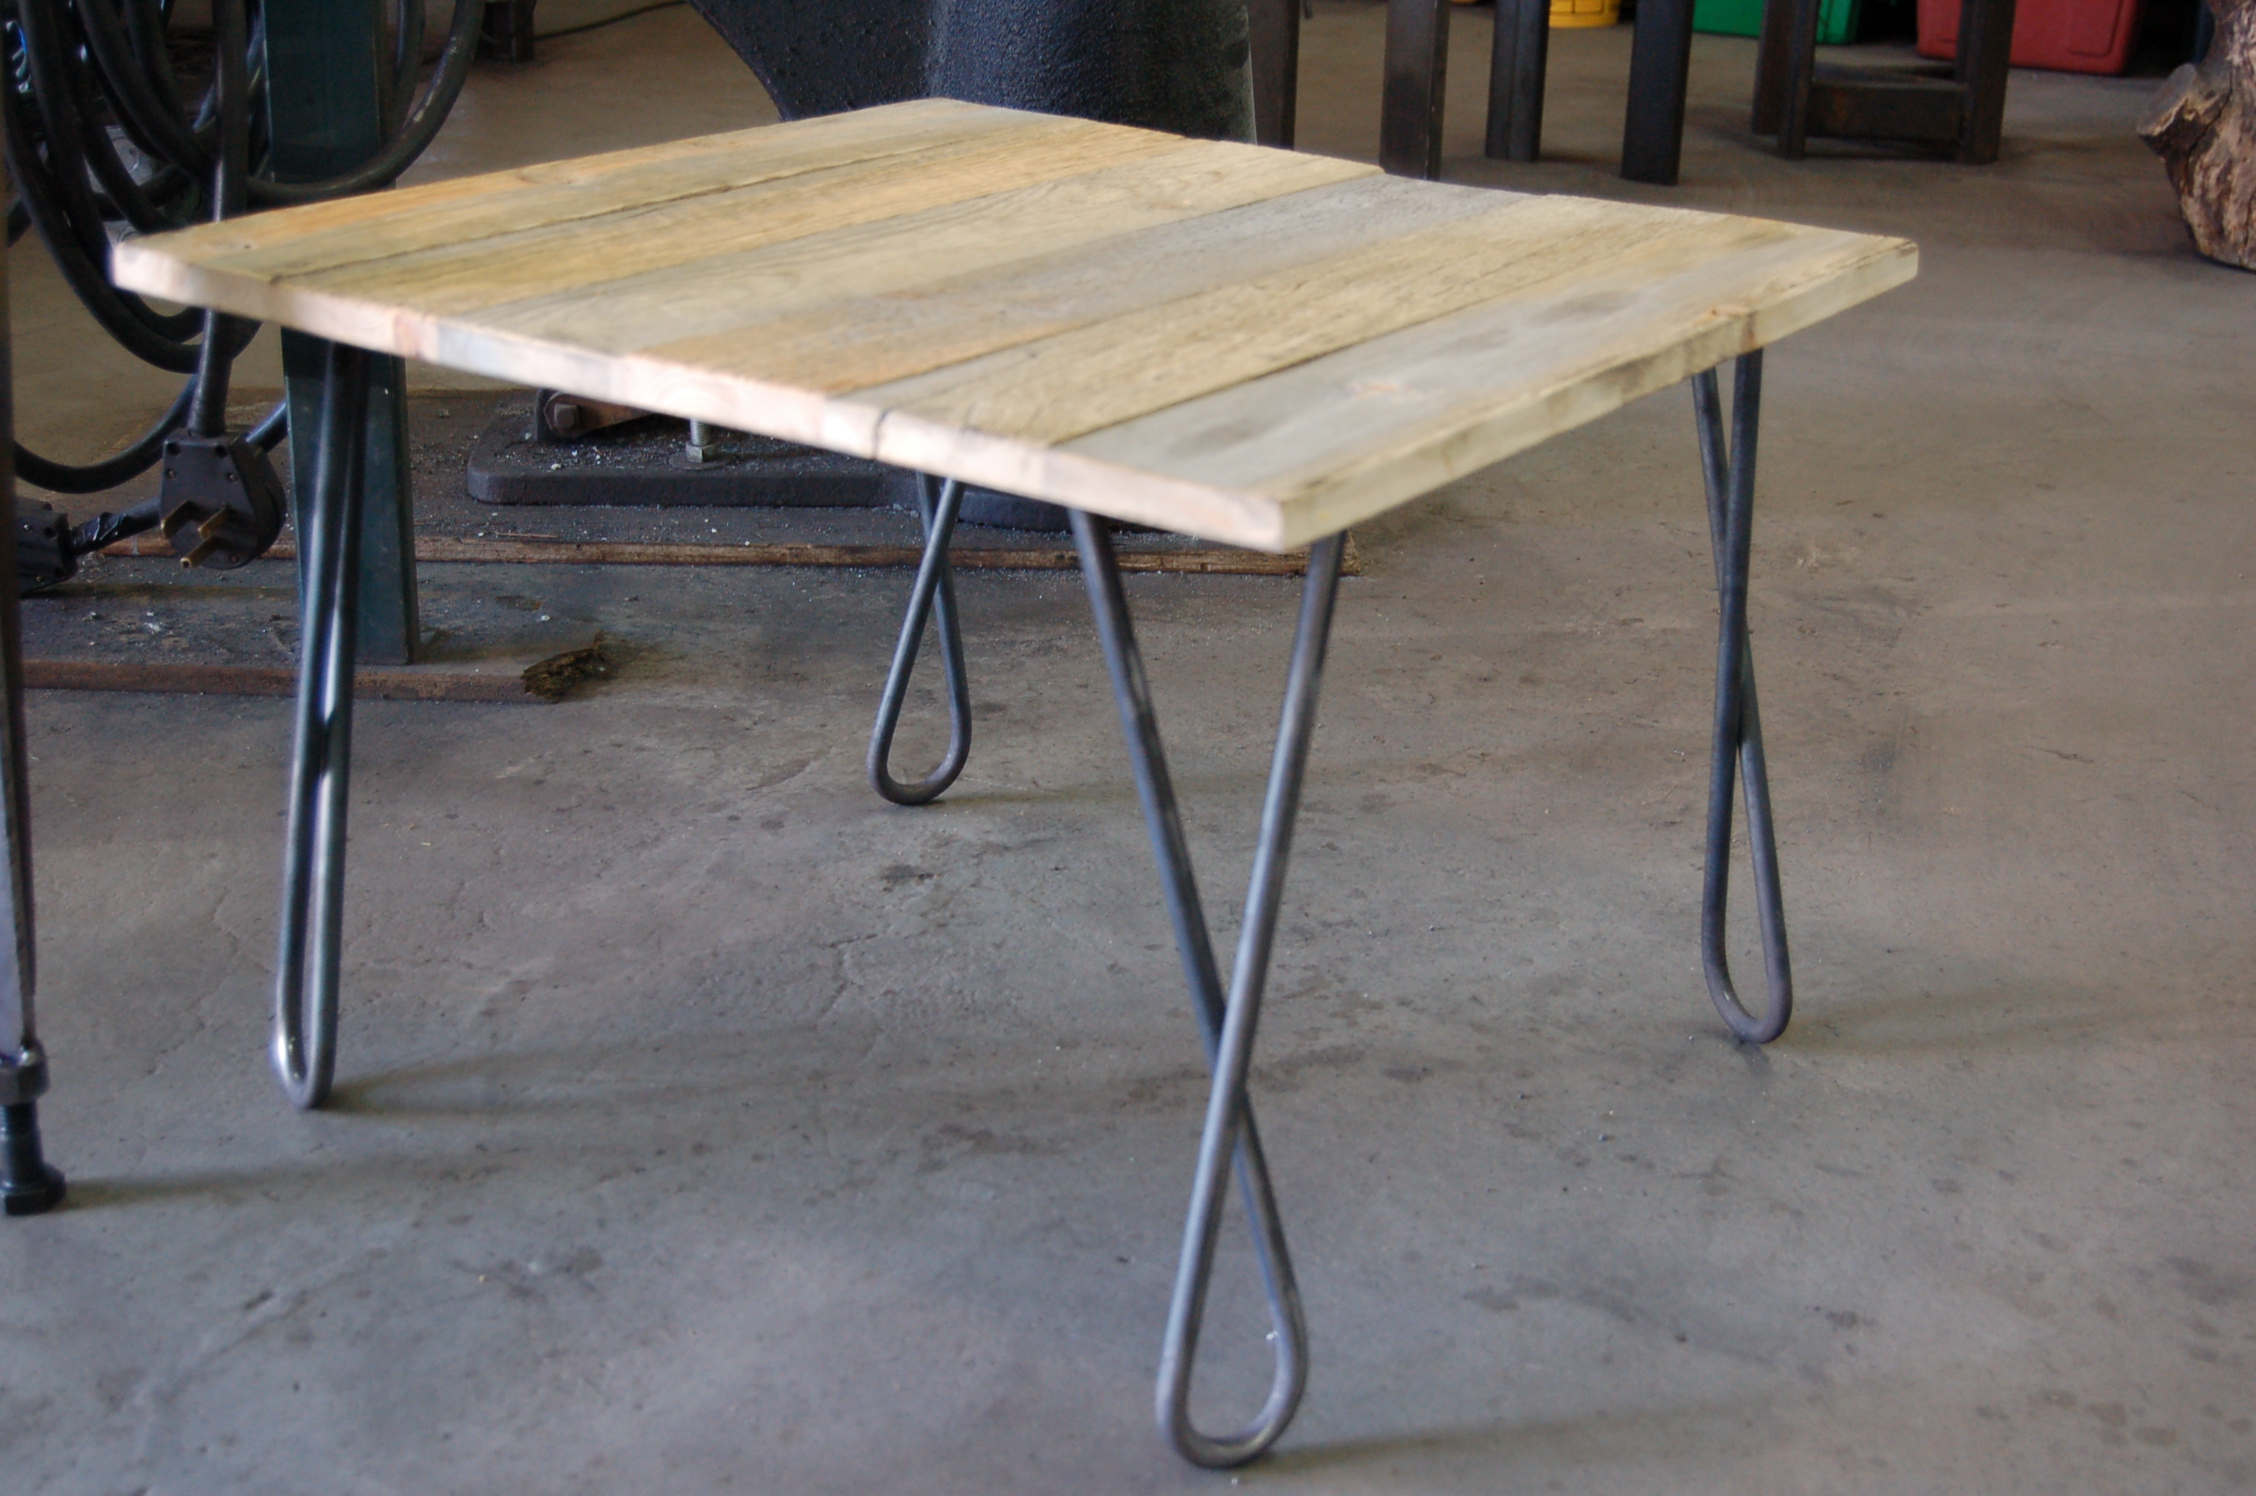


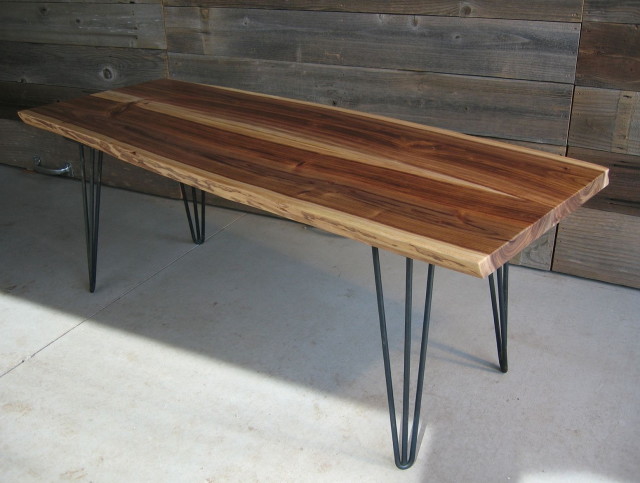
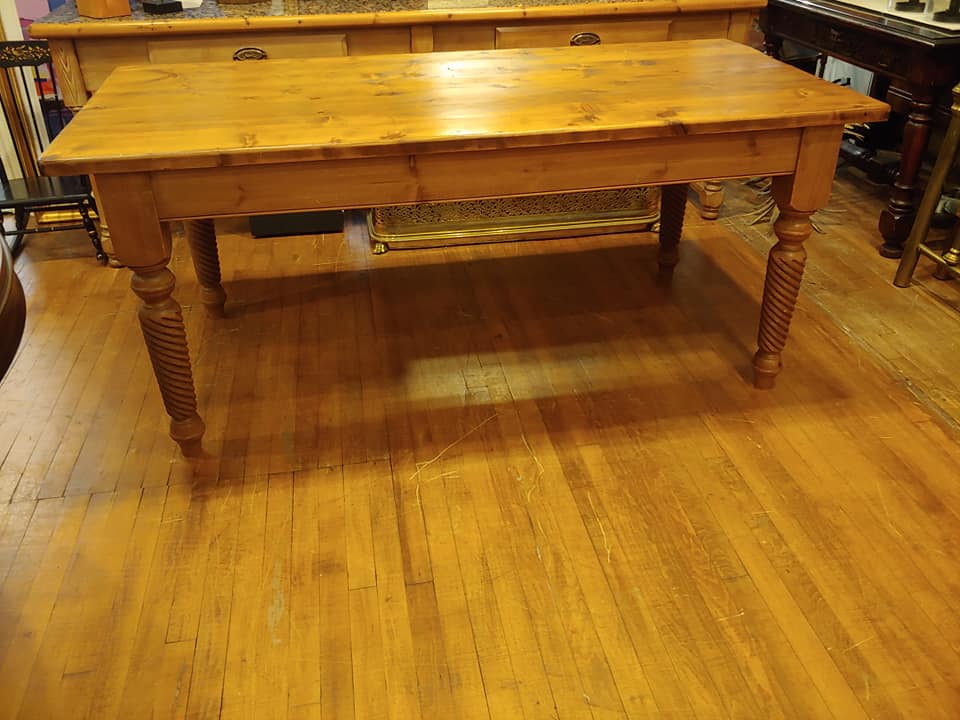
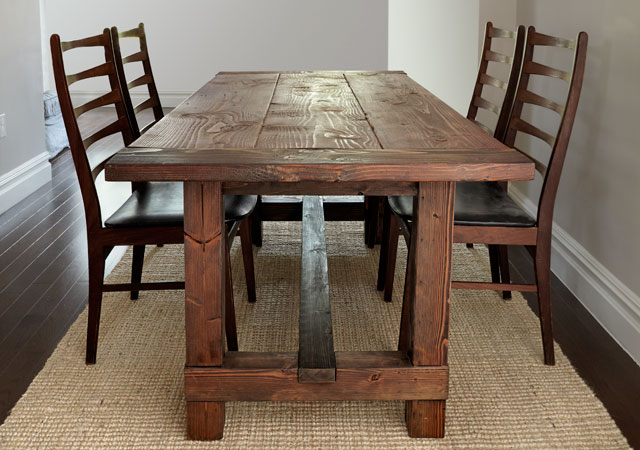
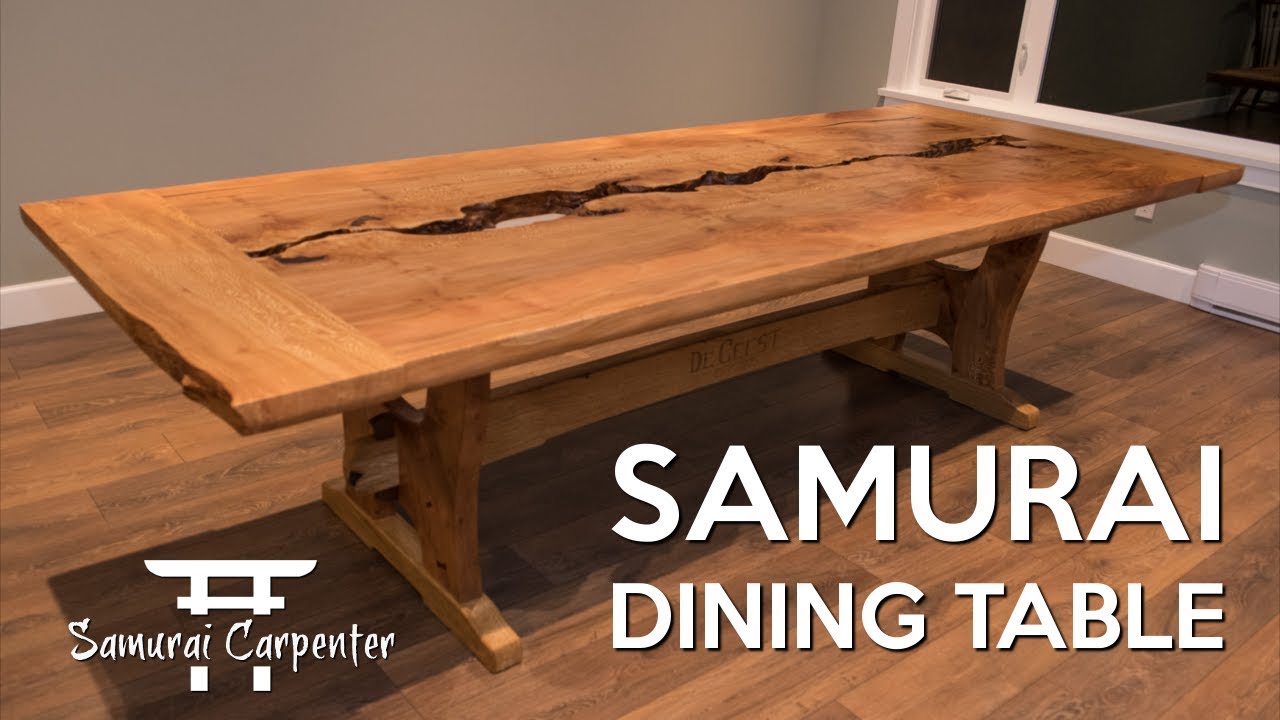
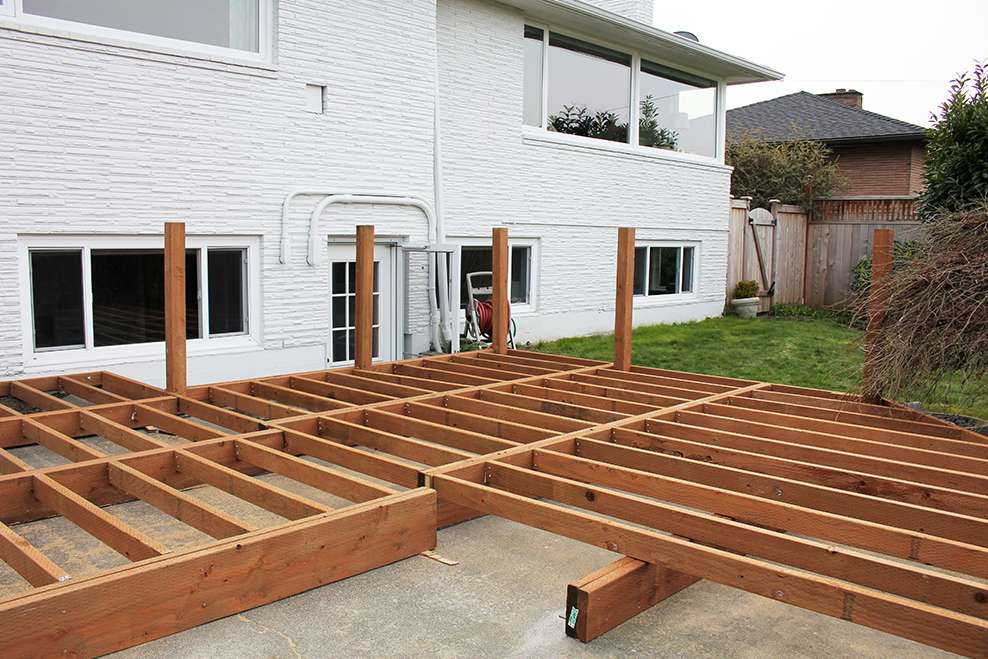
Building a dining table from salvaged lumber not only adds character to your home, it also helps reduce waste. Plus, it can save you money compared to purchasing a new table. Step 1: Gather salvaged lumber from old buildings, pallets, or salvage yards. Make sure to choose wood that is sturdy and free of rot or pests. Step 2: Cut the wood to the desired length for your table top and legs. You can choose to leave the edges rough or smooth them out with a sander. Step 3: Assemble the table top by attaching the boards together using dowels or screws. You can also add decorative elements such as metal brackets or corner pieces. Step 4: Attach the legs to the table top using screws or brackets. You can choose to use turned wood legs or metal legs for a unique look. Step 5: Sand and finish the table to your liking. You can choose to add a distressed finish for a more rustic look.How to Build a Dining Table: From Salvaged Lumber


How to Build a Dining Table: From Salvaged Lumber


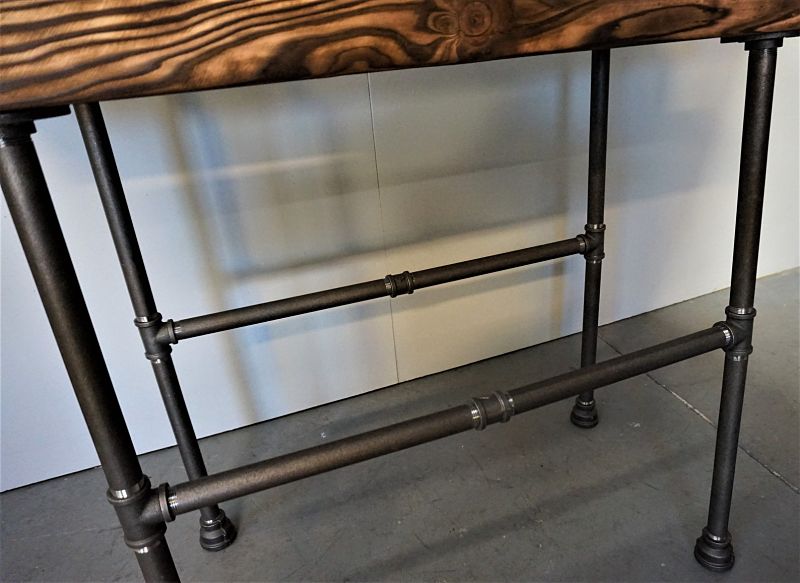
Looking for a table design that stands out? Industrial pipe legs are a great option for a unique and customizable look. Plus, they are sturdy and easy to install. Step 1: Purchase metal pipes or rods in the desired size and color. You can also choose to add fittings such as elbows or tees for a more intricate design. Step 2: Cut the pipes to the desired length for your legs. You can use a pipe cutter or have them cut at the hardware store. Step 3: Assemble the legs by attaching the pipes using the fittings. You can also add additional pieces for support or decoration. Step 4: Attach the legs to the table top using screws or brackets. Make sure they are securely attached for stability. Step 5: Sand and paint the legs to your liking. You can choose to leave them in their natural color or paint them for a pop of color.DIY Table Legs: Industrial Pipe Legs for a Unique Design


DIY Table Legs: Industrial Pipe Legs for a Unique Design


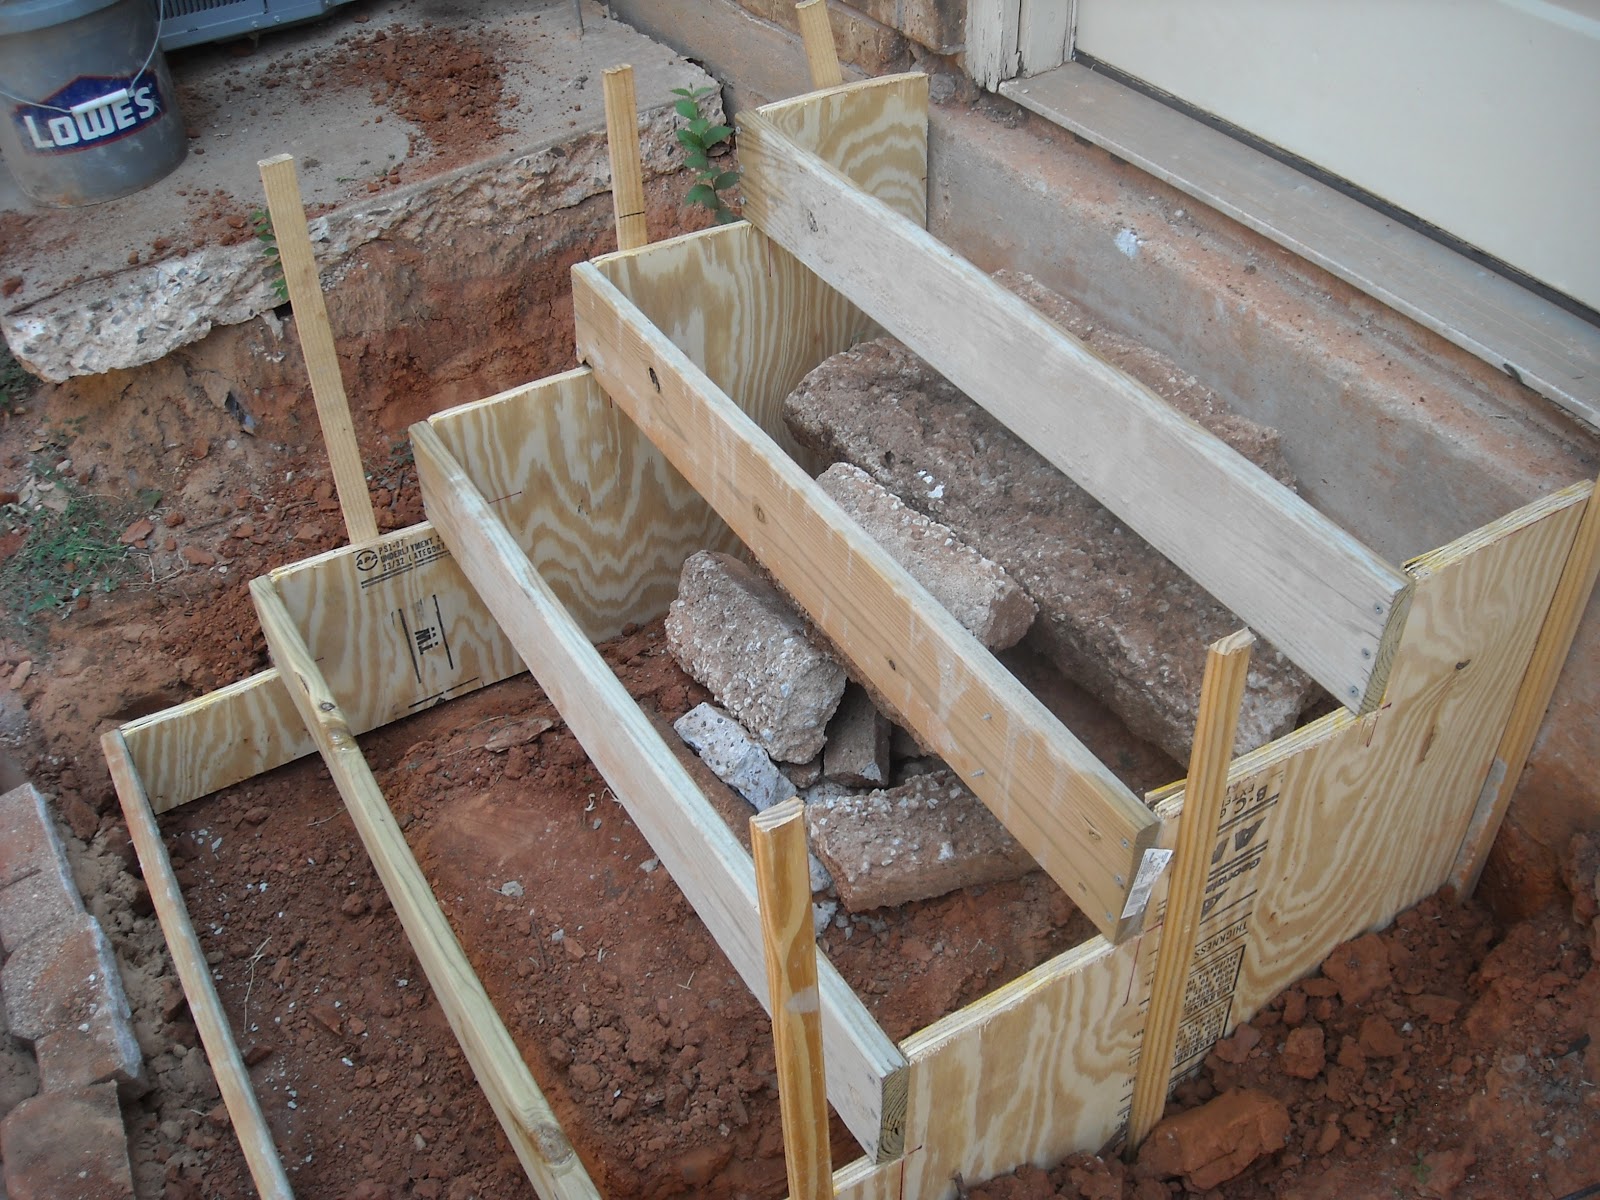
For a durable and modern look, consider using concrete for your table top and legs. While it may sound intimidating, building a concrete table is actually easier than you think. Step 1: Build a mold for your table top using melamine boards. Make sure the dimensions are slightly larger than your desired table top size. Step 2: Mix concrete according to the instructions on the bag. You can also add pigment or dye to achieve the desired color. Step 3: Pour the concrete into the mold and smooth it out using a trowel. You can also add decorative elements such as pebbles or glass pieces at this stage. Step 4: Once the concrete has cured, remove it from the mold and sand the edges to your liking. Step 5: Attach the concrete top to the legs using screws or brackets. You can choose to use metal legs or wooden legs for a more natural look. Step 6: Finally, seal the concrete with a concrete sealer to protect it from stains and scratches. Now that you have a variety of DIY table leg designs to choose from, it's time to roll up your sleeves and get creative. With a little bit of effort and some basic tools, you can build a beautiful and unique kitchen table that will be the talk of your home. Happy crafting!How to Build a Concrete Table: Step-by-Step Guide
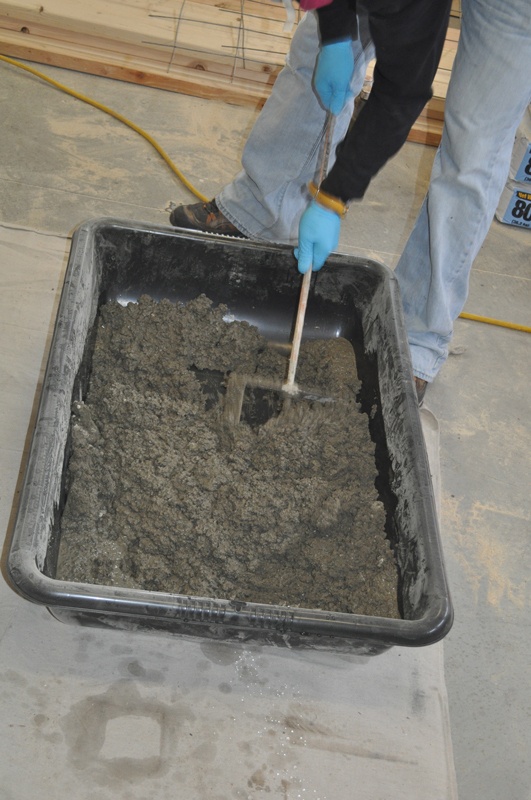
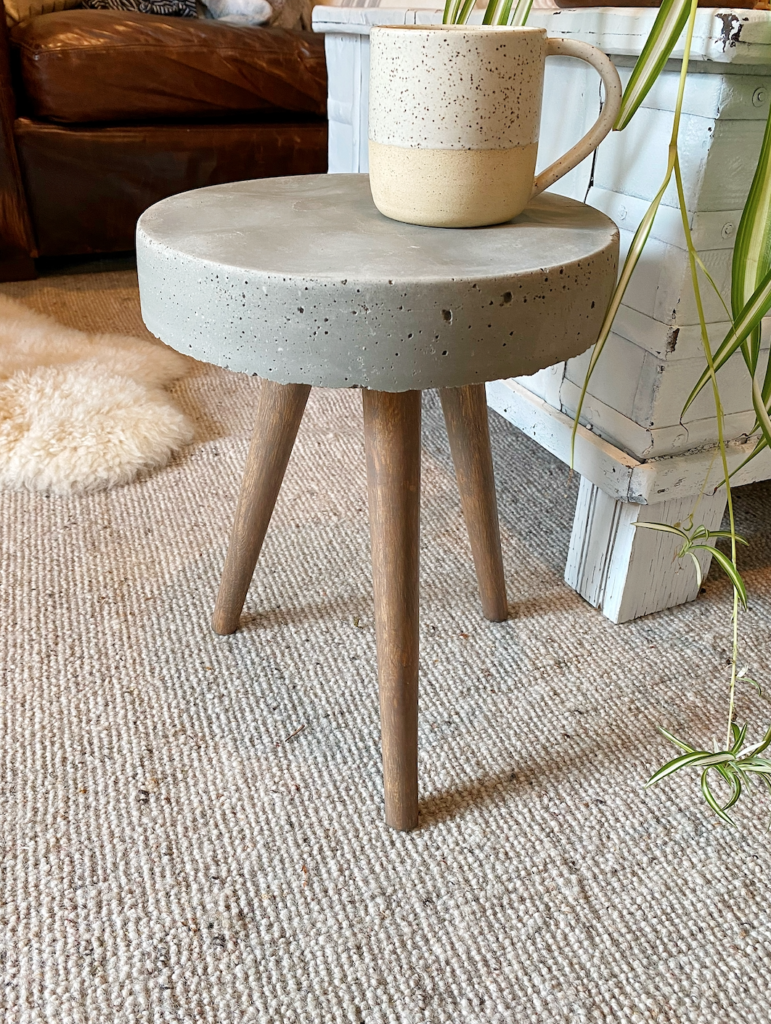

How to Build a Concrete Table: Step-by-Step Guide


Why Choose DIY Kitchen Table Legs?
Save Money and Customize to Your Style
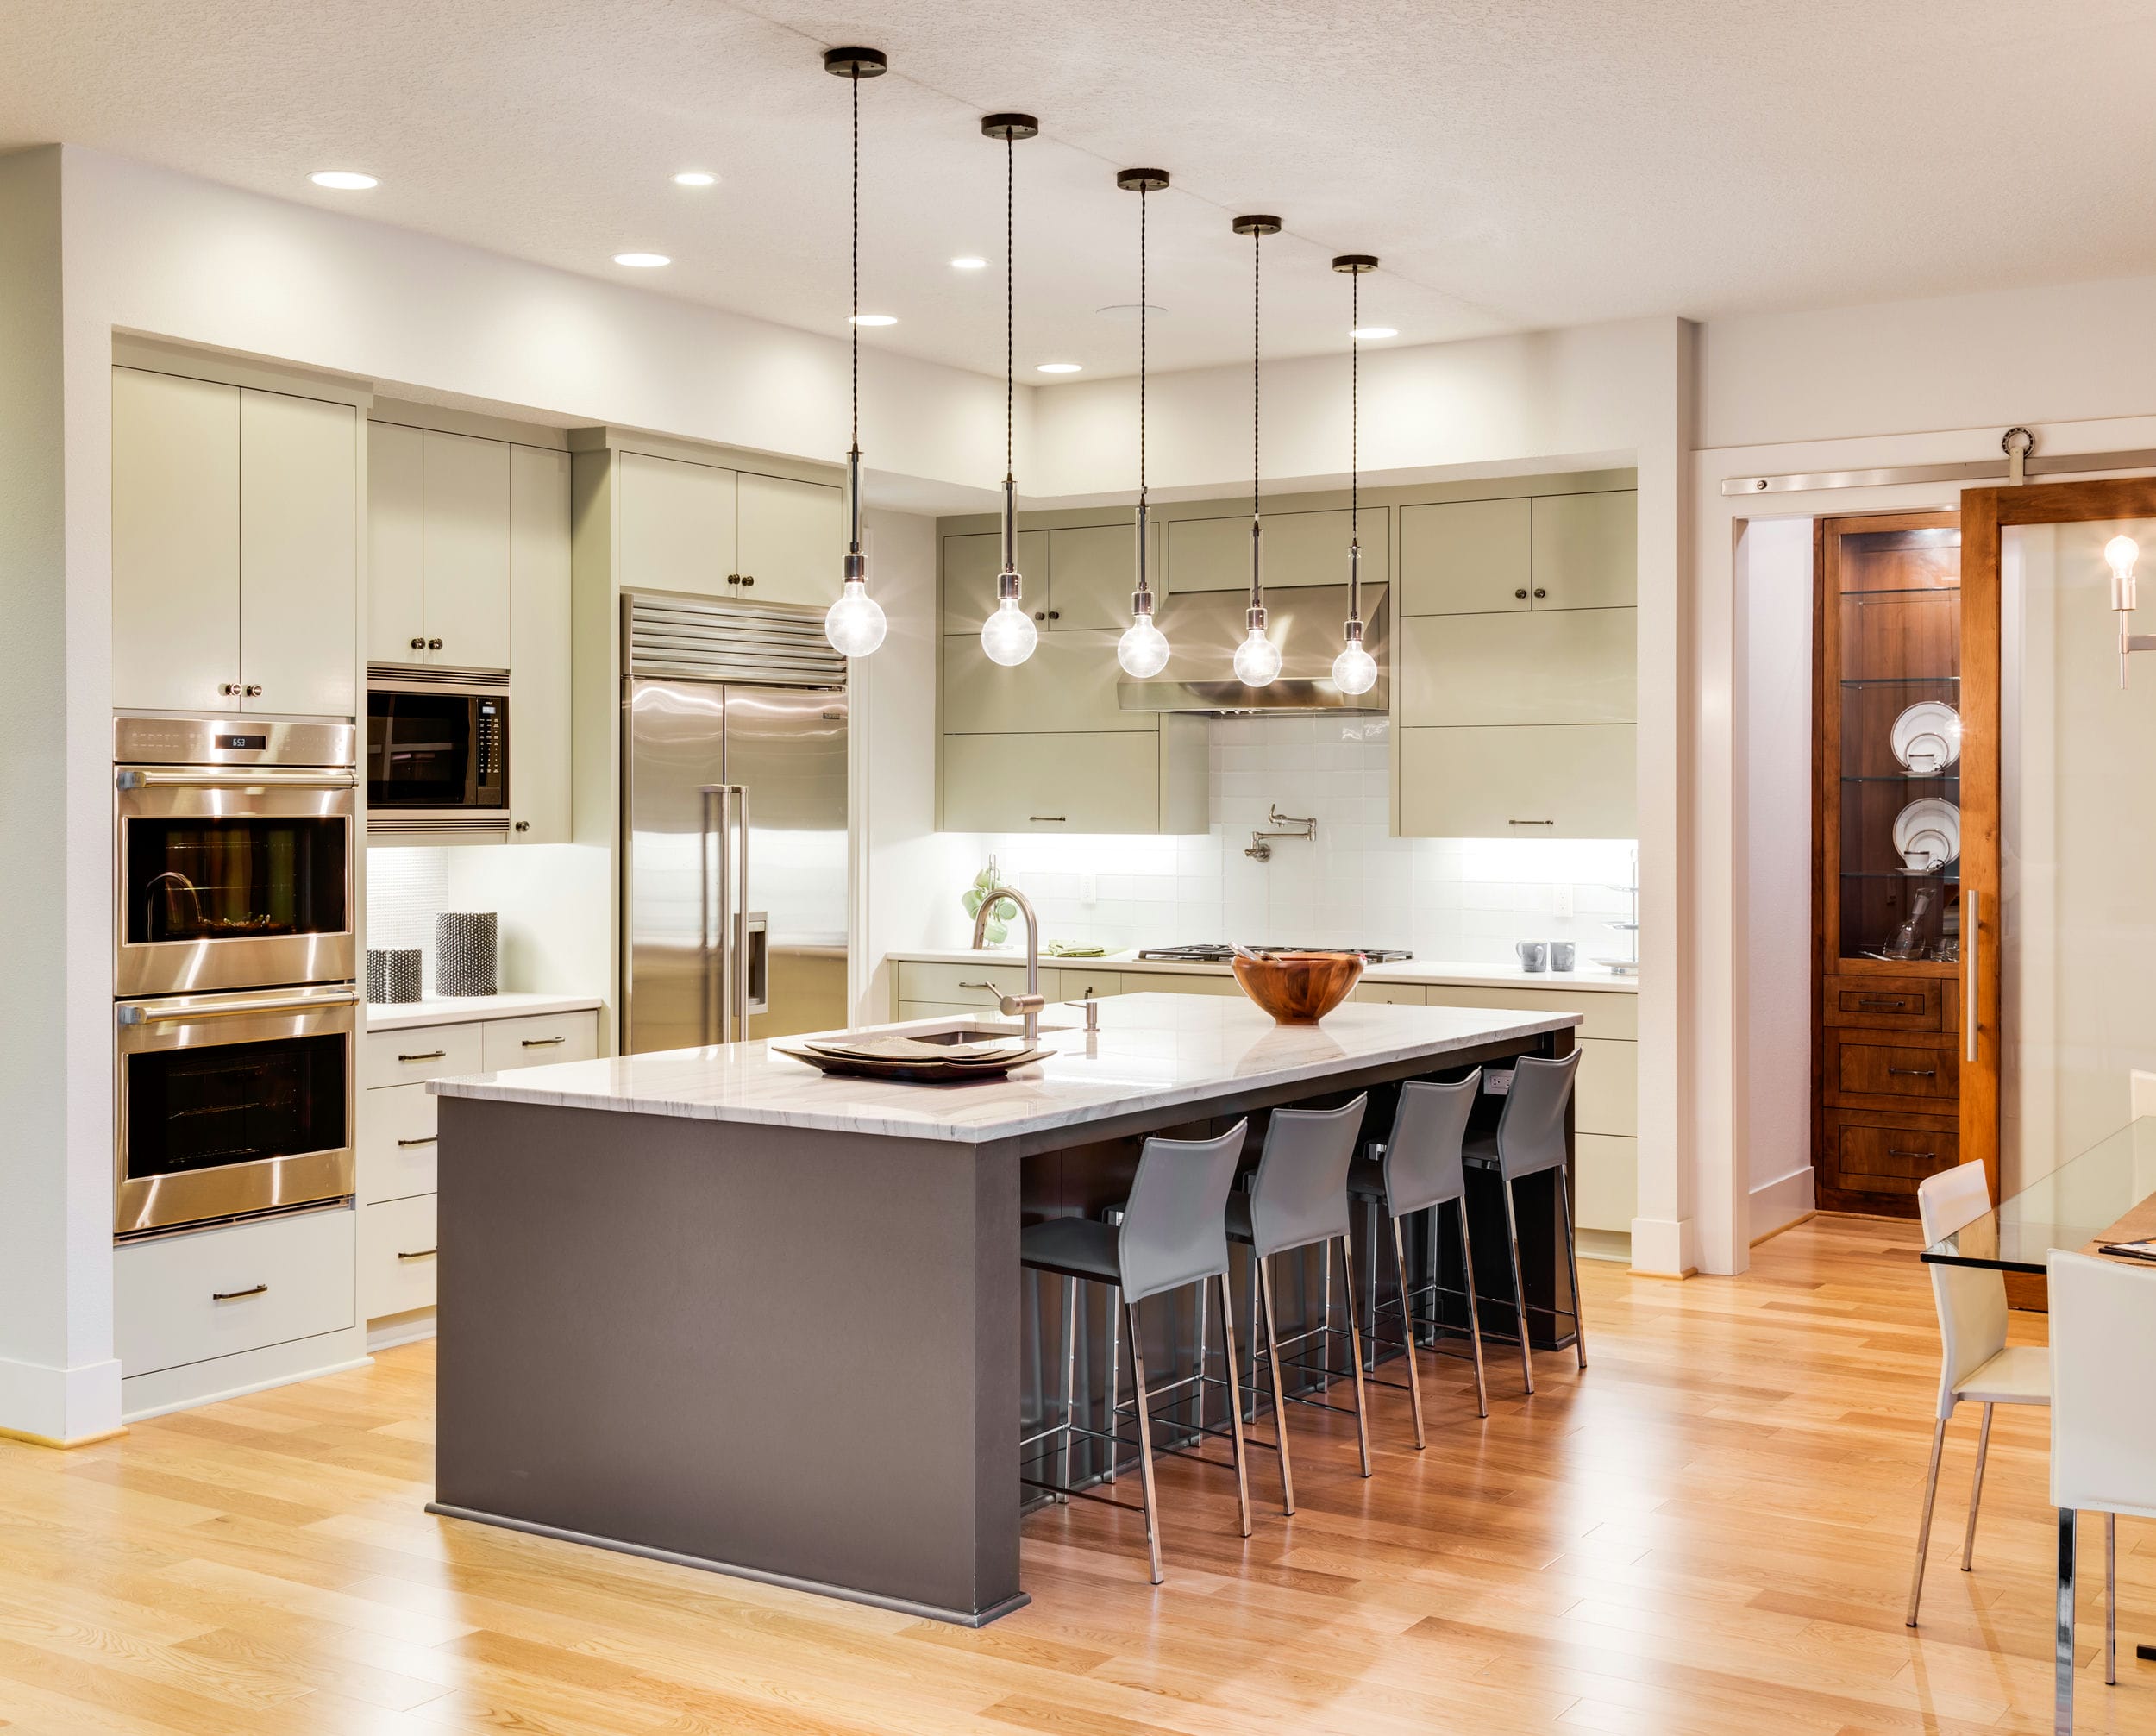
 When it comes to designing and decorating your home, the little details can make a big difference. One such detail that often gets overlooked is the table legs. While it may seem like a small aspect, table legs can actually greatly impact the overall look and feel of your kitchen. That's why many homeowners are now turning to
DIY kitchen table legs
as a way to add a personal touch to their space.
When it comes to designing and decorating your home, the little details can make a big difference. One such detail that often gets overlooked is the table legs. While it may seem like a small aspect, table legs can actually greatly impact the overall look and feel of your kitchen. That's why many homeowners are now turning to
DIY kitchen table legs
as a way to add a personal touch to their space.
Not only does making your own kitchen table legs allow you to save money, but it also gives you the freedom to customize them to your specific style and needs. You can choose from a variety of materials, such as wood, metal, or even repurposed items, to create a unique and one-of-a-kind look for your kitchen table. This allows you to match the table legs to the rest of your kitchen's design and truly make it your own.
Bring Your Vision to Life
 DIY kitchen table legs also give you the opportunity to bring your vision to life. You may have a specific design or style in mind for your kitchen, and with
custom-made table legs
, you can make that vision a reality. Whether you want sleek and modern legs for a contemporary kitchen or rustic and distressed legs for a farmhouse feel, the possibilities are endless when you make your own.
DIY kitchen table legs also give you the opportunity to bring your vision to life. You may have a specific design or style in mind for your kitchen, and with
custom-made table legs
, you can make that vision a reality. Whether you want sleek and modern legs for a contemporary kitchen or rustic and distressed legs for a farmhouse feel, the possibilities are endless when you make your own.
Gain a Sense of Accomplishment
 Lastly, there's a sense of accomplishment that comes with creating something with your own two hands. Making your own
kitchen table legs
not only adds a personal touch to your home, but it also gives you a sense of pride and satisfaction every time you use your kitchen table. Plus, you can impress your friends and family with your DIY skills and inspire them to do the same in their own homes.
Lastly, there's a sense of accomplishment that comes with creating something with your own two hands. Making your own
kitchen table legs
not only adds a personal touch to your home, but it also gives you a sense of pride and satisfaction every time you use your kitchen table. Plus, you can impress your friends and family with your DIY skills and inspire them to do the same in their own homes.
In conclusion, DIY kitchen table legs are a great way to save money, customize your space, and bring your vision to life. With the added bonus of a sense of accomplishment, it's a win-win situation. So why settle for generic table legs when you can create your own unique and stylish ones? Start your DIY project today and see the difference it makes in your kitchen.


/mid-century-modern-living-rooms-4769744-hero-b59ebe6282cc44709e47627faf631924.jpg)

