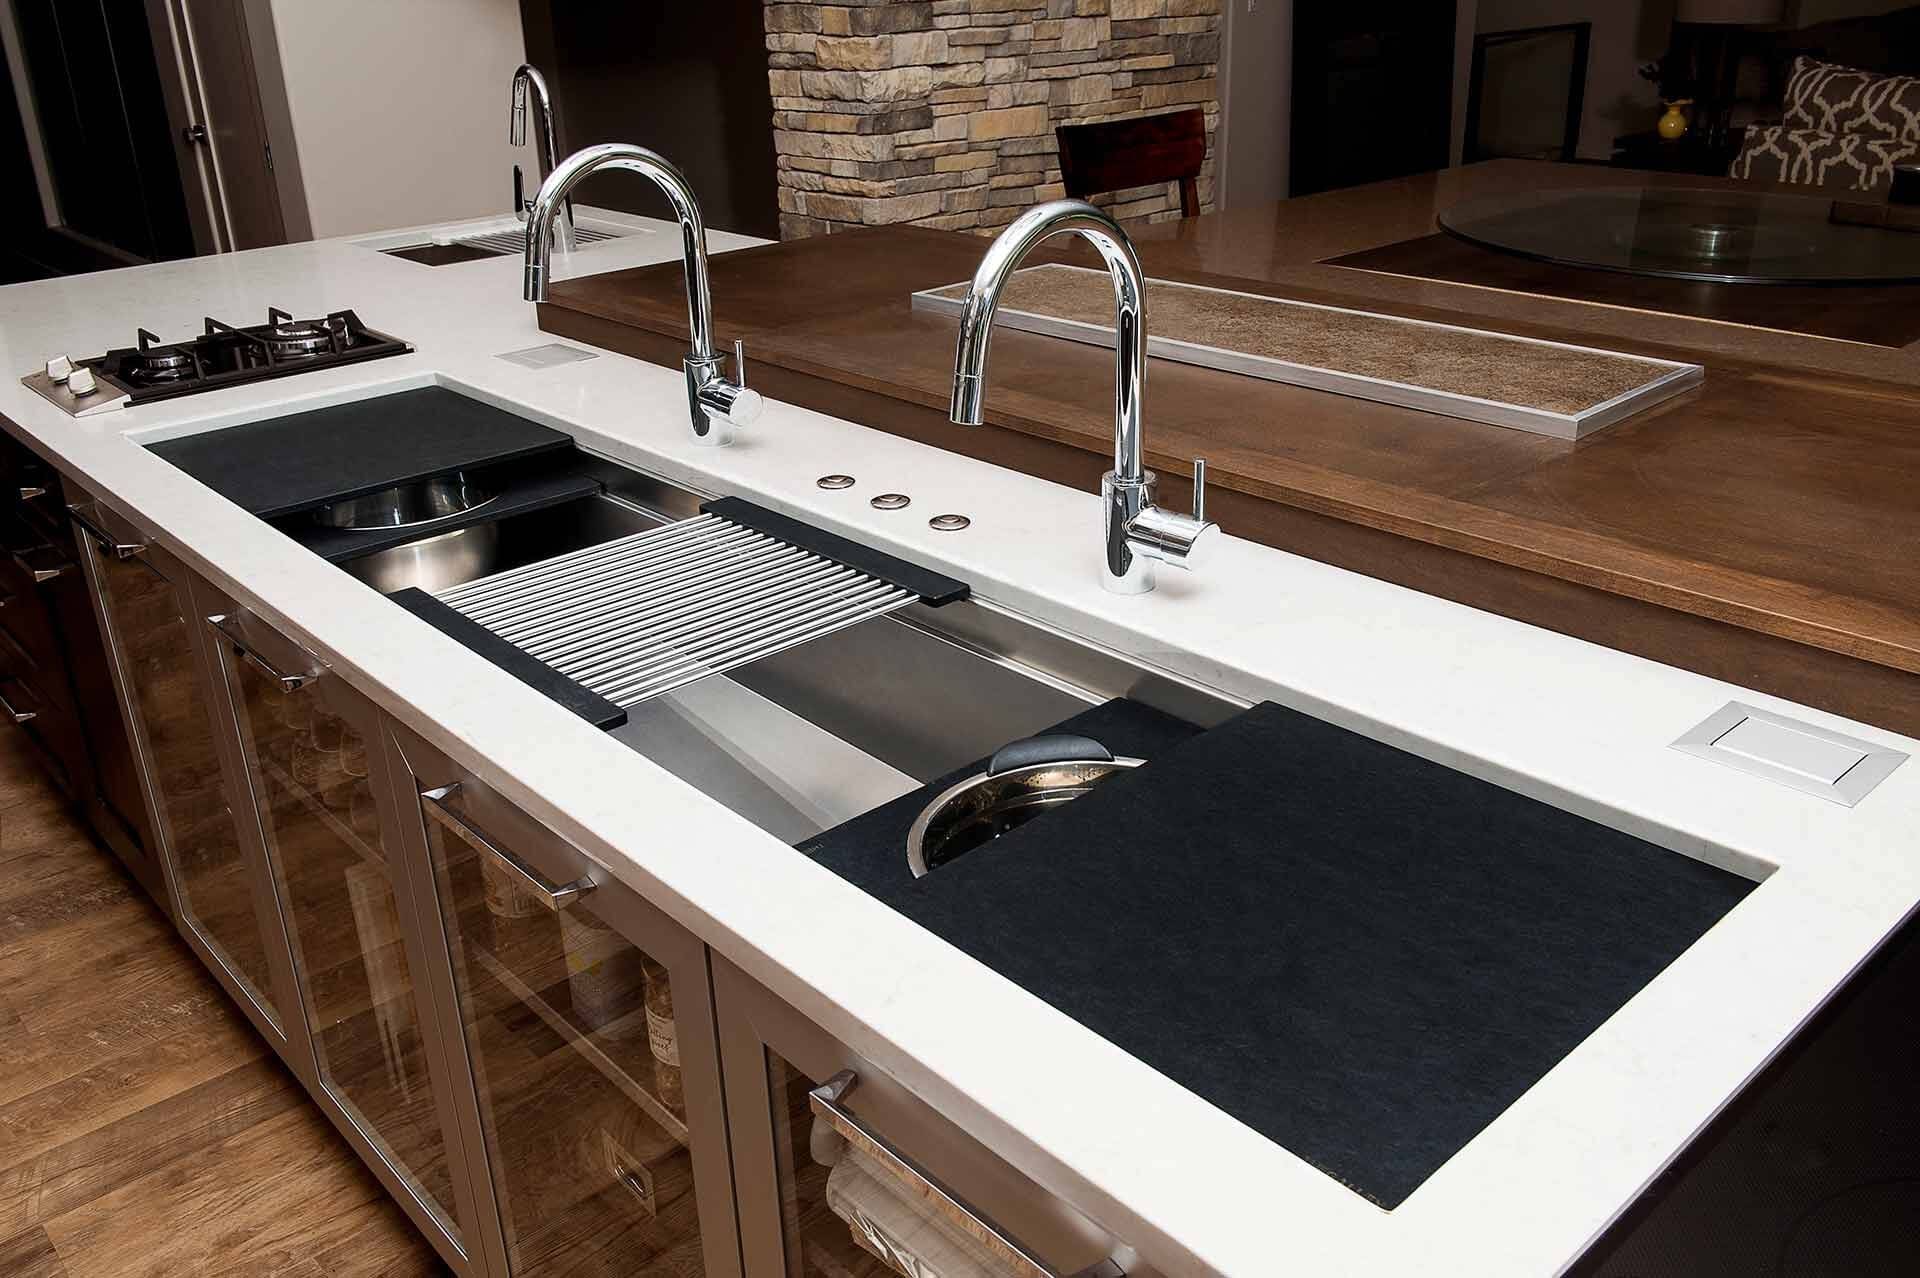
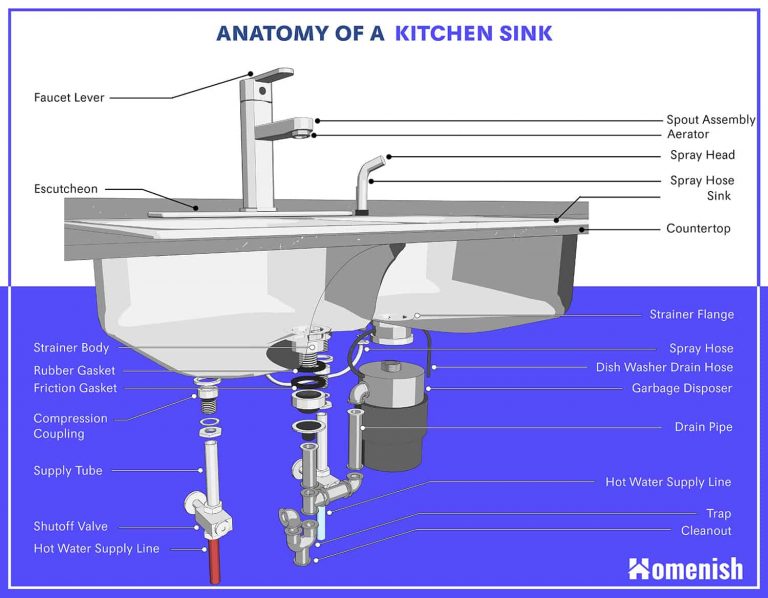
Installing a kitchen sink may seem like a daunting task, but with the right tools and a little bit of know-how, anyone can do it. Whether you're replacing an old sink or installing a new one, the process is essentially the same. Here's a step-by-step guide on how to install a kitchen sink in your countertop. First, gather all the necessary tools and materials. You'll need a sink, a faucet, a drain assembly, plumber's putty, silicone caulk, a drill, a jigsaw, and a wrench. Make sure to choose a sink that fits the size and style of your countertop. Next, turn off the water supply and disconnect the plumbing from the old sink. Then, carefully remove the old sink from the countertop. If you're installing a new sink, you'll need to cut a hole in the countertop to fit the sink. This can be done using a drill and a jigsaw. Once the hole is cut, place the sink in the opening and make sure it fits snugly. If necessary, use a file to sand down any rough edges. Then, install the faucet and drain assembly according to the manufacturer's instructions. Now, it's time to attach the sink to the countertop. Apply a thin layer of plumber's putty around the edge of the sink and carefully place it into the opening. Use a wrench to tighten the clips that secure the sink to the countertop. Wipe away any excess putty. Lastly, reconnect the plumbing and turn the water supply back on. Check for any leaks and make sure the sink is securely attached to the countertop. If everything looks good, you're all set with a brand new kitchen sink installed in your countertop.1. Kitchen Sink Installation: How to Install a Kitchen Sink
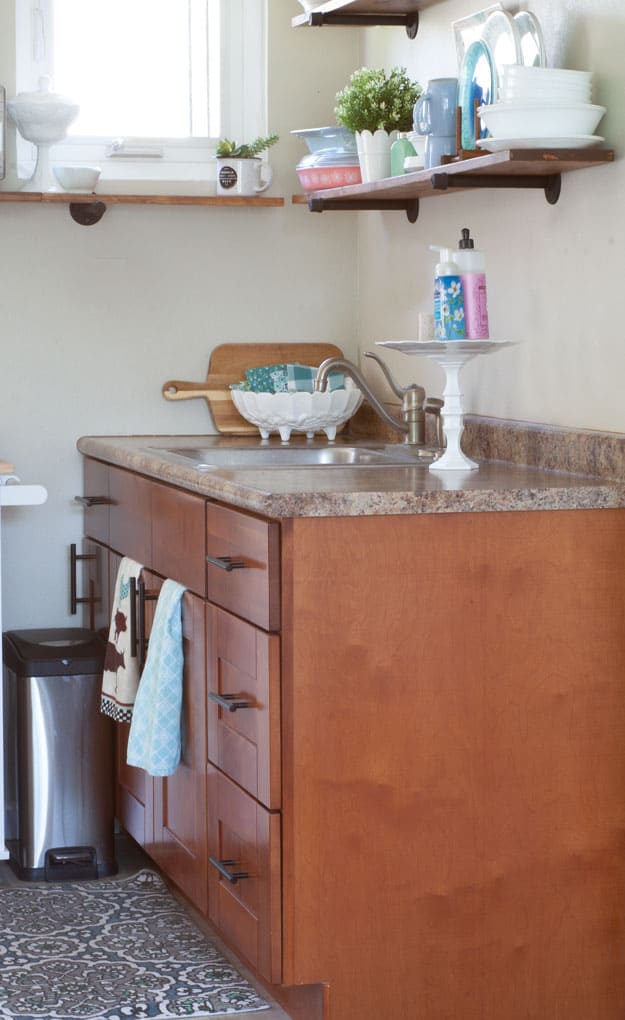
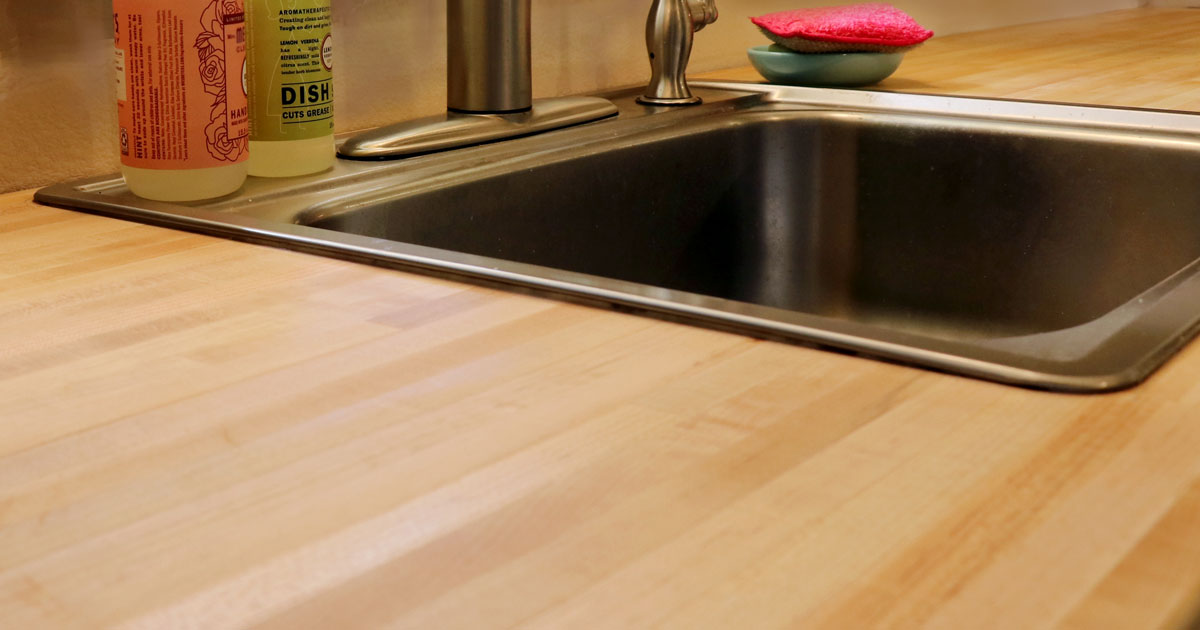
If you have a laminate or wood countertop, installing a kitchen sink can be a bit trickier. The process is similar to installing a sink in any other type of countertop, but you'll need to take extra care to avoid damaging the material. Here's a step-by-step guide on how to install a kitchen sink in a laminate or wood countertop. First, follow the same steps as mentioned in the previous section to cut a hole in the countertop and prepare the sink for installation. However, instead of using plumber's putty, use silicone caulk to seal the sink to the countertop. This will prevent water from seeping into the material and causing damage. When securing the sink to the countertop, use caution not to over-tighten the clips as this can cause the material to crack. Once the sink is securely in place, wipe away any excess caulk and let it dry completely before reconnecting the plumbing and turning on the water supply. If you're installing a drop-in sink, you may also need to add additional support to the countertop. This can be done by attaching a piece of wood or metal underneath the countertop to support the weight of the sink. Be sure to use the appropriate size and type of support for your specific sink and countertop material.2. How to Install a Kitchen Sink in a Laminate or Wood Countertop
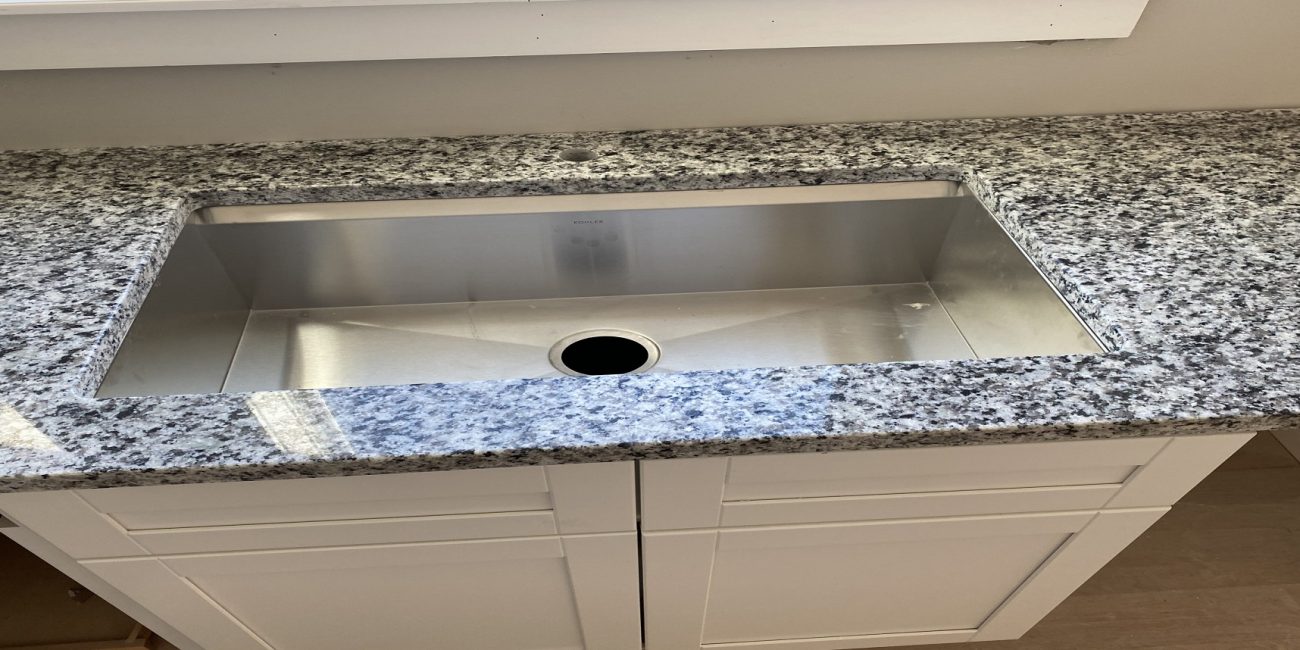
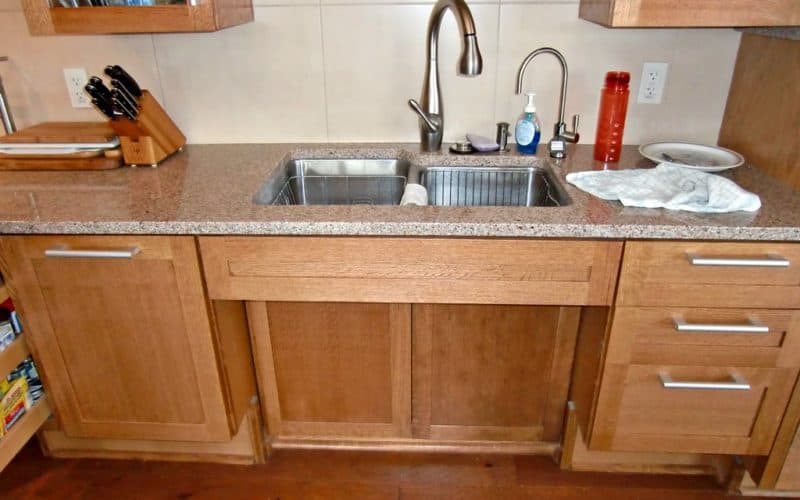
Granite and quartz countertops are becoming increasingly popular due to their durability and beauty. However, installing a kitchen sink in these types of countertops can be a bit more challenging. Here's a step-by-step guide on how to install a kitchen sink in a granite or quartz countertop. First, you'll need to use a template to mark the placement of the sink on the countertop. This will ensure that the hole is cut in the correct size and shape. Once the template is in place, use a diamond-tipped drill bit to create holes around the perimeter of the sink. Then, use a jigsaw to carefully cut along the marked line. Next, follow the same steps as mentioned in the previous sections to prepare the sink and attach it to the countertop using silicone caulk. However, due to the weight of granite and quartz, additional support may be needed. This can be done by using metal clips or brackets to secure the sink to the underside of the countertop. Once the sink is securely in place, use a damp cloth to clean any excess caulk from the edges. Then, let it dry completely before reconnecting the plumbing and turning on the water supply.3. How to Install a Kitchen Sink in a Granite or Quartz Countertop
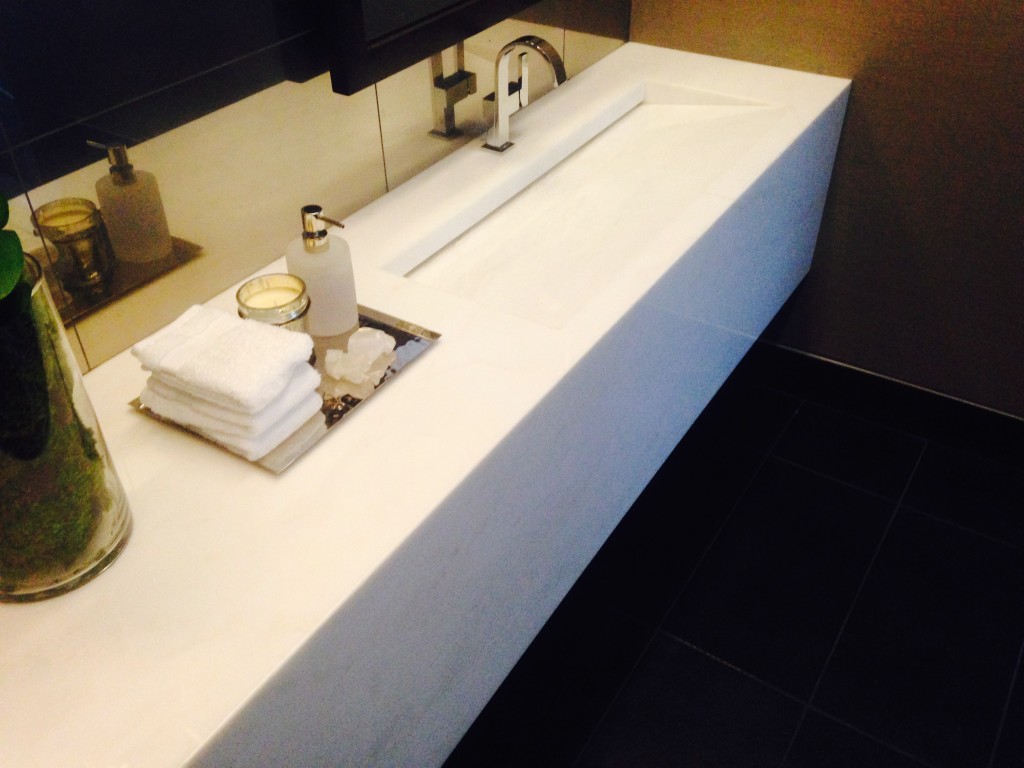
If you want to achieve a seamless and modern look in your kitchen, incorporating your sink into your countertop can be a great option. This creates a cohesive and functional space, with no visible edges or seams. Here are some tips on how to make a kitchen sink part of your countertop. First, choose a countertop material that can be custom-fabricated, such as granite, quartz, or solid surface. These materials can be shaped to incorporate a sink seamlessly. Next, work with a professional fabricator to create a template for the sink and have it cut to the precise dimensions. Once the countertop is ready, follow the same steps as mentioned in the previous sections to prepare the sink and attach it to the countertop using silicone caulk. However, since the sink will be part of the countertop, you won't need to worry about securing it with clips or brackets. This method may be a bit more expensive, but the end result is a sleek and stylish kitchen sink that is seamlessly integrated into your countertop.4. How to Make a Kitchen Sink Part of Your Countertop
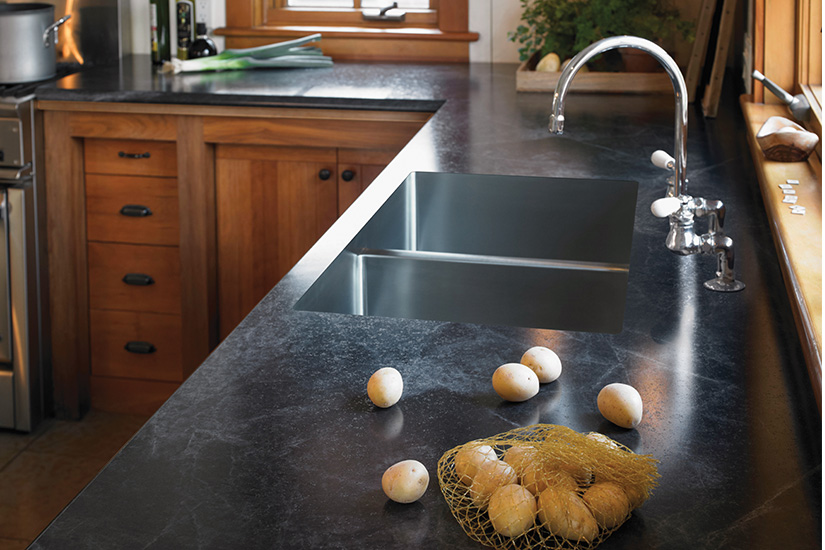
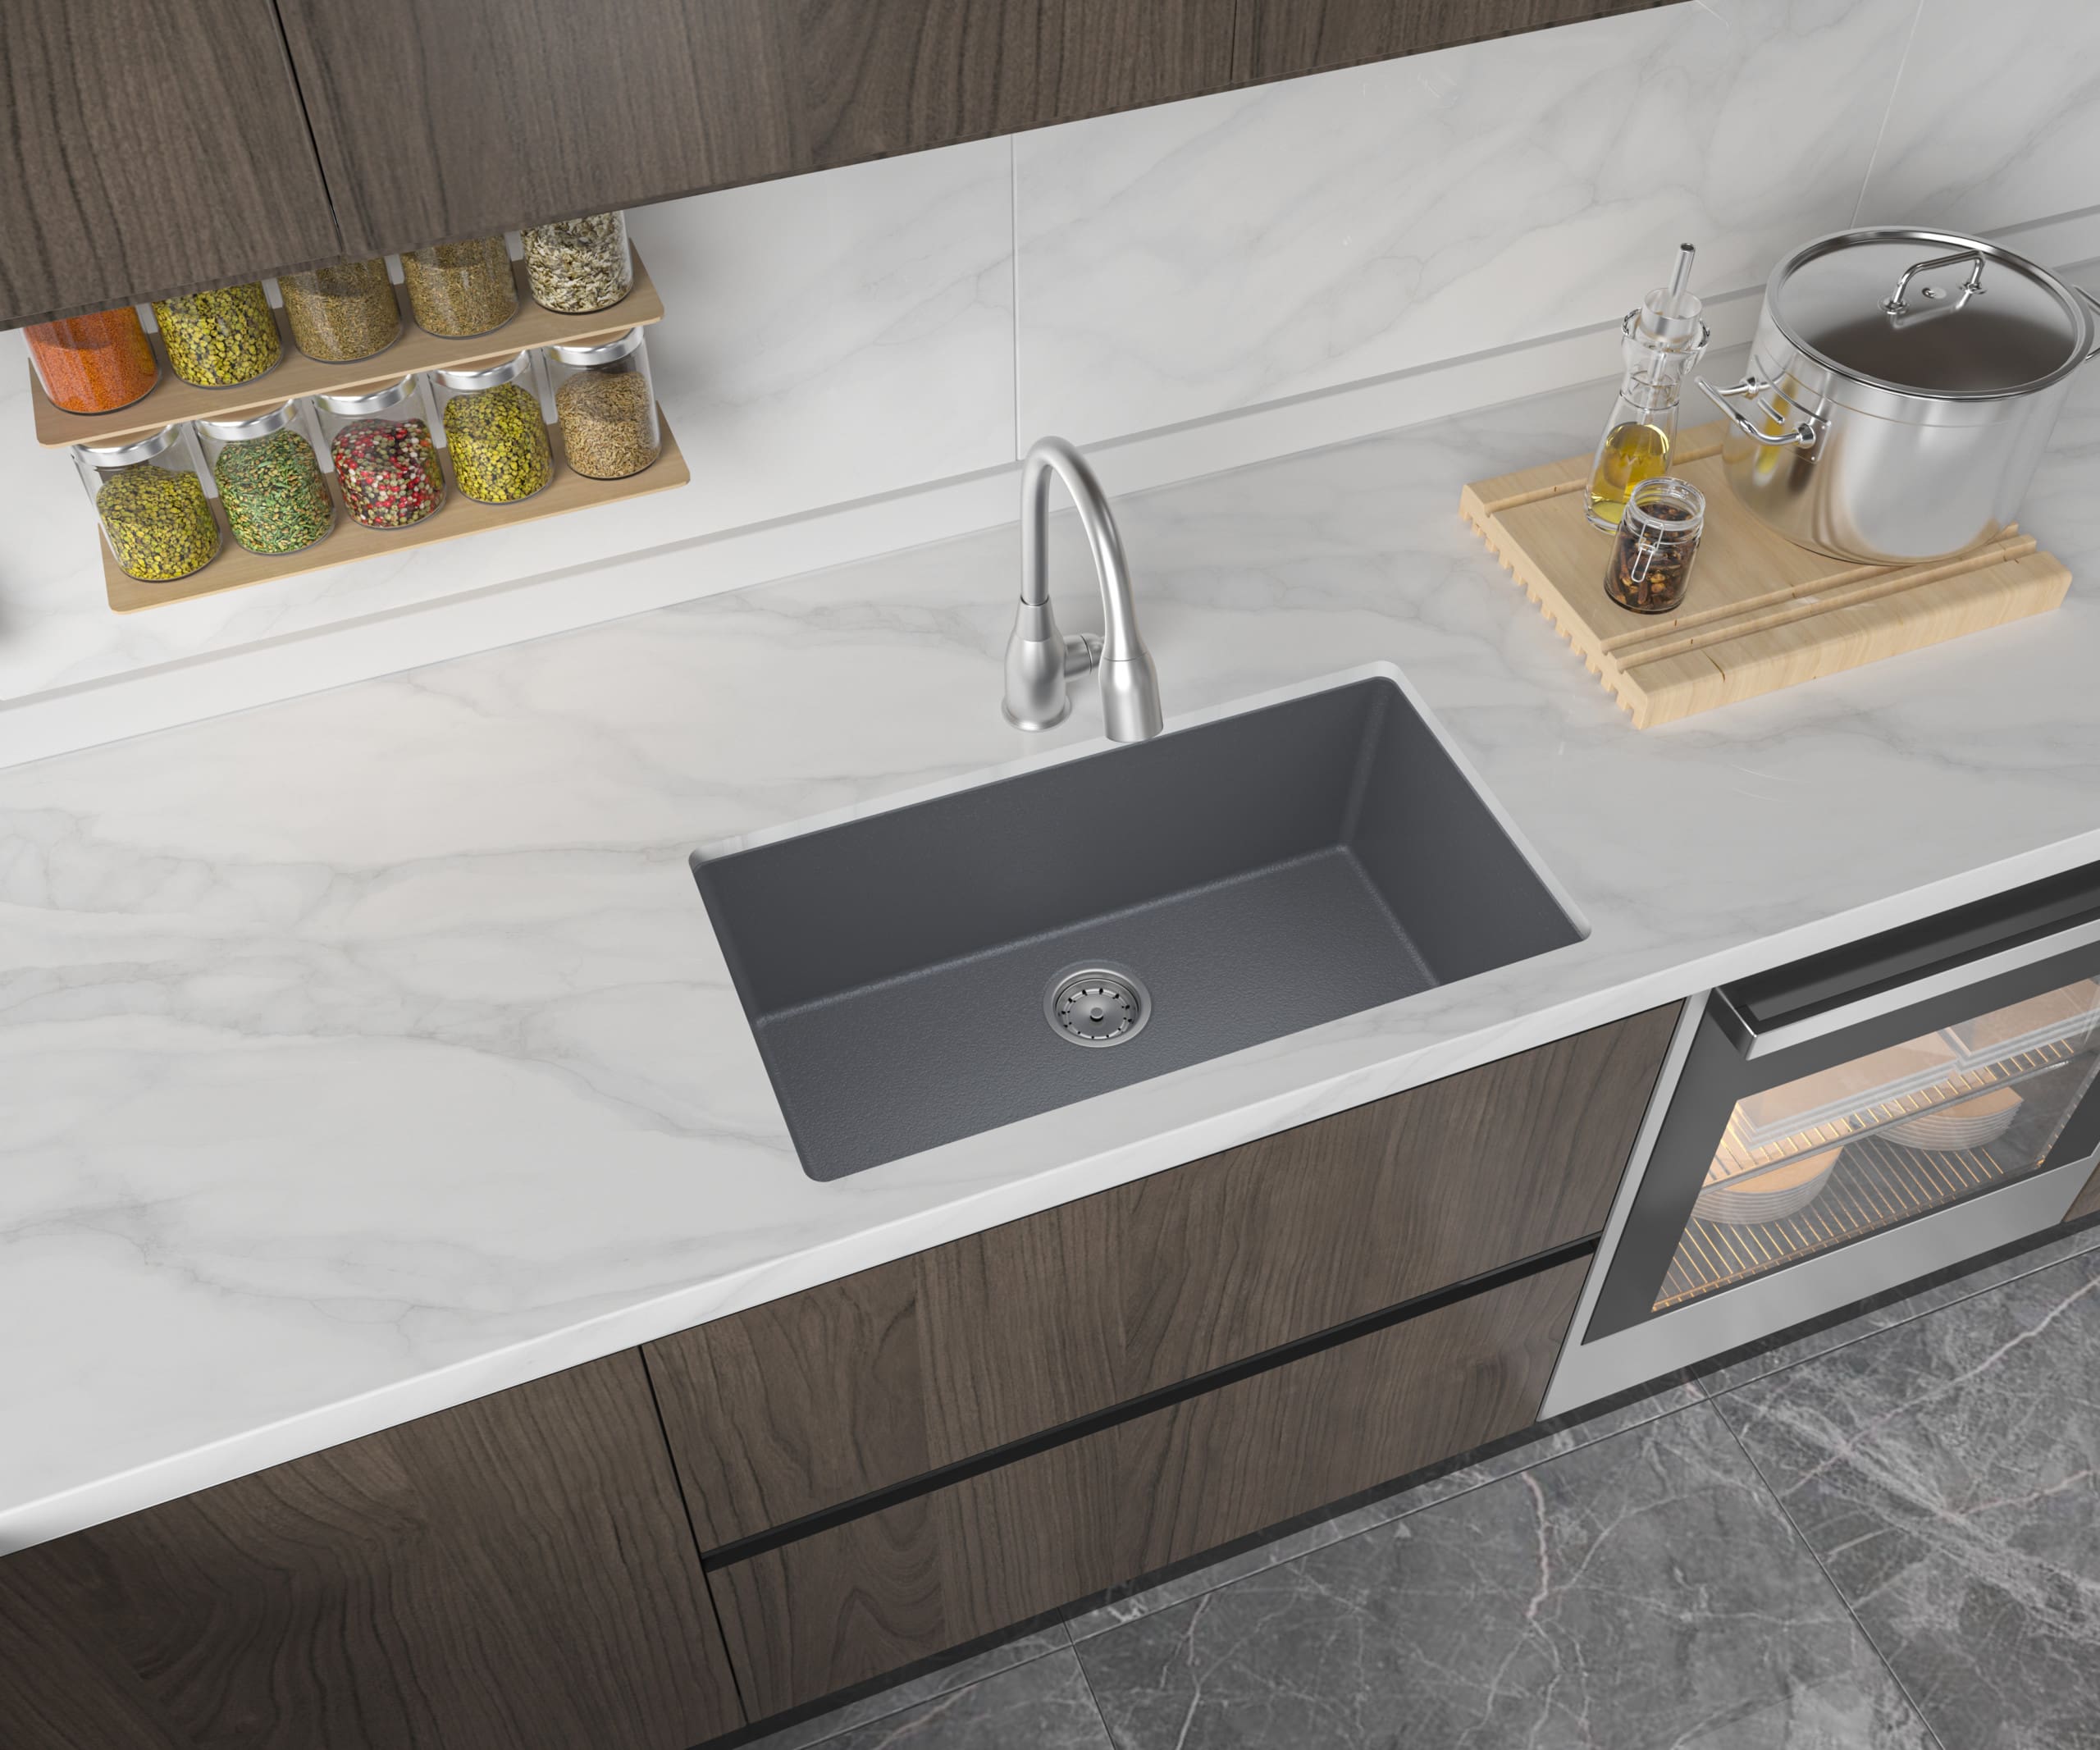
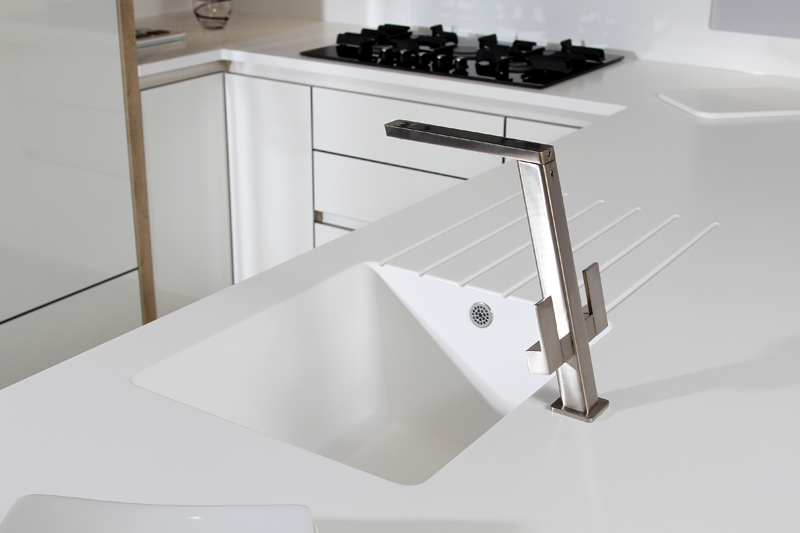
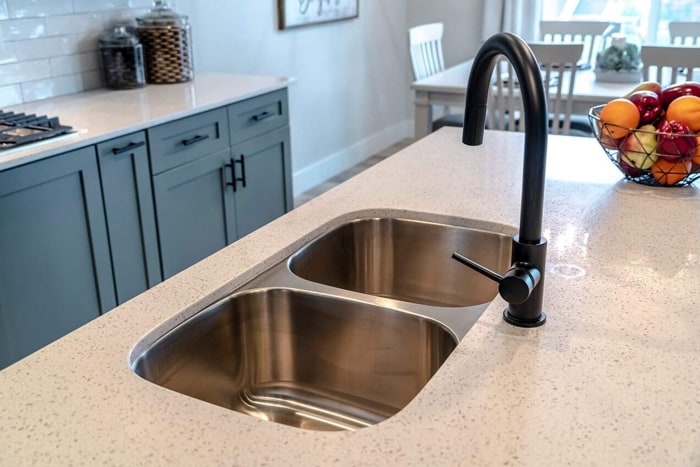
If you want to take the integration of your kitchen sink and countertop to the next level, there are some additional steps you can take to achieve a truly seamless look. Here are some tips on how to seamlessly integrate a kitchen sink into your countertop. First, consider using the same material for both your sink and countertop. This will create a continuous and seamless look. You can also opt for an undermount sink, where the sink is mounted underneath the countertop for a sleek and streamlined appearance. Another way to achieve seamless integration is by using a solid surface material, such as quartz or Corian, which can be molded to include a sink and backsplash in one piece. This eliminates any visible joints or seams and creates a smooth and cohesive look. Lastly, pay attention to the details, such as choosing a faucet that complements the style and material of your sink and countertop. This attention to detail will further enhance the seamless integration of your kitchen sink into your countertop.5. How to Seamlessly Integrate a Kitchen Sink into Your Countertop
If you're feeling handy and want to save some money, you can install a kitchen sink yourself. However, it's important to be well-informed and prepared before taking on this project. Here are some tips and tricks for a successful DIY kitchen sink installation. First, make sure to do your research and gather all the necessary tools and materials beforehand. Measure your sink and countertop carefully to ensure a proper fit. If you're unsure about any steps in the installation process, seek guidance from online tutorials or consult with a professional. Next, take your time and follow the instructions carefully. Rushing through the process can lead to mistakes and costly repairs down the line. And don't be afraid to ask for help if you need it. Lastly, be patient and pay attention to details. This will ensure a successful and professional-looking installation. And don't forget to stand back and admire your handiwork once it's all done!6. DIY Kitchen Sink Installation: Tips and Tricks
If you're installing a new sink in your countertop, you'll need to cut a hole in the appropriate size and shape to fit the sink. This may seem like a daunting task, but with the right tools and technique, it can be done easily. Here's a step-by-step guide on how to cut a hole in a countertop for a kitchen sink. First, measure the dimensions of your sink and mark them on the countertop using a template provided by the manufacturer. Then, use a drill with a diamond-tipped drill bit to create holes along the marked line. This will make it easier to cut along the perimeter of the hole. Next, use a jigsaw to carefully cut along the marked line, making sure to stay within the lines. Take your time and use a steady hand to ensure a clean and precise cut. If necessary, use a file to smooth out any rough edges. Once the hole is cut, carefully test the fit of the sink. If it doesn't fit properly, you may need to make some adjustments to the hole. Once the sink fits snugly, you're ready to move on to the installation process.7. How to Cut a Hole in a Countertop for a Kitchen Sink
Properly securing your kitchen sink to the countertop is crucial to ensure its stability and prevent any leaks. Here's a step-by-step guide on how to securely attach a kitchen sink to a countertop. First, make sure the sink is properly aligned with the hole in the countertop. Then, apply a thin layer of either plumber's putty or silicone caulk around the edge of the sink. This will create a waterproof seal and prevent any water from seeping in between the sink and countertop. Next, carefully place the sink into the hole and press down to create a tight seal. Use a wrench to tighten the clips or brackets that secure the sink to the underside of the countertop. Wipe away any excess putty or caulk and let it dry completely before reconnecting the plumbing and turning on the water supply. If your sink is a drop-in or top-mount style, you may also need to add additional support to the countertop. This can be done by attaching a piece of wood or metal underneath the countertop to support the weight of the sink.8. How to Securely Attach a Kitchen Sink to a Countertop
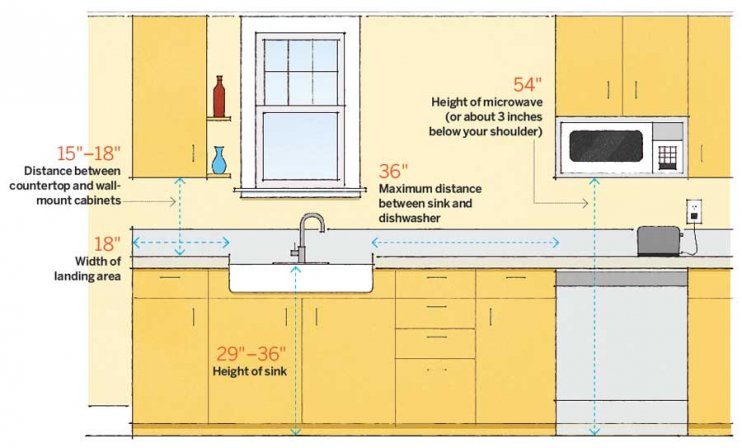
When it comes to kitchen sinks, there are a variety of styles, materials, and sizes to choose from. But not all sinks are suitable for every type of countertop. Here are some tips on how to choose the right kitchen sink for your countertop. First, consider the size and layout of your kitchen. If you have limited counter space, a smaller sink may be more suitable. If you have a larger kitchen with a large counter area, you may opt for a double sink or a larger single sink. Next, consider the style and material of your countertop. For example, a farmhouse sink may look great with a traditional or rustic style kitchen, while a stainless steel sink may complement a modern or industrial-style kitchen. Lastly, think about the functionality of your sink. Consider if you need a deep basin for washing large pots and pans, or if you prefer a sink with multiple compartments for easier organization.9. How to Choose the Right Kitchen Sink for Your Countertop
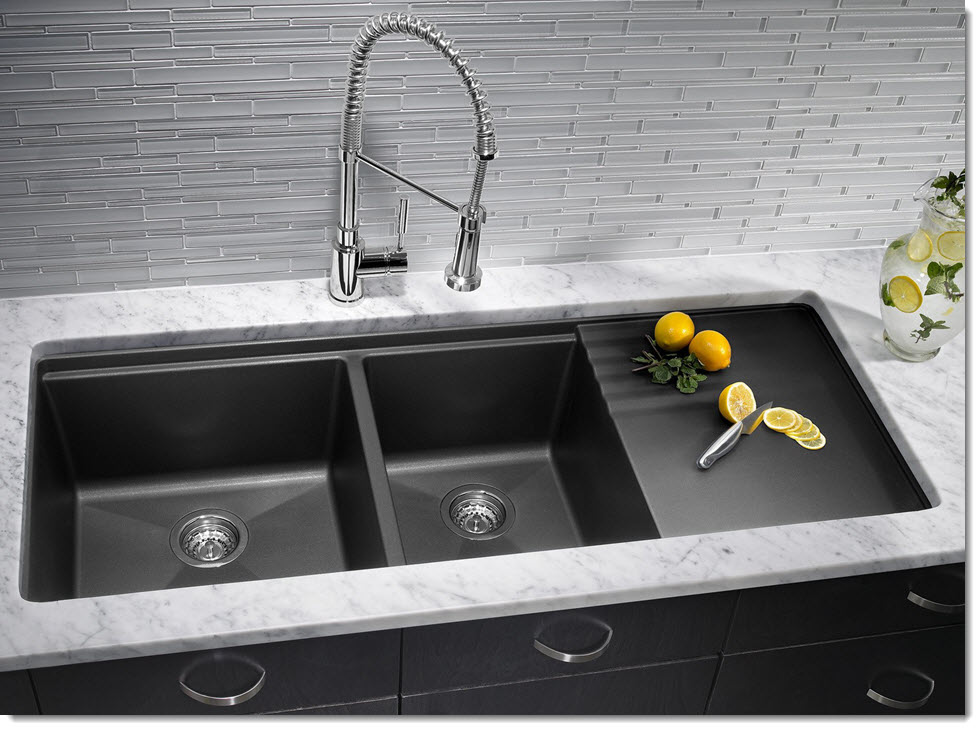
A well-designed kitchen sink and countertop can greatly enhance the overall look and functionality of your kitchen. Here are some ideas for a modern and functional kitchen sink and countertop. For a sleek and seamless look, opt for a solid surface countertop with an integrated sink. This creates a continuous and easy-to-clean surface. You can also add a touch of luxury with a marble or granite countertop and a stylish undermount sink. If you have a smaller kitchen, consider a single-bowl sink to maximize counter space. A farmhouse sink can also add charm and character to a smaller kitchen. And for a larger kitchen, a double sink with a pull-out faucet can make washing dishes a breeze. Lastly, don't be afraid to get creative with the design of your sink and countertop. Add a pop of color with a brightly colored sink, or incorporate a unique shape or material to make a statement. The possibilities are endless when it comes to creating a modern and functional kitchen sink and countertop. 10. Kitchen Sink and Countertop Ideas for a Modern and Functional Kitchen
Why the Kitchen Sink Should Be Part of the Counter
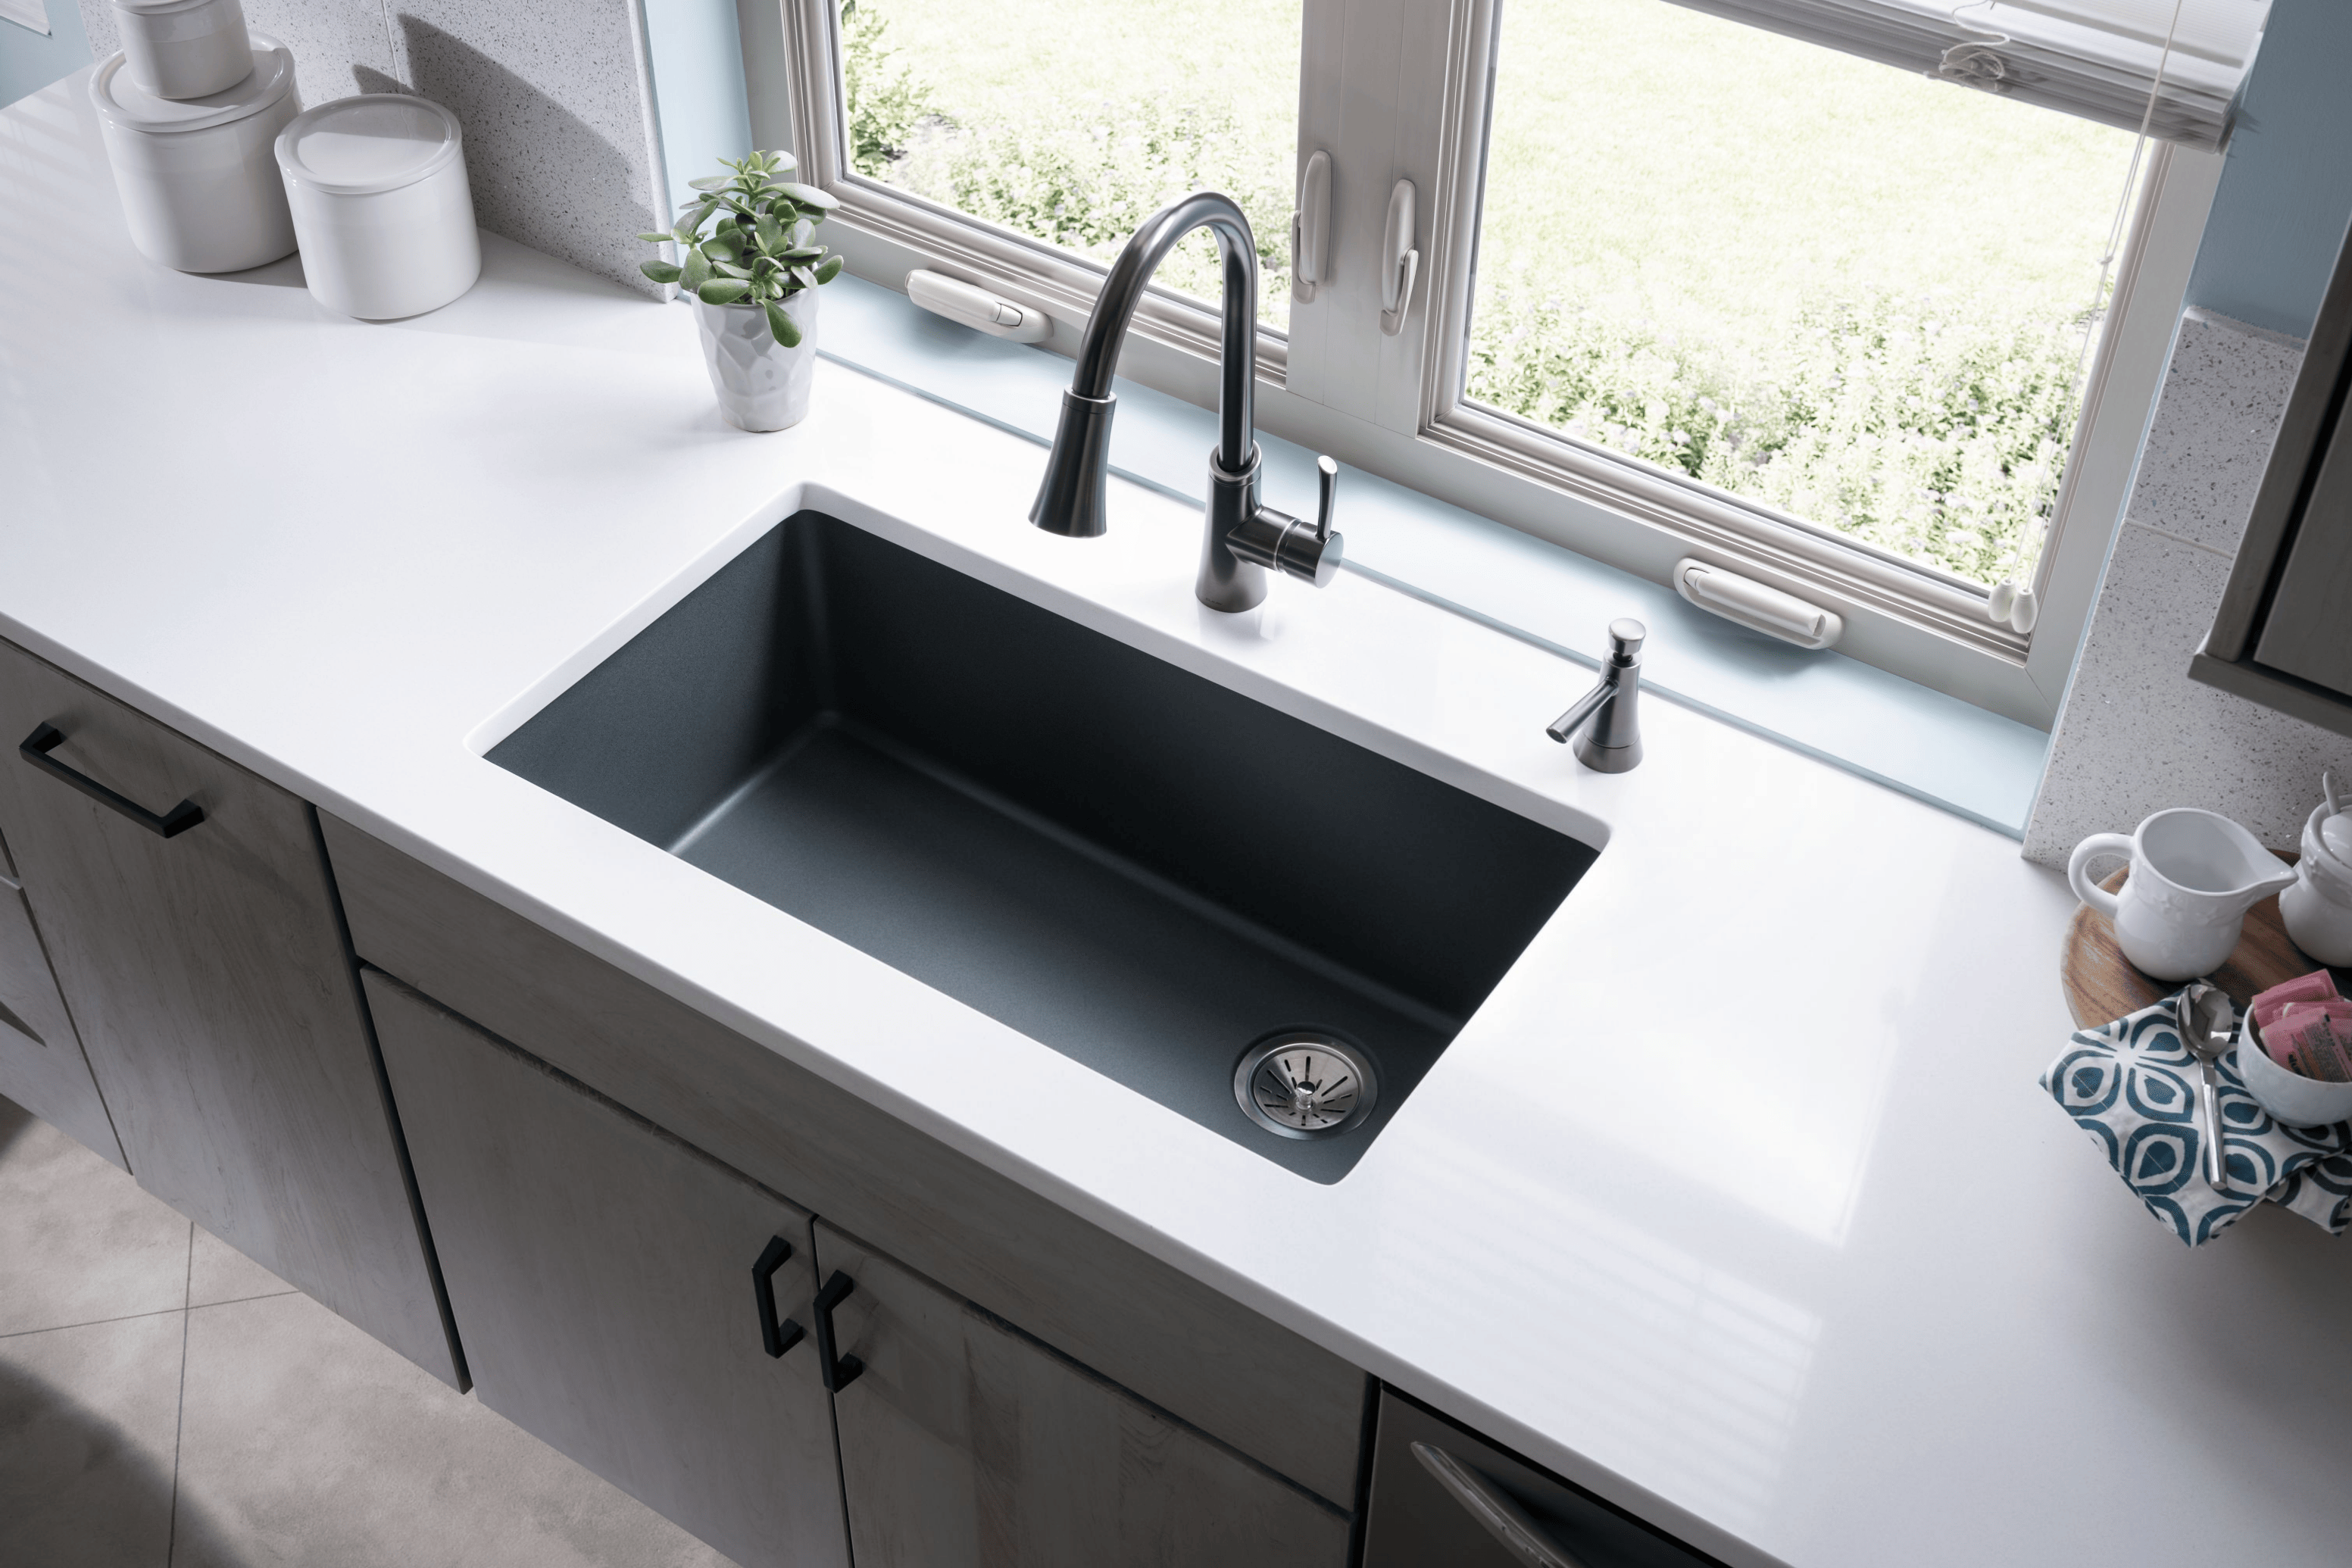
The Benefits of Integrating the Kitchen Sink into Your Countertop Design
 If you're in the process of designing your dream kitchen, one key decision you'll need to make is where to place the kitchen sink. Traditionally, the sink is installed under the countertop, creating a separate and distinct space. However, there is a growing trend towards integrating the sink into the countertop itself. This not only creates a more streamlined and cohesive look, but it also offers a range of practical benefits that make it a smart choice for any kitchen design.
Maximize Your Counter Space
One of the main advantages of incorporating the kitchen sink into the countertop is the increased usable counter space. By eliminating the rim or lip between the sink and counter, you gain valuable square footage that can be utilized for food prep, storage, or even as a dining area. This is especially beneficial in smaller kitchens where every inch counts.
Create a Seamless and Modern Look
In addition to the functional benefits, integrating the sink into the counter creates a sleek and modern aesthetic. With no visible edges or gaps, the sink becomes seamlessly blended into the countertop, giving your kitchen a more cohesive and upscale appearance. This is particularly effective when using materials like granite or marble, as it allows the natural beauty of the stone to shine without any interruptions.
Ease of Maintenance and Cleaning
Another advantage of having the kitchen sink as part of the counter is the ease of maintenance and cleaning. With no visible seams or gaps, there are fewer areas for dirt and grime to accumulate, making it easier to keep your kitchen clean and hygienic. You also won't have to worry about any water or food debris getting stuck in the crevices between the sink and countertop, making it a more hygienic option.
Customization and Versatility
When you opt to integrate the sink into the counter, you have the opportunity to customize and tailor it to your specific needs. You can choose the size, shape, and placement of the sink, as well as the materials used for both the sink and the countertop. This allows for a more personalized and versatile kitchen design that fits your lifestyle and preferences.
Conclusion
In conclusion, incorporating the kitchen sink into the countertop offers a range of benefits that make it a worthwhile design choice for any kitchen. Not only does it create a seamless and modern look, but it also maximizes counter space, makes cleaning and maintenance easier, and allows for customization and versatility. So if you're in the process of designing your dream kitchen, don't overlook the option of making the kitchen sink a part of your countertop. It may just be the perfect addition to elevate your kitchen design to the next level.


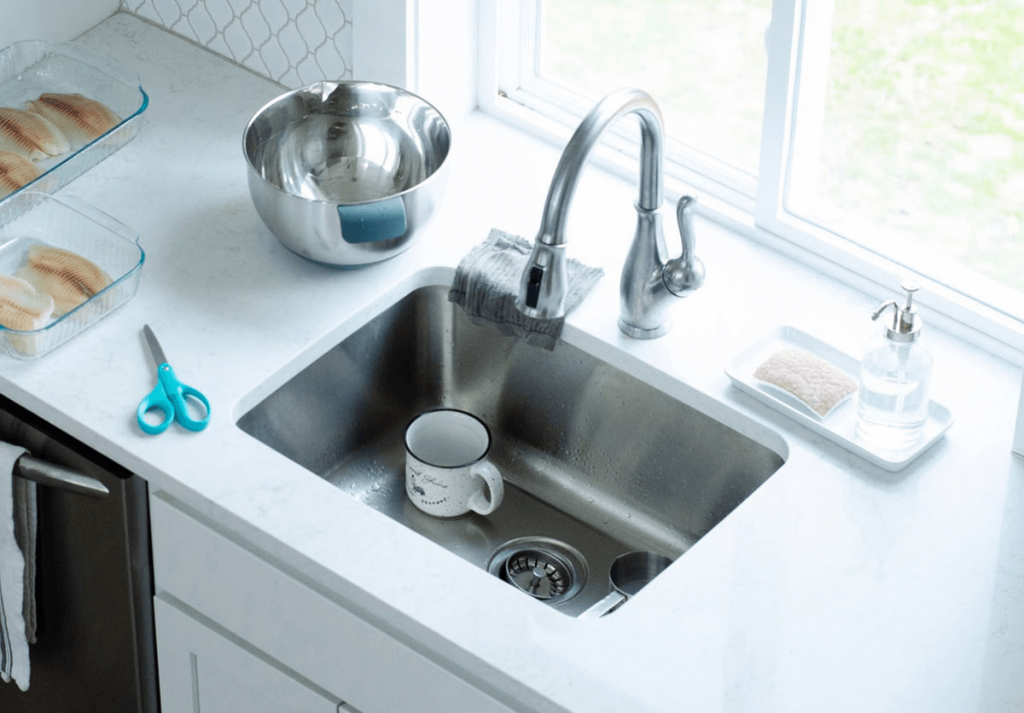
























/how-to-install-a-sink-drain-2718789-hero-24e898006ed94c9593a2a268b57989a3.jpg)




















.jpg)




:max_bytes(150000):strip_icc()/GettyImages-174841379-5a85d100ba61770036d9f06c.jpg)
