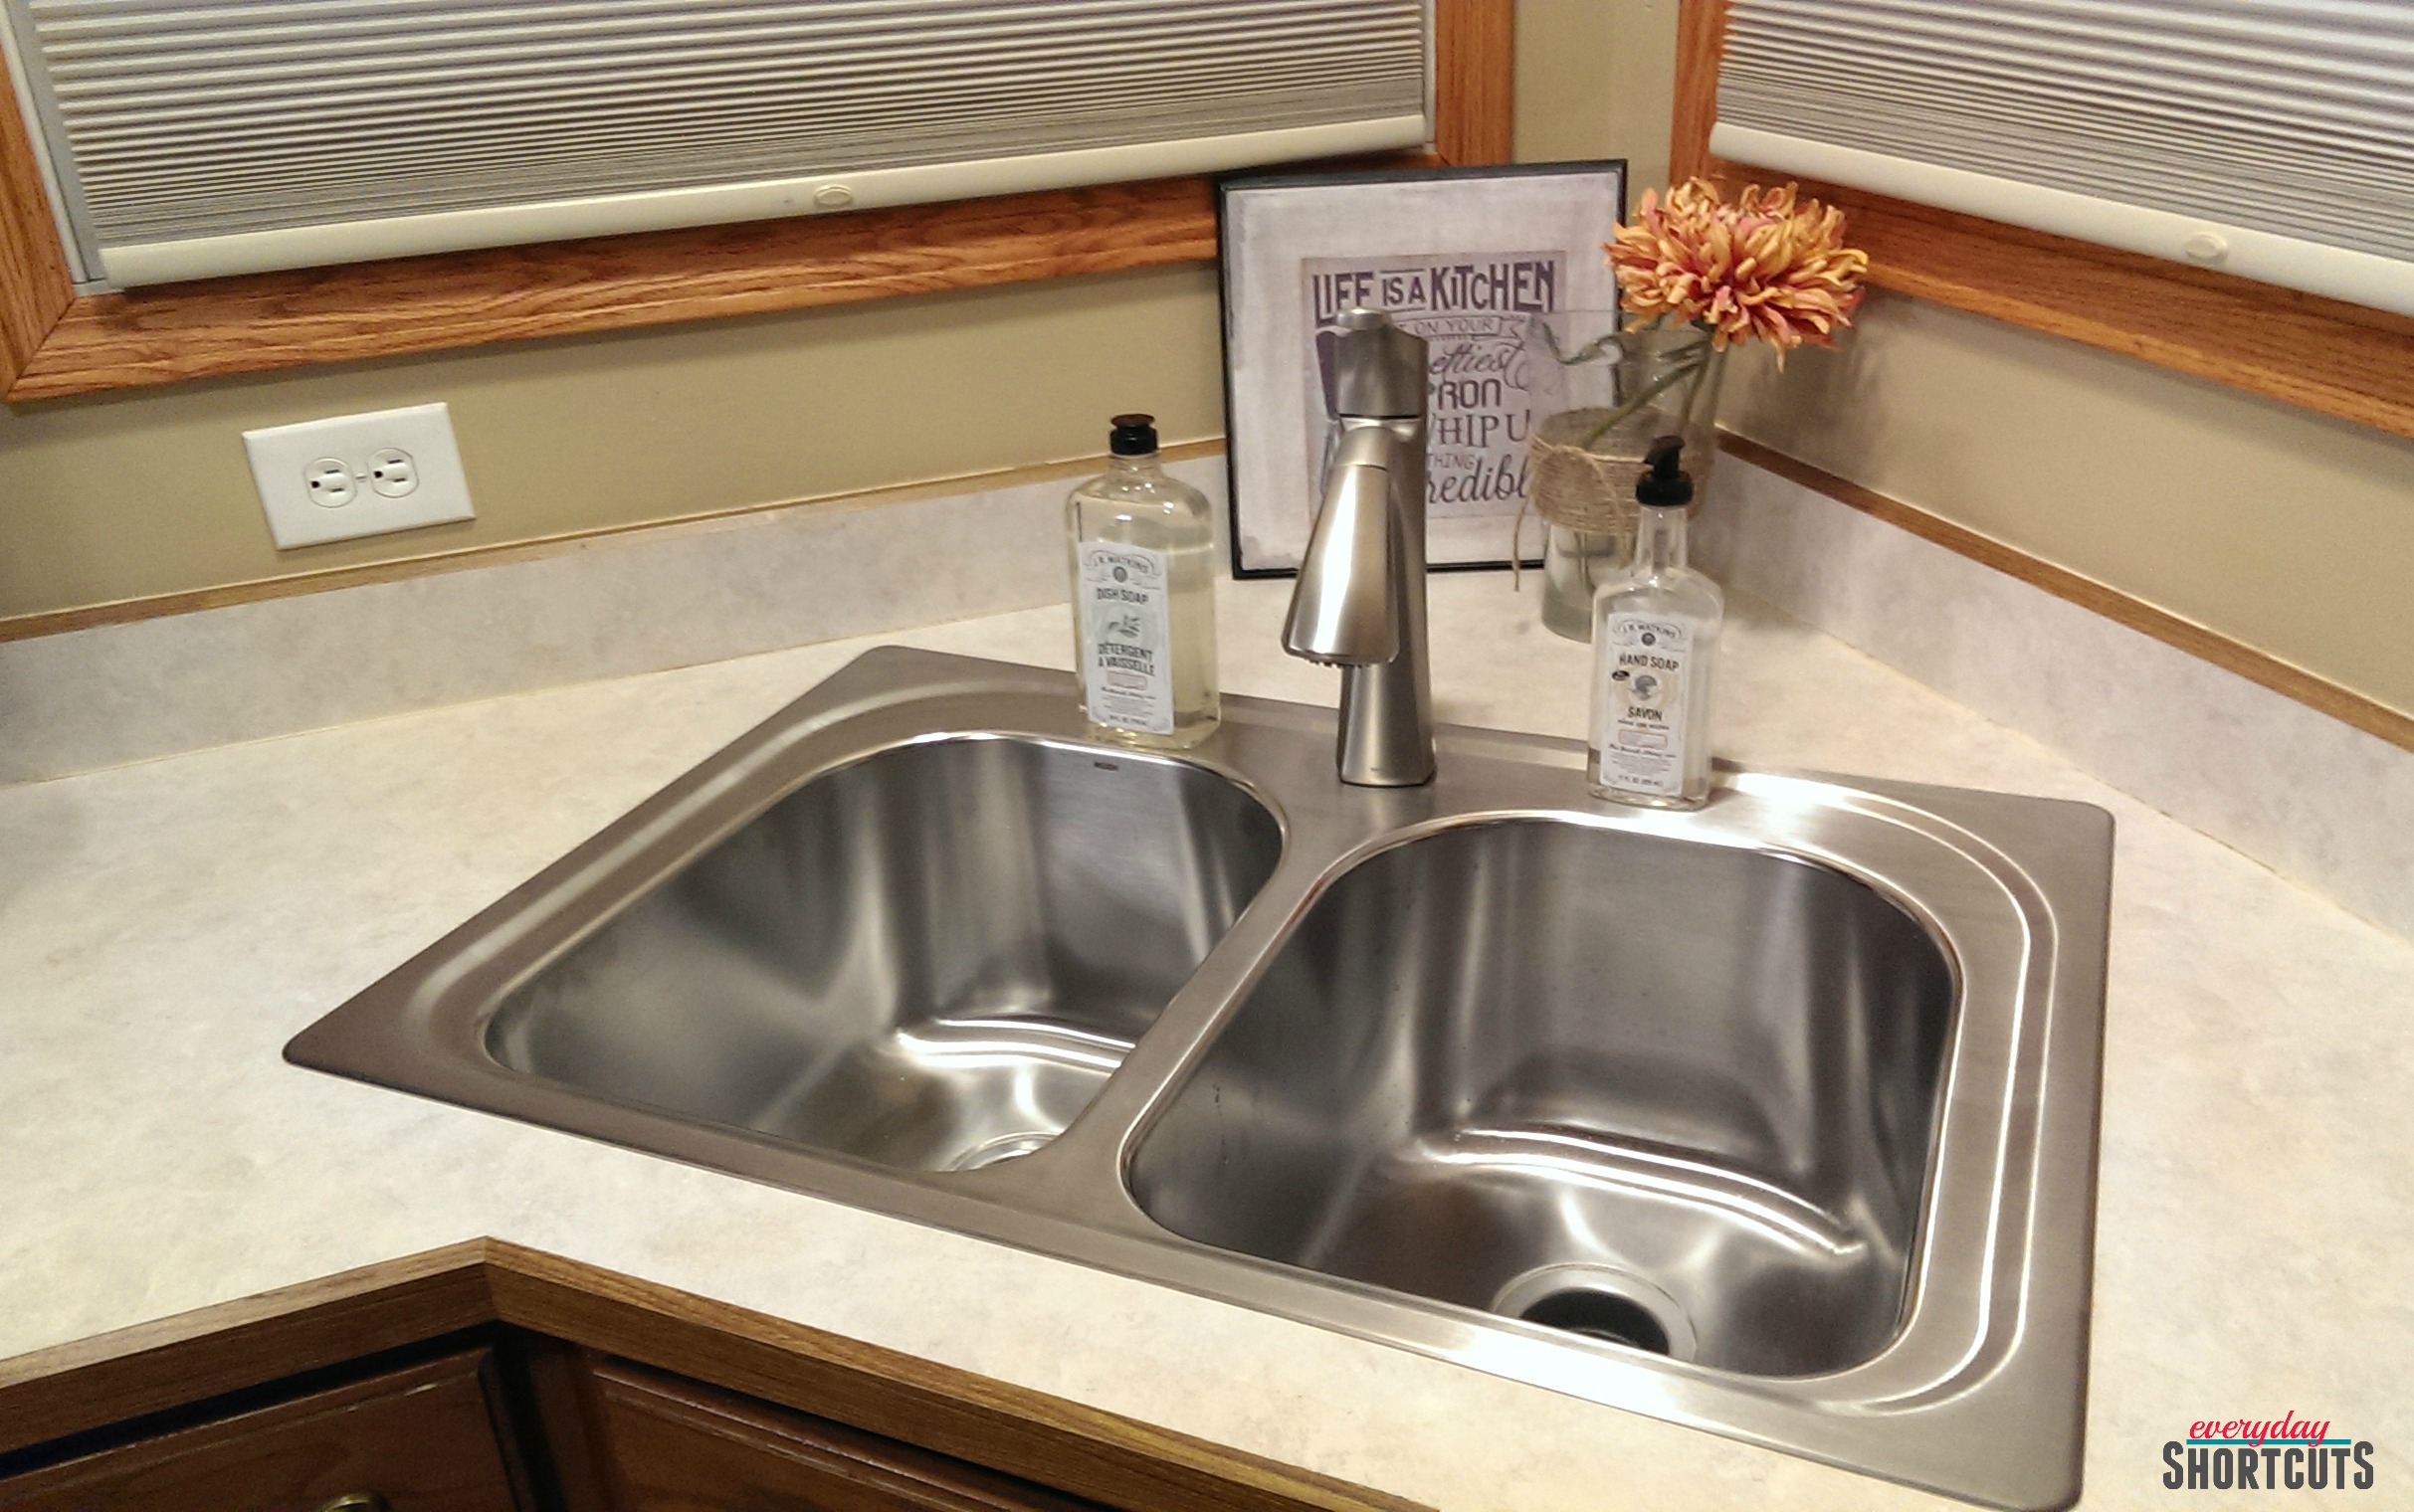
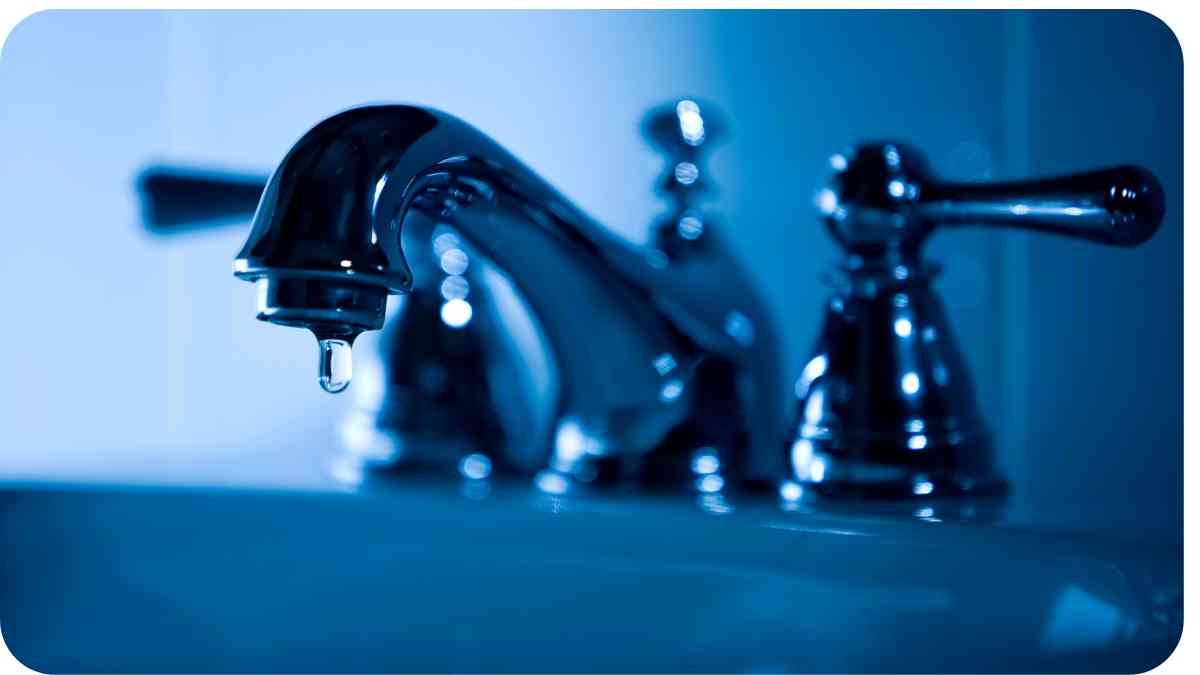
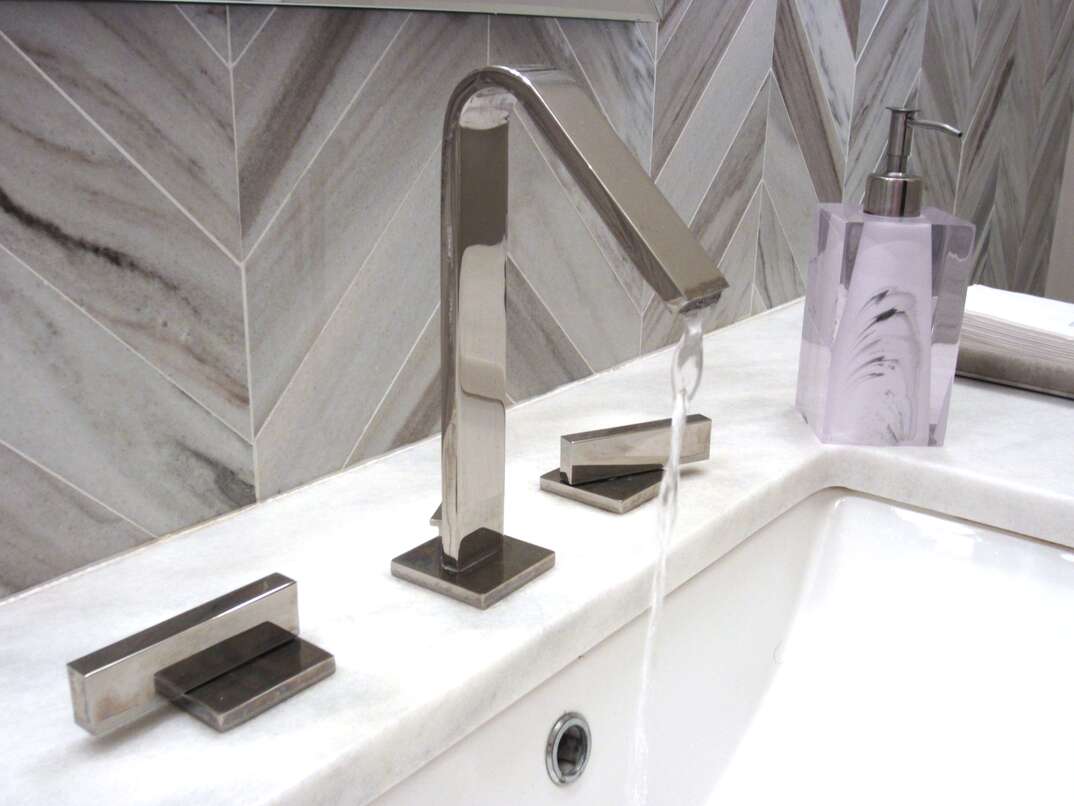
If you've noticed water dripping from your Moen kitchen sink, it's important to address the issue as soon as possible to prevent further damage. A leaky Moen kitchen sink can waste water, increase your water bill, and even lead to mold and mildew growth. Fortunately, fixing a leaky Moen kitchen sink is a relatively simple task that can be done at home with a few tools and some basic knowledge.How to Fix a Leaky Moen Kitchen Sink


How to Fix a Leaky Moen Kitchen Sink


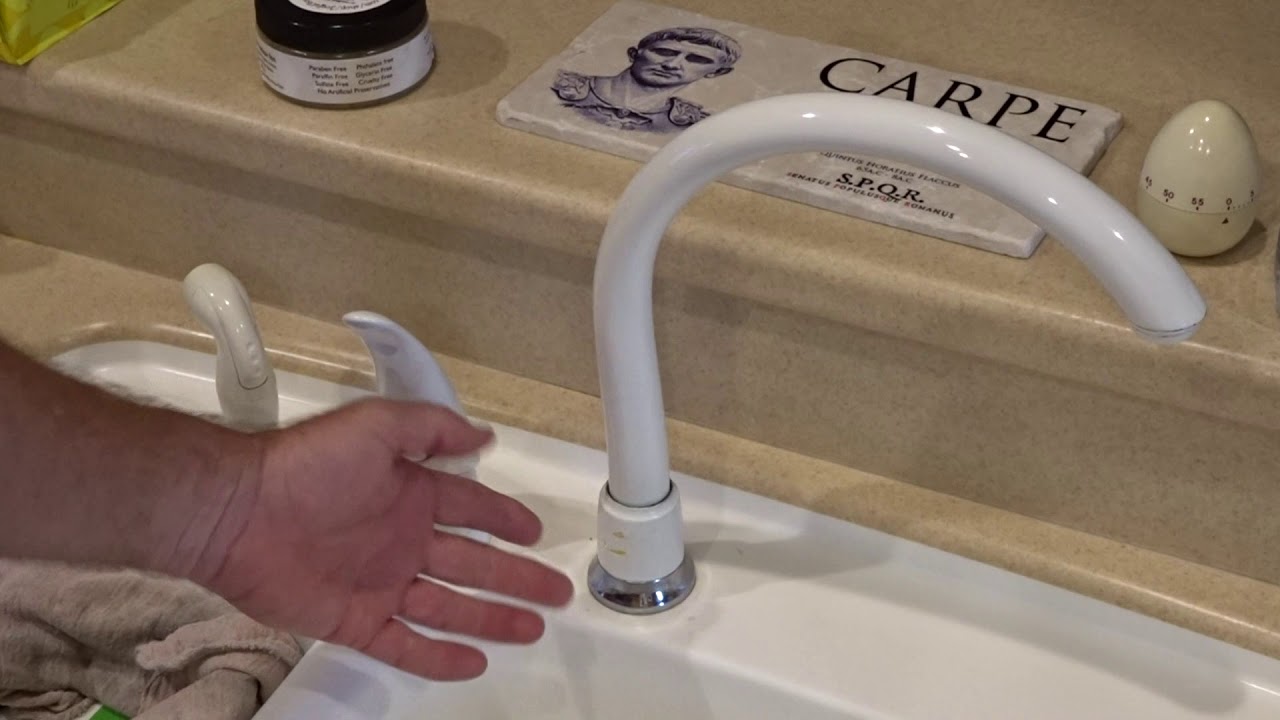
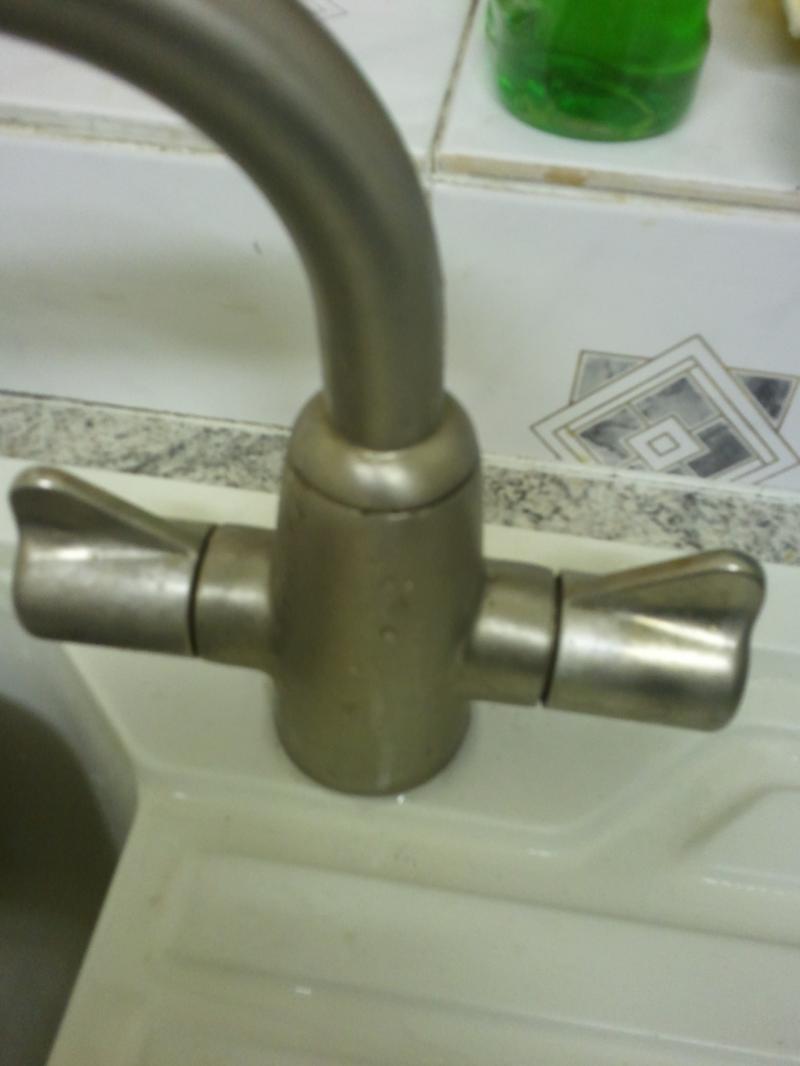
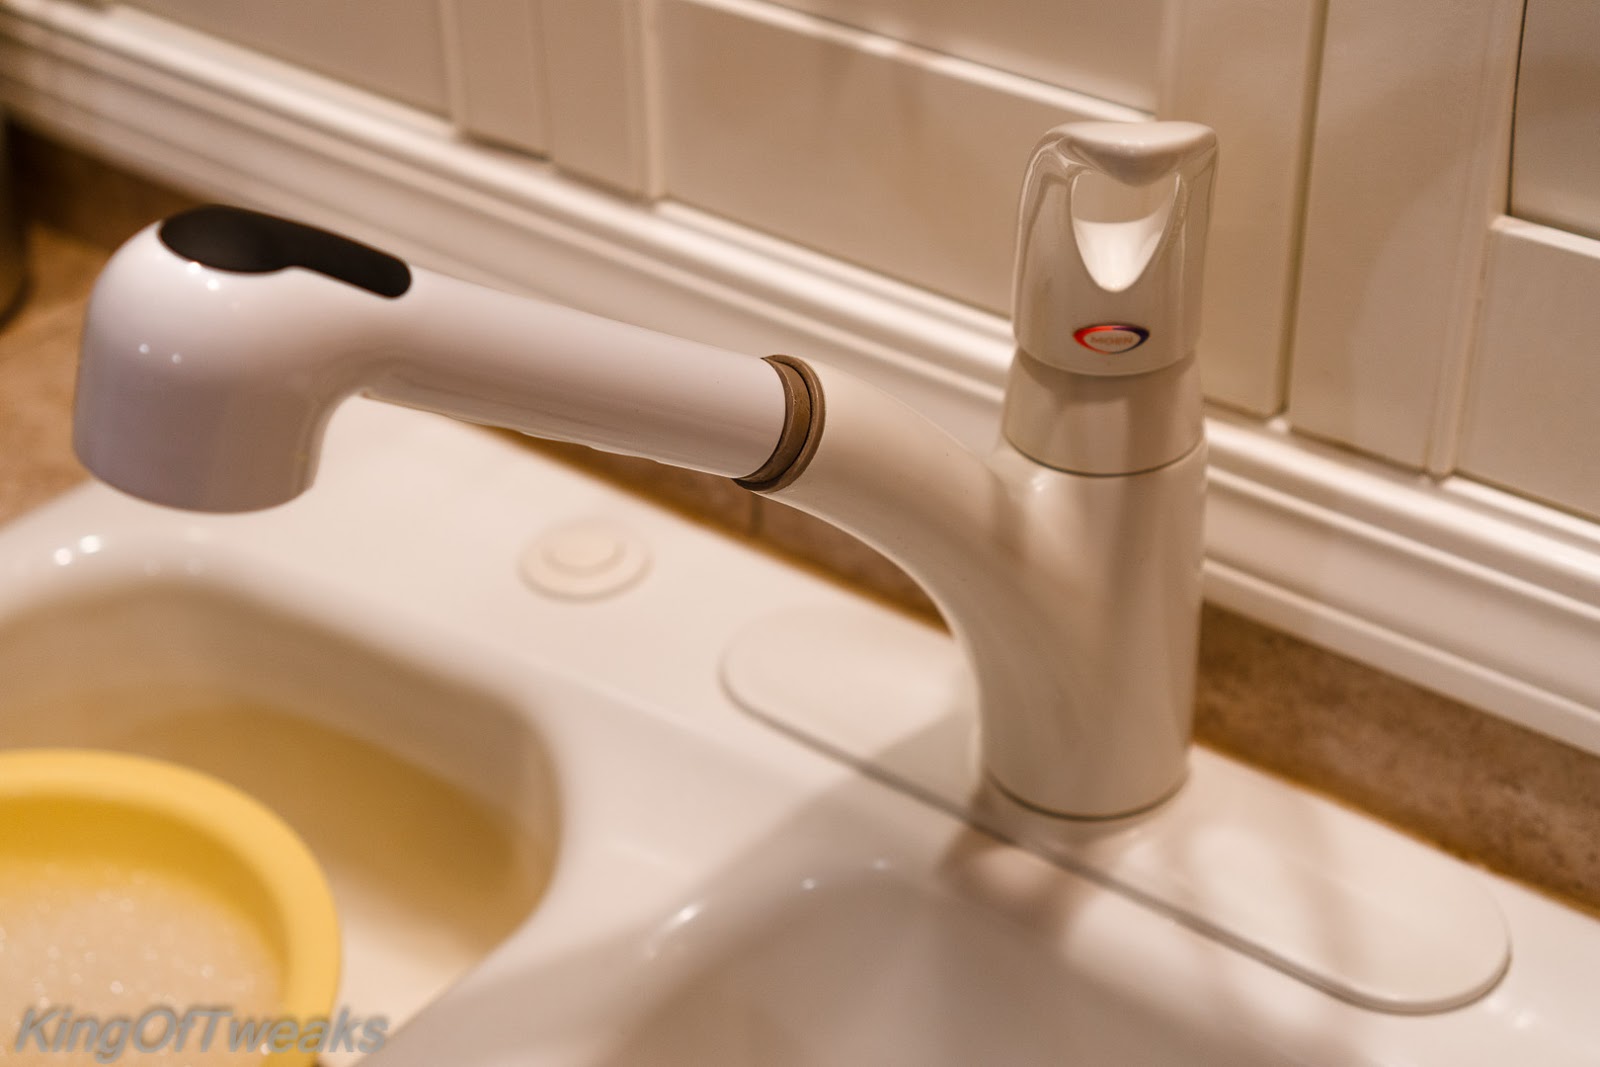
One common cause of a leaky Moen kitchen sink is a leak from the handle. The handle is the most frequently used part of a faucet, and over time, it can become loose or worn out. This can lead to water leaking from the handle when the faucet is turned on. If you notice water dripping from the handle, it's likely that the handle needs to be tightened or replaced.Moen Kitchen Sink Leaking from Handle


Moen Kitchen Sink Leaking from Handle


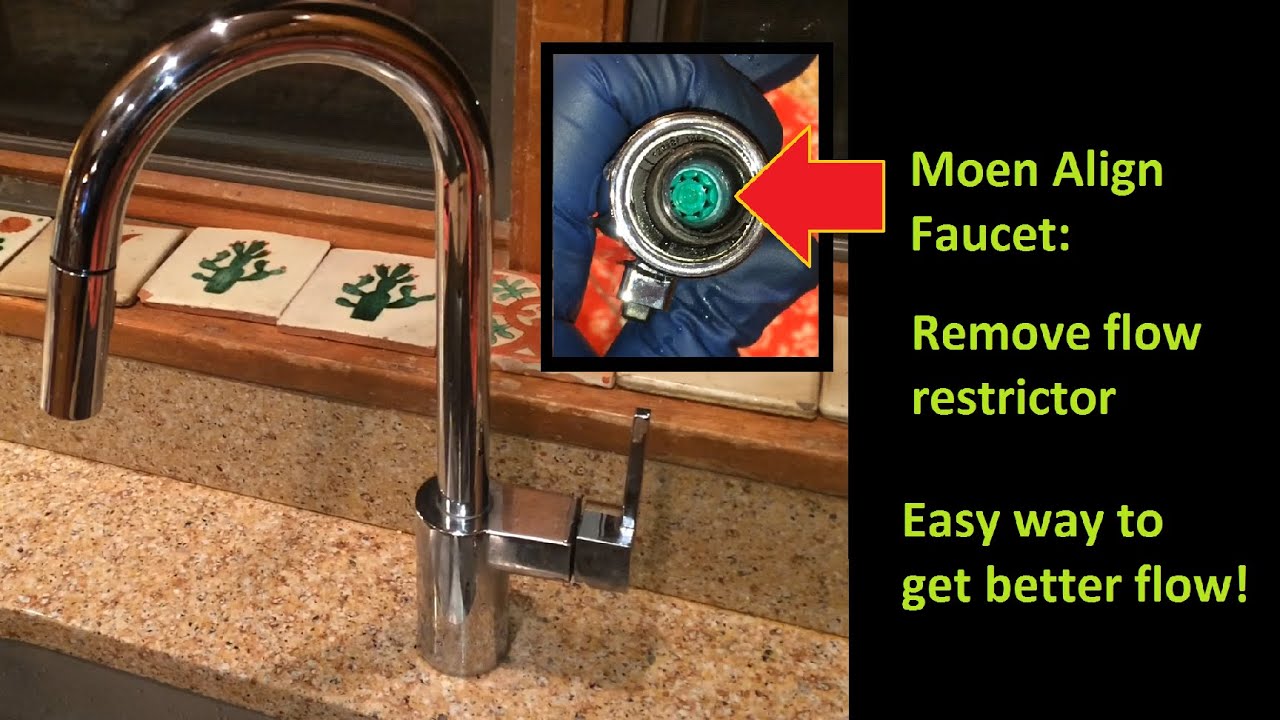
Aside from a leaky handle, there are a few other common causes of a leaky Moen kitchen sink. One possible cause is a worn out cartridge or O-ring. These parts can become worn out over time and may need to be replaced to stop the leak. Another cause could be a loose or damaged water supply line, which can often be fixed by simply tightening the connections.Common Causes of a Leaky Moen Kitchen Sink


Common Causes of a Leaky Moen Kitchen Sink


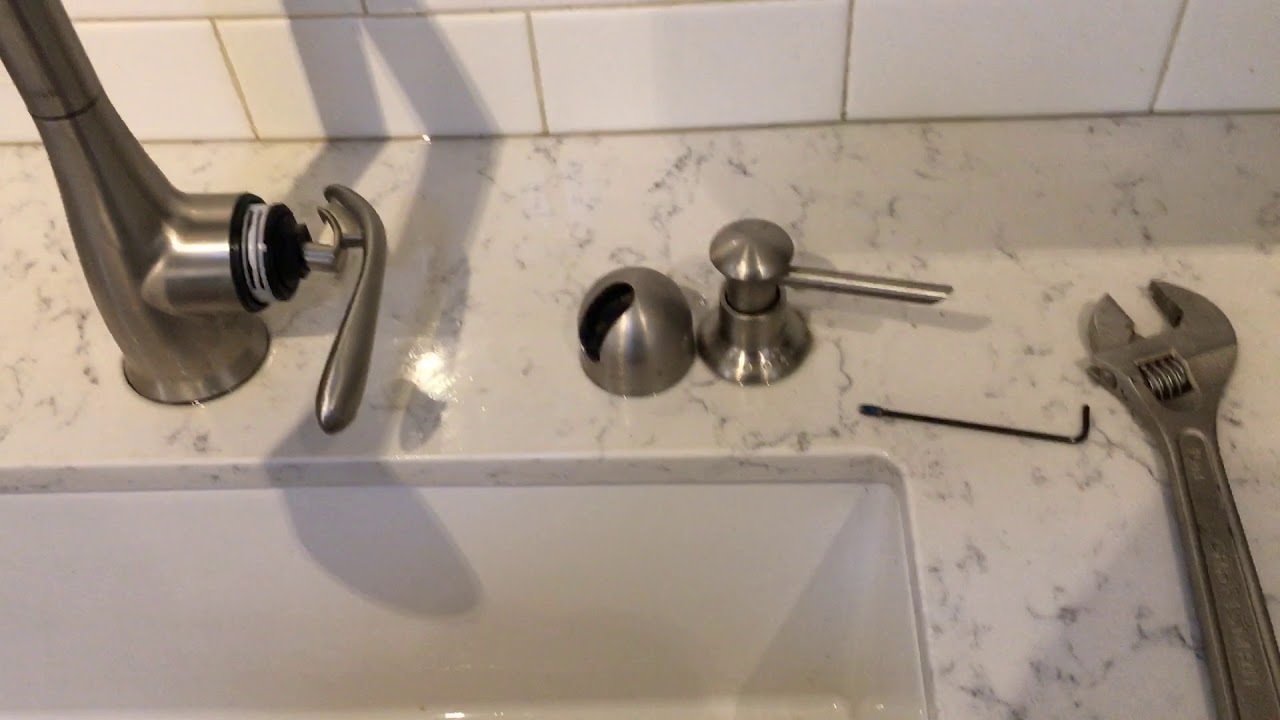
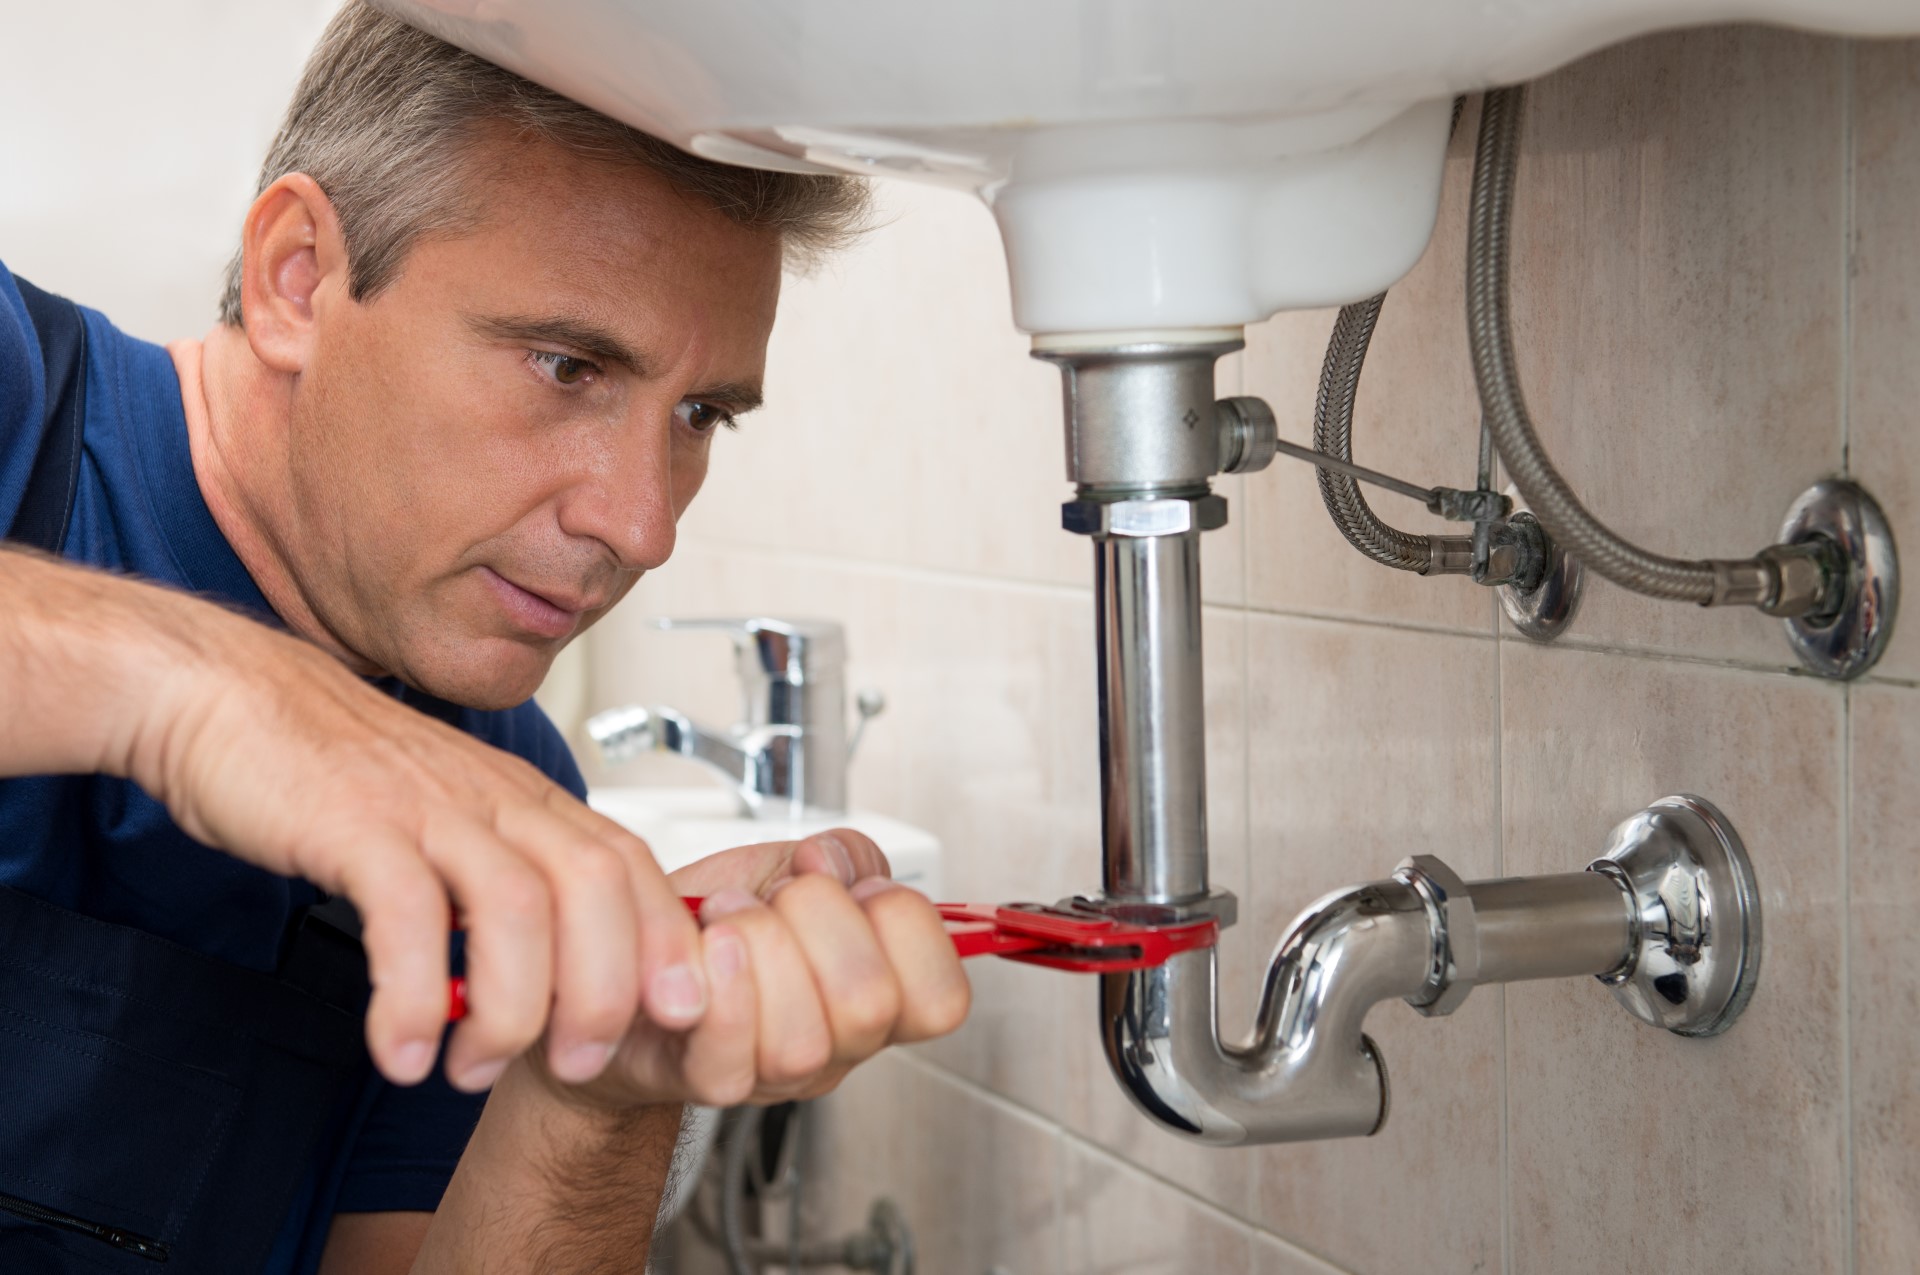
If you're ready to tackle the task of repairing your leaky Moen kitchen sink, here's a step-by-step guide to help you through the process: Step 1: Start by turning off the water supply to your kitchen sink. This is usually done by turning the shut-off valves located under the sink in a clockwise direction. Step 2: Next, remove the handle of the faucet. This can usually be done by unscrewing a small screw under a decorative cap or by using a handle puller tool. Step 3: Once the handle is removed, you should see the cartridge and O-ring. Check these parts for any signs of wear or damage and replace them if necessary. Step 4: If the cartridge and O-ring are in good condition, check the water supply lines for any loose or damaged connections. Tighten or replace these connections if needed. Step 5: Reassemble the faucet handle and turn the water supply back on. Check for any leaks and make any necessary adjustments.Step-by-Step Guide to Repairing a Leaky Moen Kitchen Sink

Step-by-Step Guide to Repairing a Leaky Moen Kitchen Sink


If your Moen kitchen sink faucet is beyond repair, you may need to replace it. This is a more involved task, but it can be done at home with the right tools and instructions. Here's a general guide to replacing a leaky Moen kitchen sink faucet: Step 1: Start by turning off the water supply to your kitchen sink. Step 2: Remove the old faucet by unscrewing the mounting nuts underneath the sink and disconnecting the water supply lines. Step 3: Install the new faucet by following the manufacturer's instructions. Make sure to use plumber's tape on any threaded connections. Step 4: Reconnect the water supply lines and tighten the mounting nuts. Step 5: Turn the water supply back on and check for any leaks. Make any necessary adjustments.Replacing a Leaky Moen Kitchen Sink Faucet


Replacing a Leaky Moen Kitchen Sink Faucet


If you've followed the steps above and are still experiencing a leaky Moen kitchen sink, there may be a more complex issue at hand. In this case, it's best to troubleshoot the problem by checking each component of the faucet, including the handles, cartridge, O-ring, and supply lines. If you're not comfortable troubleshooting or repairing the faucet yourself, it's best to call a professional plumber for assistance.Troubleshooting a Leaky Moen Kitchen Sink


Troubleshooting a Leaky Moen Kitchen Sink


The best way to deal with a leaky Moen kitchen sink is to prevent it from happening in the first place. Here are a few tips to help you prevent leaks in your kitchen sink: Tip 1: Regularly check the condition of your faucet and its components. Look for signs of wear or damage and address them promptly. Tip 2: Use your faucet gently and avoid forcing the handles or spout. Tip 3: Avoid using harsh chemicals or cleaners on your faucet, as they can damage the finish and cause leaks. Tip 4: Keep an eye on your water bill. If you notice a sudden increase, it could be a sign of a leak.Preventing Leaks in Your Moen Kitchen Sink


Preventing Leaks in Your Moen Kitchen Sink


In addition to the faucet, your Moen kitchen sink may also have a sprayer. If you notice water leaking from the sprayer, it's important to address the issue promptly to avoid wasting water and potential damage. To fix a leaky Moen kitchen sink sprayer, follow these steps: Step 1: Start by turning off the water supply to your kitchen sink. Step 2: Remove the sprayer head by unscrewing it from the hose. Step 3: Check the O-ring on the sprayer head for any signs of wear or damage. Replace it if necessary. Step 4: If the O-ring is in good condition, check the connection between the hose and sprayer head for any loose or damaged parts. Tighten or replace as needed. Step 5: Reattach the sprayer head and turn the water supply back on. Check for any leaks and make adjustments if needed.How to Identify and Fix a Leaky Moen Kitchen Sink Sprayer
How to Identify and Fix a Leaky Moen Kitchen Sink Sprayer


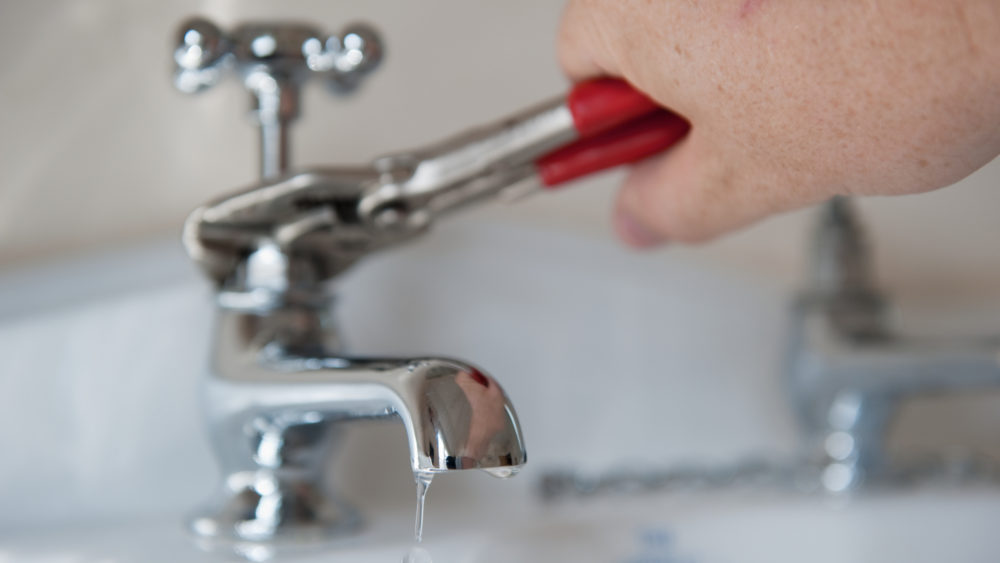
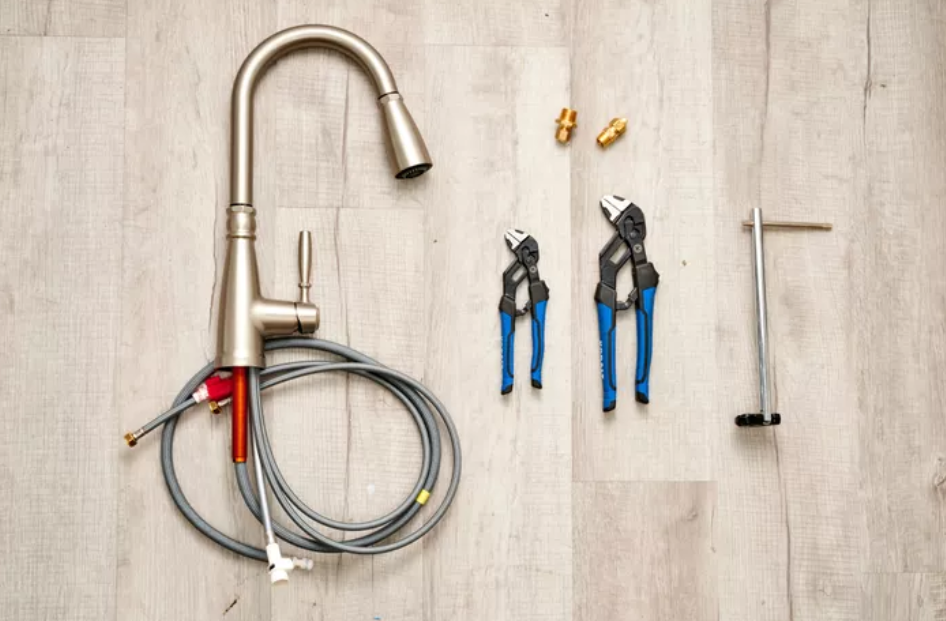
To fix a leaky Moen kitchen sink, you'll need a few basic tools and materials, including: Tools:Tools and Materials Needed to Fix a Leaky Moen Kitchen Sink


Tools and Materials Needed to Fix a Leaky Moen Kitchen Sink


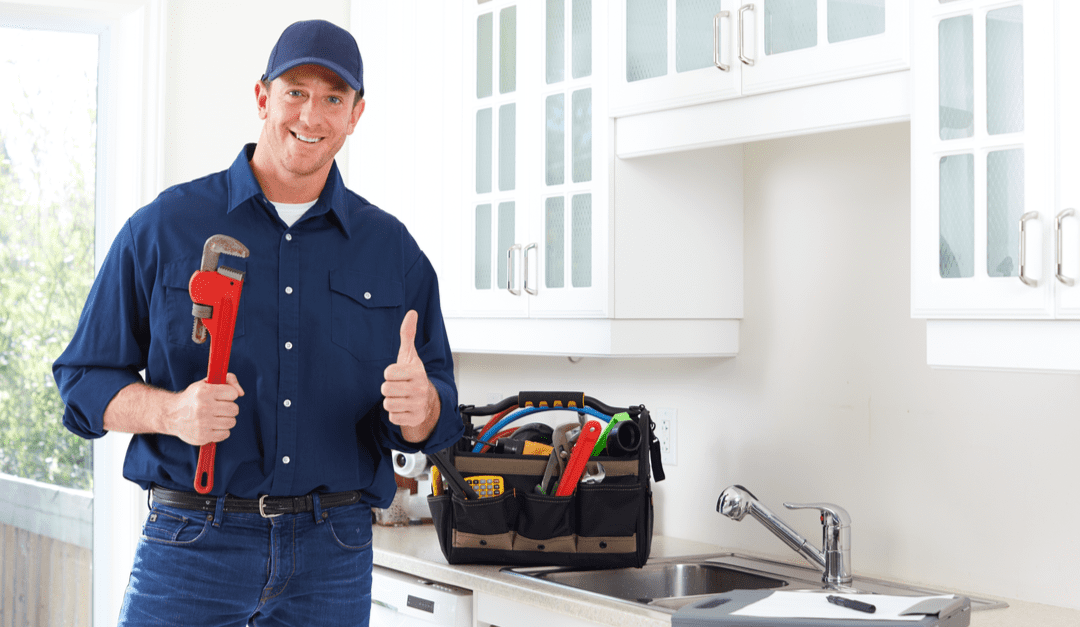
While repairing a leaky Moen kitchen sink may seem like a simple task, it's always a good idea to call a professional plumber if you're unsure or uncomfortable with the process. Professional plumbers have the knowledge, experience, and tools to effectively repair any leaks and ensure that your kitchen sink is in good working condition. Plus, hiring a professional can save you time and the hassle of dealing with the repair yourself.Professional Plumbers for Leaky Moen Kitchen Sink Repairs


Professional Plumbers for Leaky Moen Kitchen Sink Repairs


Preventing and Fixing a Leaky Moen Kitchen Sink

Common Causes of a Leaky Moen Kitchen Sink
 A leaky Moen kitchen sink is a common problem that many homeowners face. This can be frustrating and can lead to water damage and costly repairs. There are a few common causes of a leaky Moen kitchen sink that you should be aware of.
One of the main causes is a worn out or faulty
faucet cartridge
. The cartridge is the part of the faucet that controls the flow of water. Over time, it can become worn out or damaged, causing water to leak from the faucet. Another common cause is a loose or damaged
o-ring
. O-rings are small rubber rings that help create a watertight seal in the faucet. If they become loose or damaged, they can cause leaks.
A leaky Moen kitchen sink is a common problem that many homeowners face. This can be frustrating and can lead to water damage and costly repairs. There are a few common causes of a leaky Moen kitchen sink that you should be aware of.
One of the main causes is a worn out or faulty
faucet cartridge
. The cartridge is the part of the faucet that controls the flow of water. Over time, it can become worn out or damaged, causing water to leak from the faucet. Another common cause is a loose or damaged
o-ring
. O-rings are small rubber rings that help create a watertight seal in the faucet. If they become loose or damaged, they can cause leaks.
Preventing Leaks in Your Moen Kitchen Sink
 Prevention is key when it comes to avoiding a leaky Moen kitchen sink. Regular maintenance and proper use can help prevent leaks from occurring. Here are a few tips to keep in mind:
-
Replace worn out parts:
If you notice any signs of wear and tear on your faucet cartridge or o-rings, it's important to replace them as soon as possible. This will prevent further damage and leaks.
-
Avoid harsh chemicals:
Harsh chemicals can damage the internal parts of your faucet, leading to leaks. Instead, opt for gentler cleaning products.
-
Don't overtighten:
Many people make the mistake of overtightening their faucet handles in an attempt to stop a leak. This can actually cause more damage and lead to leaks. Only tighten the handles enough to stop the water flow.
Prevention is key when it comes to avoiding a leaky Moen kitchen sink. Regular maintenance and proper use can help prevent leaks from occurring. Here are a few tips to keep in mind:
-
Replace worn out parts:
If you notice any signs of wear and tear on your faucet cartridge or o-rings, it's important to replace them as soon as possible. This will prevent further damage and leaks.
-
Avoid harsh chemicals:
Harsh chemicals can damage the internal parts of your faucet, leading to leaks. Instead, opt for gentler cleaning products.
-
Don't overtighten:
Many people make the mistake of overtightening their faucet handles in an attempt to stop a leak. This can actually cause more damage and lead to leaks. Only tighten the handles enough to stop the water flow.
Fixing a Leaky Moen Kitchen Sink
 If you do find yourself with a leaky Moen kitchen sink, there are a few steps you can take to fix it. The first step is to identify the source of the leak. If it's coming from the faucet, you can follow these steps:
1. Turn off the water supply to the faucet.
2. Remove the handle and any decorative caps to access the cartridge.
3. Replace the worn out or faulty cartridge with a new one.
4. Reassemble the faucet and turn the water supply back on.
If the leak is coming from the base of the faucet, it may be caused by a loose or damaged o-ring. In this case, you can follow these steps:
1. Turn off the water supply to the faucet.
2. Remove the handle and any decorative caps to access the o-ring.
3. Replace the o-ring with a new one.
4. Reassemble the faucet and turn the water supply back on.
In some cases, the leak may be caused by a damaged
supply line
or
drain pipes
. If this is the case, it's best to call a professional plumber to fix the issue.
If you do find yourself with a leaky Moen kitchen sink, there are a few steps you can take to fix it. The first step is to identify the source of the leak. If it's coming from the faucet, you can follow these steps:
1. Turn off the water supply to the faucet.
2. Remove the handle and any decorative caps to access the cartridge.
3. Replace the worn out or faulty cartridge with a new one.
4. Reassemble the faucet and turn the water supply back on.
If the leak is coming from the base of the faucet, it may be caused by a loose or damaged o-ring. In this case, you can follow these steps:
1. Turn off the water supply to the faucet.
2. Remove the handle and any decorative caps to access the o-ring.
3. Replace the o-ring with a new one.
4. Reassemble the faucet and turn the water supply back on.
In some cases, the leak may be caused by a damaged
supply line
or
drain pipes
. If this is the case, it's best to call a professional plumber to fix the issue.
Conclusion
 A leaky Moen kitchen sink can be a hassle, but with proper maintenance and prompt repairs, it can be easily prevented and fixed. Remember to regularly check for wear and tear on your faucet parts and avoid using harsh chemicals. If you do encounter a leak, identify the source and follow the appropriate steps to fix it. With these tips, you can keep your Moen kitchen sink in top condition and avoid any water damage in your home.


:max_bytes(150000):strip_icc()/GettyImages-1158459651-c796775e71e5498d955dab3fe0ed2add.jpg)


