Installing a Kohler kitchen sink may seem like a daunting task, but with the right tools and knowledge, it can be a DIY project that you can easily tackle. Here is a step-by-step guide to help you install your very own Kohler kitchen sink.How to Install a Kohler Kitchen Sink
Before you begin the installation process, make sure you have all the necessary tools and materials. This includes a drill, wrench, plumber's putty, silicone sealant, and of course, your Kohler kitchen sink. Start by measuring the space where you will be installing the sink. Make sure it fits properly and there is enough room for faucet installation and other accessories. Once you have confirmed the size, you can move on to the actual installation process.Kohler Kitchen Sink Installation Guide
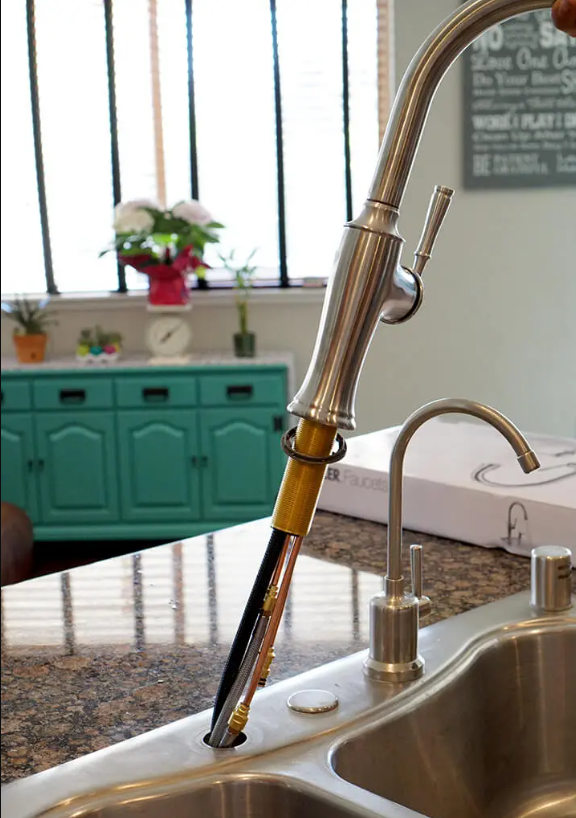
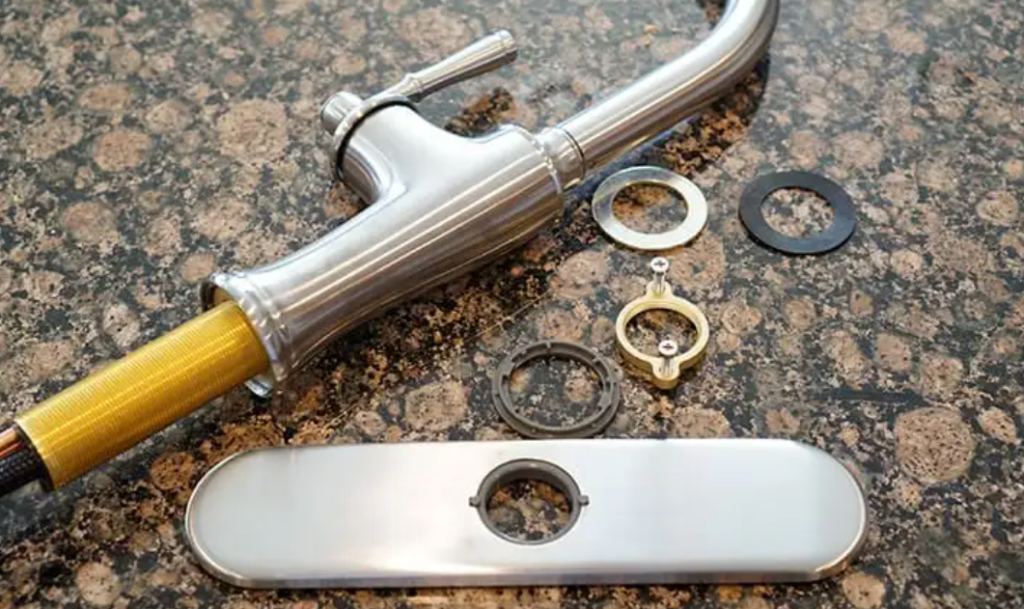
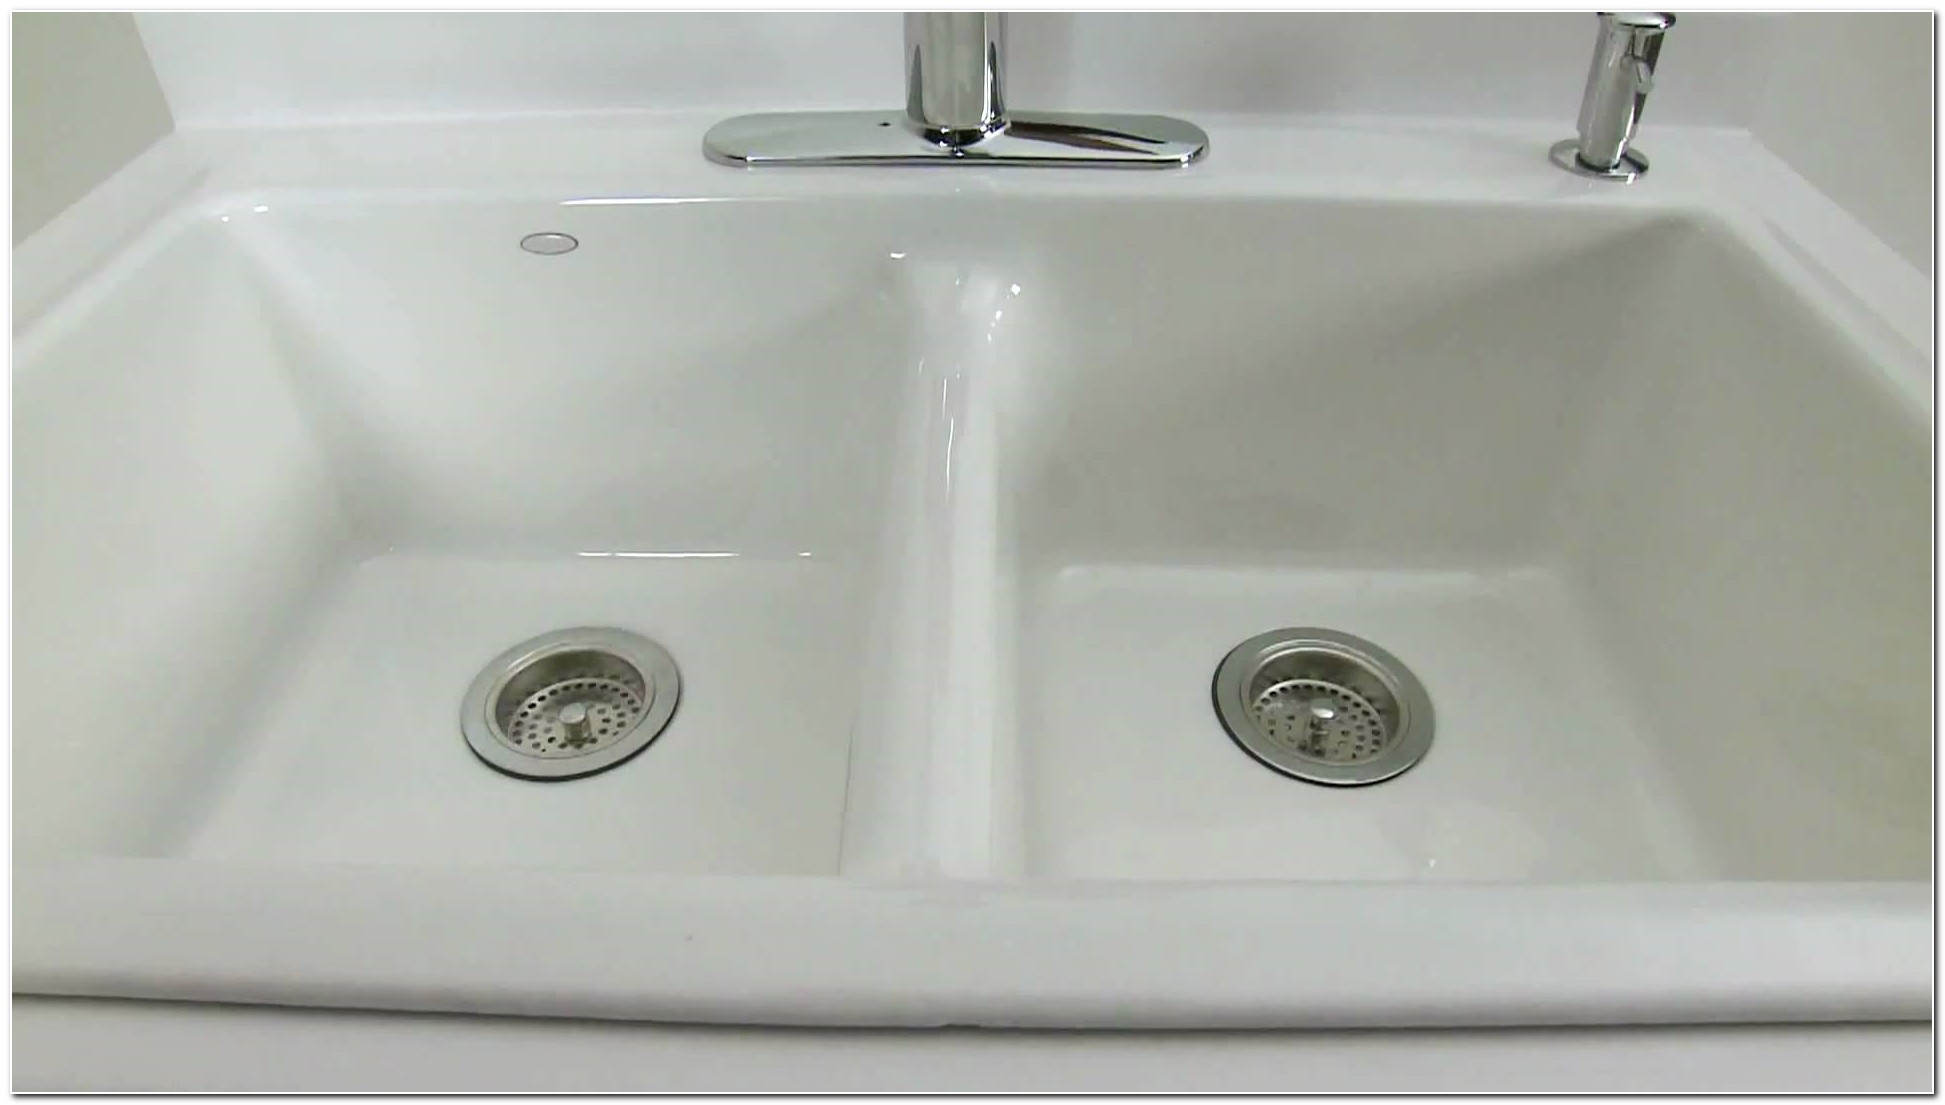
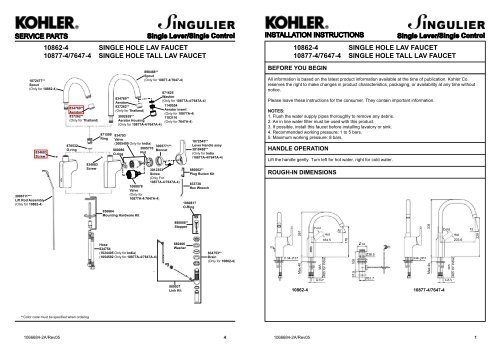
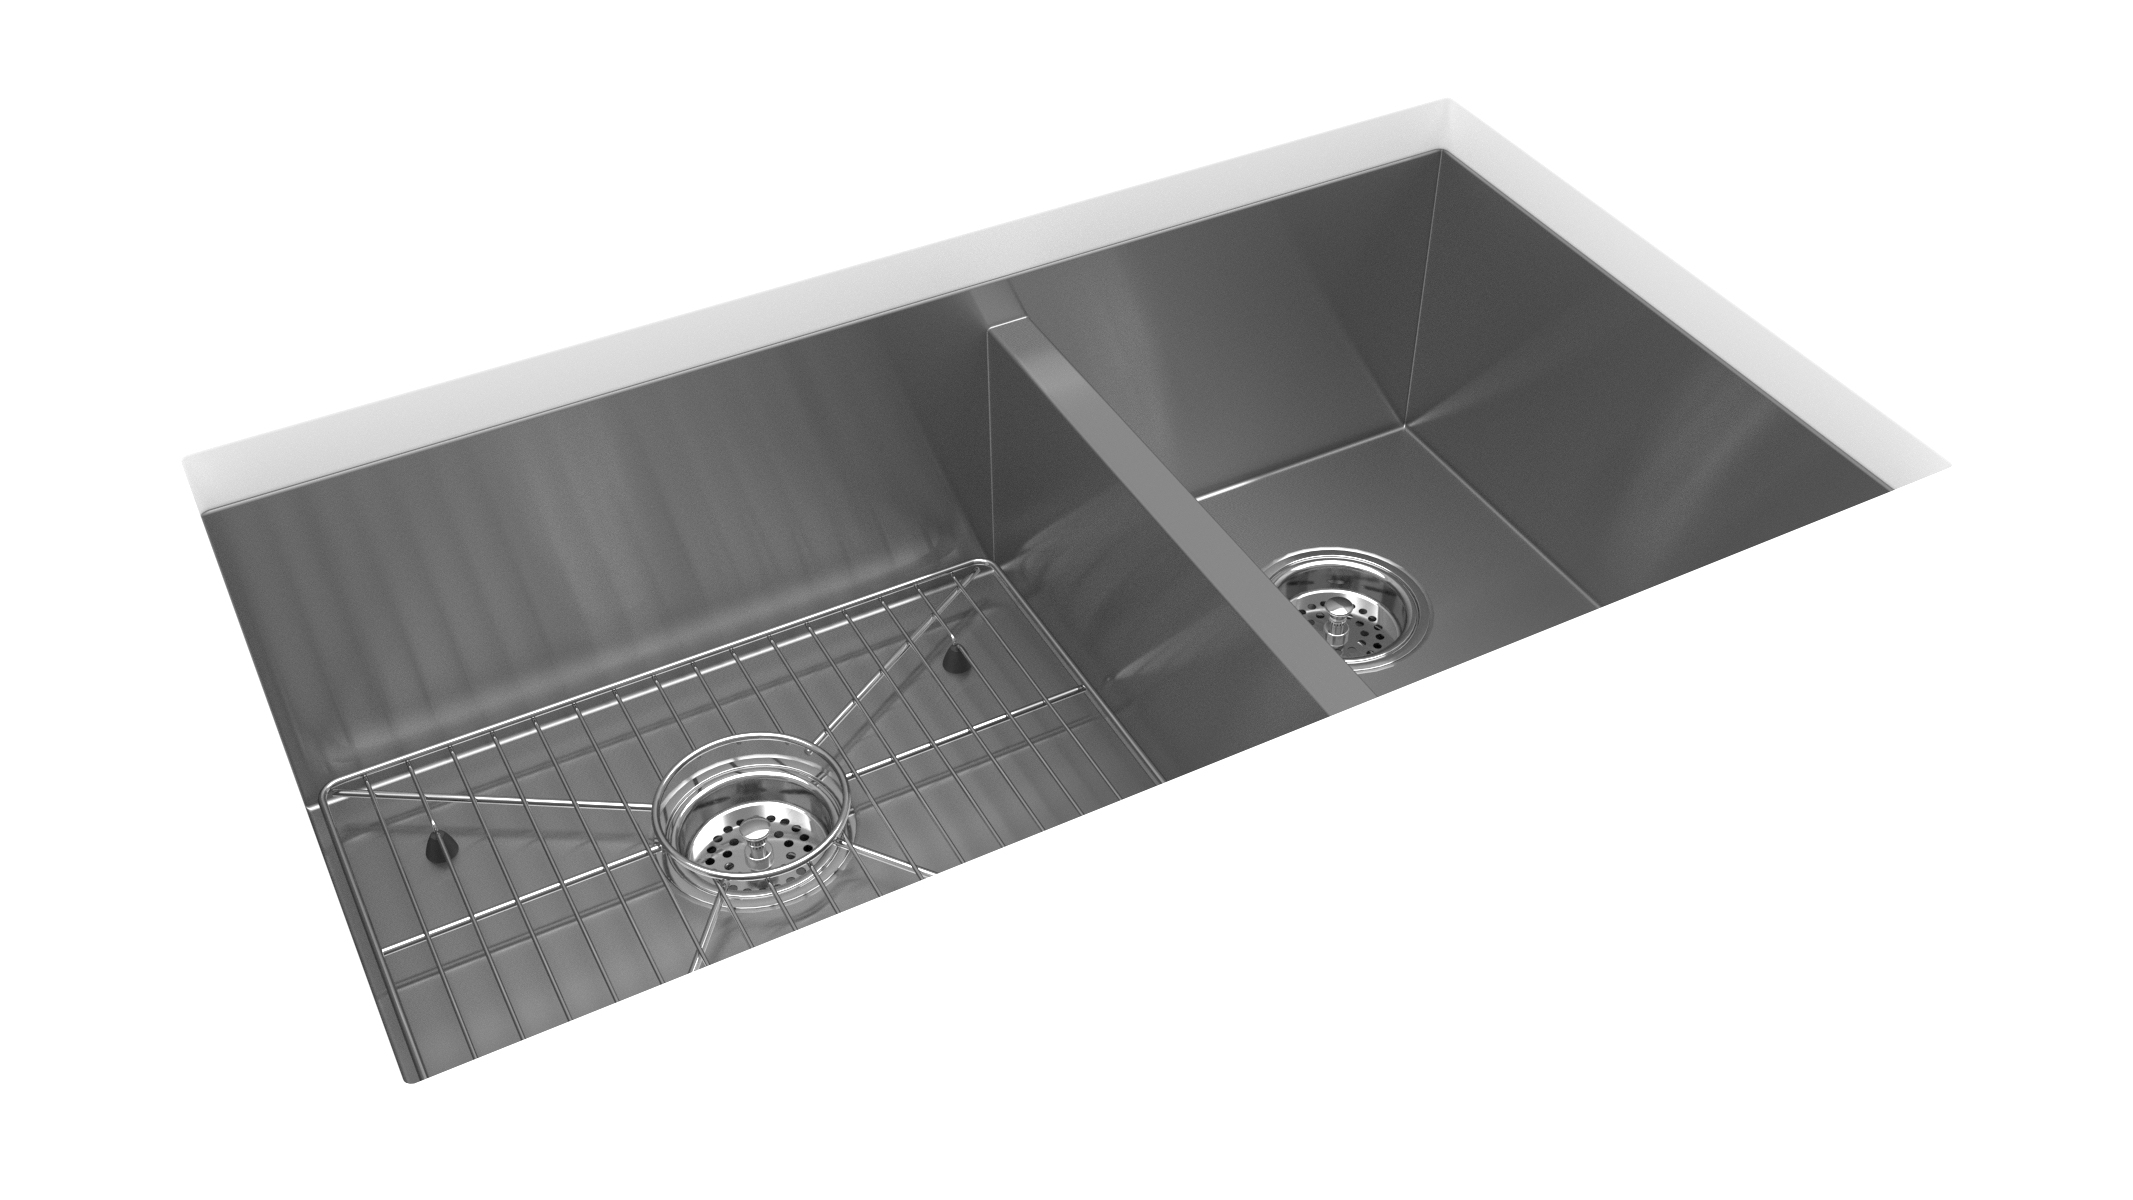
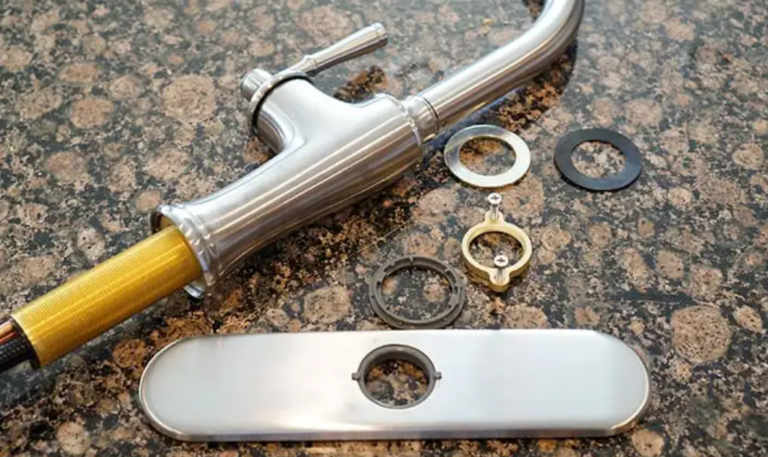
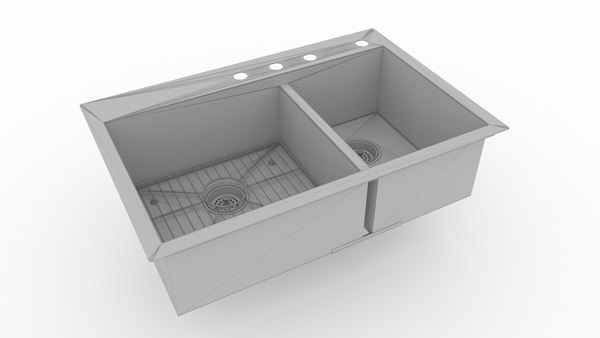
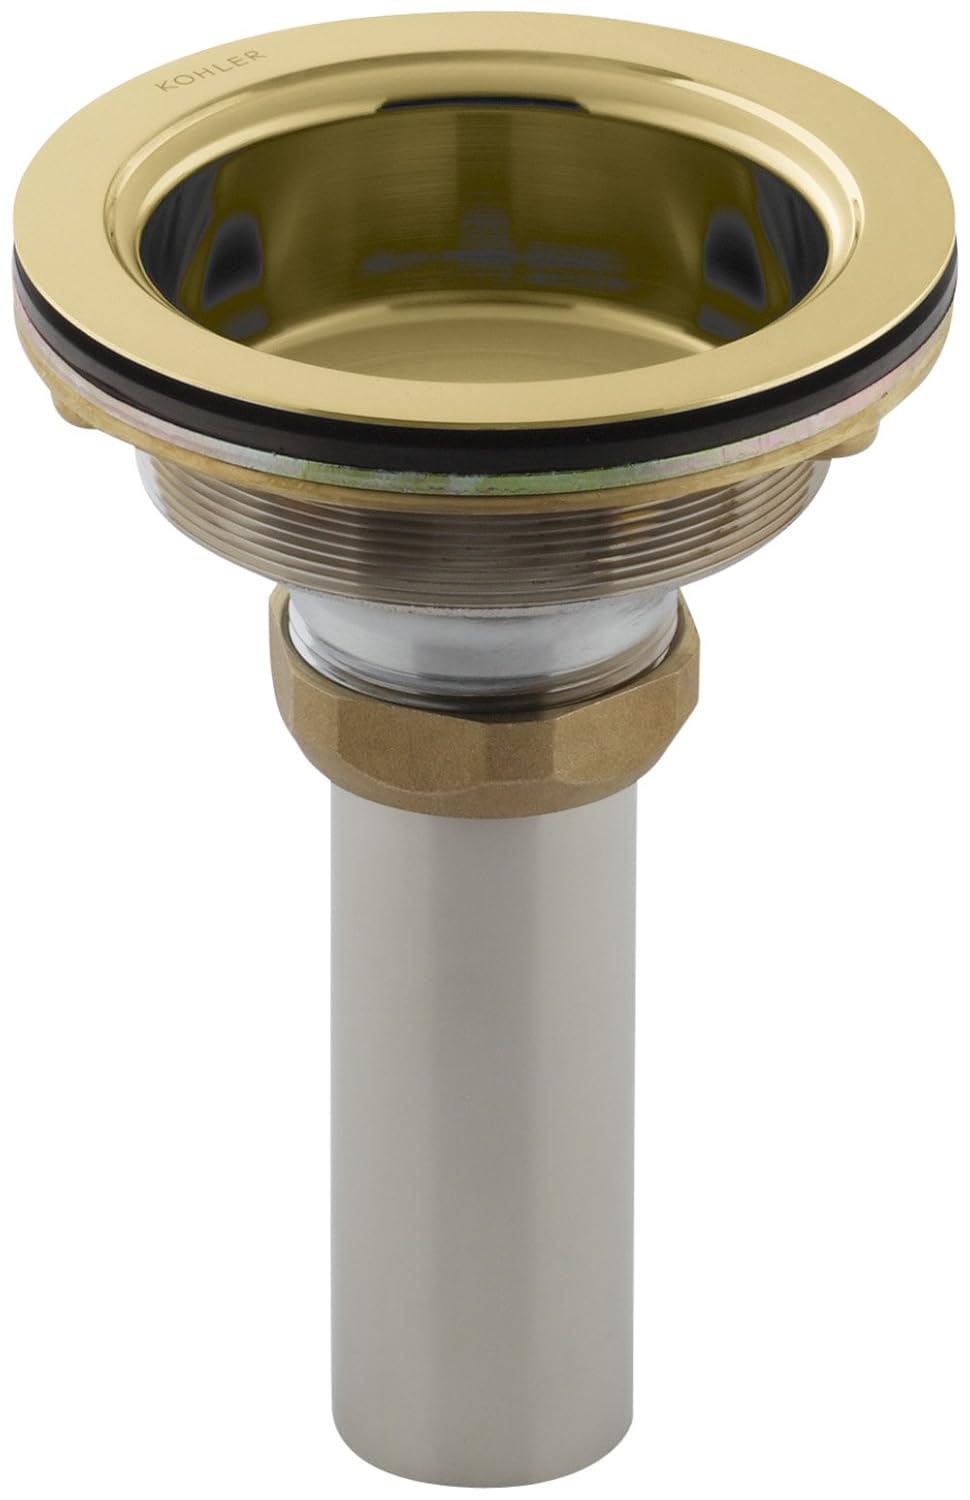
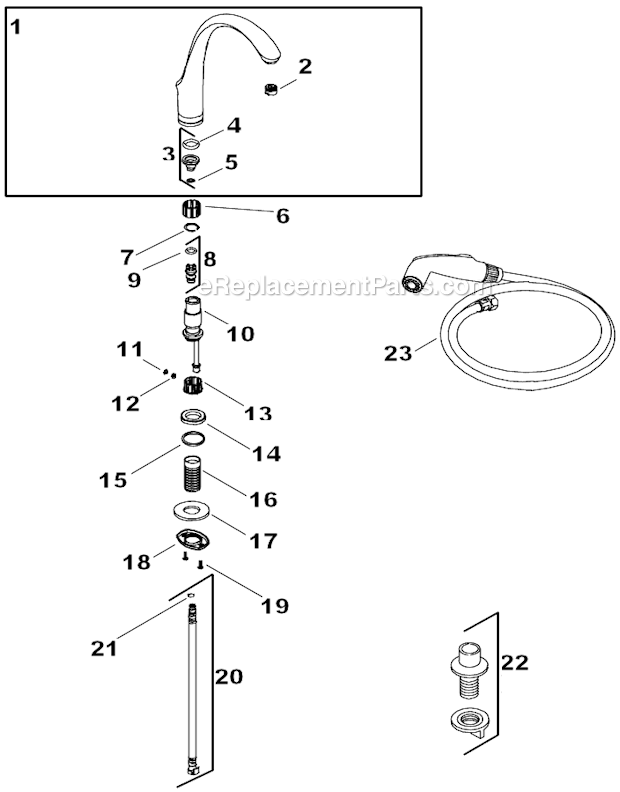
Step 1: Prepare the sink Begin by turning the sink upside down on a flat surface and applying a bead of silicone sealant around the edges of the sink. This will help create a waterproof seal between the sink and the countertop. Step 2: Place the sink in position Once the sealant is applied, carefully flip the sink over and place it in position on the countertop. Make sure it is centered and level before moving on to the next step. Step 3: Secure the sink Using a wrench, tighten the clips or brackets provided by Kohler to secure the sink in place. Make sure they are evenly spaced and tight enough to hold the sink in place. Step 4: Install the faucet Follow the manufacturer's instructions to install the faucet onto the sink. This may require drilling holes for the faucet and other accessories, so make sure you have the right tools for the job. Step 5: Connect the water supply Once the faucet is installed, you can connect the water supply lines. Make sure they are connected securely and there are no leaks. Step 6: Apply plumber's putty Use plumber's putty to create a seal around the drain before installing it onto the sink. This will help prevent any leaks from occurring. Step 7: Attach the drain Place the drain onto the sink and secure it in place using the provided hardware. Make sure it is tight enough to create a seal and there are no leaks. Step 8: Clean up and test Once everything is installed, clean up any excess sealant or putty and test the sink by running water through it. Check for any leaks and make sure everything is functioning properly.Step-by-Step Guide for Installing a Kohler Kitchen Sink
If you prefer a more visual approach, there are plenty of tutorials available online to help you with your Kohler kitchen sink build. You can find step-by-step videos that walk you through the entire process, making it easier for you to follow along.Kohler Kitchen Sink Build Tutorial
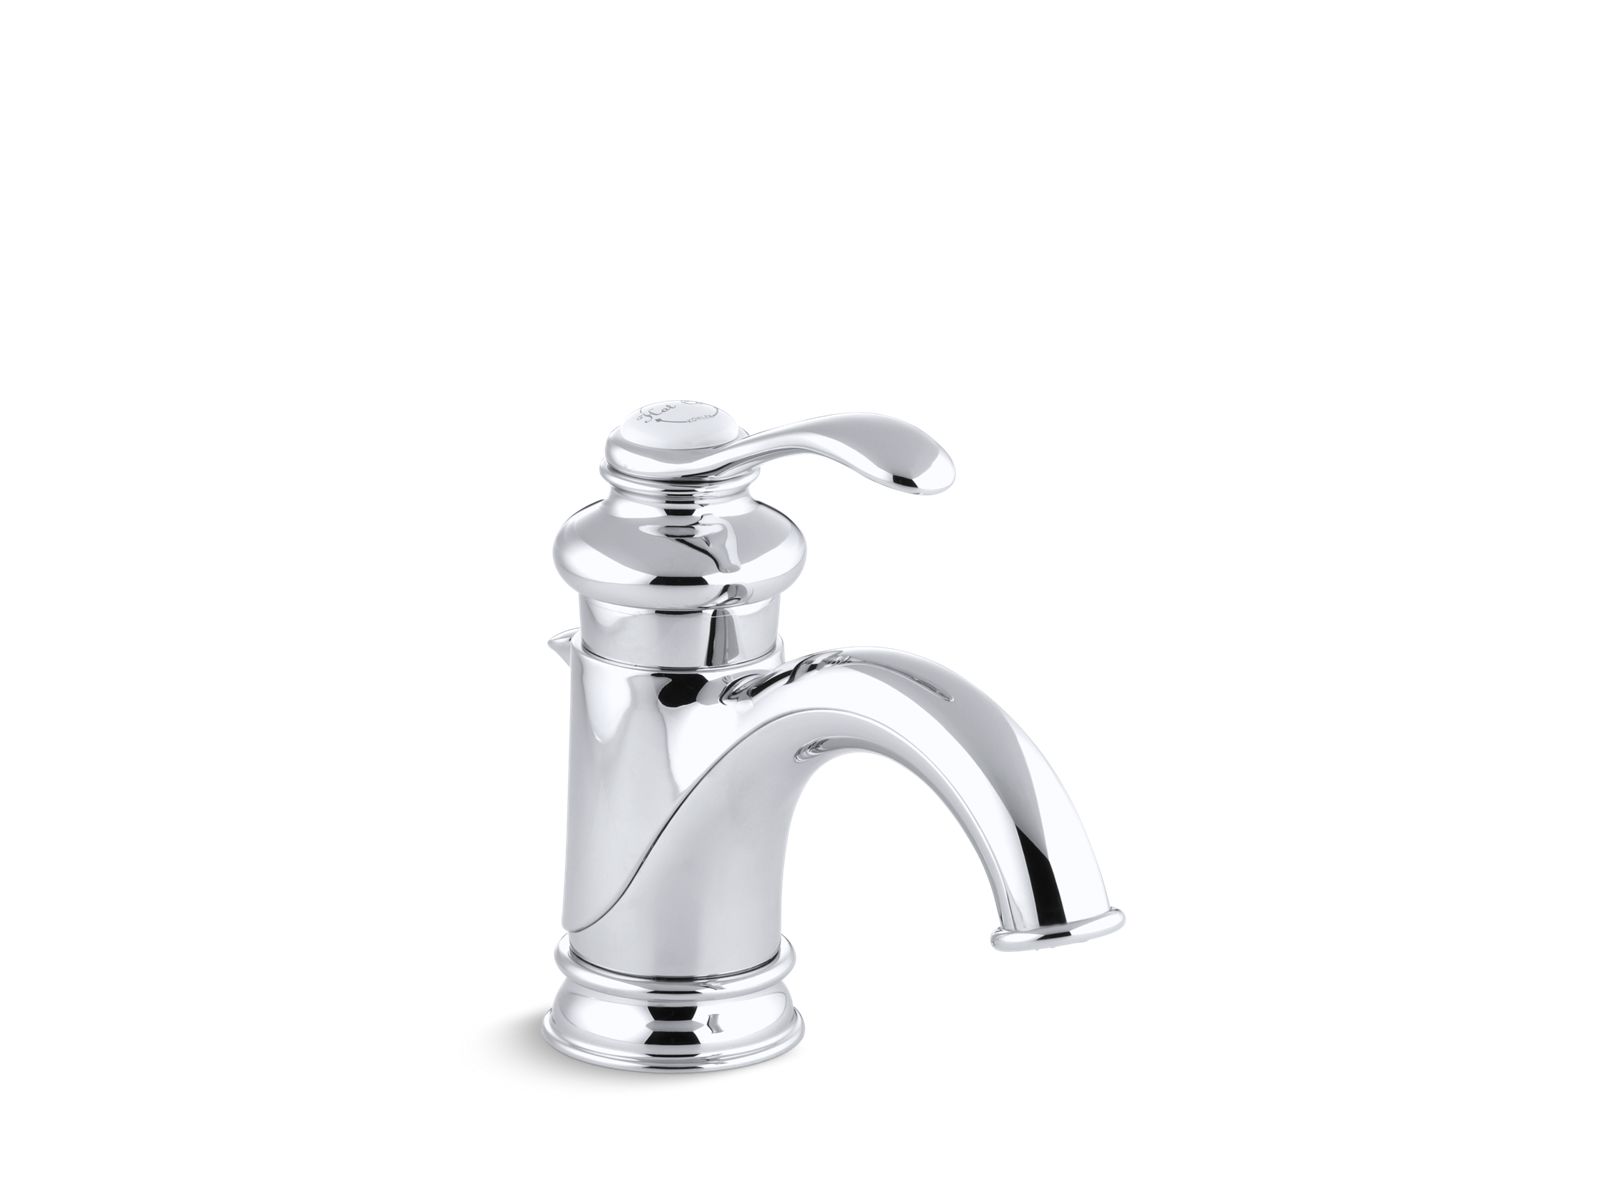
Installing a Kohler kitchen sink on your own can save you a significant amount of money compared to hiring a professional. With the right tools and knowledge, you can easily tackle this DIY project and have a beautiful, functional kitchen sink in no time.DIY Kohler Kitchen Sink Installation
Here are a few tips and tricks to keep in mind when building your Kohler kitchen sink: • Make sure to shut off the water supply before beginning the installation process. • Measure twice before cutting or drilling to avoid any mistakes. • Use a level to ensure the sink is installed evenly and securely. • Use a damp cloth to clean up any excess sealant or putty.Kohler Kitchen Sink Build Tips and Tricks
To ensure a successful Kohler kitchen sink build, here are some best practices to follow: • Read the installation instructions carefully before beginning. • Use the recommended tools and materials provided by Kohler. • Take your time and double check your work as you go. • Seek professional help if you are unsure about any steps.Best Practices for Building a Kohler Kitchen Sink
If you prefer a more visual approach, you can find plenty of video tutorials online to guide you through the Kohler kitchen sink build process. These videos can be a helpful resource for those who are more visual learners.Kohler Kitchen Sink Build Video Tutorial
Here are a few expert tips to help you with your Kohler kitchen sink build: • Use a high-quality silicone sealant to ensure a strong and waterproof seal. • Don't rush the installation process and take breaks if needed. • Make sure to properly secure the sink to the countertop to avoid any shifting or movement.Expert Tips for Building a Kohler Kitchen Sink
Before you begin your Kohler kitchen sink build, make sure you have all the necessary materials and tools on hand. Here's a checklist to help you get started: • Drill • Wrench • Plumber's putty • Silicone sealant • Kohler kitchen sink • Faucet • Water supply lines • Drain By following these steps and tips, you can successfully build and install your very own Kohler kitchen sink. With its high-quality materials and stylish design, your new sink will not only be functional but also add a touch of elegance to your kitchen. Happy building!Kohler Kitchen Sink Build Materials and Tools Checklist
The Perfect Kohler Kitchen Sink for Your Dream Home

Upgrade Your Kitchen with Kohler
 When it comes to designing the perfect kitchen, every detail counts. From the countertop material to the cabinet hardware, every element plays a role in creating a beautiful and functional space. That's why choosing the right kitchen sink is so important. And when it comes to quality and innovation,
Kohler
is a brand that stands out from the rest.
The Kohler Kitchen Sink Build
 The
Kohler kitchen sink build
is a testament to the brand's commitment to excellence. With over 140 years of experience in the industry, Kohler has perfected the art of creating sinks that are not only visually stunning but also highly functional. The company uses only the finest materials and the latest technology to create sinks that are durable, reliable, and easy to maintain.
Design Options for Every Home
 One of the best things about
Kohler
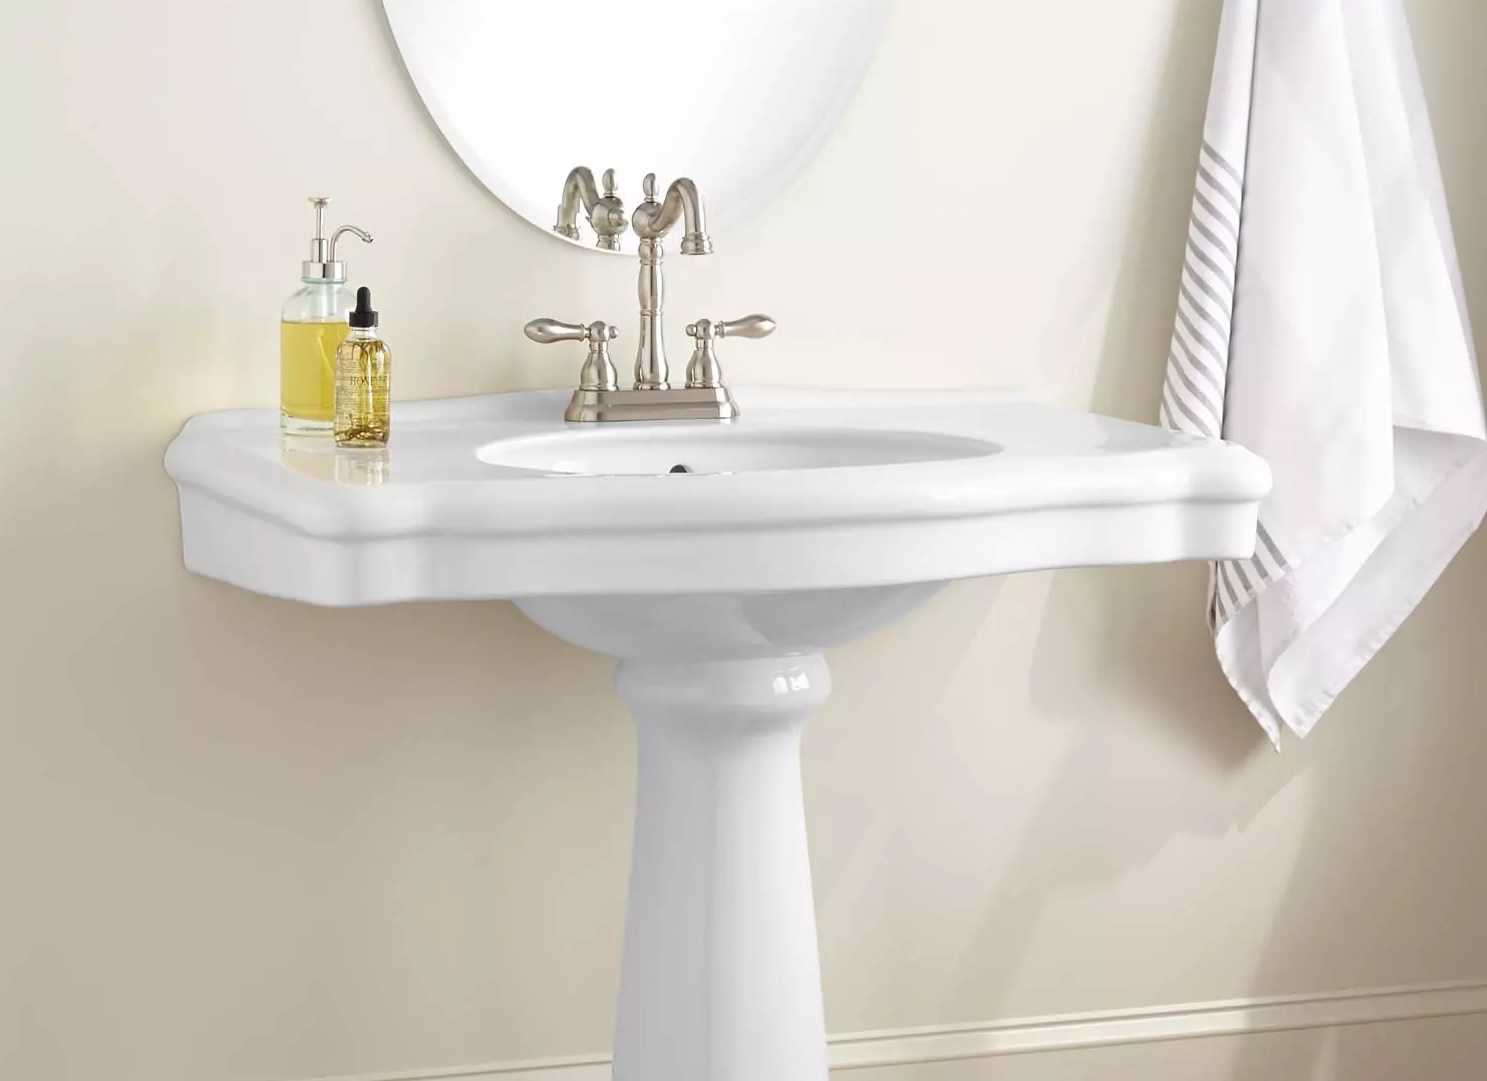
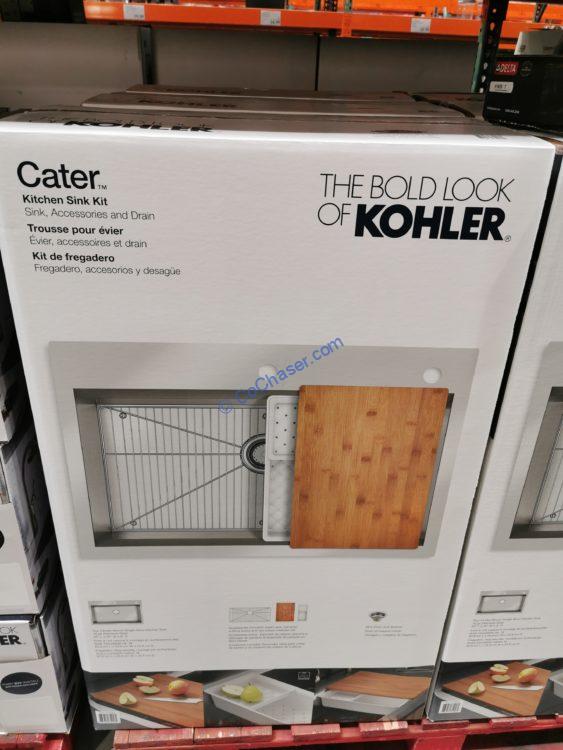
is the variety of designs and styles they offer. Whether you prefer a traditional farmhouse sink or a sleek and modern design, Kohler has something for everyone. Their sinks come in a range of sizes, materials, and colors, making it easy to find the perfect fit for your kitchen. Plus, with their wide selection of accessories and add-ons, you can customize your sink to suit your specific needs and preferences.
Functionality at its Finest
 Aside from their stunning designs,
Kohler
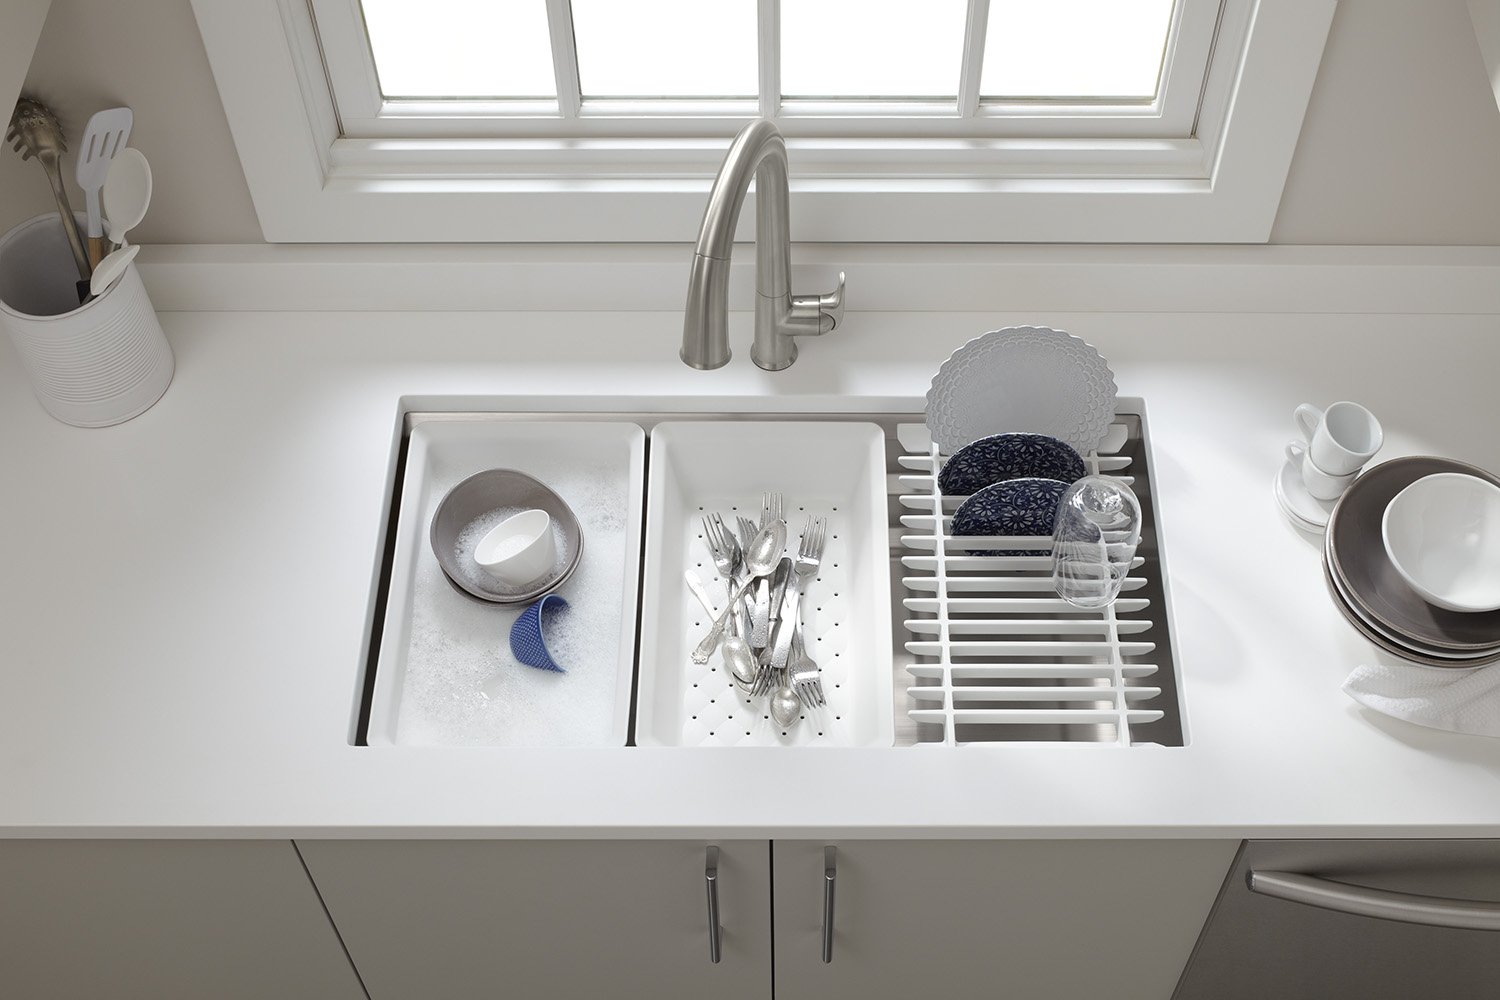
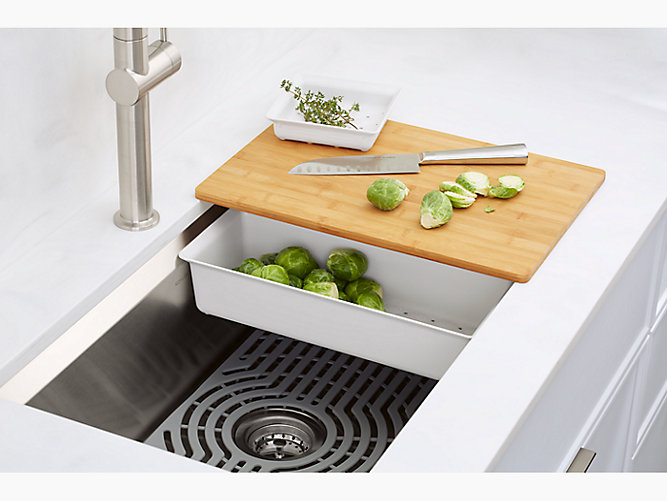
sinks are also known for their exceptional functionality. They are designed to make everyday tasks in the kitchen easier and more efficient. From deep basins for soaking and washing large pots and pans to built-in accessories like cutting boards and drying racks, Kohler sinks are built to handle all your kitchen needs.
The Kohler Difference
 What sets
Kohler
apart from other kitchen sink brands is their commitment to quality and innovation. They continuously invest in research and development to come up with new and improved products that meet the evolving needs of homeowners. With a Kohler kitchen sink, you can trust that you are getting a high-quality product that will last for years to come.
Upgrade Your Kitchen Today
 If you're ready to take your kitchen design to the next level, consider the
Kohler kitchen sink build
for your home. With its combination of style, functionality, and durability, it's the perfect addition to any dream kitchen. Explore the various options available and find the perfect sink for your home today.
